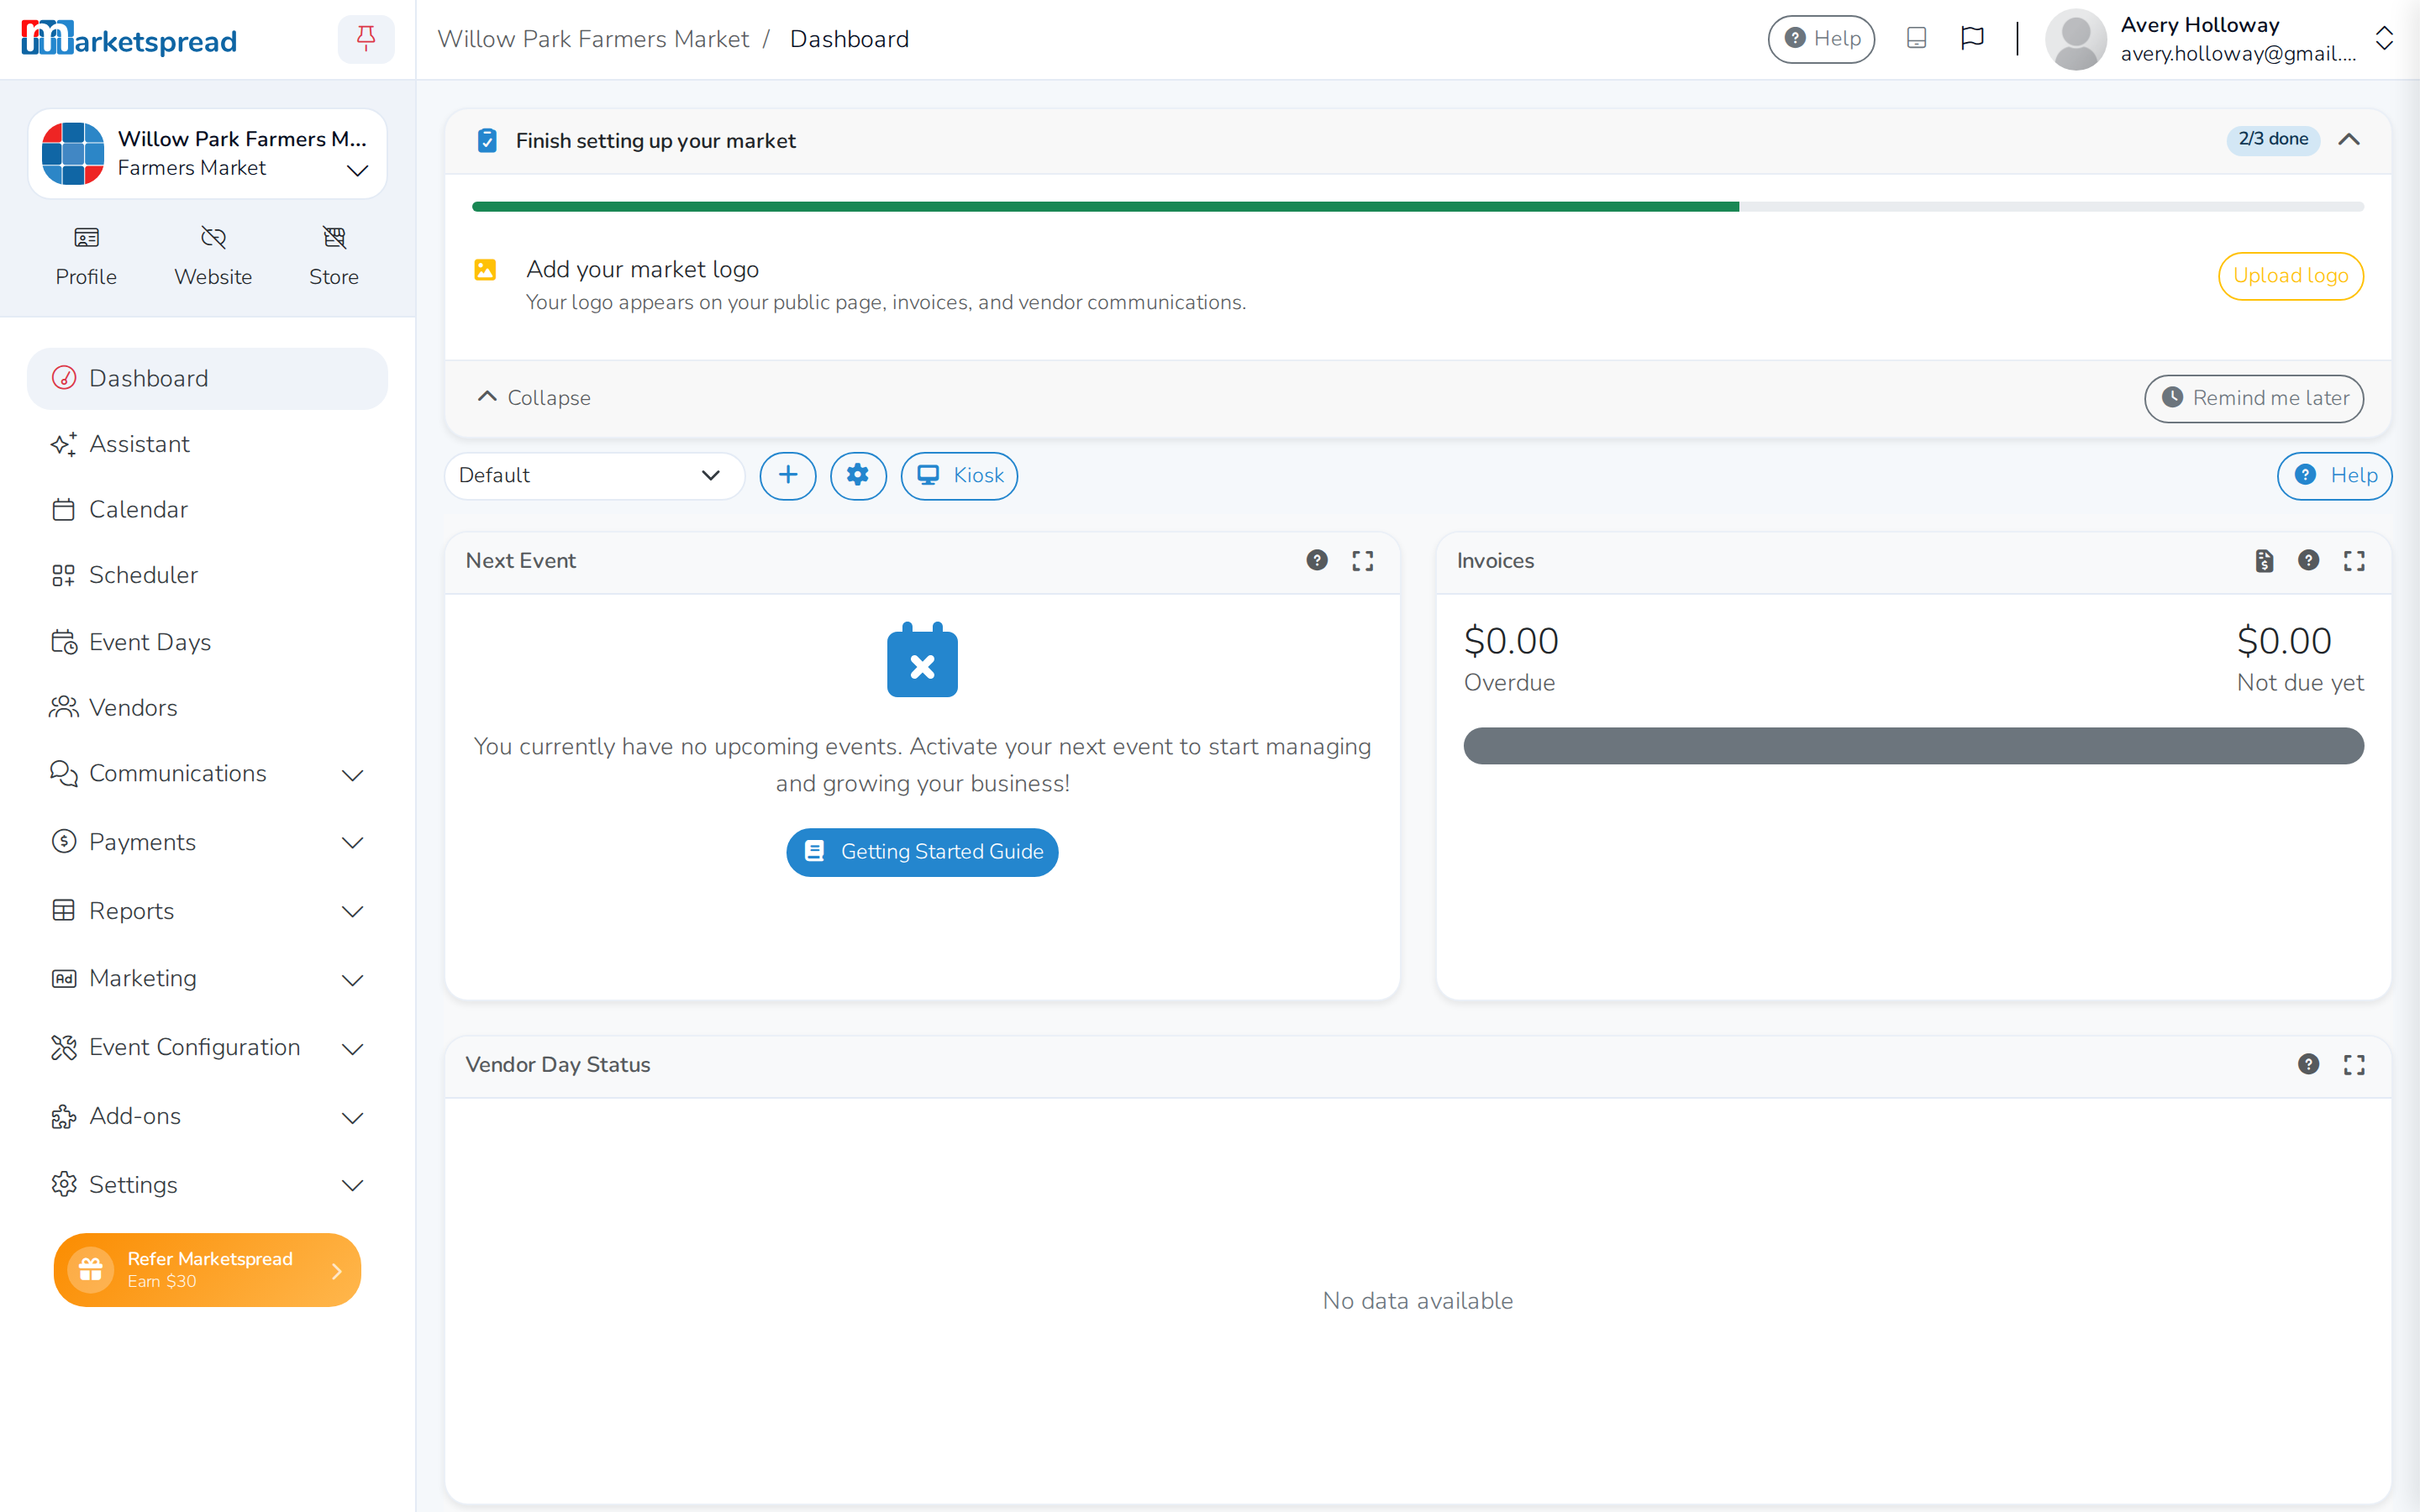
Creating a market account sets up a public profile and a dashboard for your market or event. That's where vendors and customers find you, and where you manage everything else in Marketspread.
Start creating a market or event
- Click your profile photo in the top-right corner.
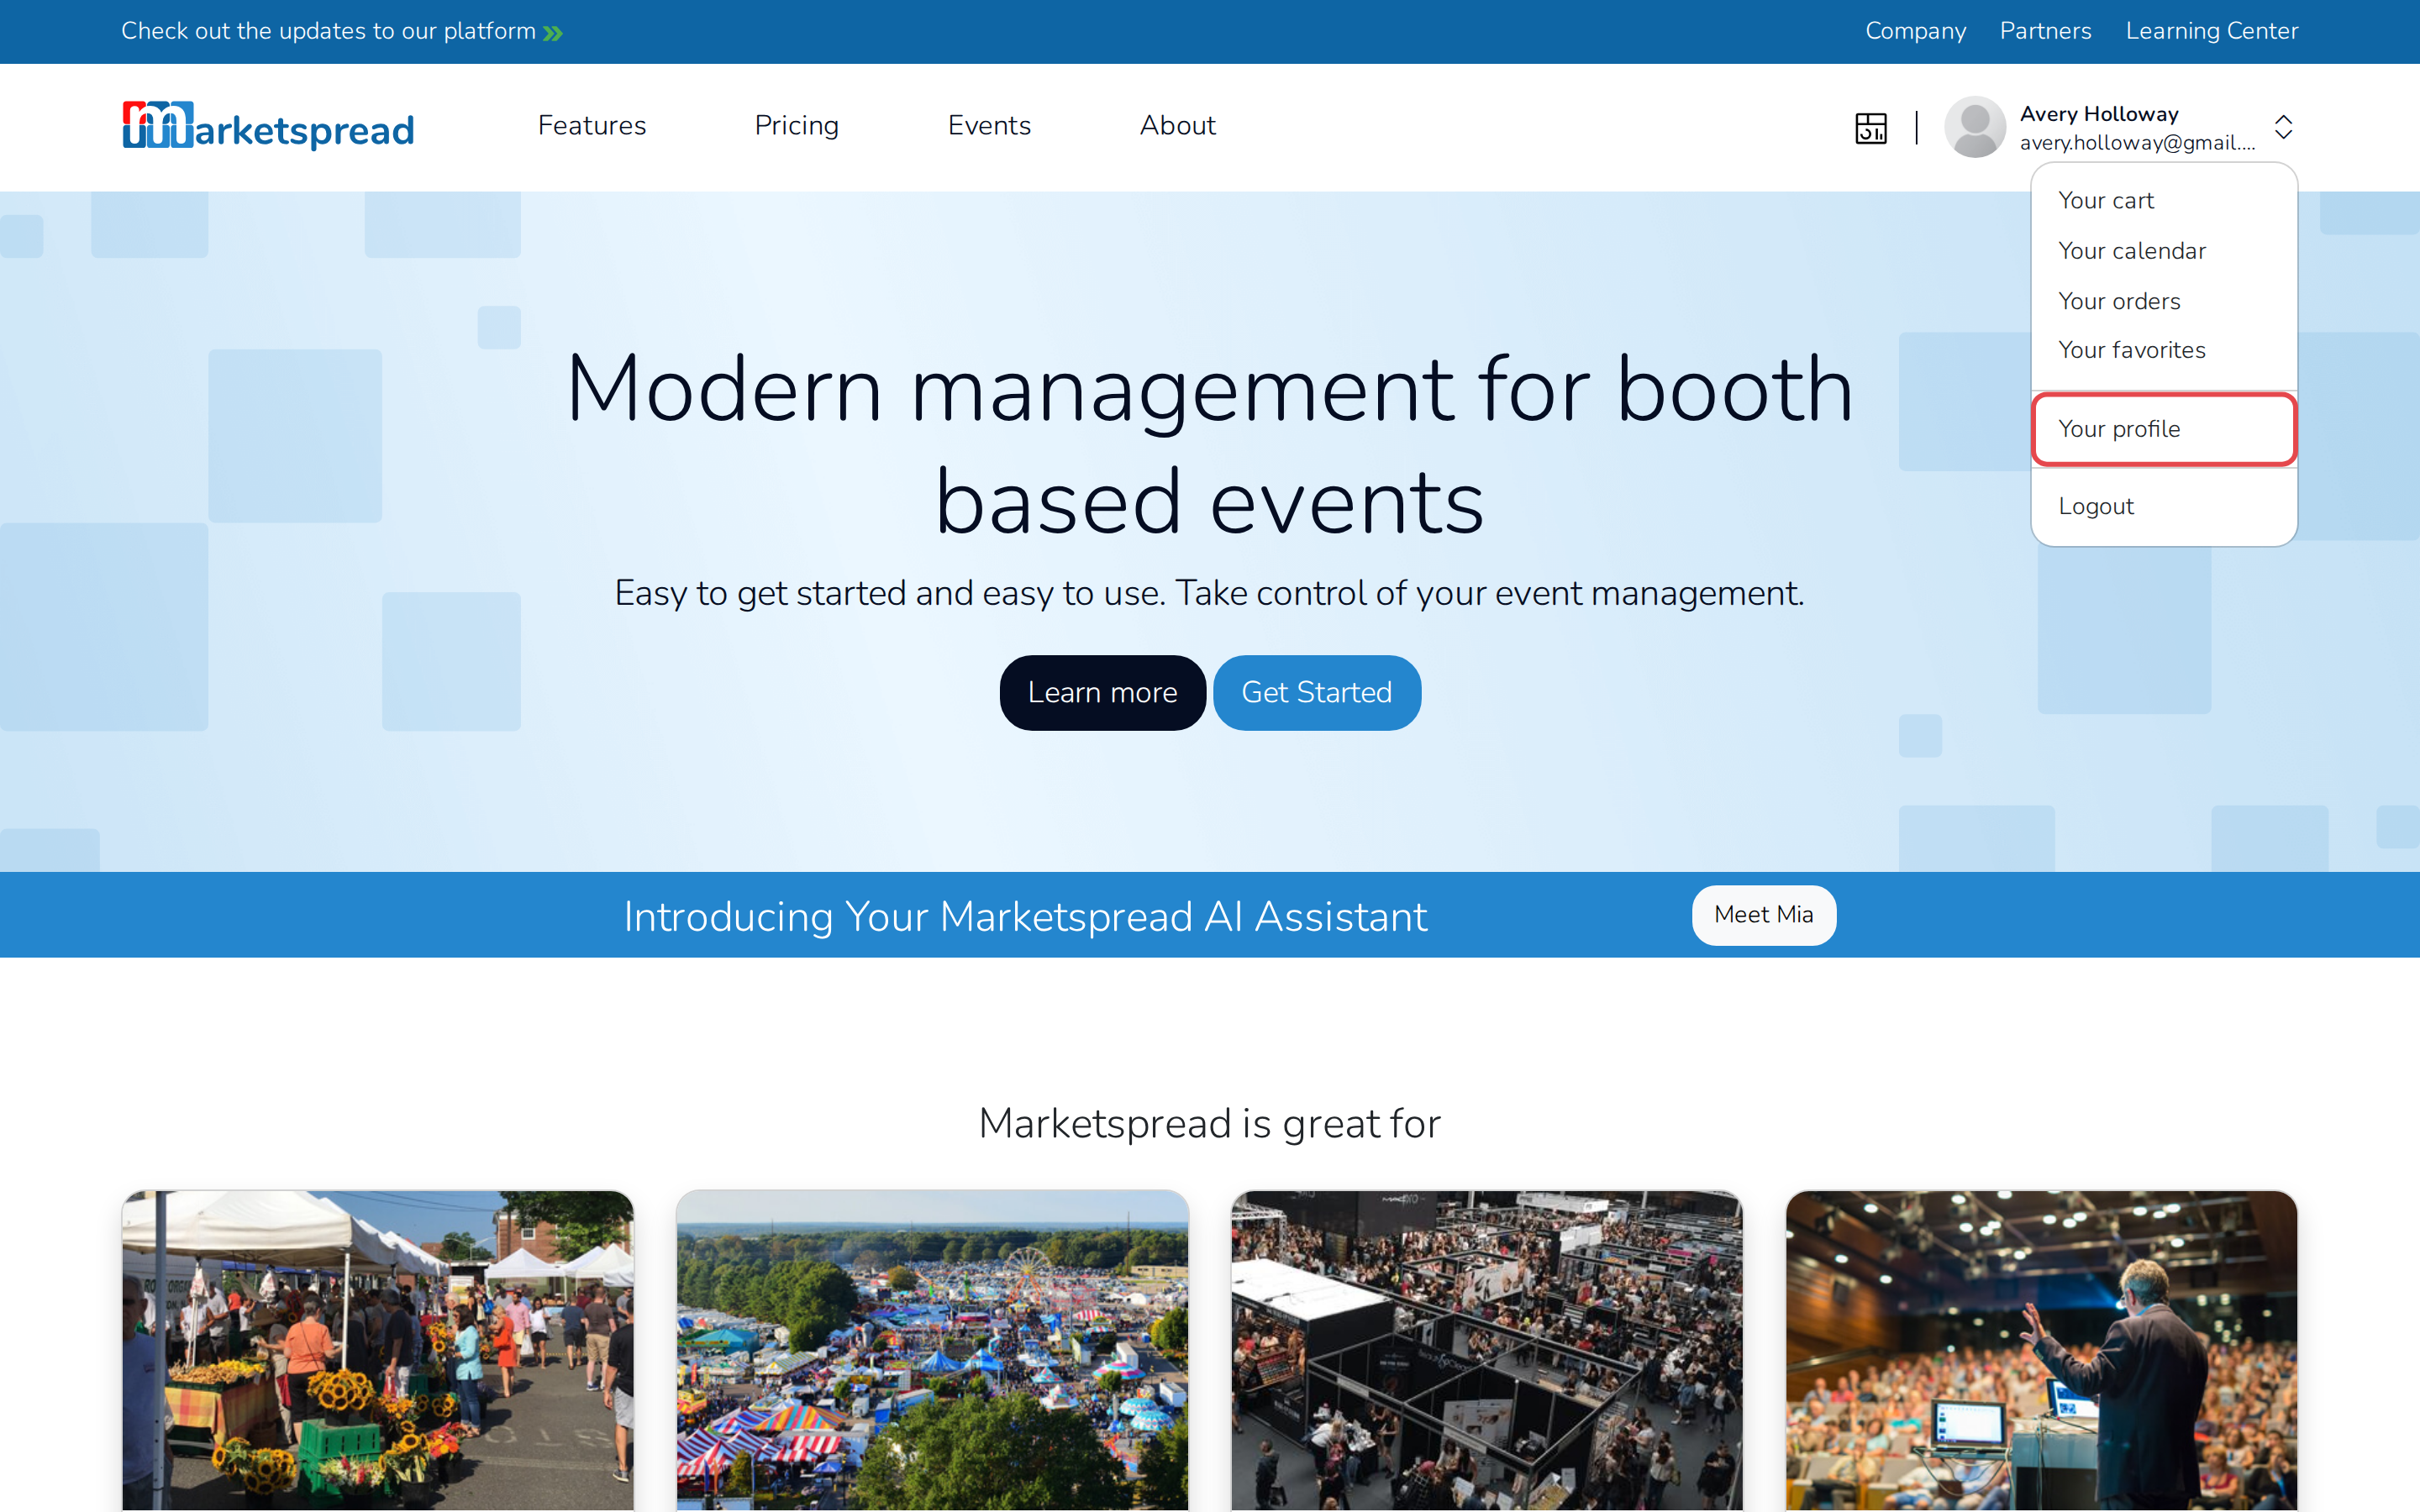
- Click Your profile.
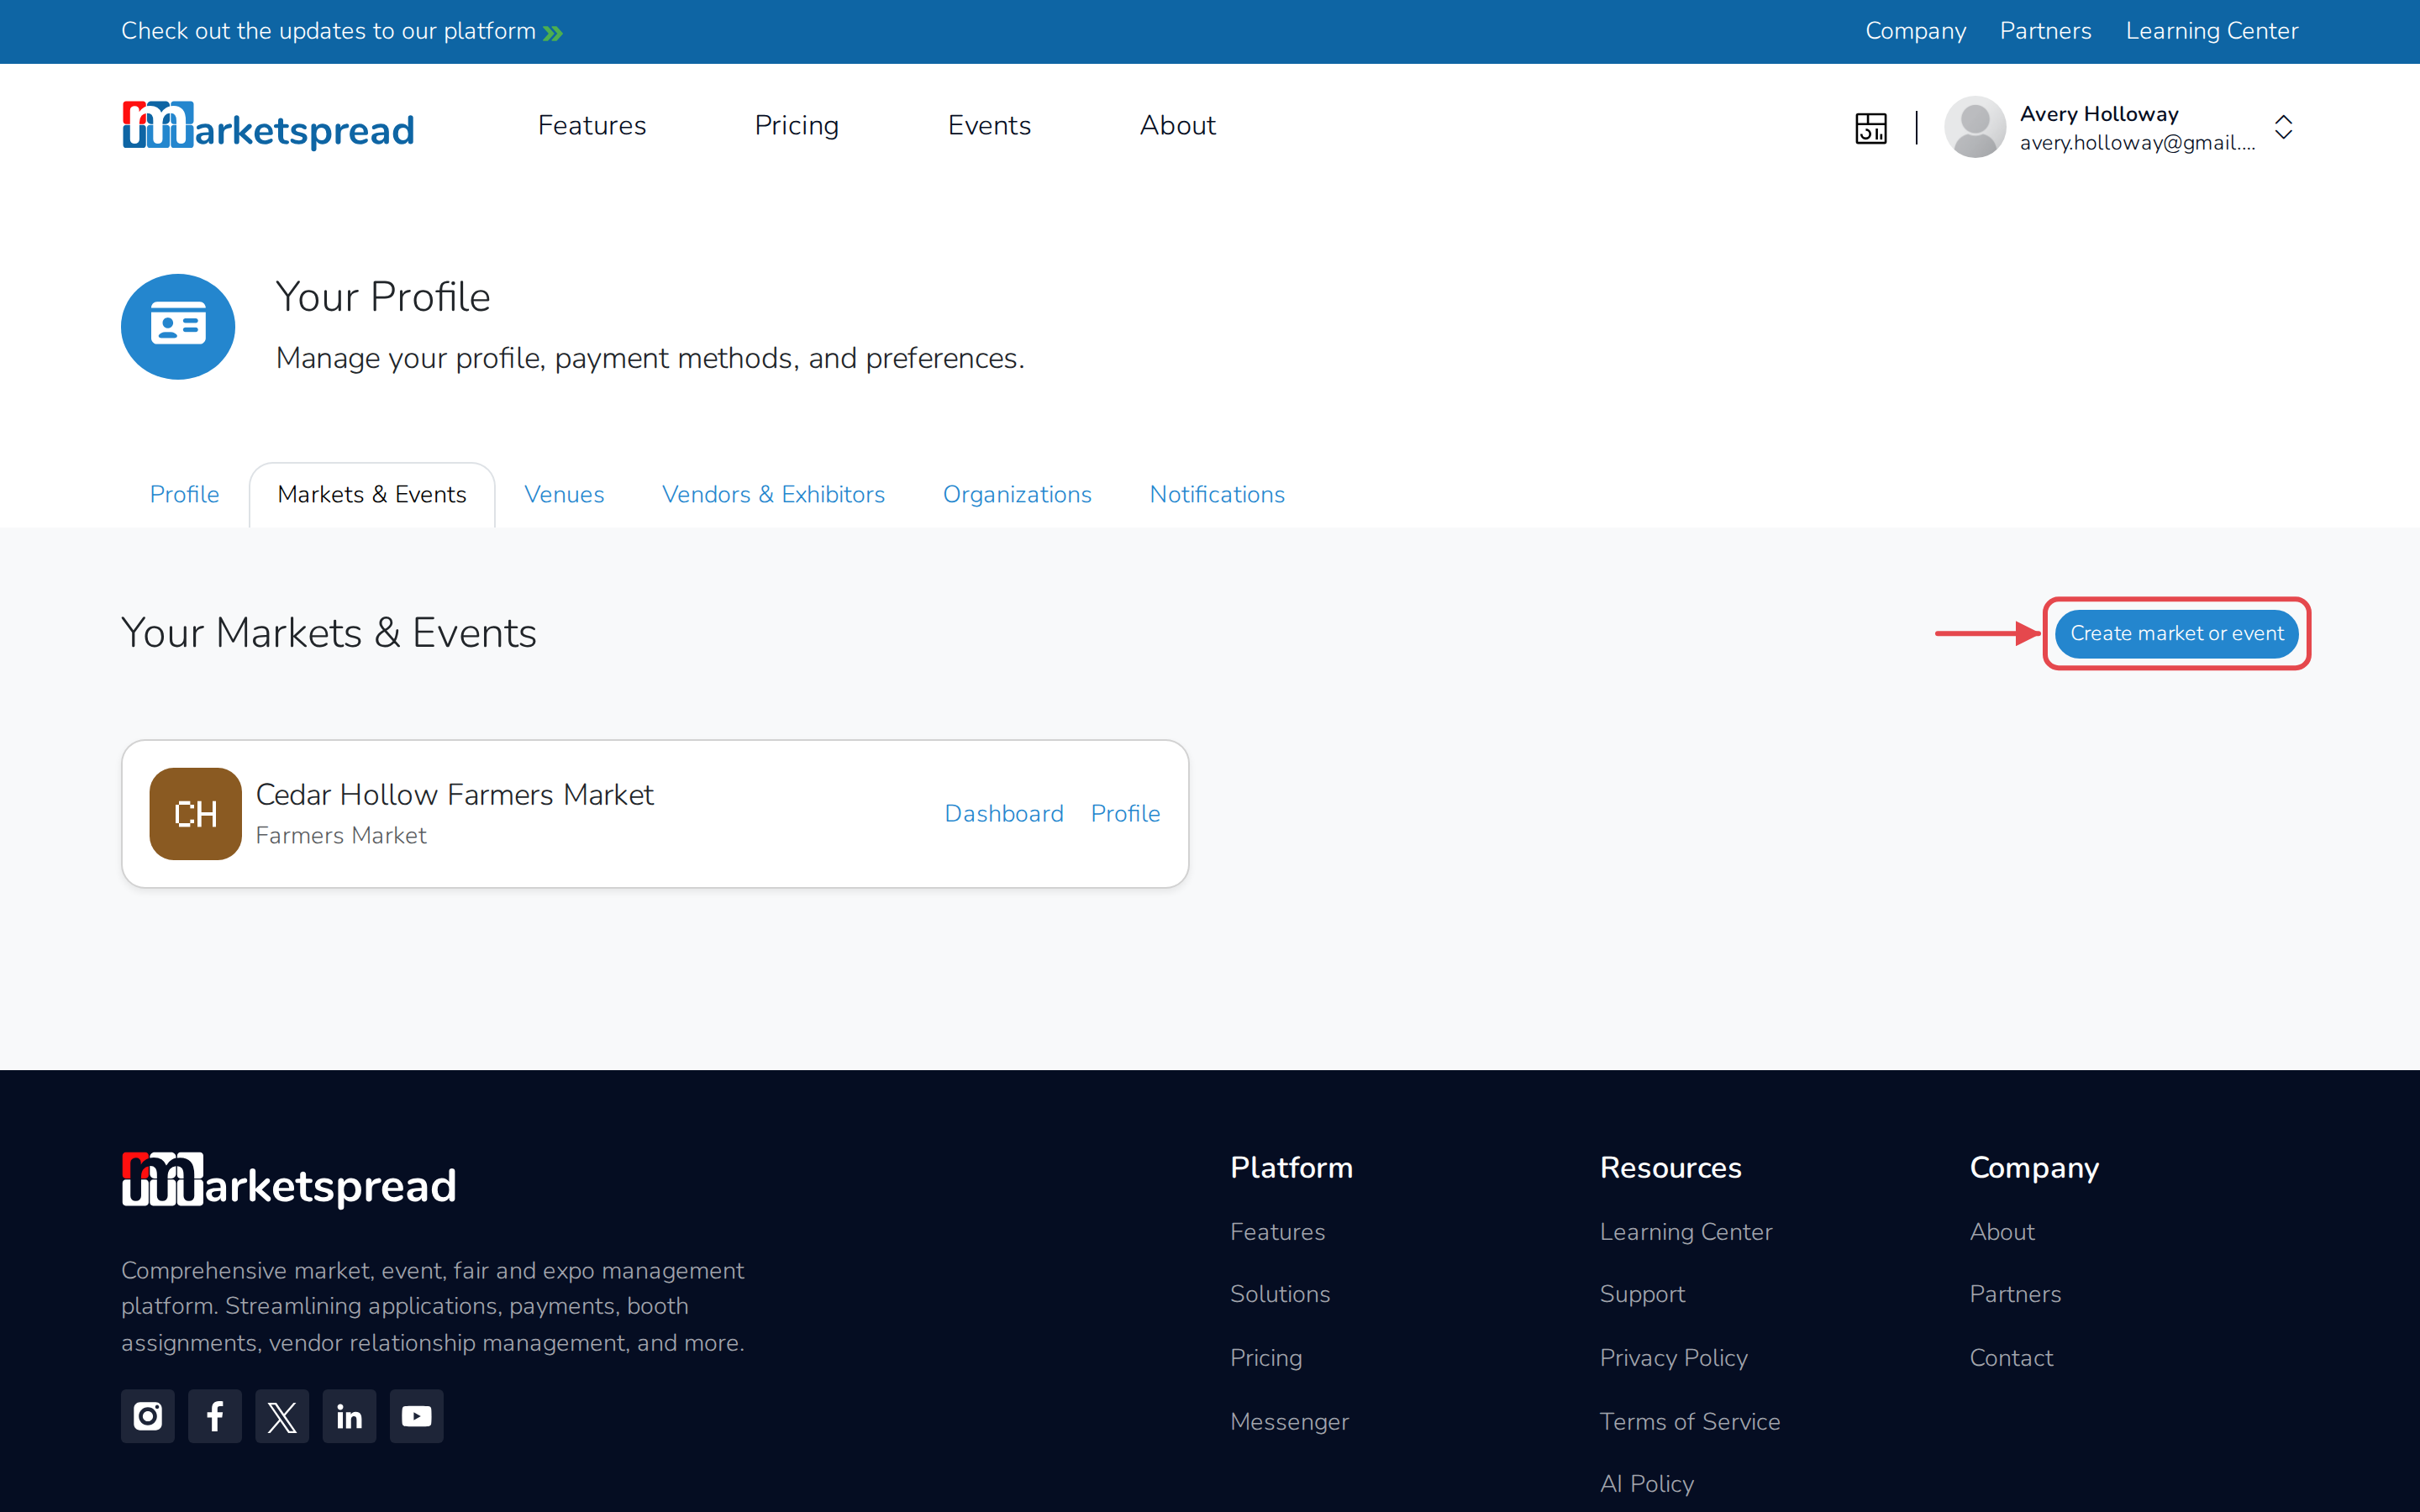
- Click the Markets & Events tab.
- Click Create market or event.
Tip
Setting up your very first market or event? Create a Marketspread account walks you through signing up, and ends on this same page.
Choose your market type
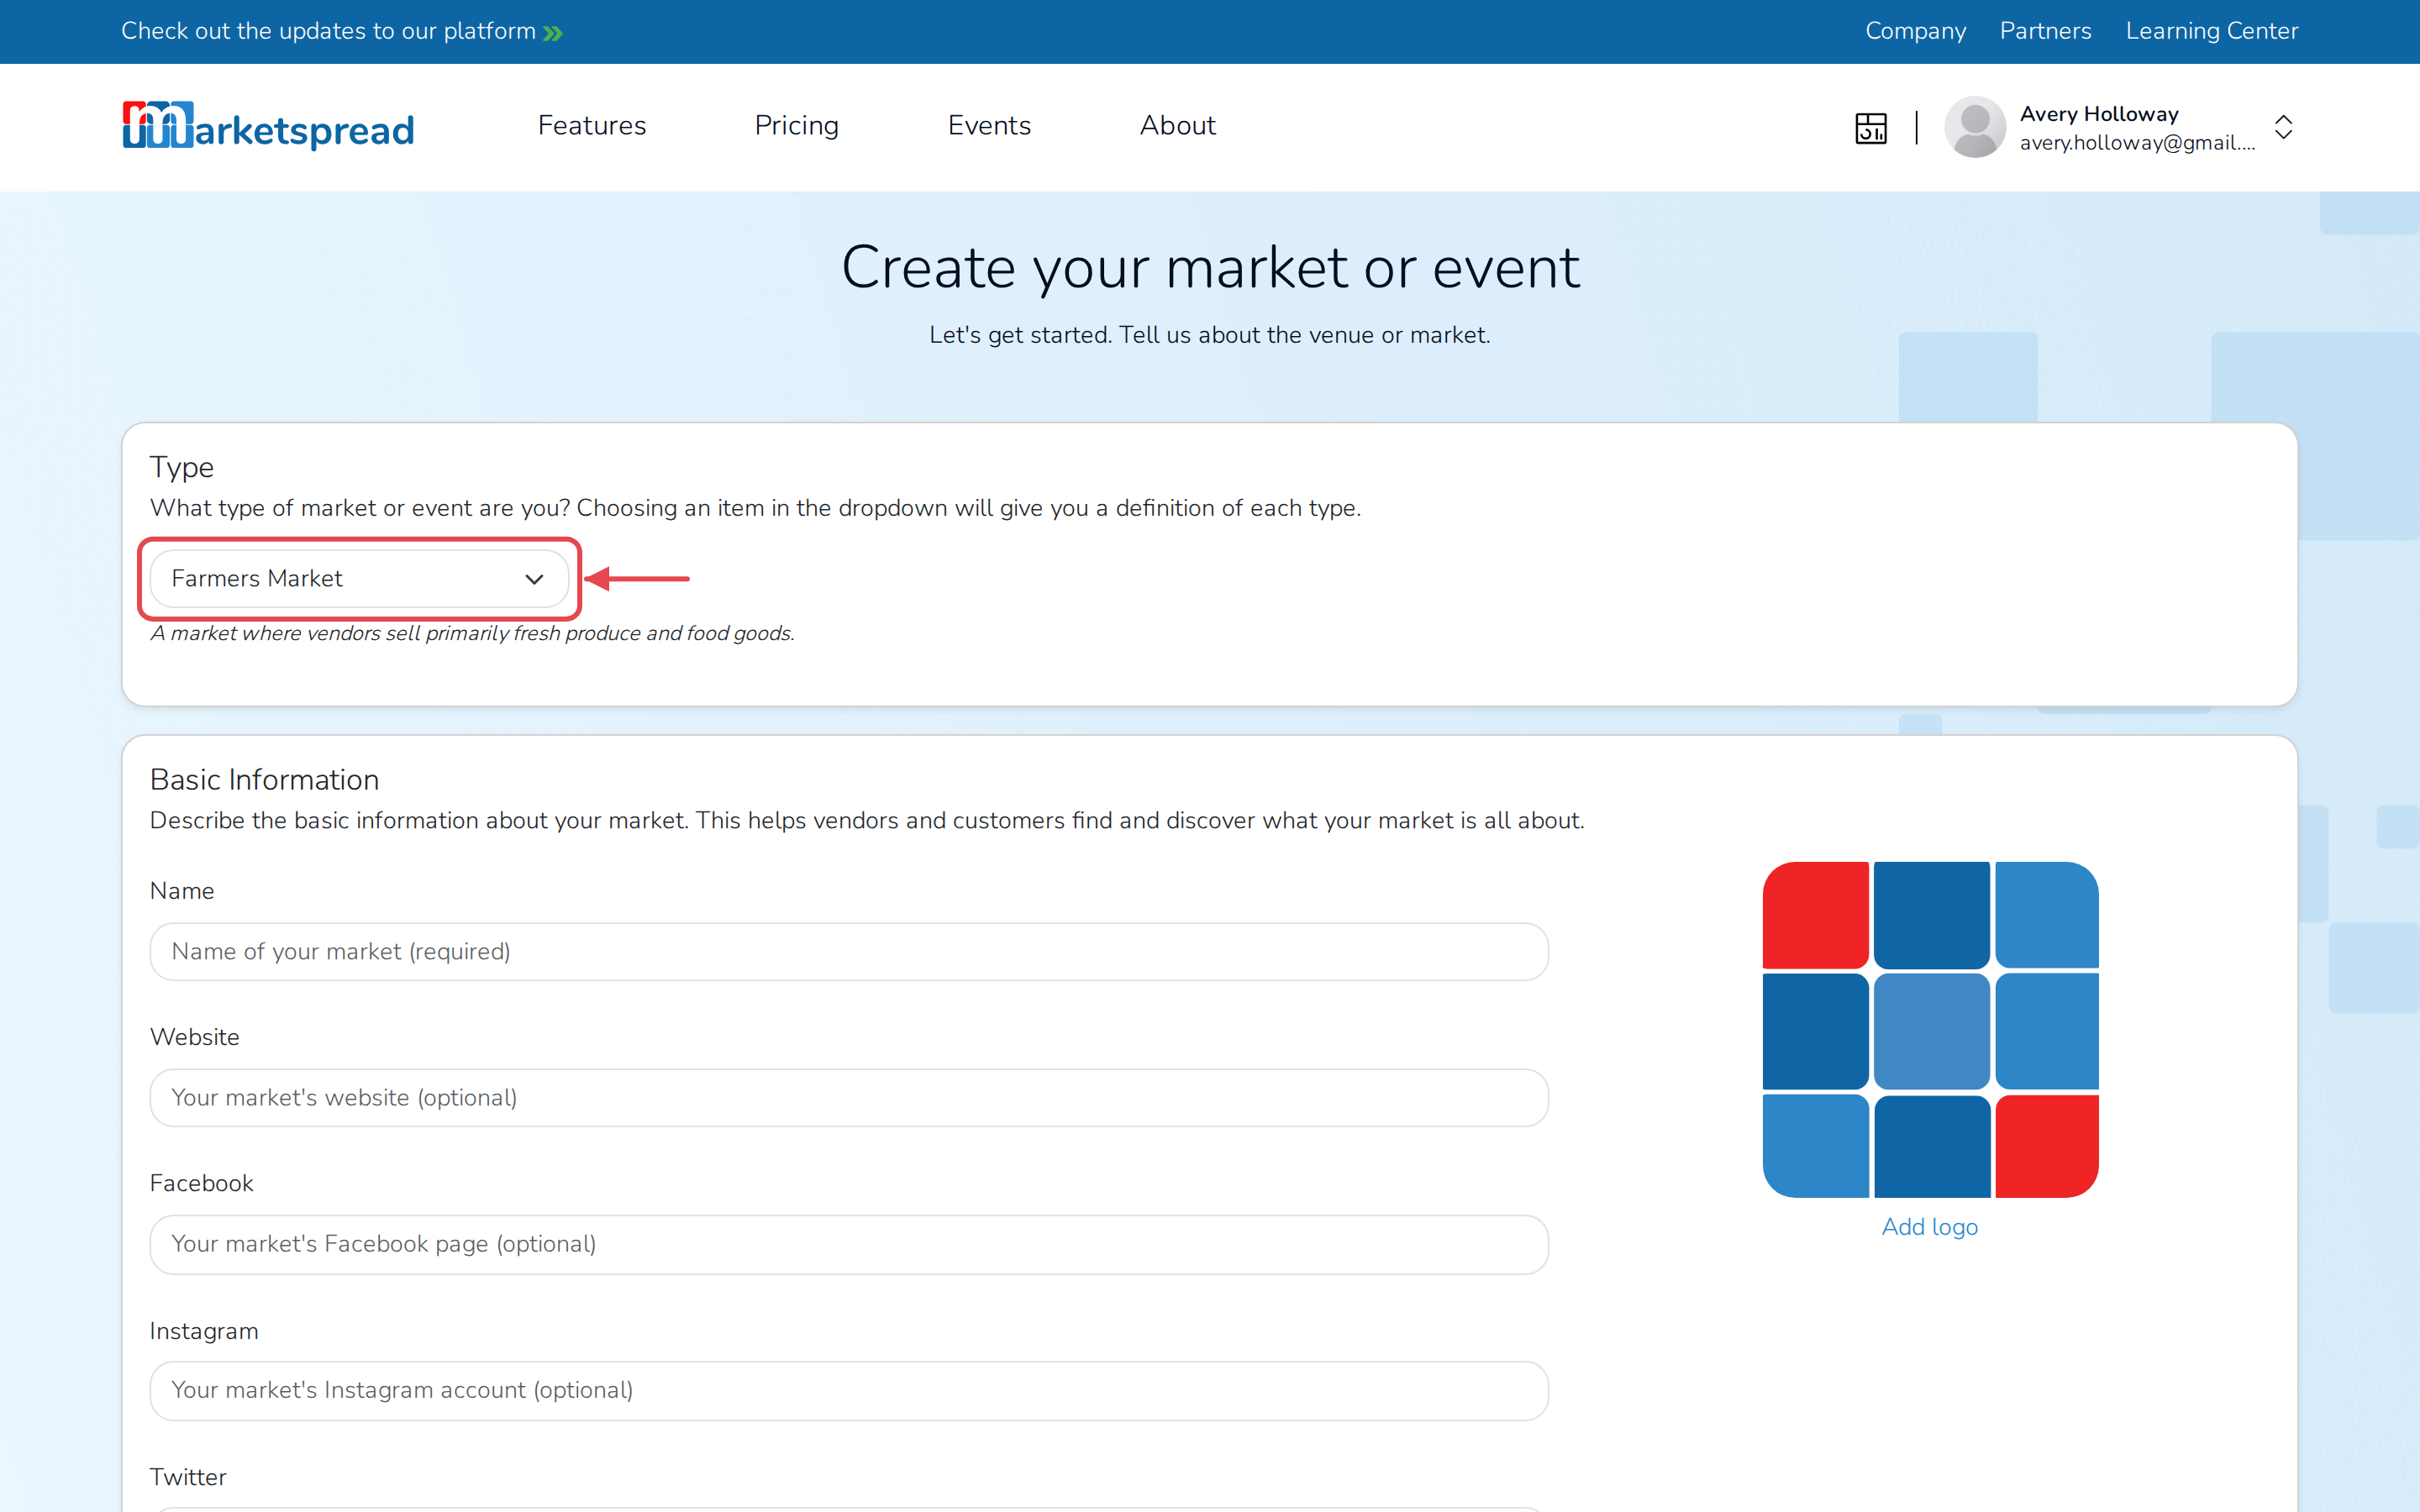
- Under Type, click the dropdown and choose the option that best describes your market or event.
- Read the description that appears below the dropdown to check it's the right one.
Add basic information
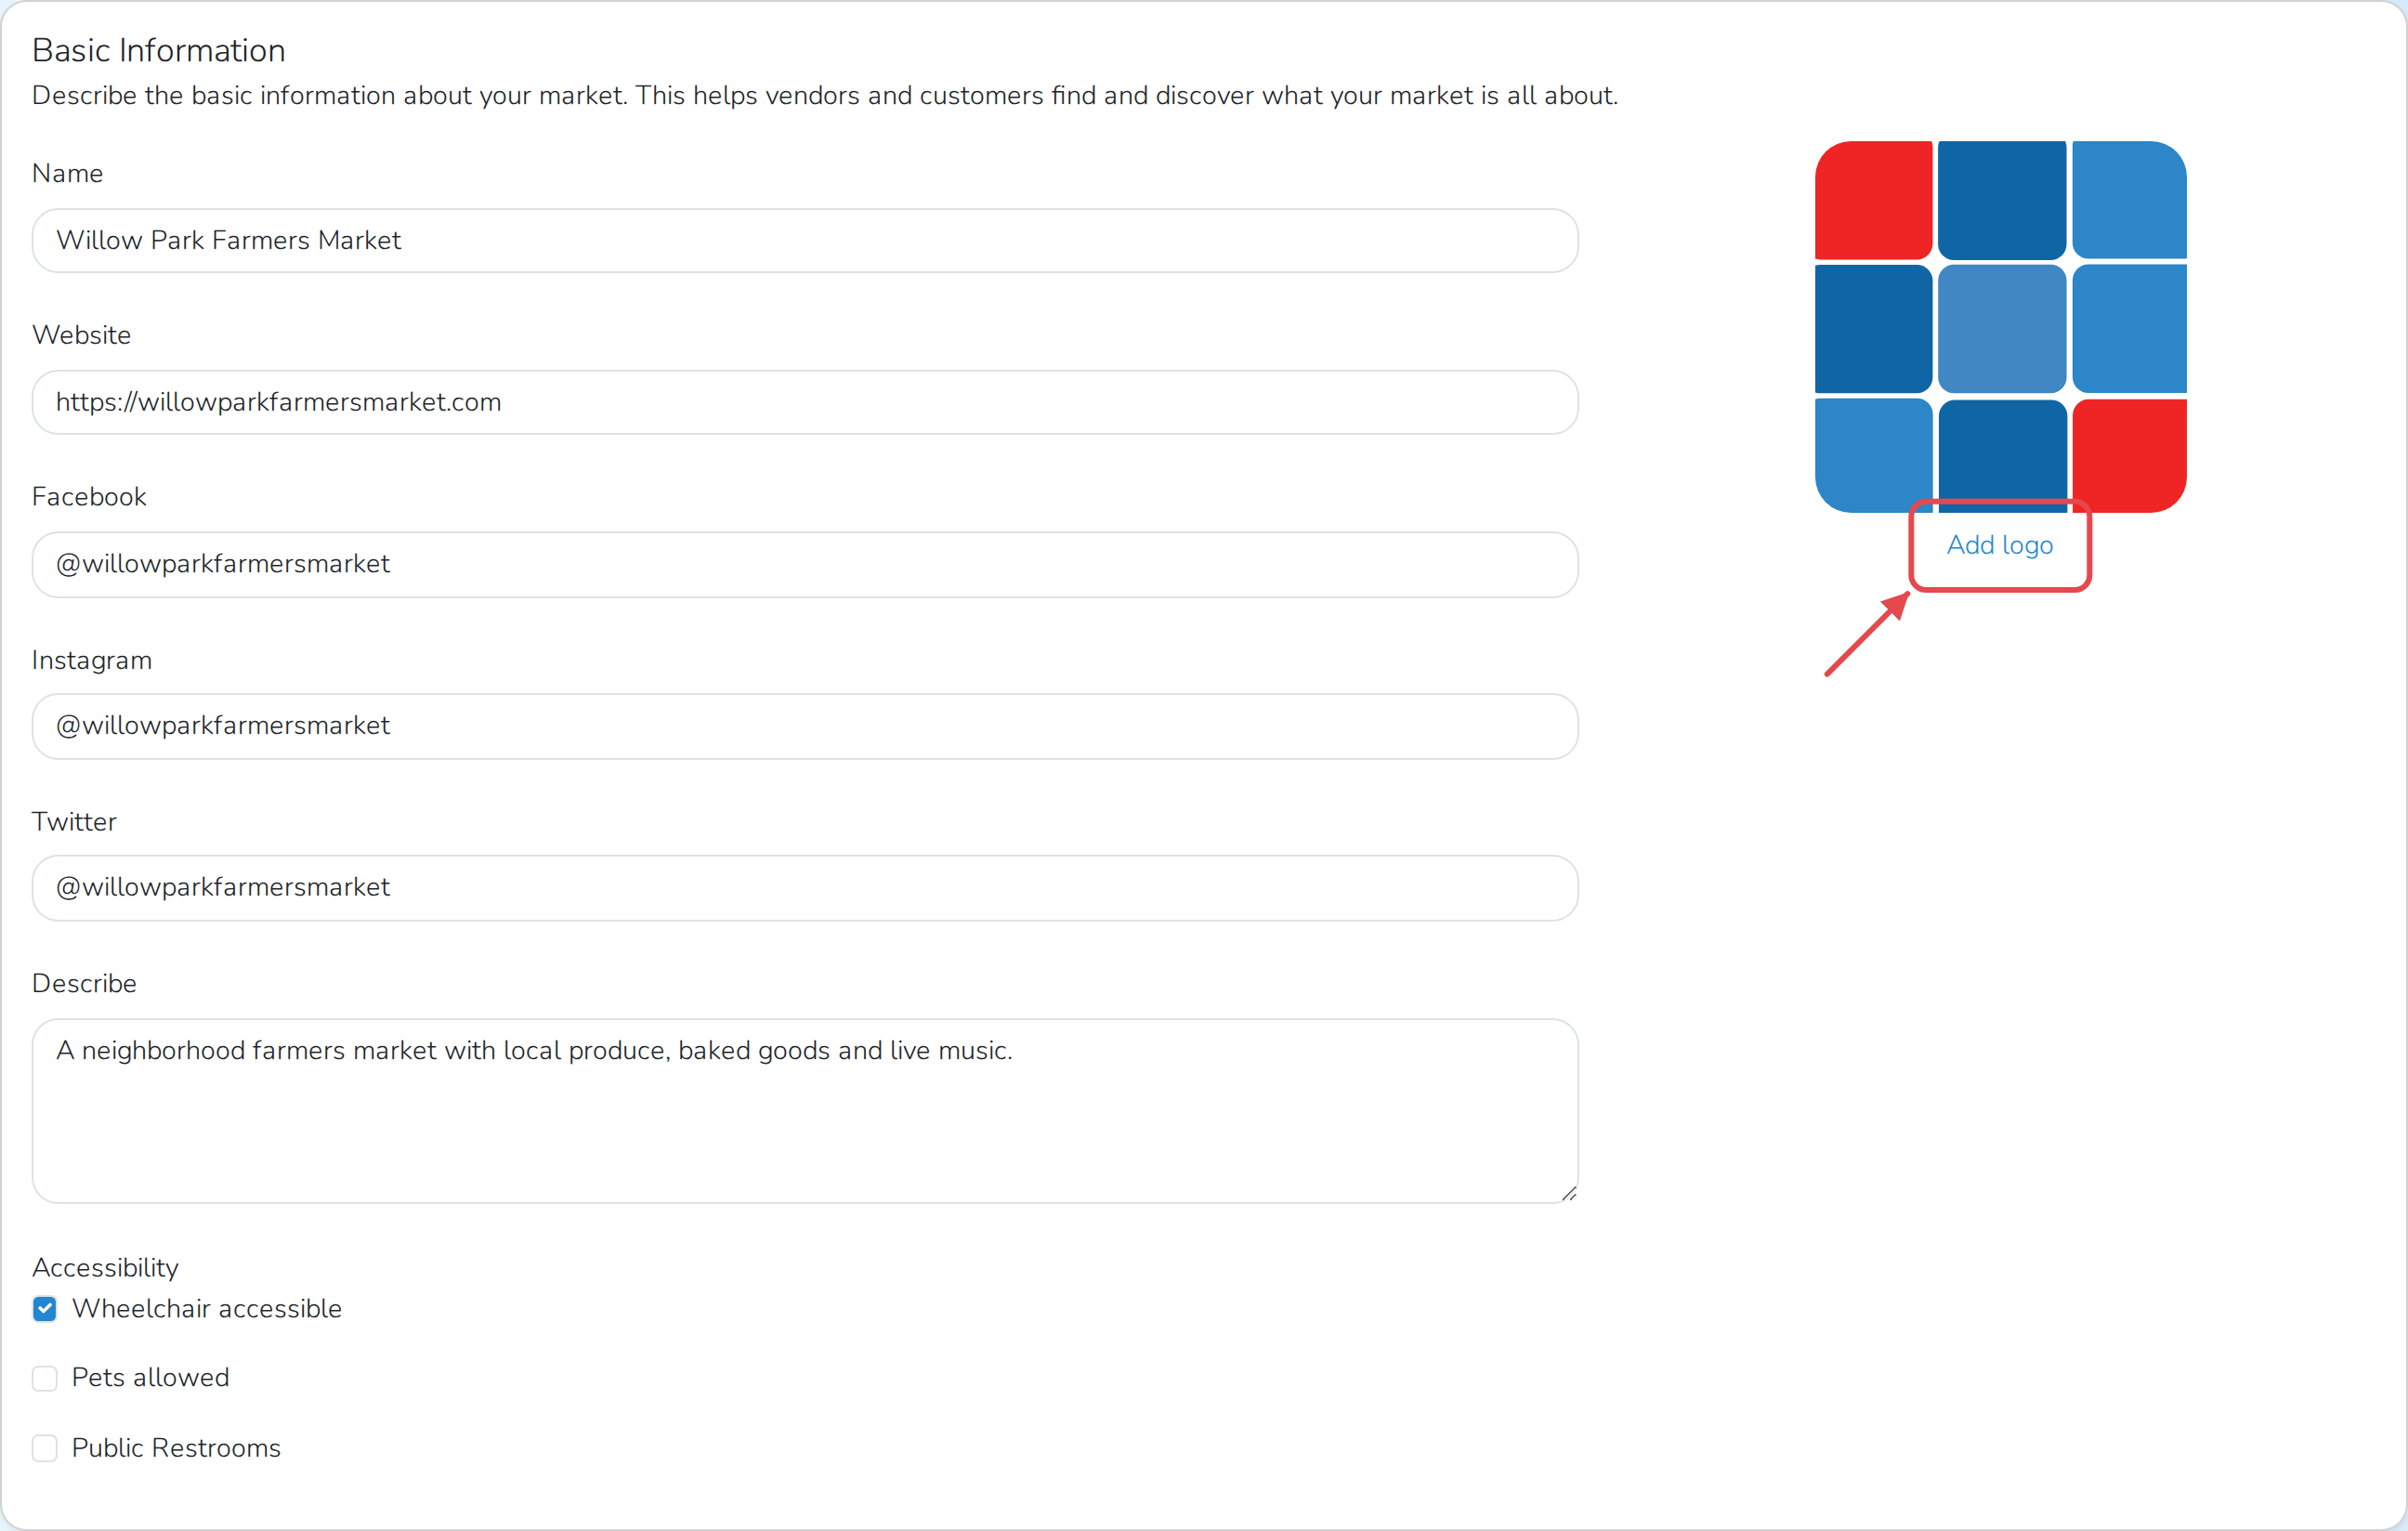
Under Basic Information:
- Fill in Name.
- Fill in Website, Facebook, Instagram or Twitter if your market uses them.
- Fill in Describe with a couple of sentences about your market.
- Turn on Wheelchair accessible, Pets allowed or Public Restrooms if any apply.
- Click Add logo to upload your market's logo.
Note
You can leave the optional fields blank for now. Fill them in later from Settings → Profile in your market dashboard.
Add manager information
This section is optional, and you can also finish it later.
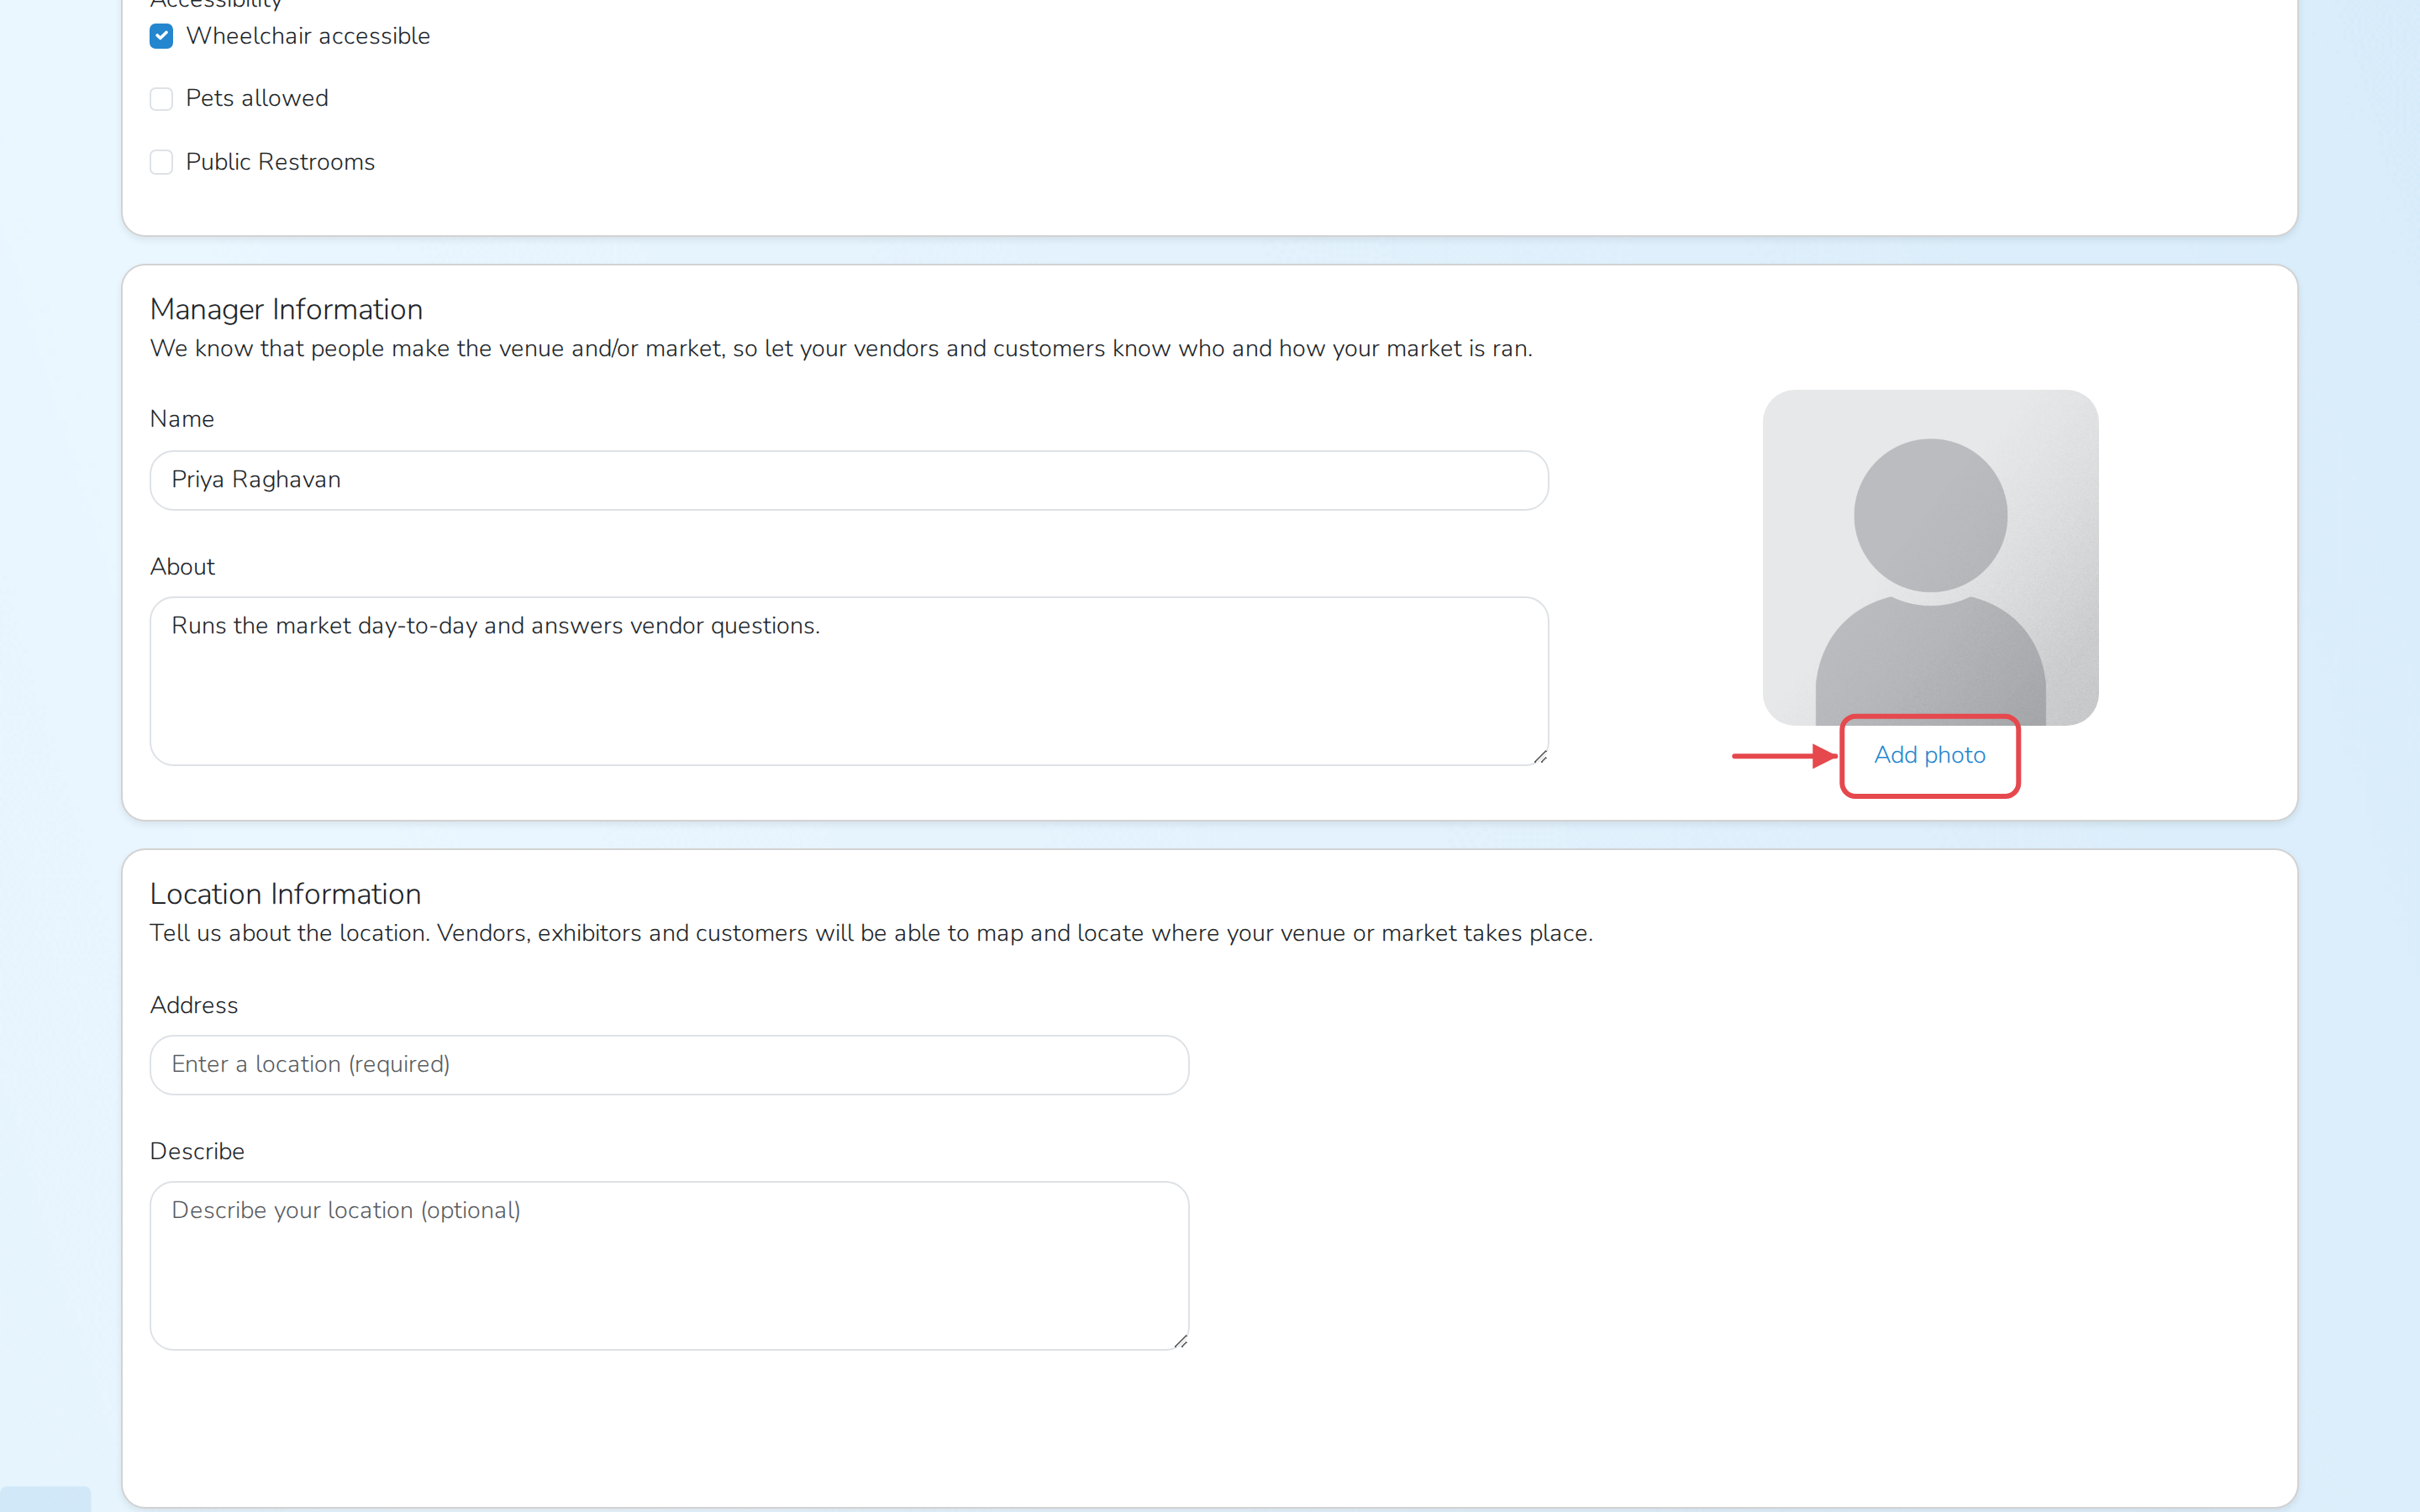
- Under Manager Information, fill in Name and About.
- Click Add photo to add a picture of your market manager or team.
Add location information
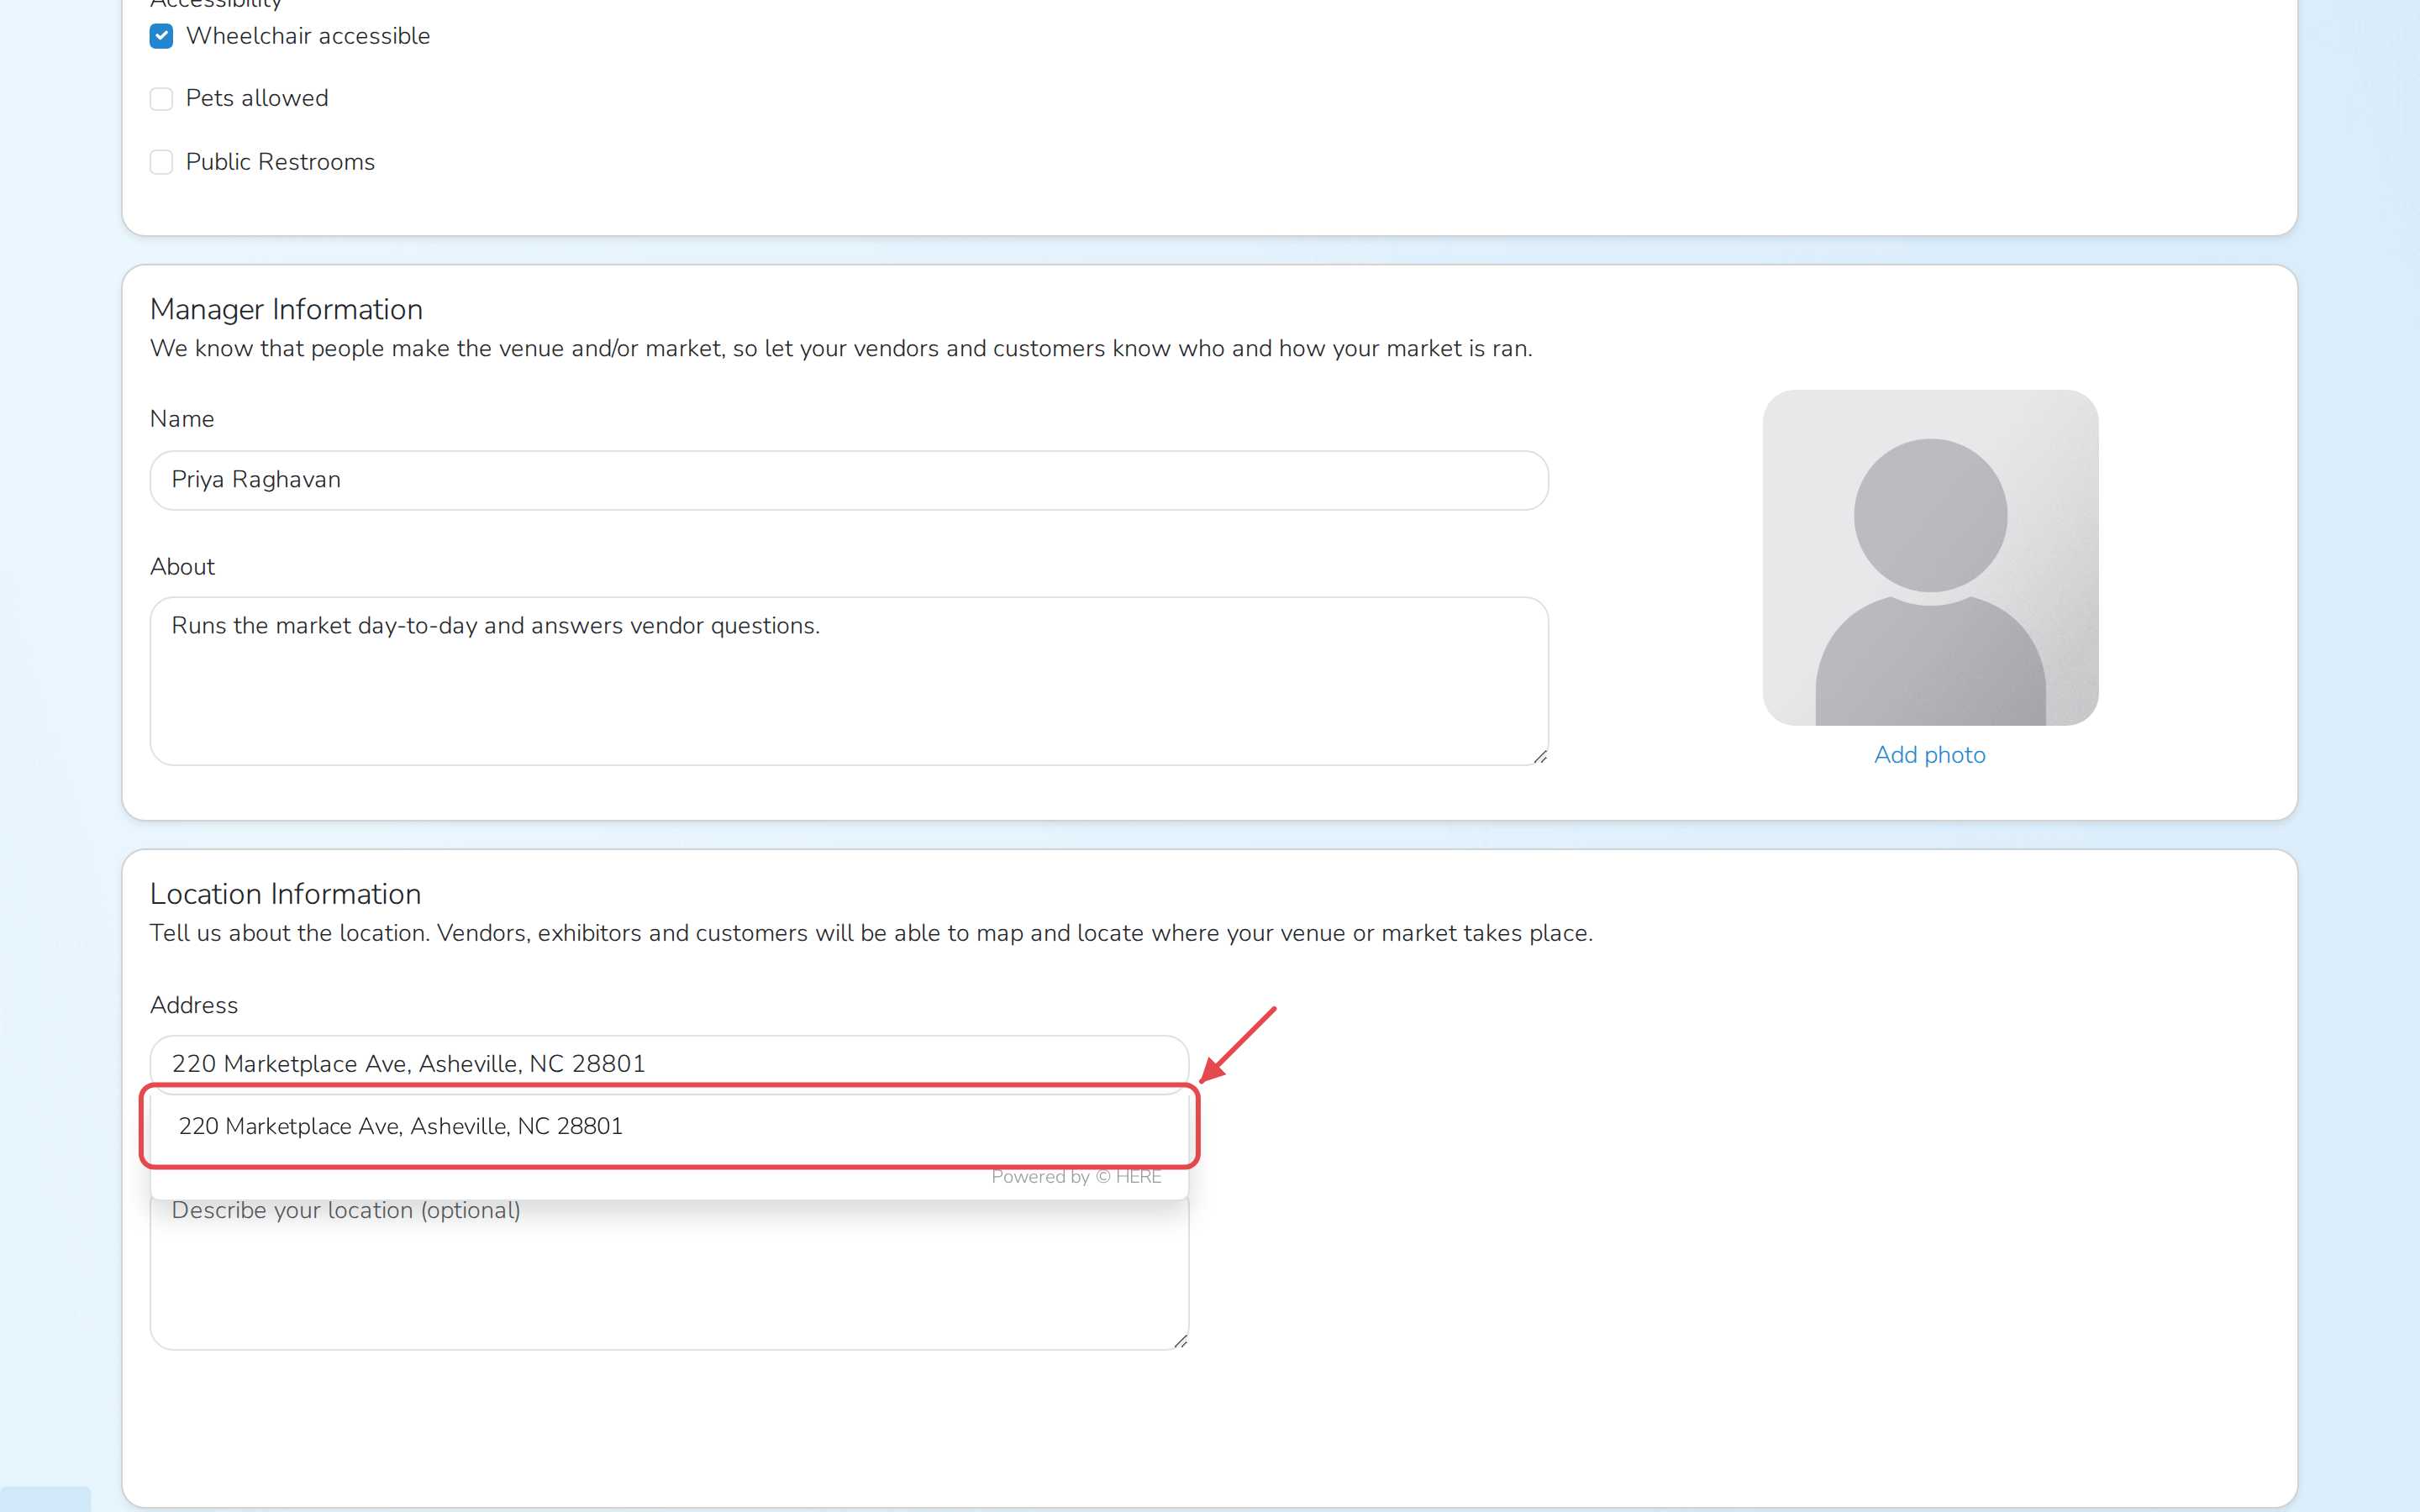
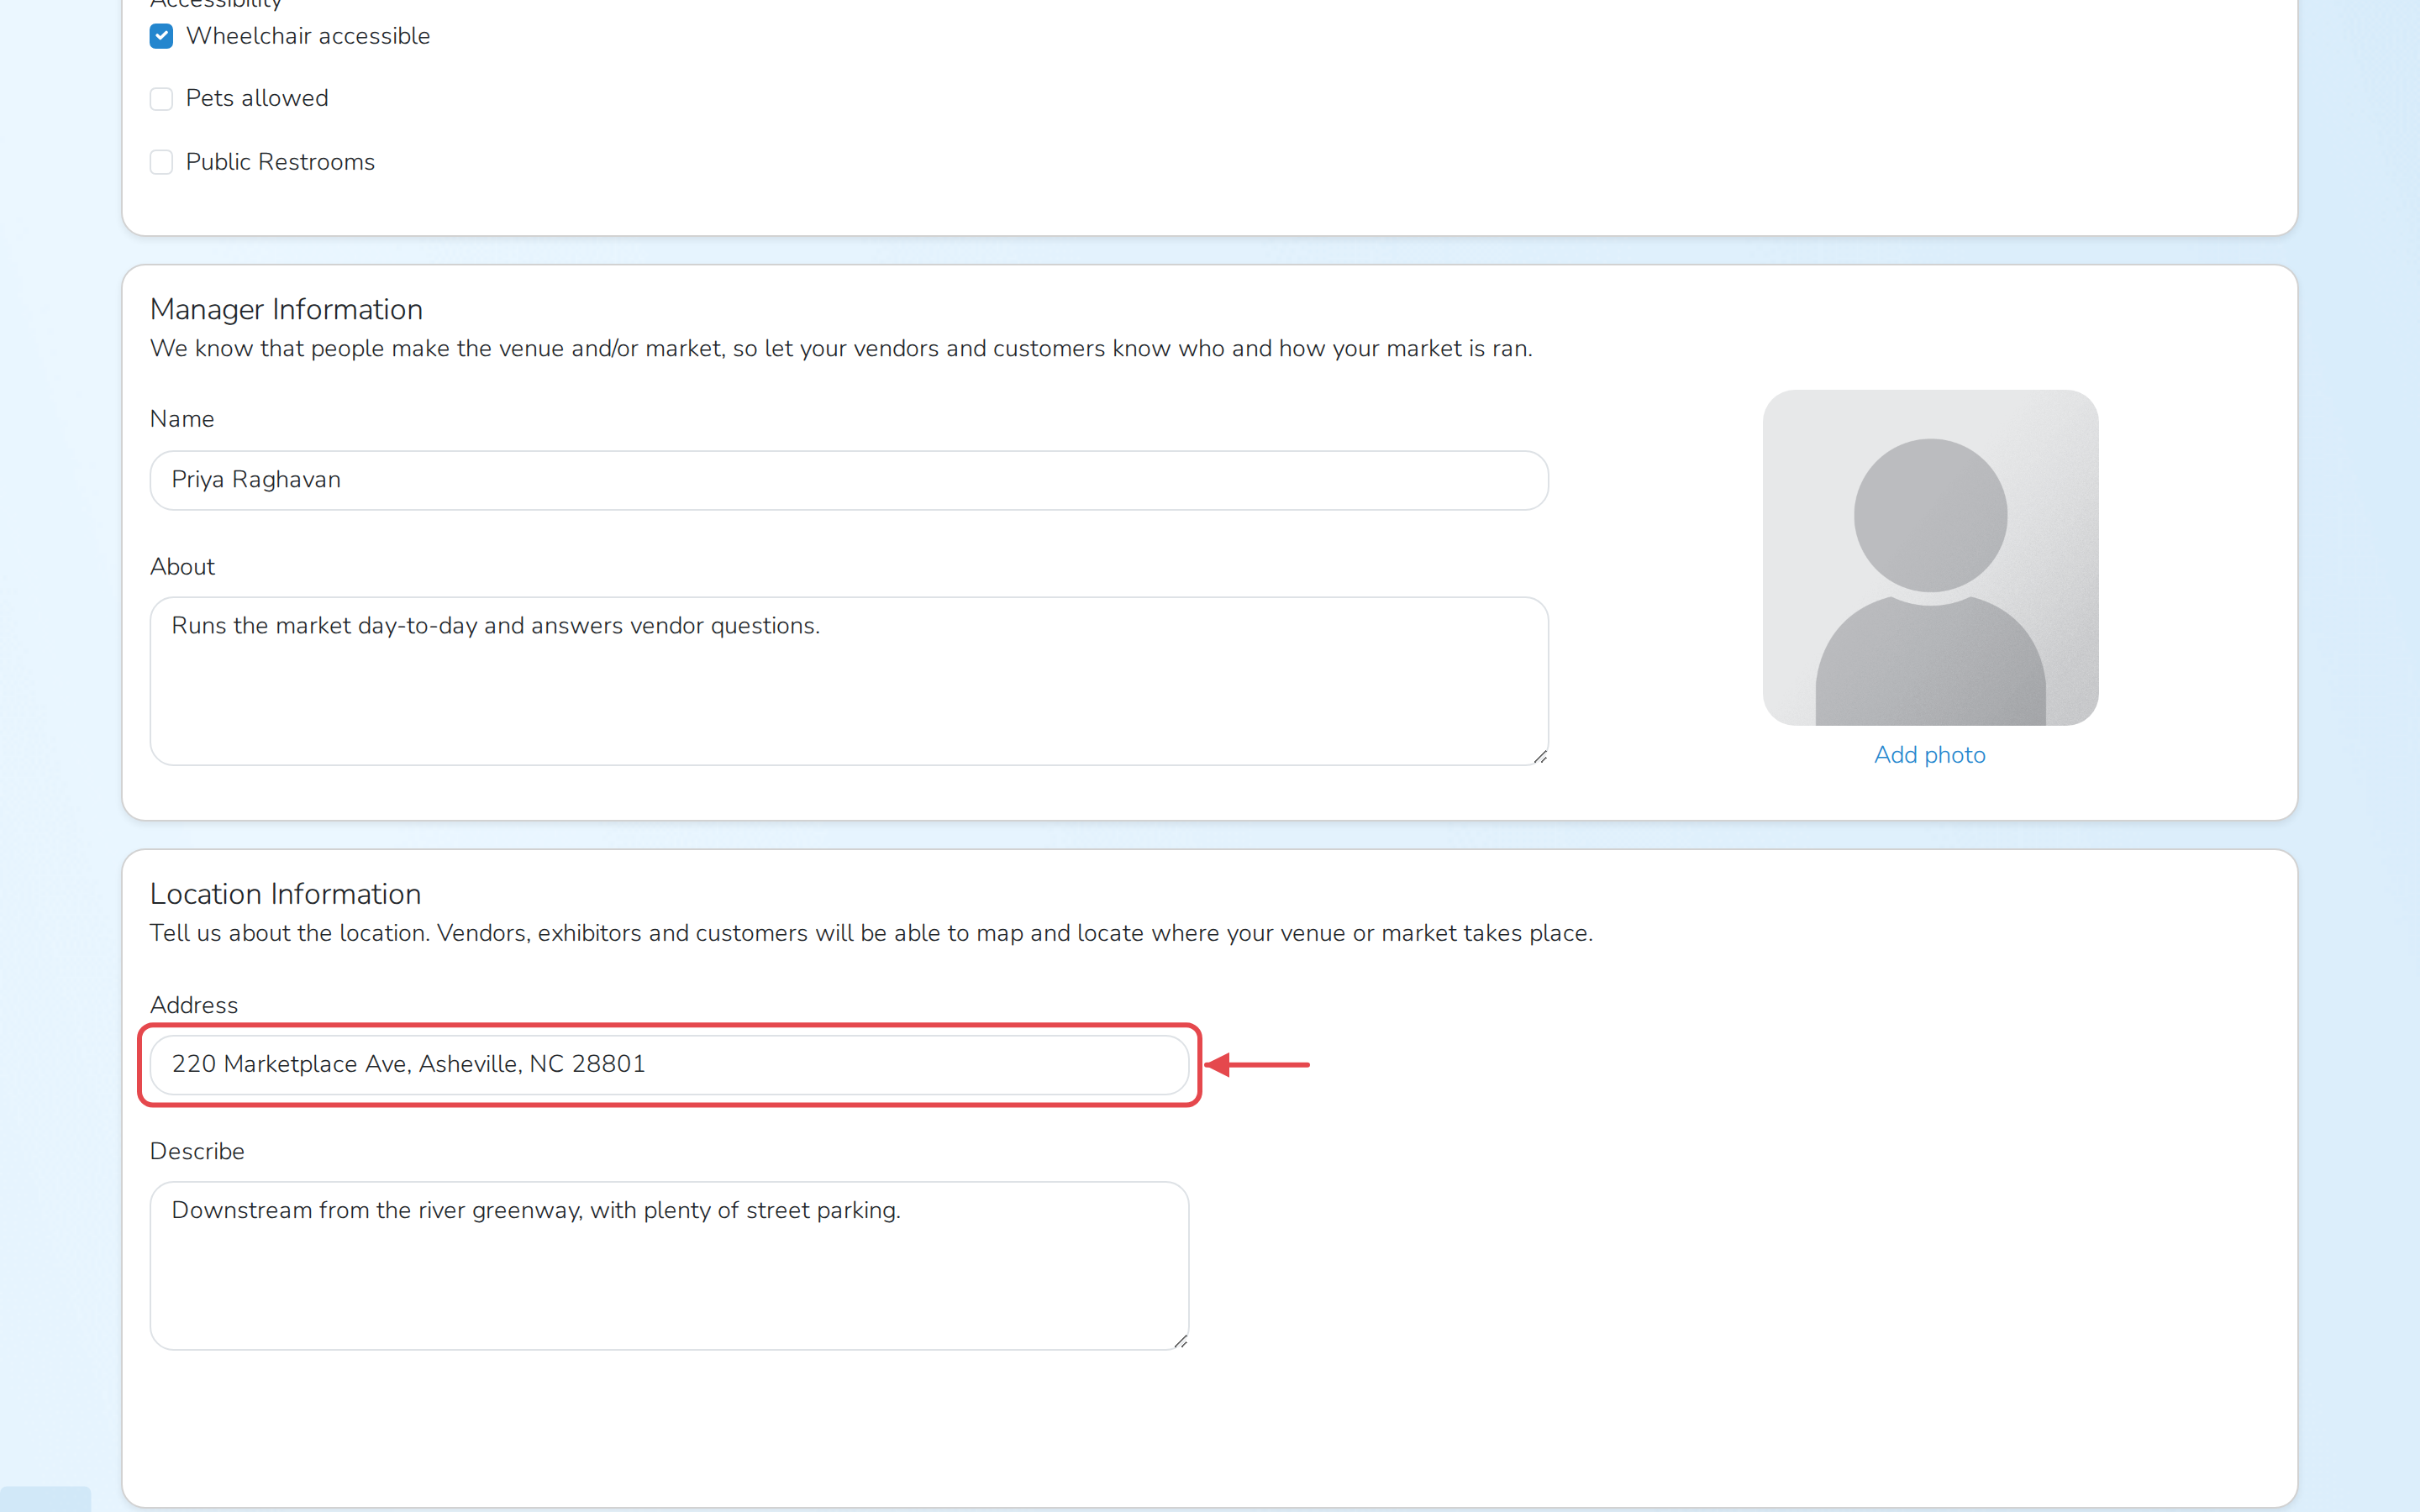
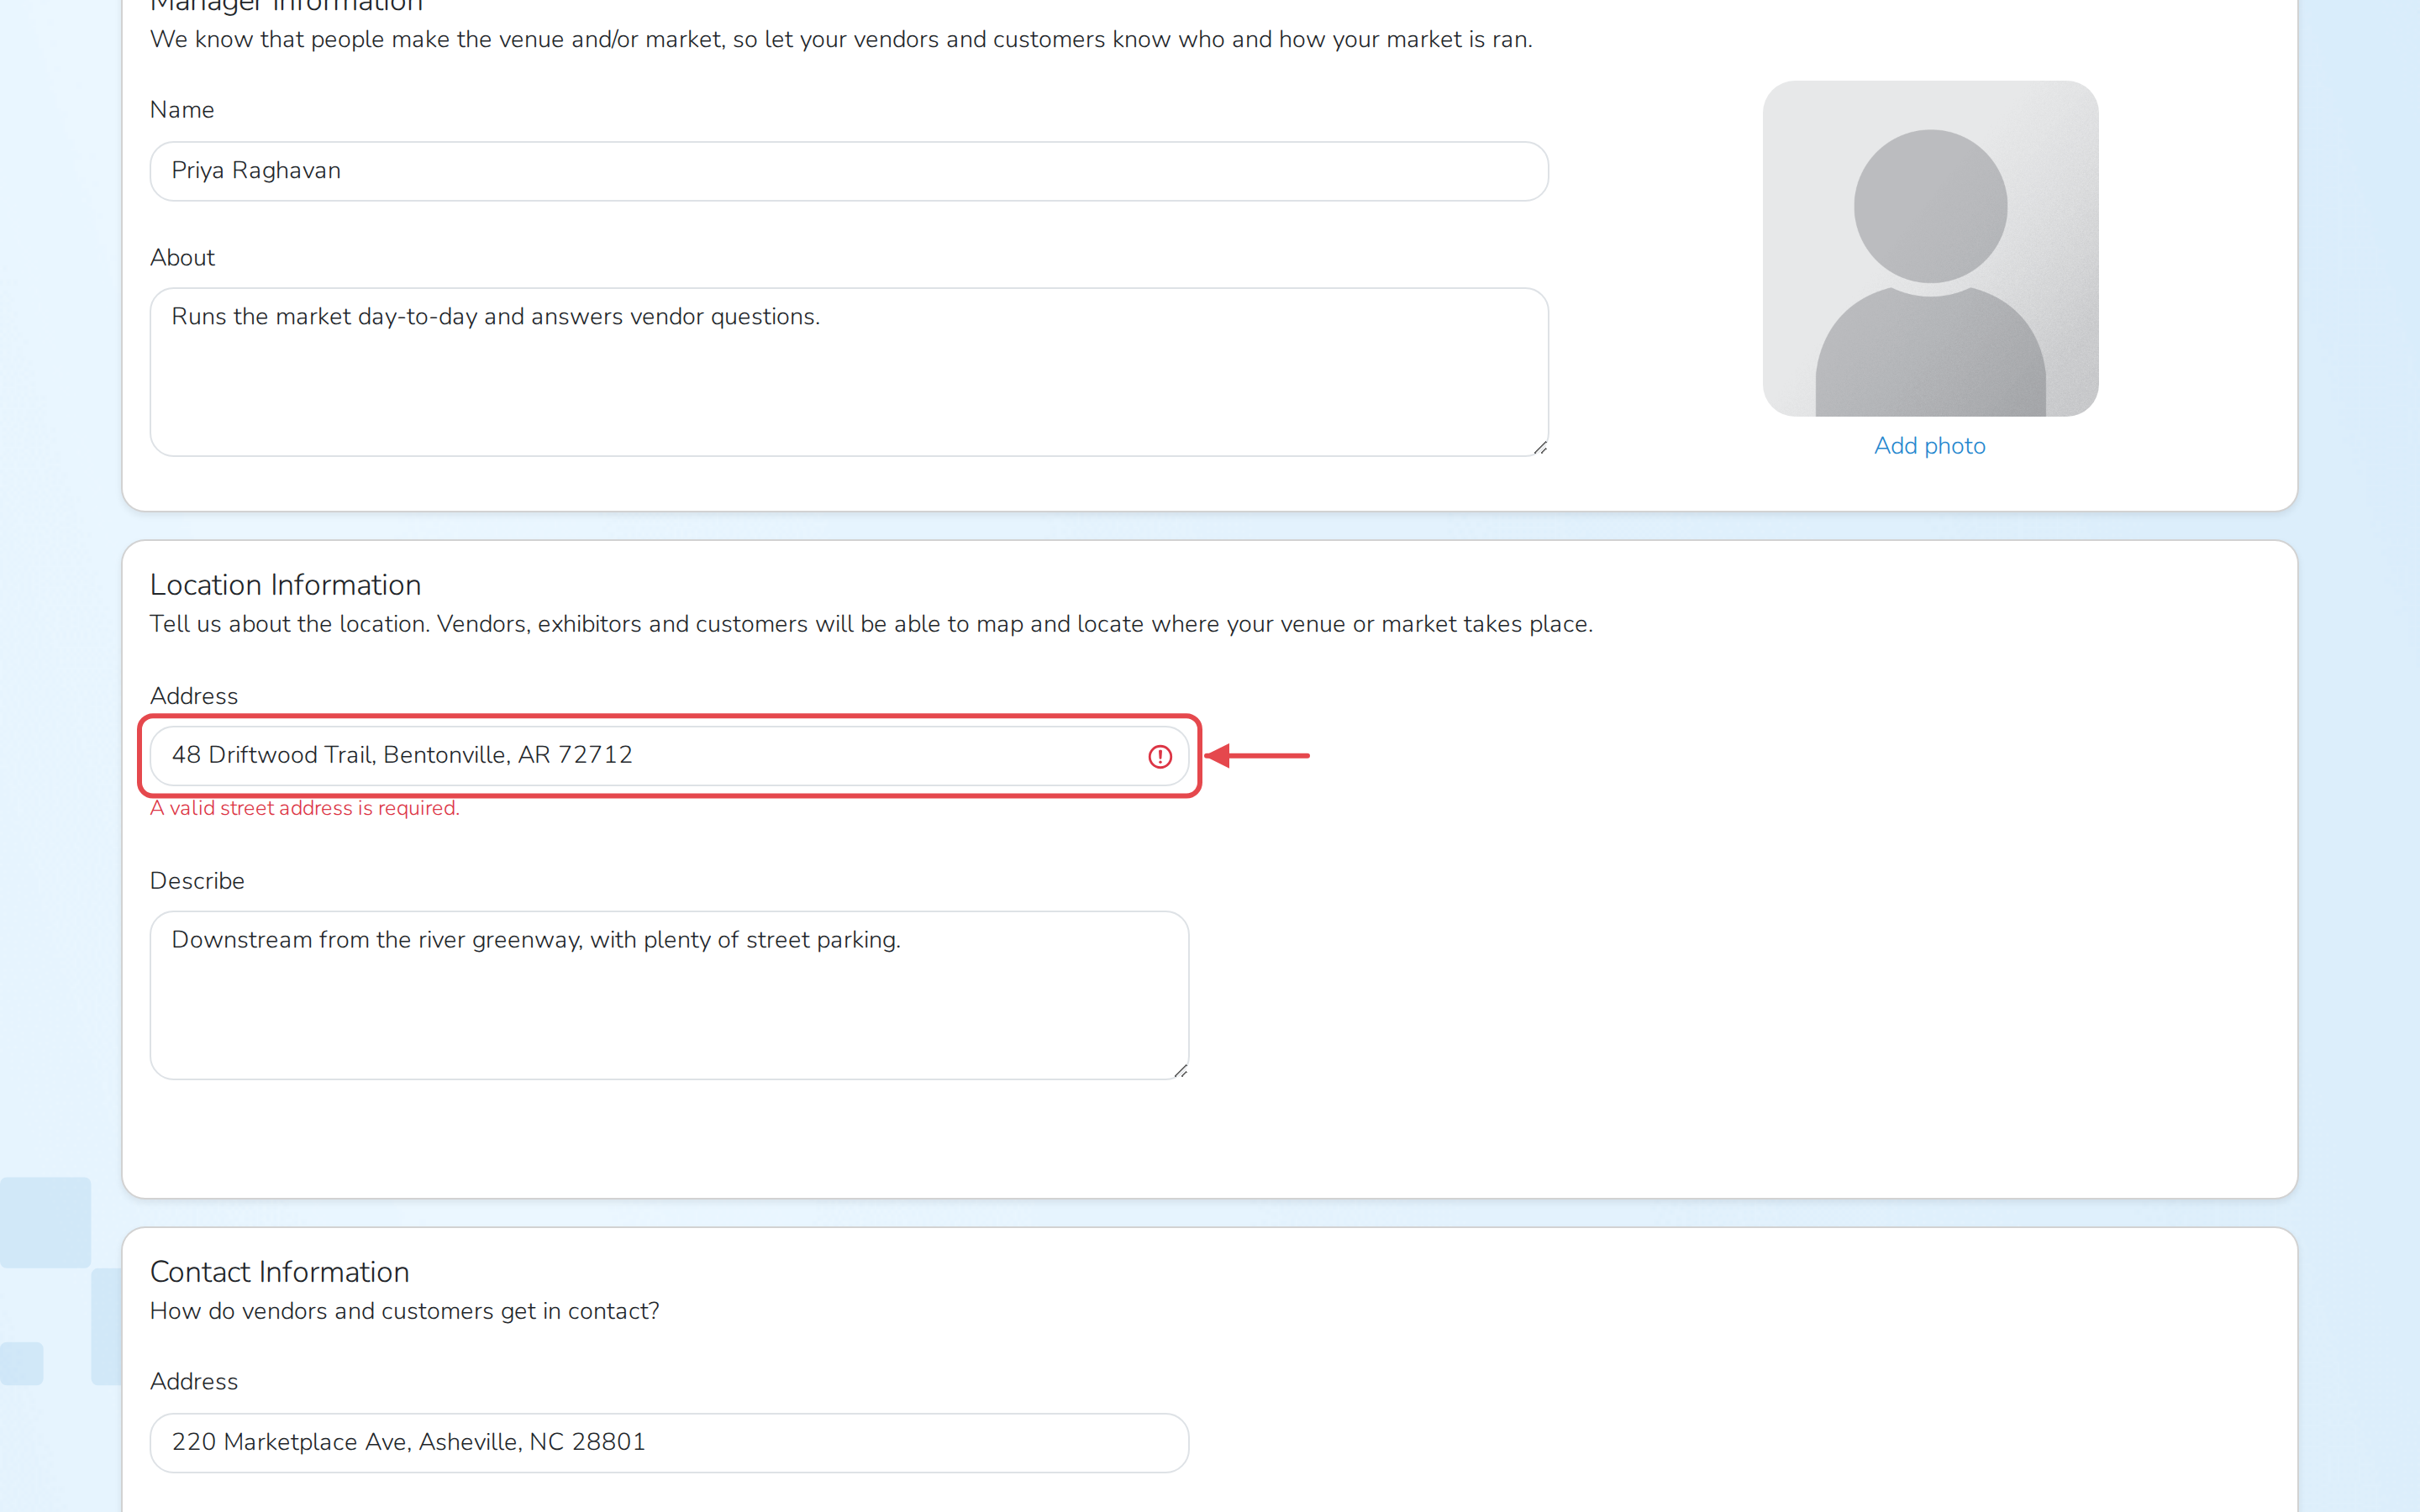
- Under Location Information, start typing your address in Address, then choose it from the list of suggestions that appears. This is required.
- Fill in Describe with anything that helps people find you, like nearby landmarks or parking instructions.
Note
If you type the address instead of choosing it from the suggestions, the field turns red when you try to save, with a message asking for a valid street address underneath it. Choose the address again from the list of suggestions to fix it.
Add contact information
- Under Contact Information, start typing your address in Address, then choose it from the list of suggestions that appears. This is required, so vendors and customers can find you.
- Fill in Office number or Cell number if you'd like people to be able to call.
Save and create your market
- Click Save & Create.
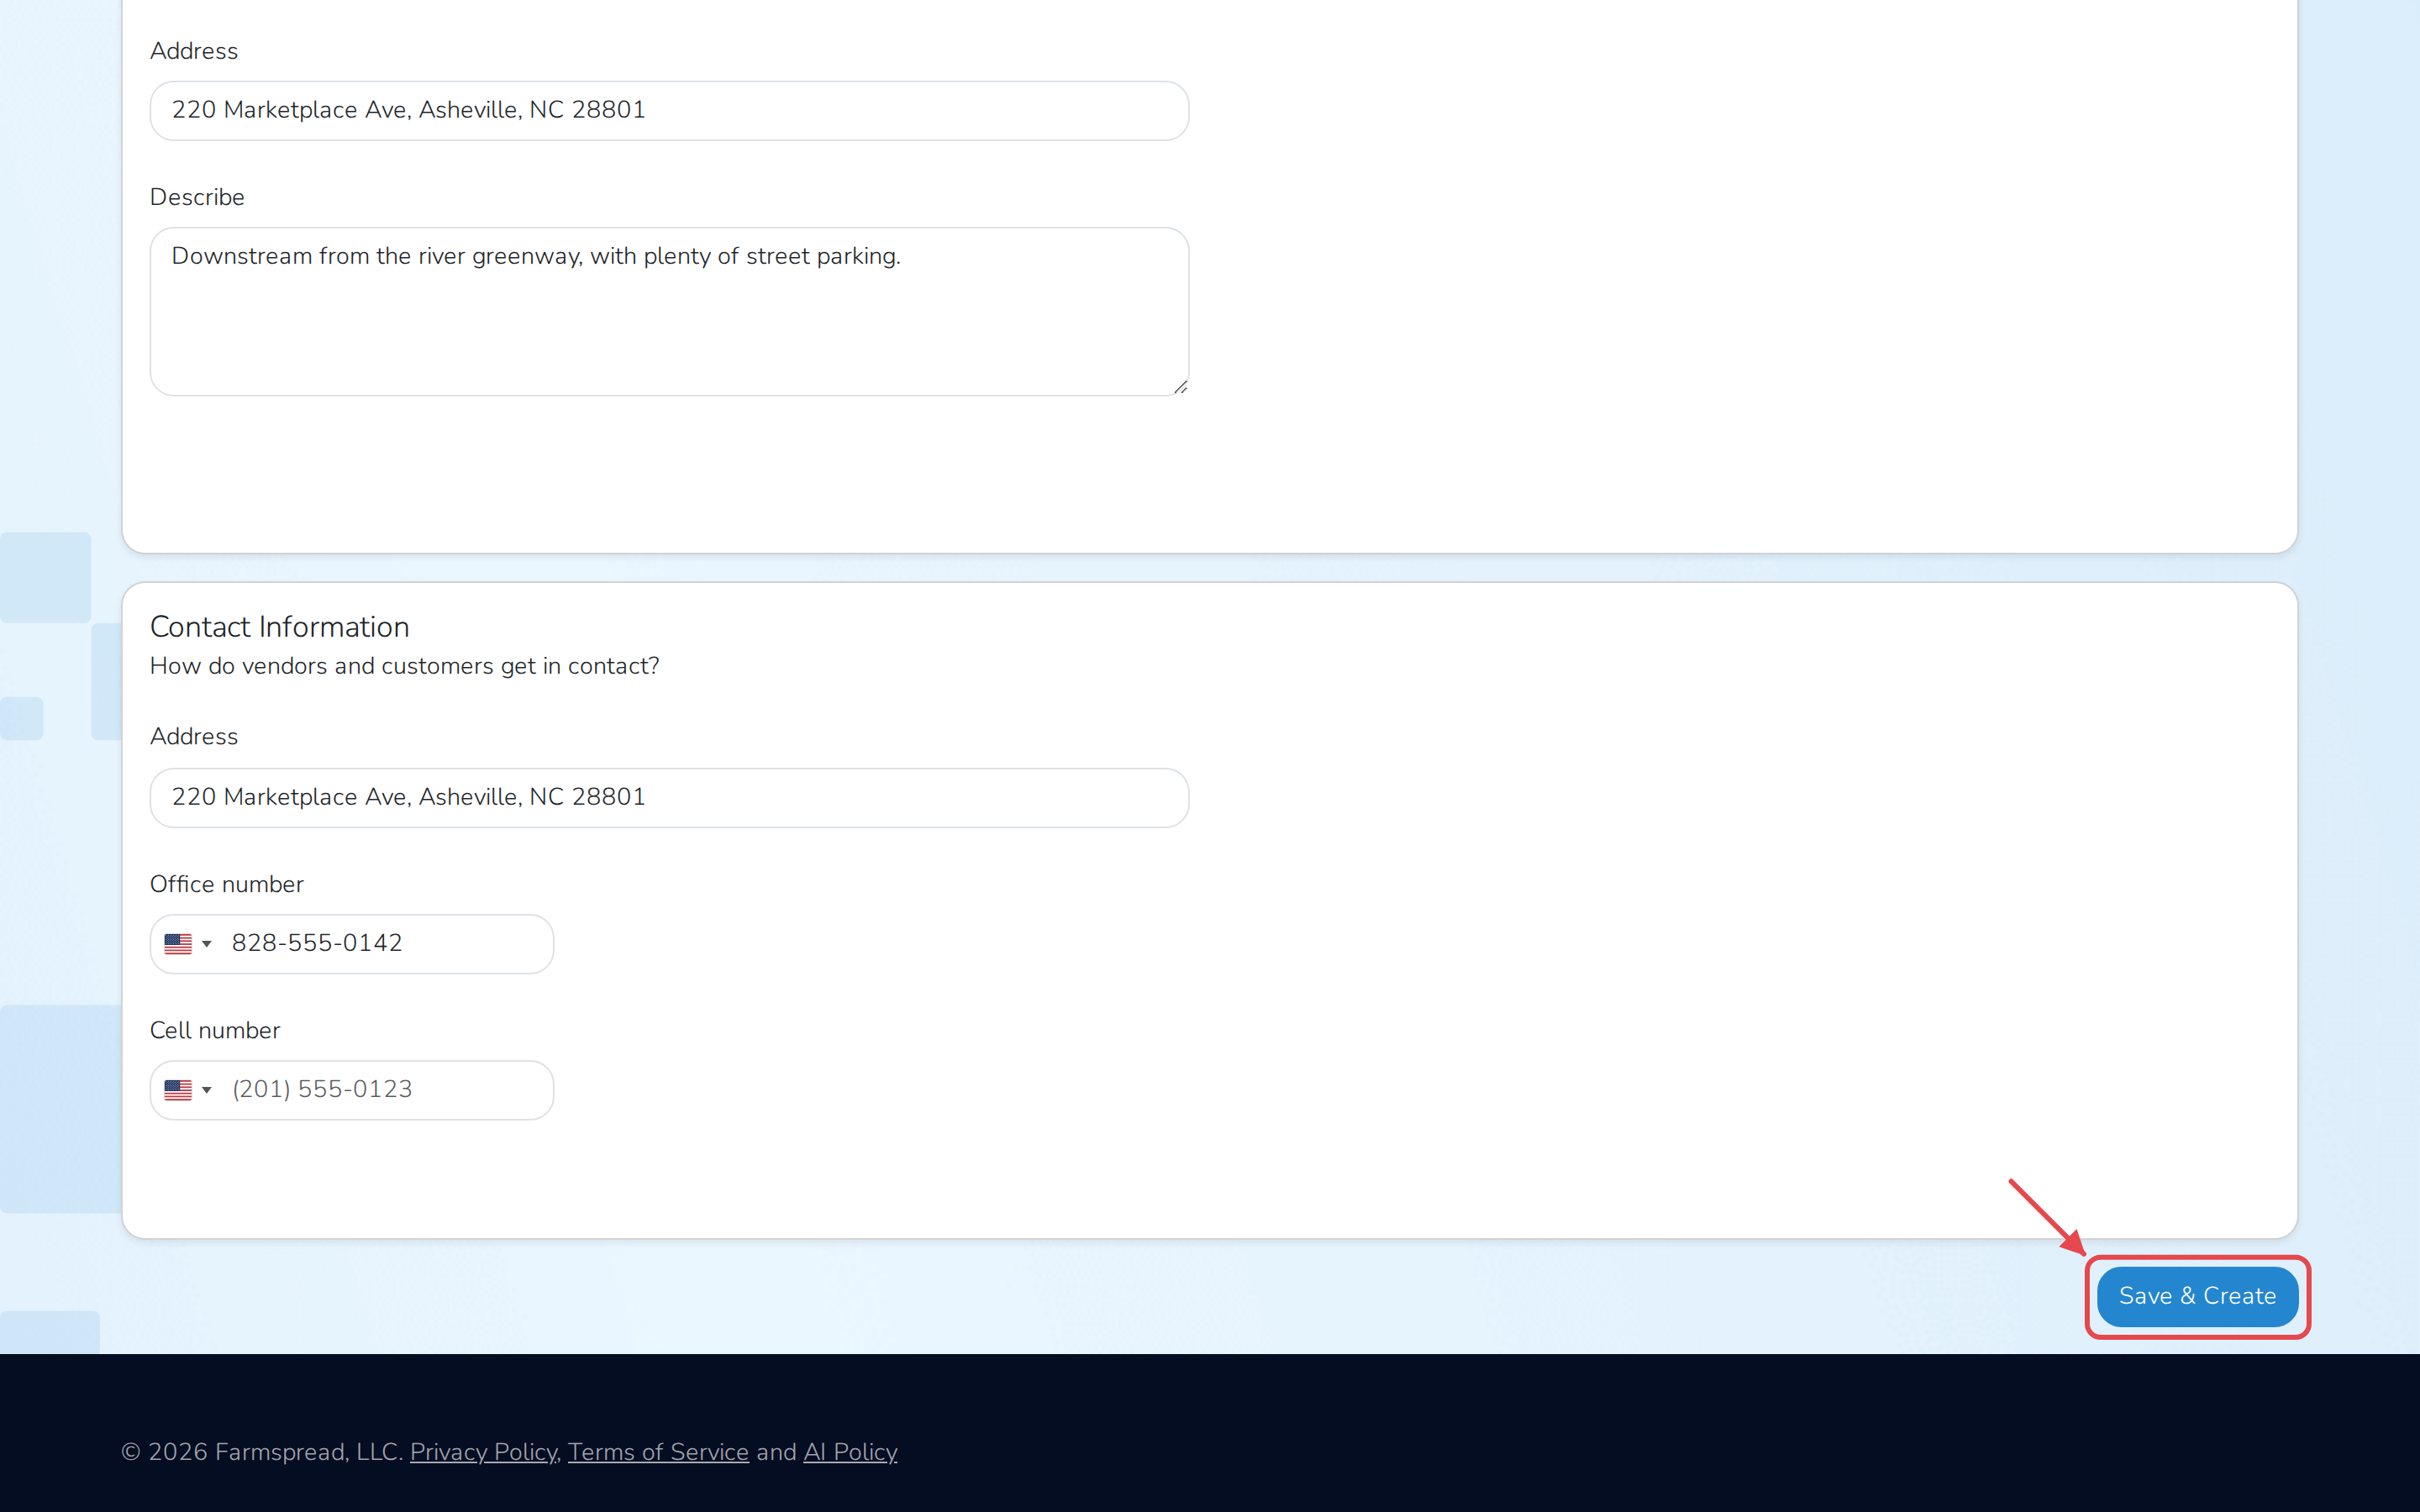
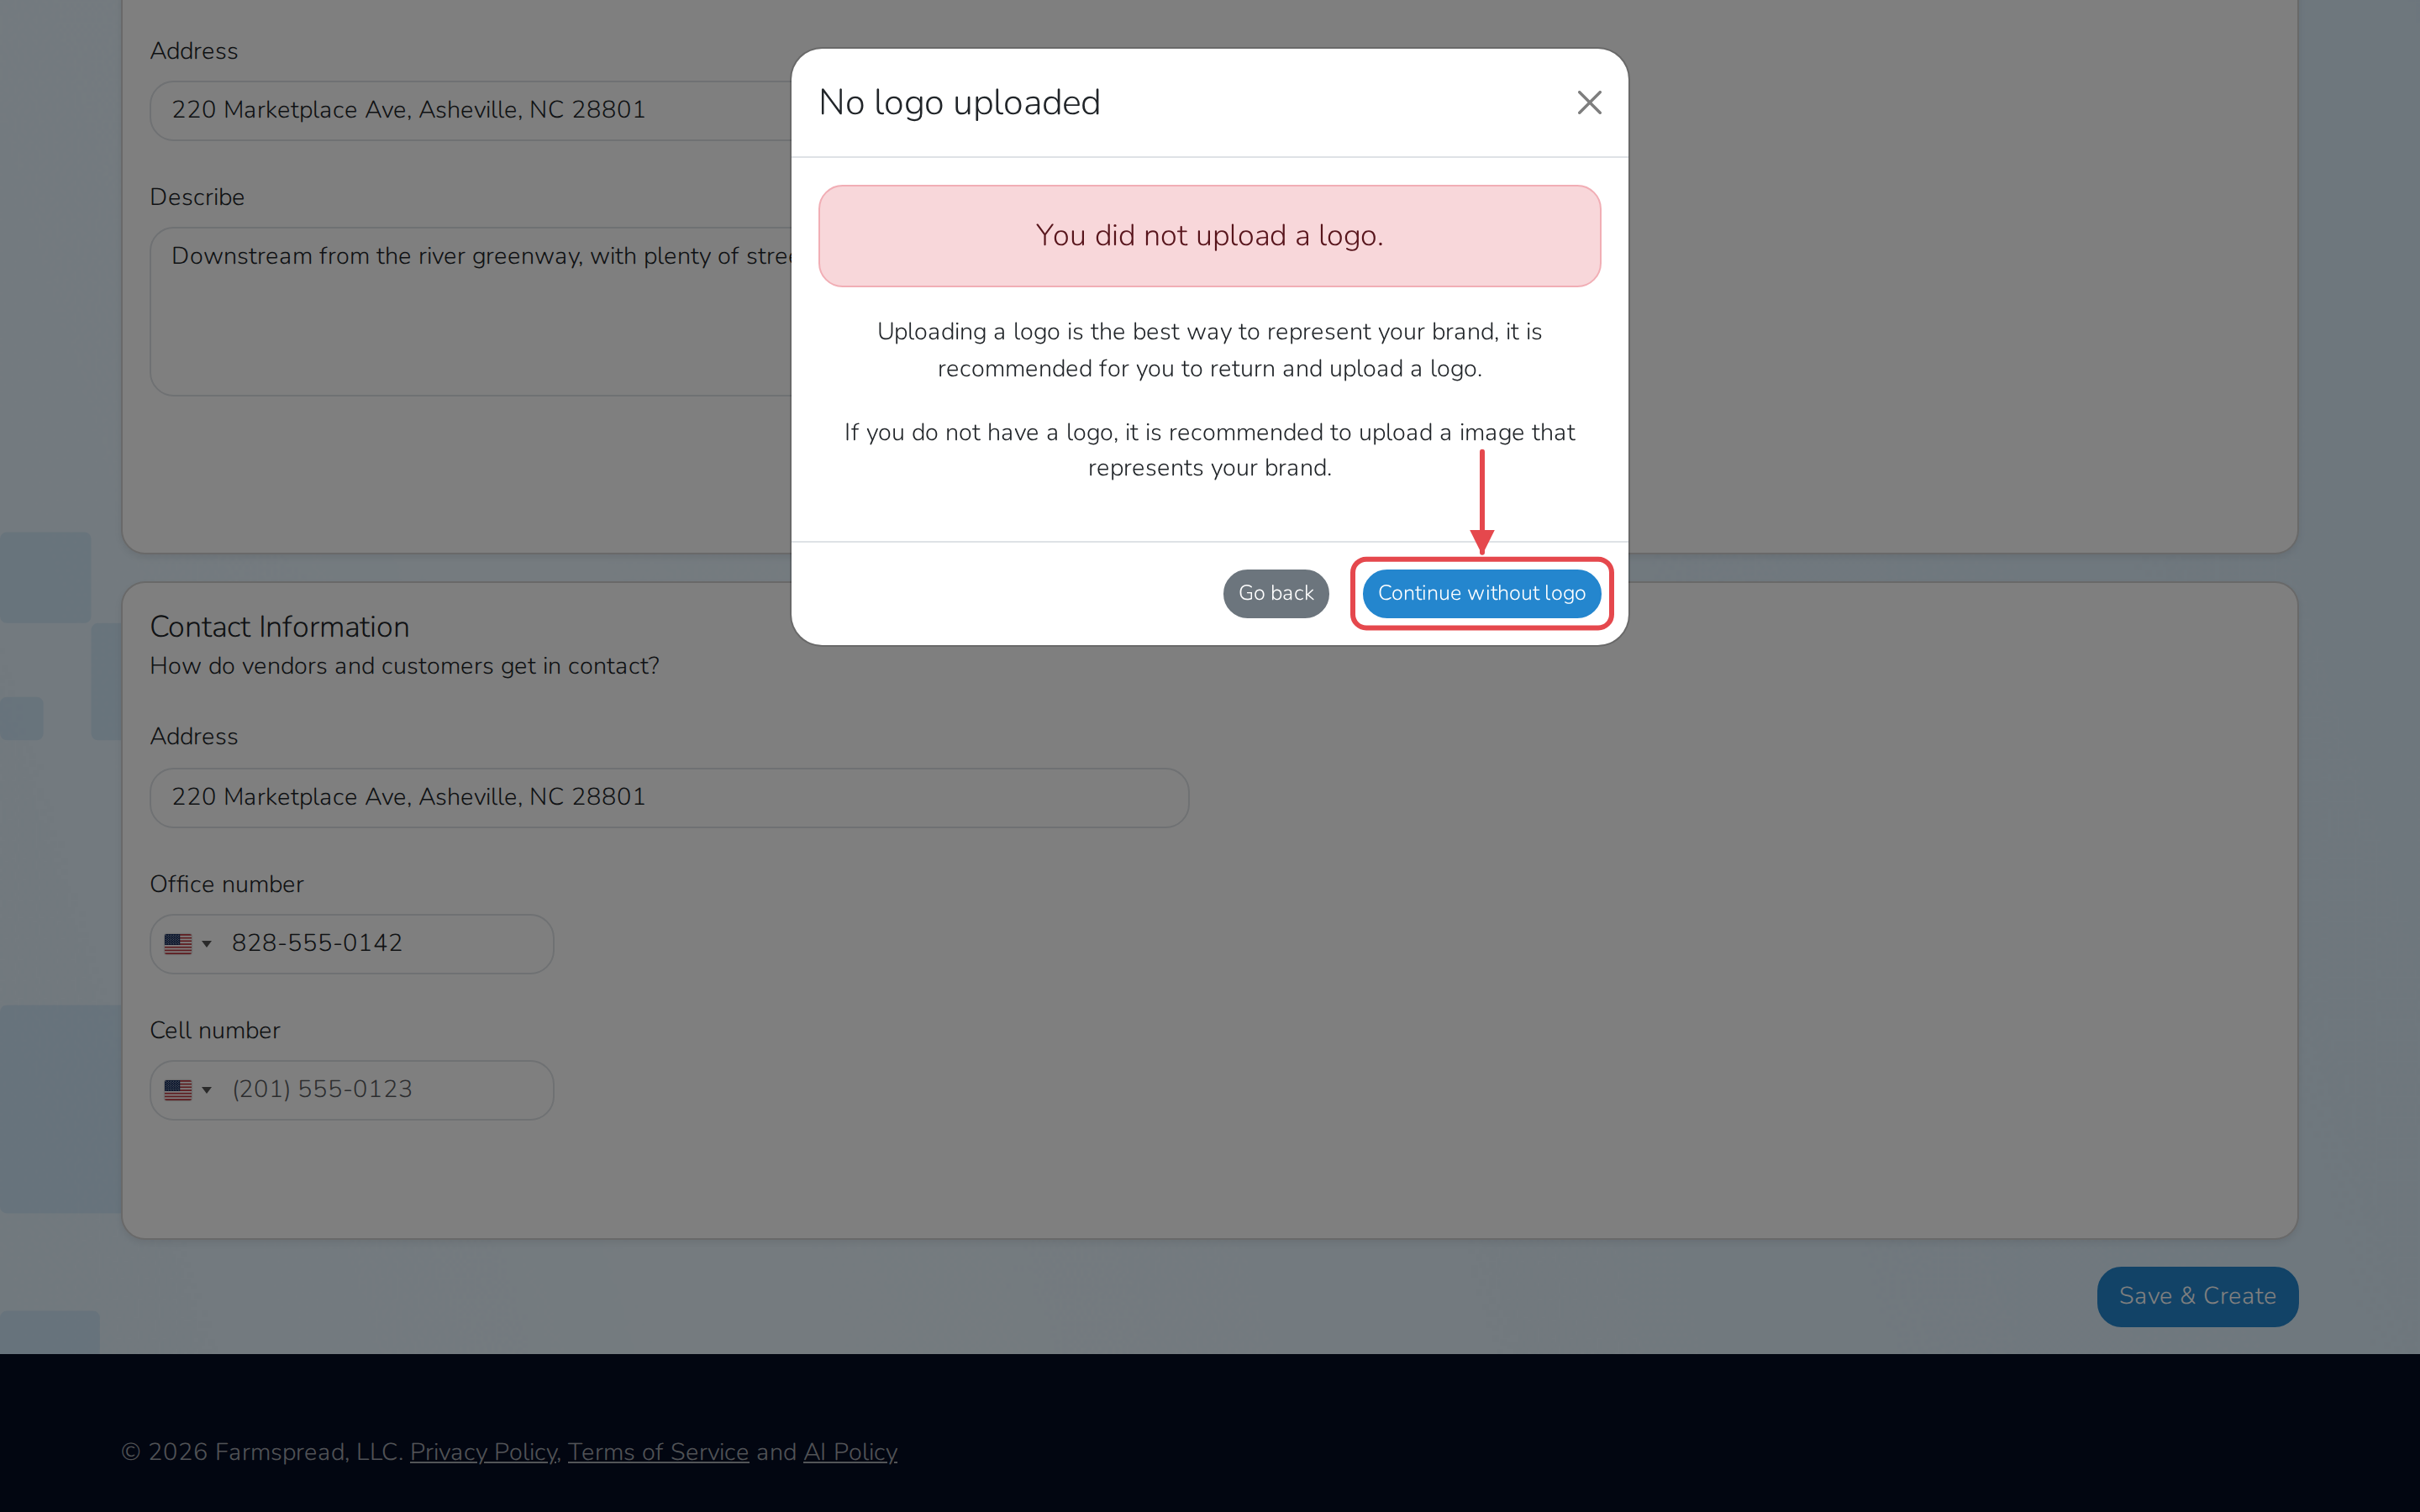
- If you haven't added a logo, Marketspread asks you to confirm. Click Continue without logo to finish anyway, or Go back to add one first.
- On the Congratulations on your free profile page, click Go to your dashboard.
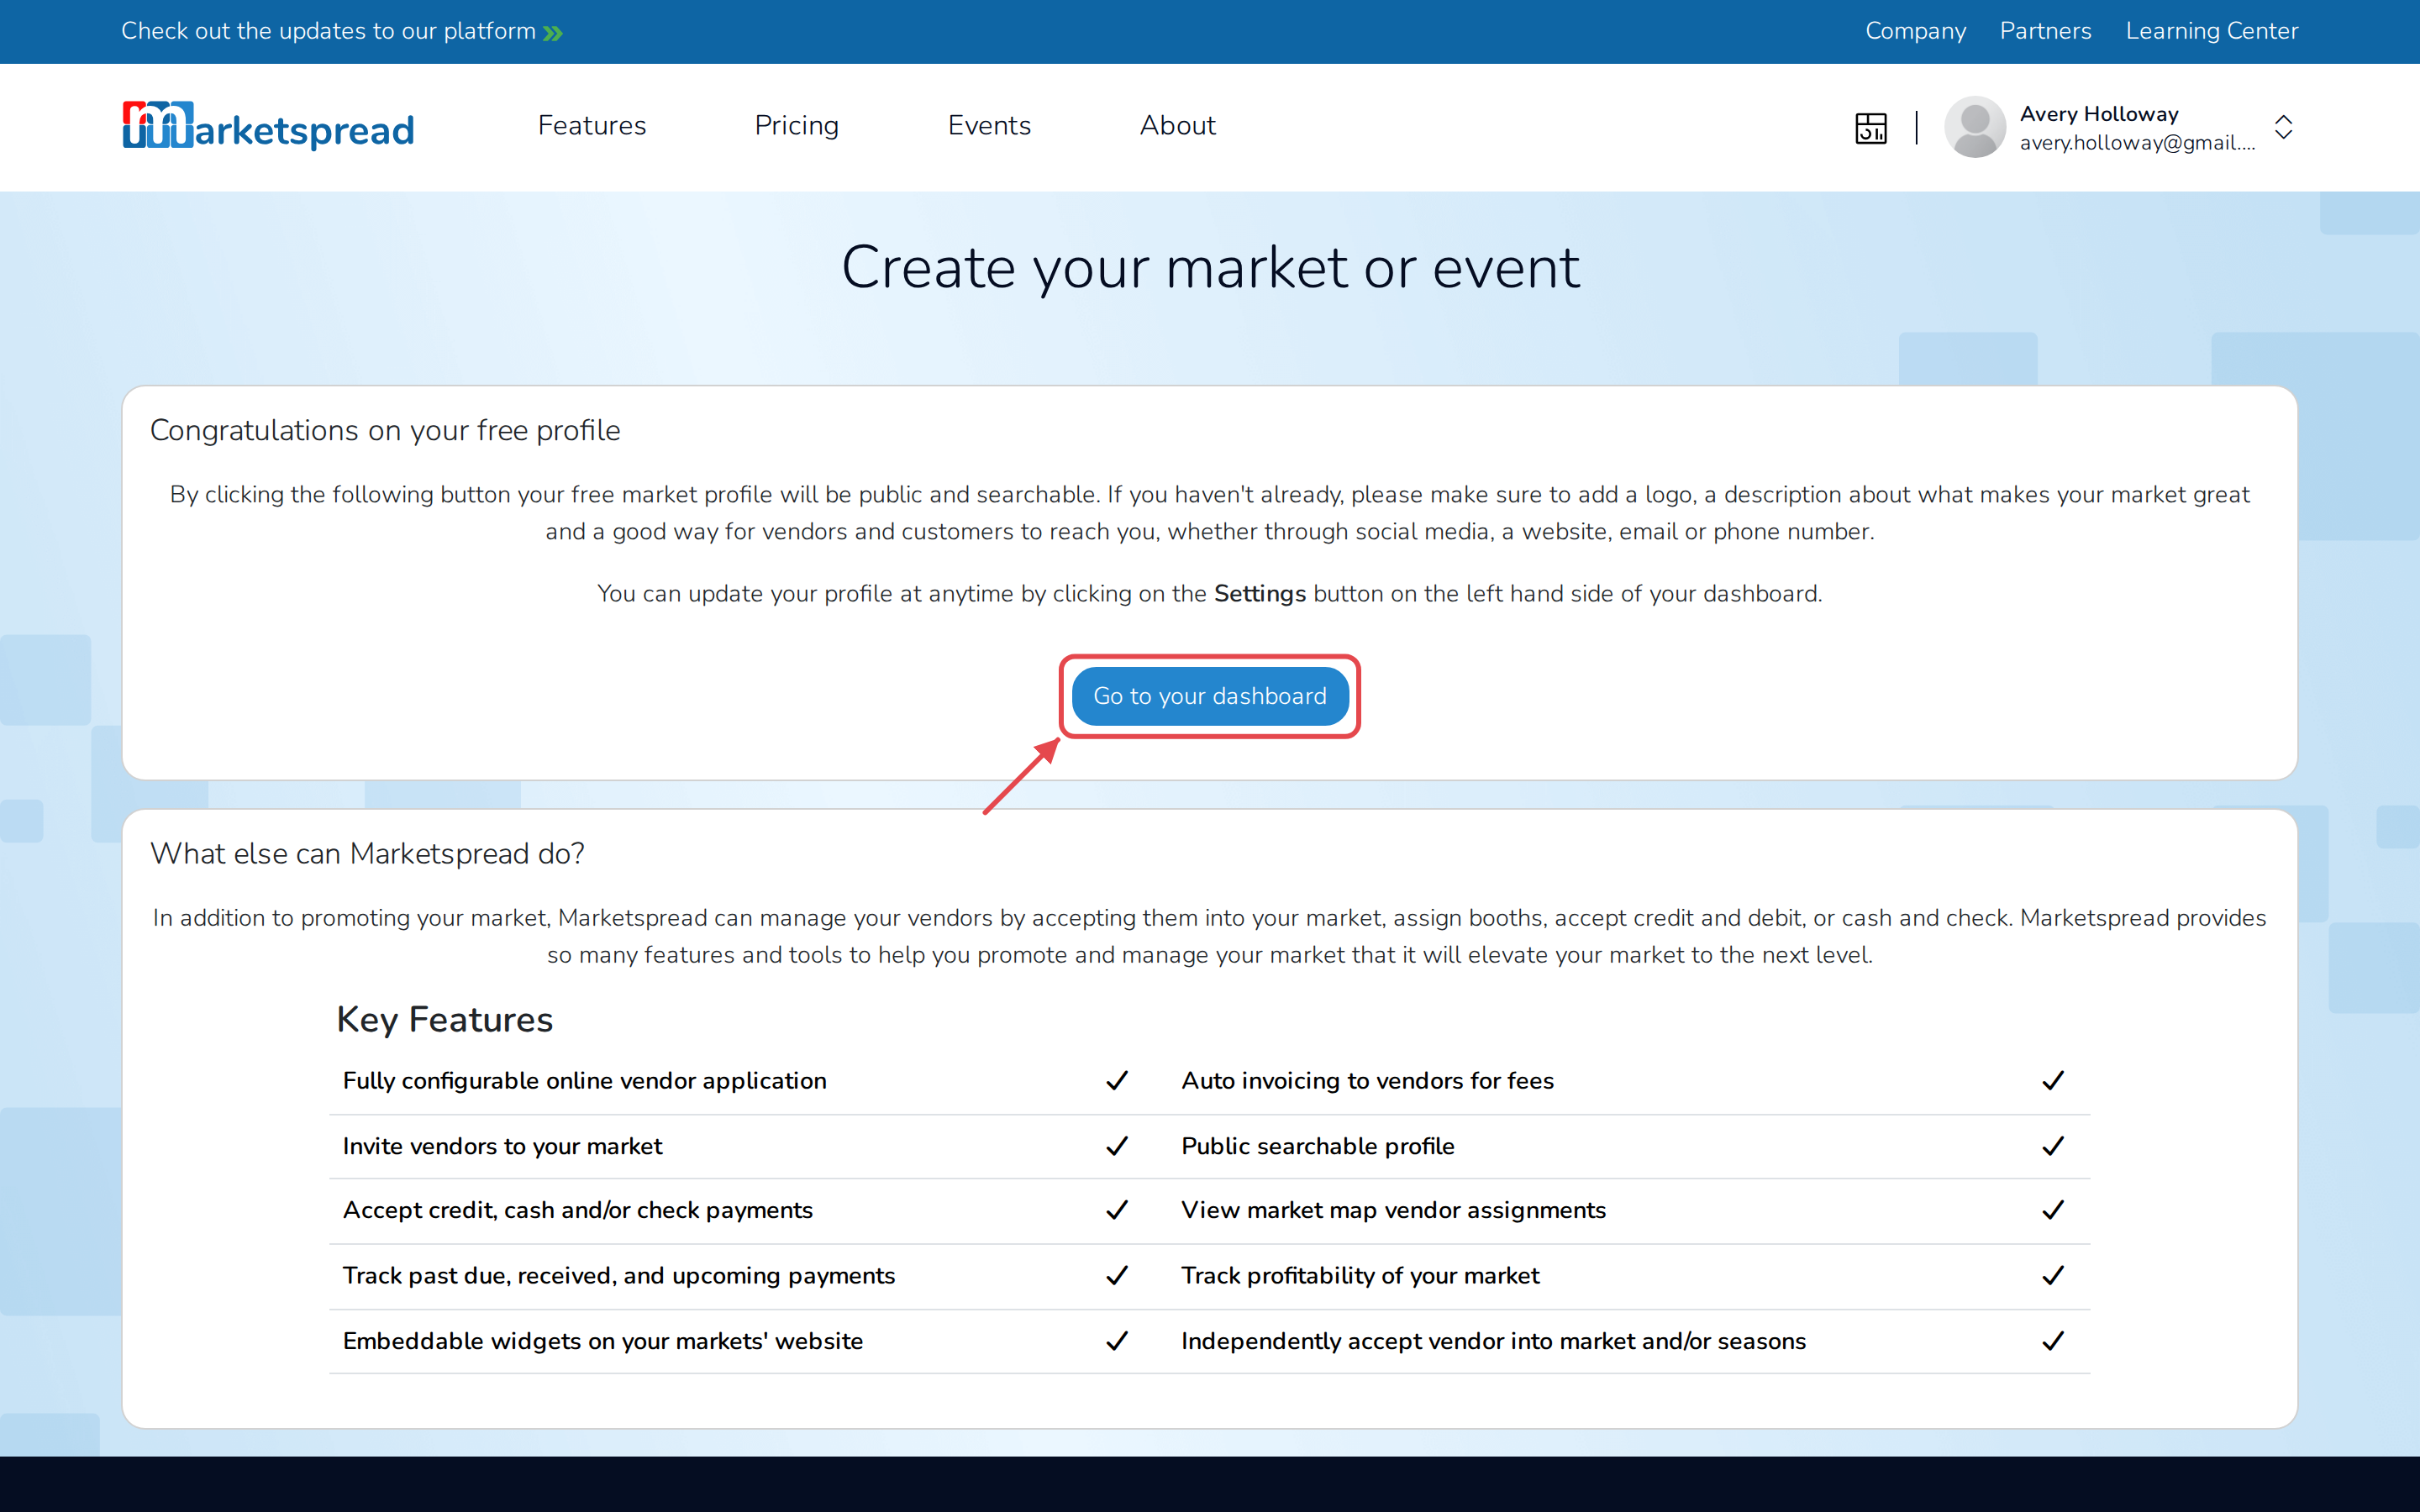
That takes you to your new market's dashboard, where you manage everything else.