


The Layout Designer draws the map of your market or expo — the booths vendors
book into, plus any paths, buildings or other features on the ground.
Open Event Configuration, then Layouts.
That opens the Layouts page. Activated Layouts are already linked to
an event and in use. Layout templates are saved layouts you can link to
an event later.
Create a layout template
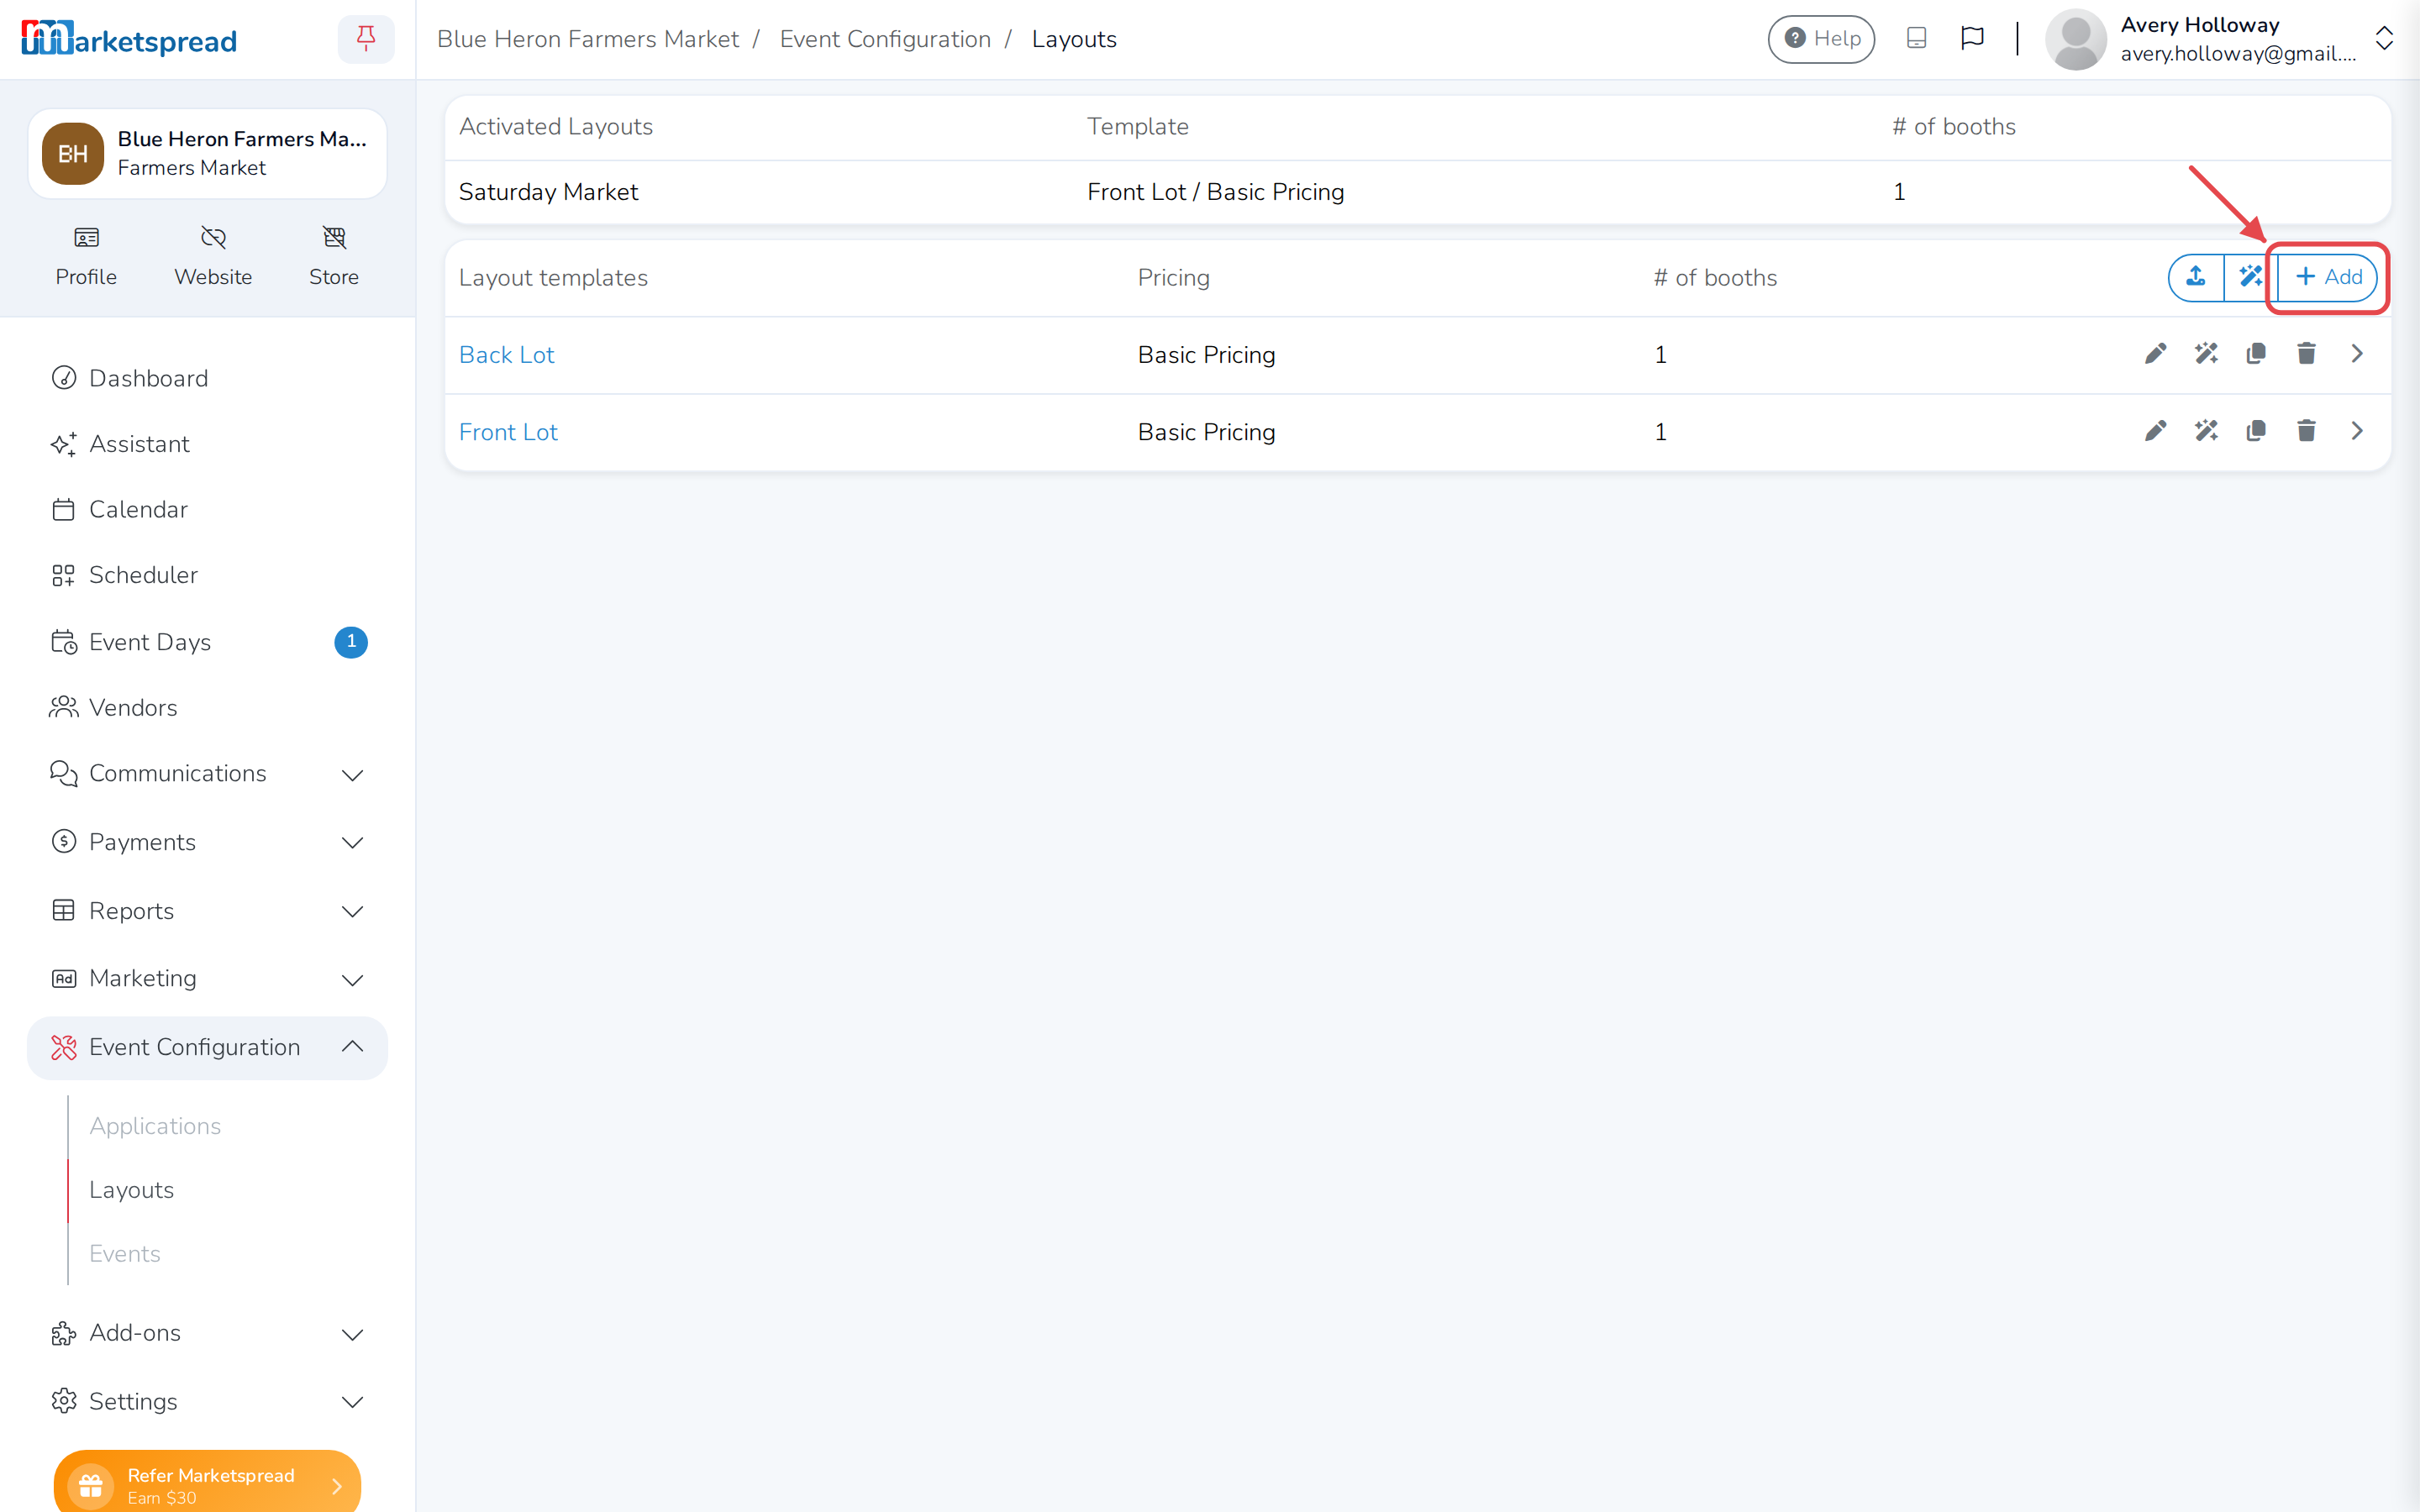
Click Add, at the top of the Layout templates table — or, if you have
no templates yet, Add layout template in the middle of the page.
A brand-new layout first offers to start from a map of your site — Skip
it to draw on a blank canvas instead, or Continue to trace a real map.
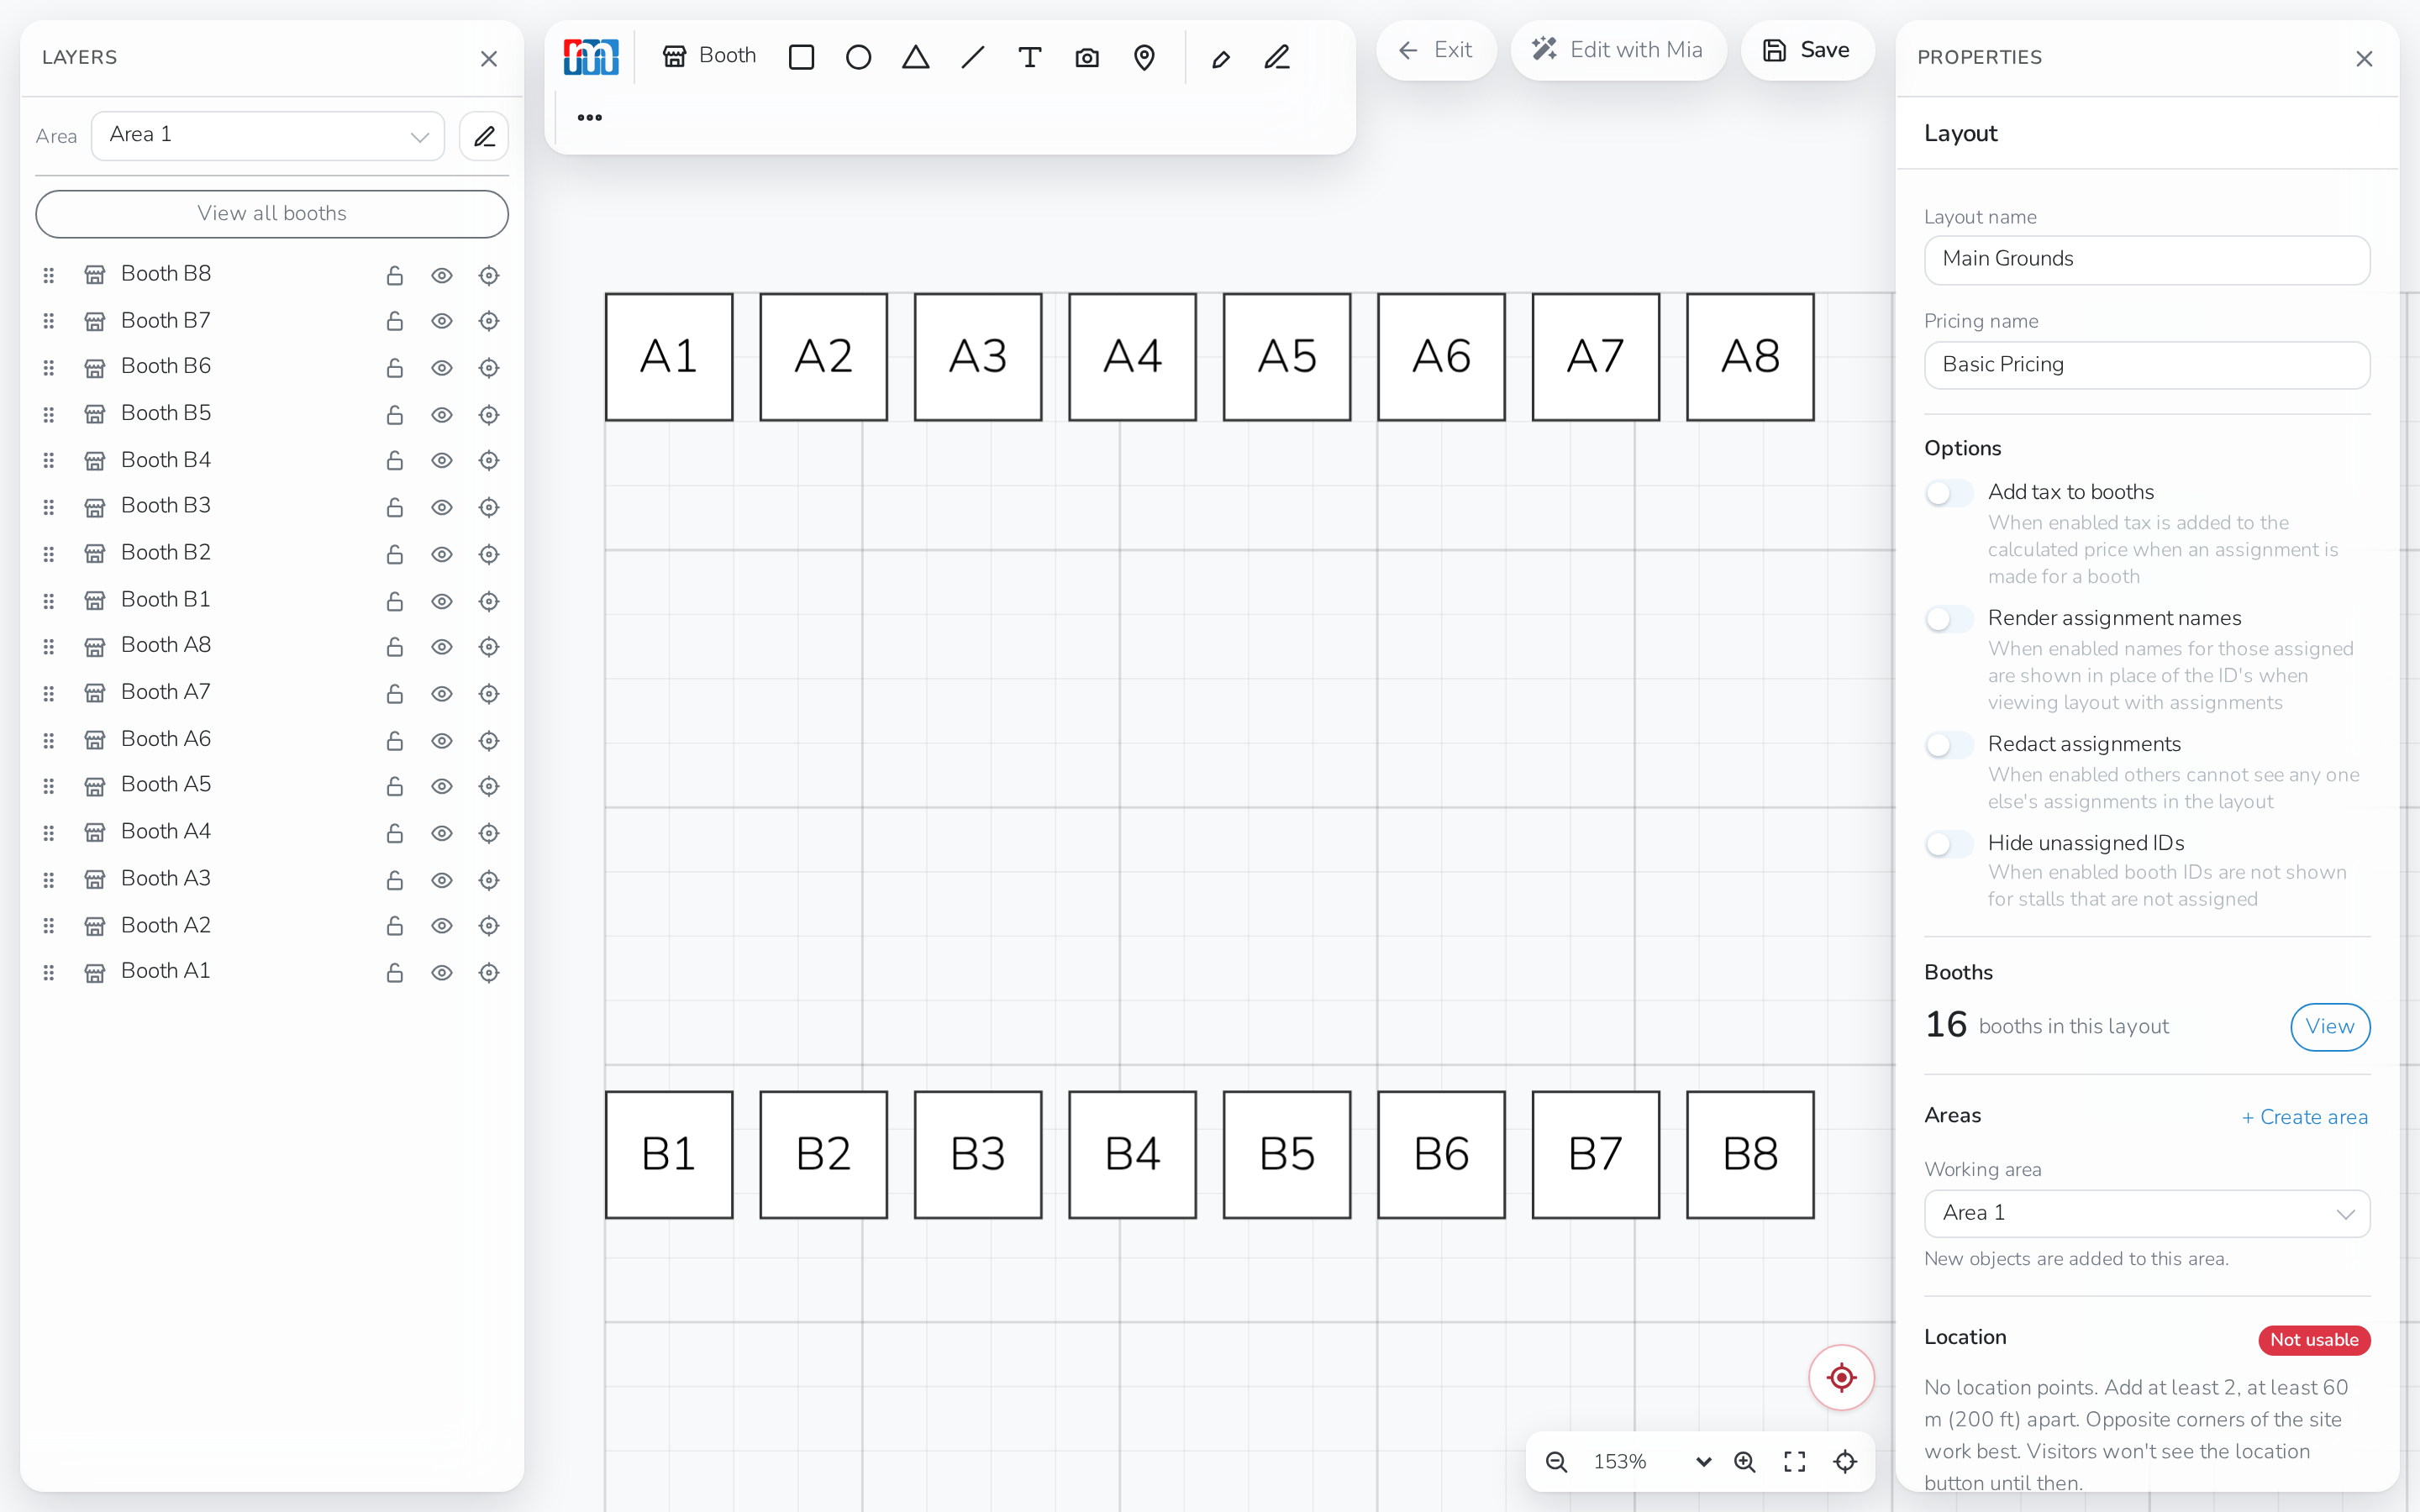
This opens the Layout Editor: a Layers panel on the left, listing
everything on your map, and a Properties panel on the right, with the
layout's own settings open when nothing is selected.
Tip
Use your mouse wheel or trackpad to zoom in and out. To move around, hold
Alt (Option on a Mac) and drag.
Name your layout
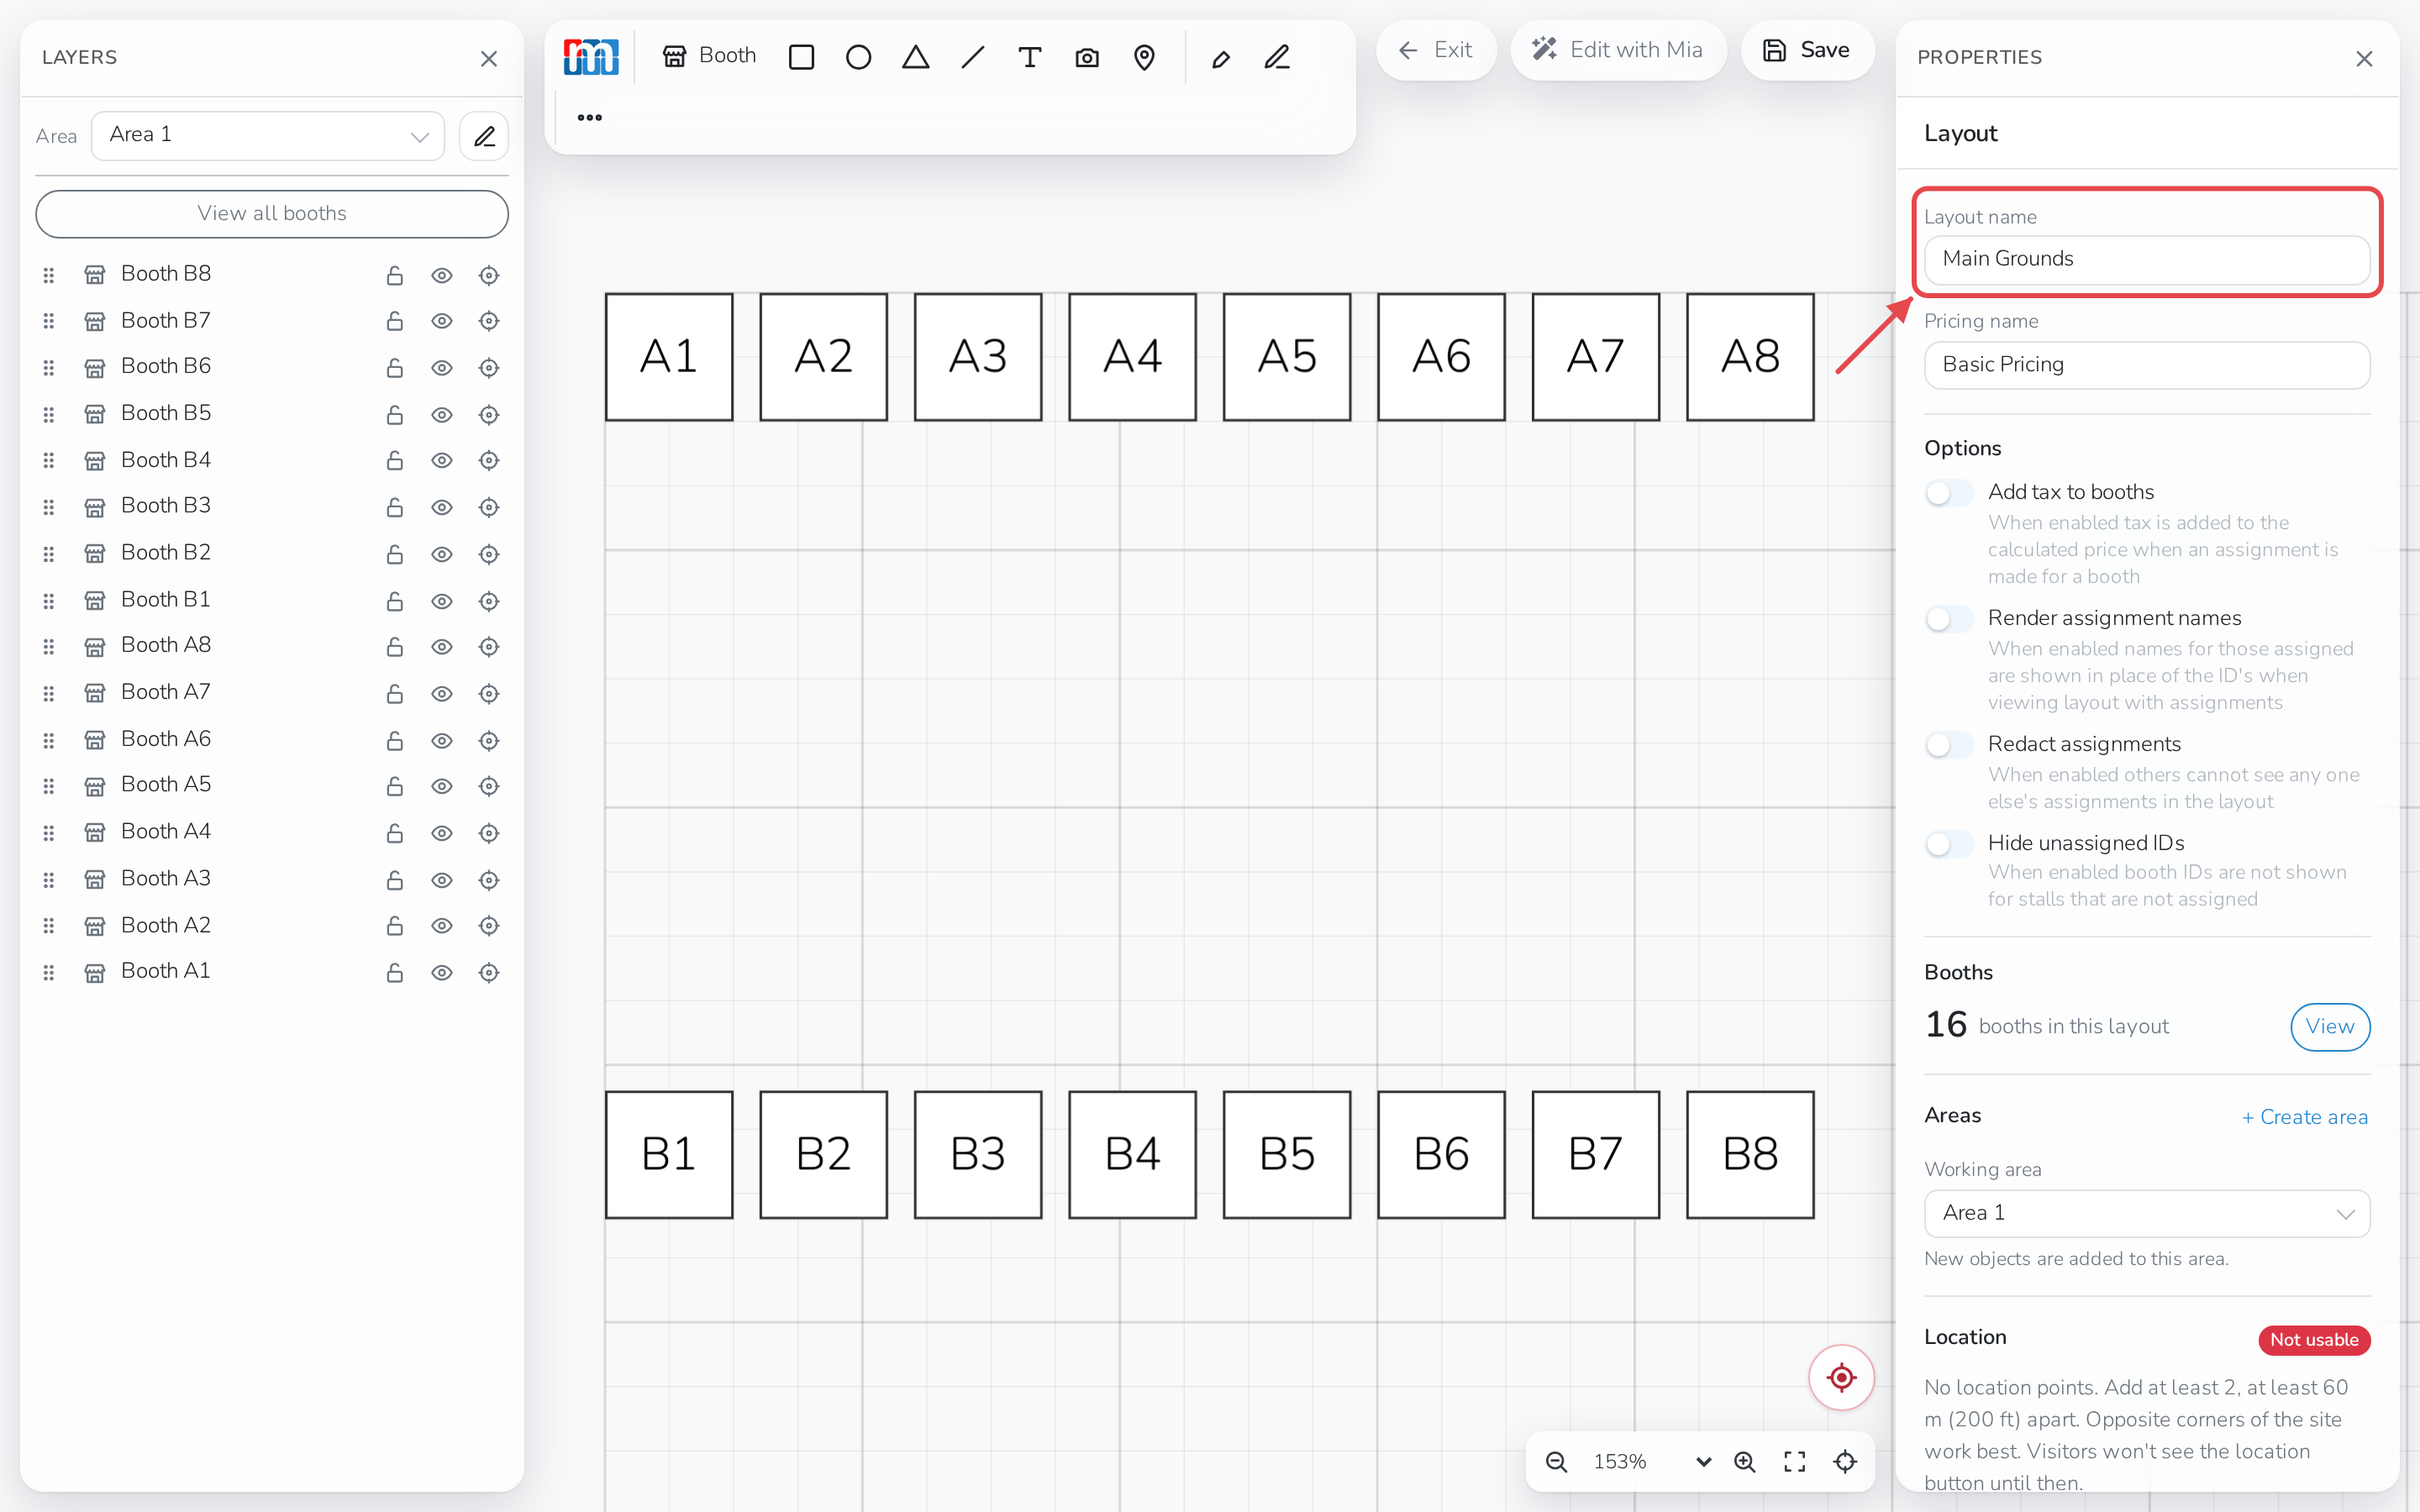
Type a name into Layout name, in the Properties panel — until you do,
it's listed as New Layout.
Click Save, top right, at any time to keep what you've done. Exit
leaves the editor.
Set your layout options
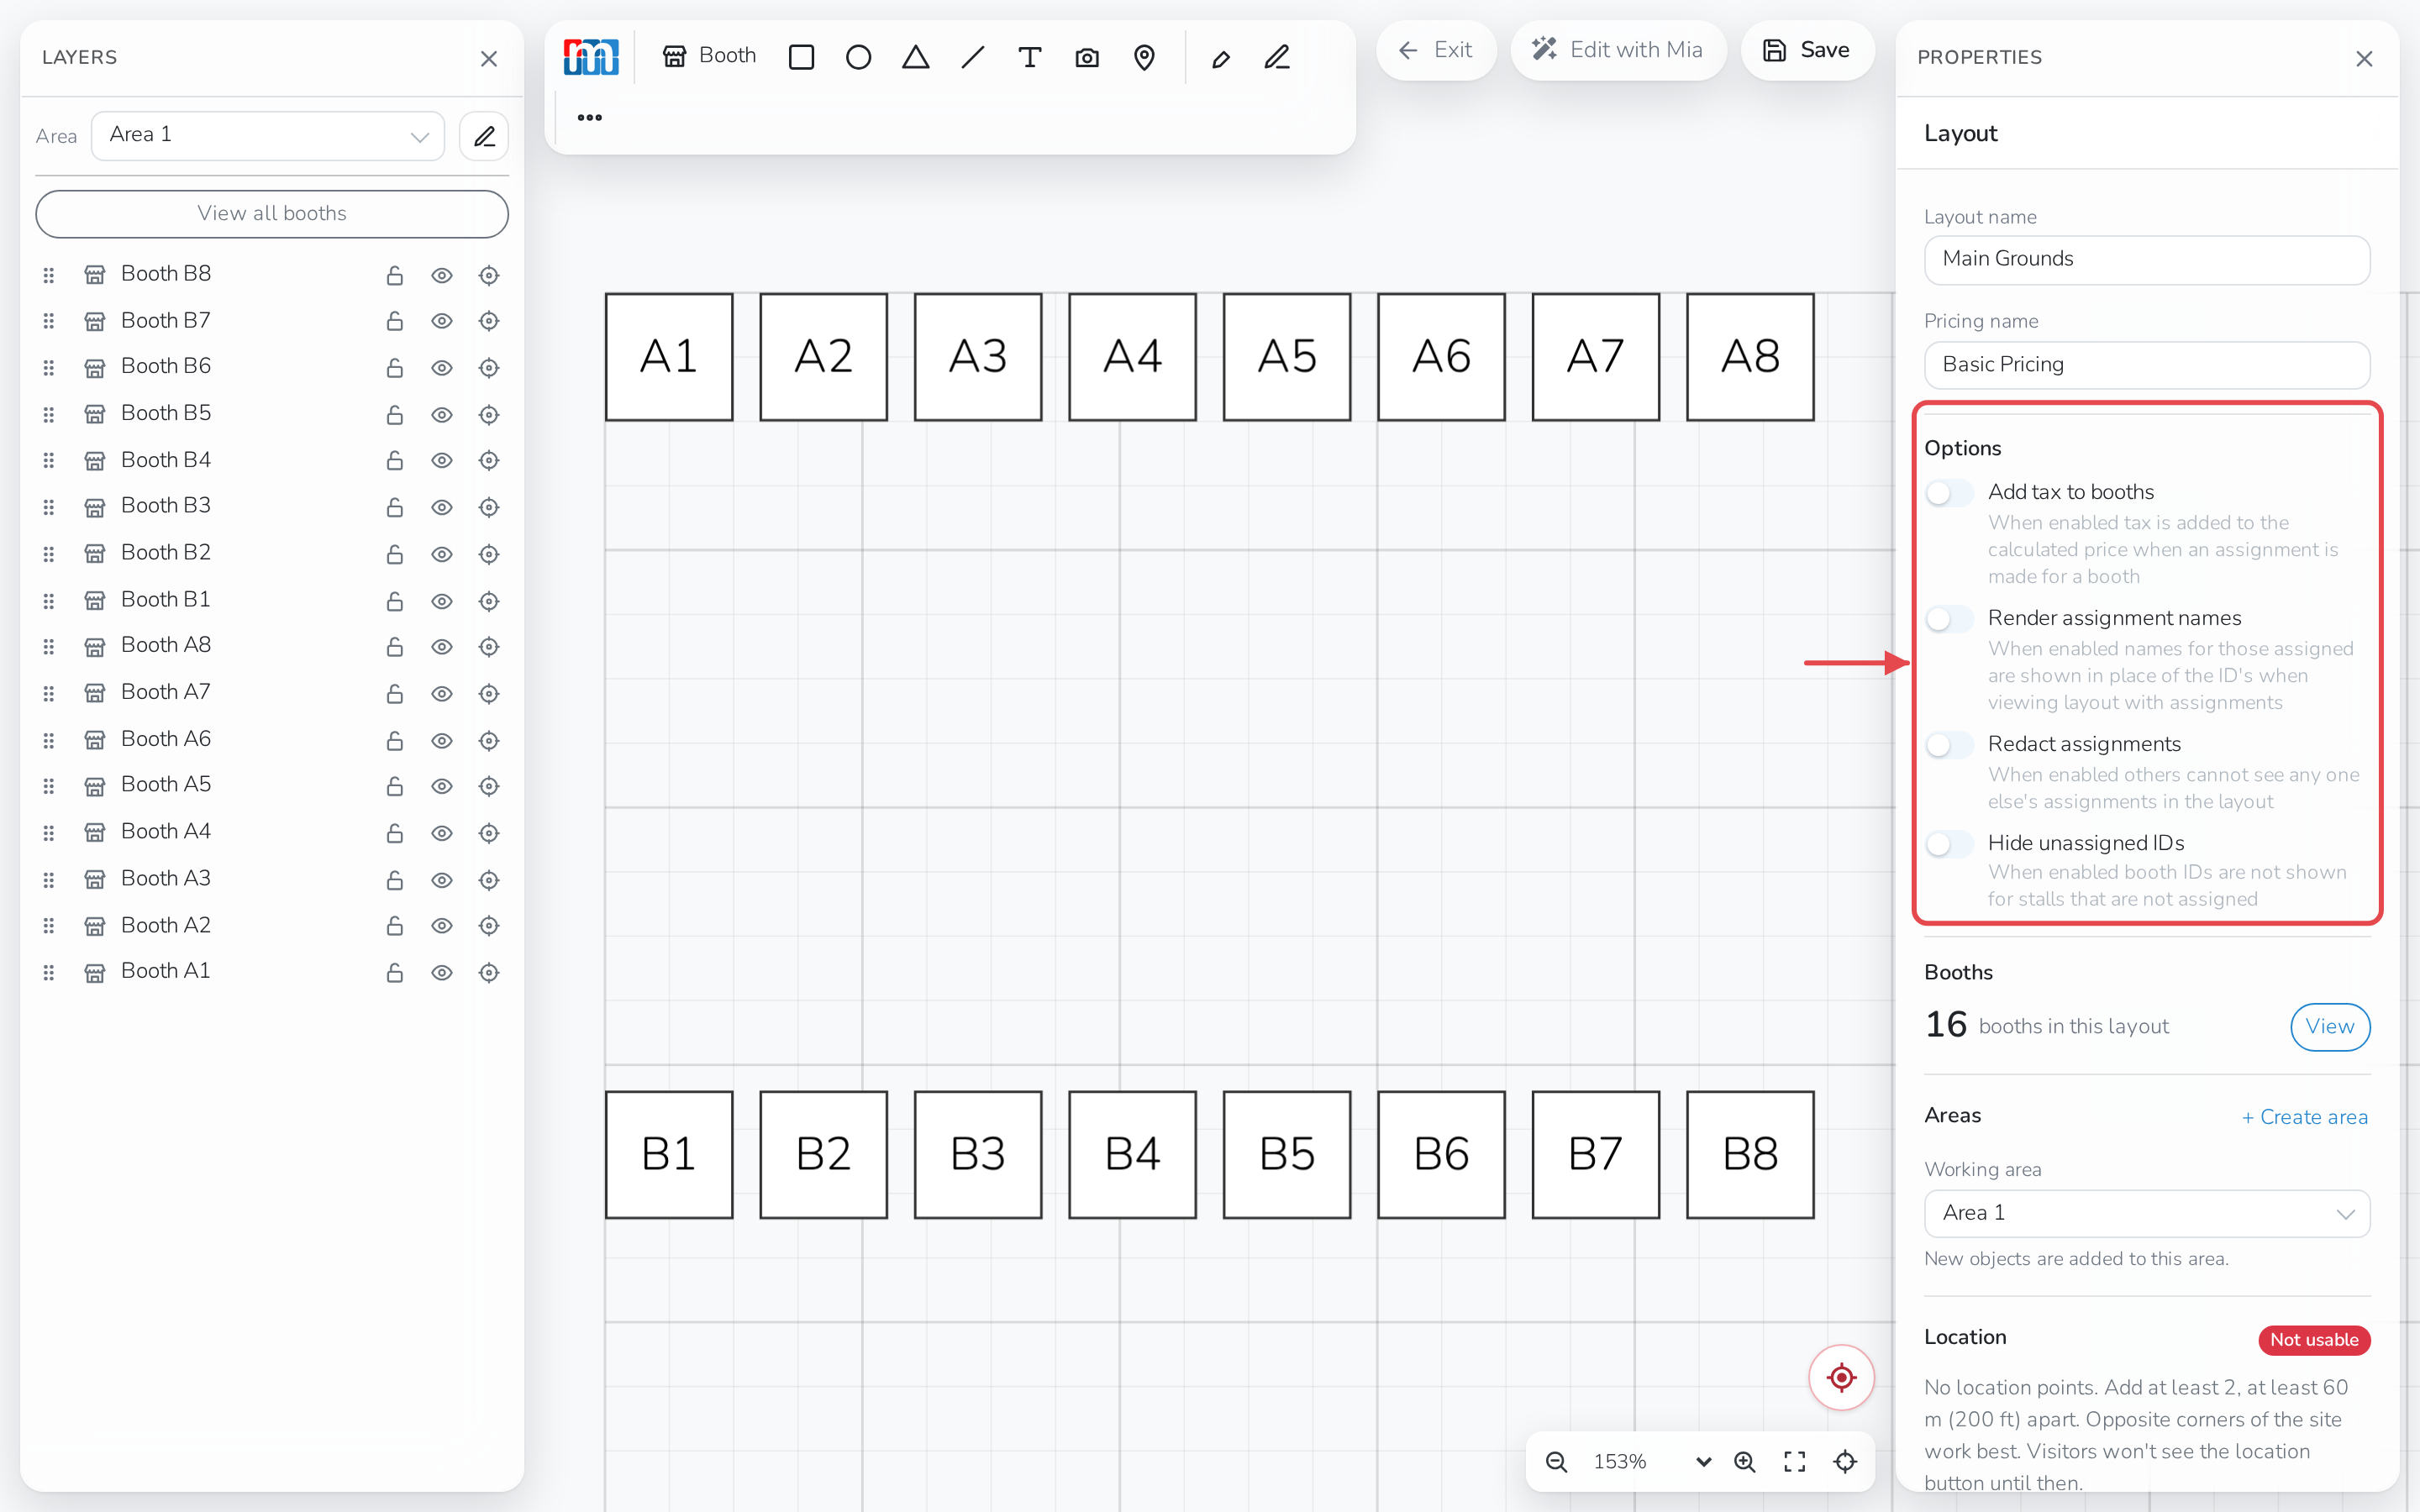
These are in the Properties panel, on the right, when nothing on the map is
selected:
- Pricing name — a second name for this layout, used just for its price.
Handy for reusing one map with different prices on different dates. - Add tax to booths — add tax to a booth's price when a vendor is
assigned to it. - Render assignment names — show the vendor's name on a booked booth
instead of its booth ID. - Redact assignments — hide who is assigned to each booth from other
users. - Hide unassigned IDs — hide the ID on a booth nobody is assigned to.
Add and set up booths
Booths are the core of your layout. Each one also stores the pricing used
when a vendor books it.
Note
For more on booth pricing, see Set booth fees on your map.
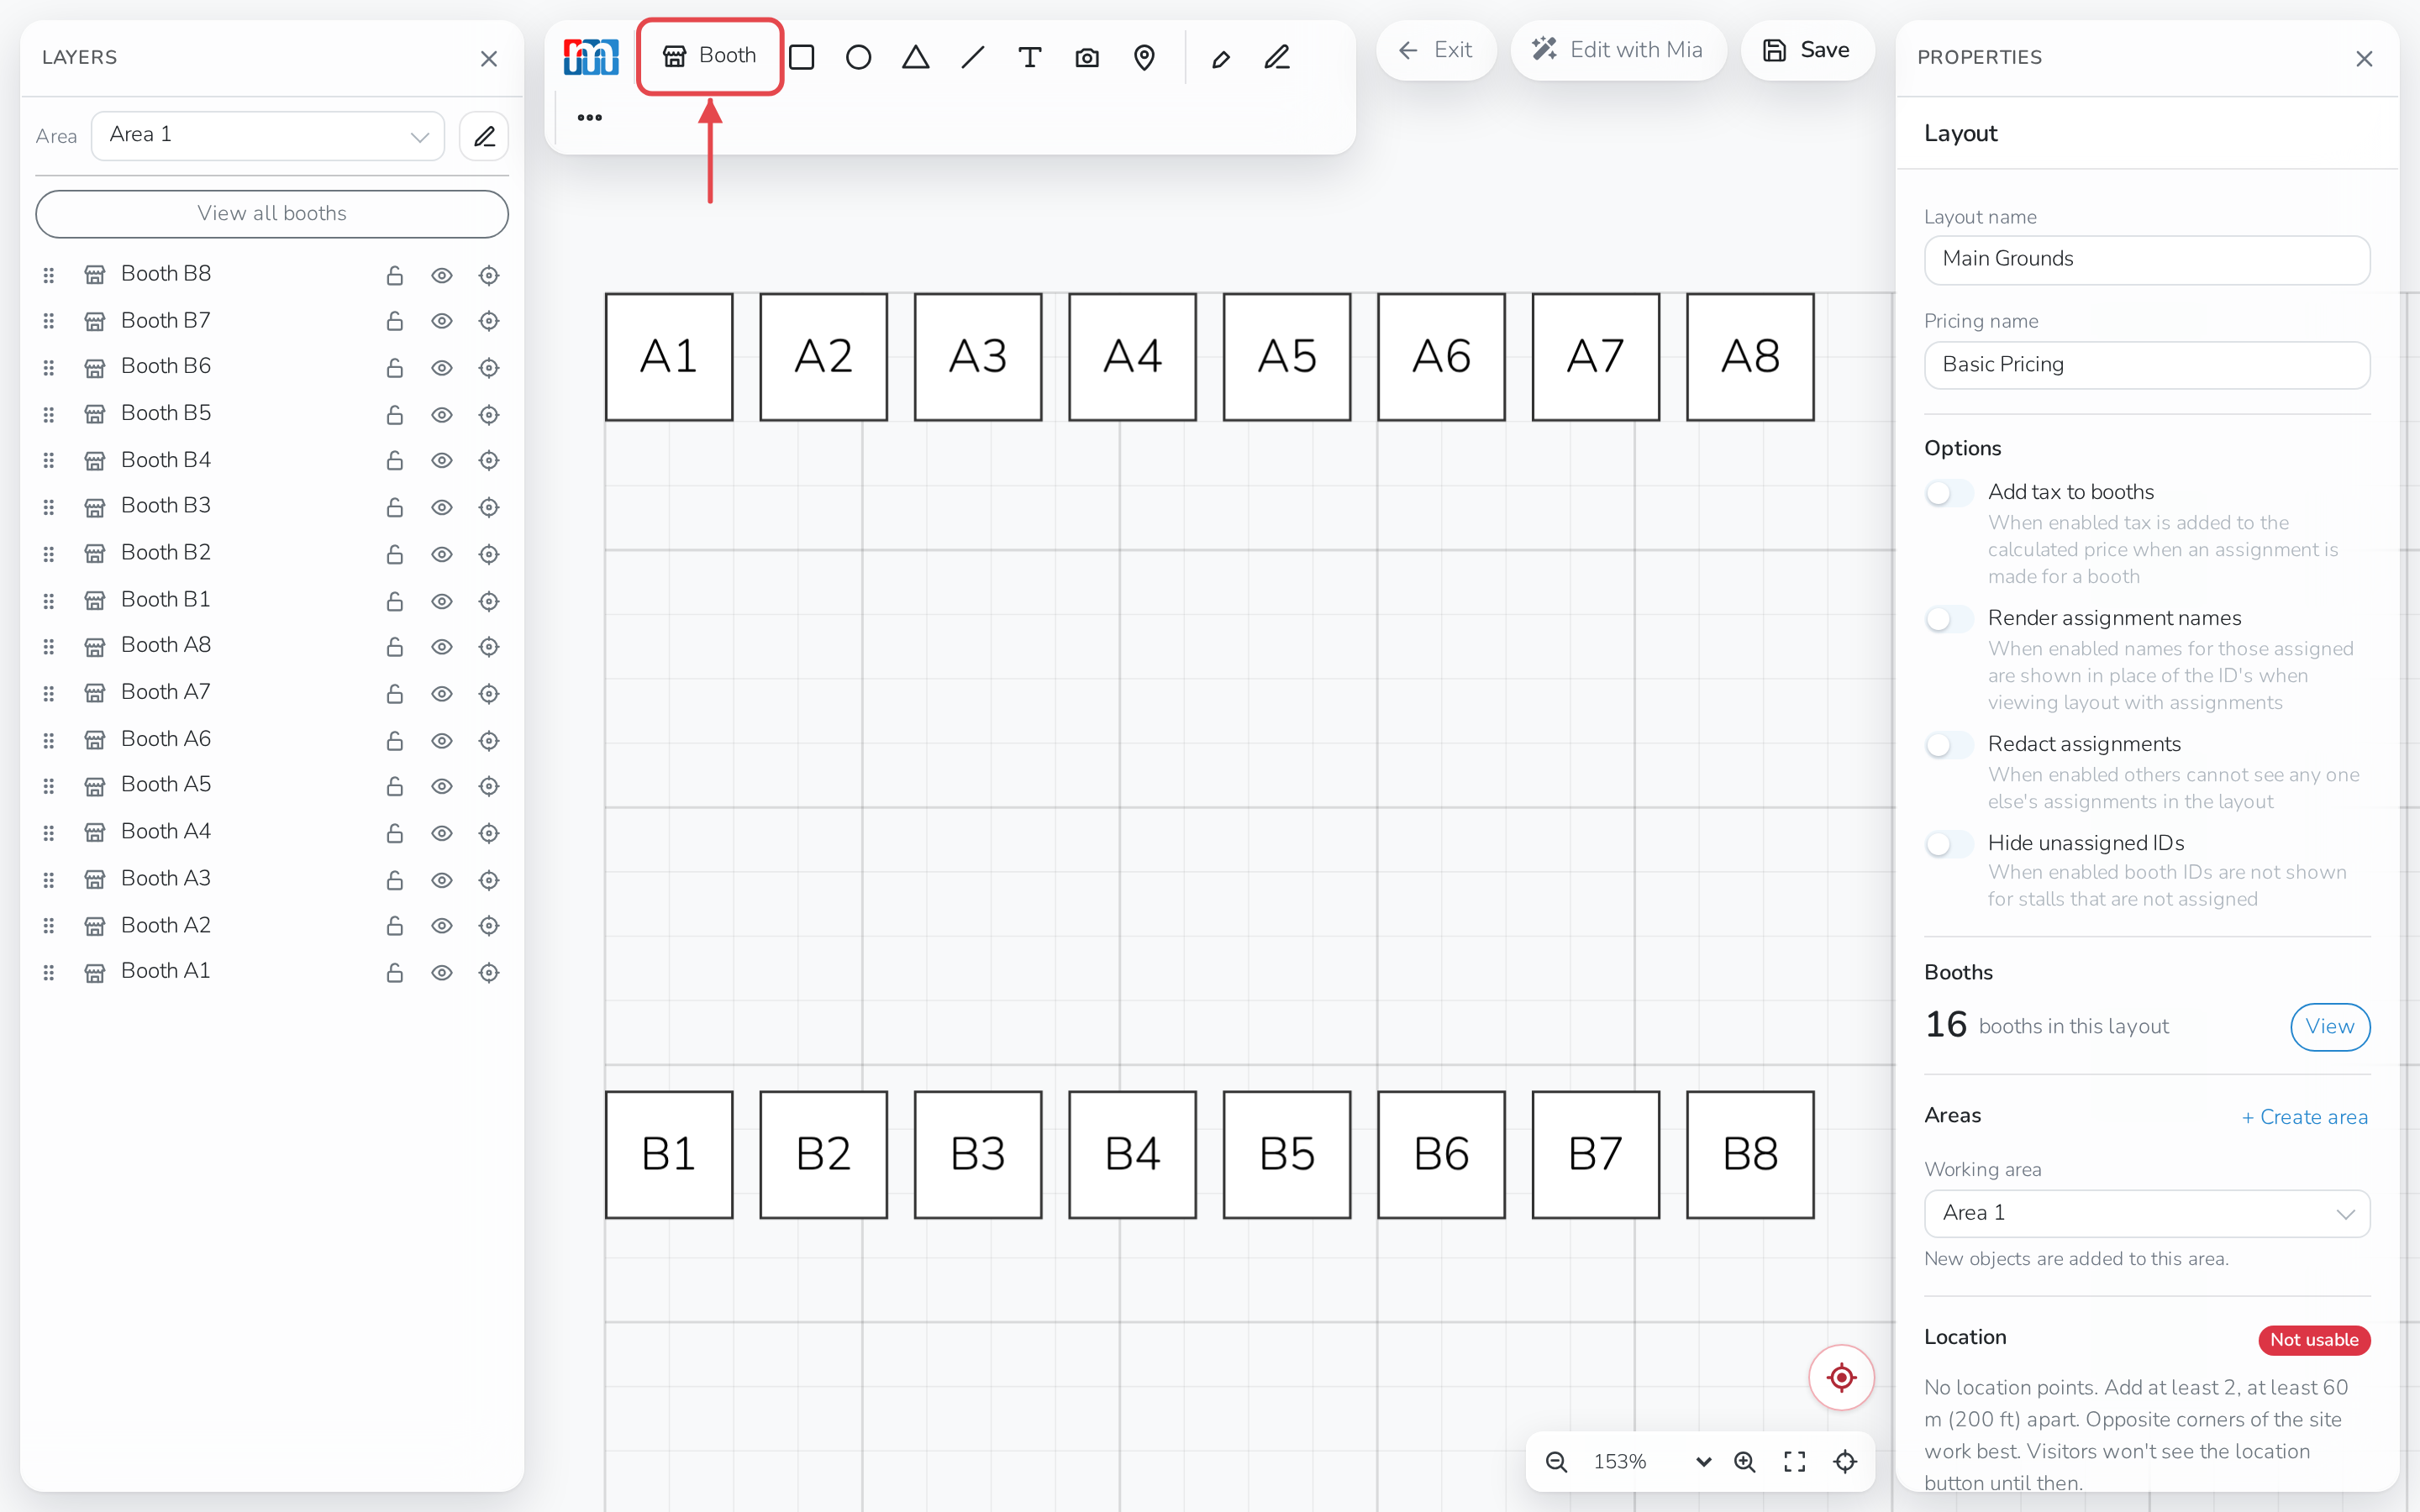
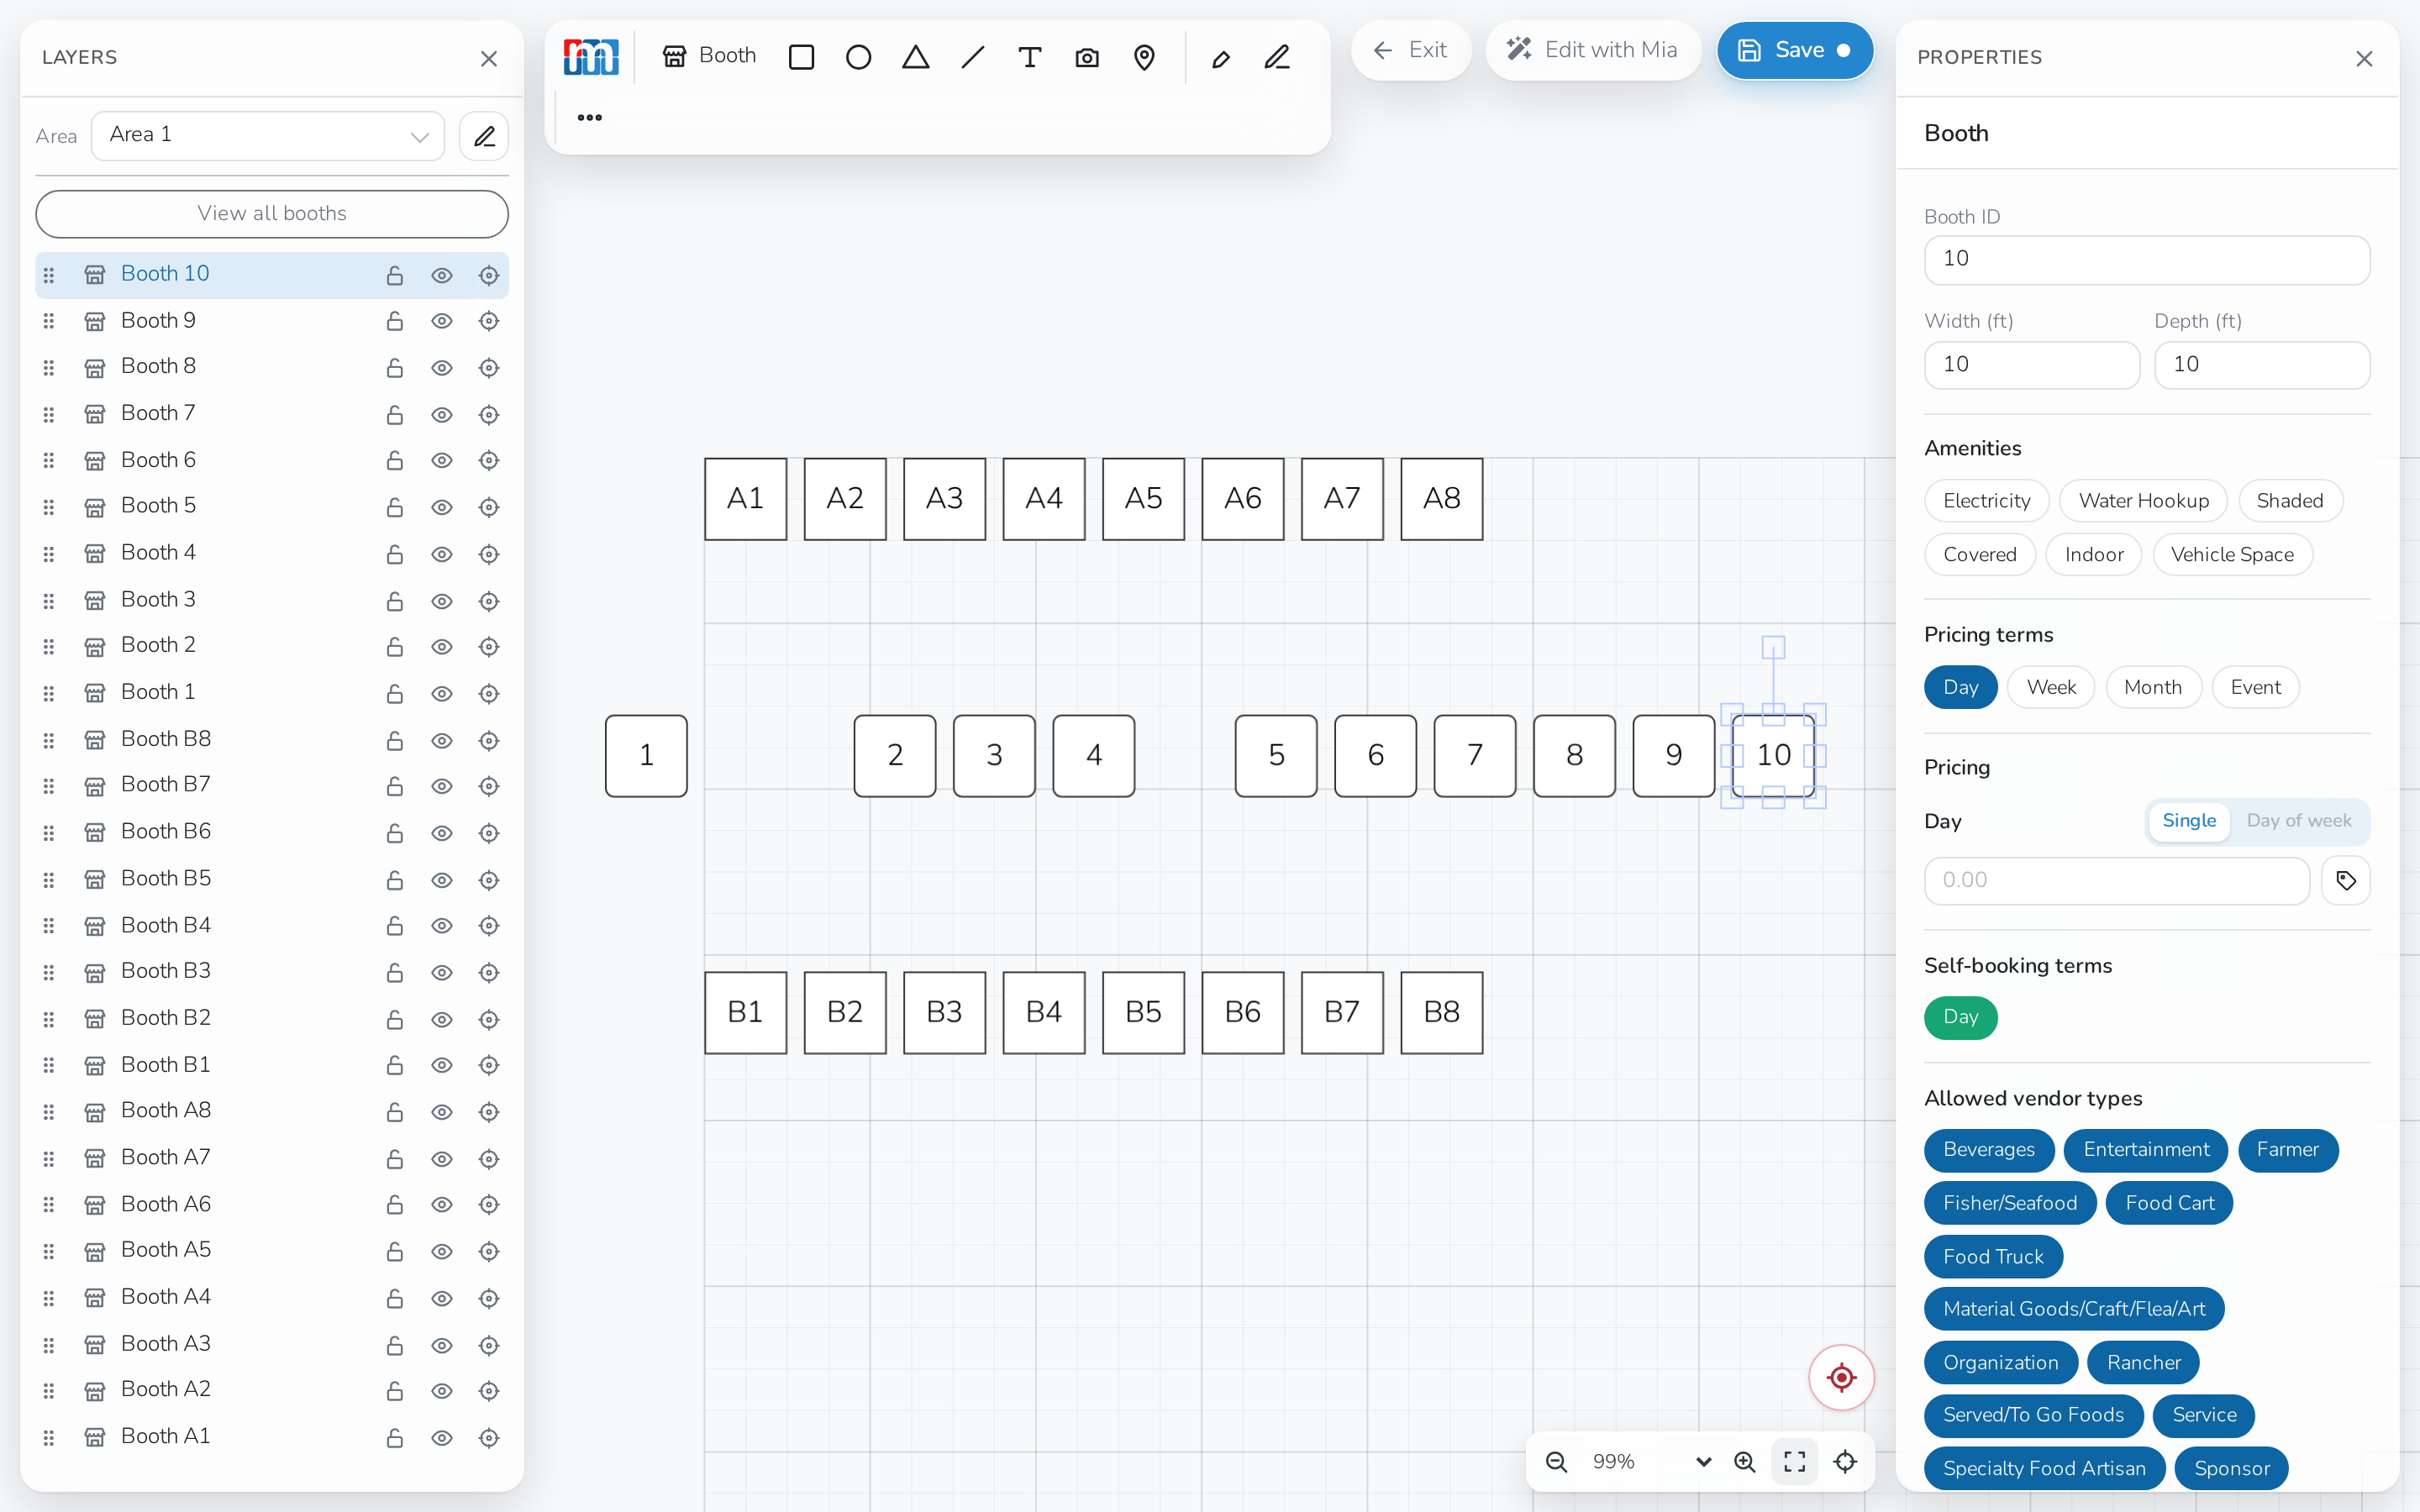
Click Booth at the left of the toolbar once for each booth you want to
add — ten clicks gives you a row of ten booths, numbered from 1.
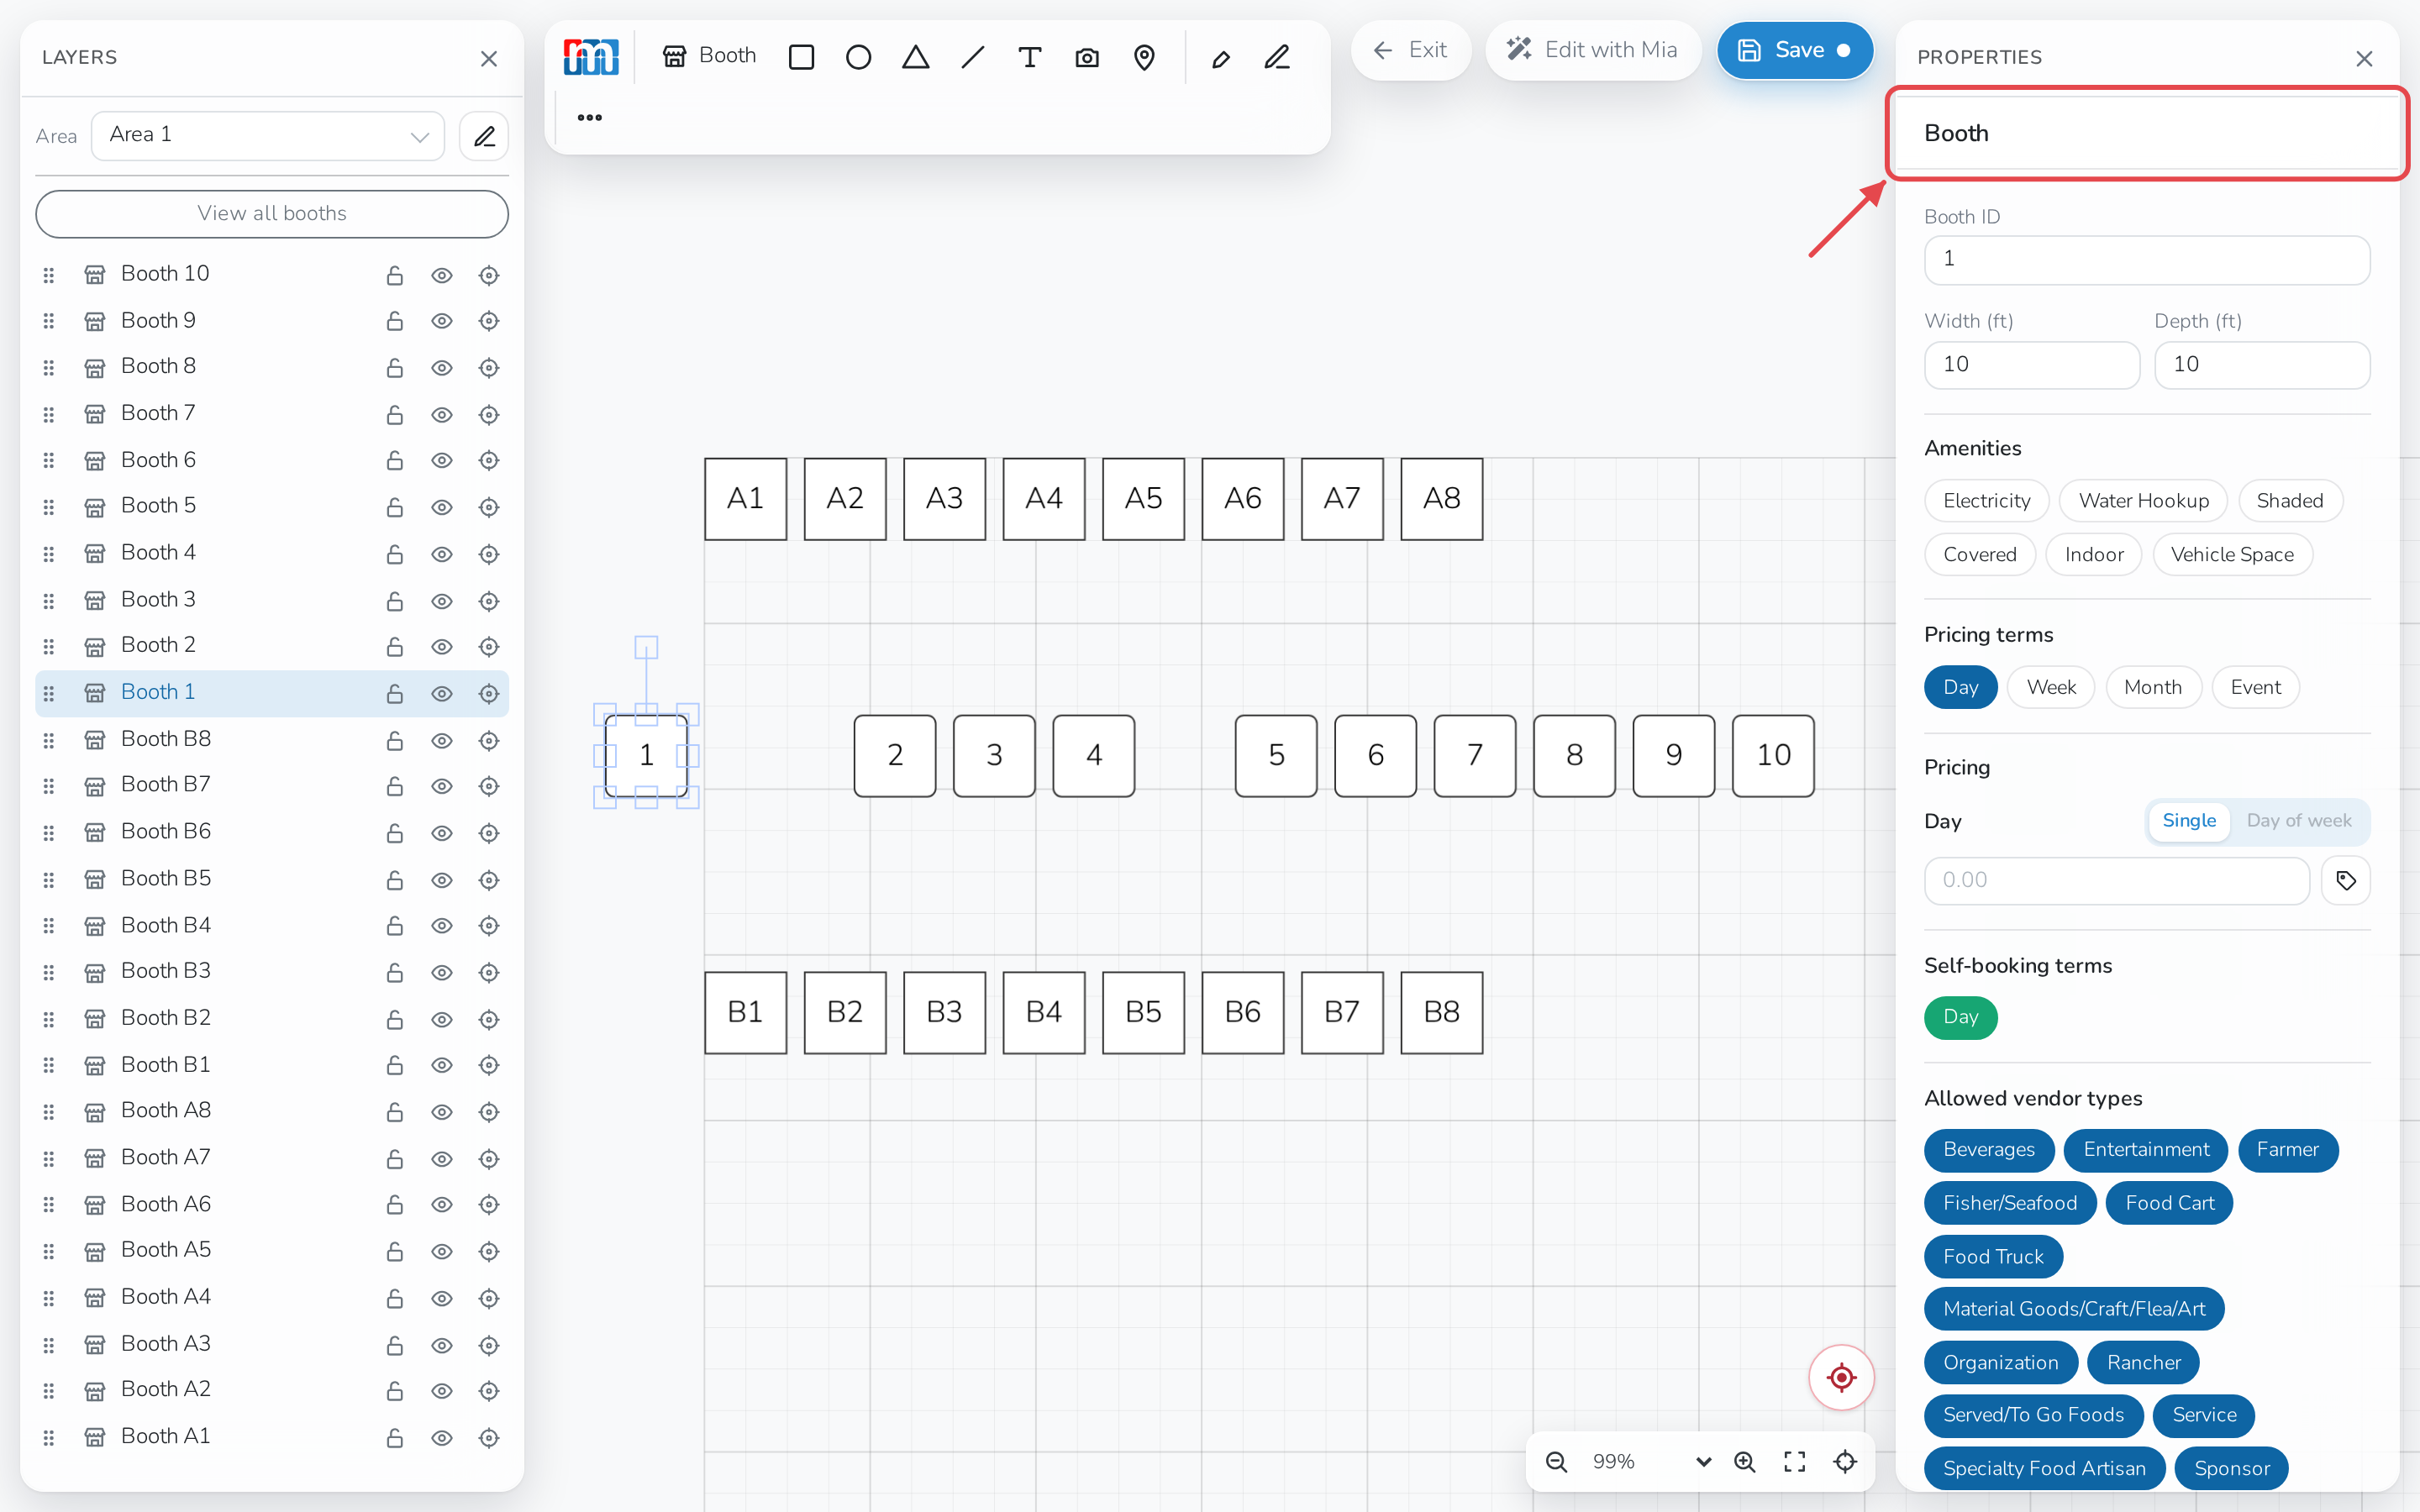
Click a booth to open its properties on the right.
-
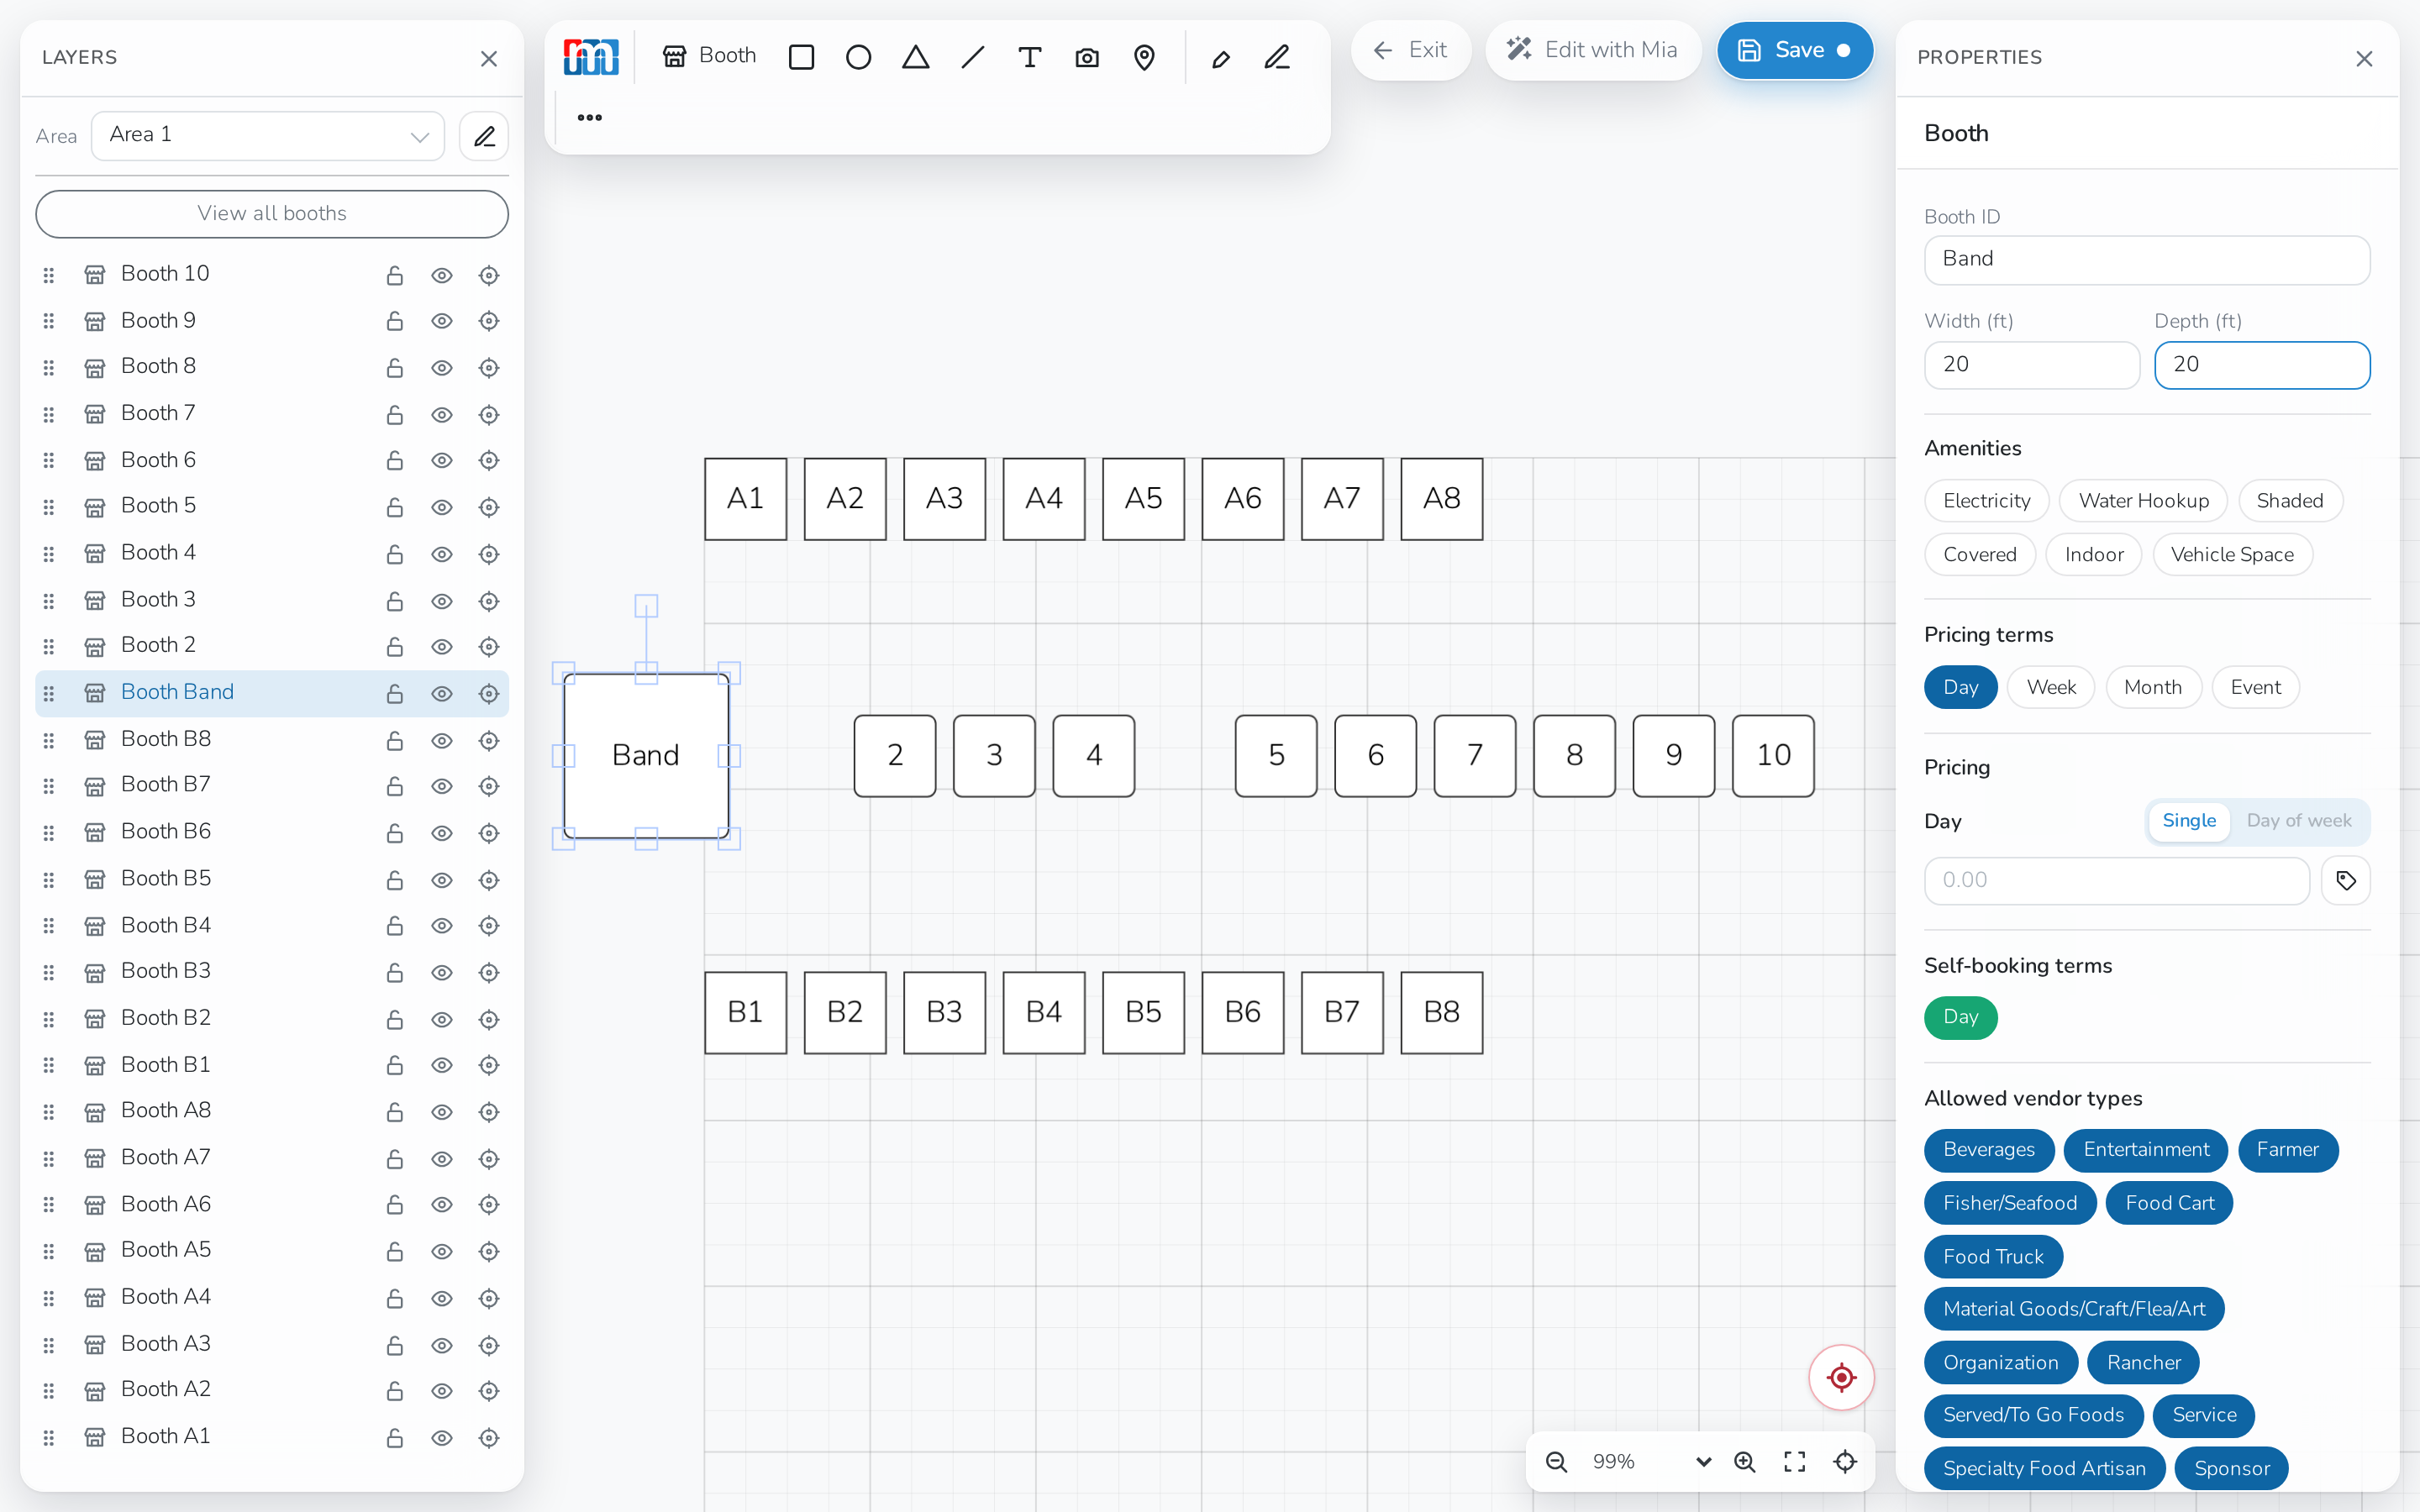
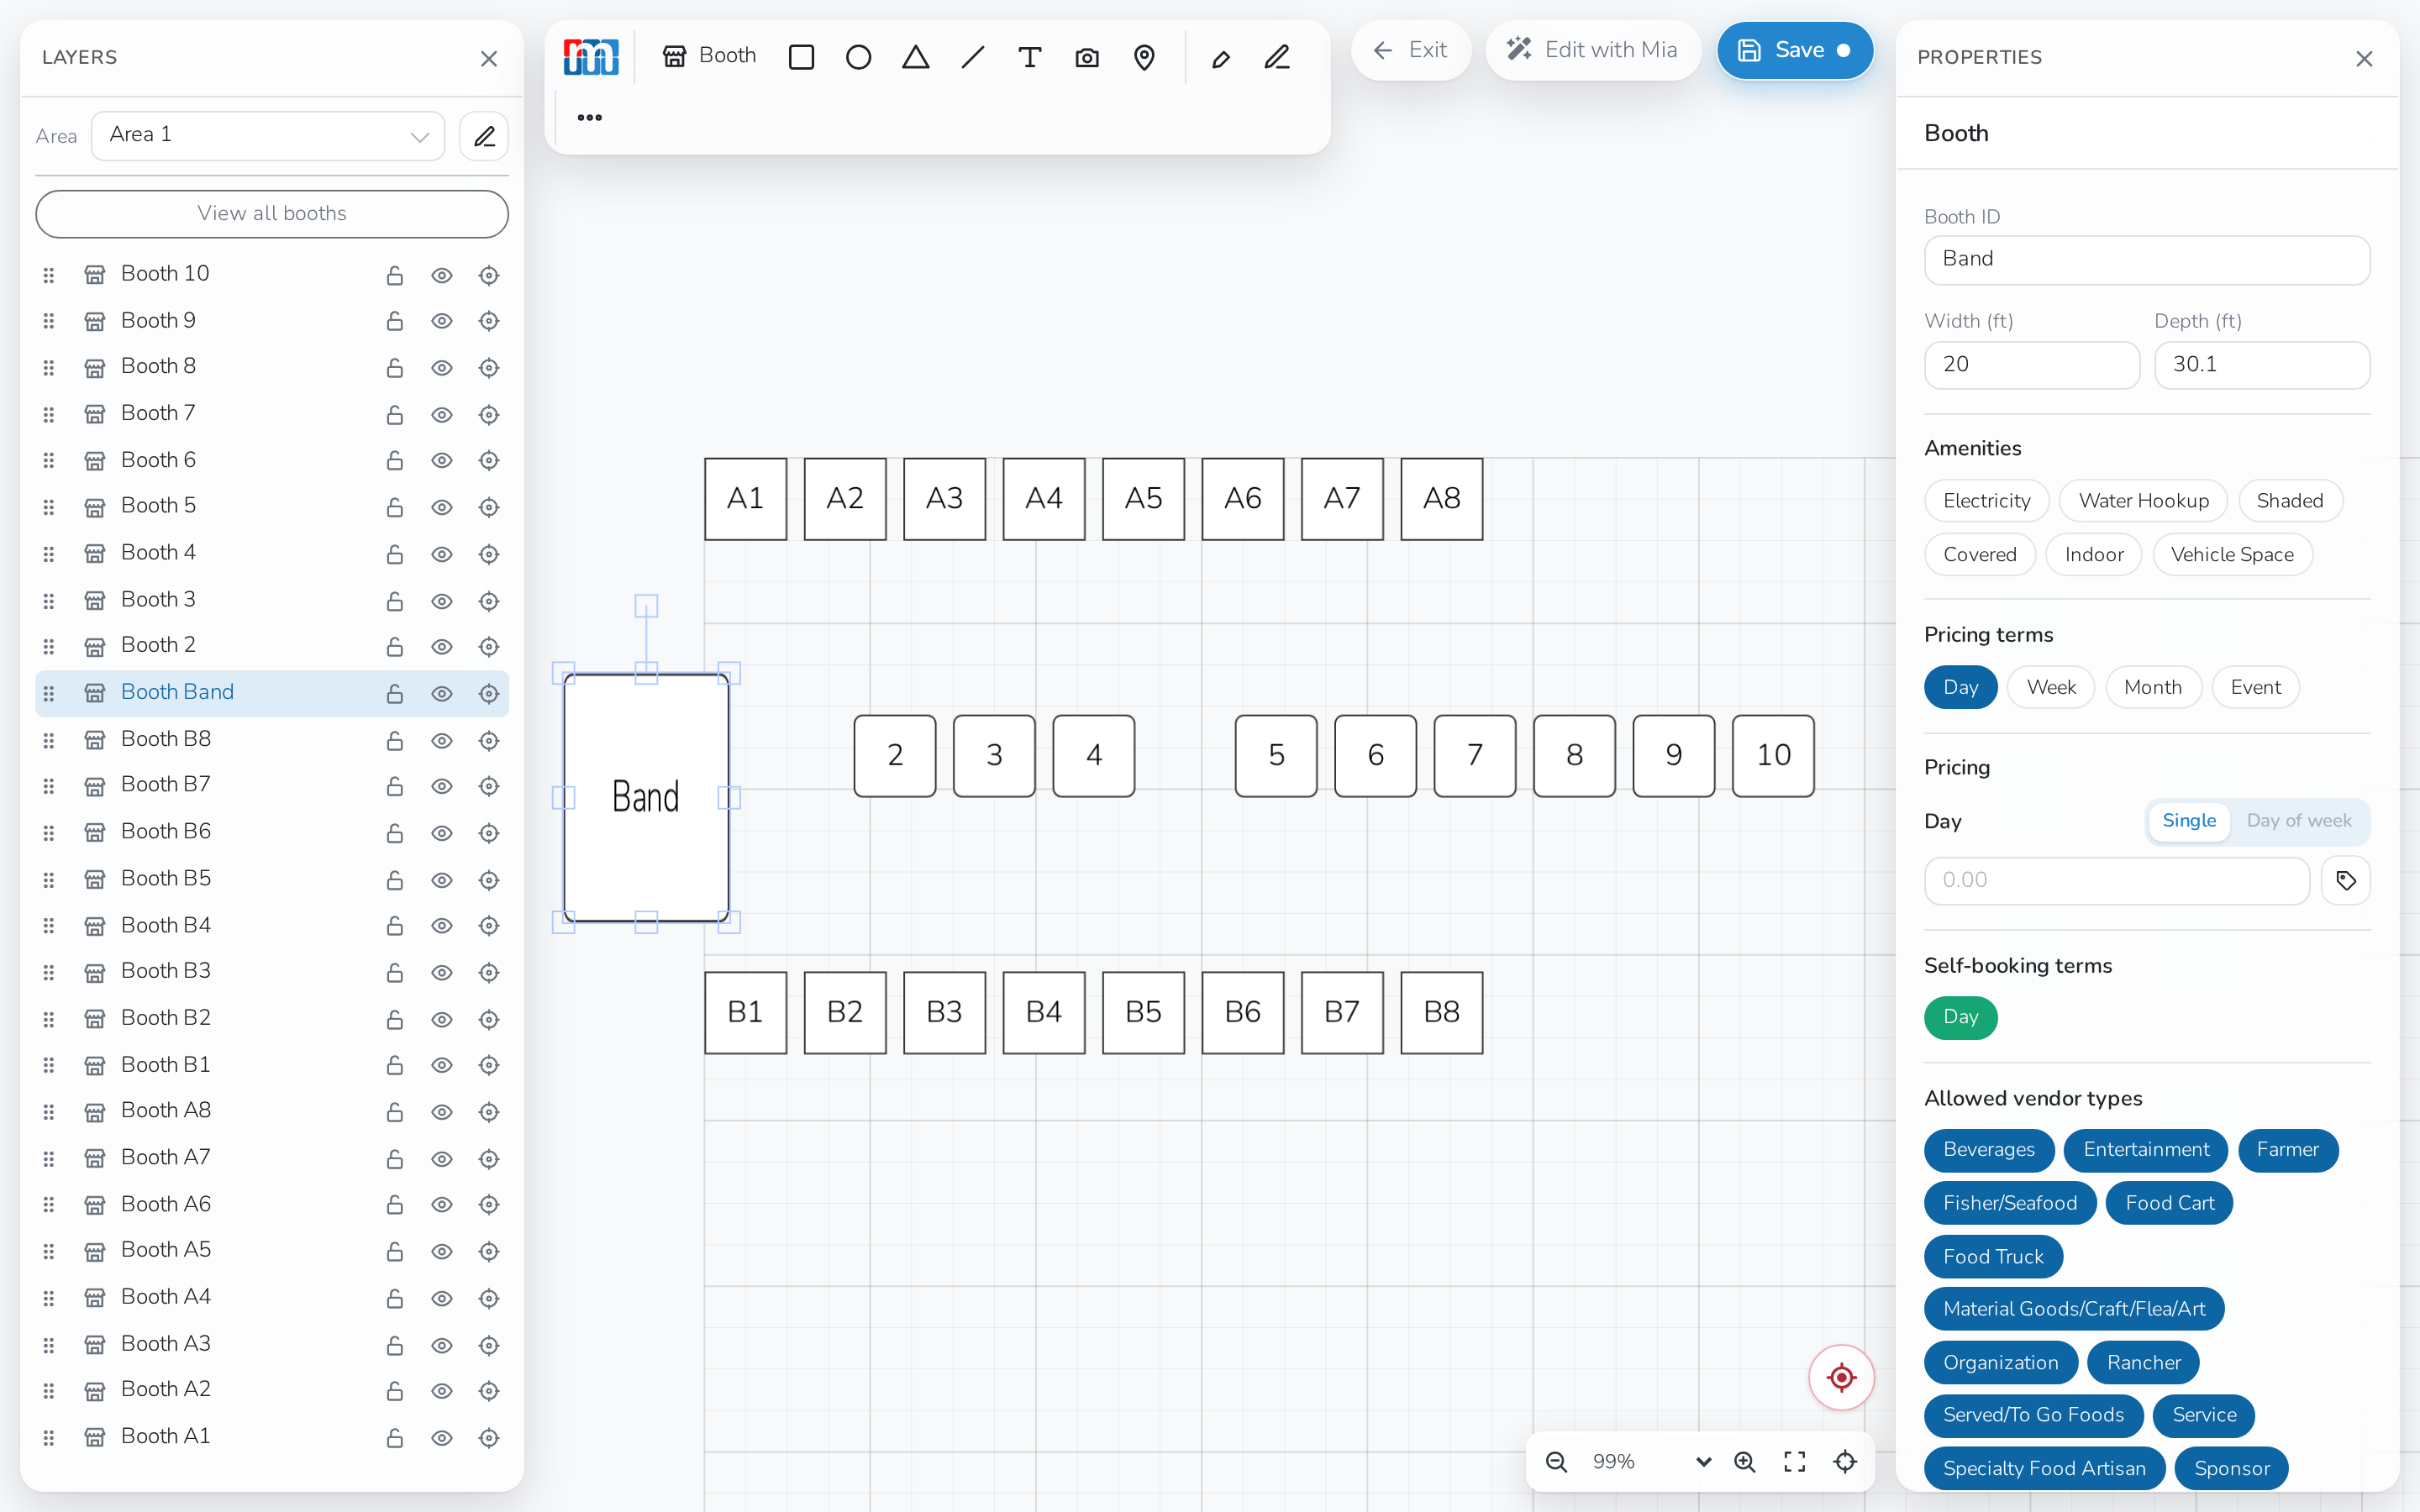
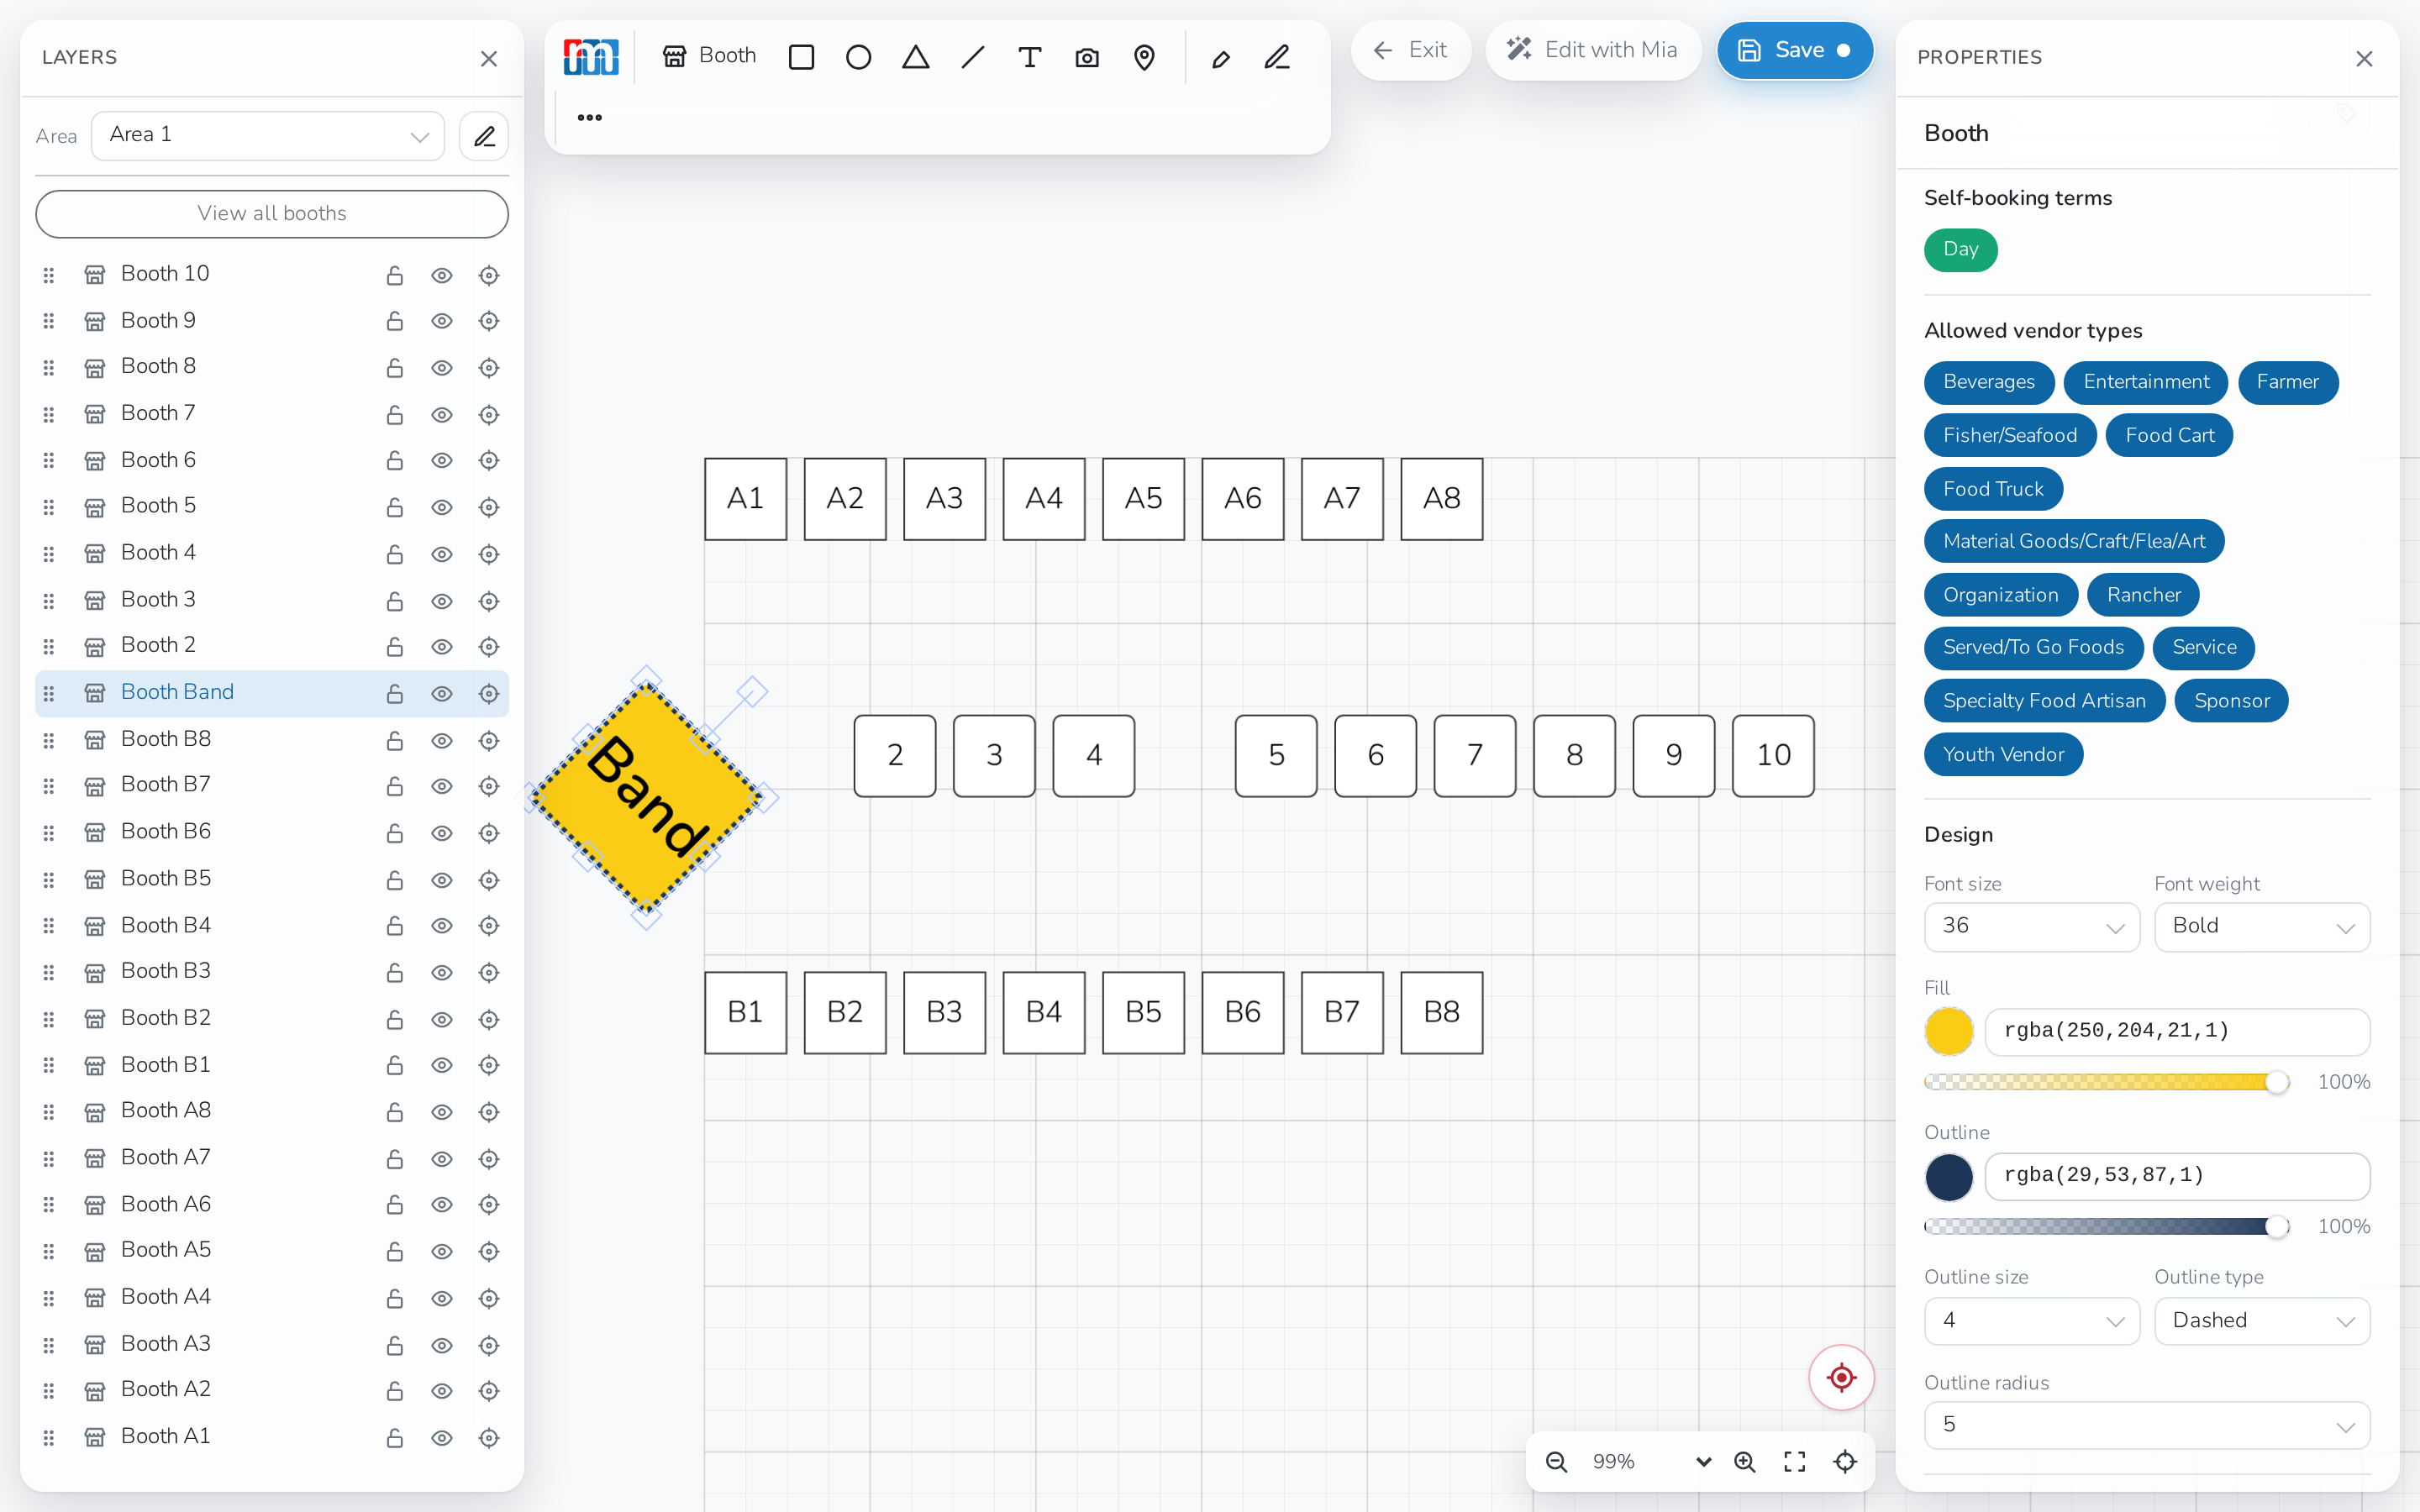
Rename it. Booths are numbered from 1 by default. Type letters,
numbers or both into Booth ID — in the example below, booth 1 was
renamed Band. -
Resize it. Booths start at 10 x 10, the most common size. Set
Width (ft) and Depth (ft) in the Properties panel, or drag the edit
handles on the booth itself. Each background square on the map is 5 feet
by 5 feet.
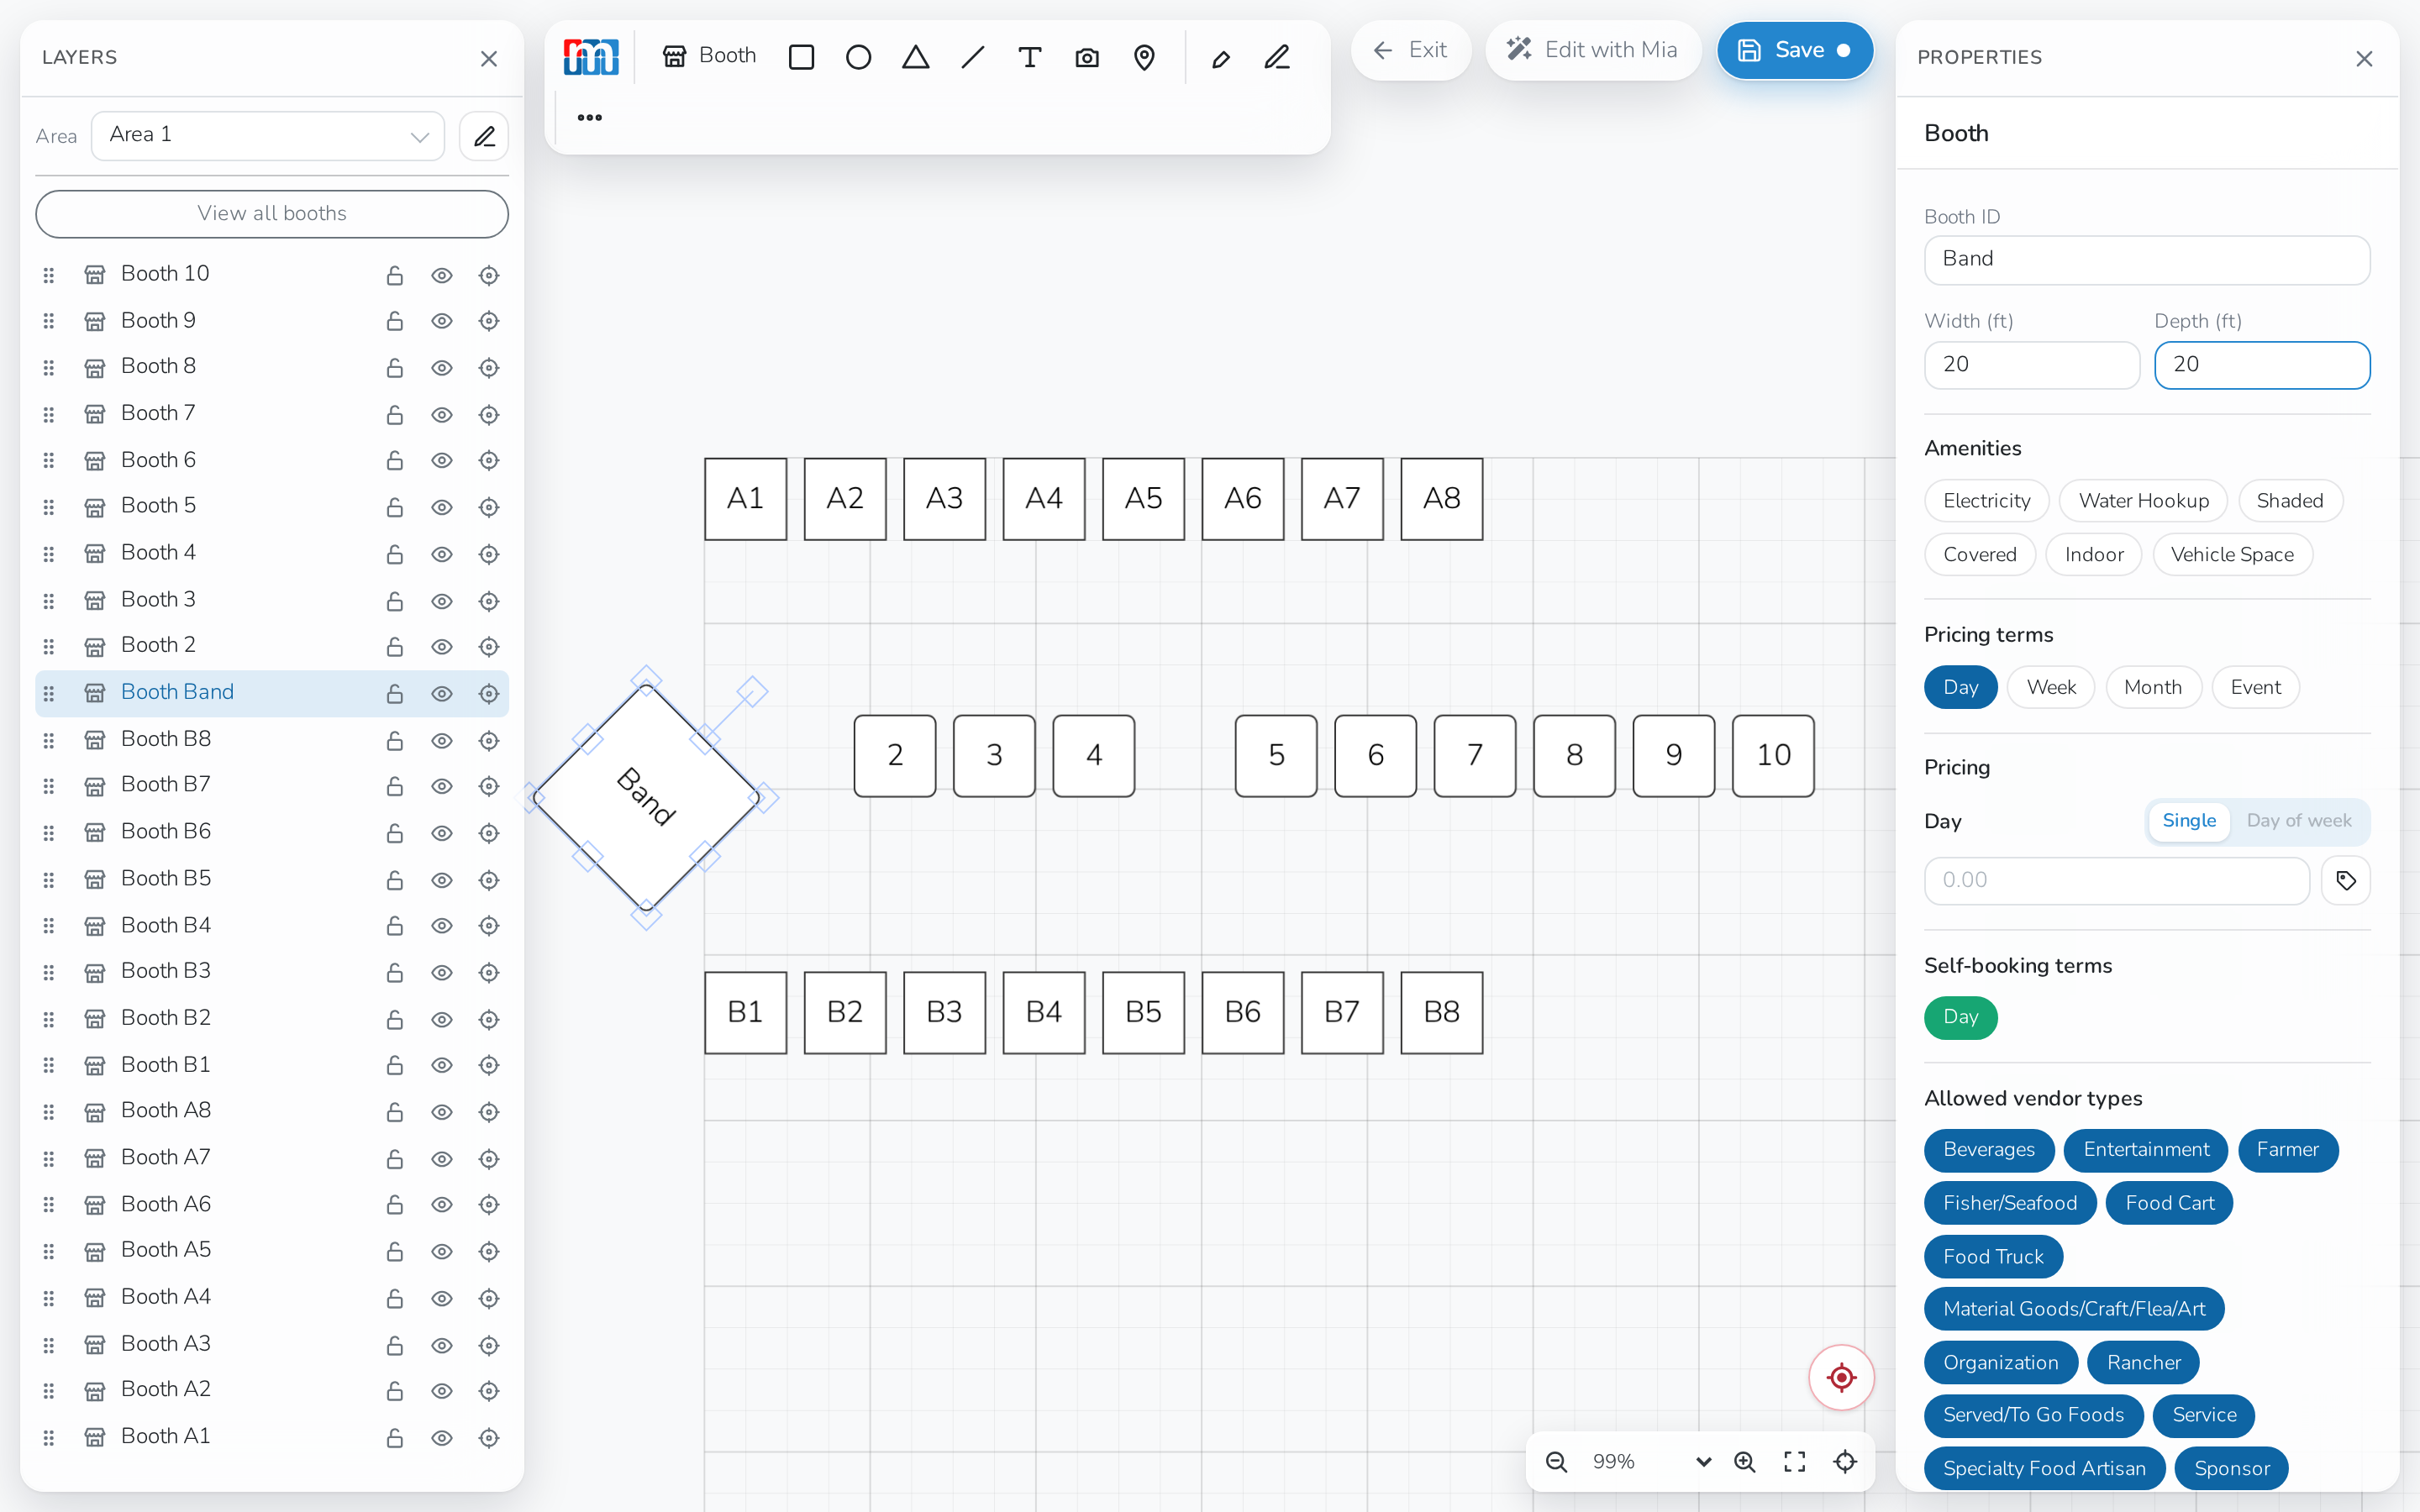
- Rotate it. Drag the rotation handle connected to the booth by a line.
Hold Shift while rotating to snap to 45-degree steps.
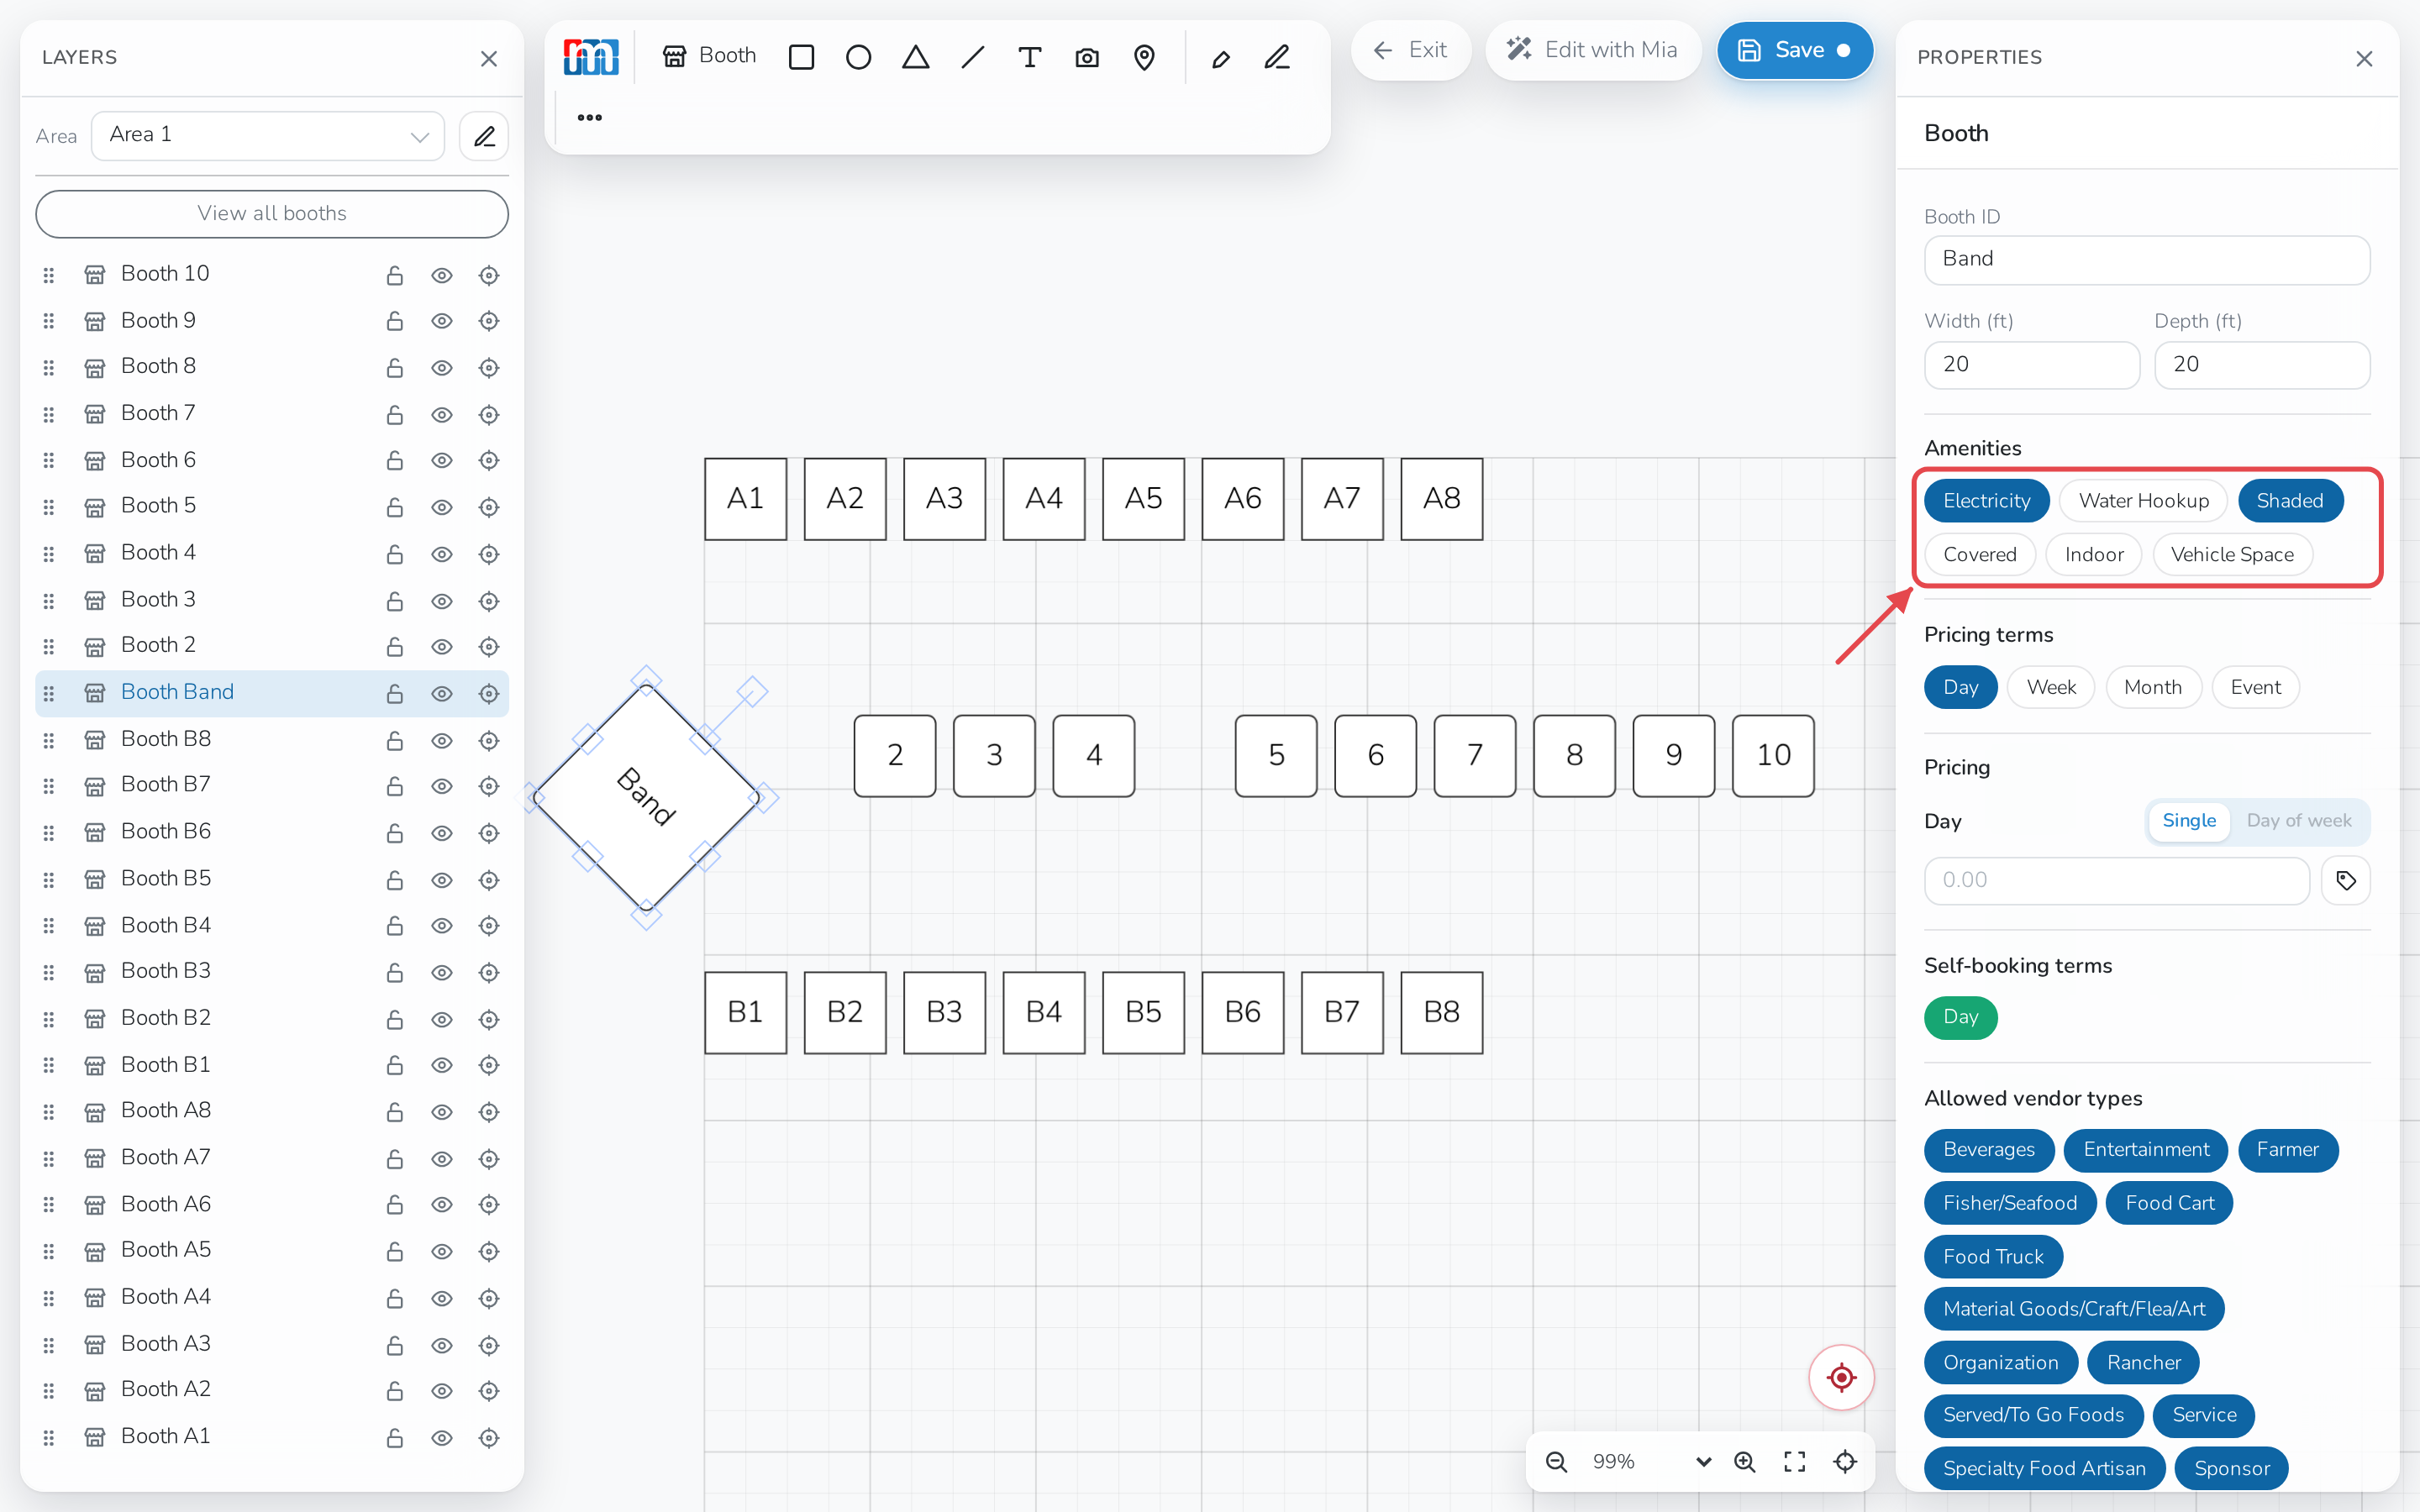
- Add amenities. Select a booth and tap the ones it offers — Electricity,
Water Hookup, Shaded, Covered, Indoor or Vehicle Space.
Vendors see these when booth preferences are turned on for the event.
Style a booth
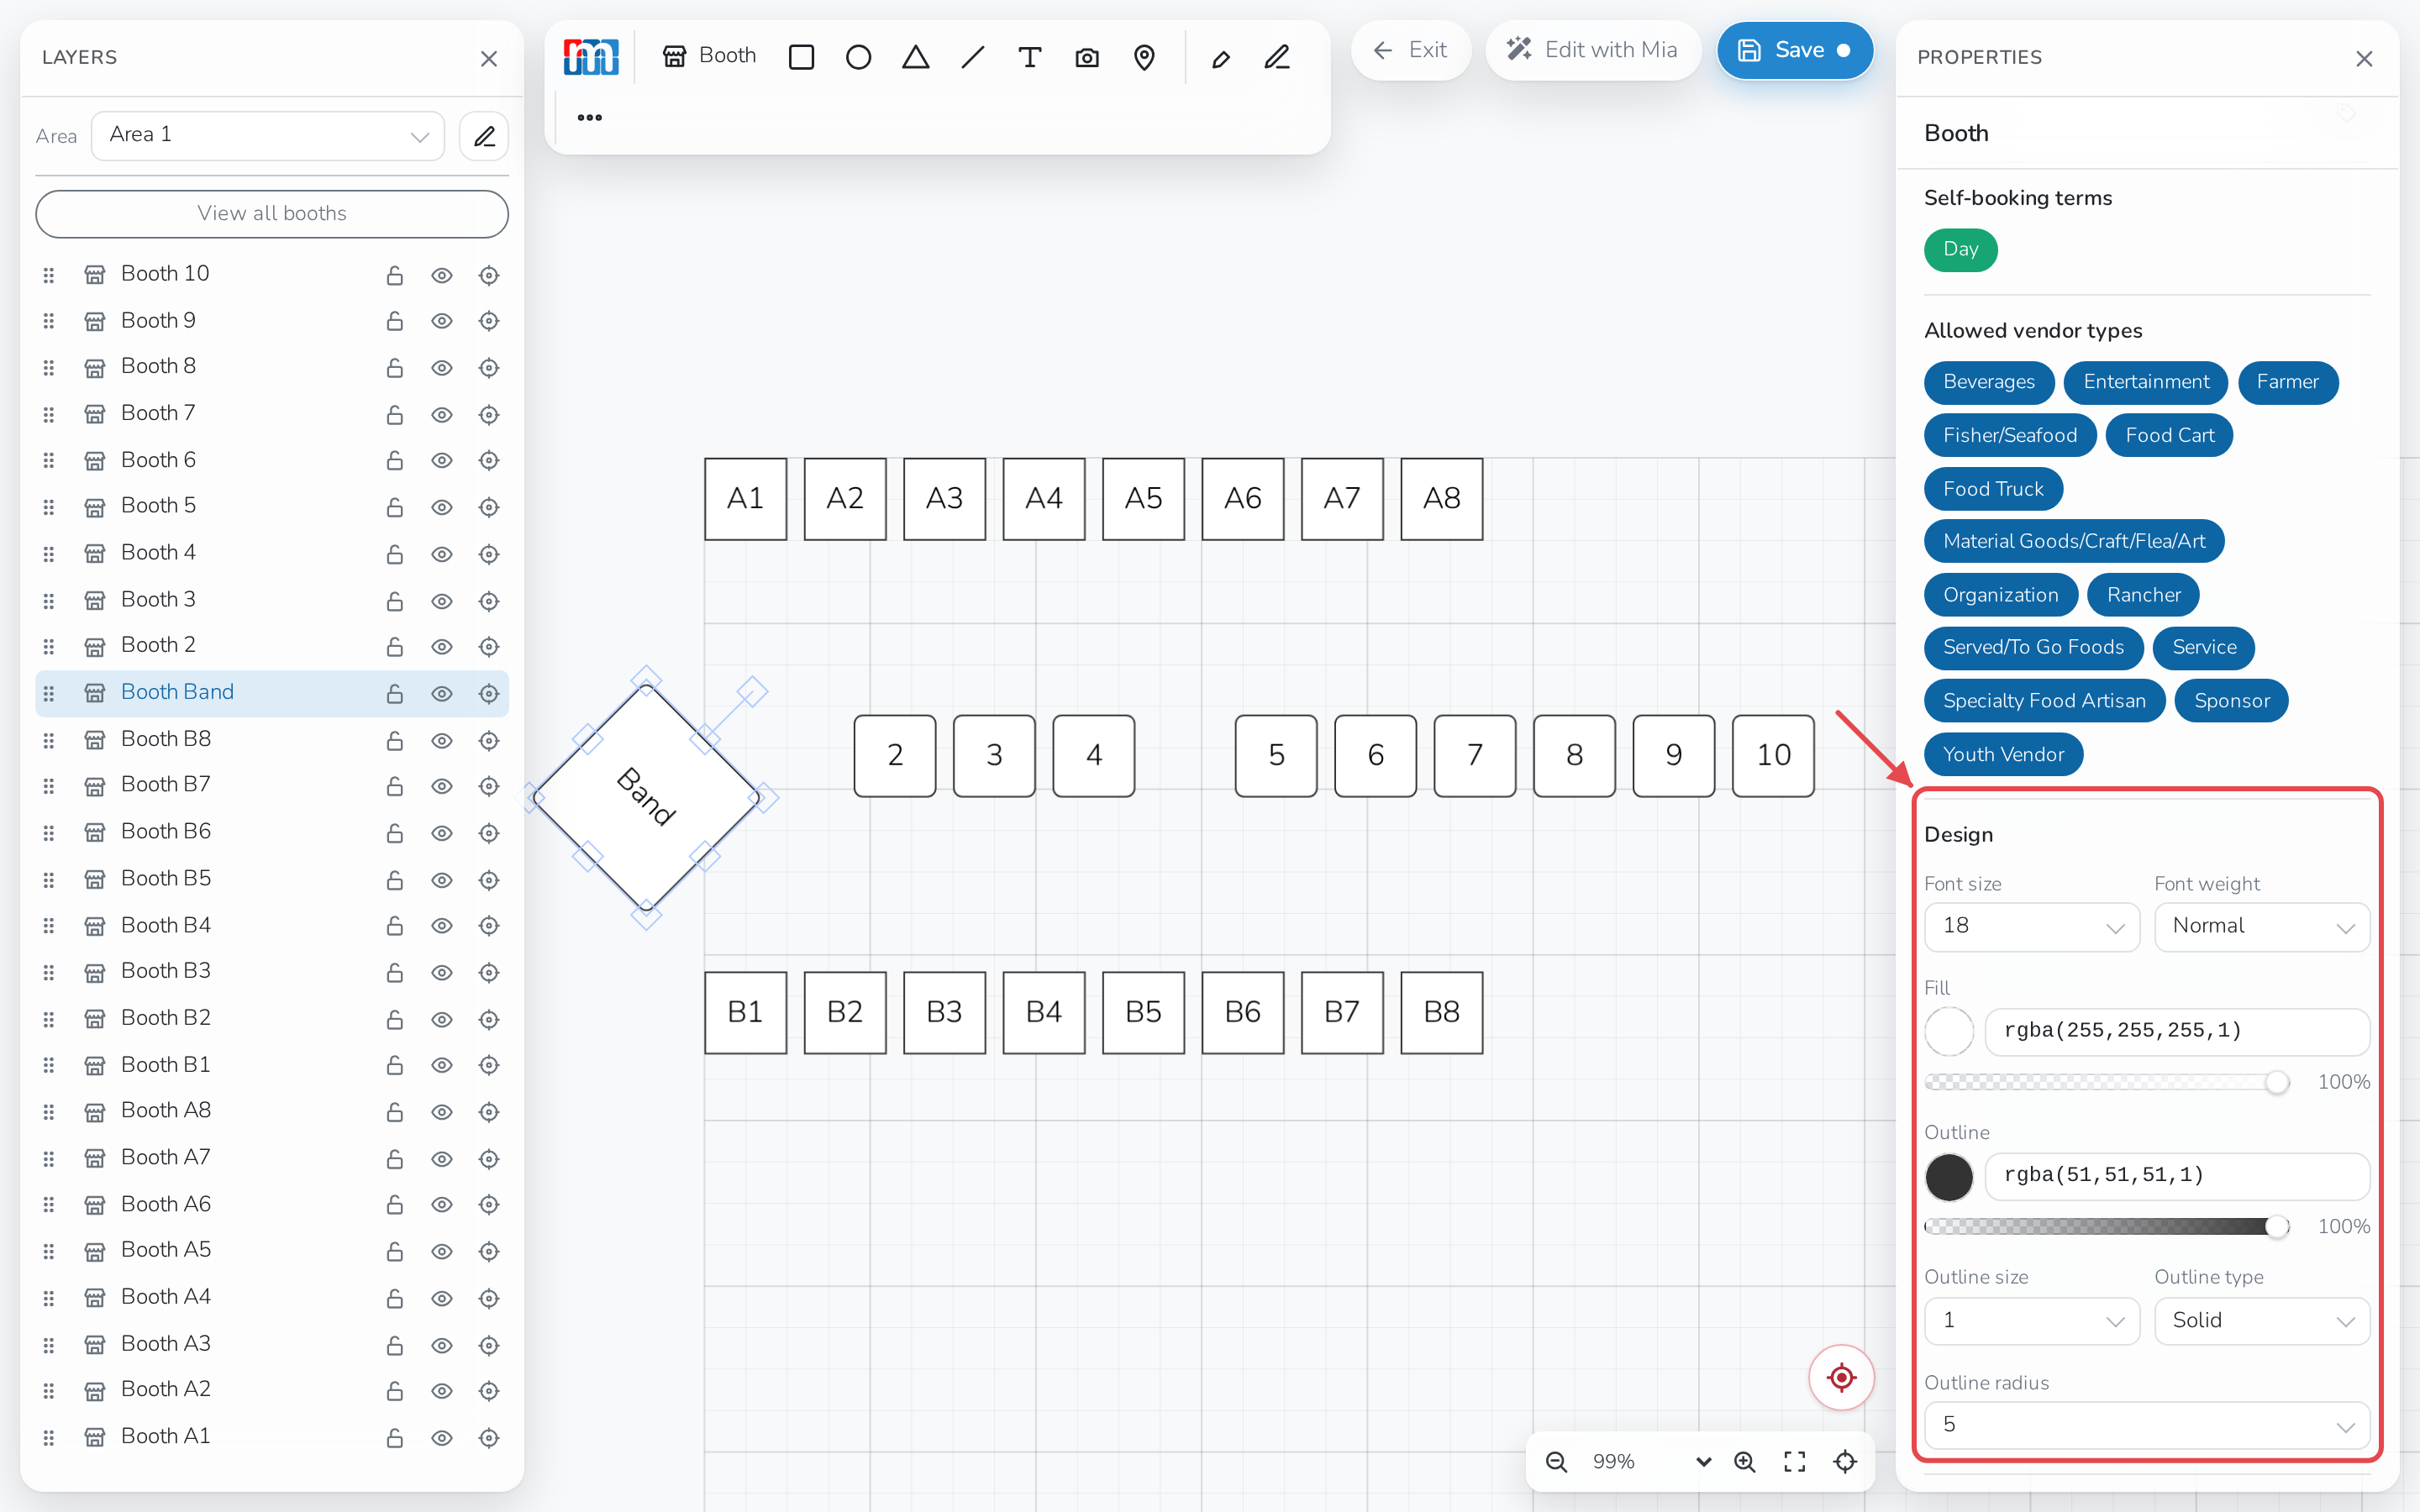
With a booth selected, use these in the Design section of the Properties
panel:
- Font size and Font weight — how its ID looks.
- Fill — the booth's color.
- Outline and Outline size — its border color and thickness.
- Outline type — a solid or dashed border.
- Outline radius — how rounded the corners are. 5 gives a subtle
curve.
Together, these change how a booth looks on the map — a filled booth with
bold text and a dashed outline reads very differently from the plain,
default style every booth starts with.
Add other elements to your map
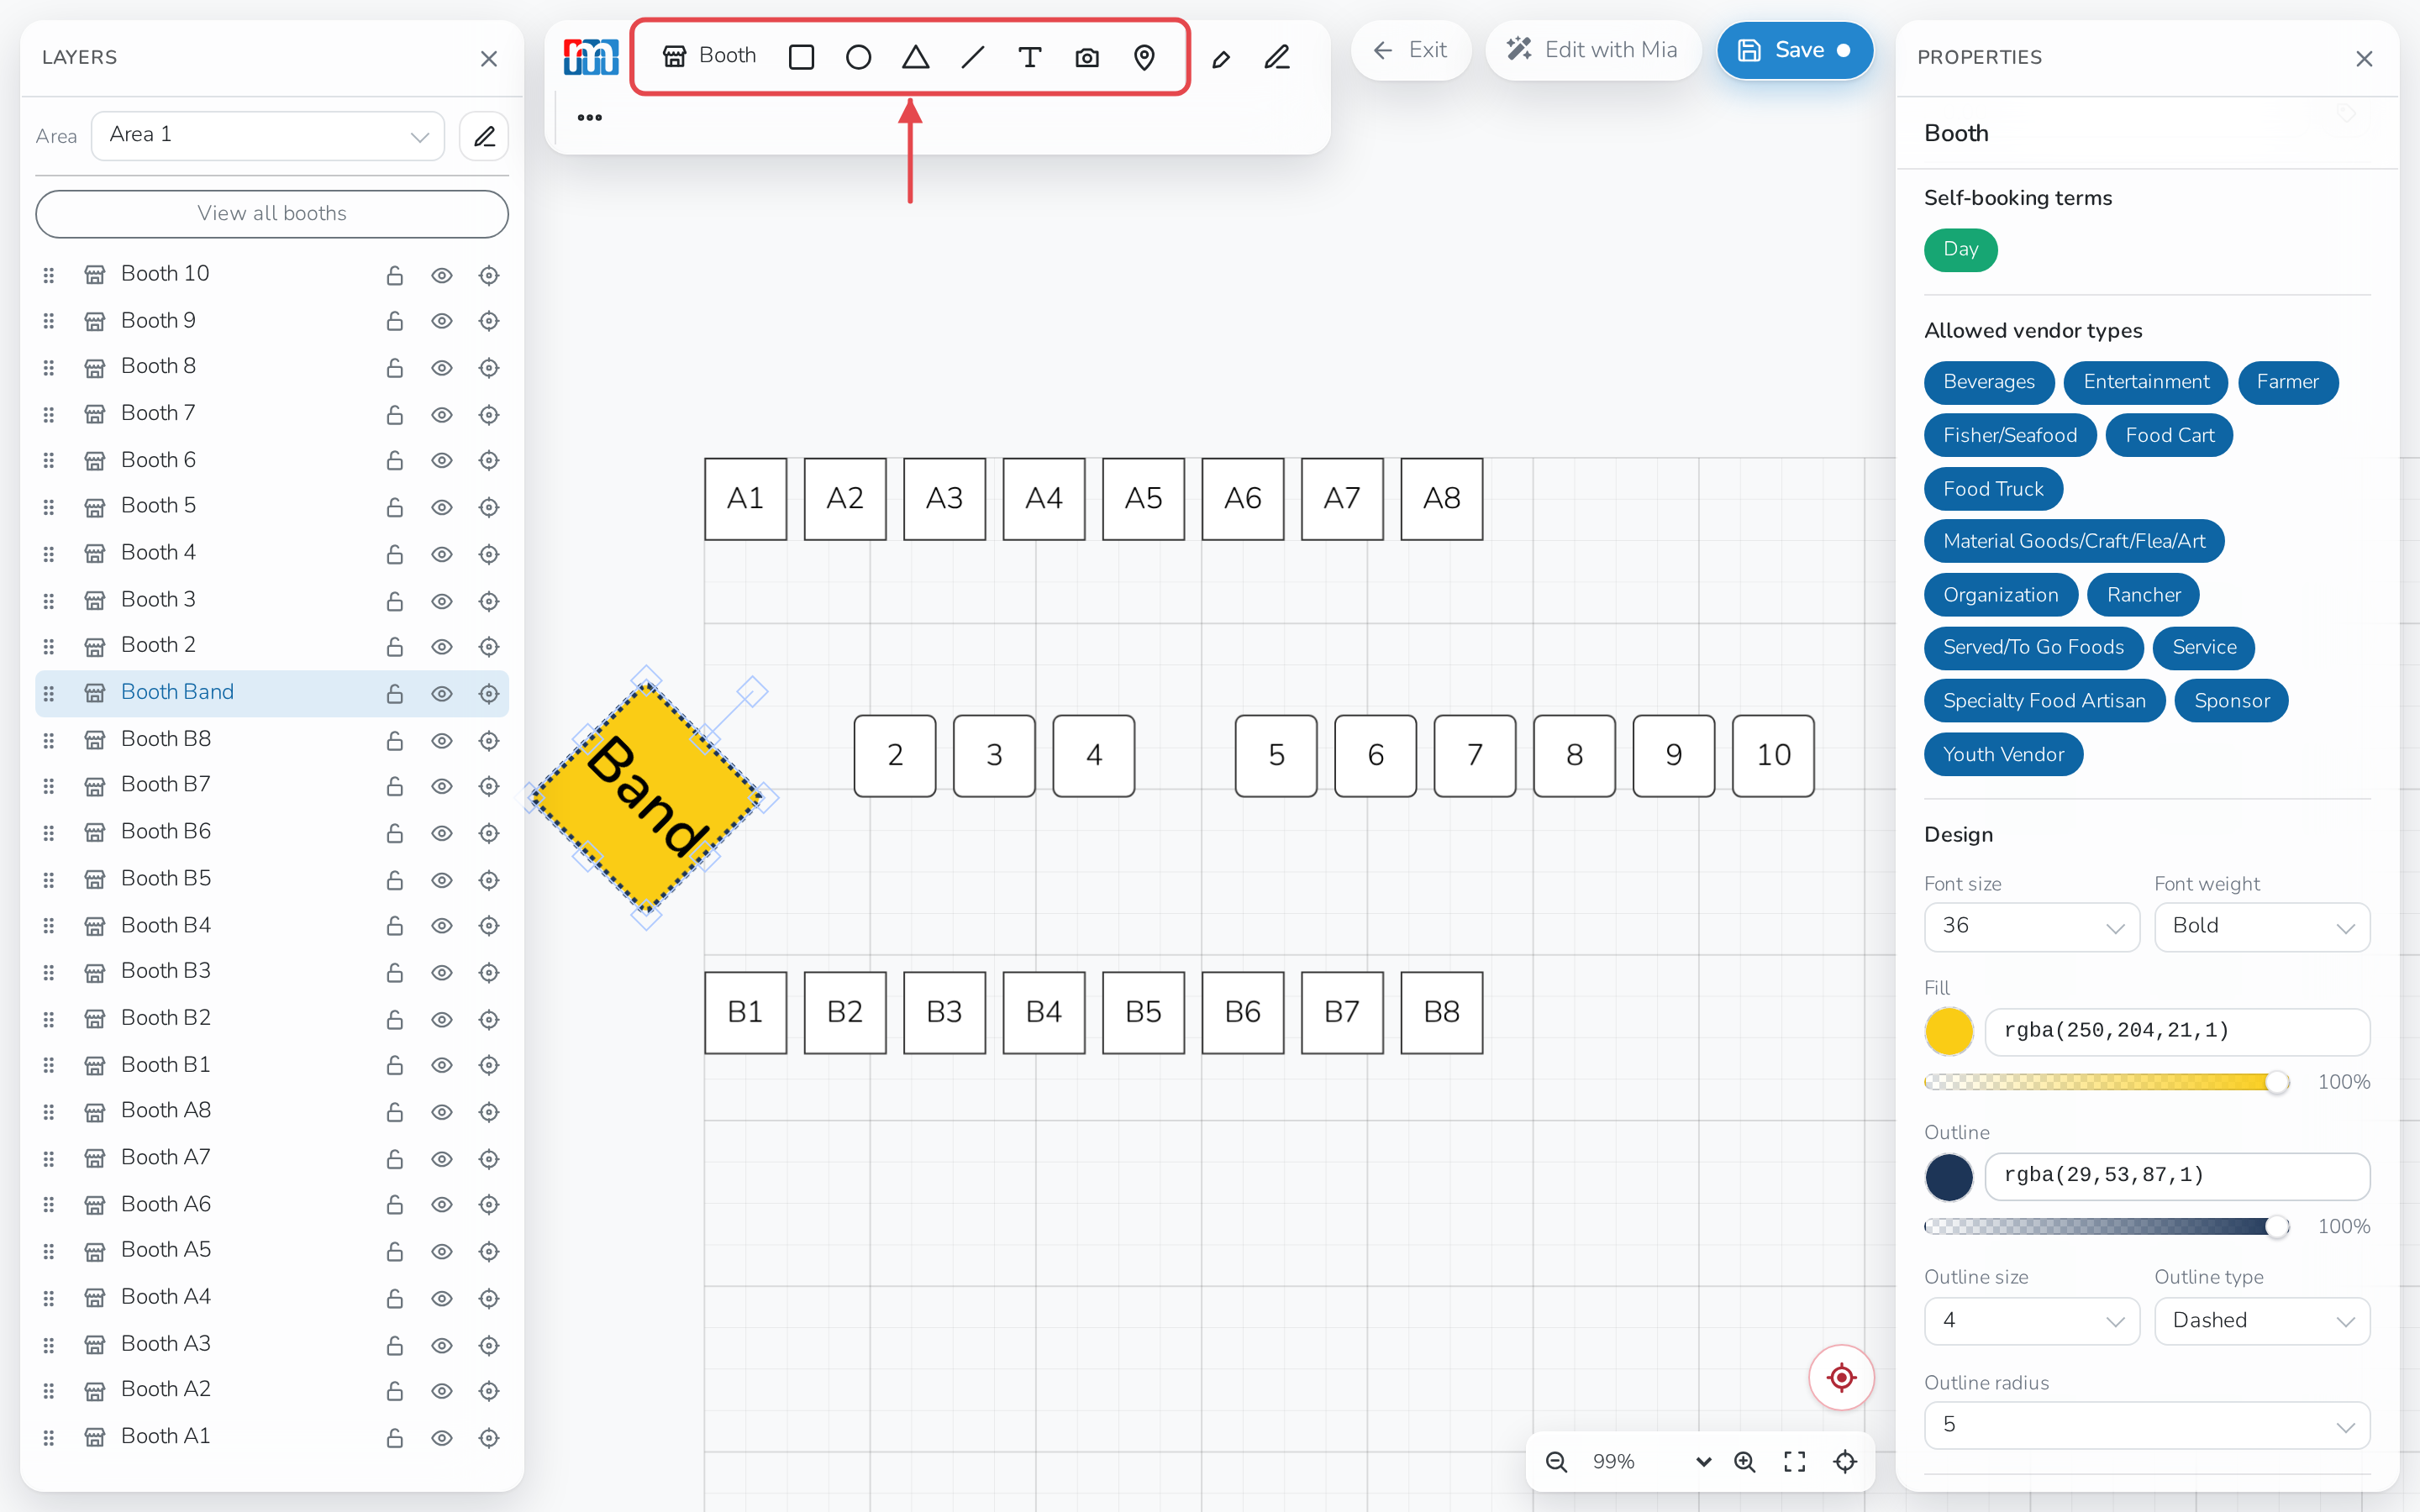
Beyond booths, the toolbar's Add group has rectangles, circles,
triangles, lines, text, a camera marker and a location point. Click one
to add it, then click it again to style, resize or rotate it the same way as
a booth — shapes can overlap each other just like booths can.
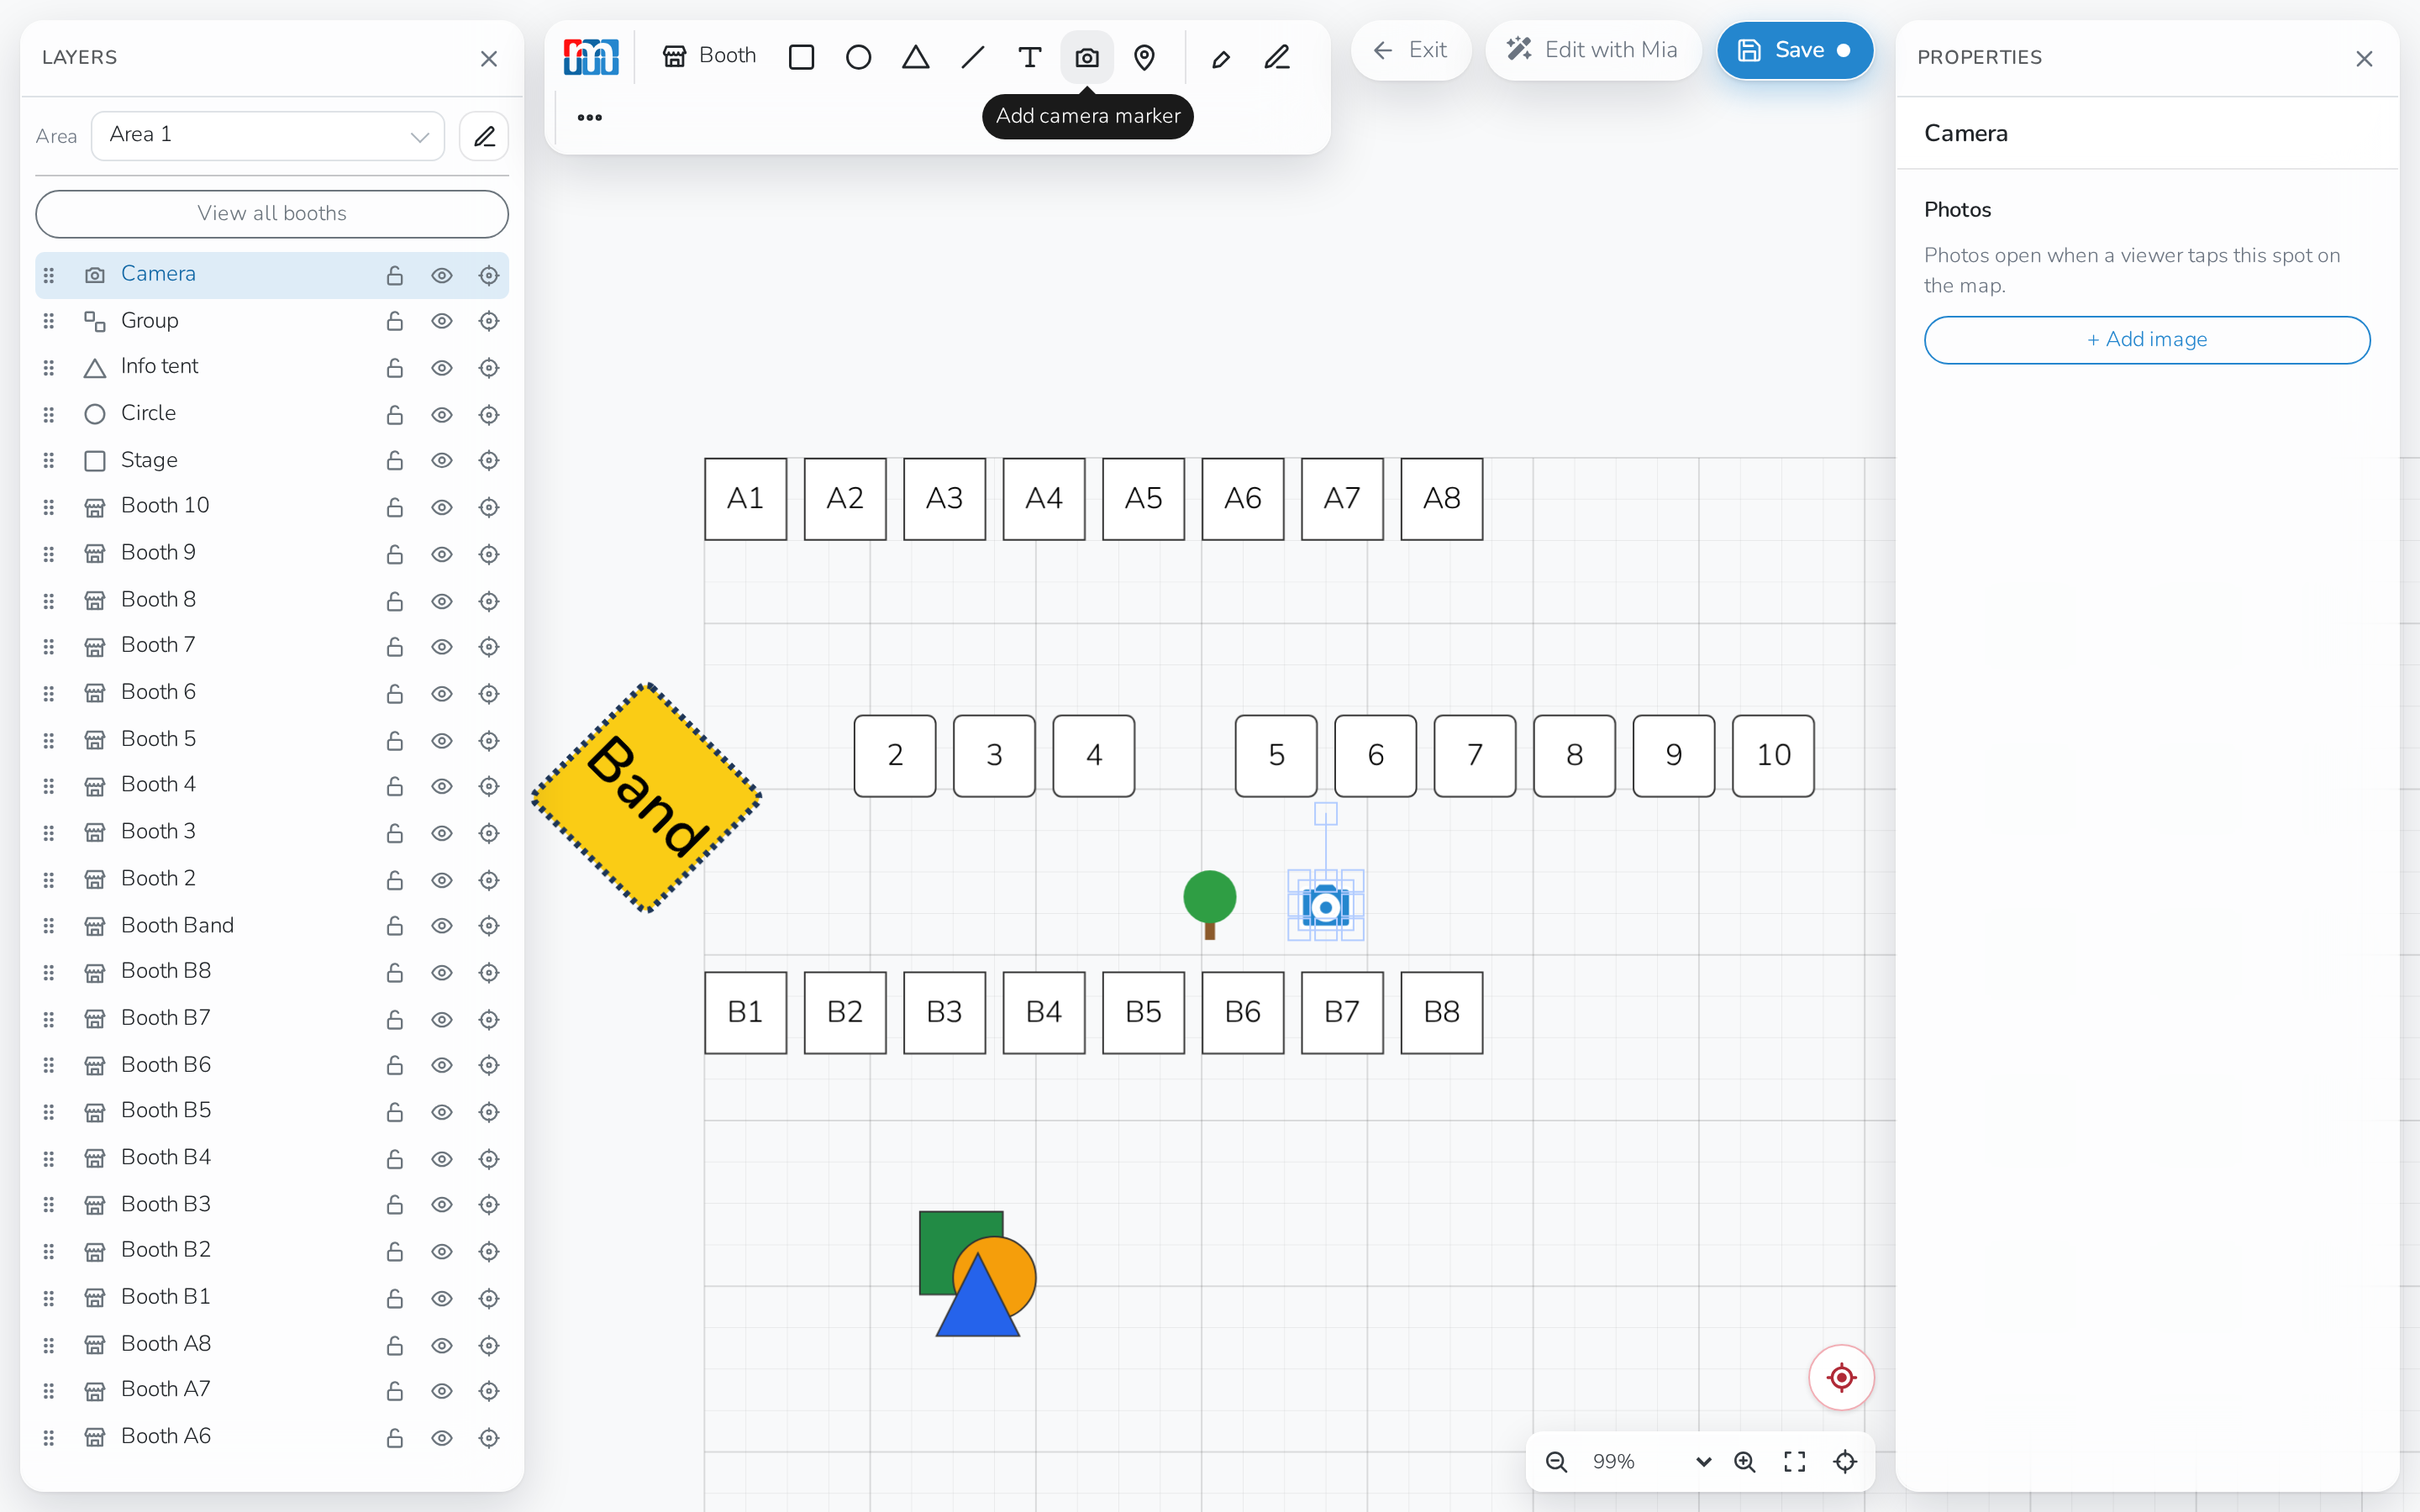
A camera marker shows where a camera is set up at your event. Add photos
to it, and a visitor looking at the map can tap it to see what that spot
looks like.
The Draw & media group, next to it, has a path tool, a freehand pencil
and a button to upload your own graphics. SVG works best — it stays
sharp at any zoom level, where a JPG or PNG can blur if the map is
zoomed in a lot. The same group lets you pick from a library of icons such as
buildings, trees and vehicles, or add a map background.
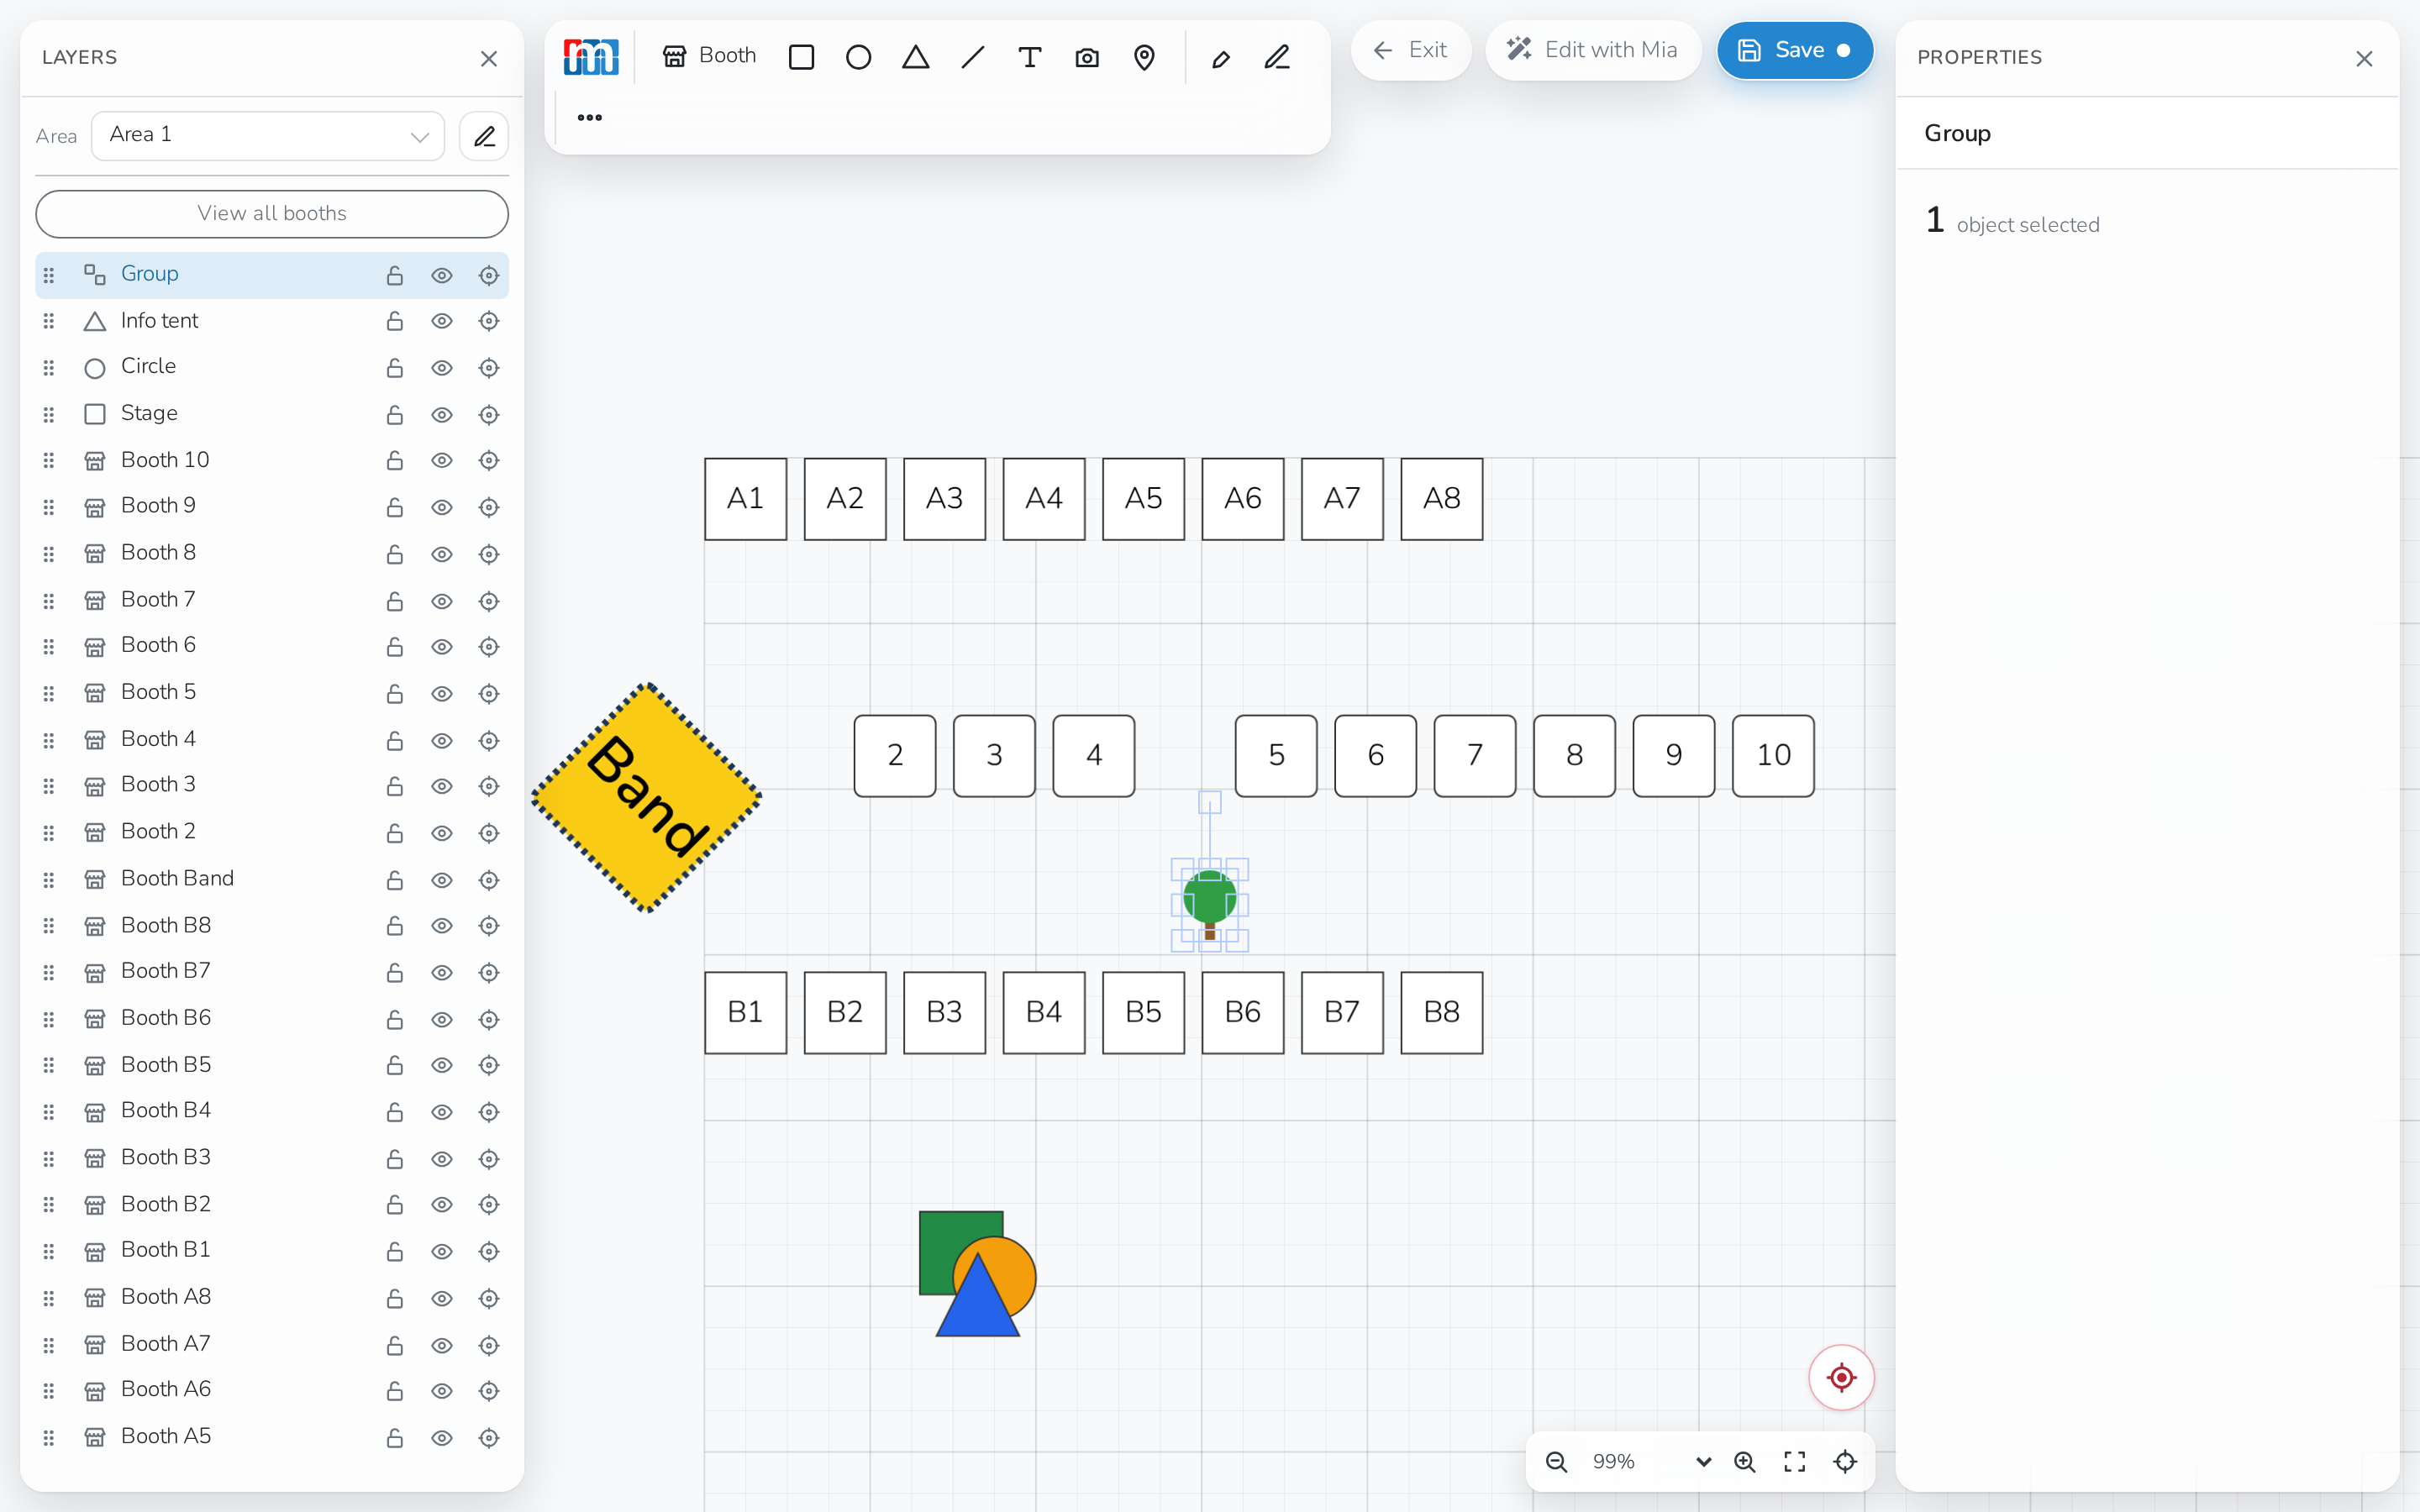
Undo and redo sit together in the toolbar's History group — there's no
third button there. If your window isn't wide enough to show every toolbar
group, it folds into More tools instead.
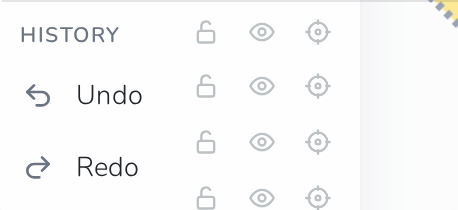
Organize elements with the Layers panel
The Layers panel, on the left, lists everything on your map, and is open
by default.
Against each item you can:
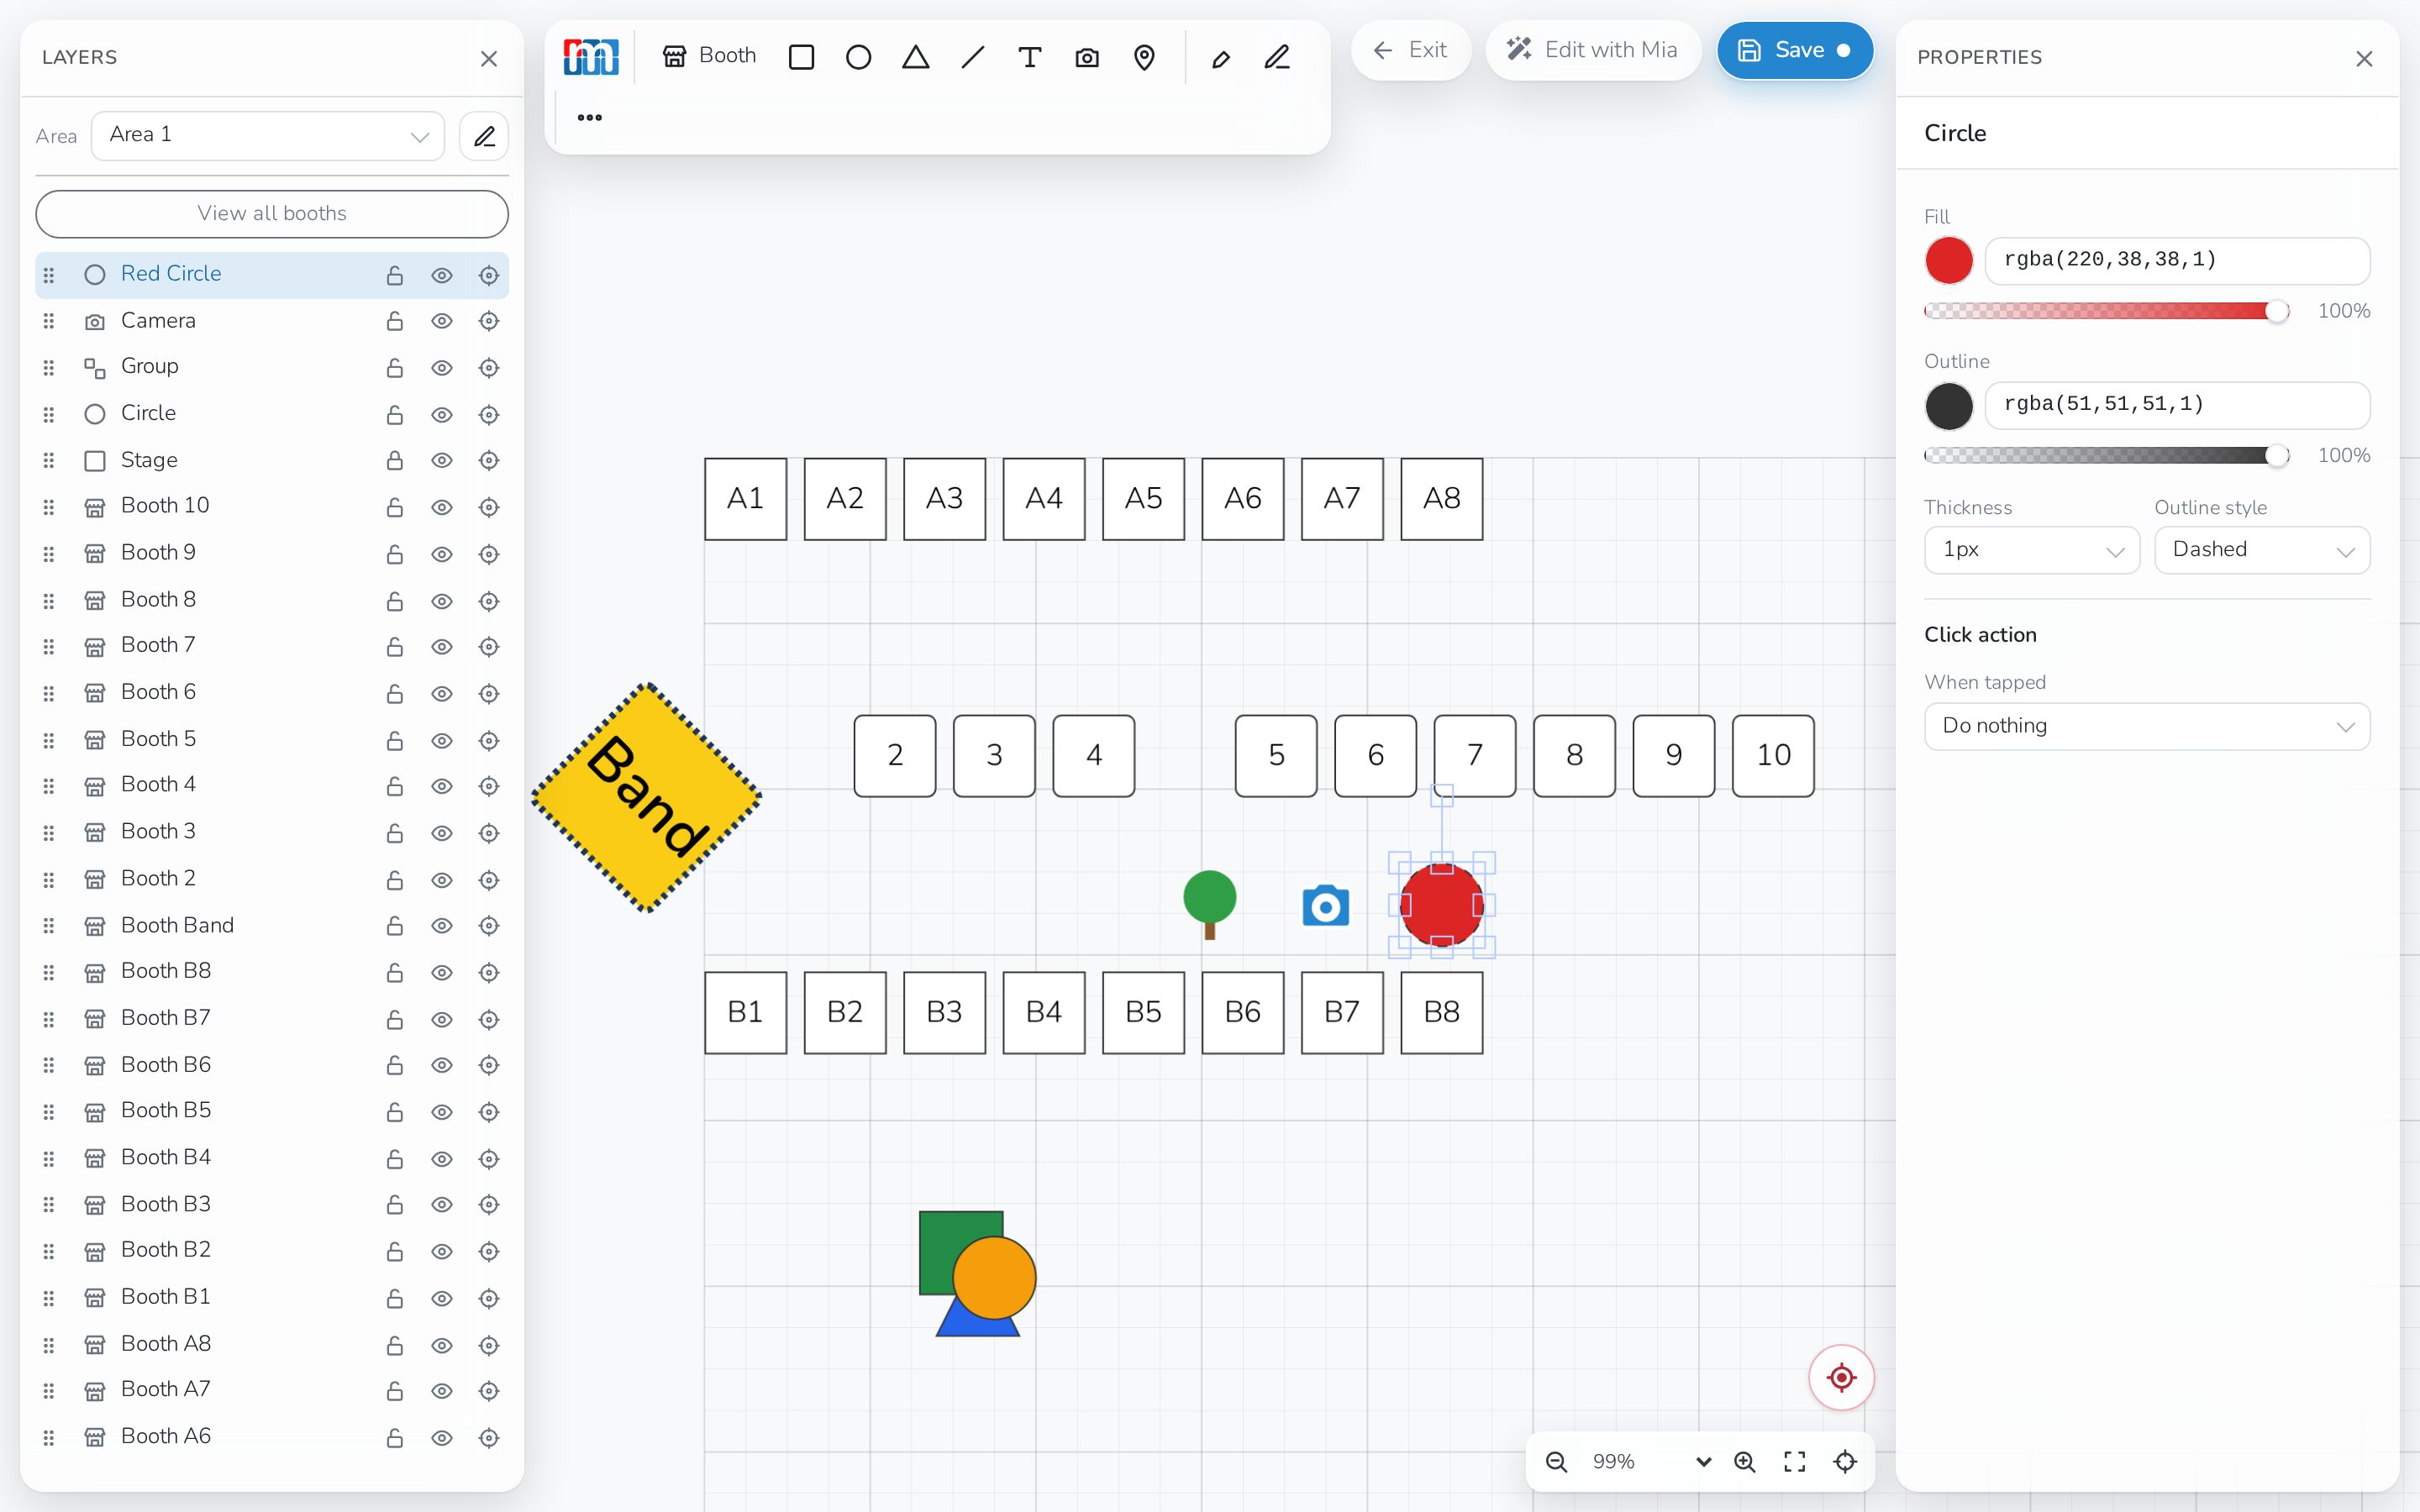
- Lock it, so it can't be moved or selected by accident — useful once a
background piece is exactly where you want it. Click the lock icon again,
in the Layers panel, to unlock it and edit it again.
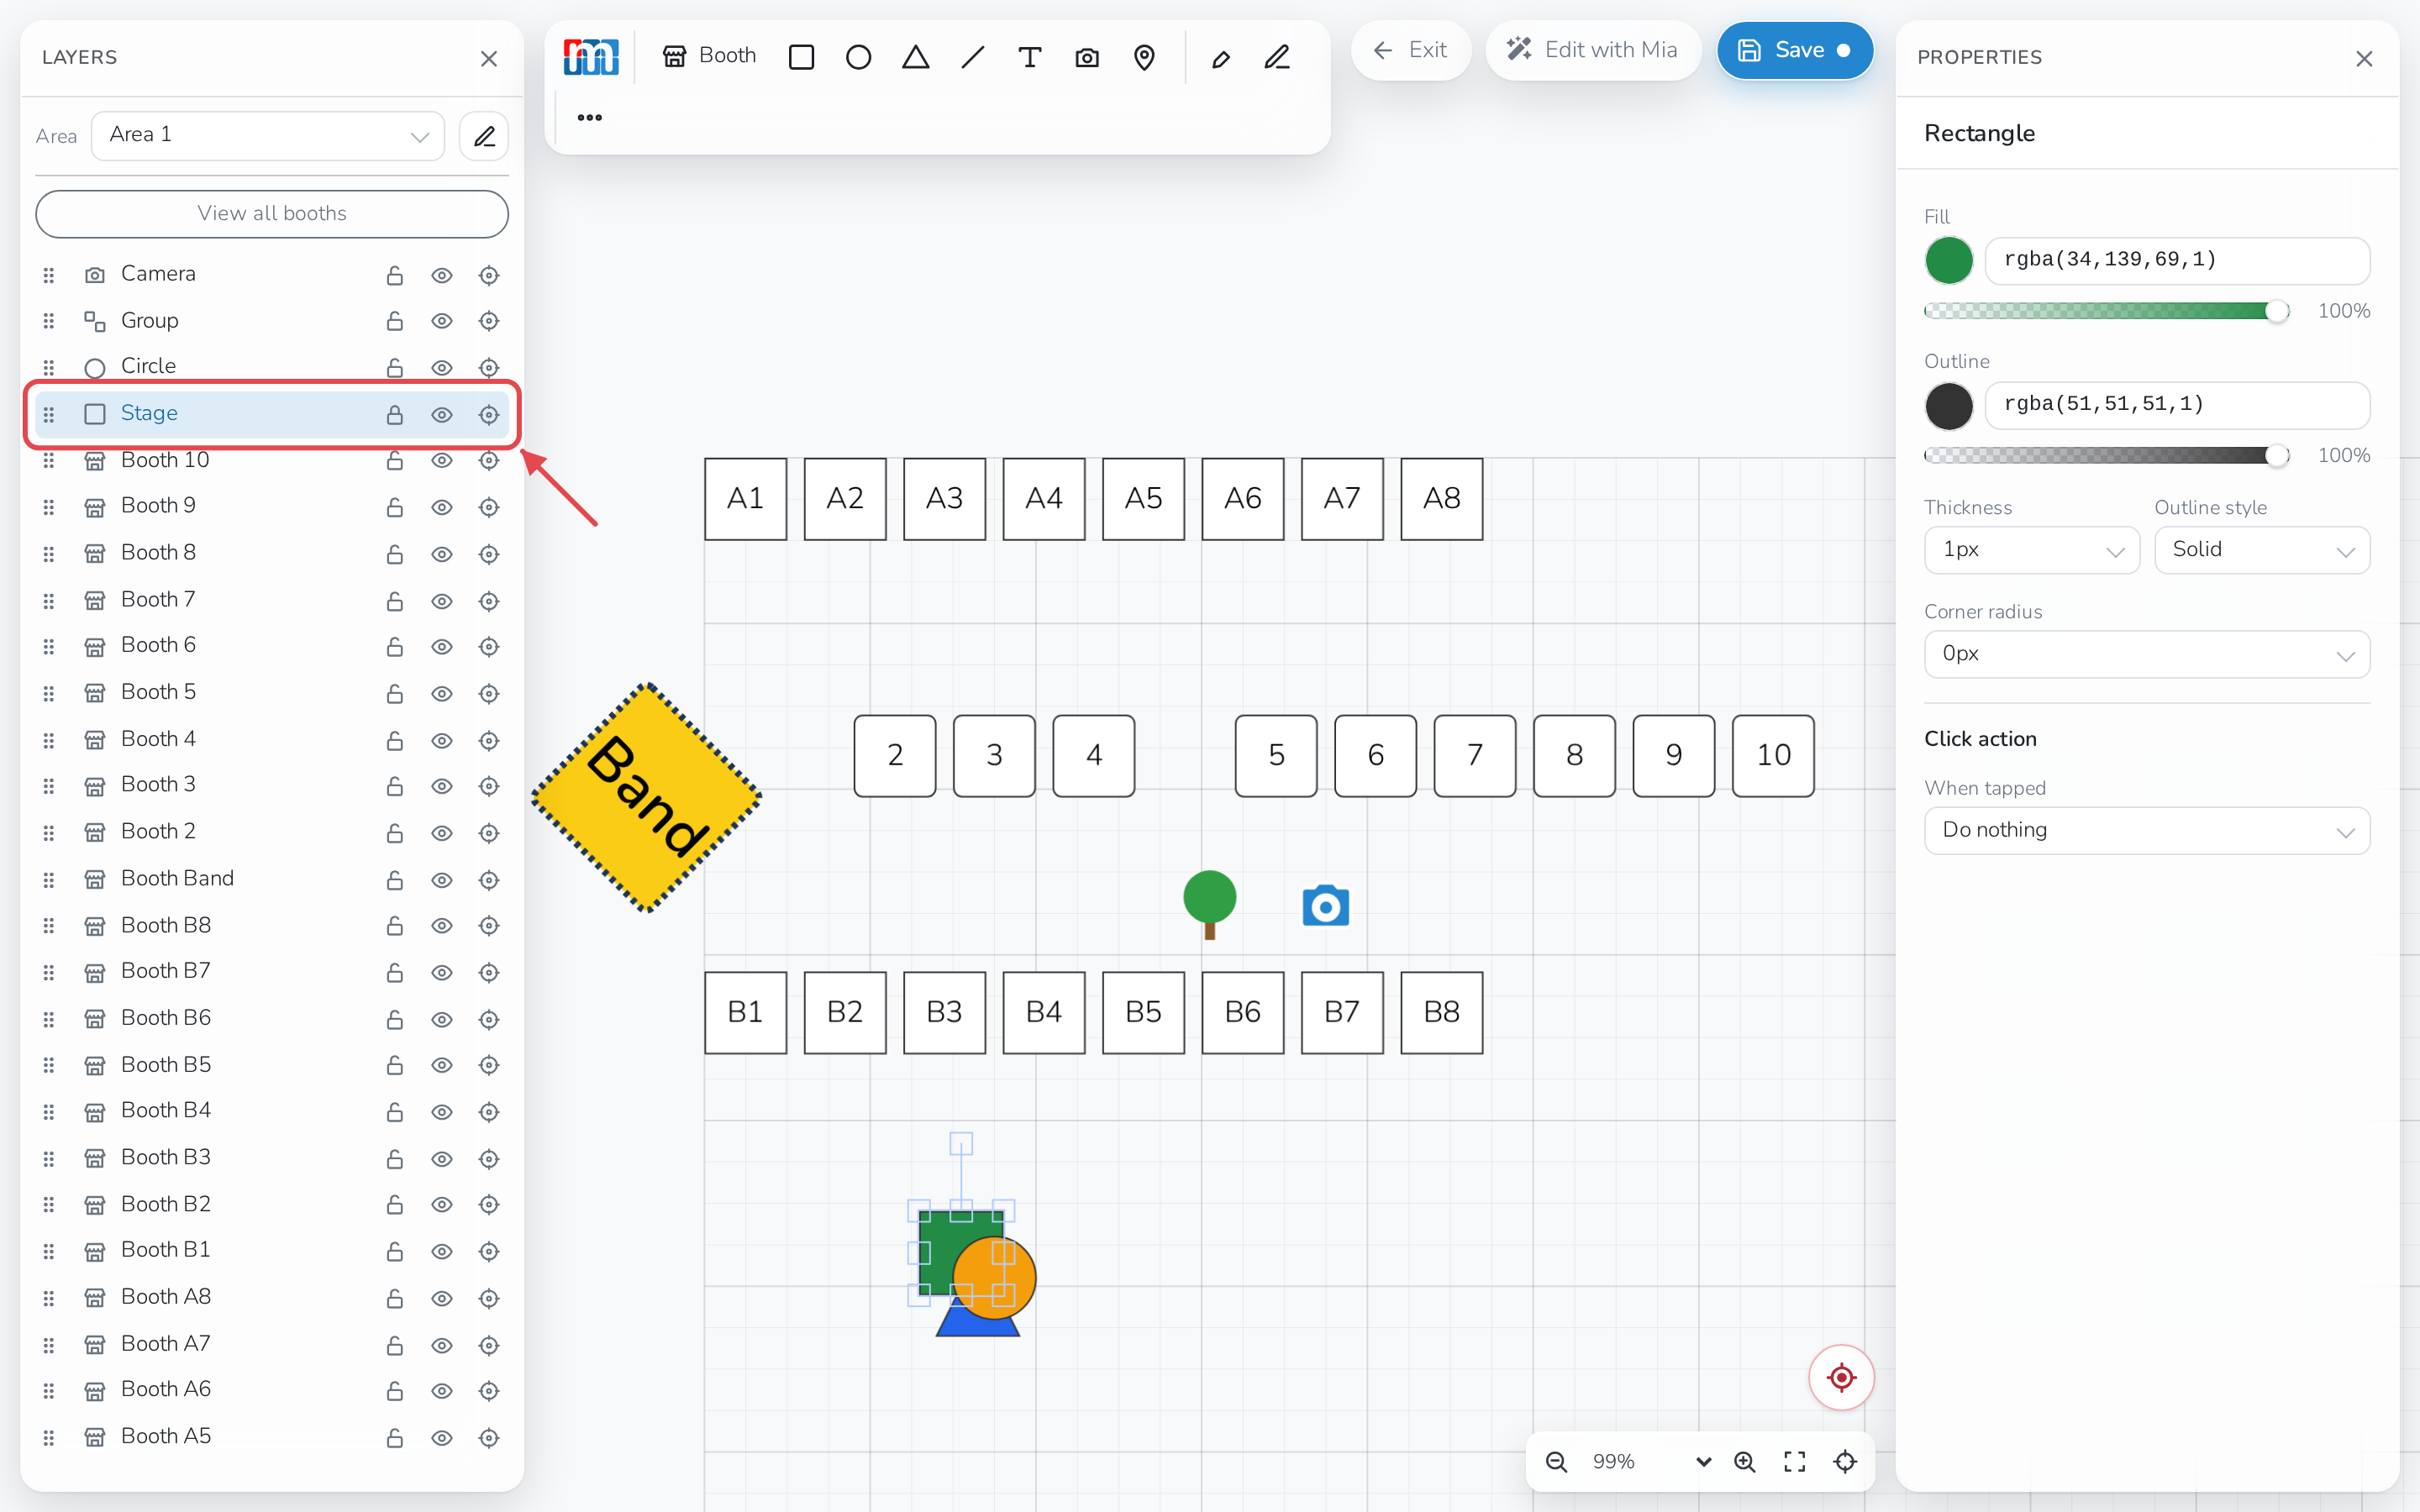
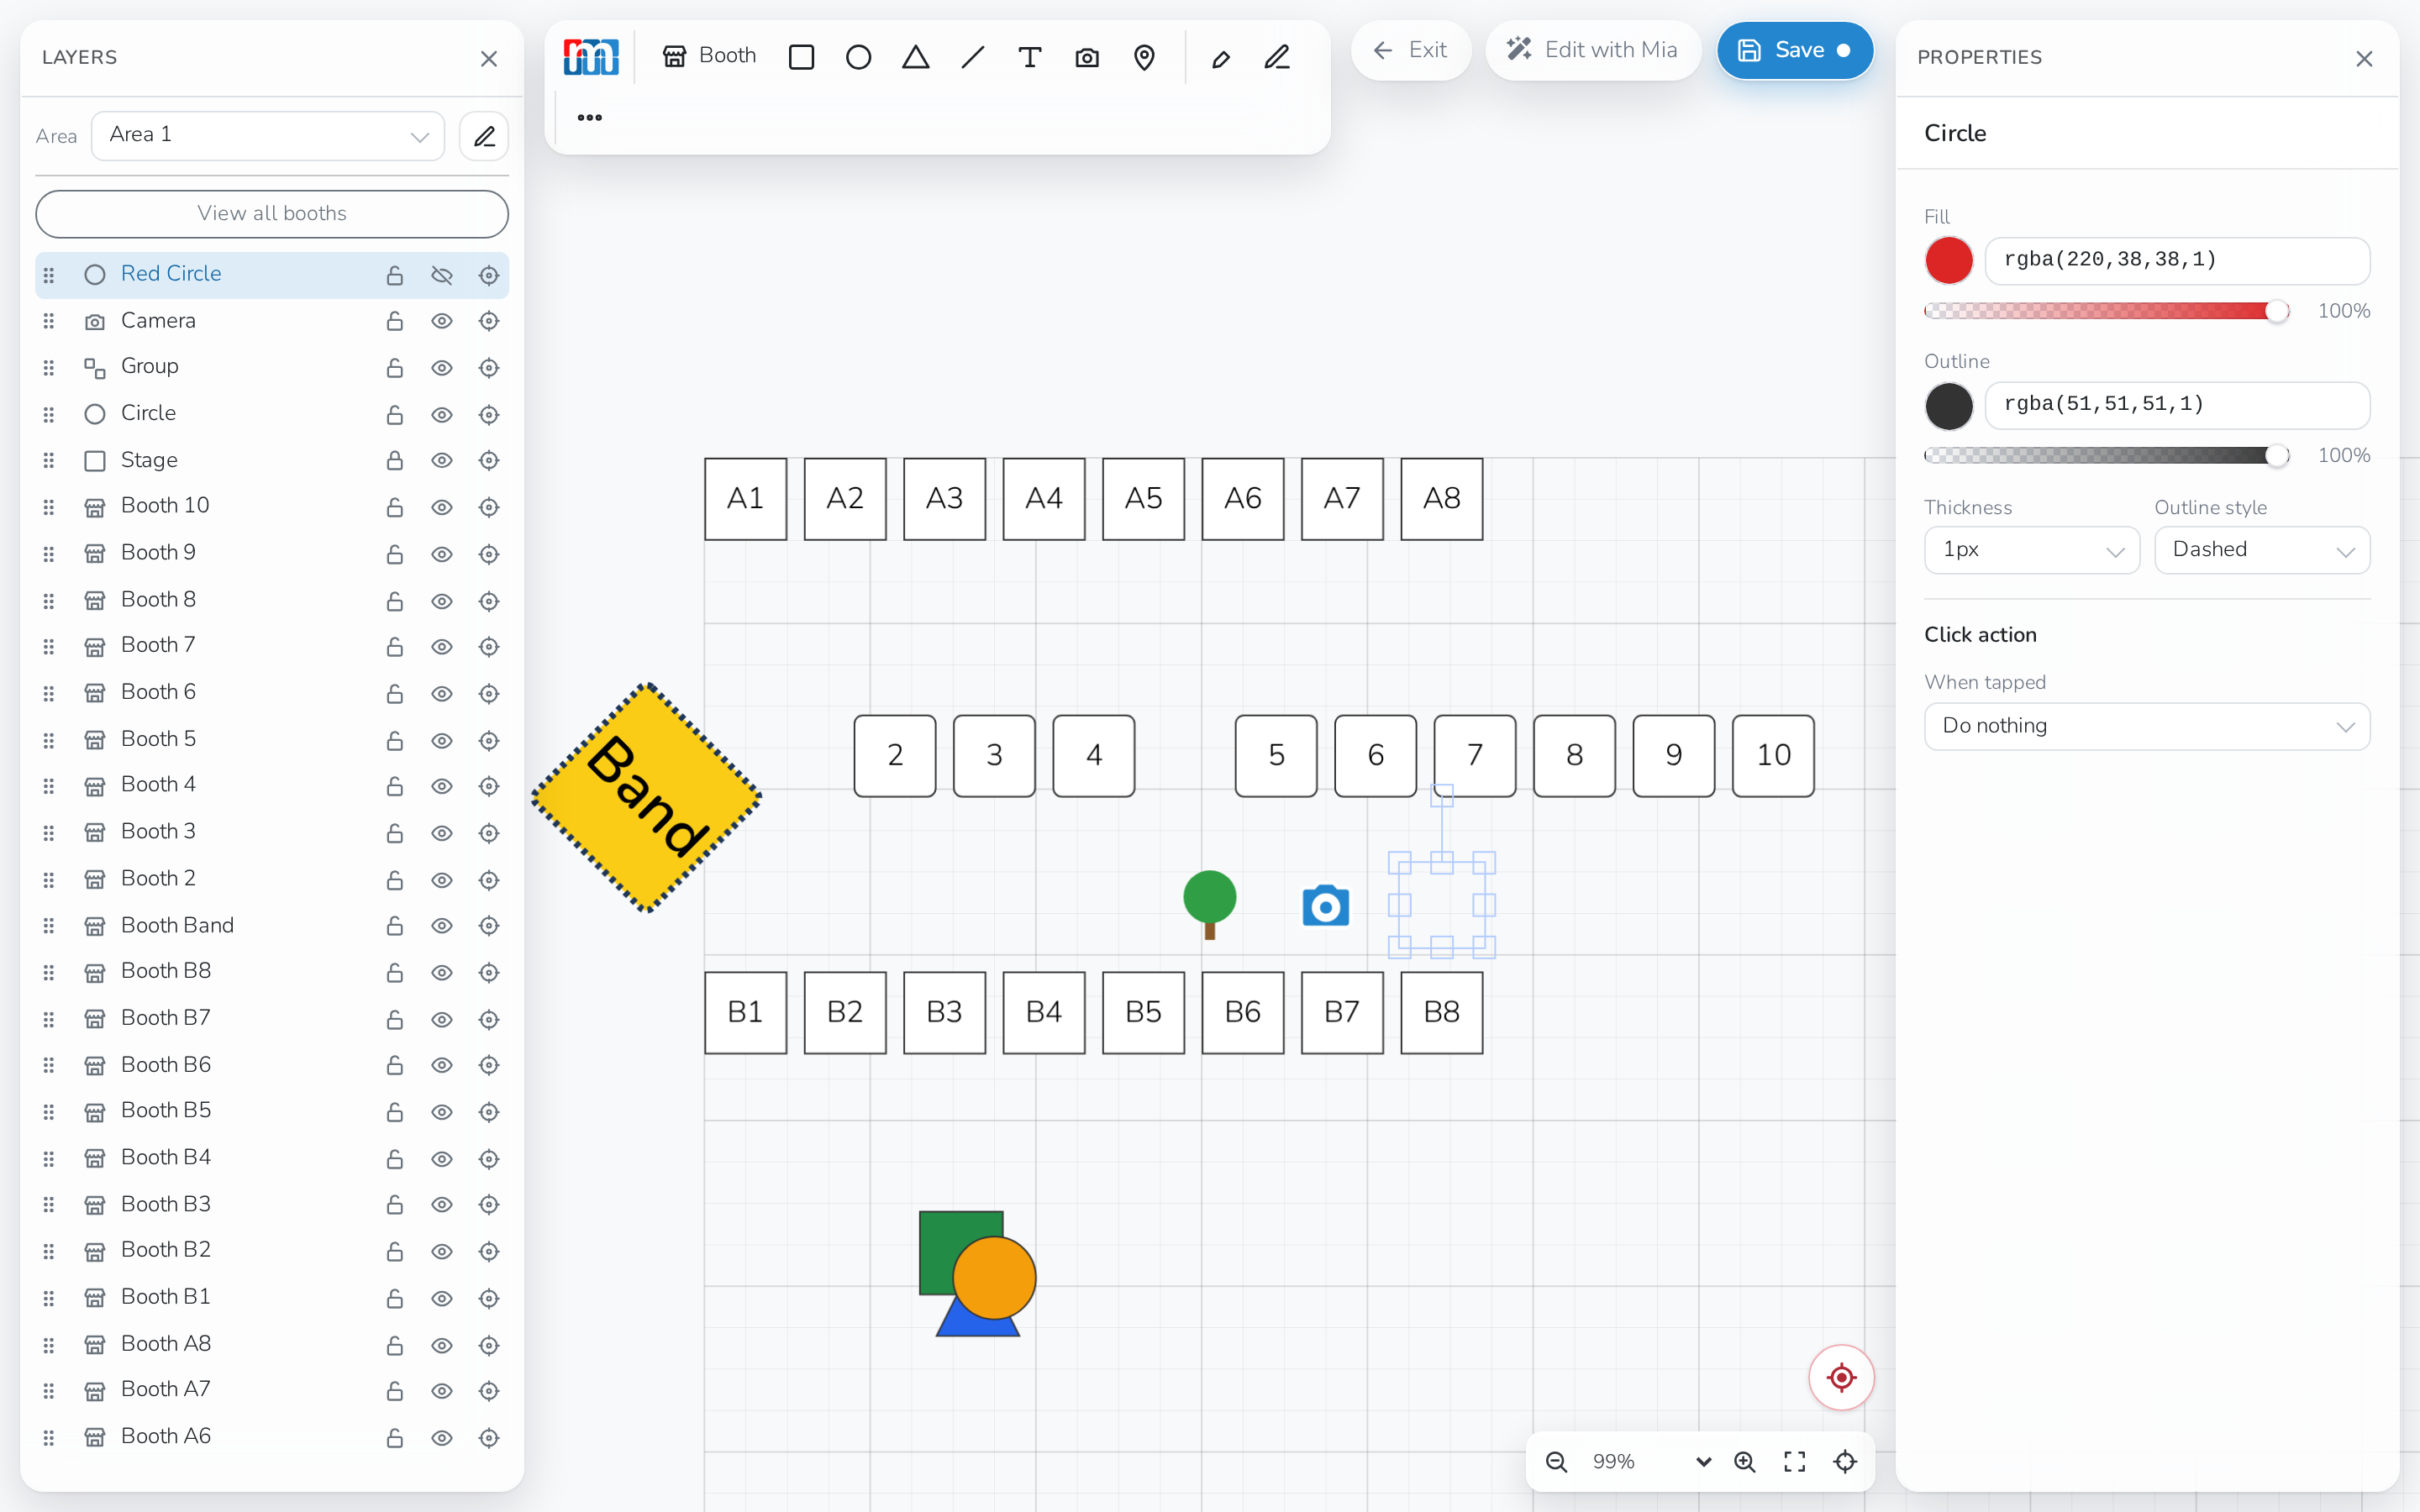
- Hide it, with the eye icon. A hidden element still exists in your
layout — it just isn't shown on the published map.
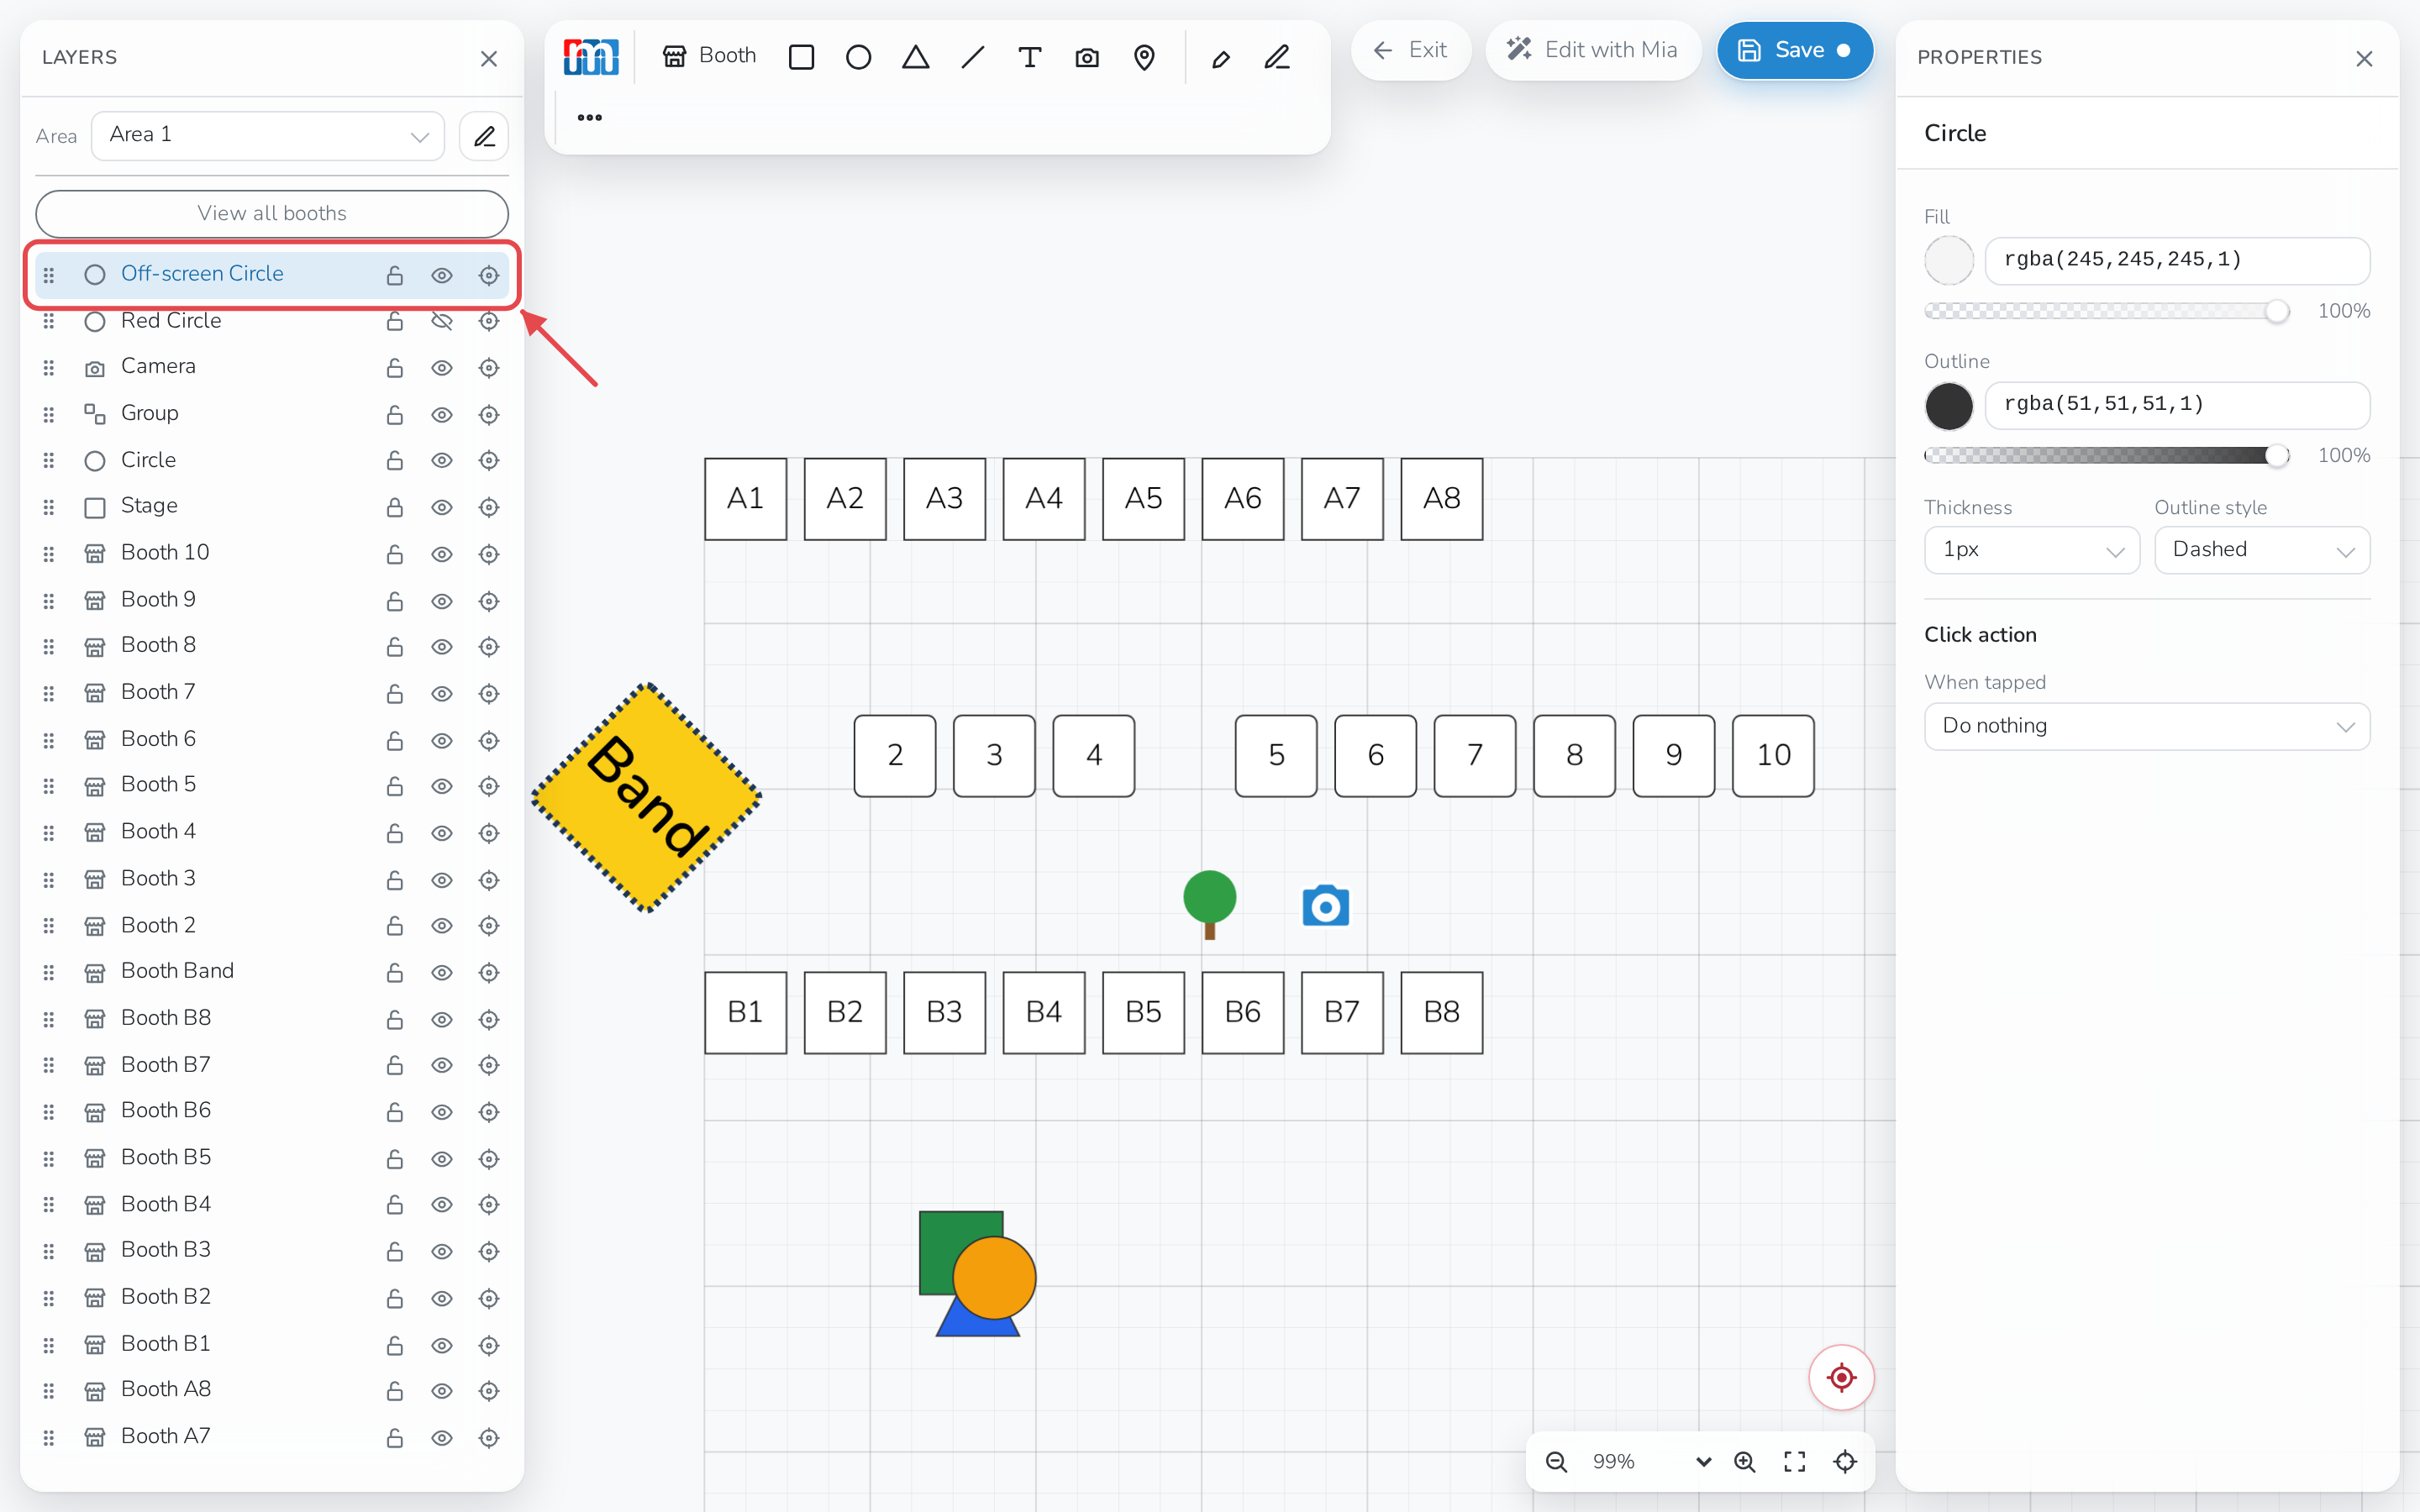
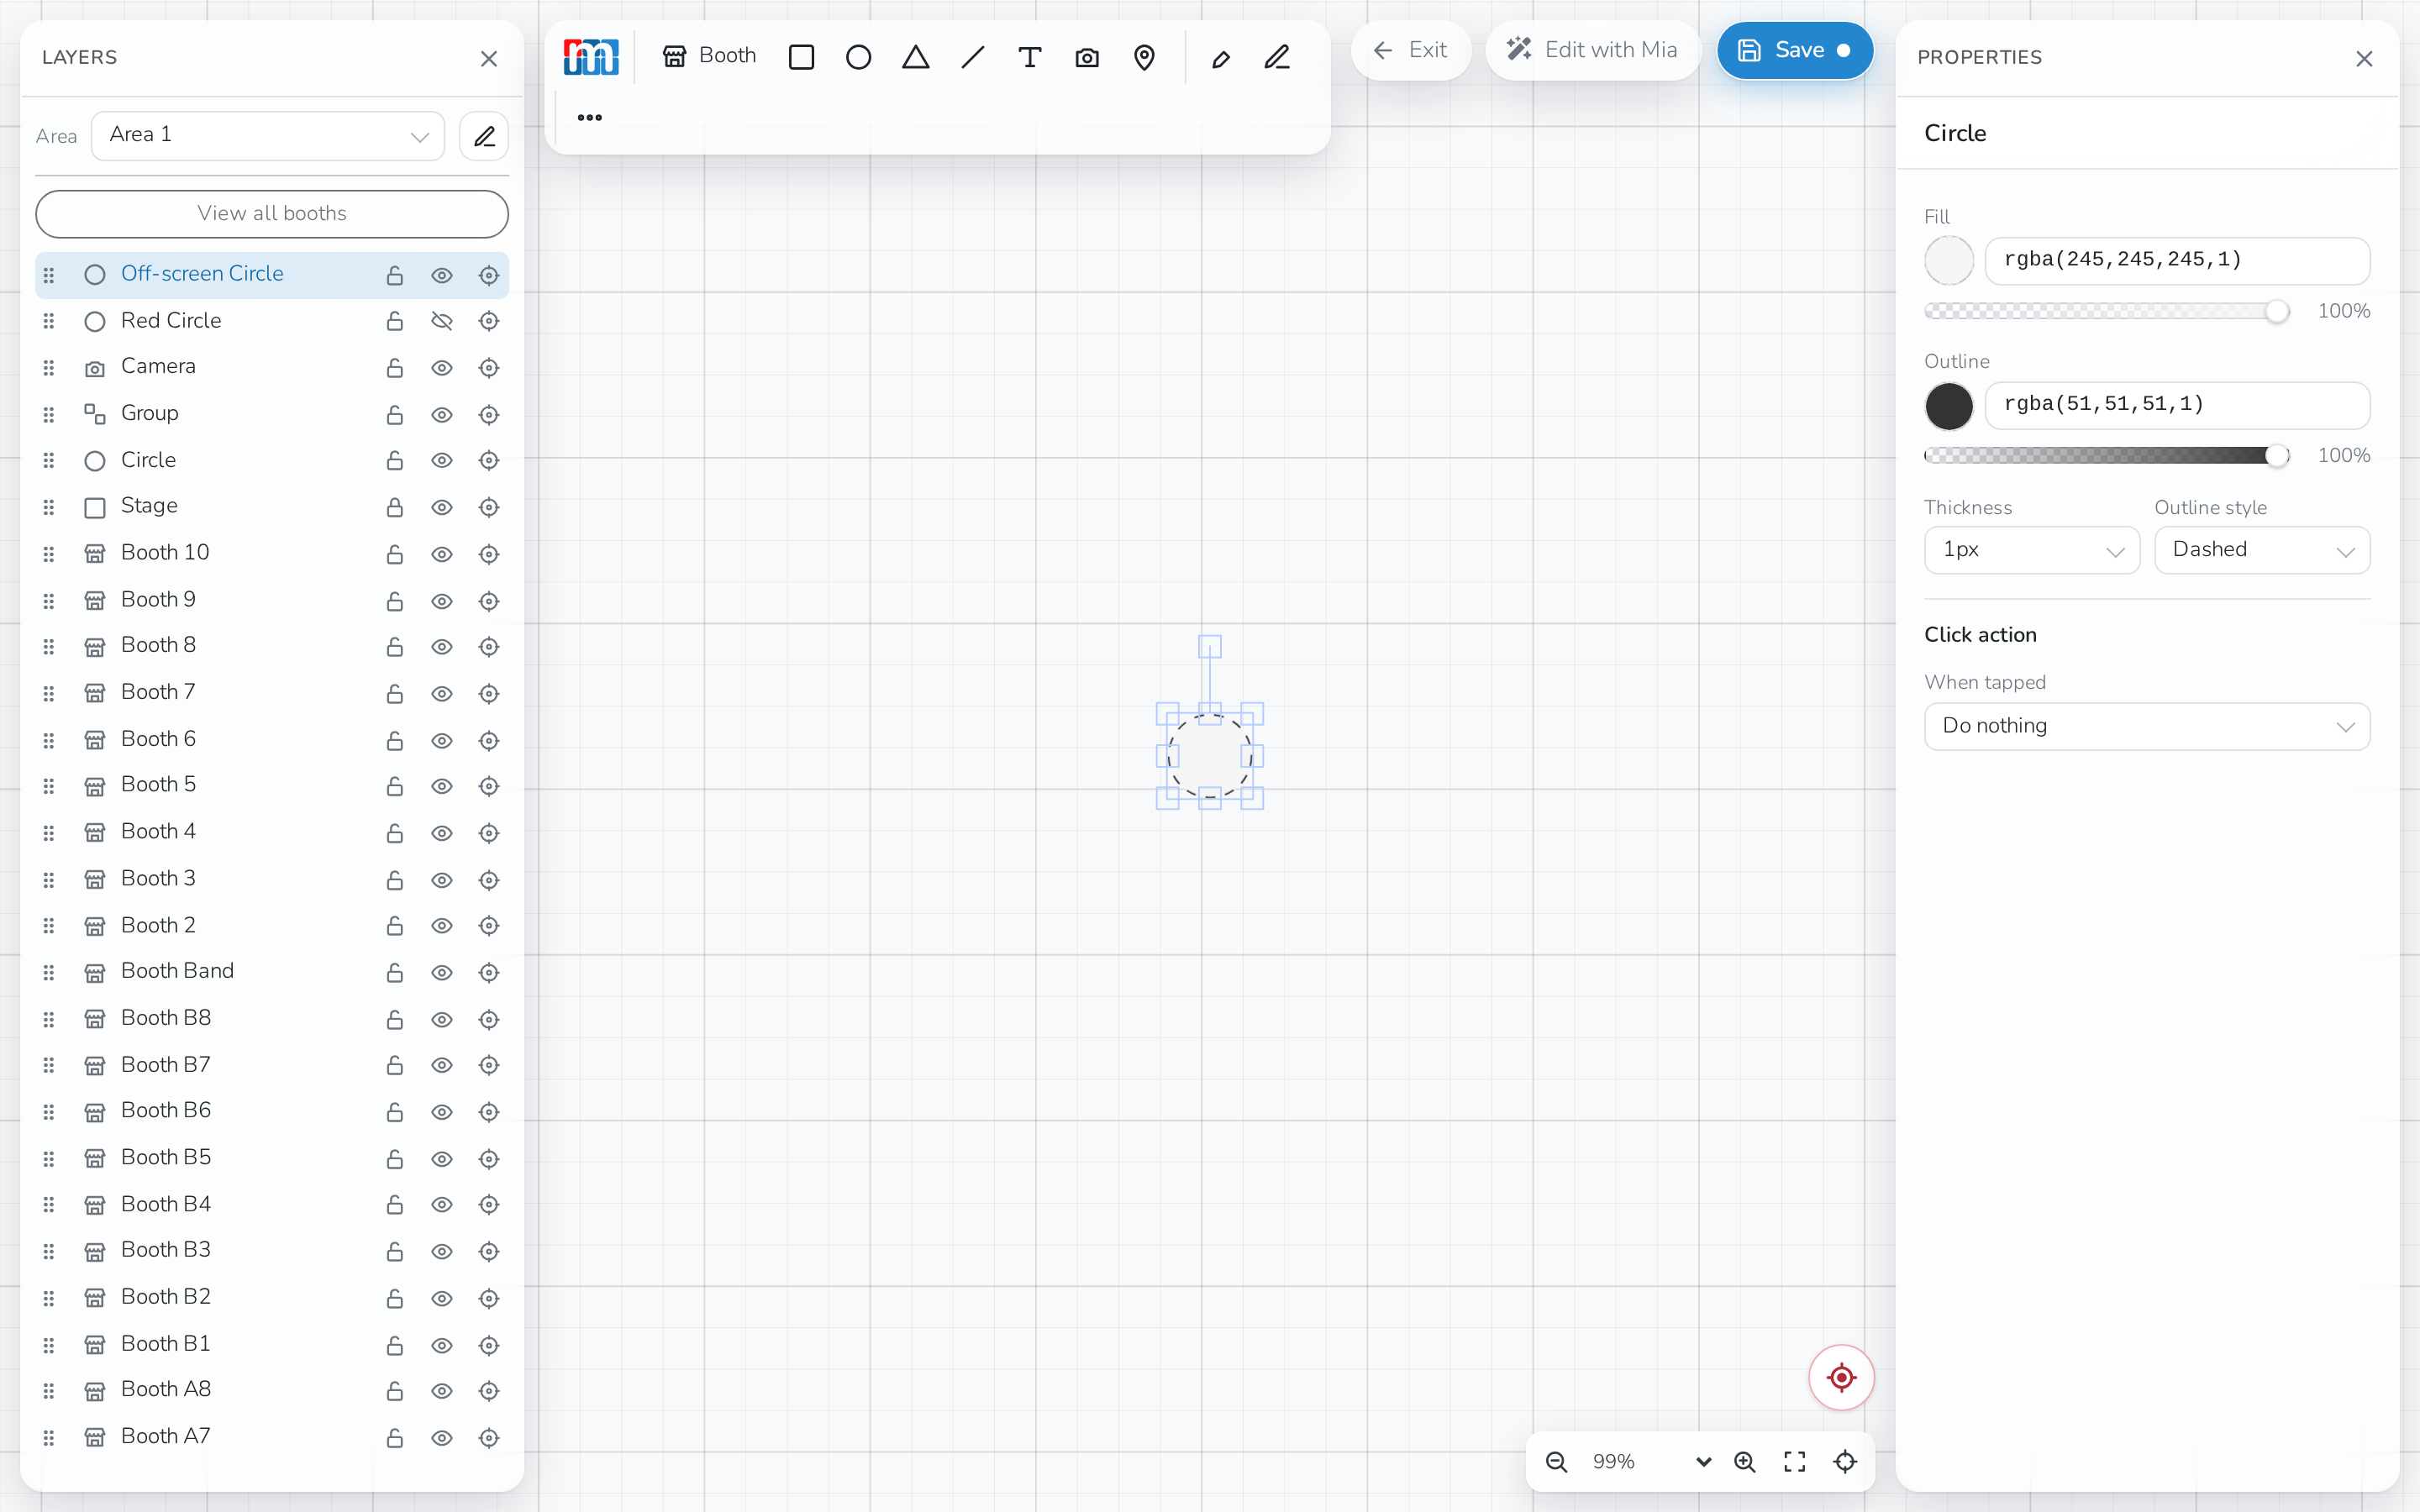
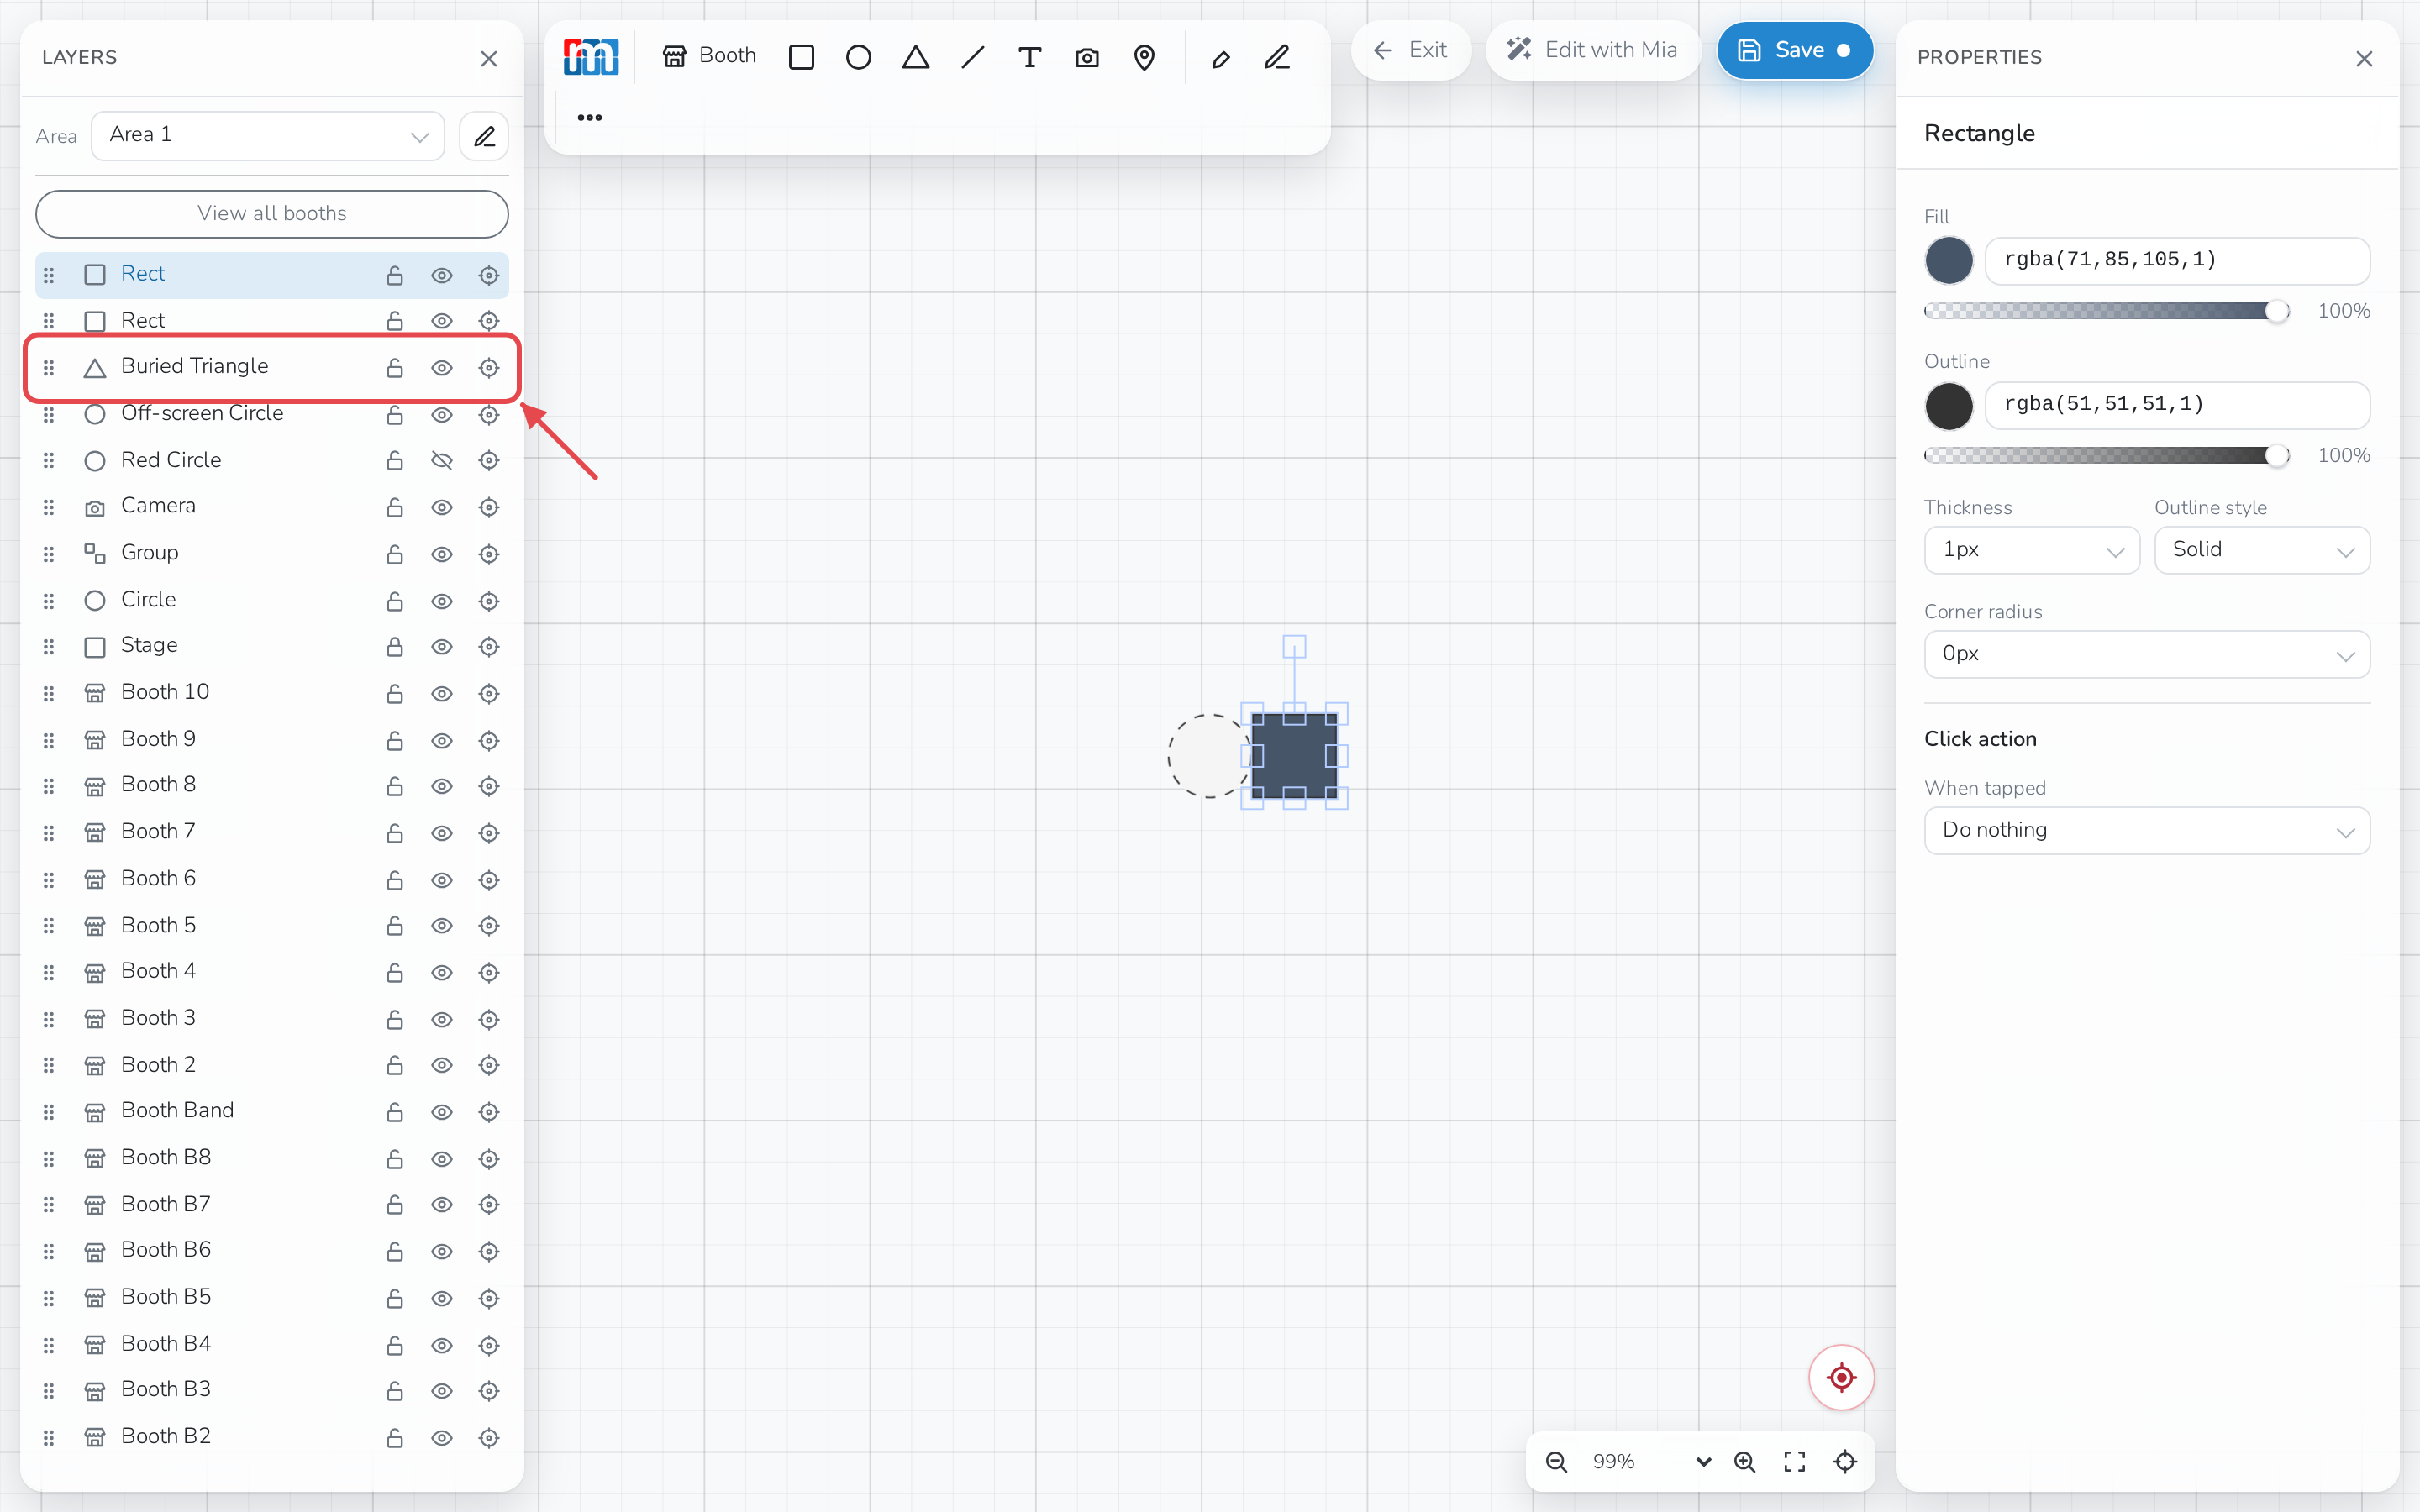
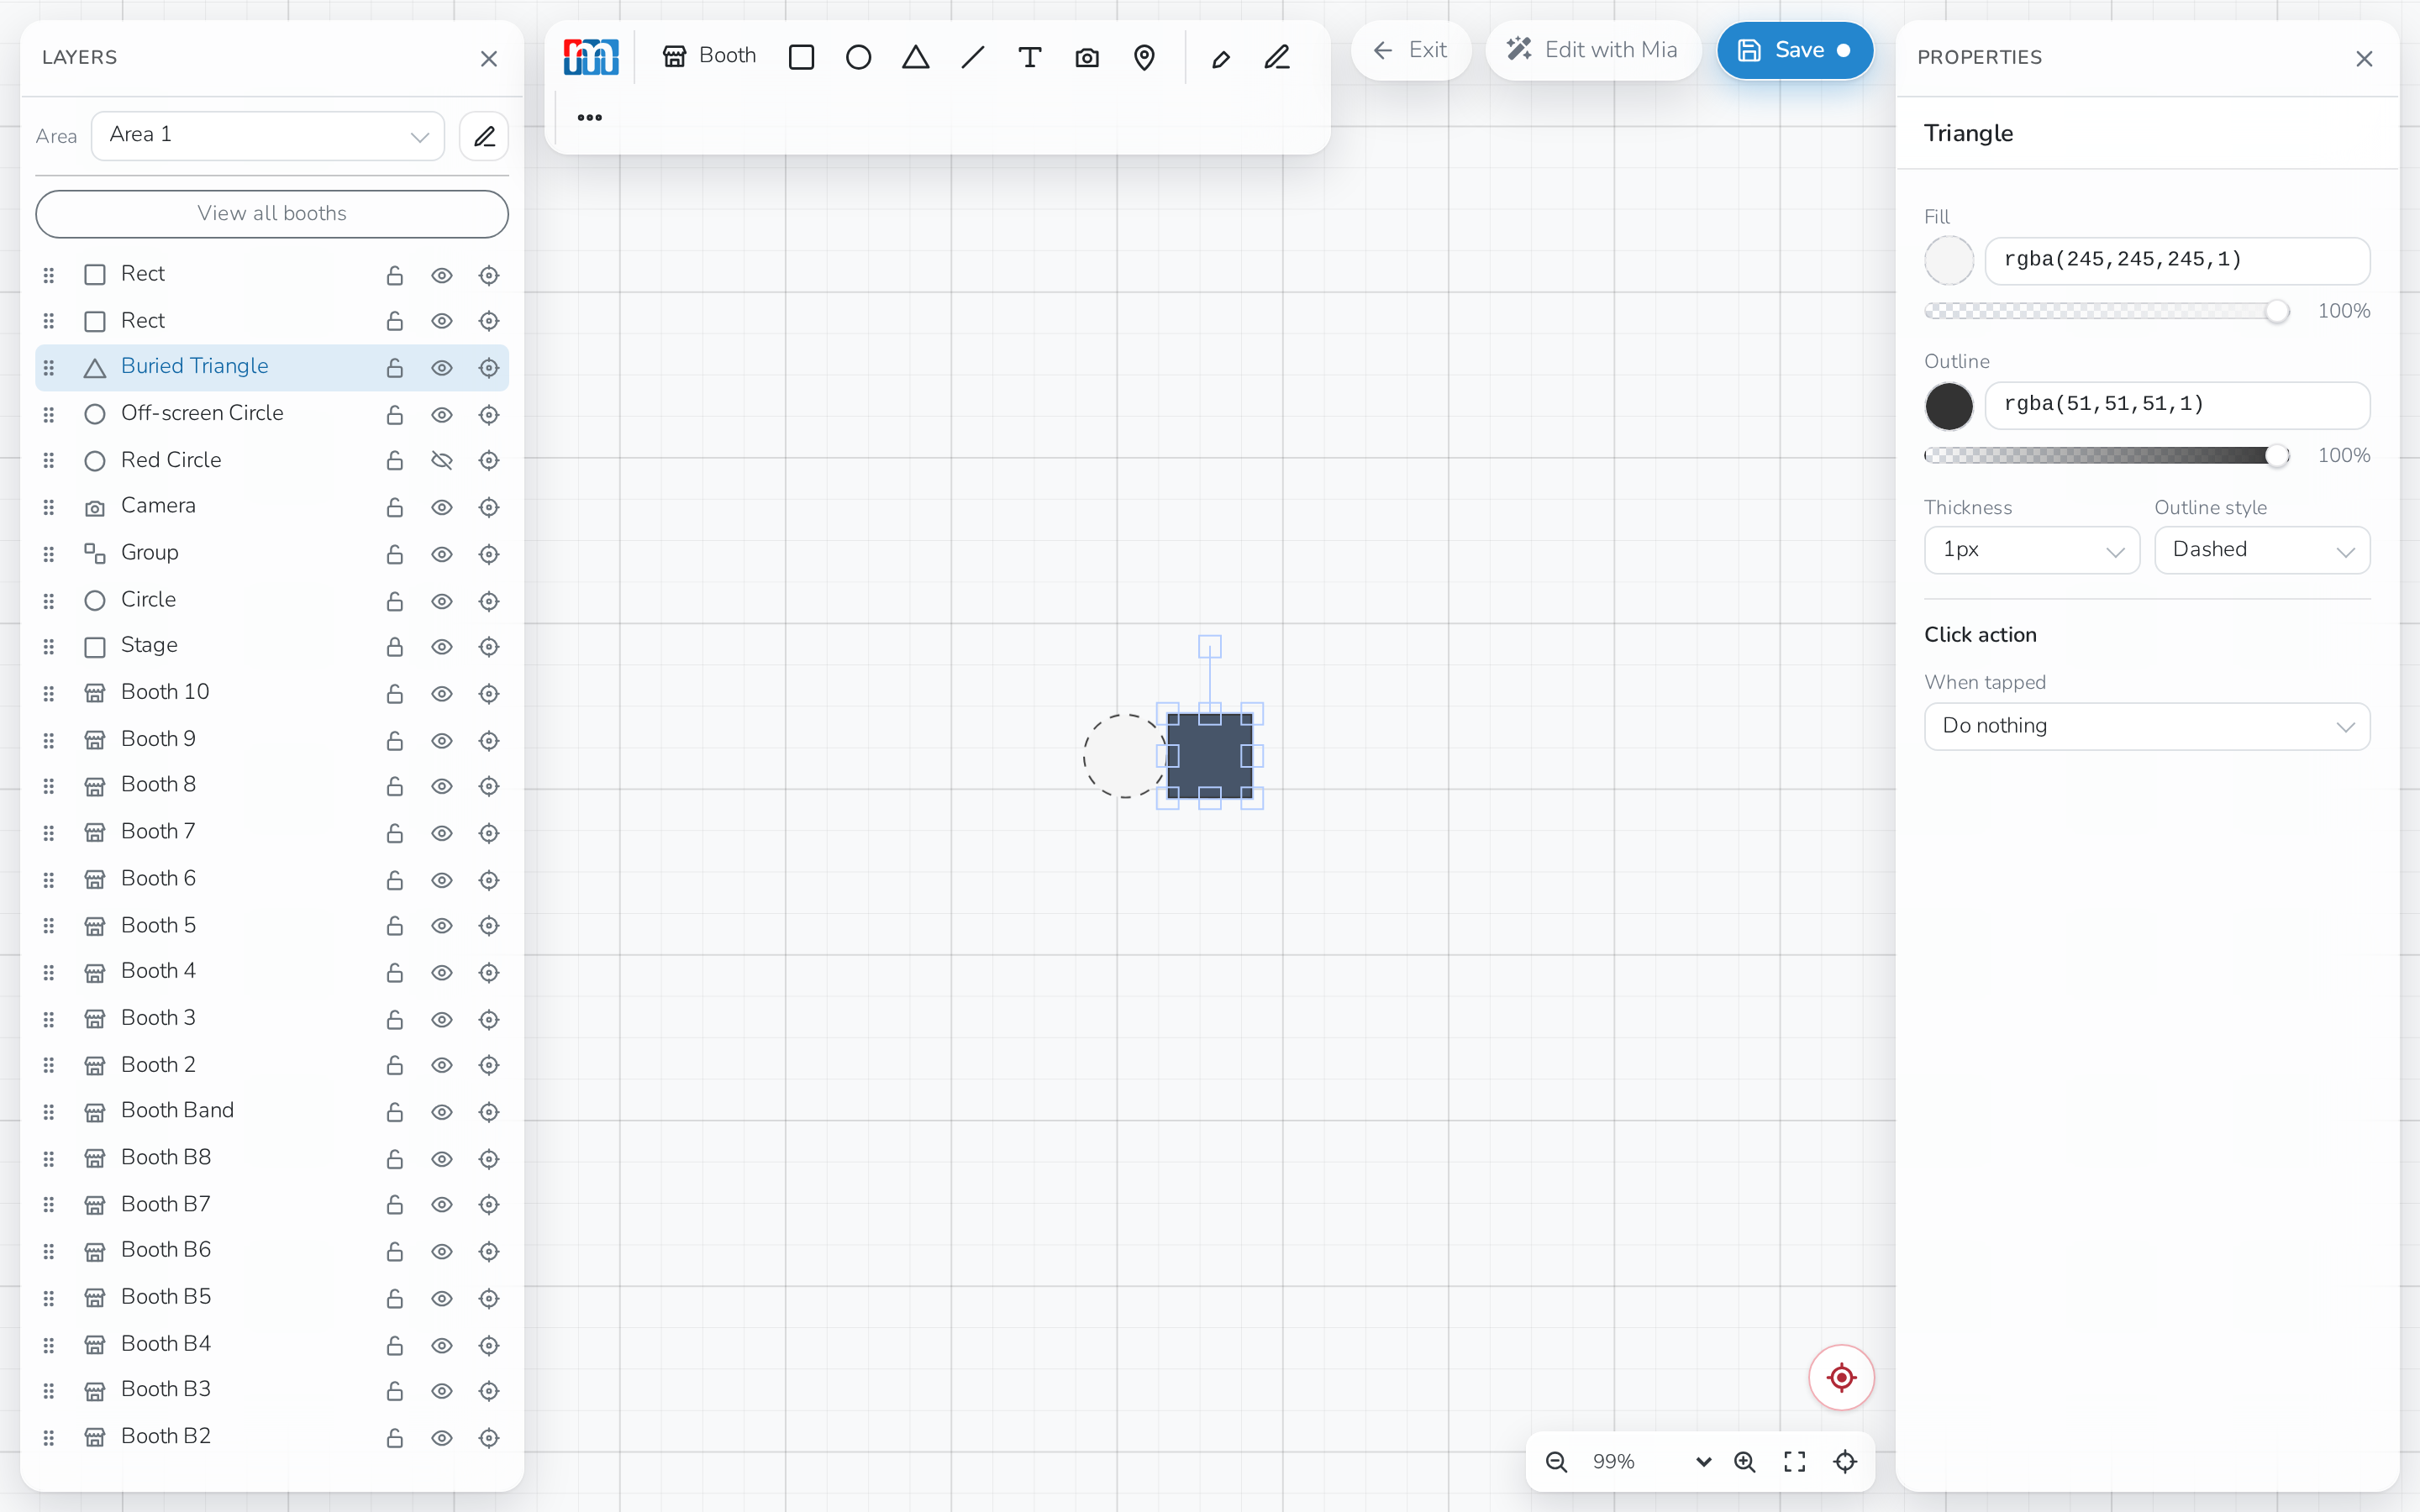
- Find it, with the center icon — useful for an element that has ended up
off-screen or buried under others. The view pans to it and selects it, even
before you can see it.
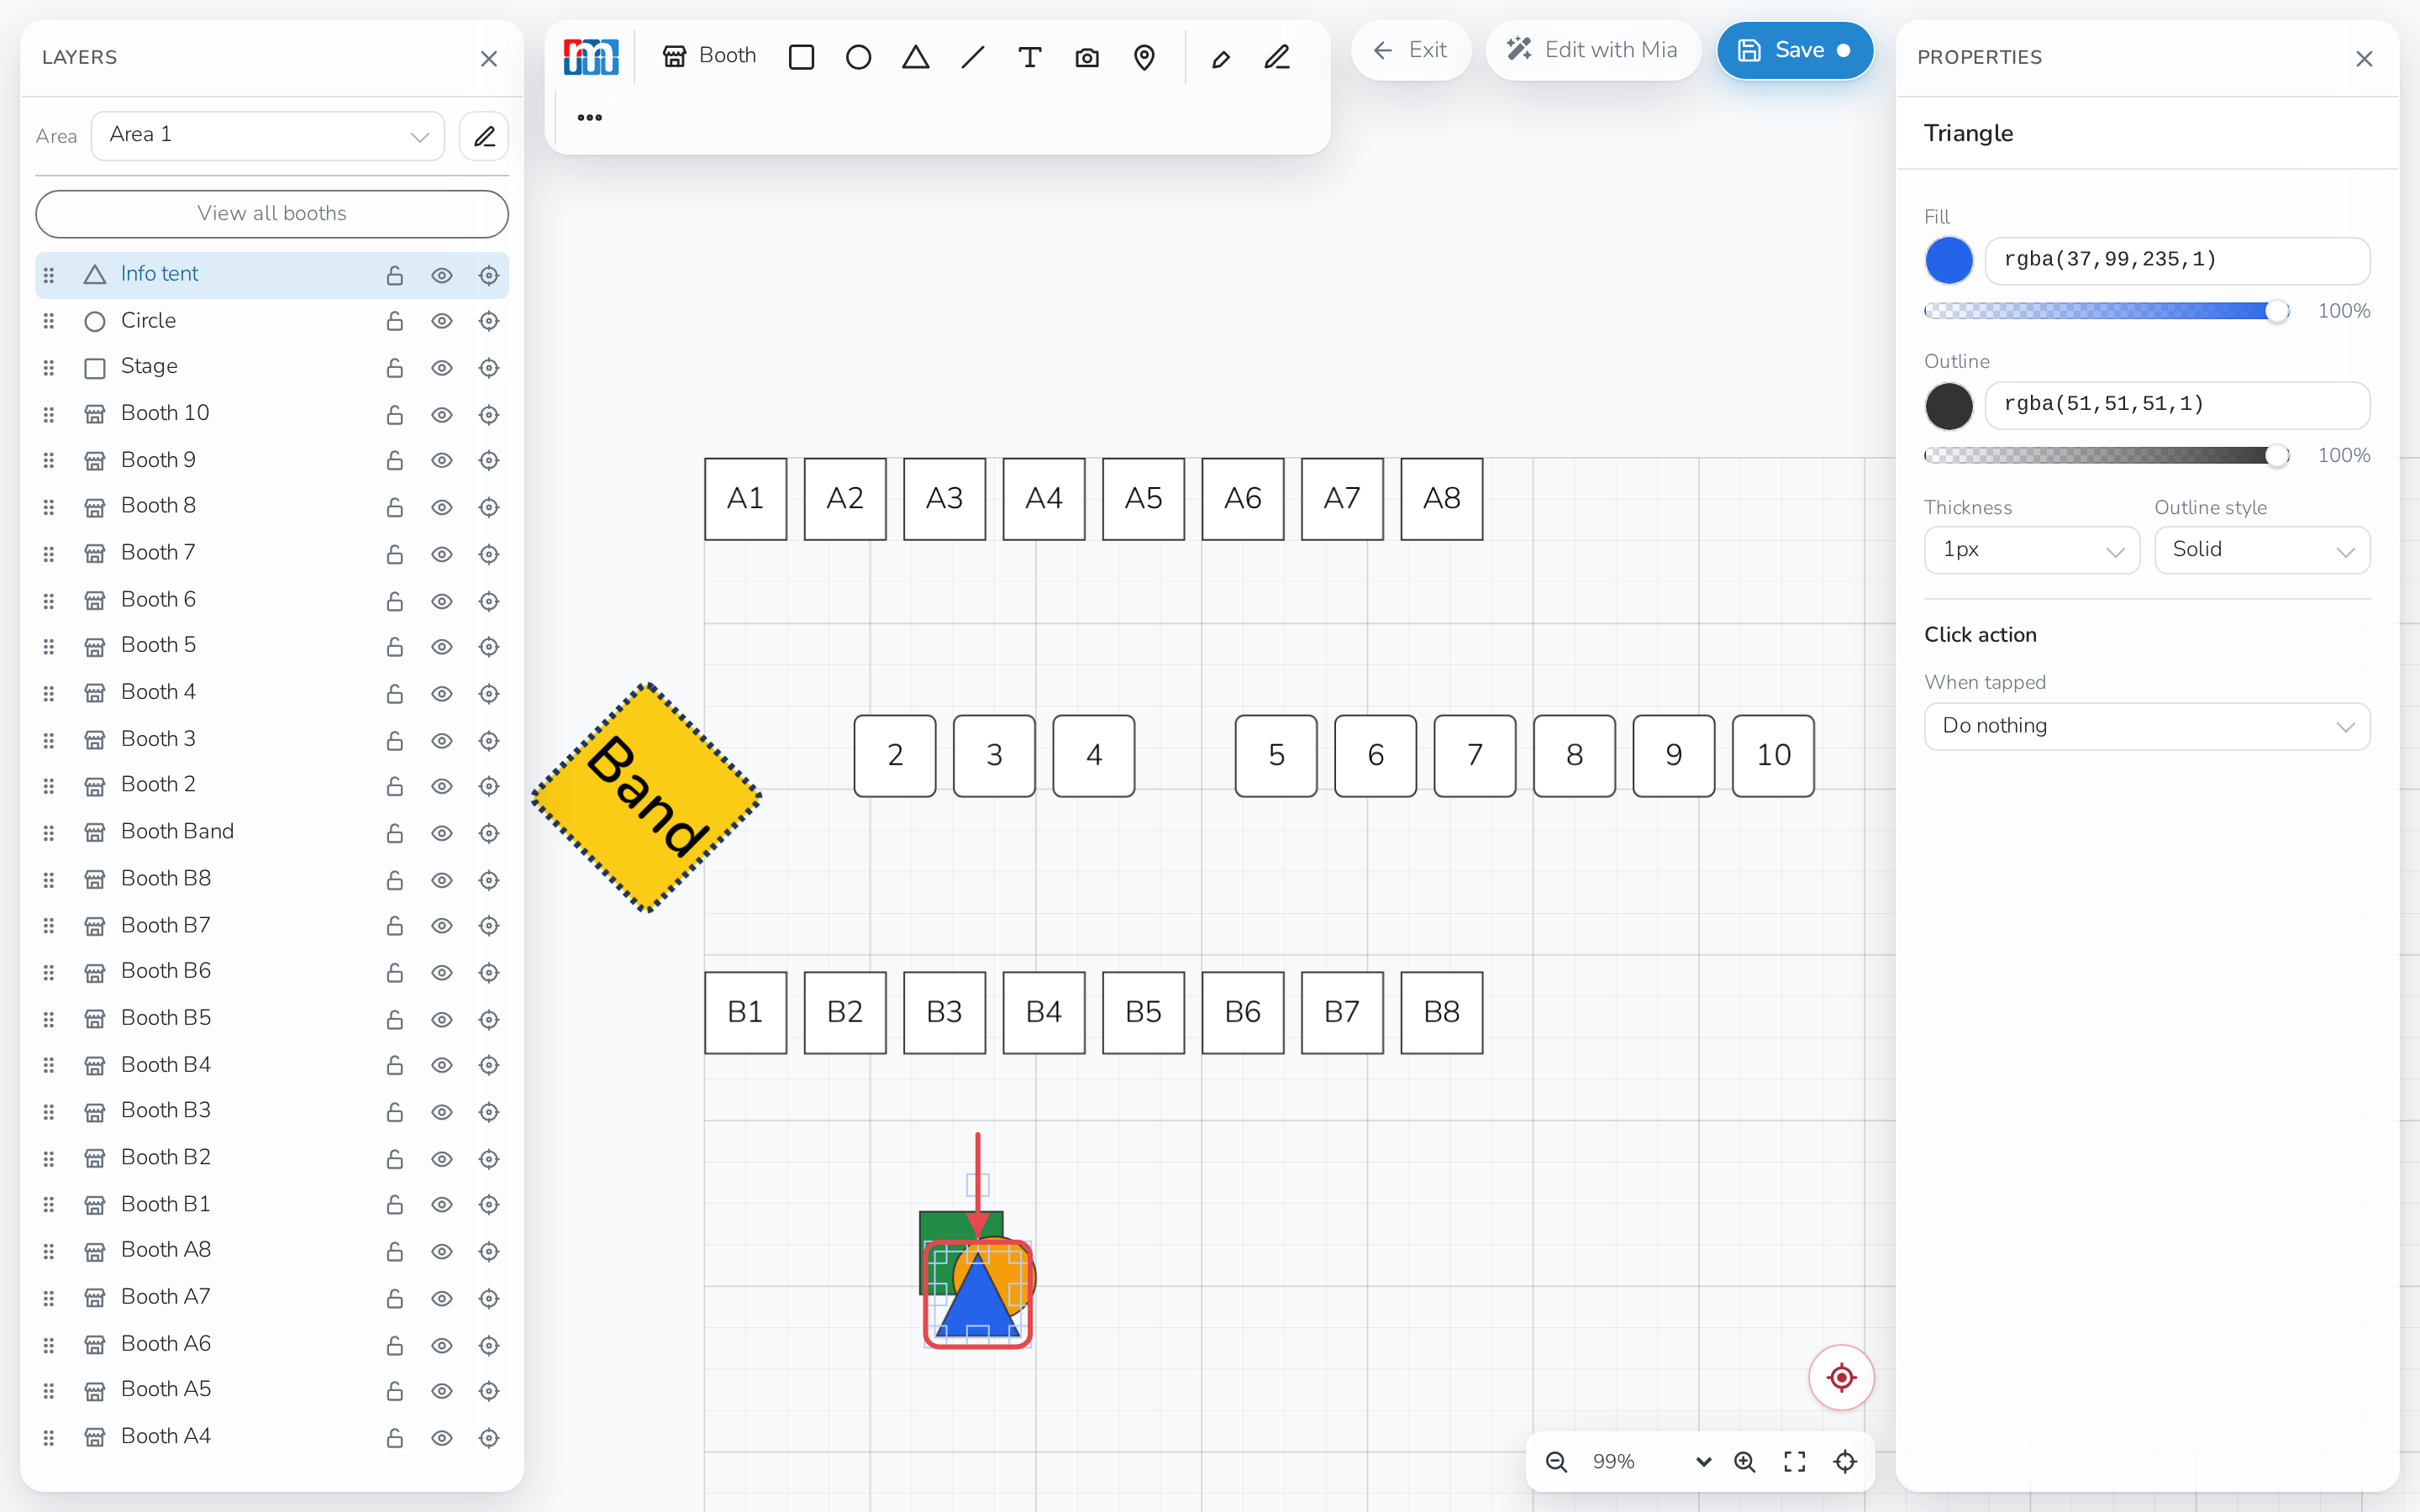
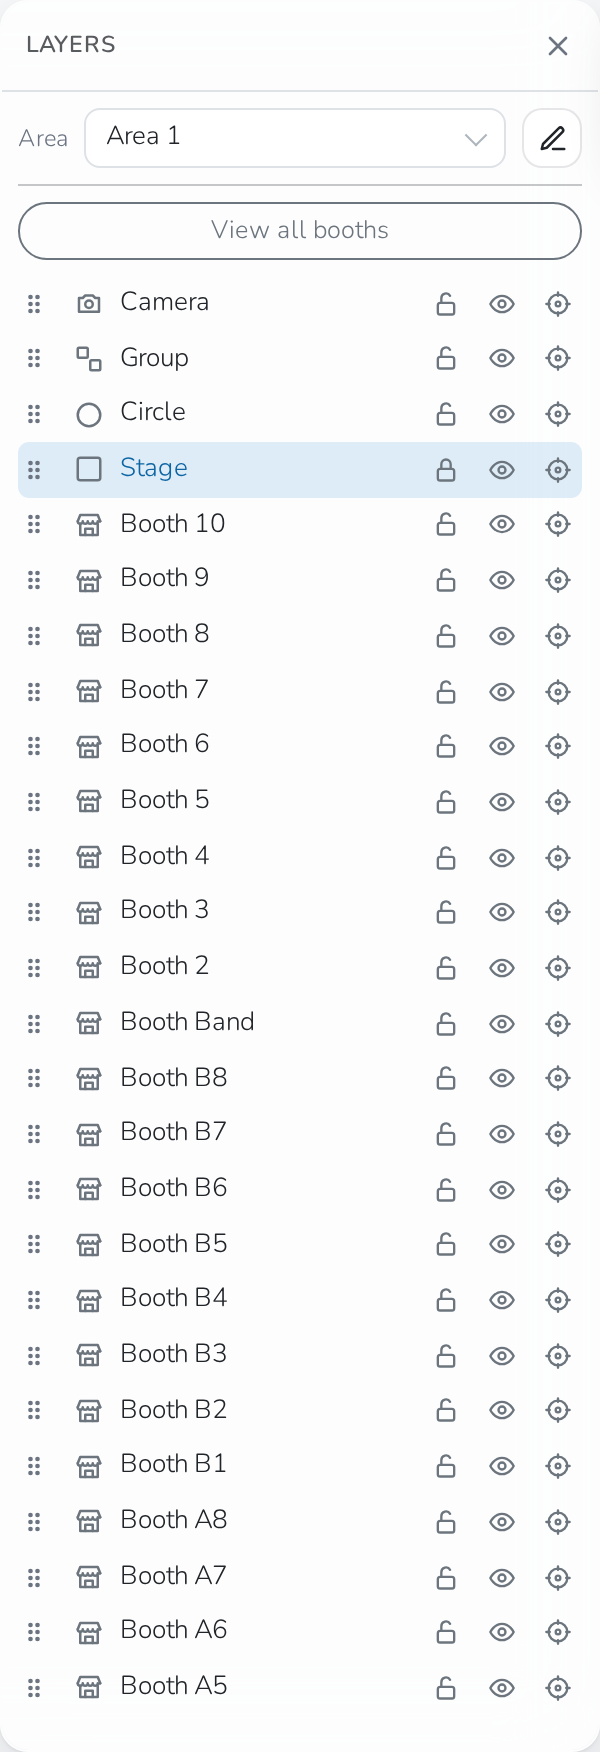
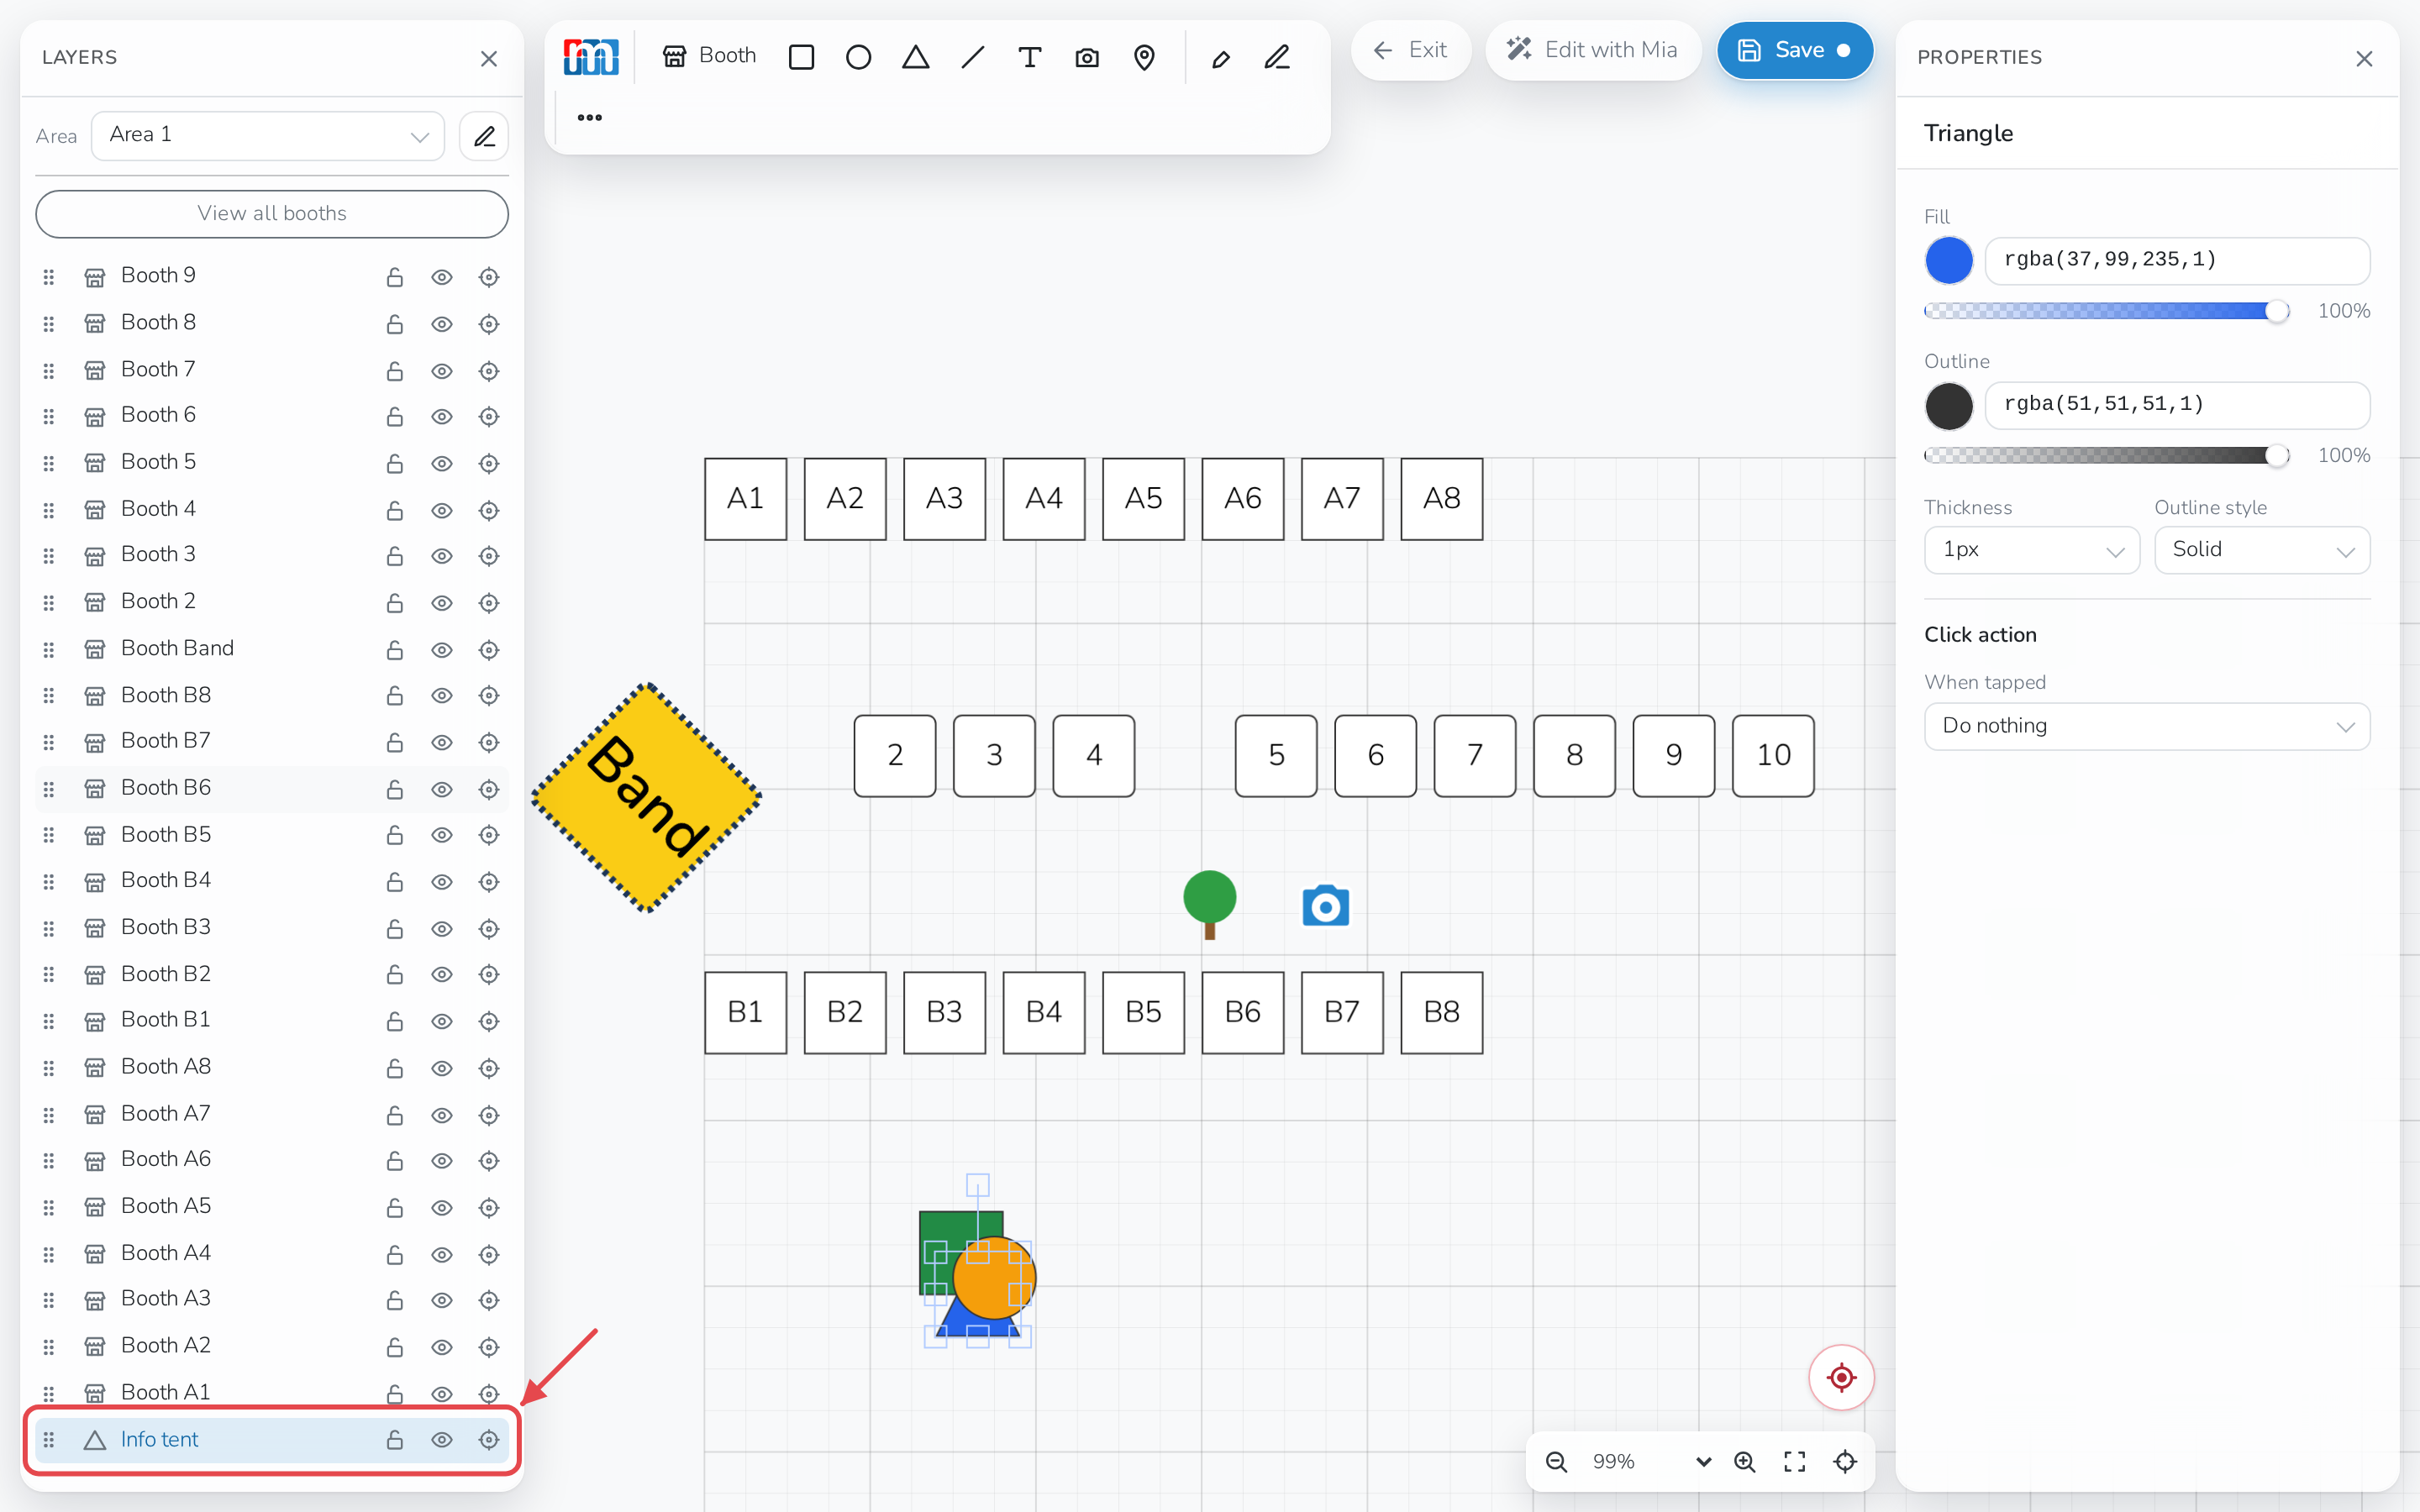
Elements stack like sheets of paper — add one after another and it sits on
top. Say a blue triangle ends up on top of a green rectangle.
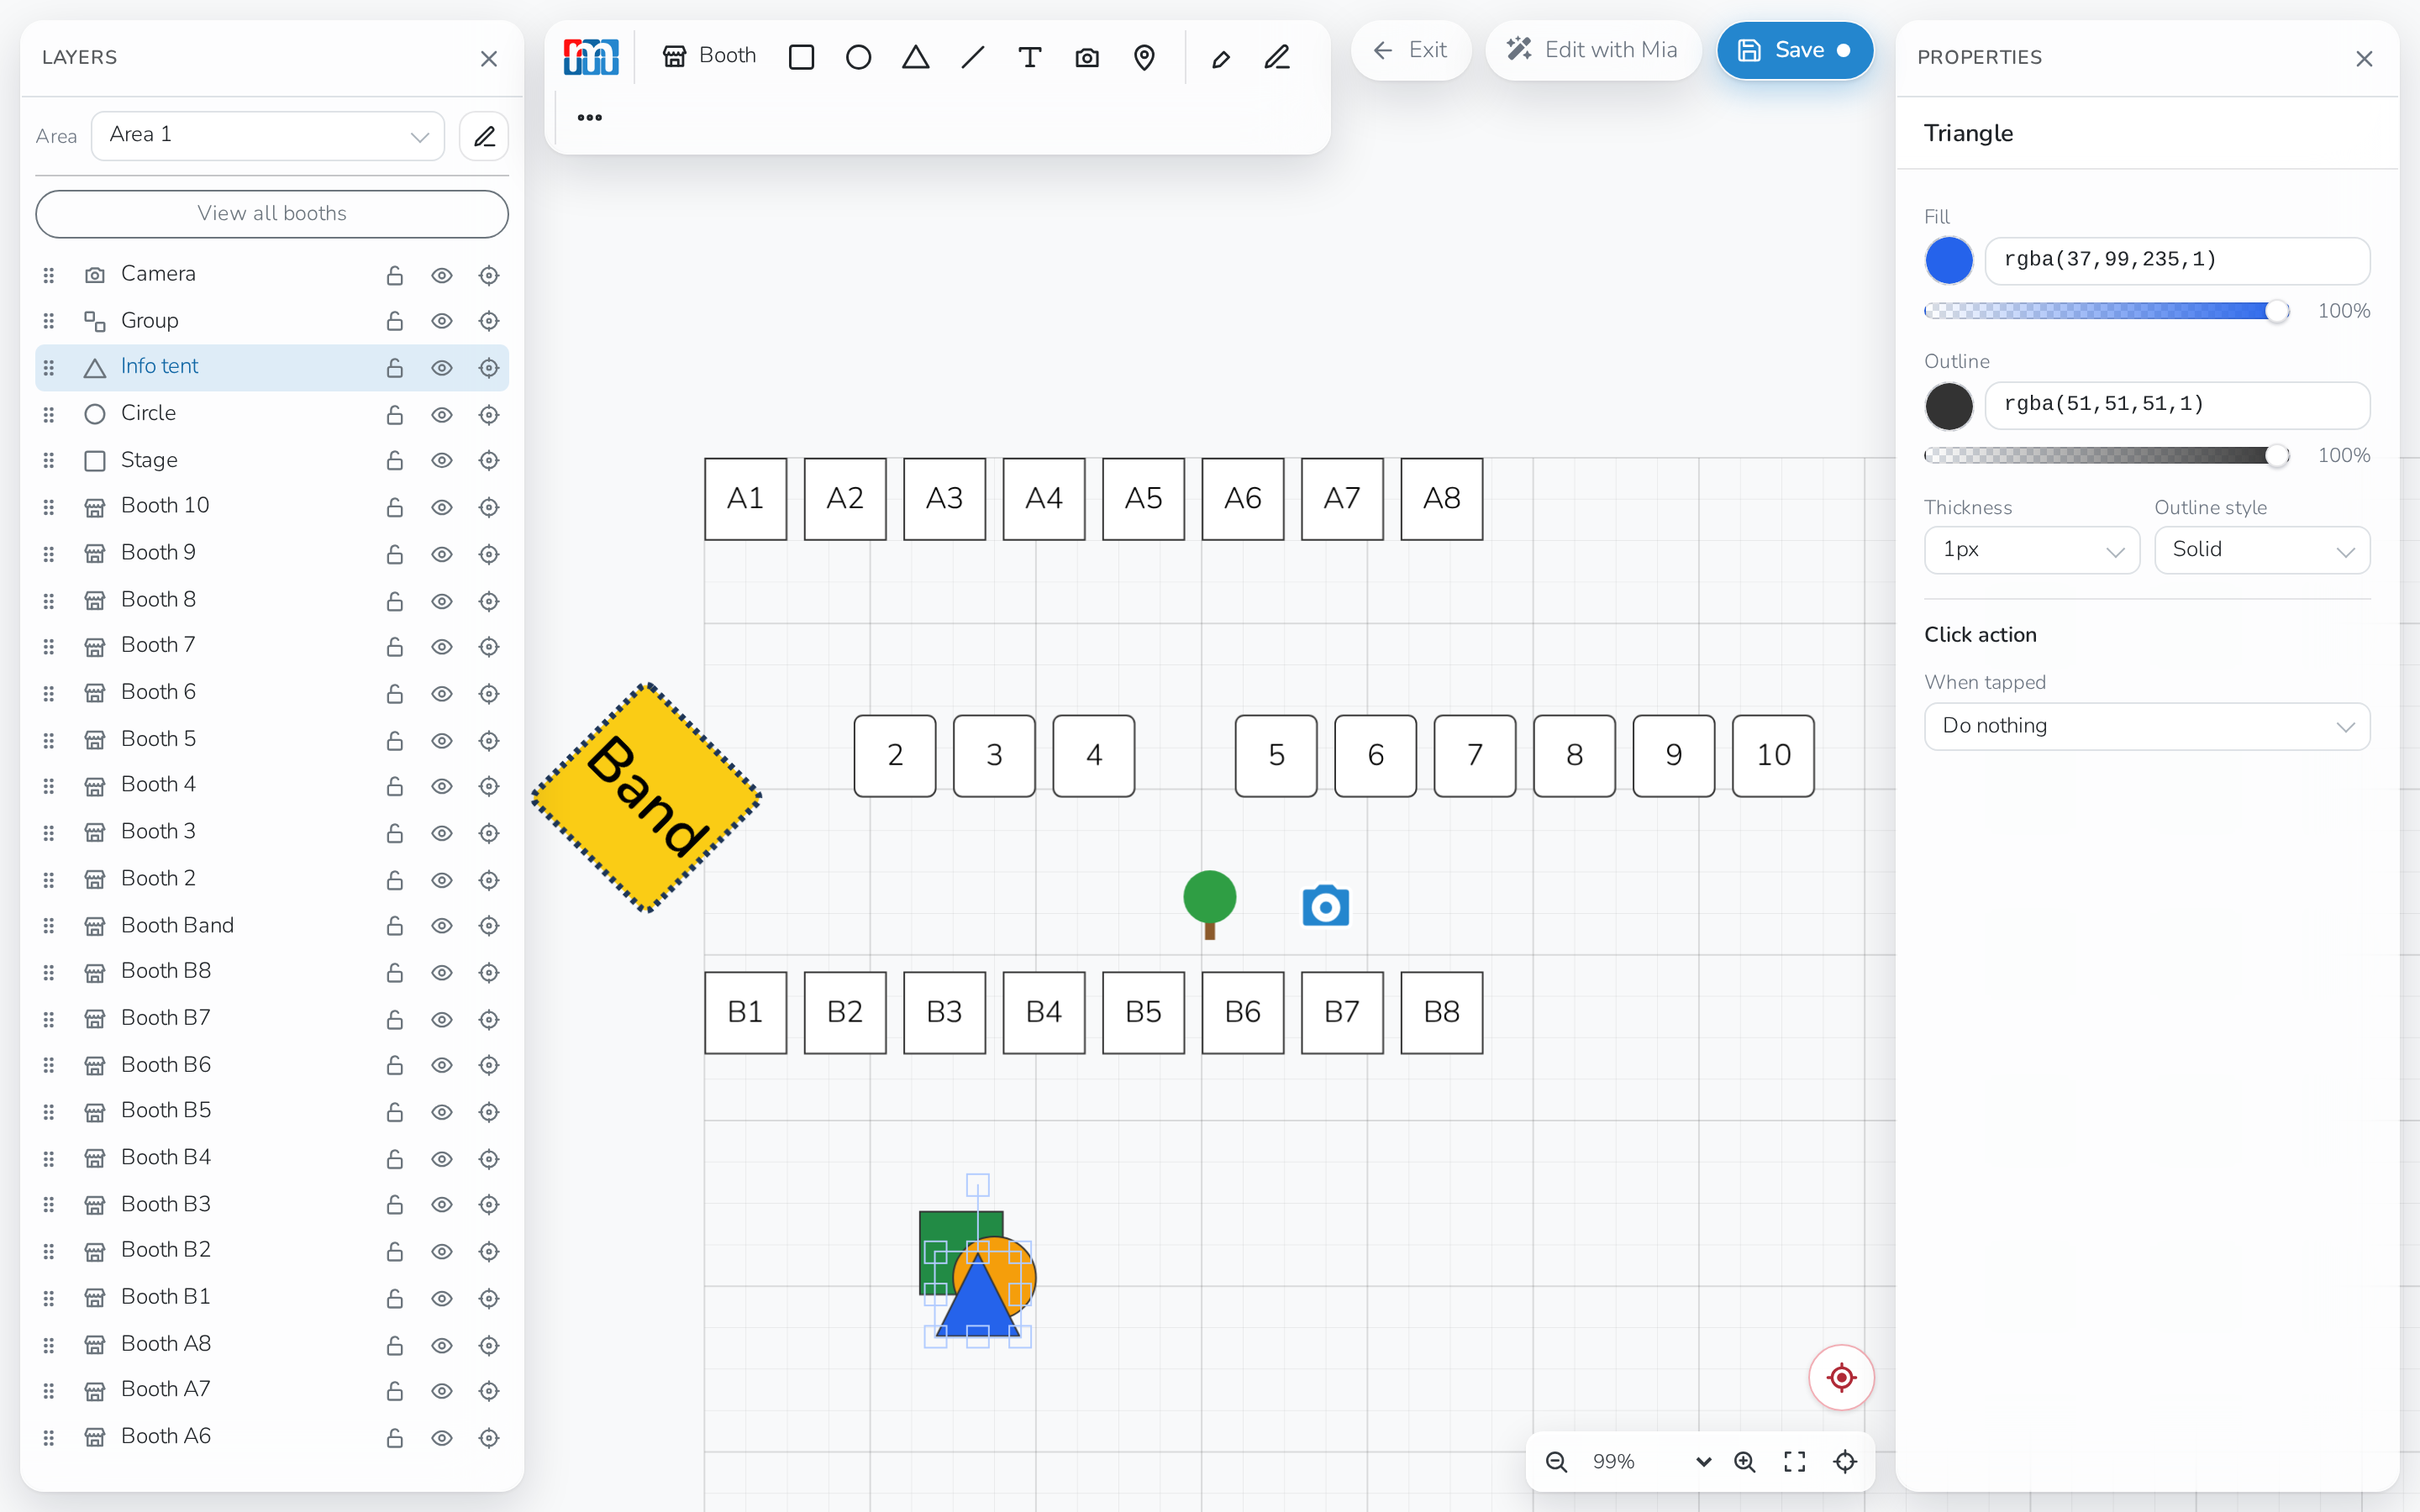
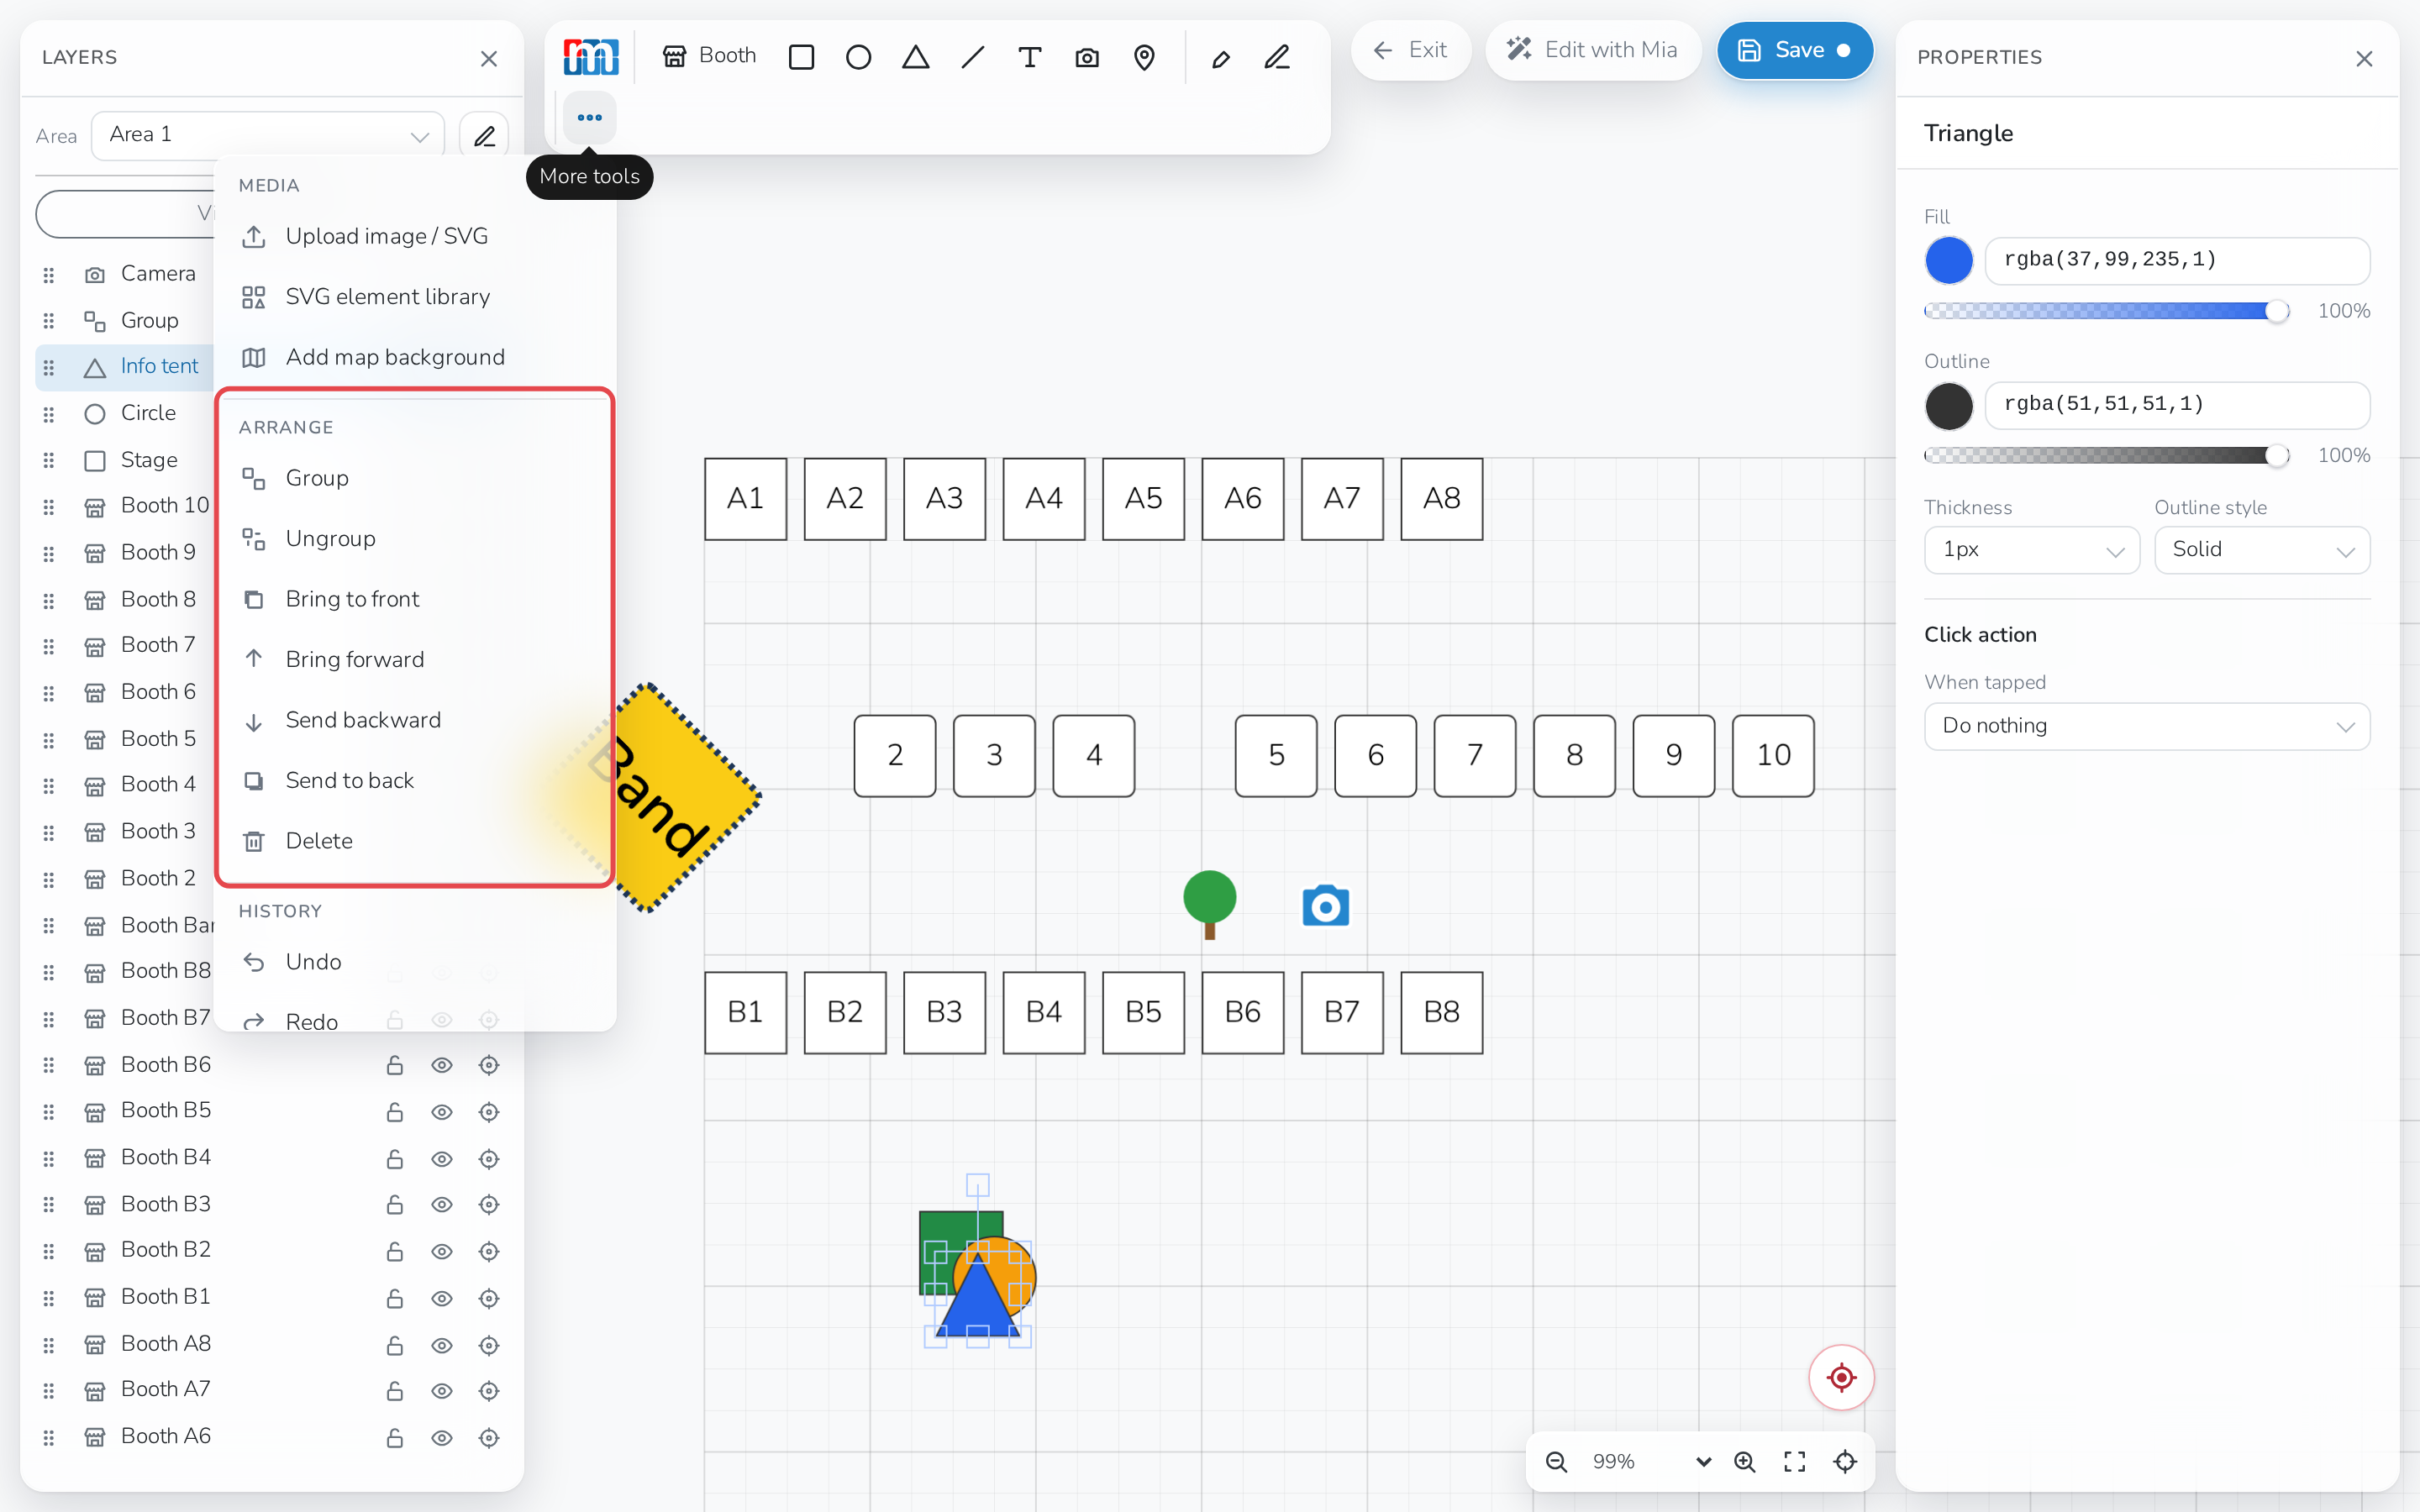
Select the triangle and click Send to back, in the toolbar's Arrange
tools — under More tools if your window isn't wide enough to show every
group — and it moves behind the rectangle. The Layers list is in that same
front-to-back order, so the triangle also moves down the list. Bring
forward and Send backward move an element one step at a time, instead
of all the way to the front or back.
Move an element precisely
Select an element and use the arrow keys to move it one pixel at a time.
Hold Shift and use the arrow keys to move it a full grid square at a
time.