


Waitlist is a status you set on a vendor for a single event day, separate from their overall application status. Use it when a vendor wants to attend a day that's already full — they stay in line for a booth without you having to track it yourself.
See who's on the waitlist for a day
- Open Event Days in the lefthand toolbar.
- Click the event day you want to check.
- Click Vendors, then choose All Vendors (by name).
- Set Day Status to Waitlist.
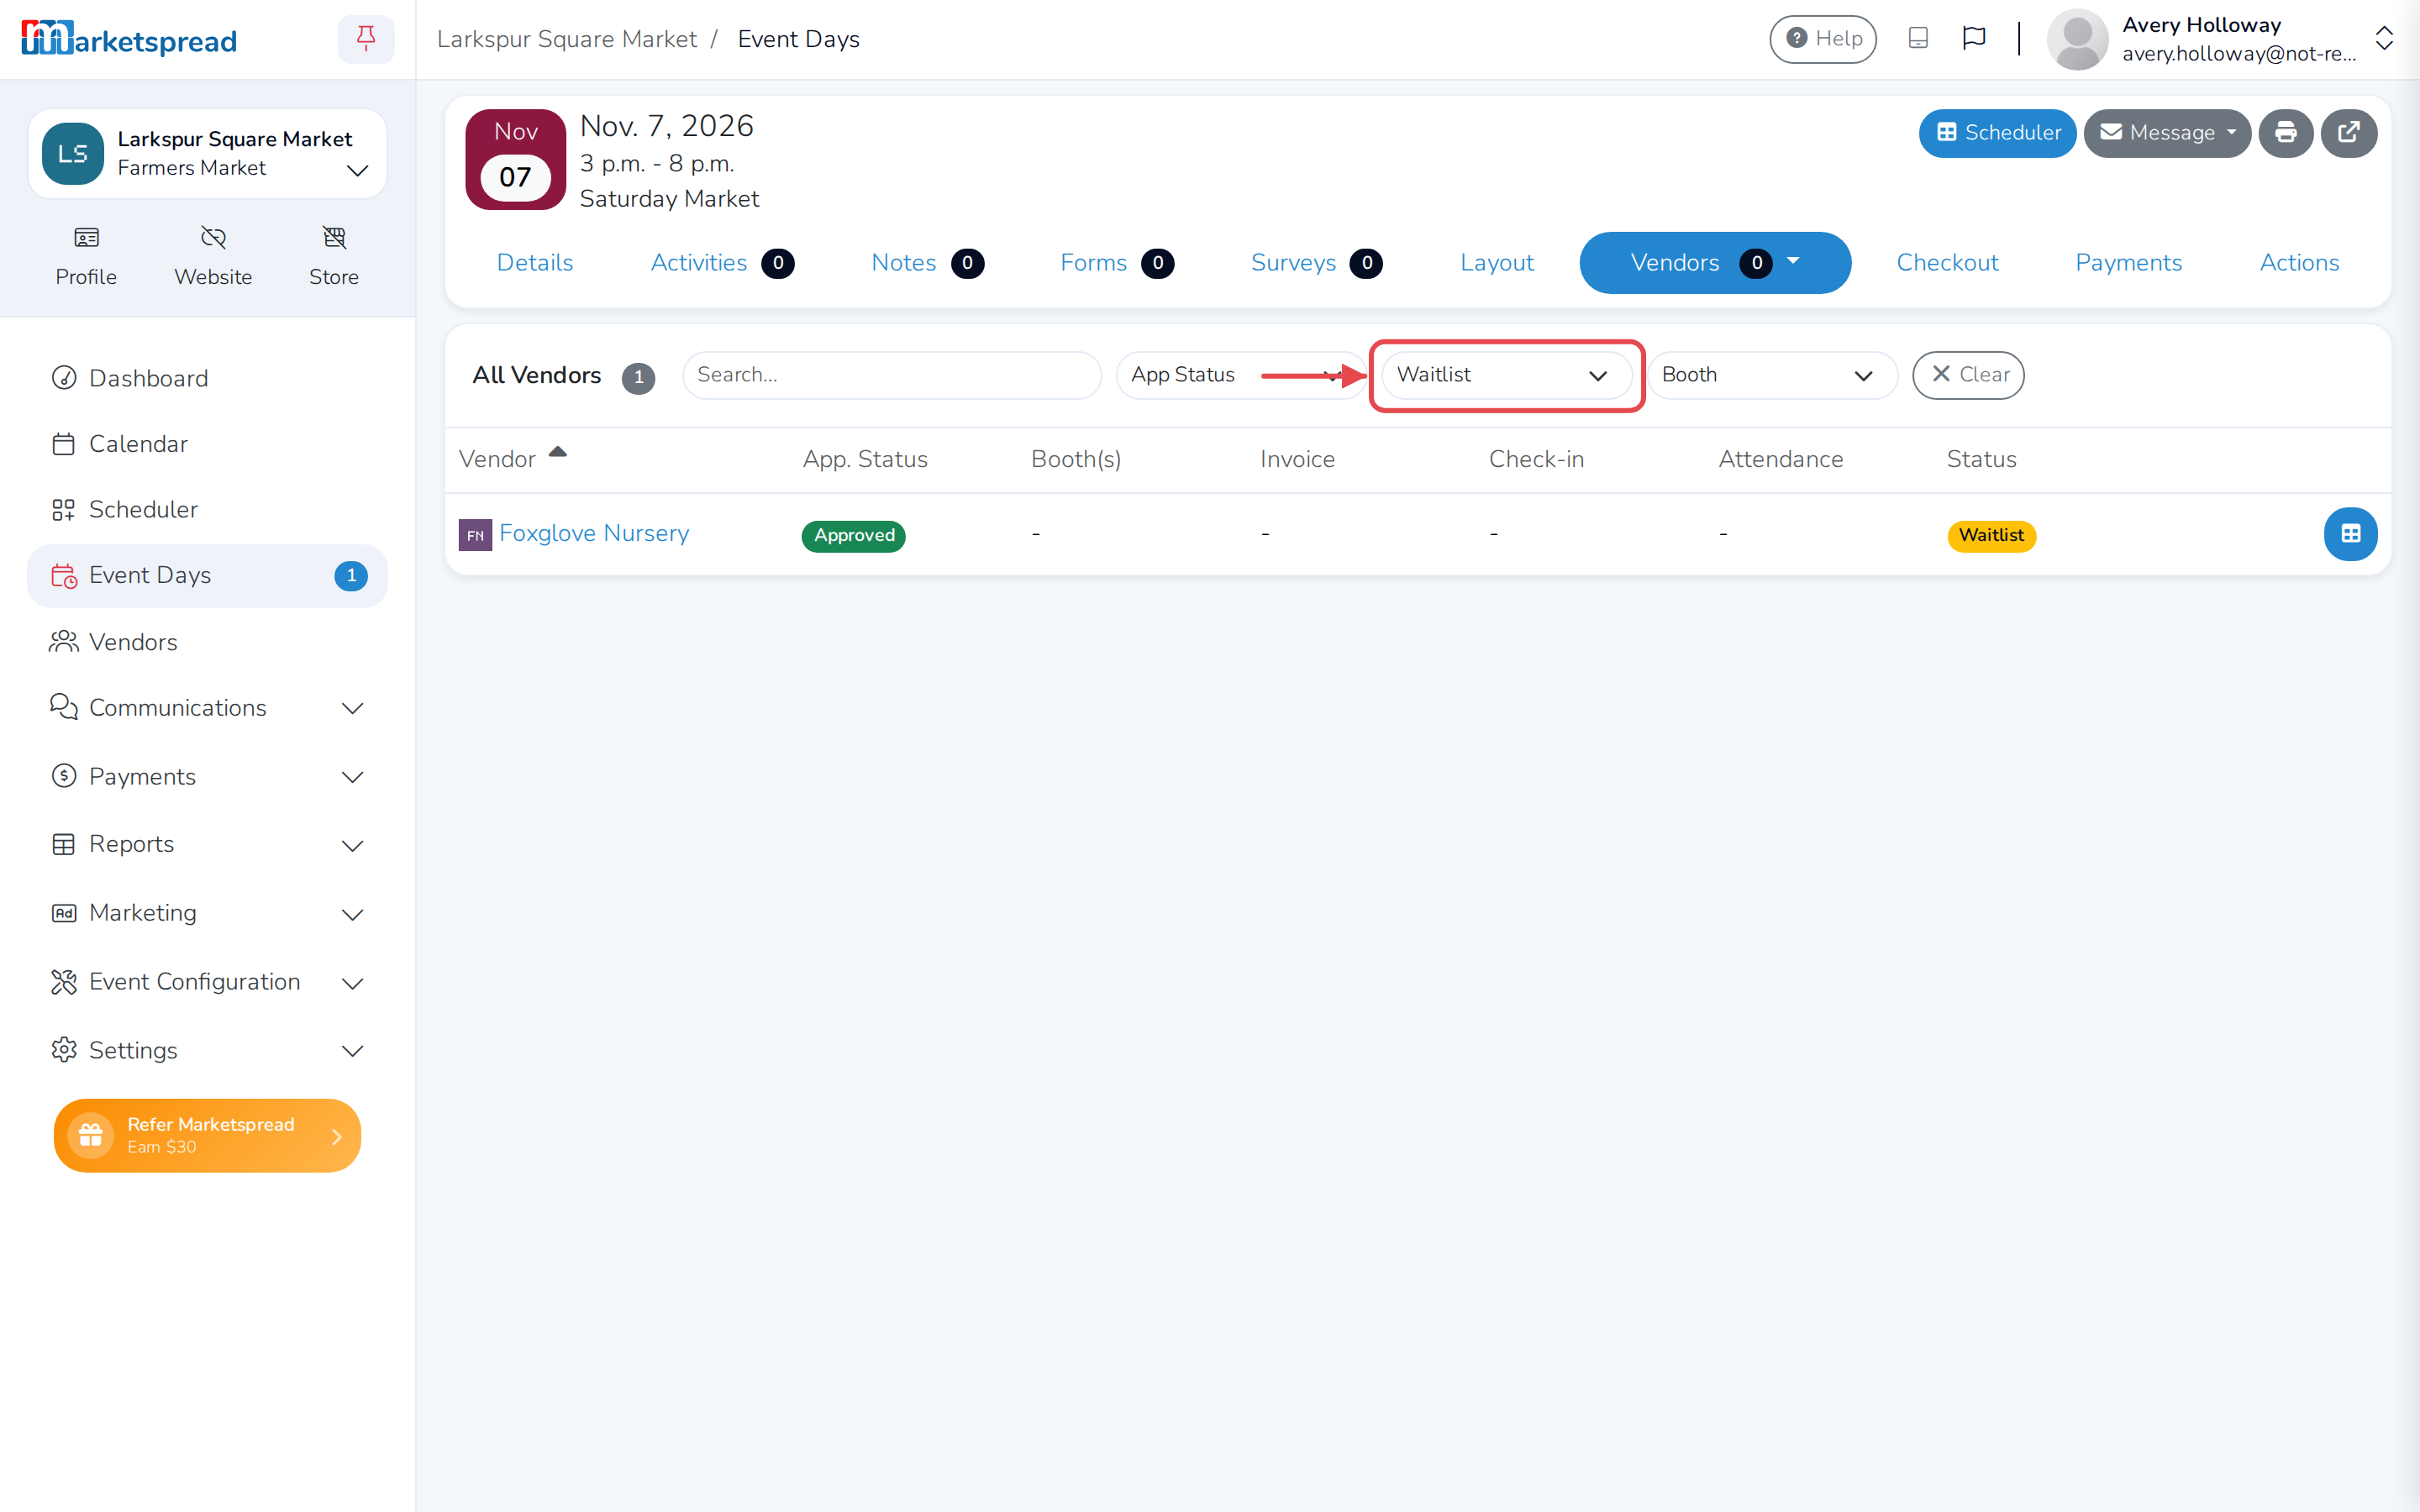
The list shows every vendor waiting for that day.
Put a vendor on the waitlist
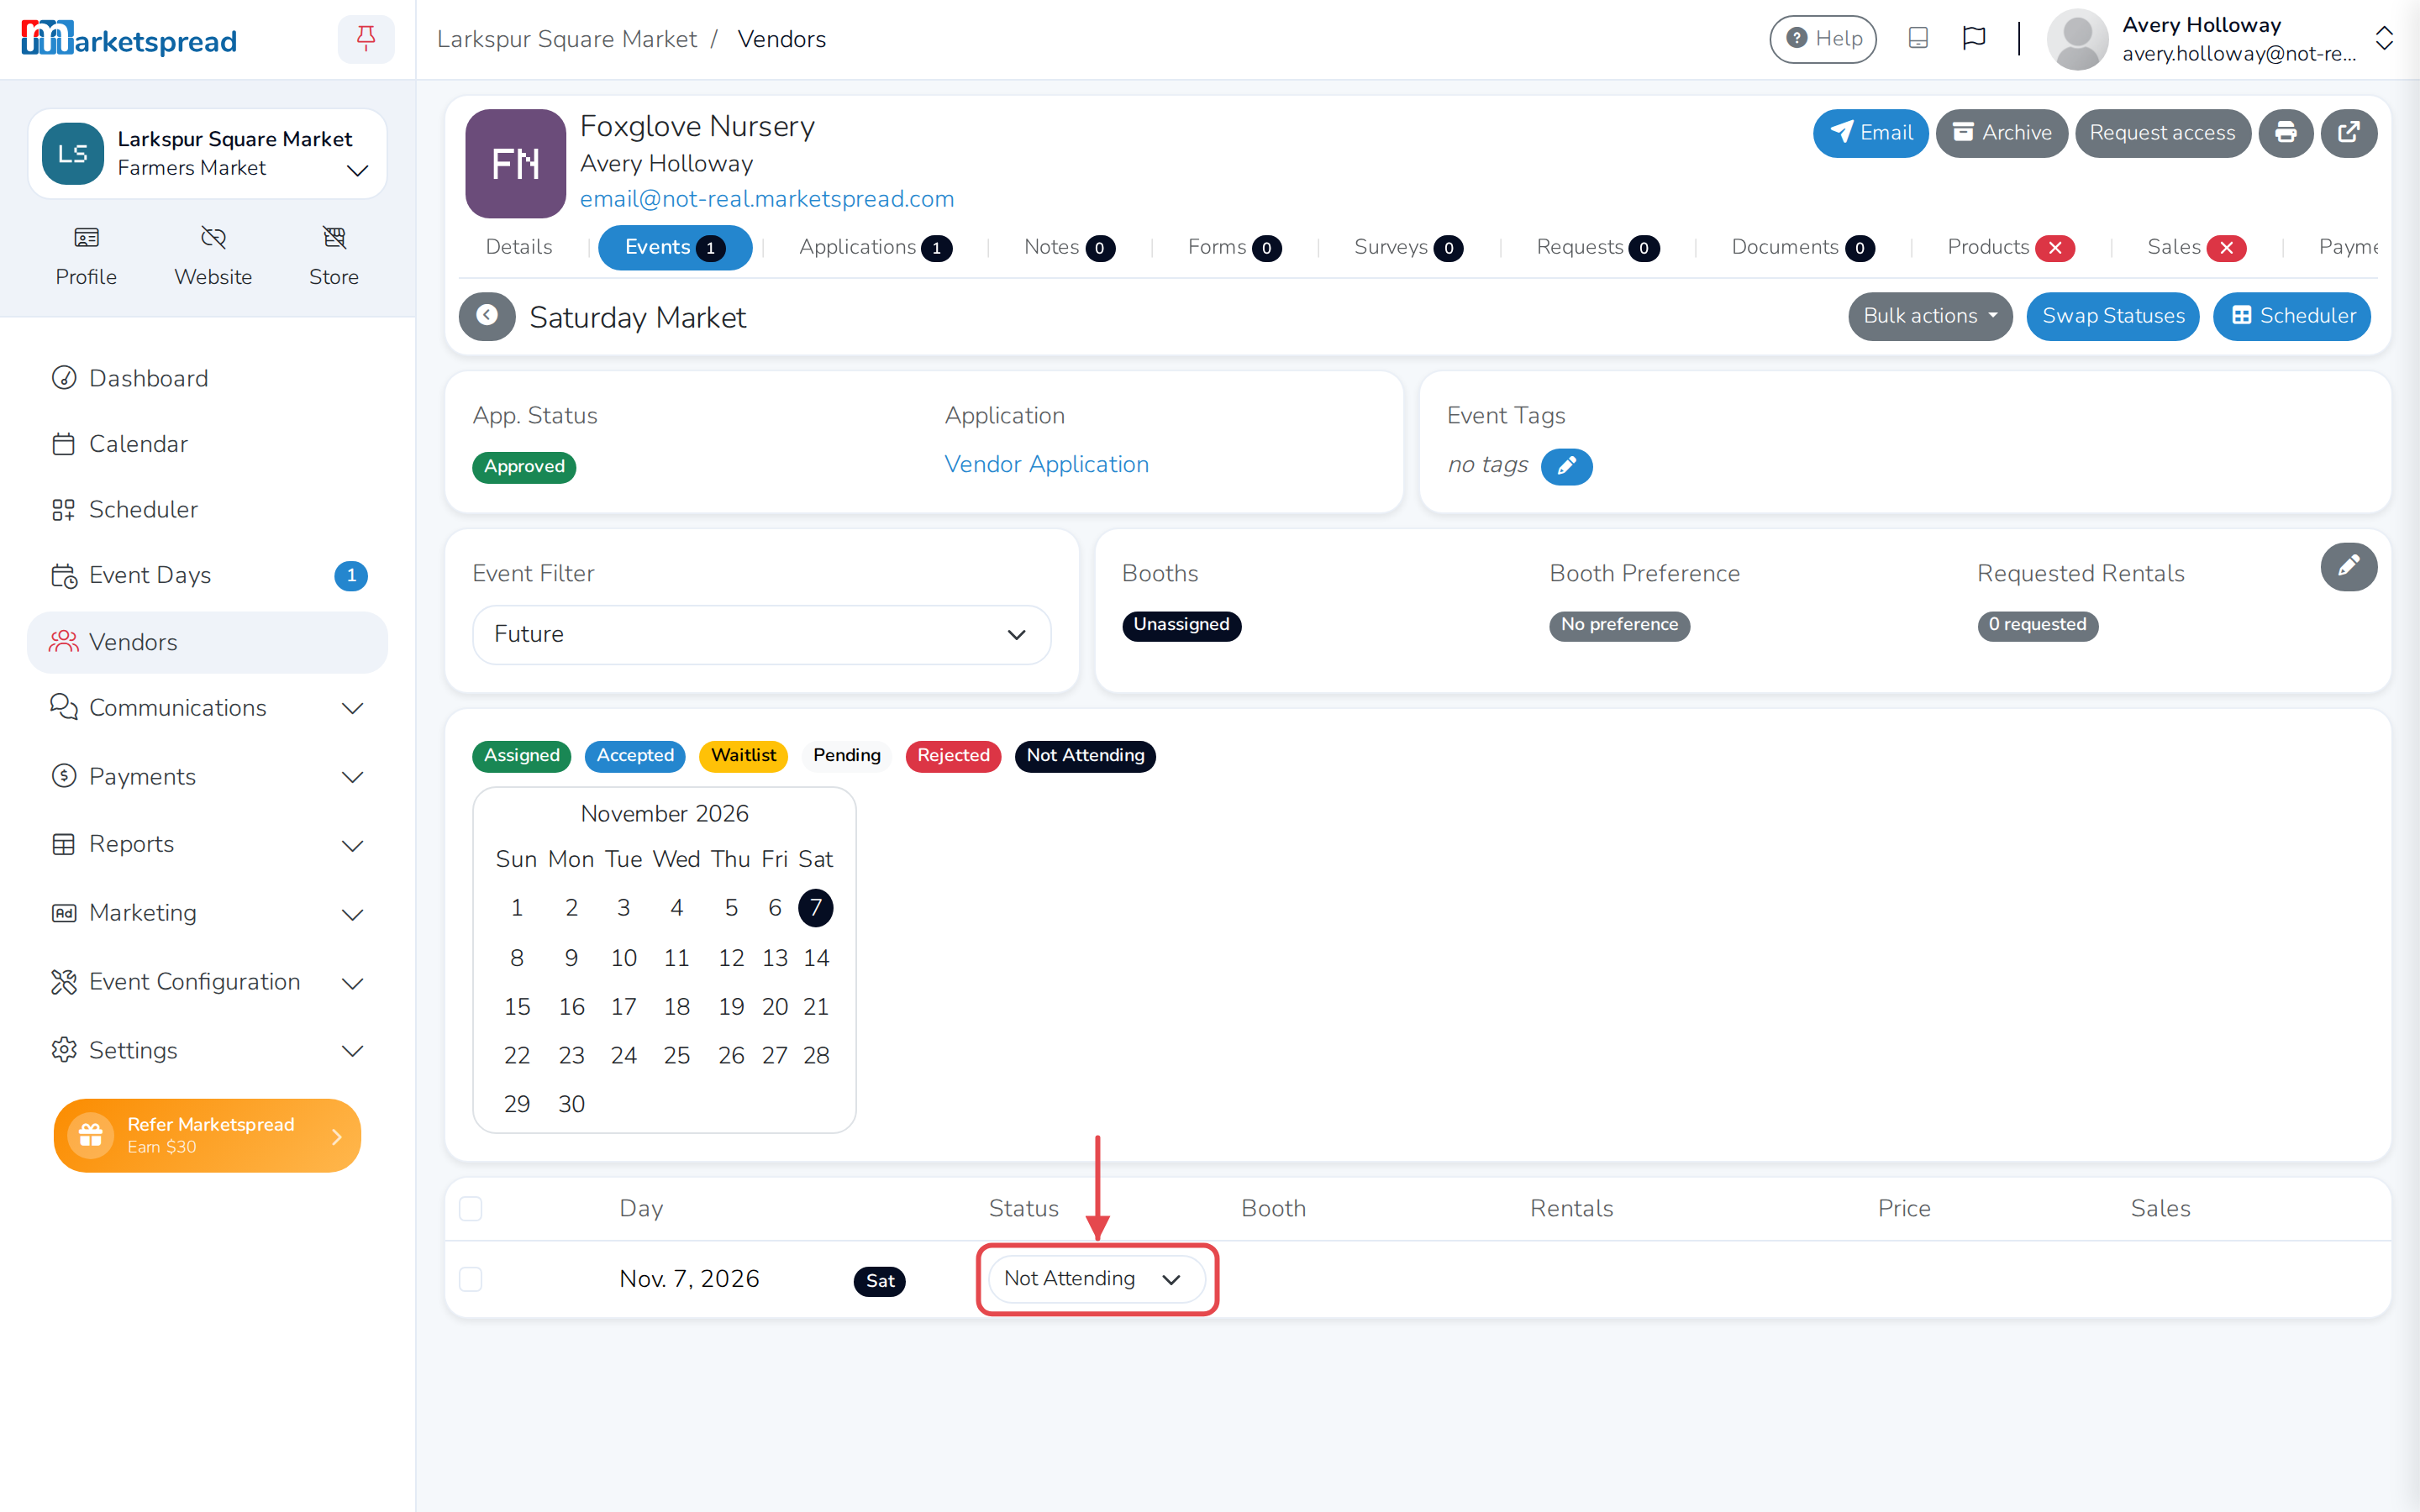
- Open Vendors in the lefthand toolbar.
- Click the vendor's name.
- Click the Events tab.
- Click the event or event series.
- Next to the day you want, set the status to Waitlist.
Tip
To wait-list several days at once, check the boxes next to them, click Bulk actions, then Waitlist under Mark selected.
Move a vendor off the waitlist and into a booth
-
Follow the steps above to find the vendor on the waitlist for that day.
-
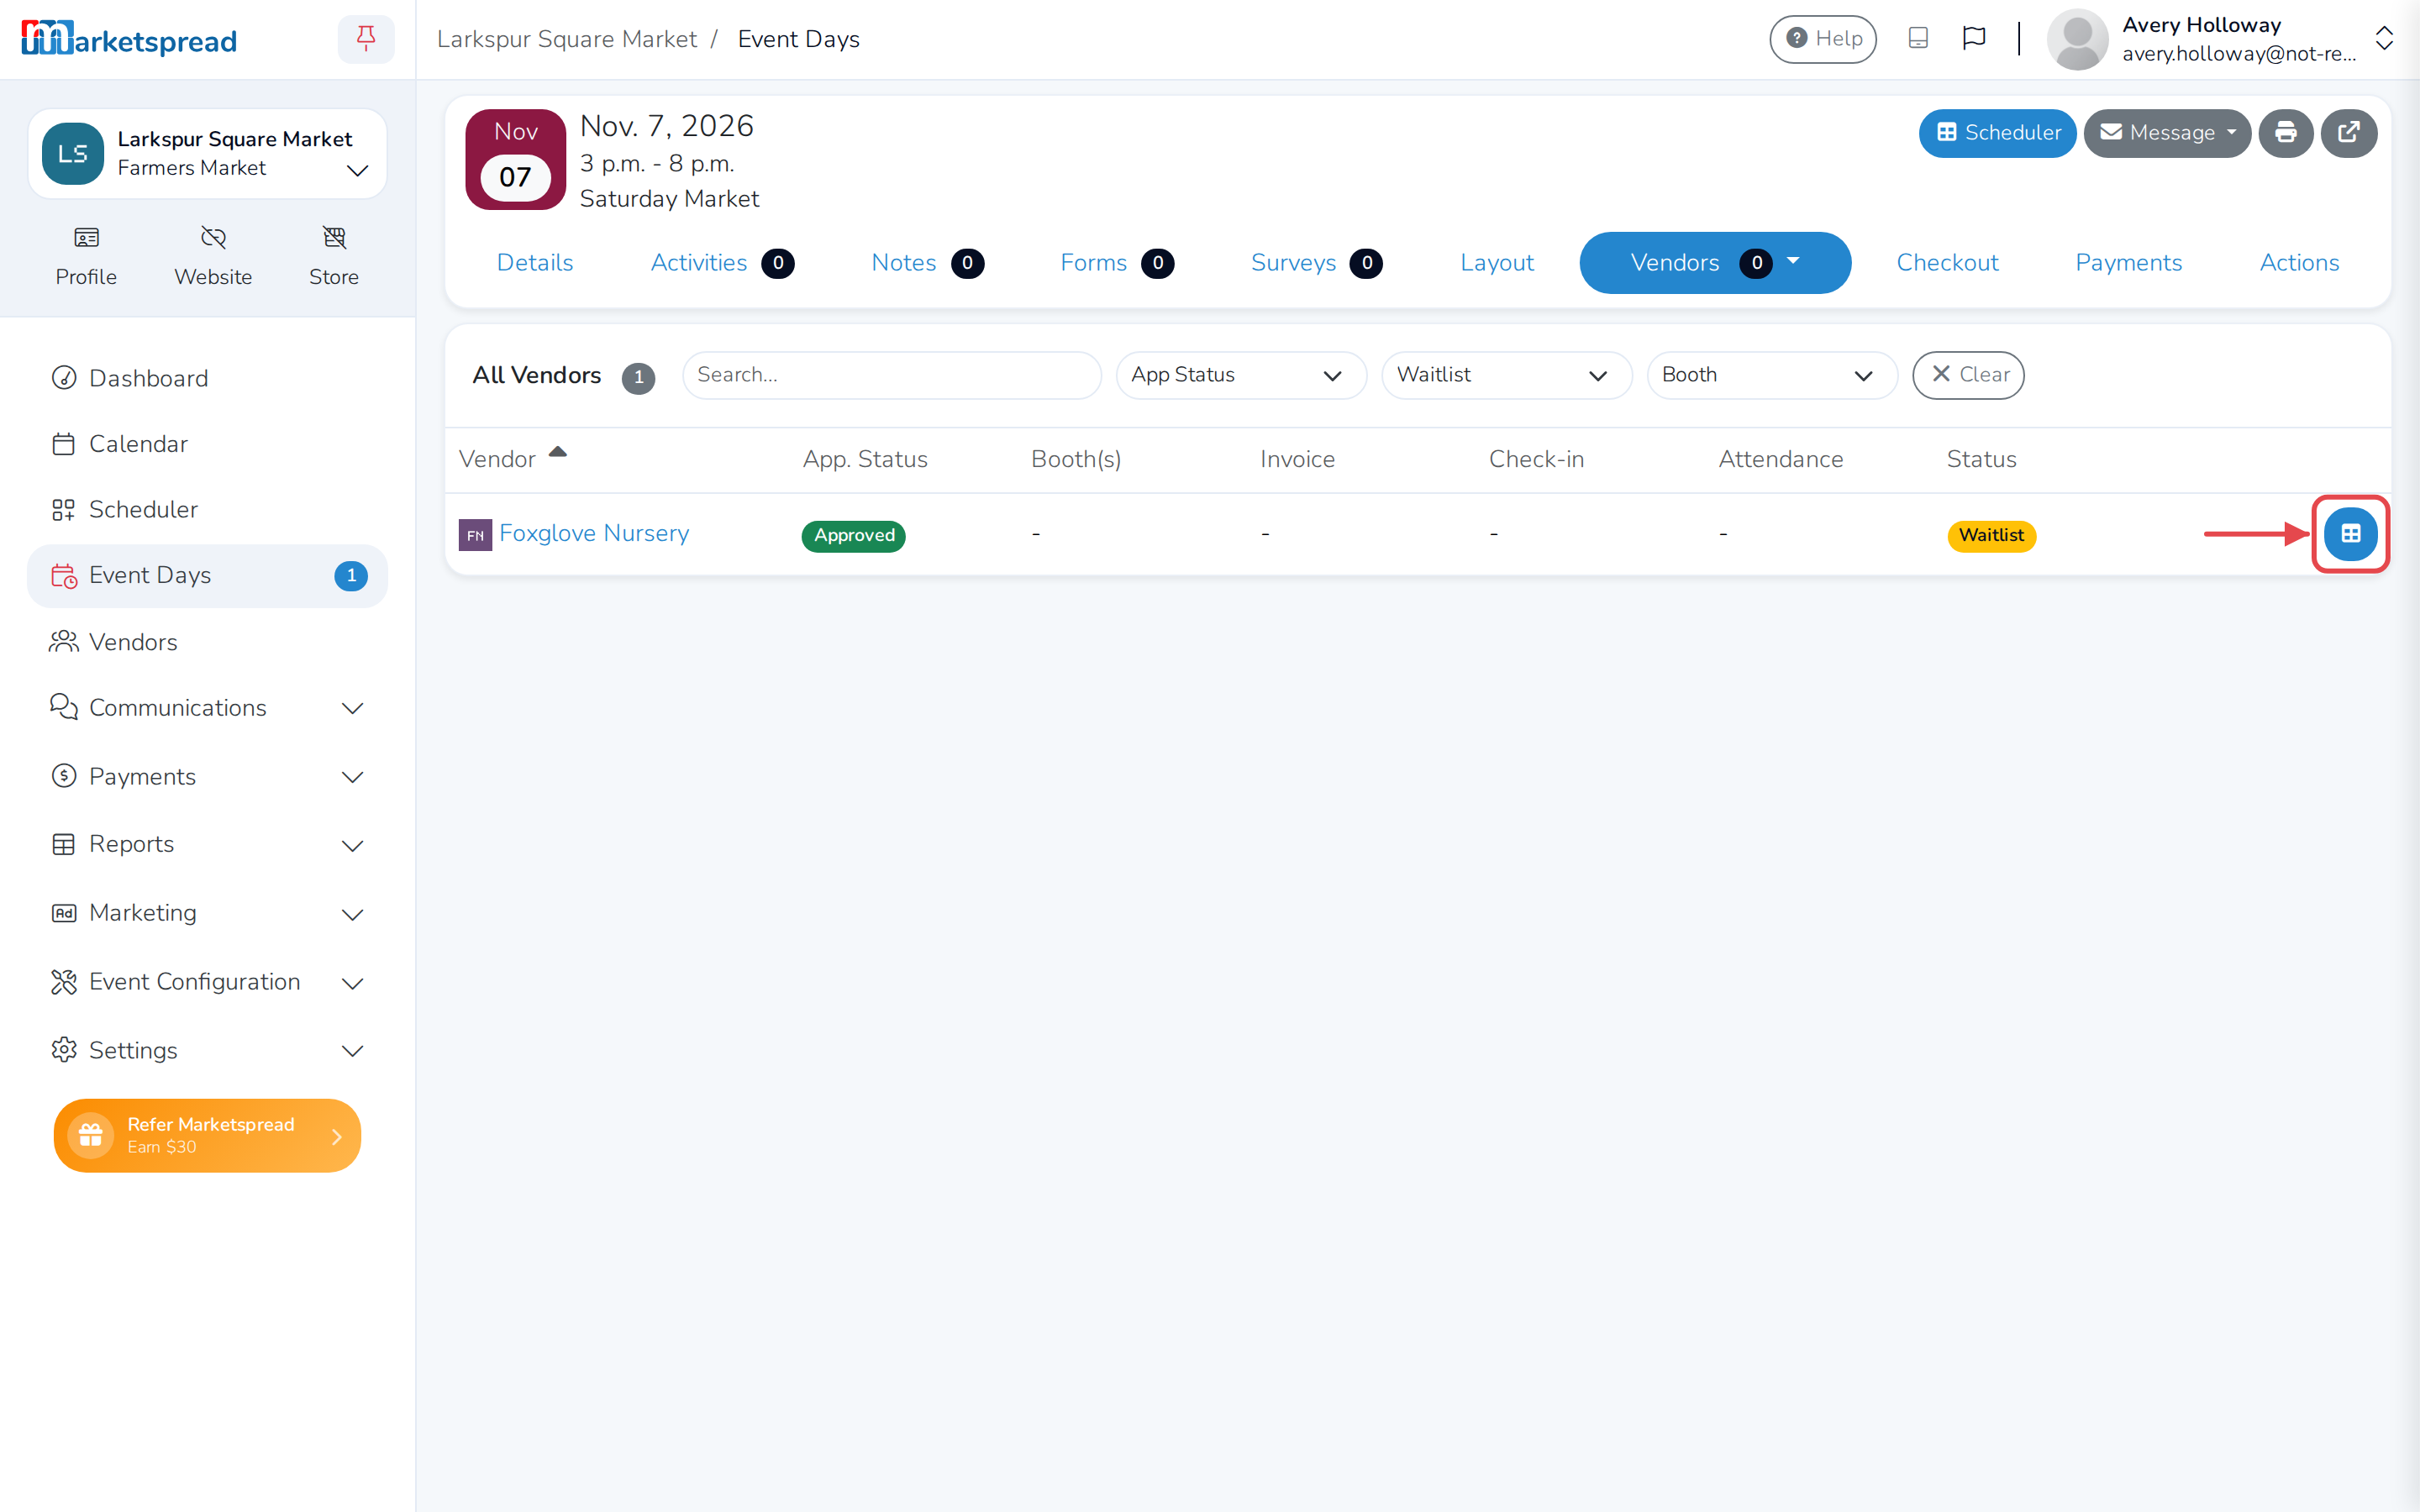
Click the Schedule icon next to their name. This opens Scheduler with that vendor already selected.
-
Assign them a booth the same way you'd book any vendor — see Vendor Booth Booking Overview.
Their status changes from Waitlist to Assigned automatically — you don't need to update it yourself.
Note
Removing a vendor from a booth does not put them back on the waitlist — you have to set their status to Waitlist yourself, or they'll drop off that day's list completely.