


Once your map knows where it sits in the real world, you can turn on a location button. A vendor looking for their booth, or a shopper looking for one, taps it and sees a dot for where they're standing. You turn it on from the Layout Editor, at Event Configuration → Layouts.
There are two ways to set it up:
- Add a map background tied to a real address — the easier way for most markets
- Add your own location points instead
Add a map background
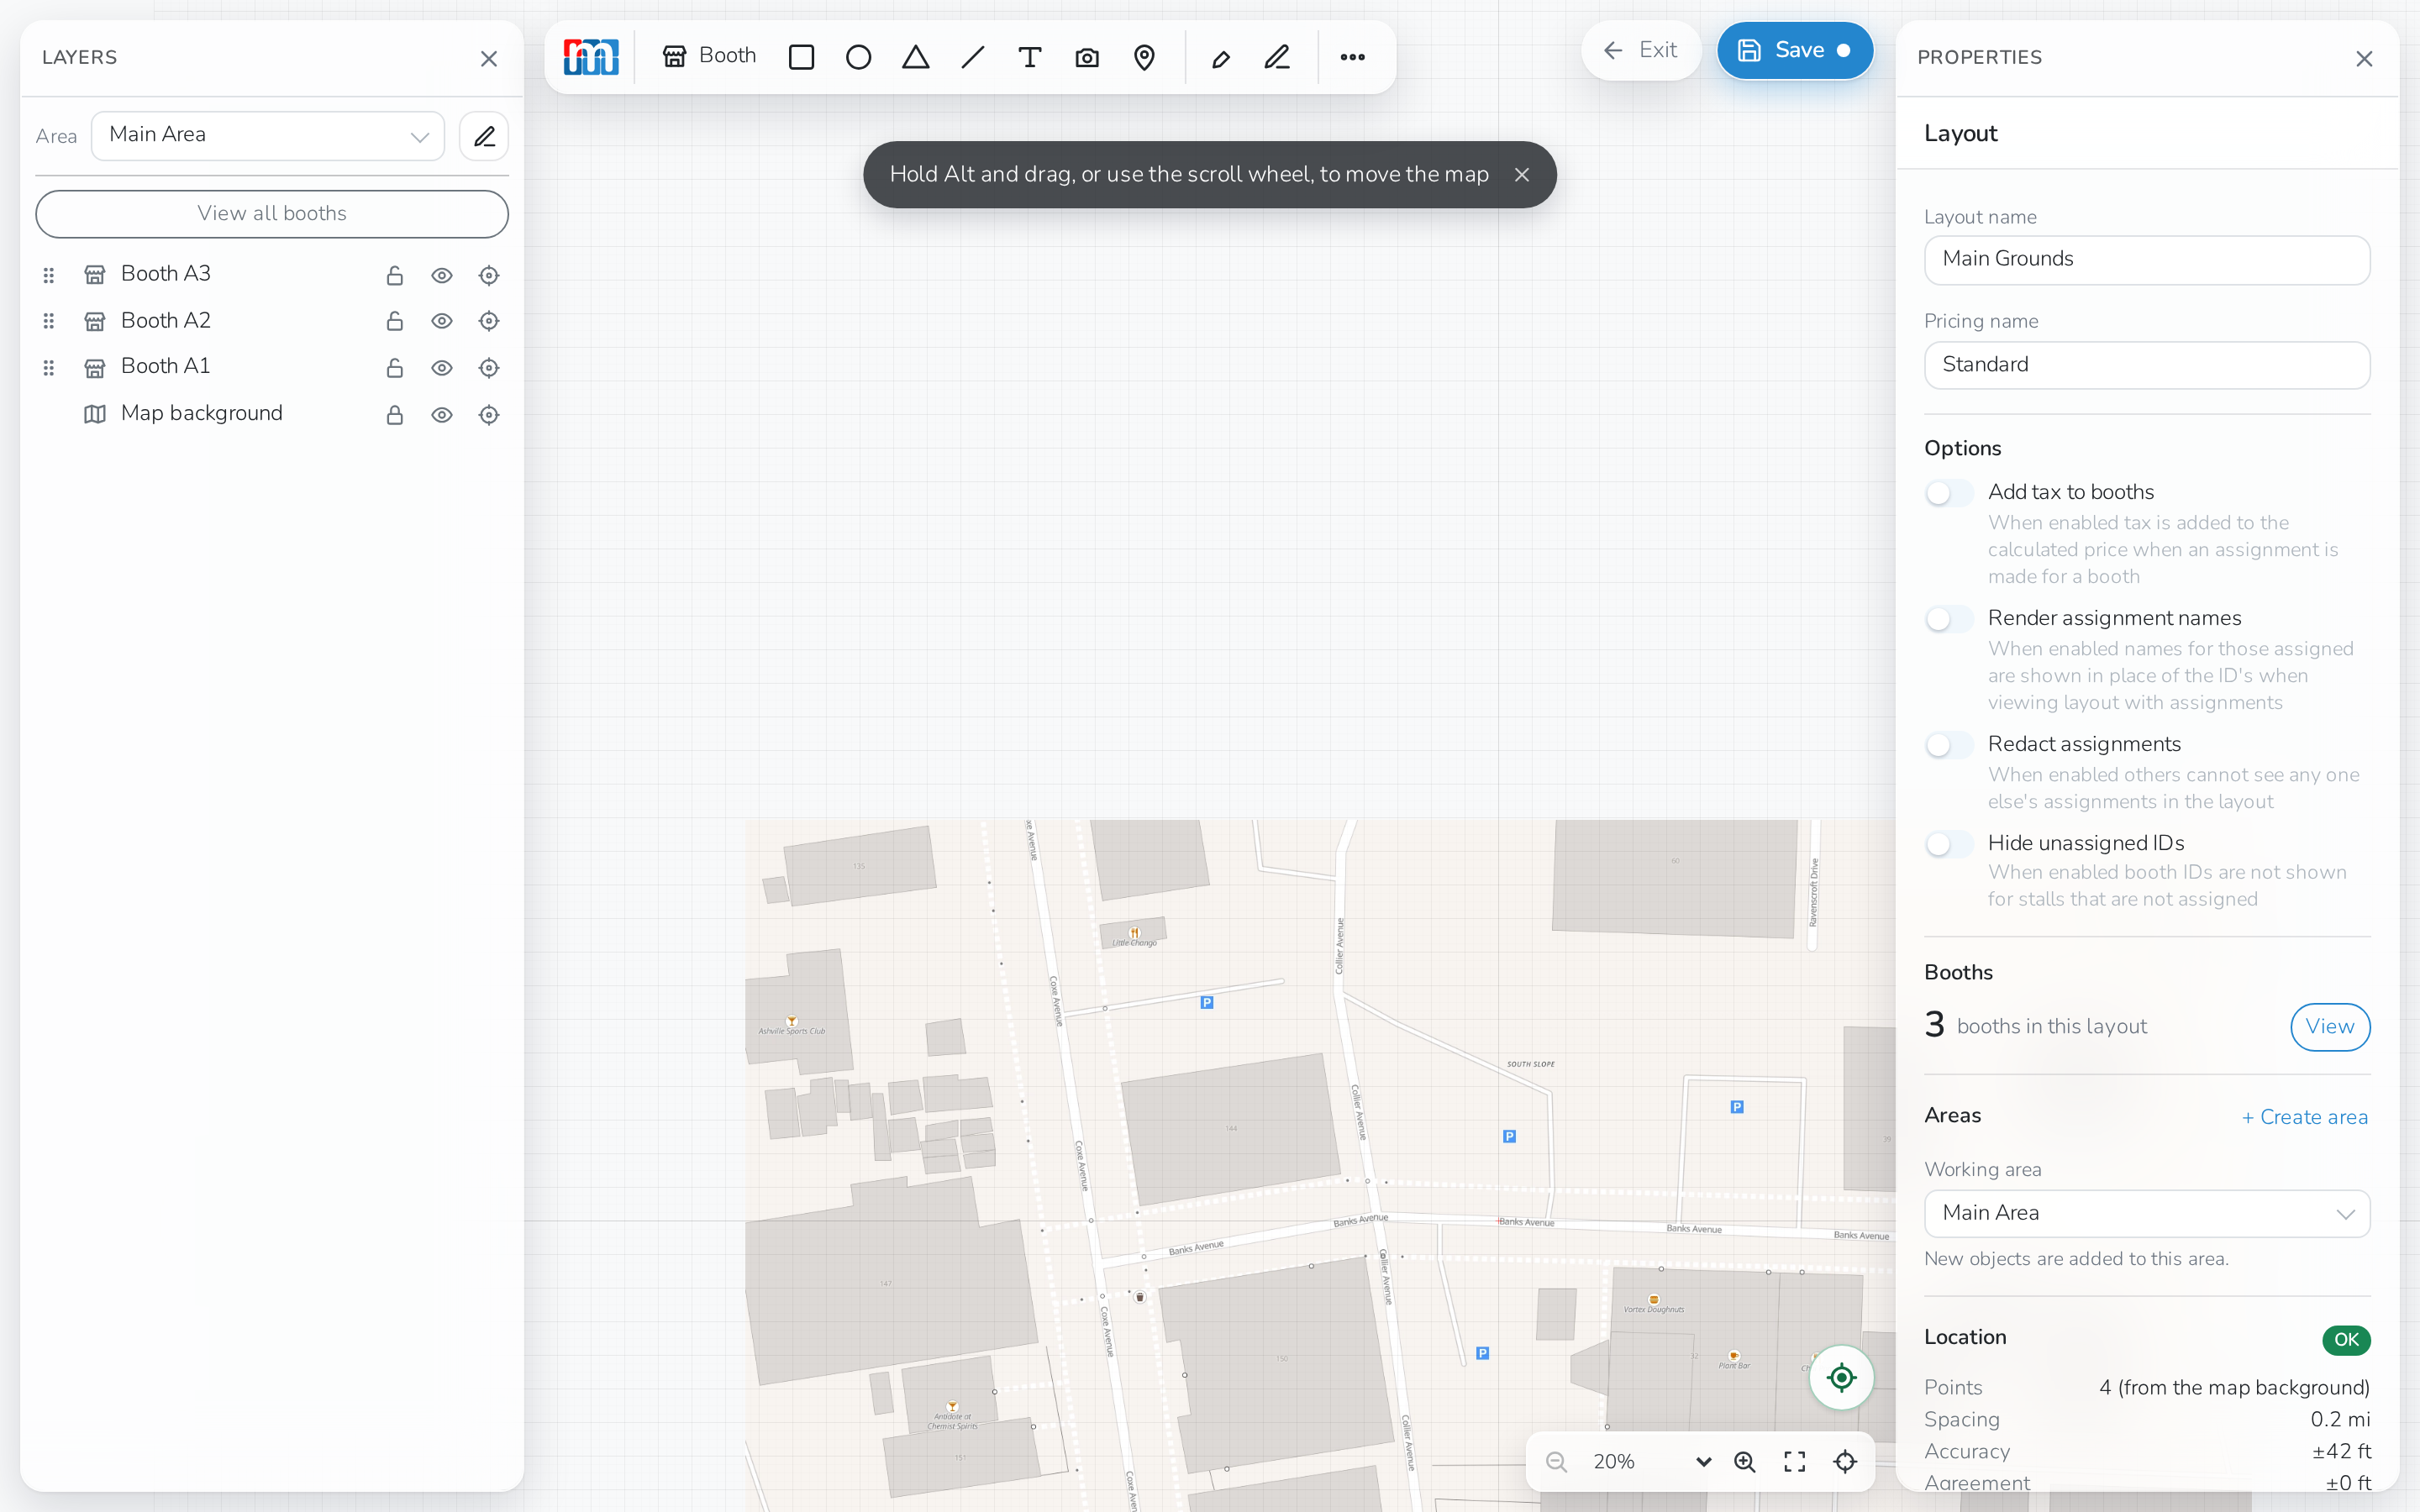
A map background already knows where it sits in the world, so once it's added, nothing else is needed to turn the location button on.
-
Open Event Configuration → Layouts and open the layout you want to set up.
-
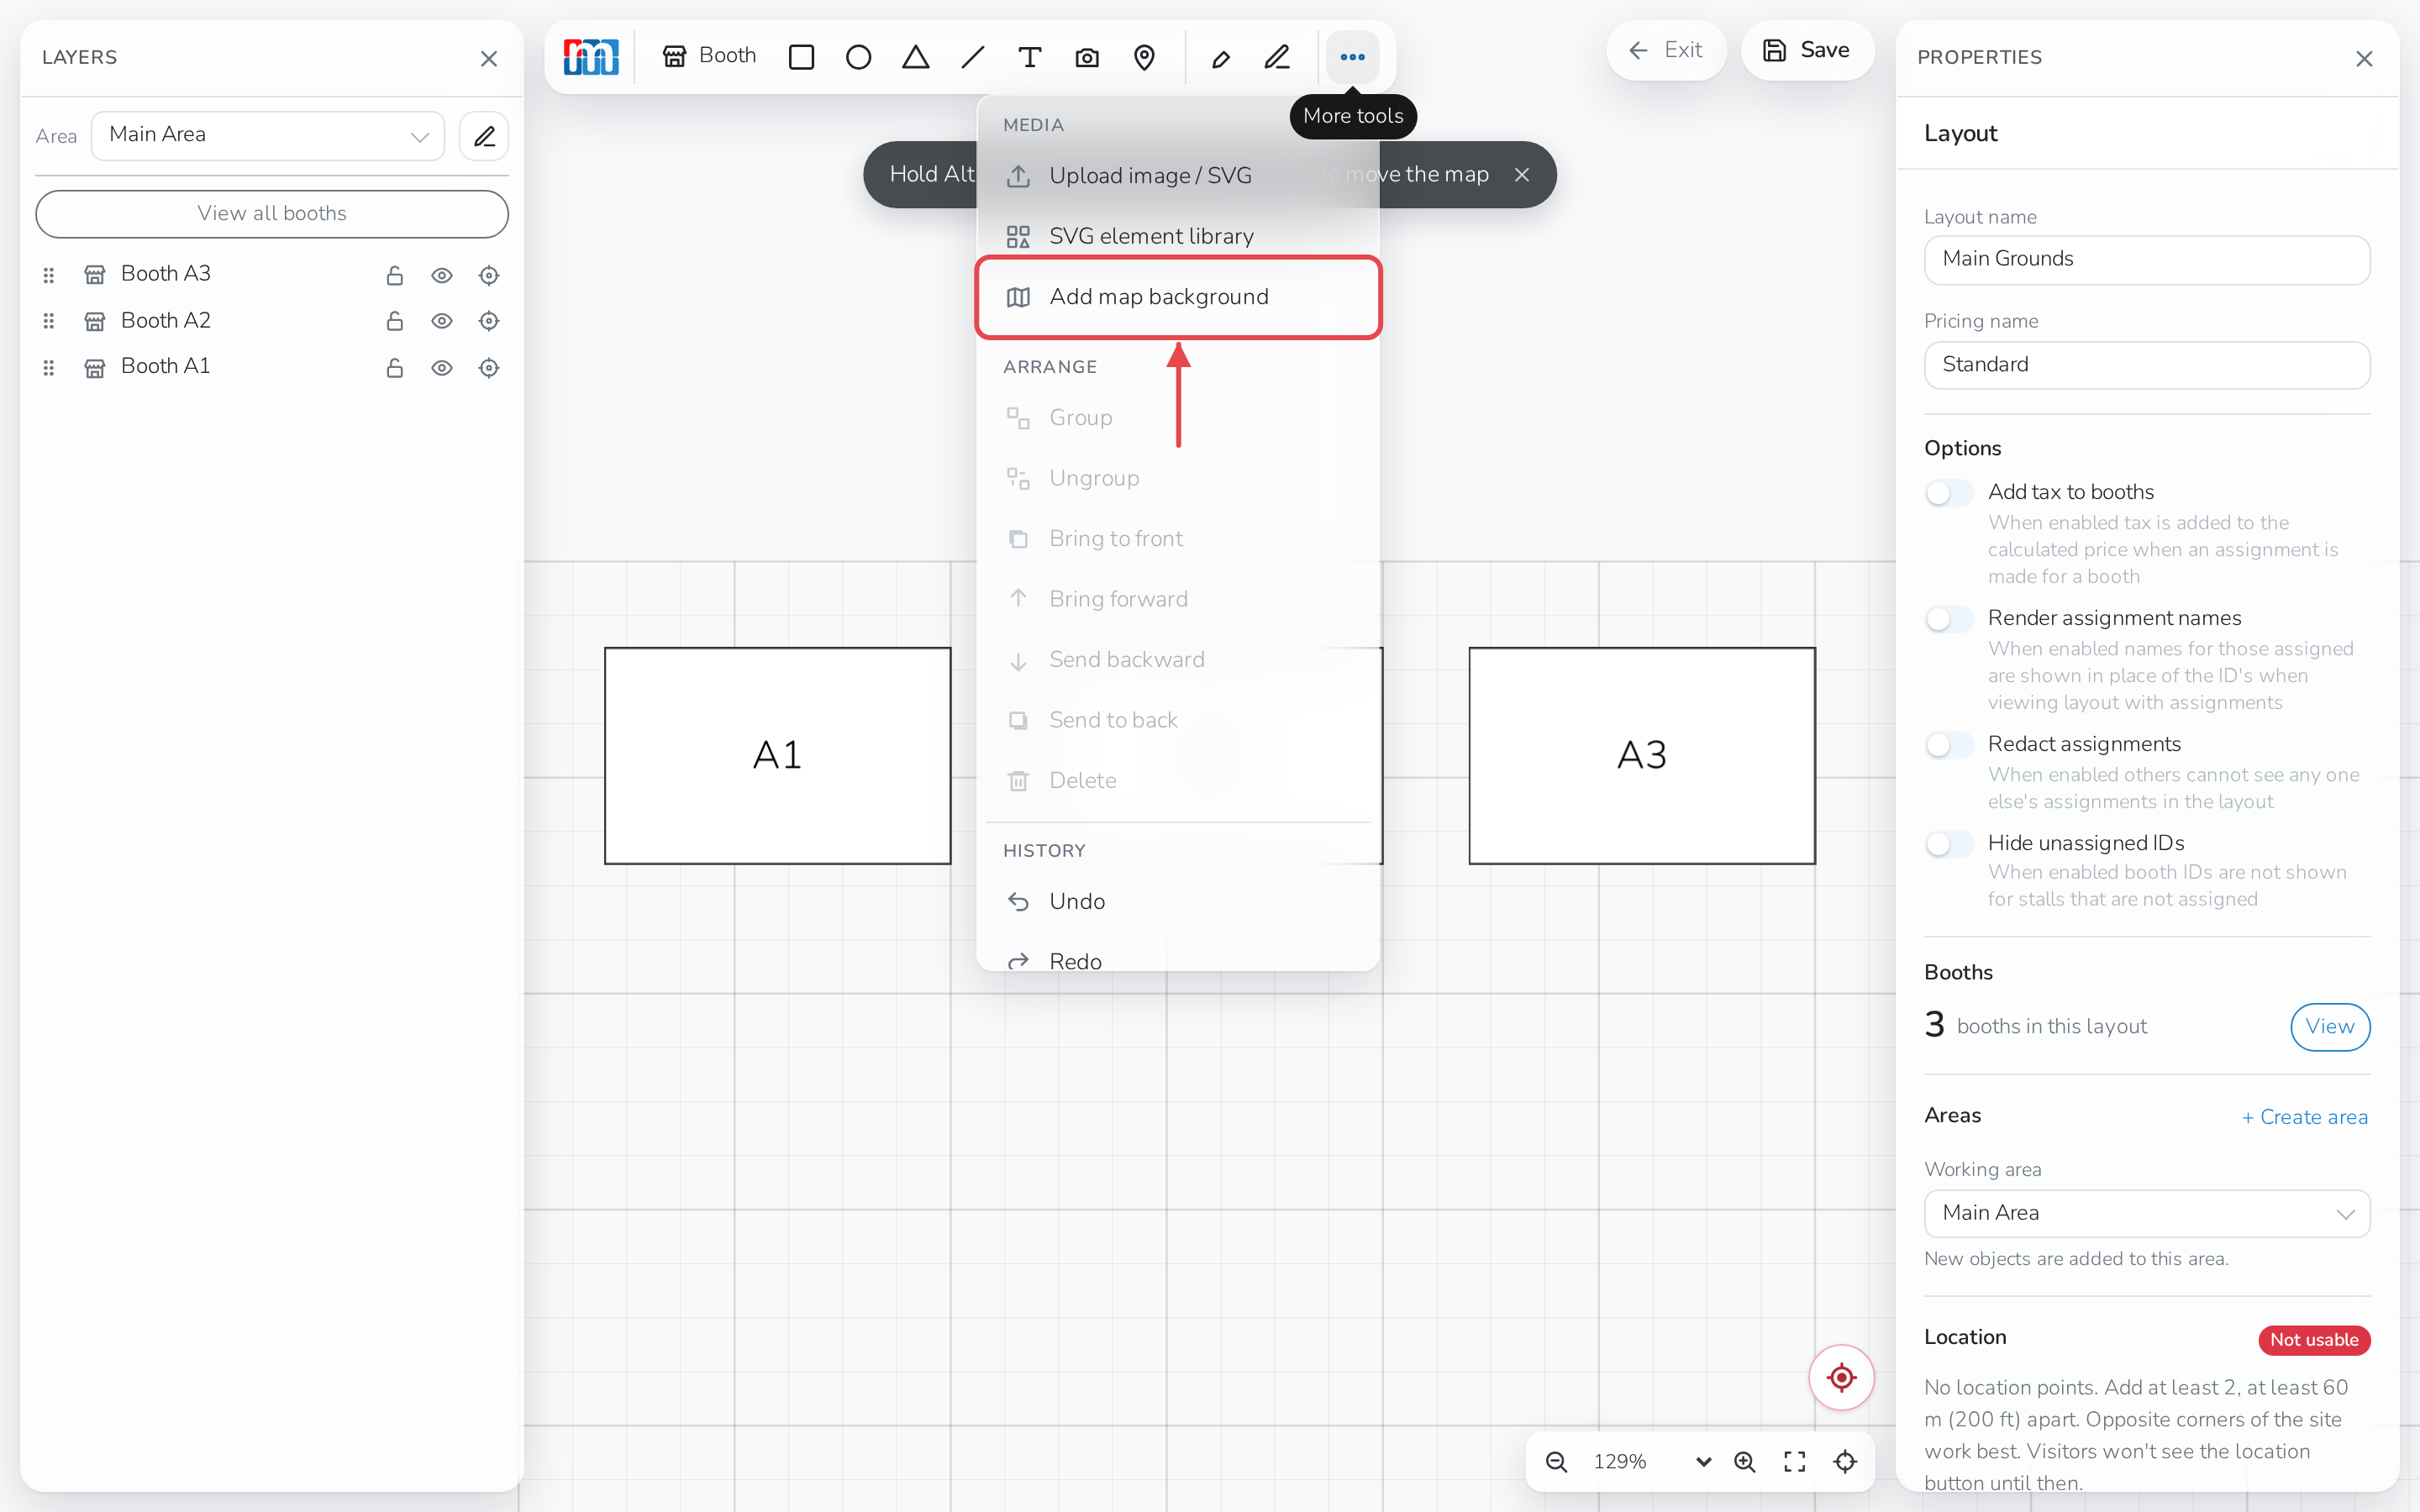
In the toolbar, click Add map background (or Edit map background if the layout already has one). If the toolbar is too narrow to show it, open More tools first.
-
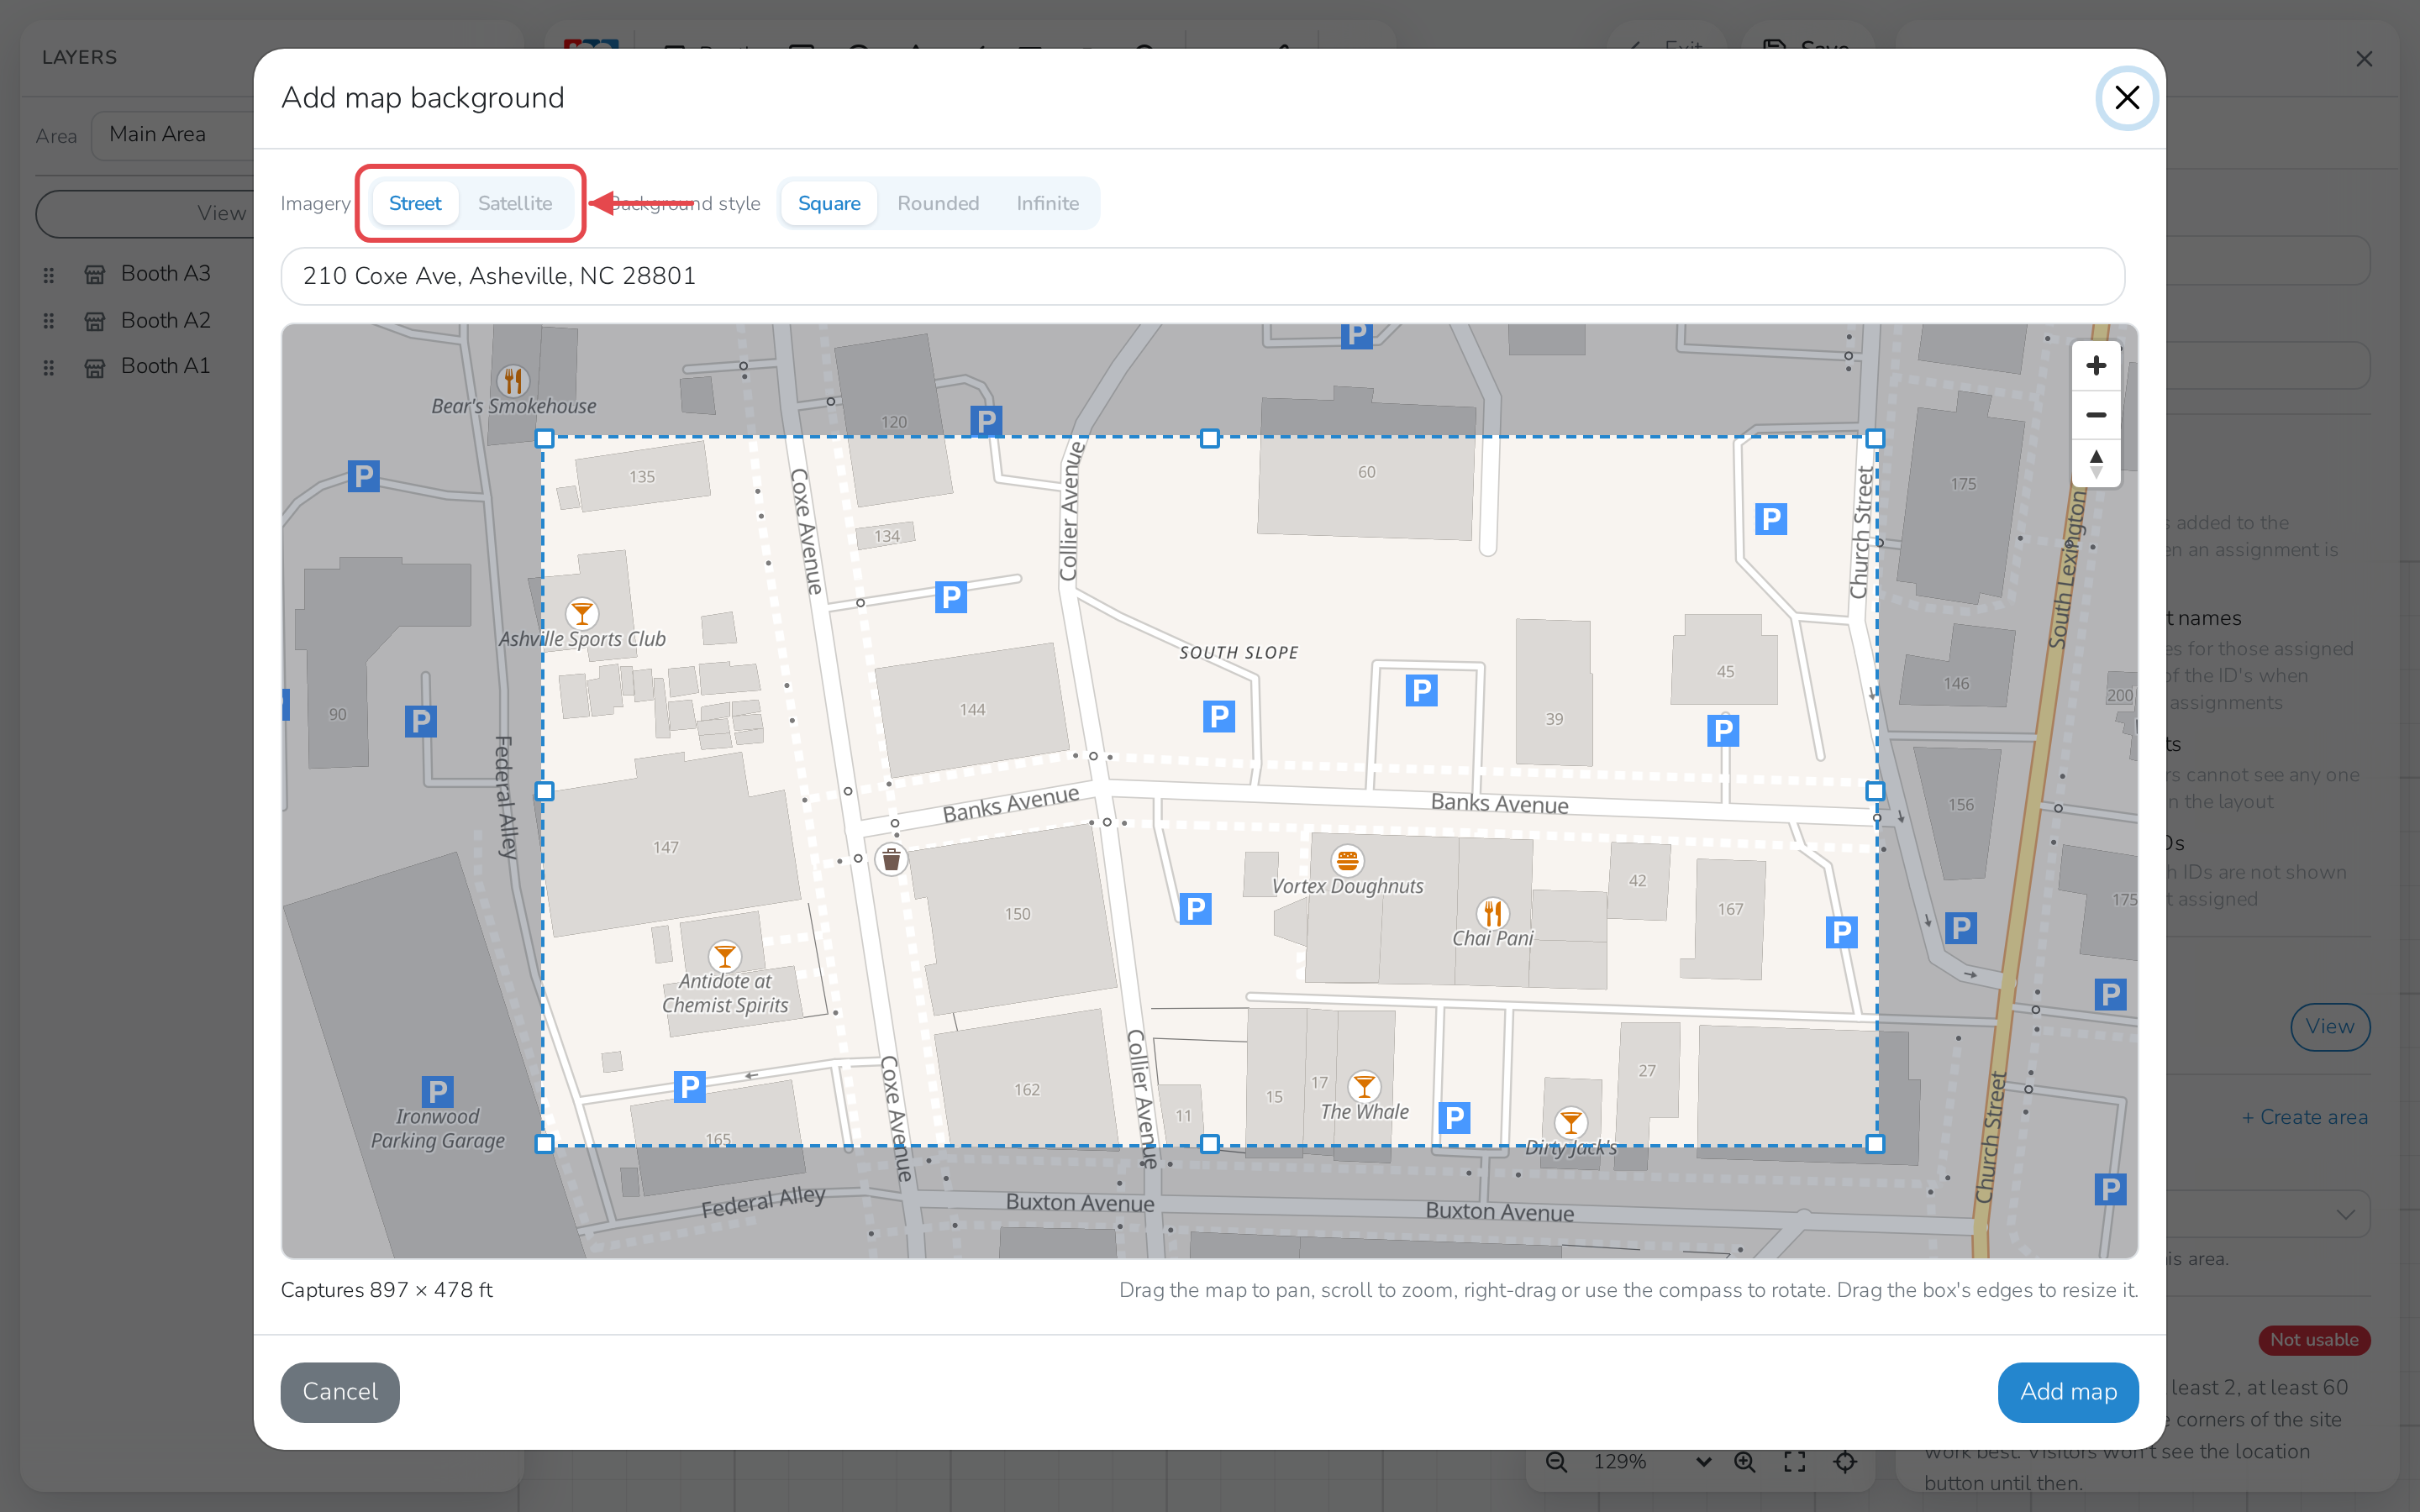
Search for your market's address, or drag and zoom the map until your site sits inside the box.
-
Under Imagery, choose Street or Satellite.
-
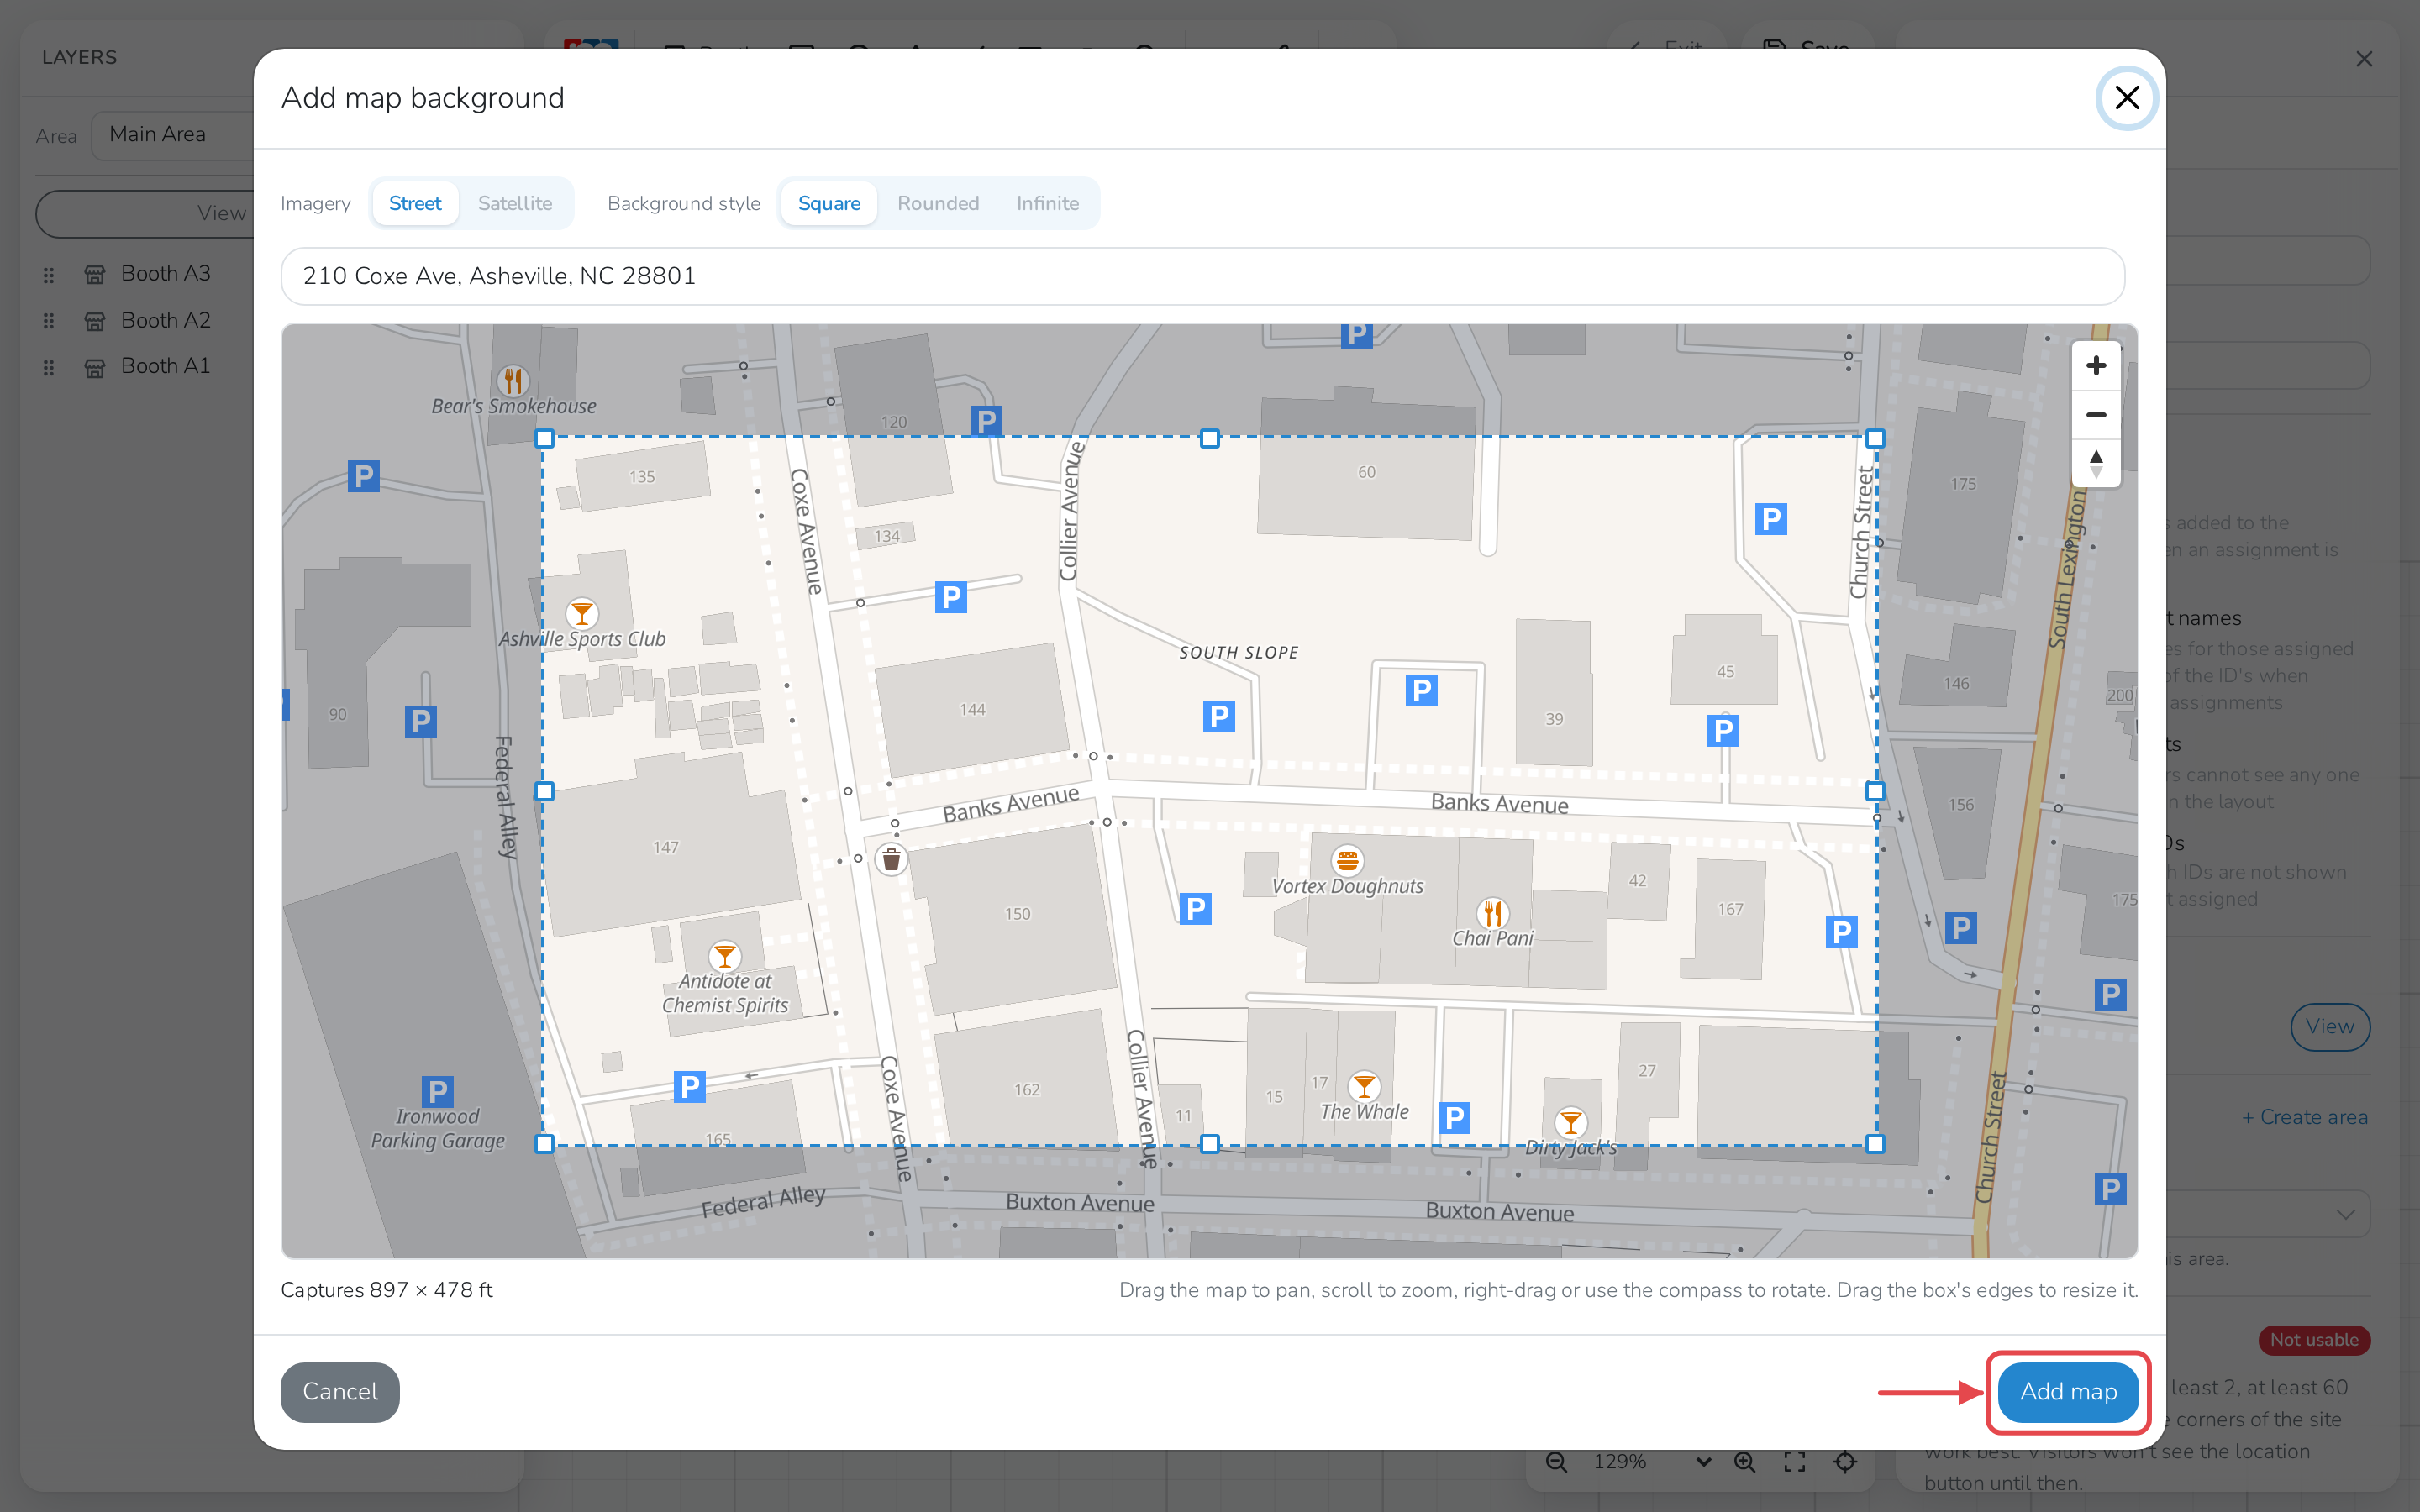
Click Add map.
Note
The background has to cover at least 65 ft (20 m) corner to corner. A tighter crop is too small to place anyone on, and the location button stays off.
Add location points instead
Use this when your layout has no map background, or you'd rather line the drawing up yourself.
-
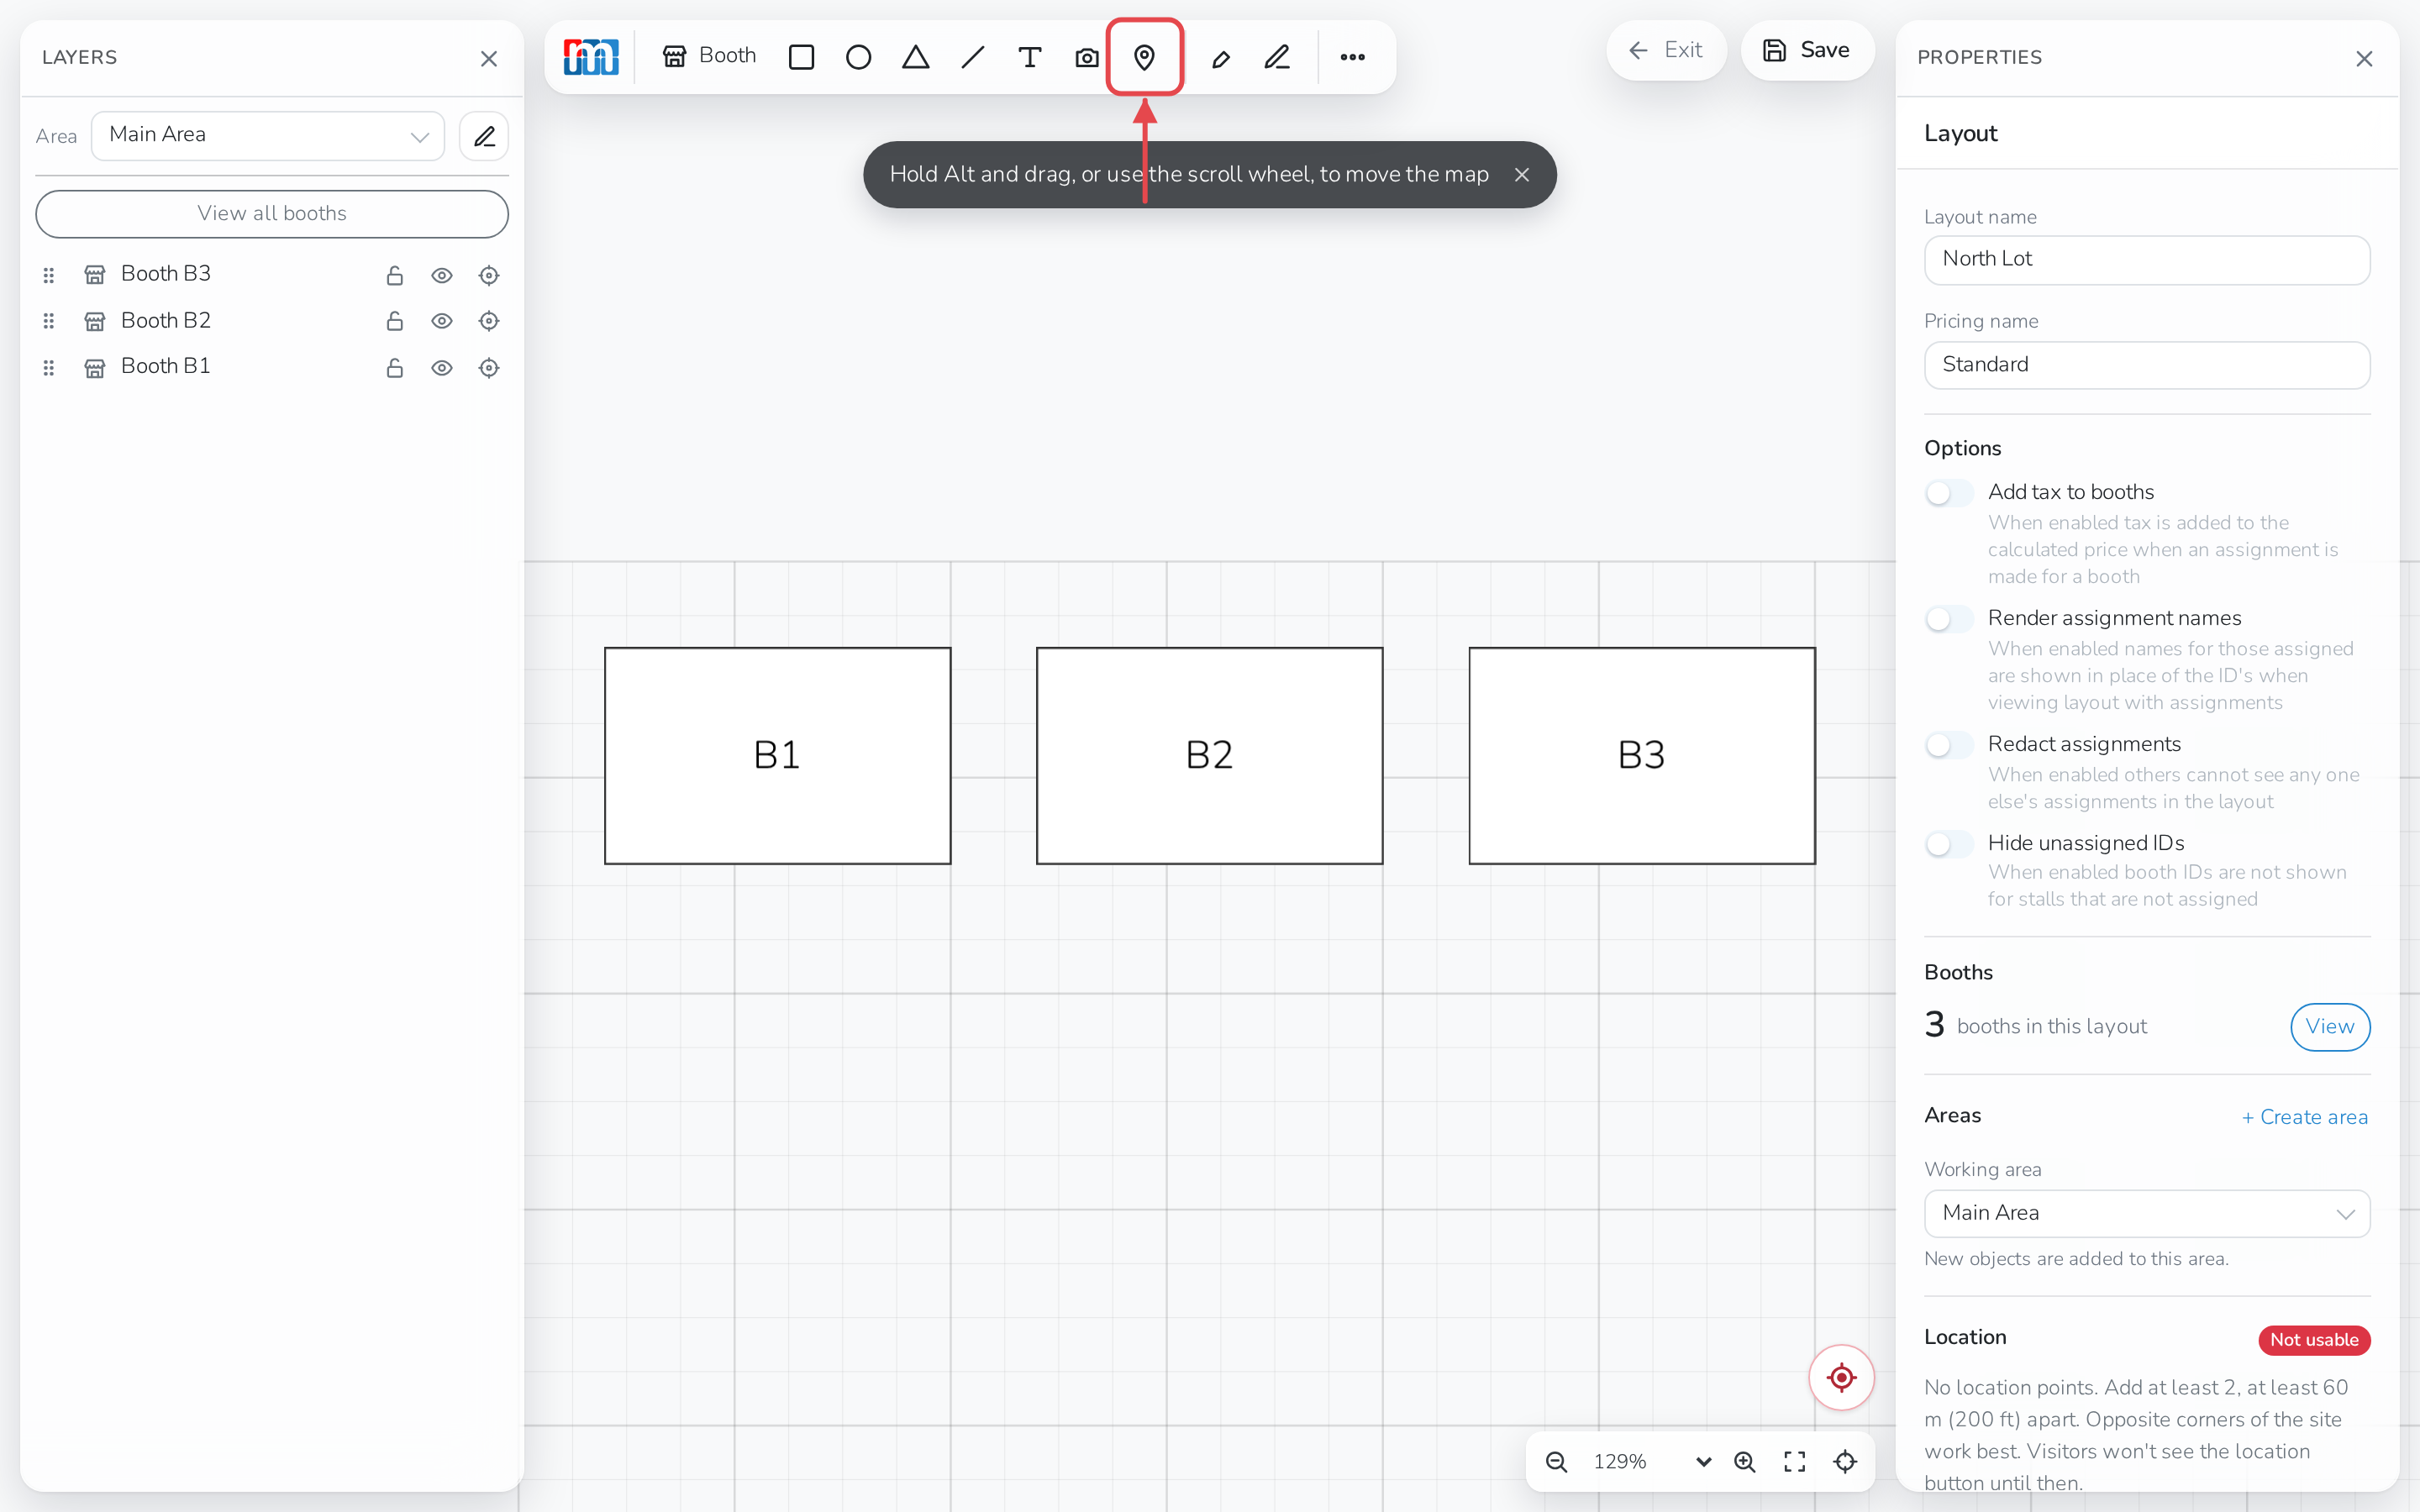
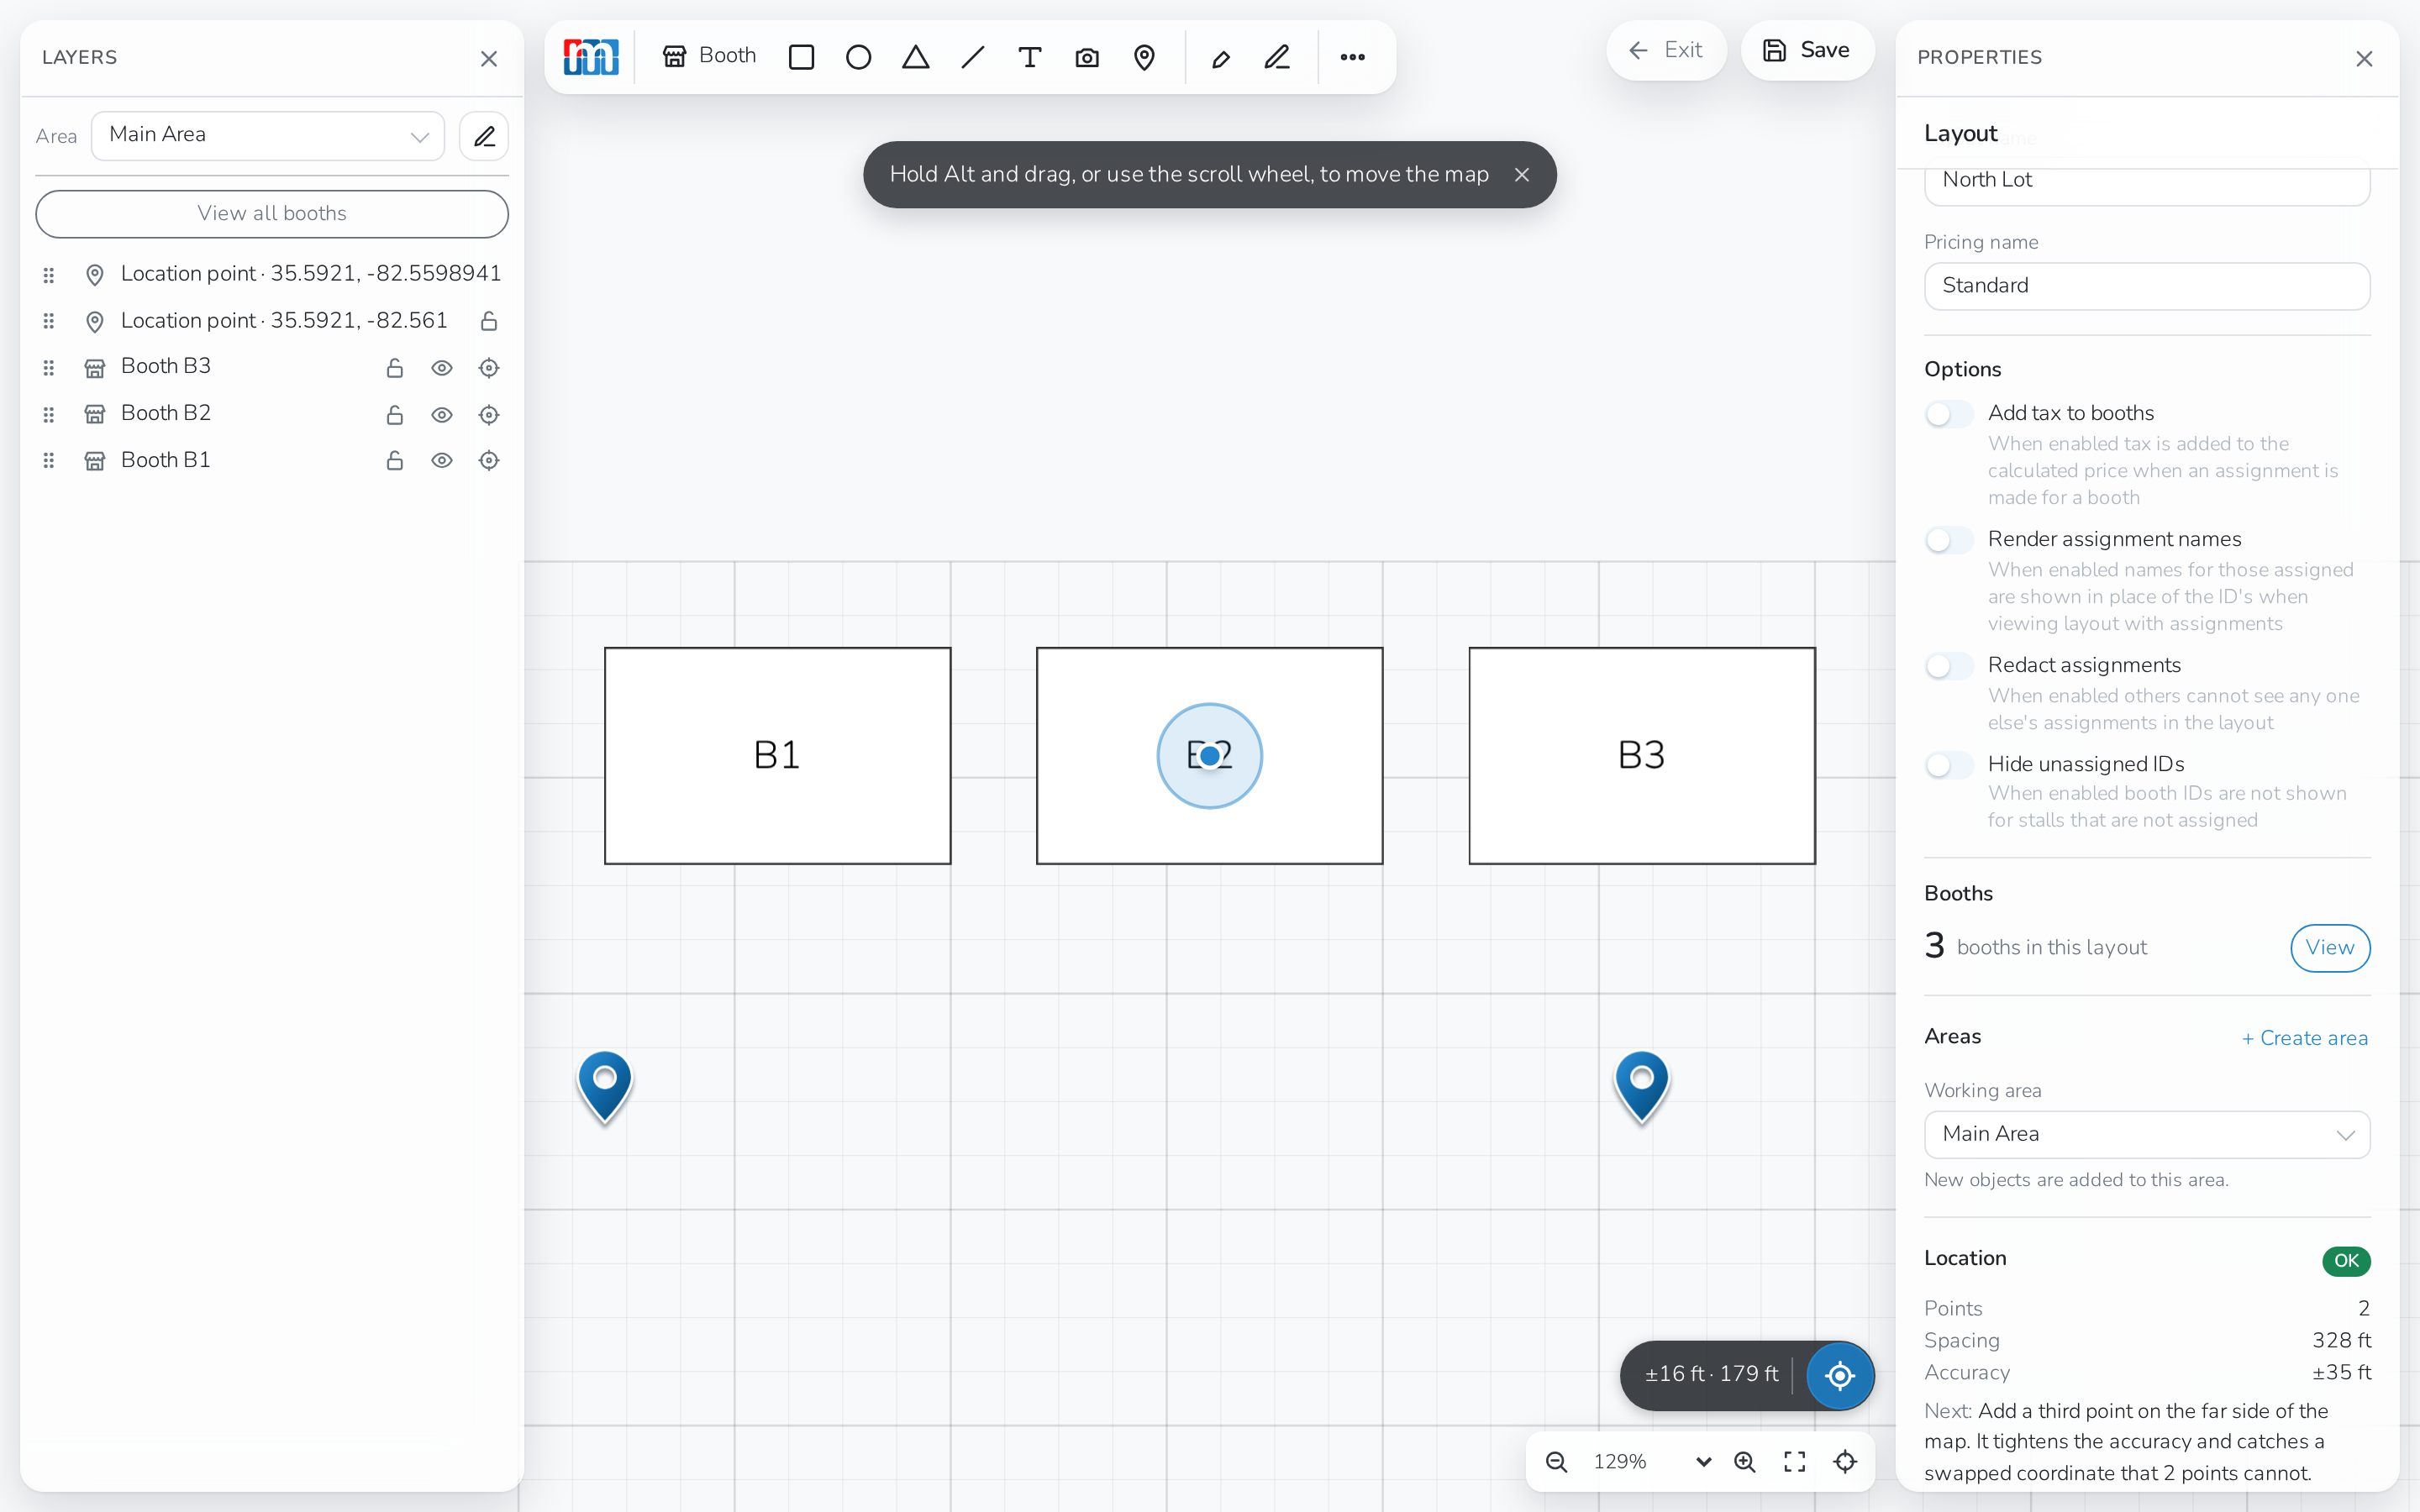
In the toolbar, click Add location point.
-
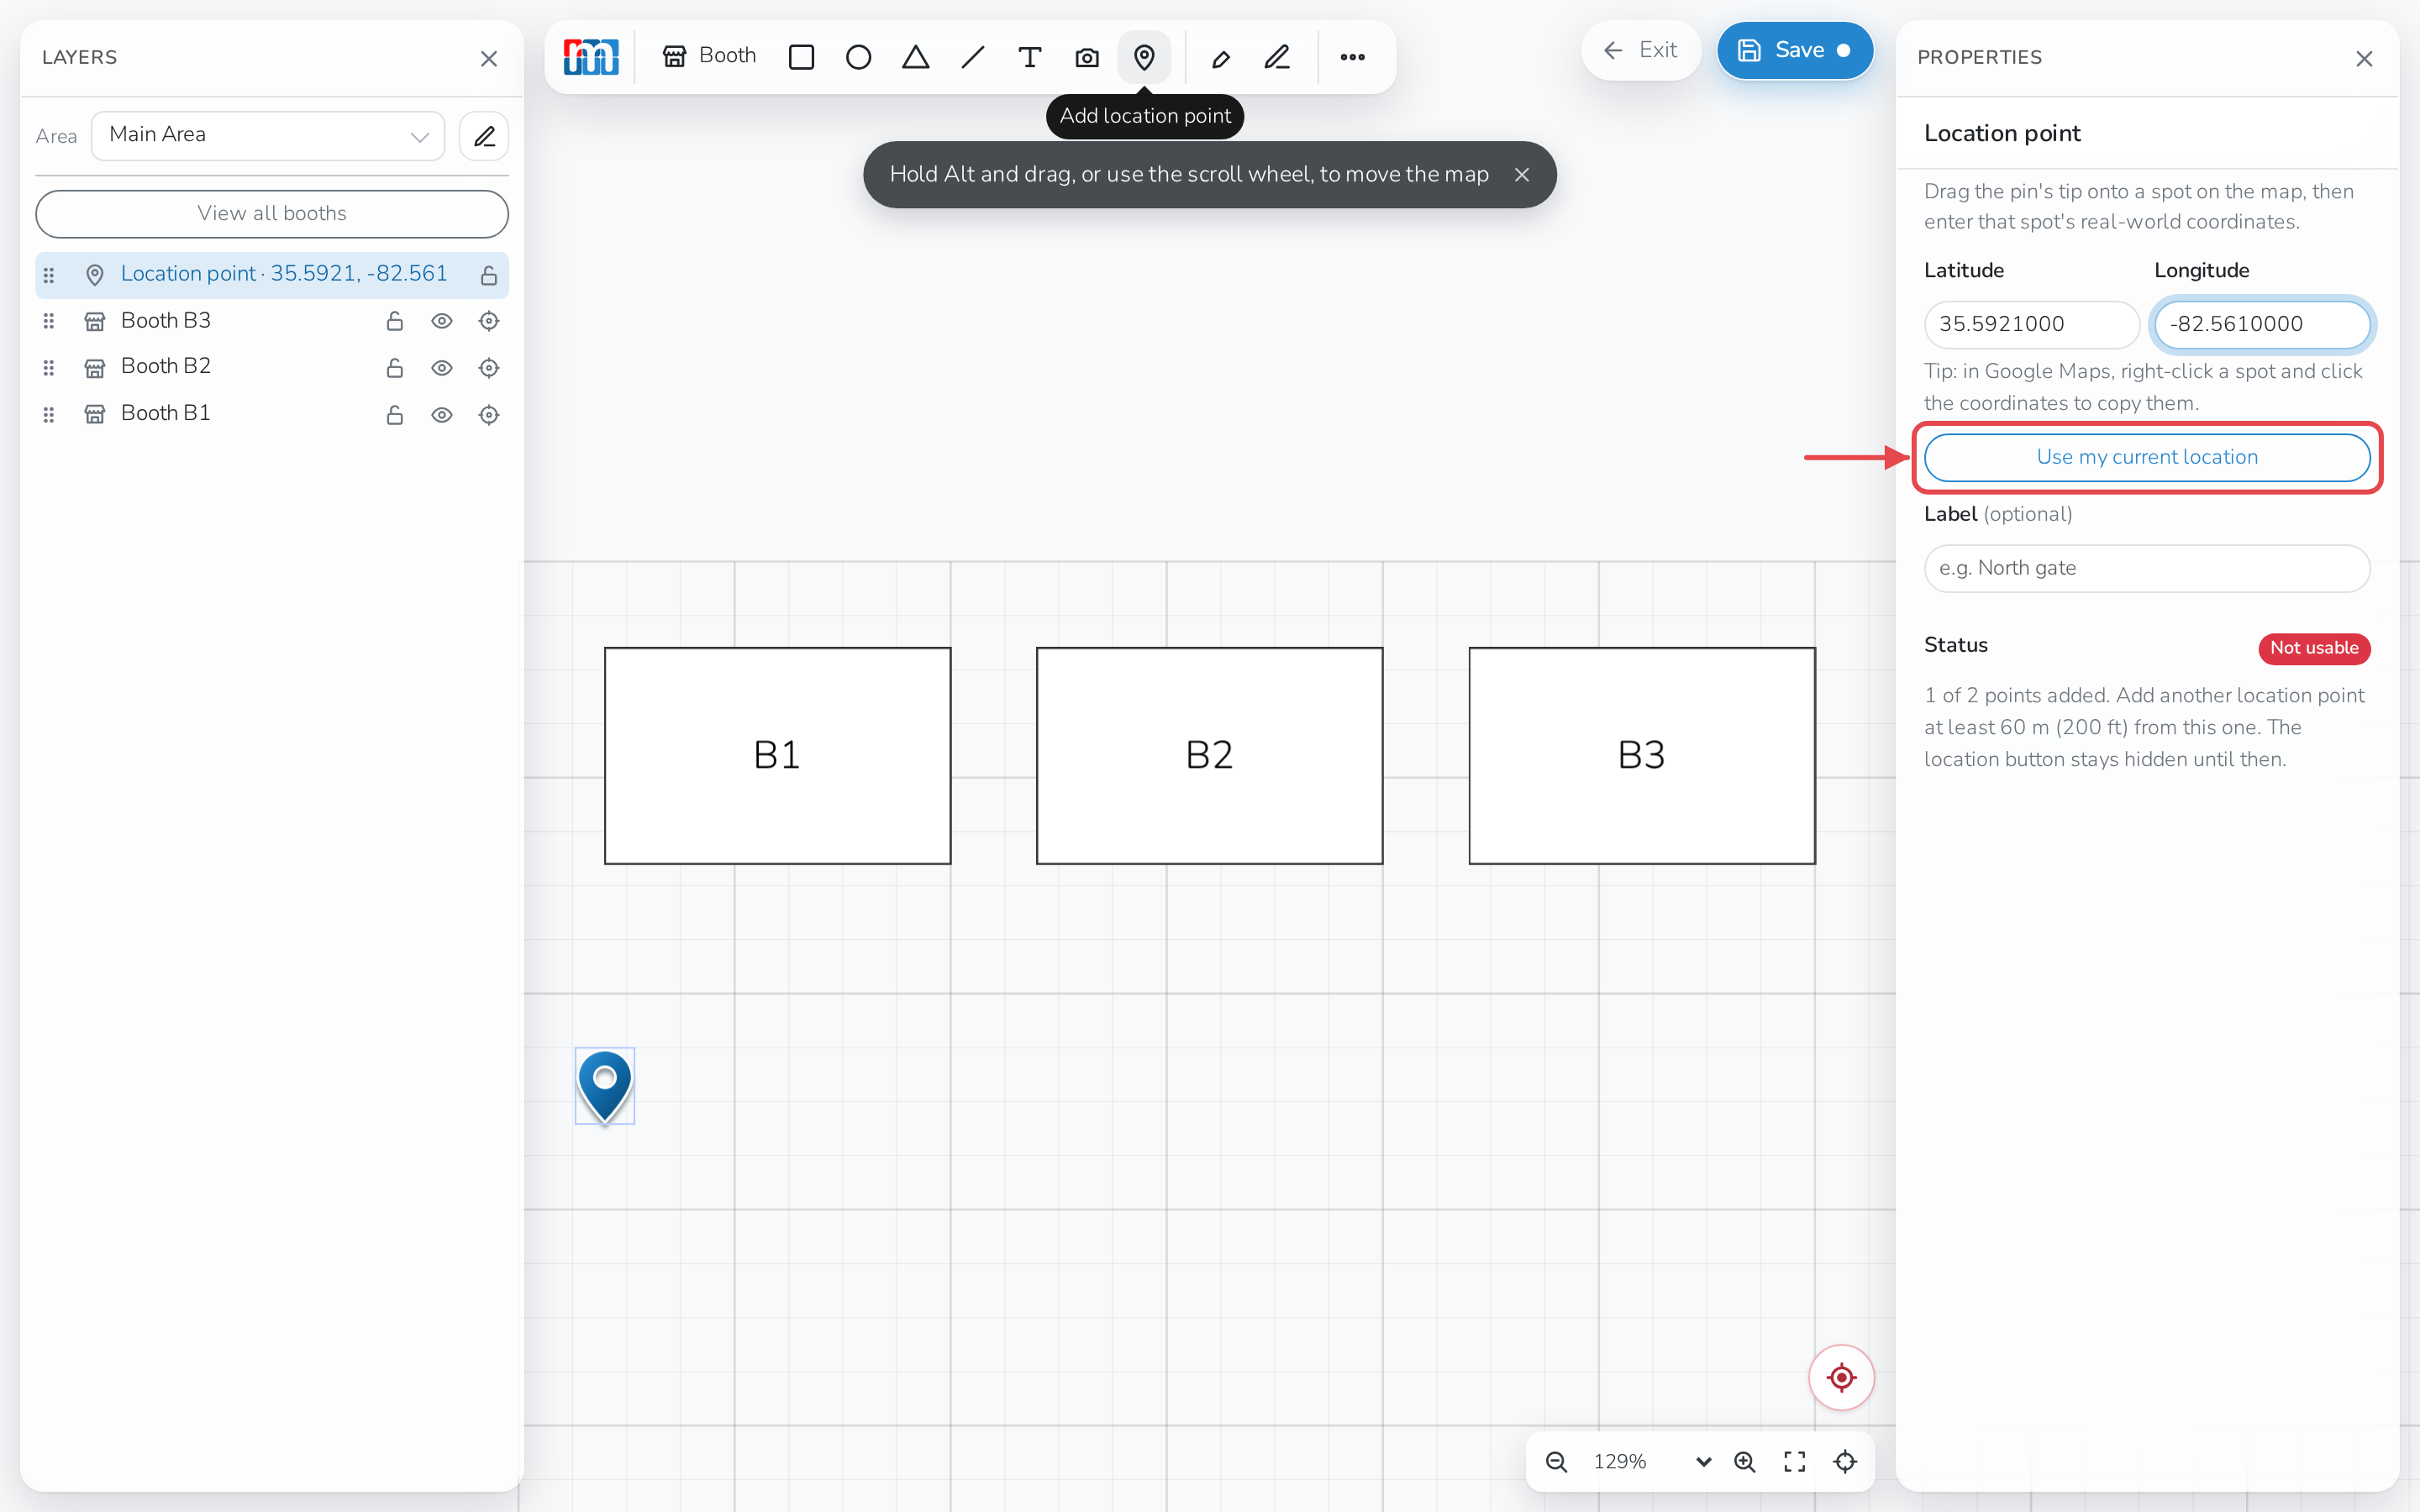
Drag the pin's tip onto a spot you can find in the real world, like a gate or the corner of the lot.
-
In the panel on the right, type that spot's Latitude and Longitude. Or, if your device supports it, click Use my current location to fill them in from your phone's GPS while you're standing there.
-
Click Add location point again and repeat for a second point, at least 200 ft (60 m) from the first. Opposite corners of the site work best.
Tip
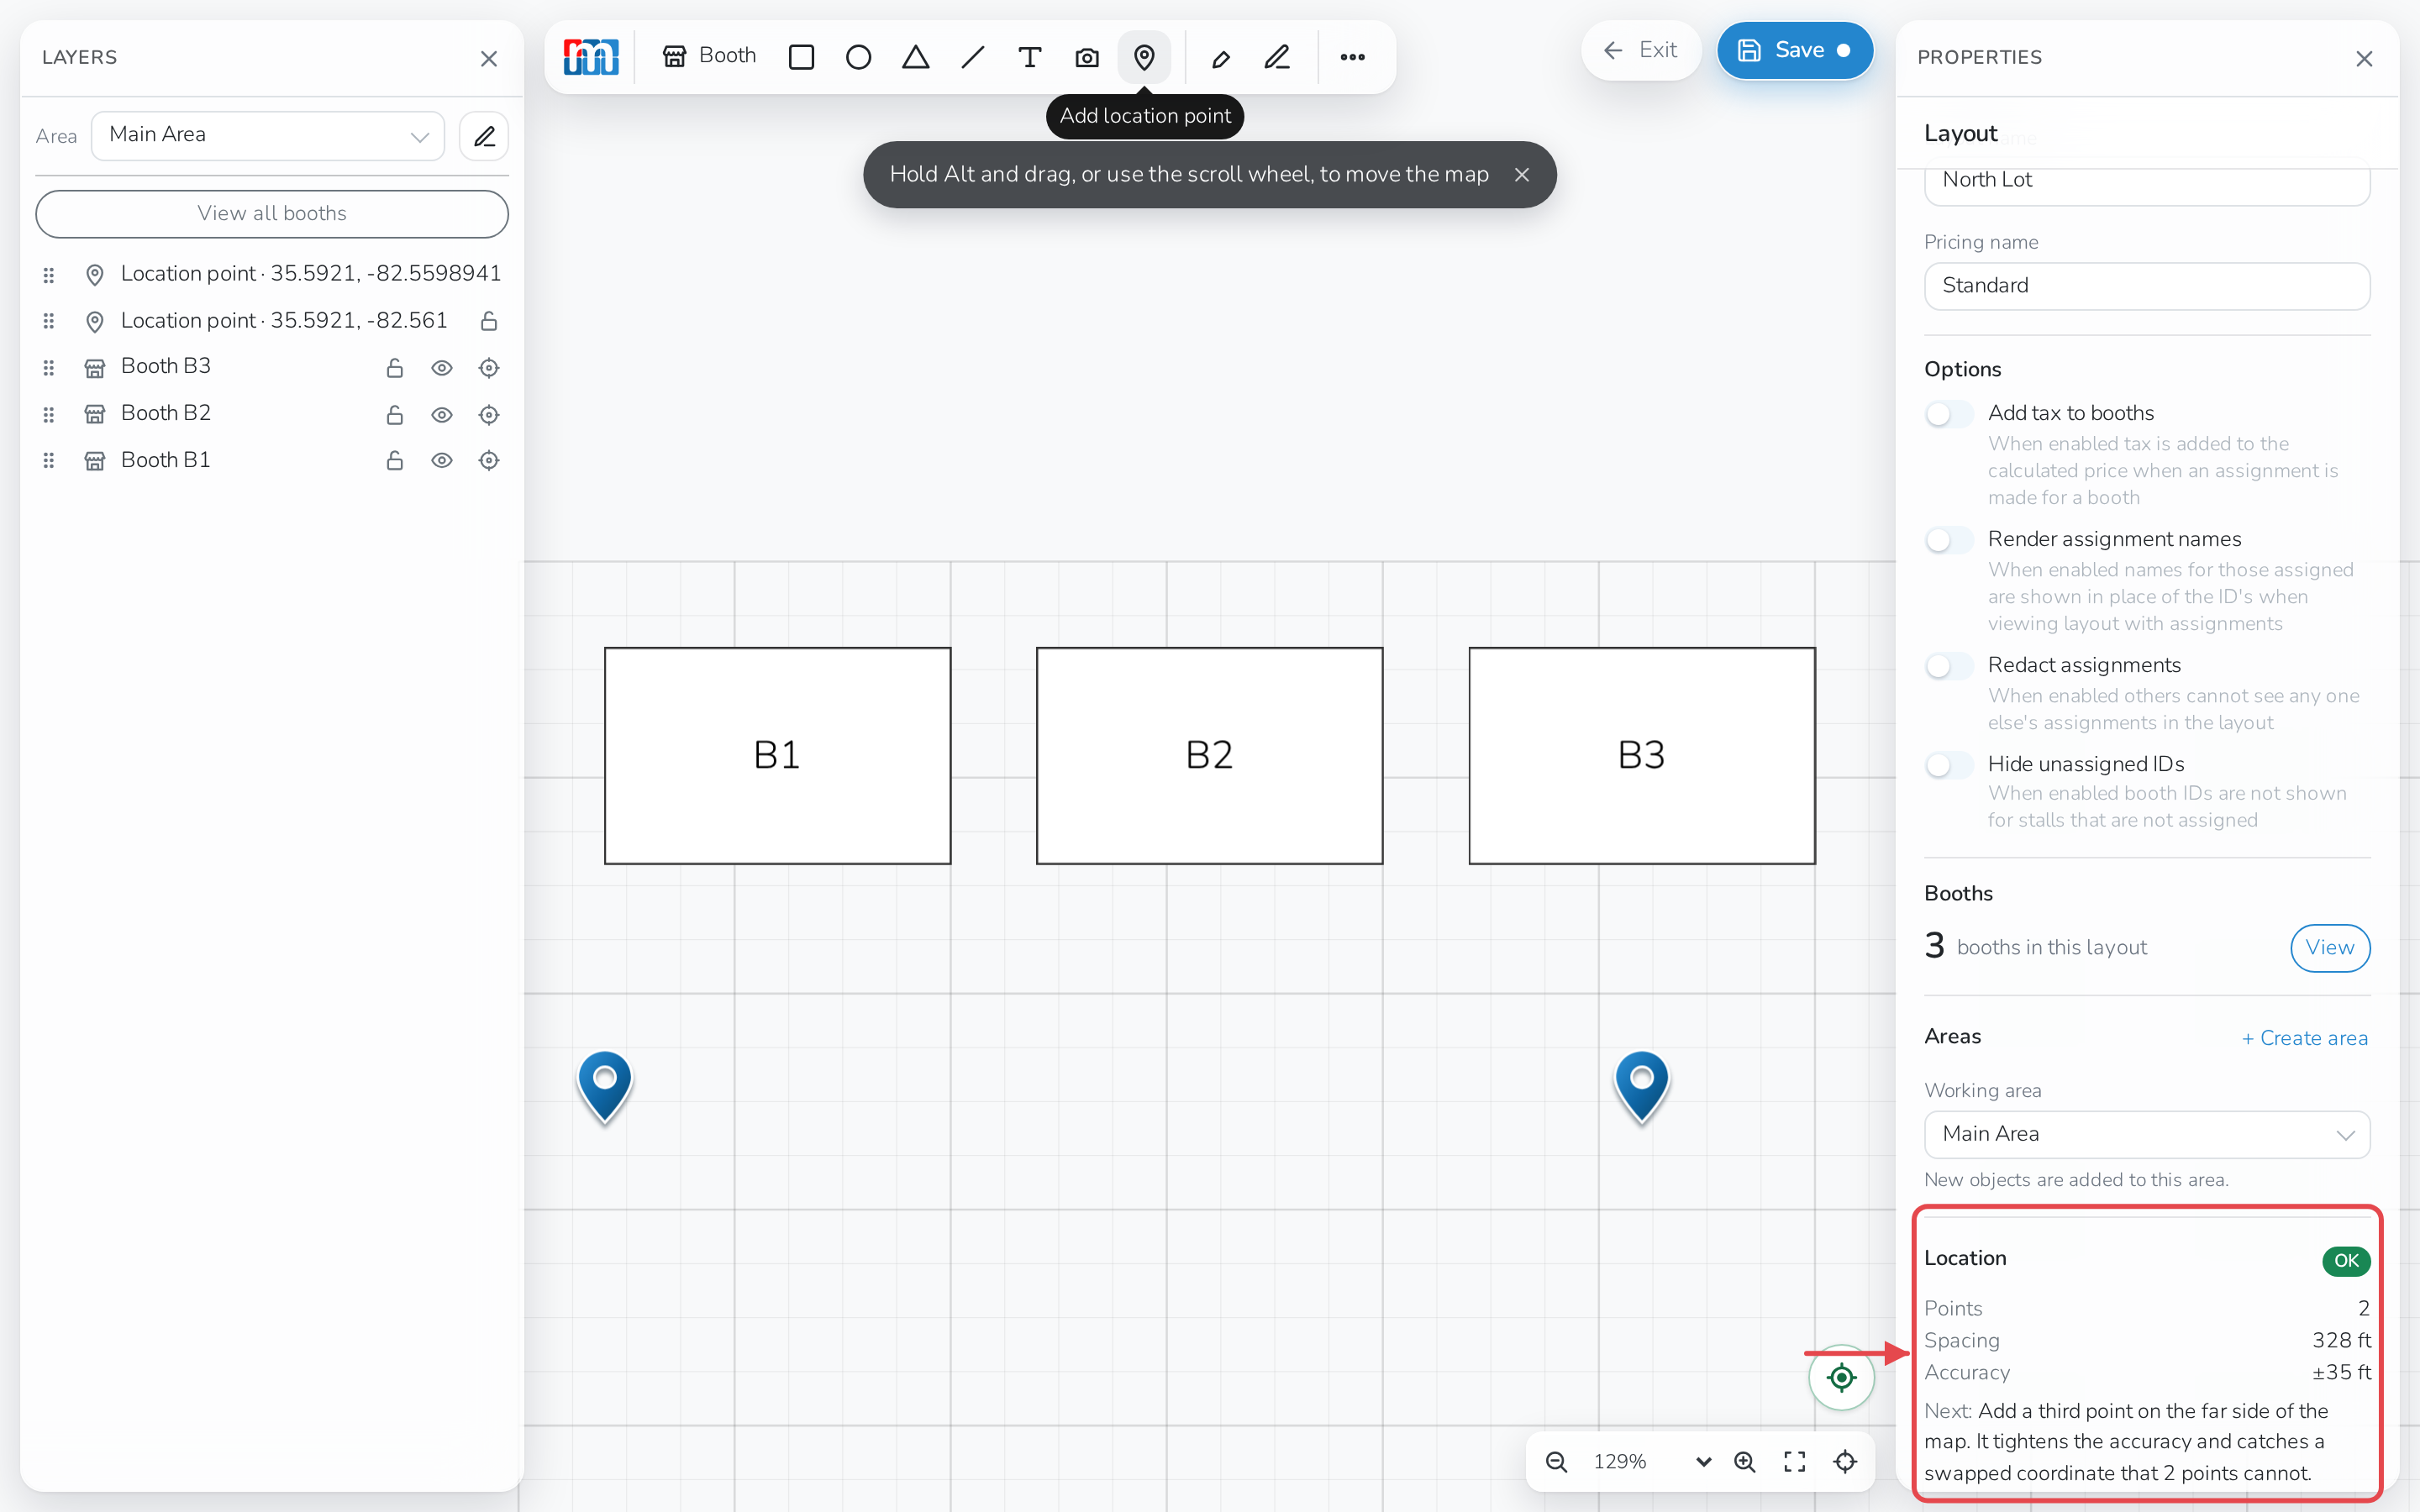
Add a third point for a tighter fit. Two points are enough to turn the location button on. A third improves the accuracy, and catches a latitude and longitude that got swapped.
Note
A layout with more than one Area needs its own map background or location points for each area. The ones you add only cover the area you added them to.
The Location panel on the right, visible when nothing on the canvas is selected, shows whether each area is ready and how accurate it will be.
Test it before you publish
-
Stand somewhere on site.
-
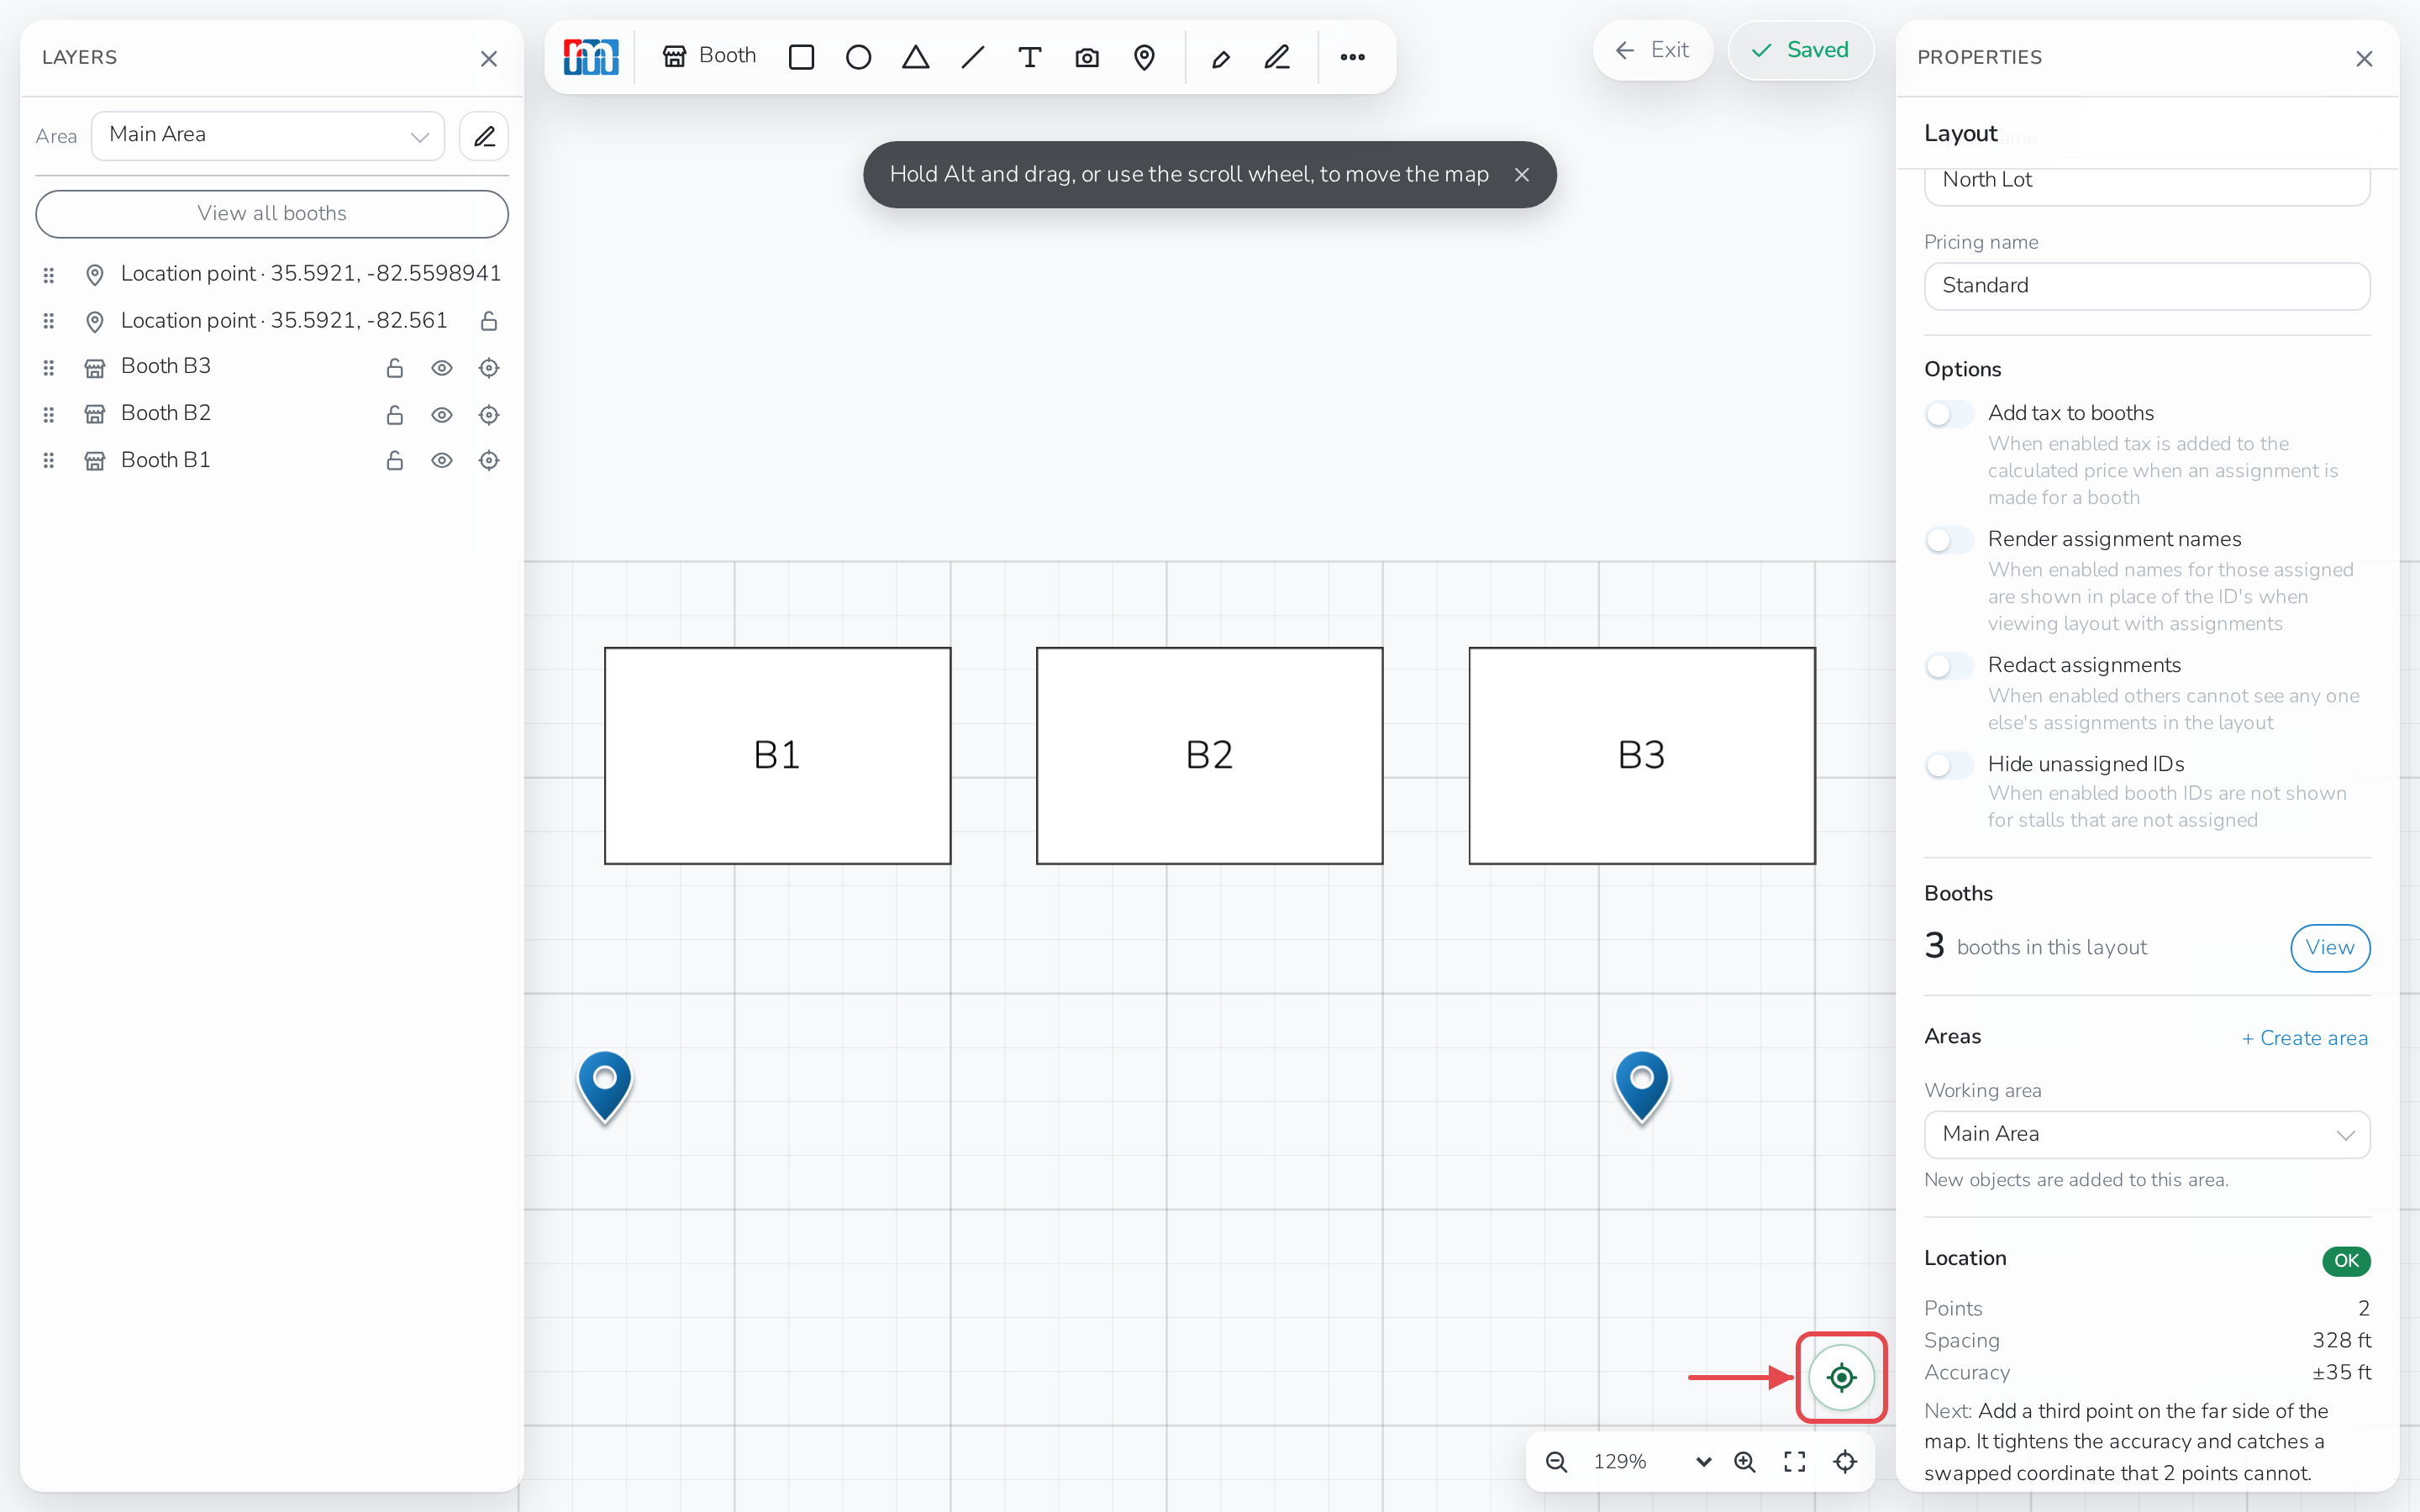
In the Layout Editor, click Show my position near the bottom-right of the canvas.
-
Check that the dot lands where you're standing.
If it's off, add another location point farther from the others, or move a point that looks wrong.