


Widgets let you show pieces of your Marketspread market on your own website — your event calendar, your vendor list, an Apply button and more. Open Settings in the left-hand menu, then click Widgets to see them all.
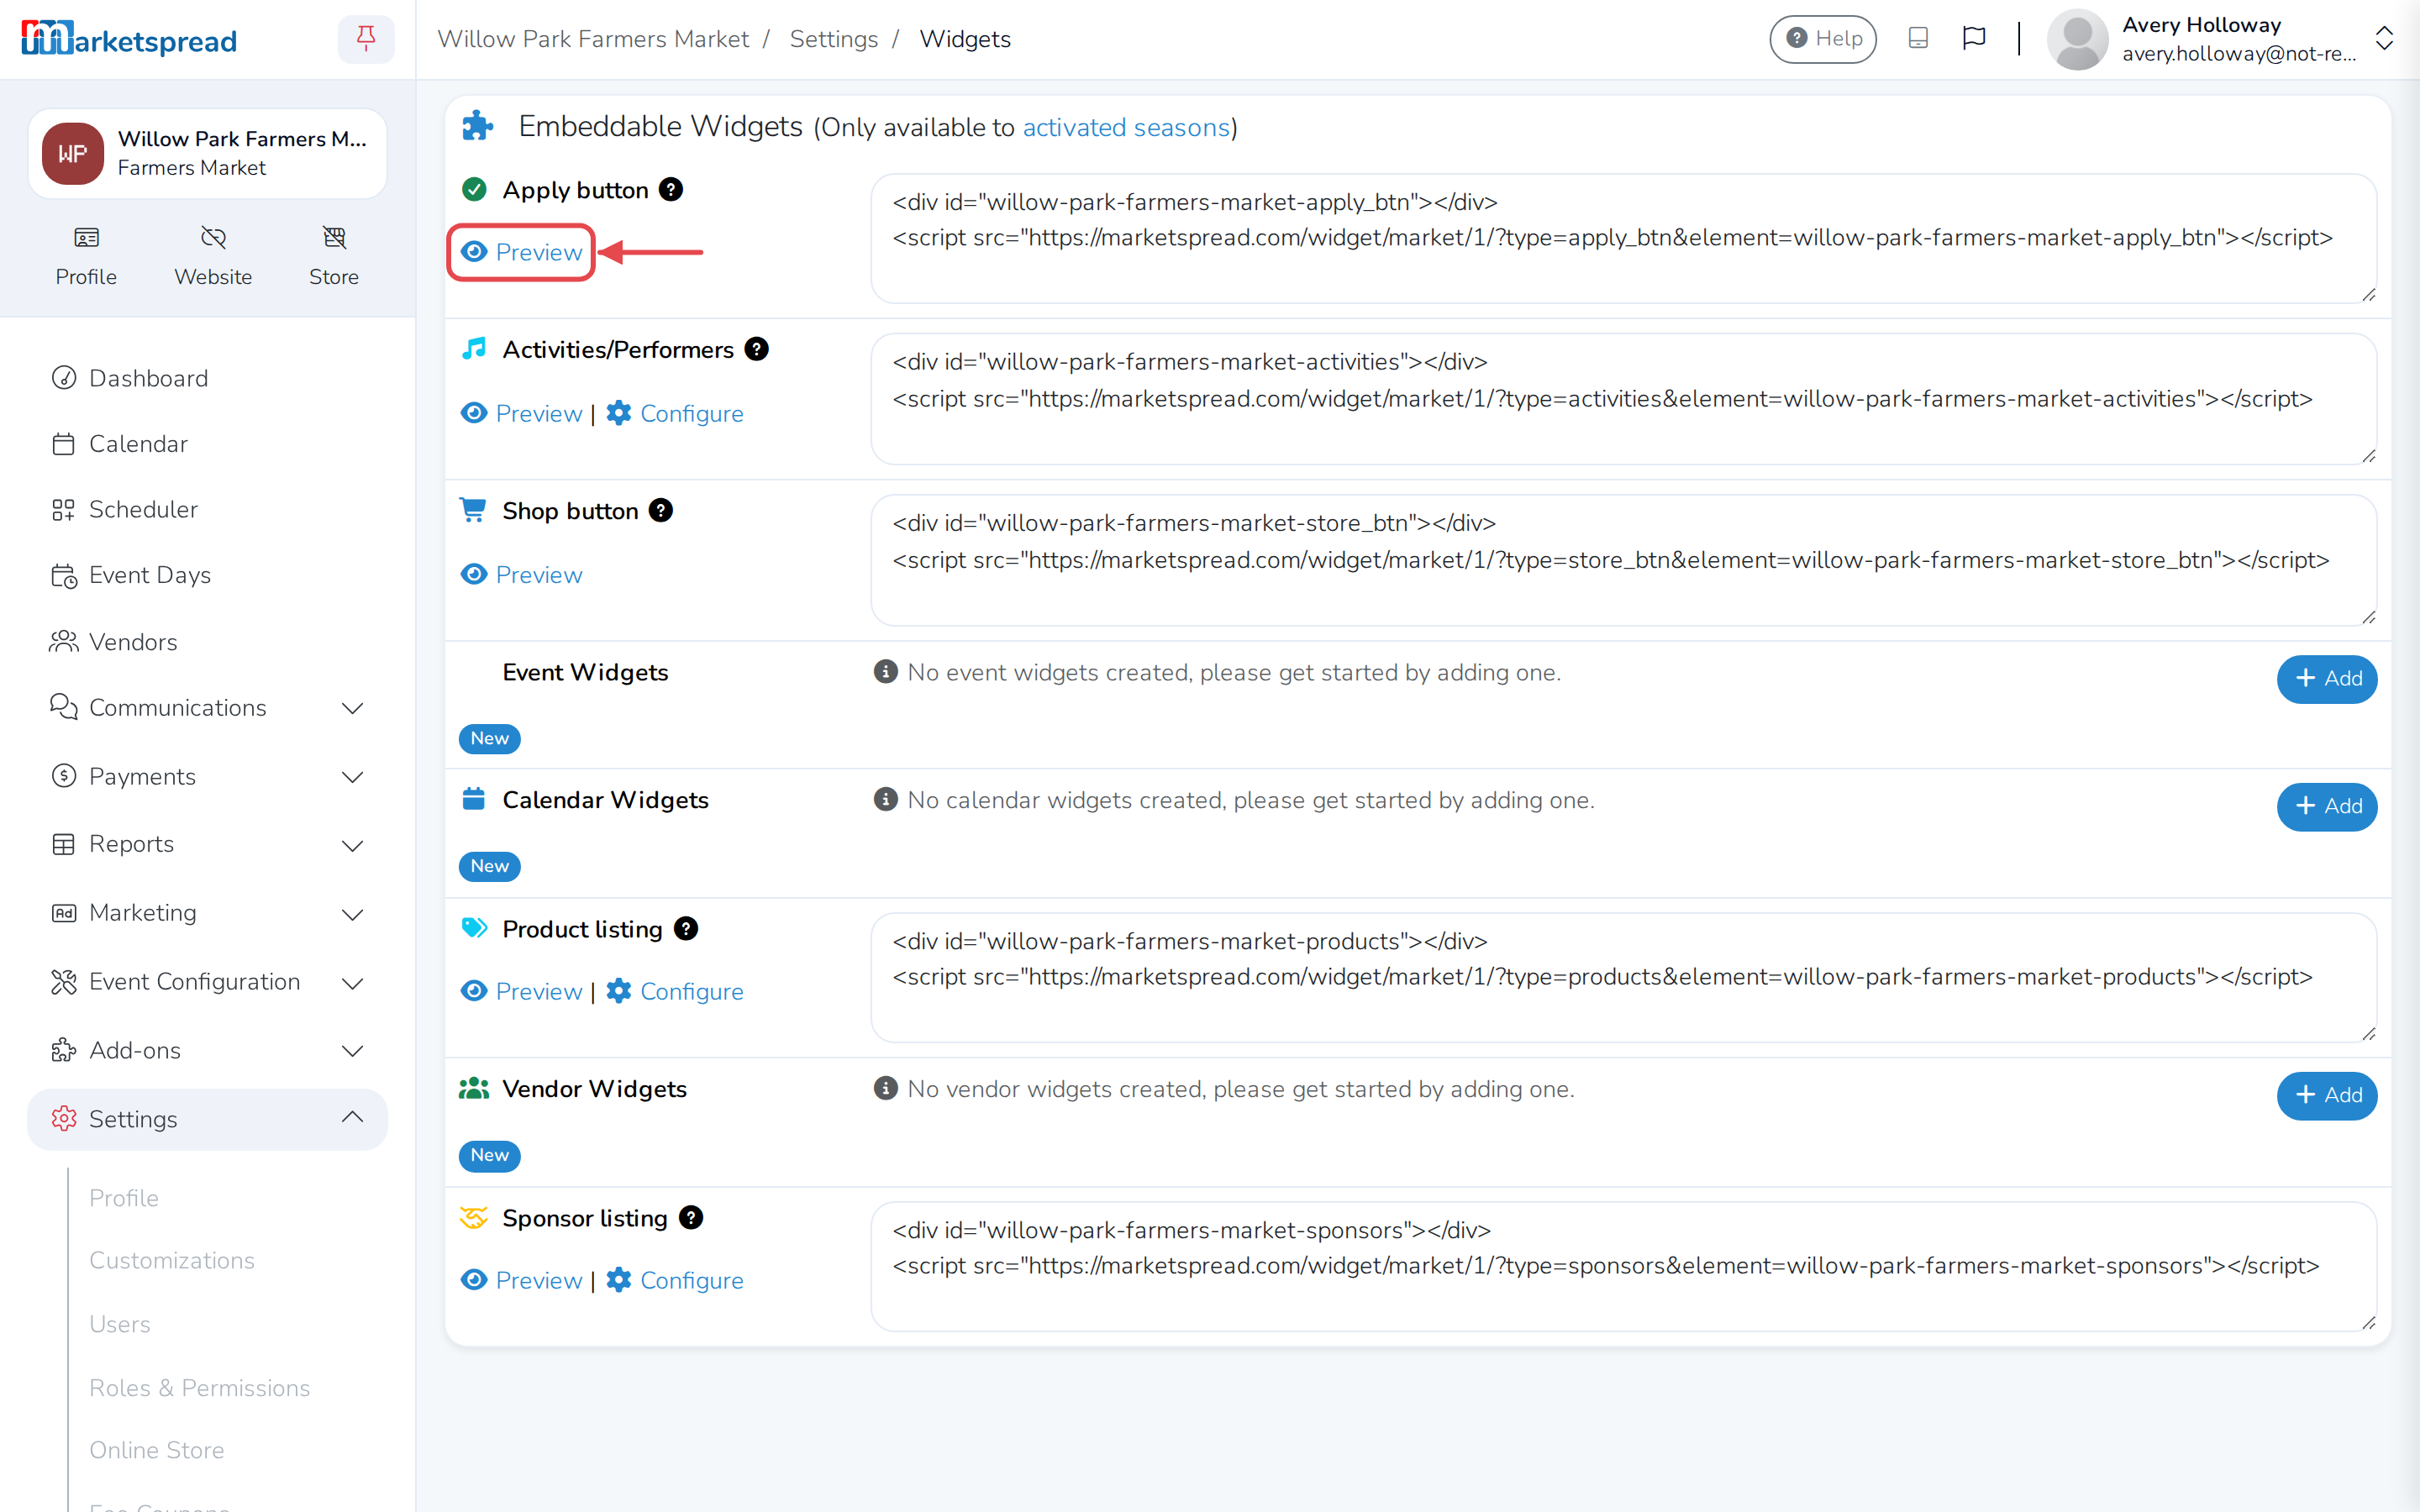
From here you can:
- Preview any widget before you add it
- Customize how some widgets look and what they show
- Add an event, calendar or vendor widget — you can create more than one of each
- Copy the code to embed a widget on your website
- Delete a widget you no longer need
Note
A note next to Embeddable Widgets says they're only available for activated events. If none of your events are activated yet, activate one from Event Configuration, then Events.
Preview a widget
- Click Settings in the left-hand menu.
- Click Widgets.
- Click Preview under the widget you want to see.
A preview is a representative example — it may not look exactly like it will once it's on your website.
Customize a widget
Every widget except Apply button and Shop button can be customized.
- On the Widgets page, click Configure under the widget you want to change.
- Choose the options you want — for example, which events to include, or whether links open in a new browser tab.
- Click Save.
Add an event, calendar or vendor widget
Event Widgets, Calendar Widgets and Vendor Widgets each let you create more than one — useful if, say, you want a separate calendar for a Saturday market and a Sunday one.
- On the Widgets page, click Add next to Event Widgets, Calendar Widgets or Vendor Widgets.
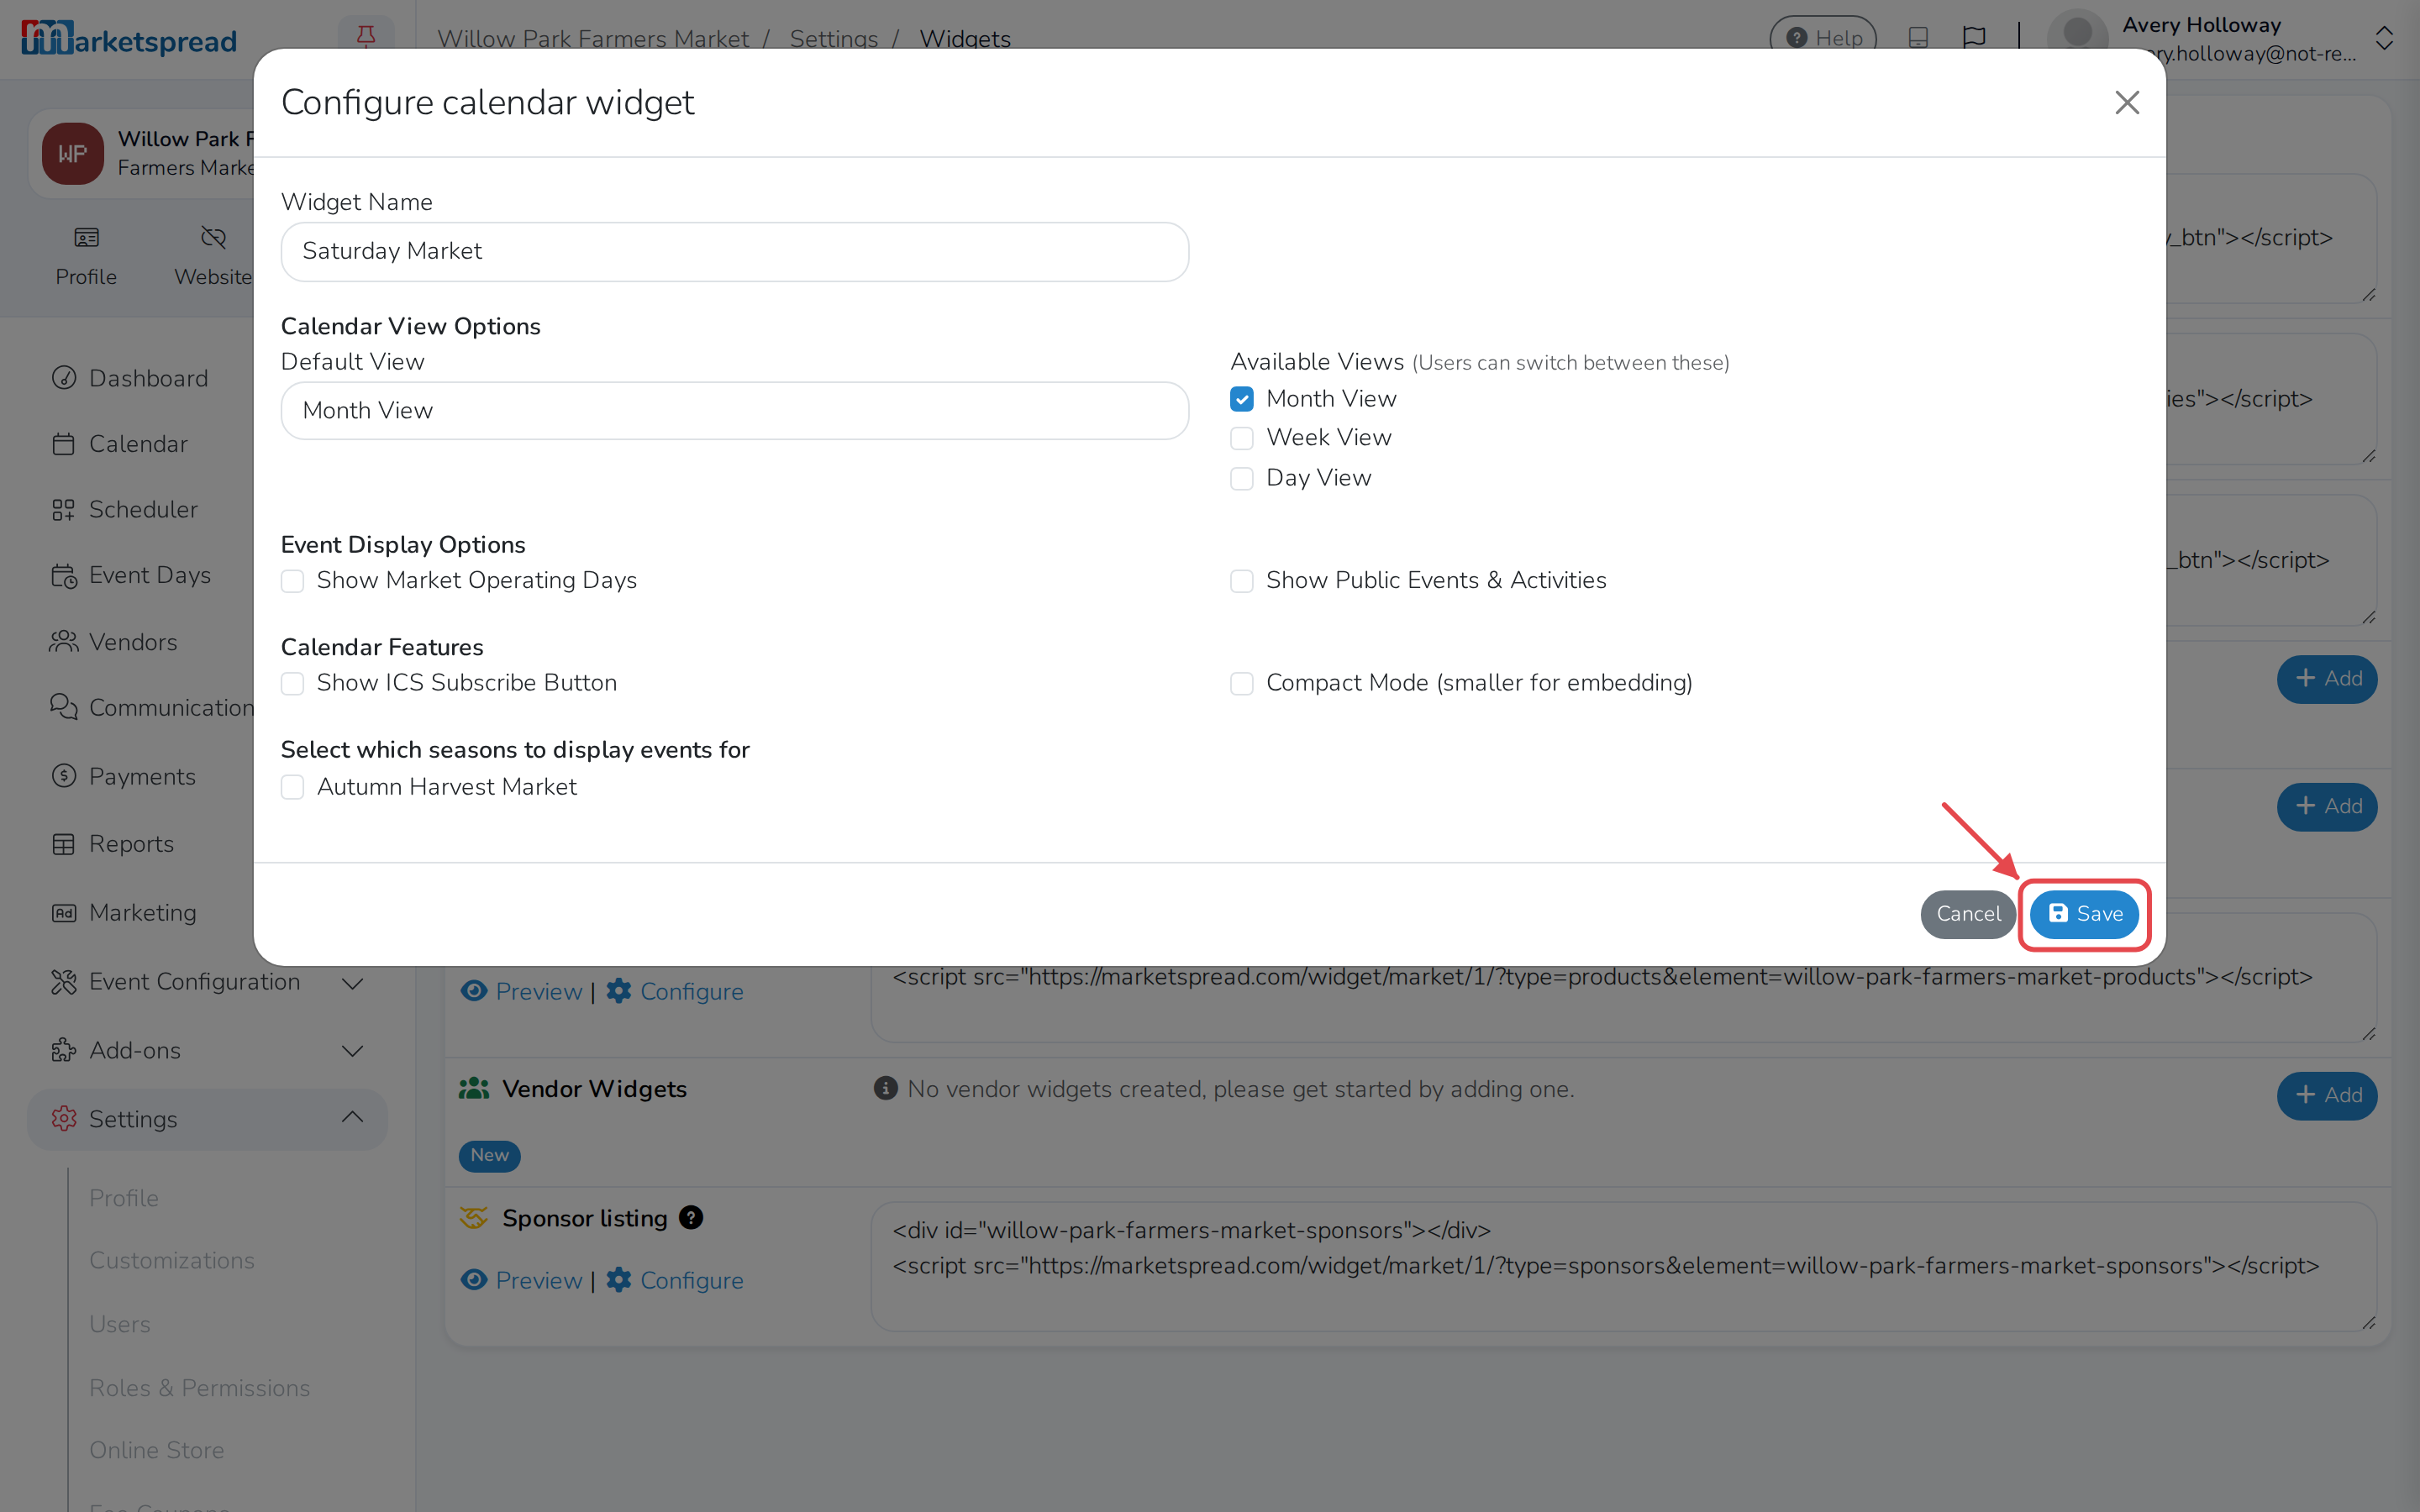
- Enter a Widget Name.
- Choose the options you want for it.
- Click Save.
Embed a widget on your website
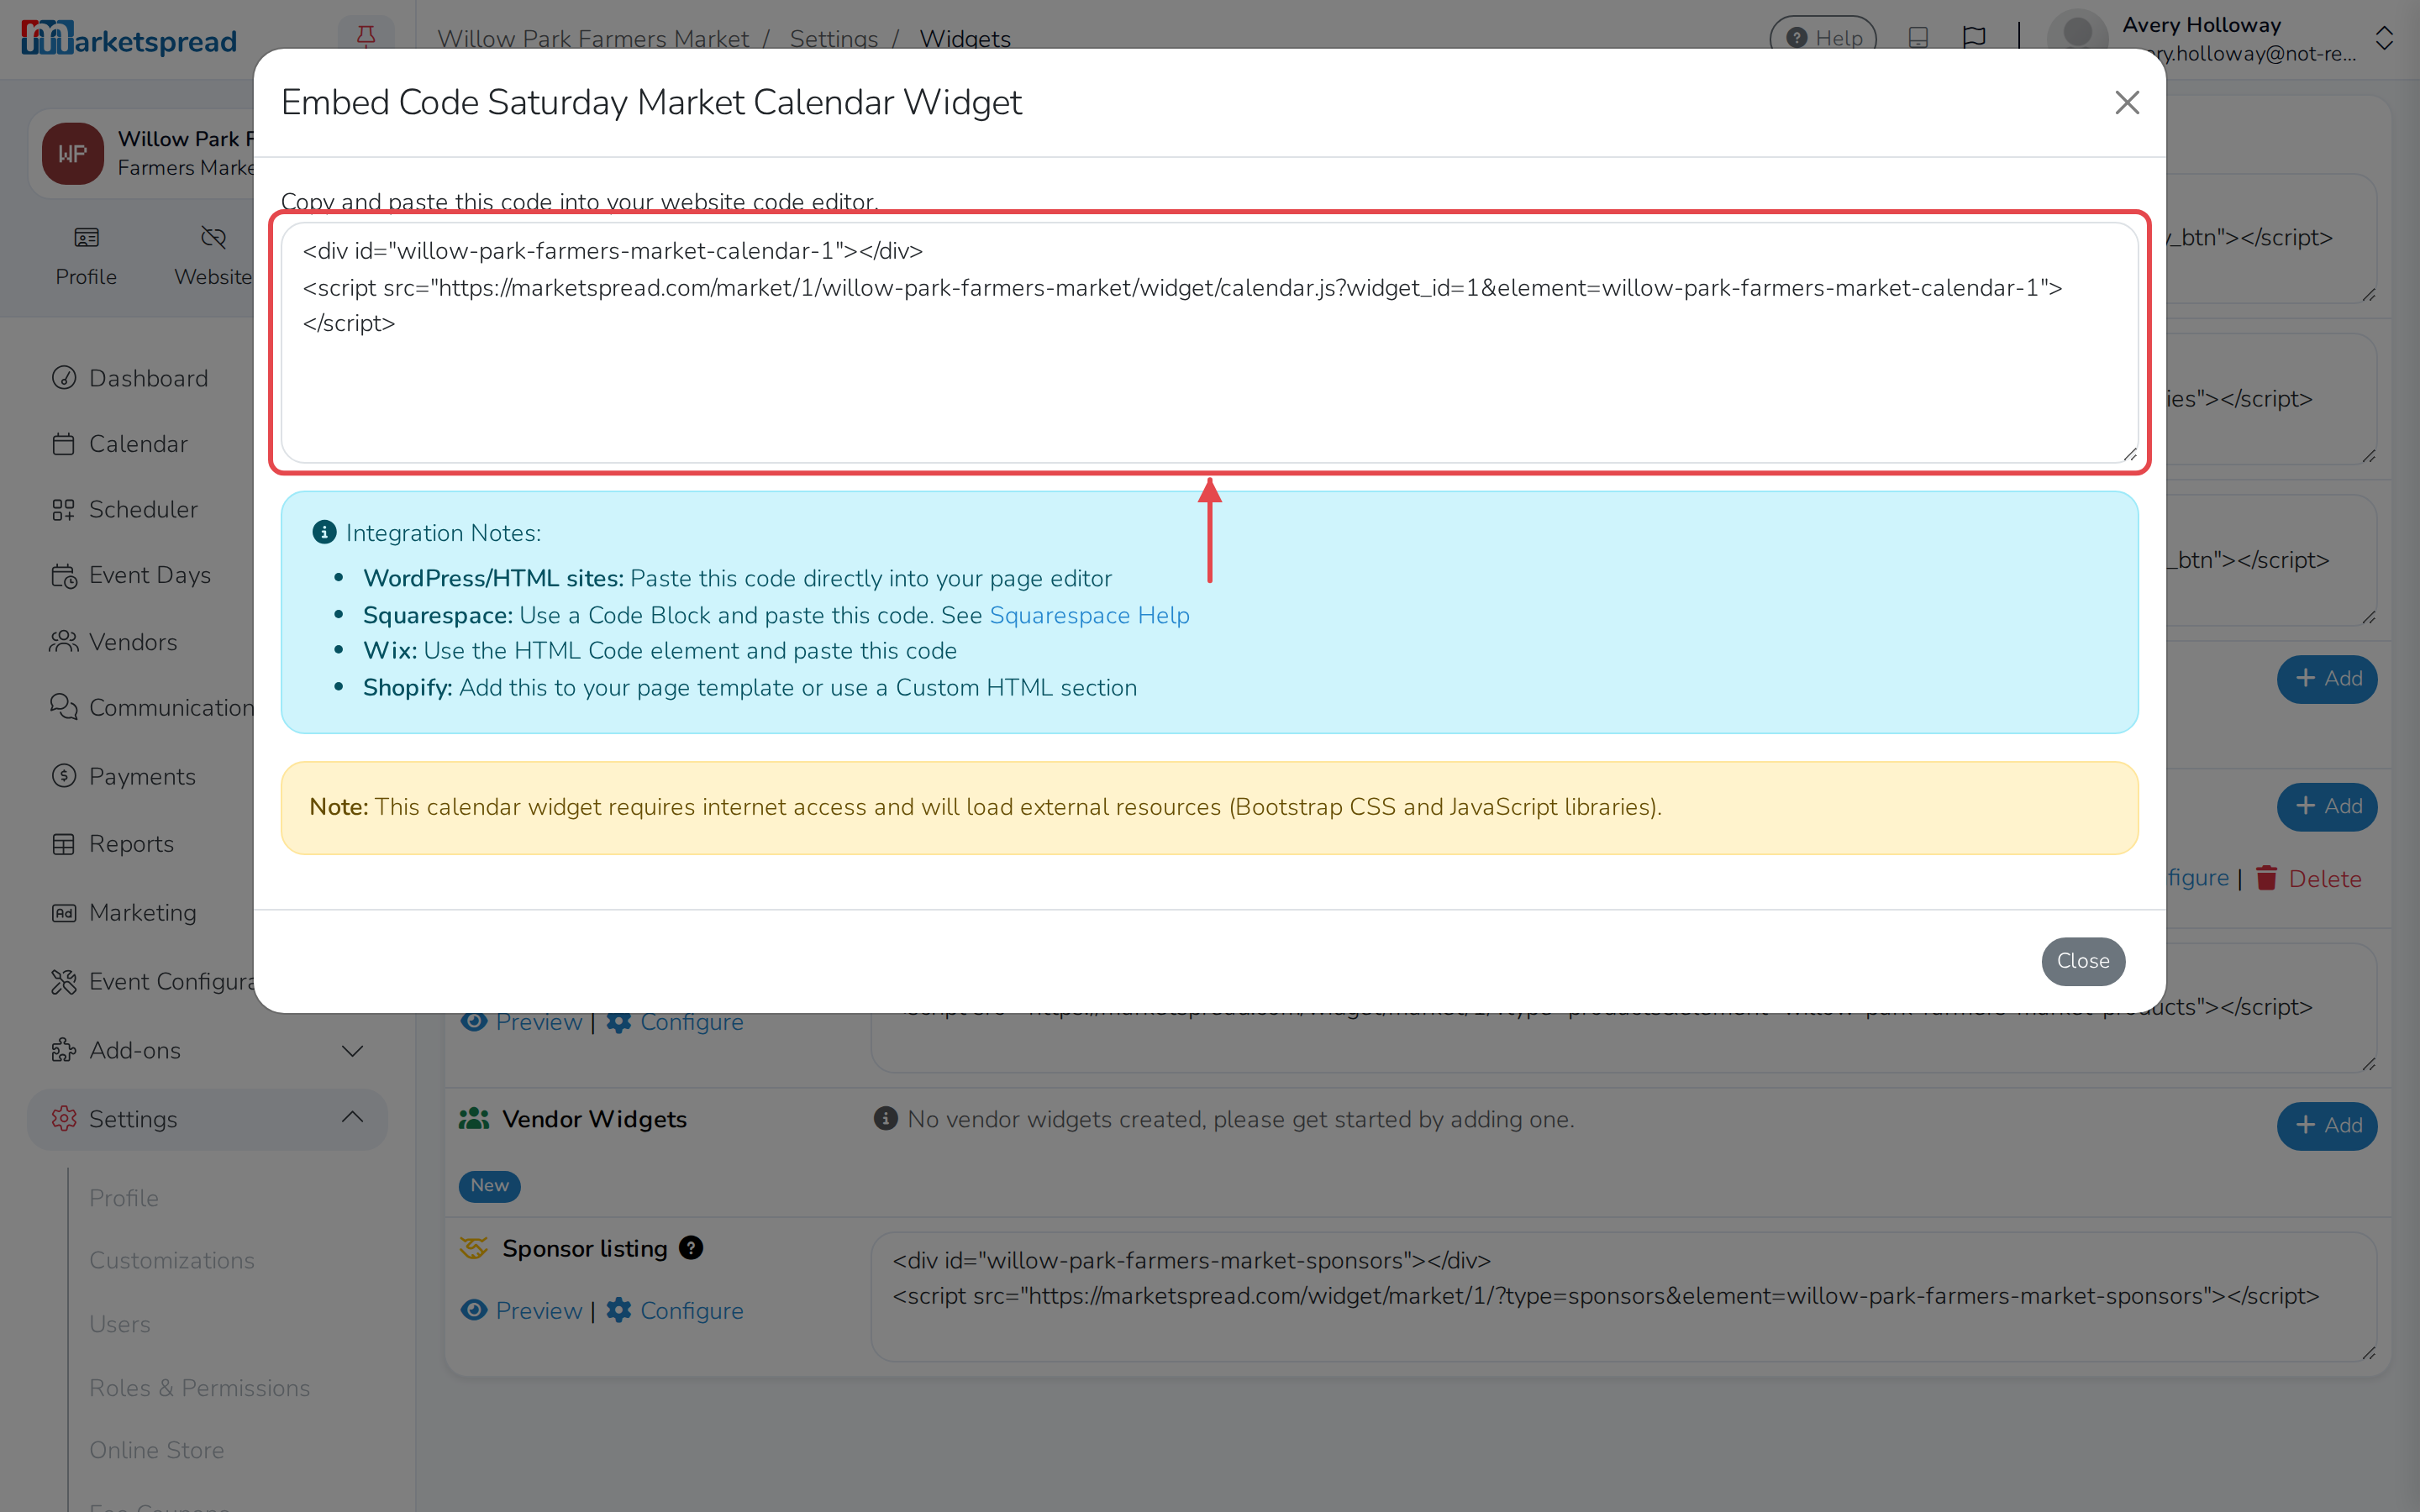
- On the Widgets page, find the widget you want. For Event Widgets, Calendar Widgets and Vendor Widgets, click Embed Code next to the one you created; every other widget shows its code directly.
- Copy the code shown.
- Paste it into your website, wherever you want the widget to appear.
Delete a widget
You can only delete widgets you created yourself — Event Widgets, Calendar Widgets and Vendor Widgets.
- On the Widgets page, click Delete next to the widget you want to remove.
- Click Delete again to confirm.
Deleting a widget stops it working anywhere it's already embedded.