


An application template is the form vendors fill out to apply to your market. Build it once, then use it for any event — or share it across several. From the builder you can:
- Choose which vendor types and categories can apply
- Give vendors a point of contact, a welcome message, and photo requirements
- Charge application and approval fees
- Ask vendors to review or sign documents, and answer your own questions
Create an application template
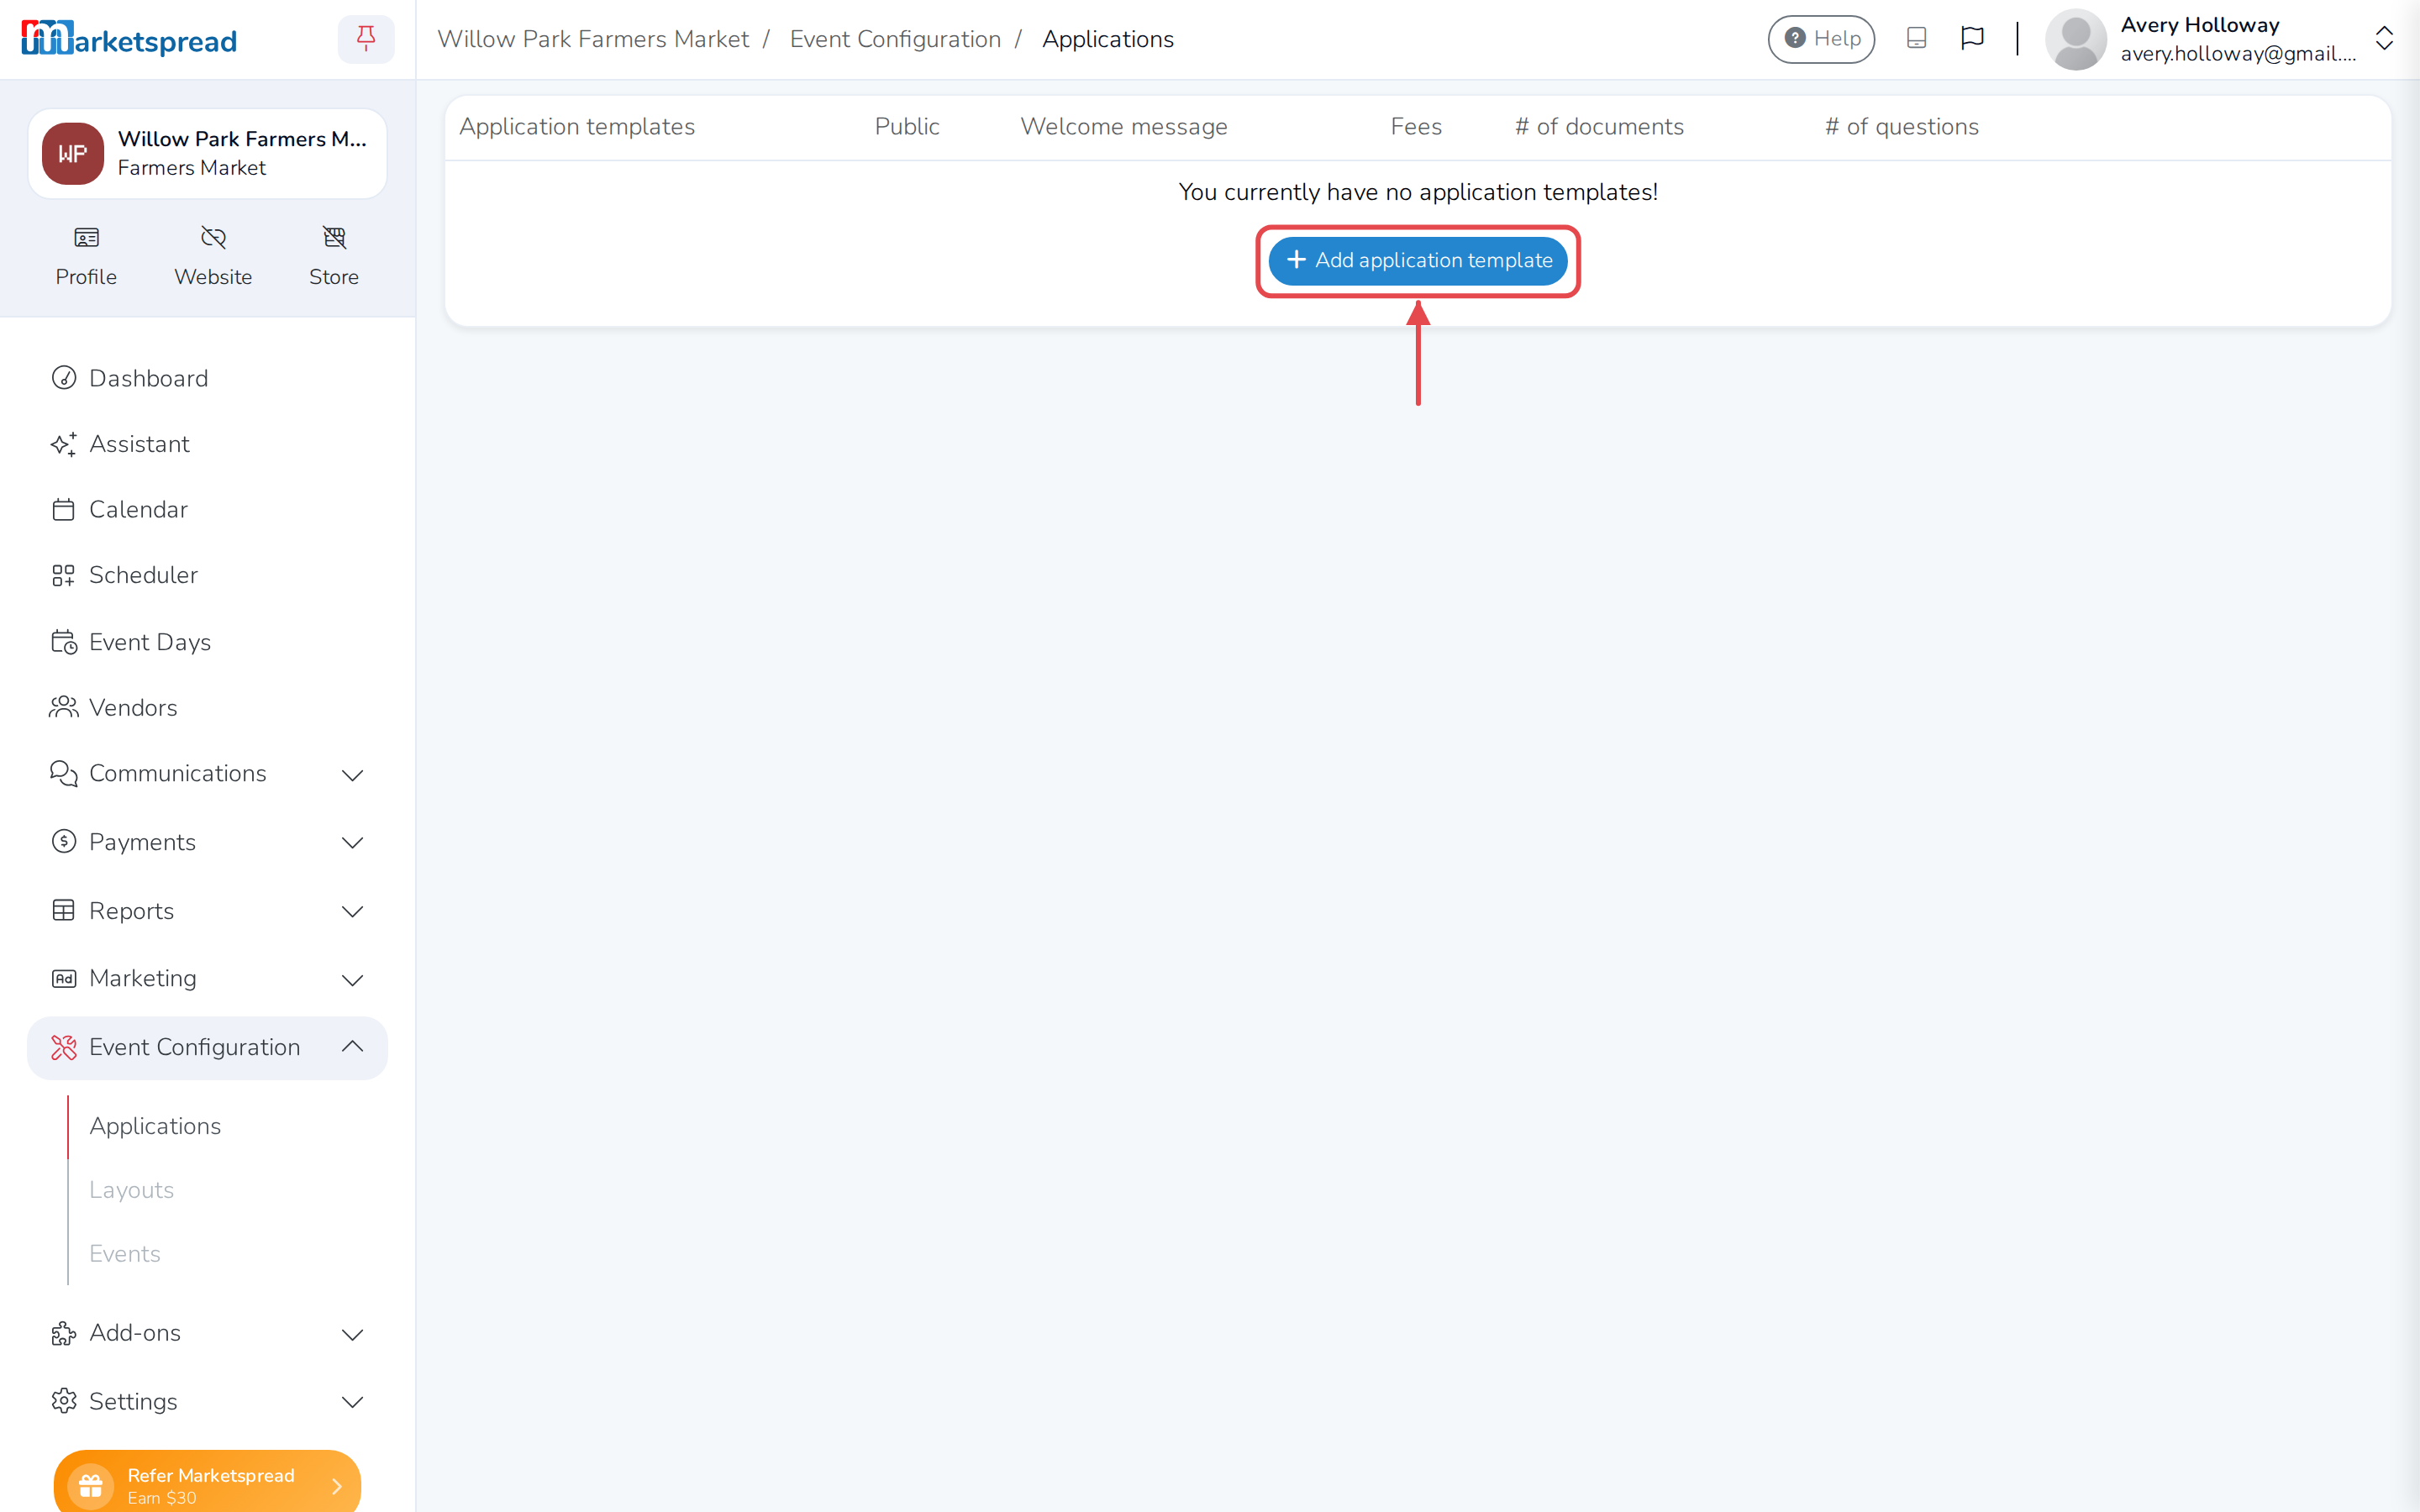
- Open Event Configuration, then click Applications.
- Click Add application template.
Name your application
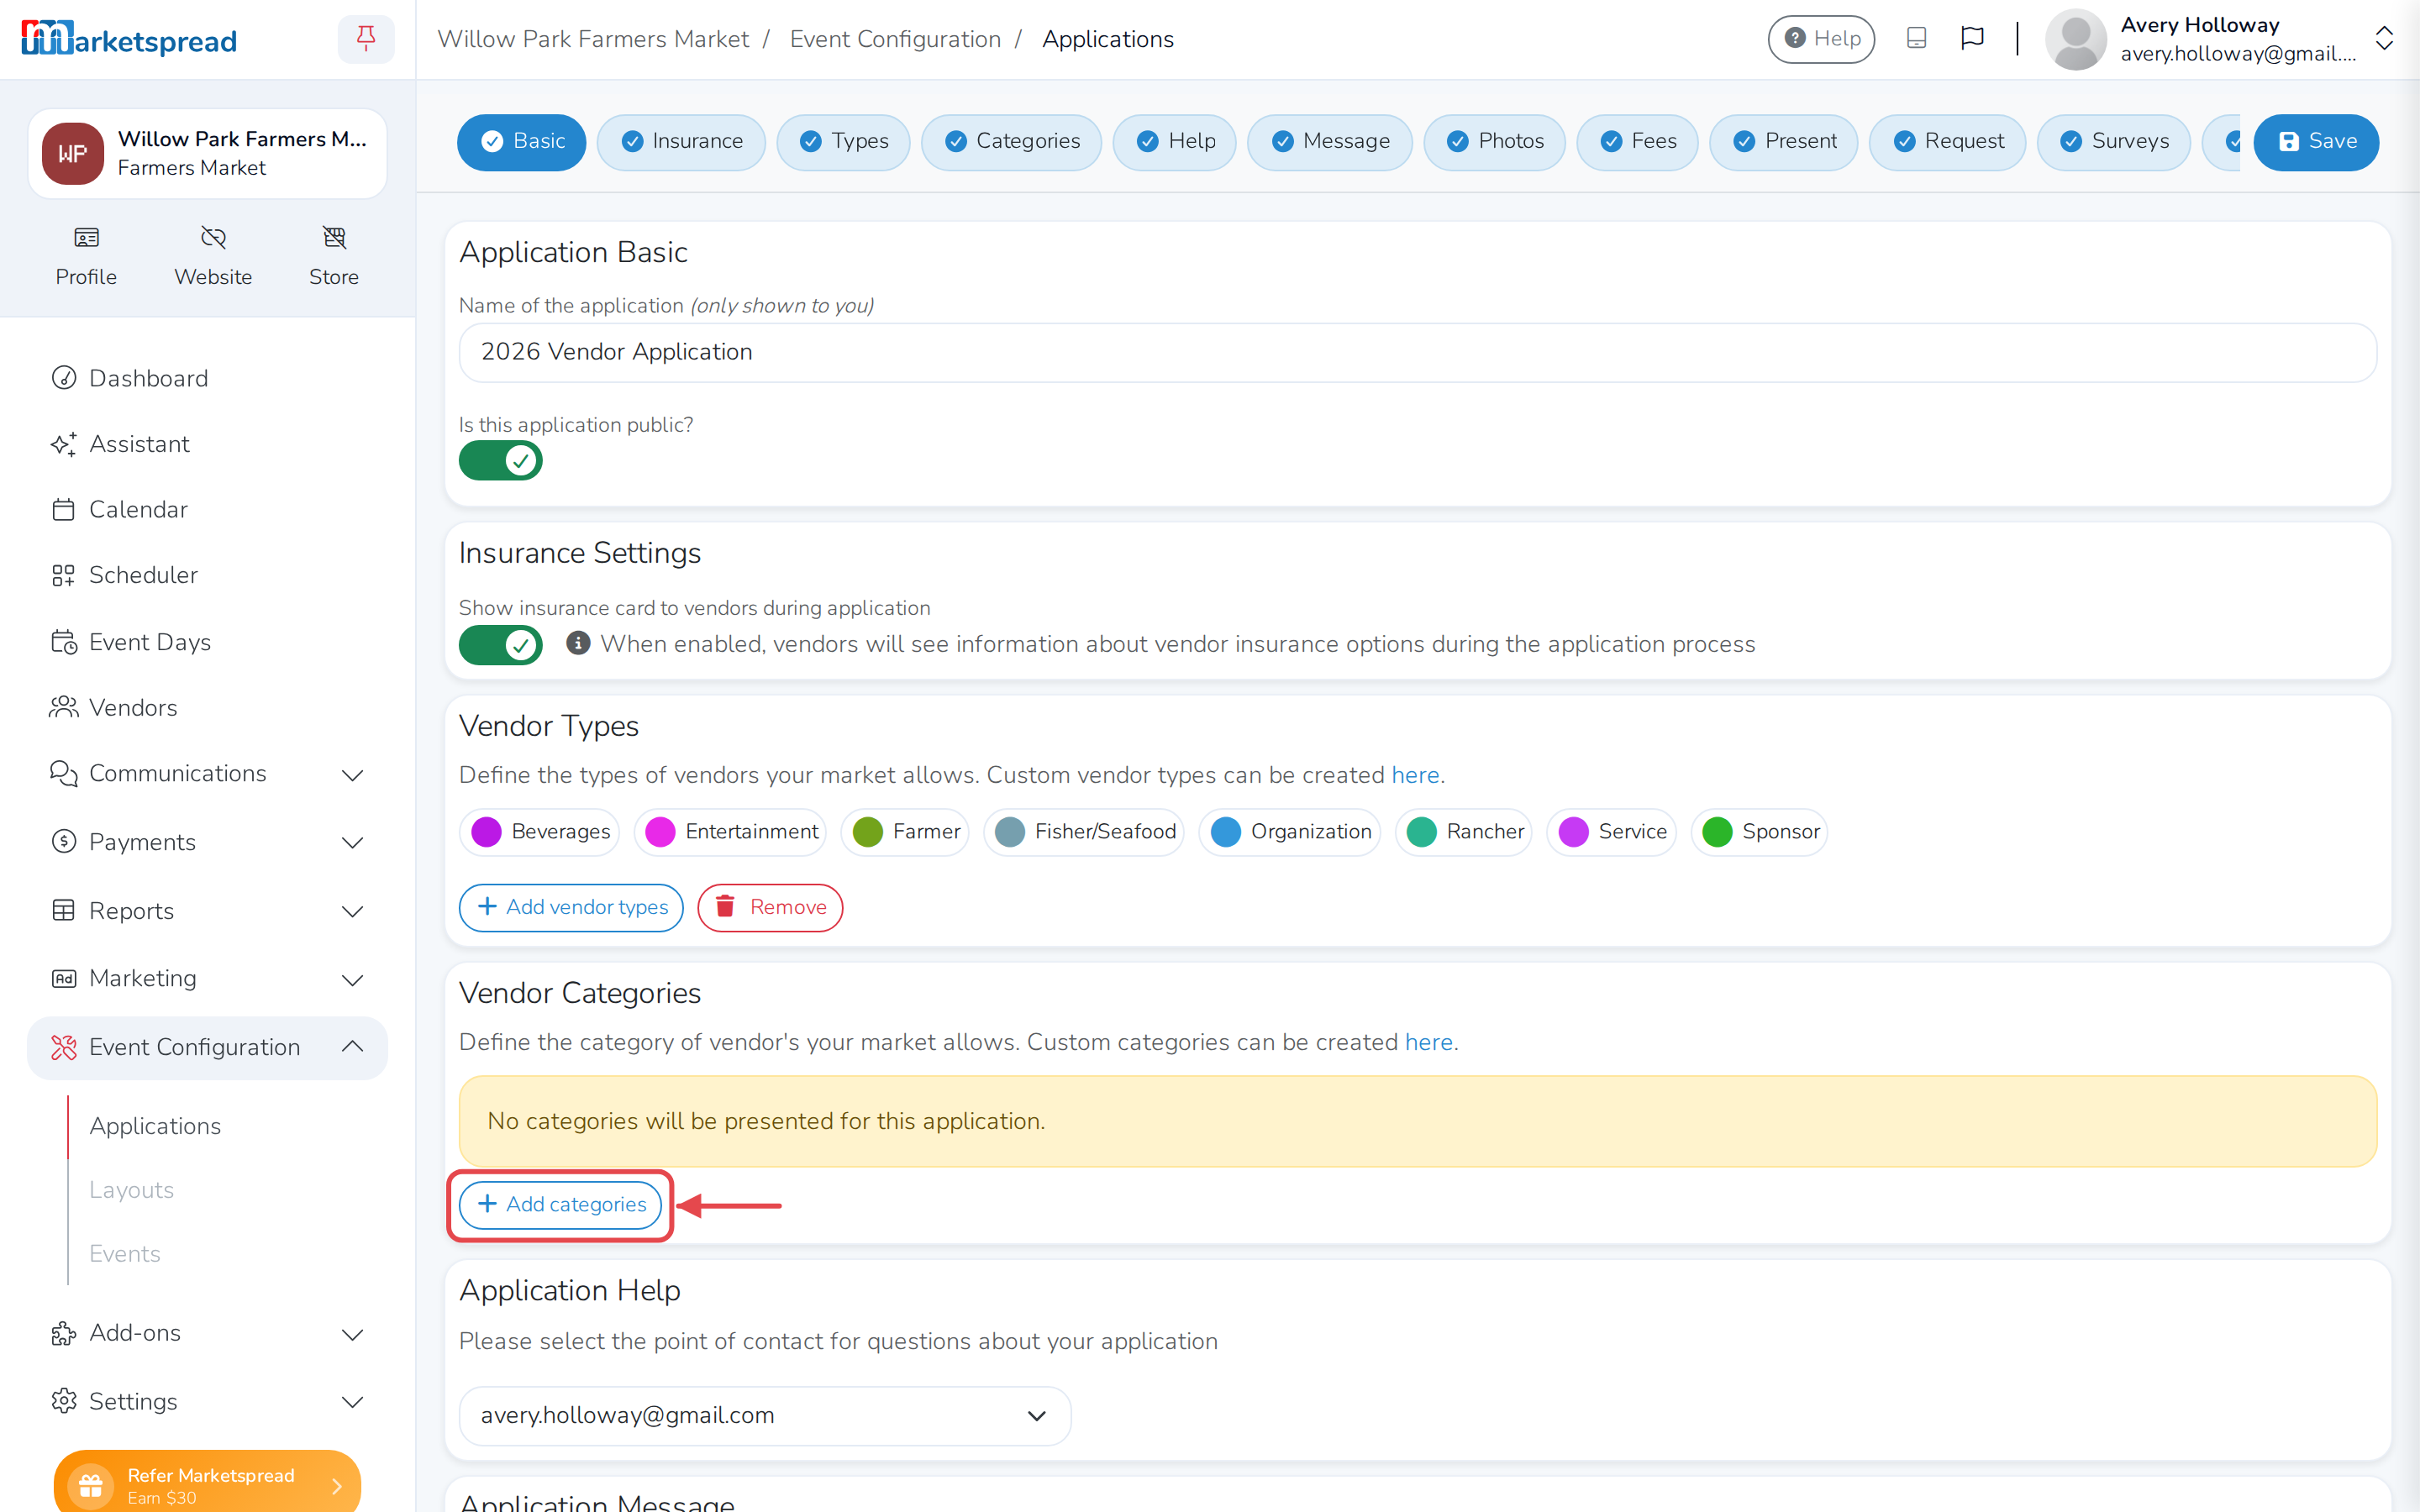
- Under Application Basic, fill in Name of the application. Vendors never see this — it's for your own reference.
- Turn on Is this application public? to show it on your market's public application page. Leave it off to only accept applications through a direct link you send vendors.

Show vendors your insurance information
Under Insurance Settings, turn on Show insurance card to vendors during application. Vendors then see information about vendor insurance options — including a quote from Insurance Canopy, Marketspread's insurance partner.

Choose who can apply
- Under Vendor Types, click Add vendor types to choose from your account's list of vendor types.
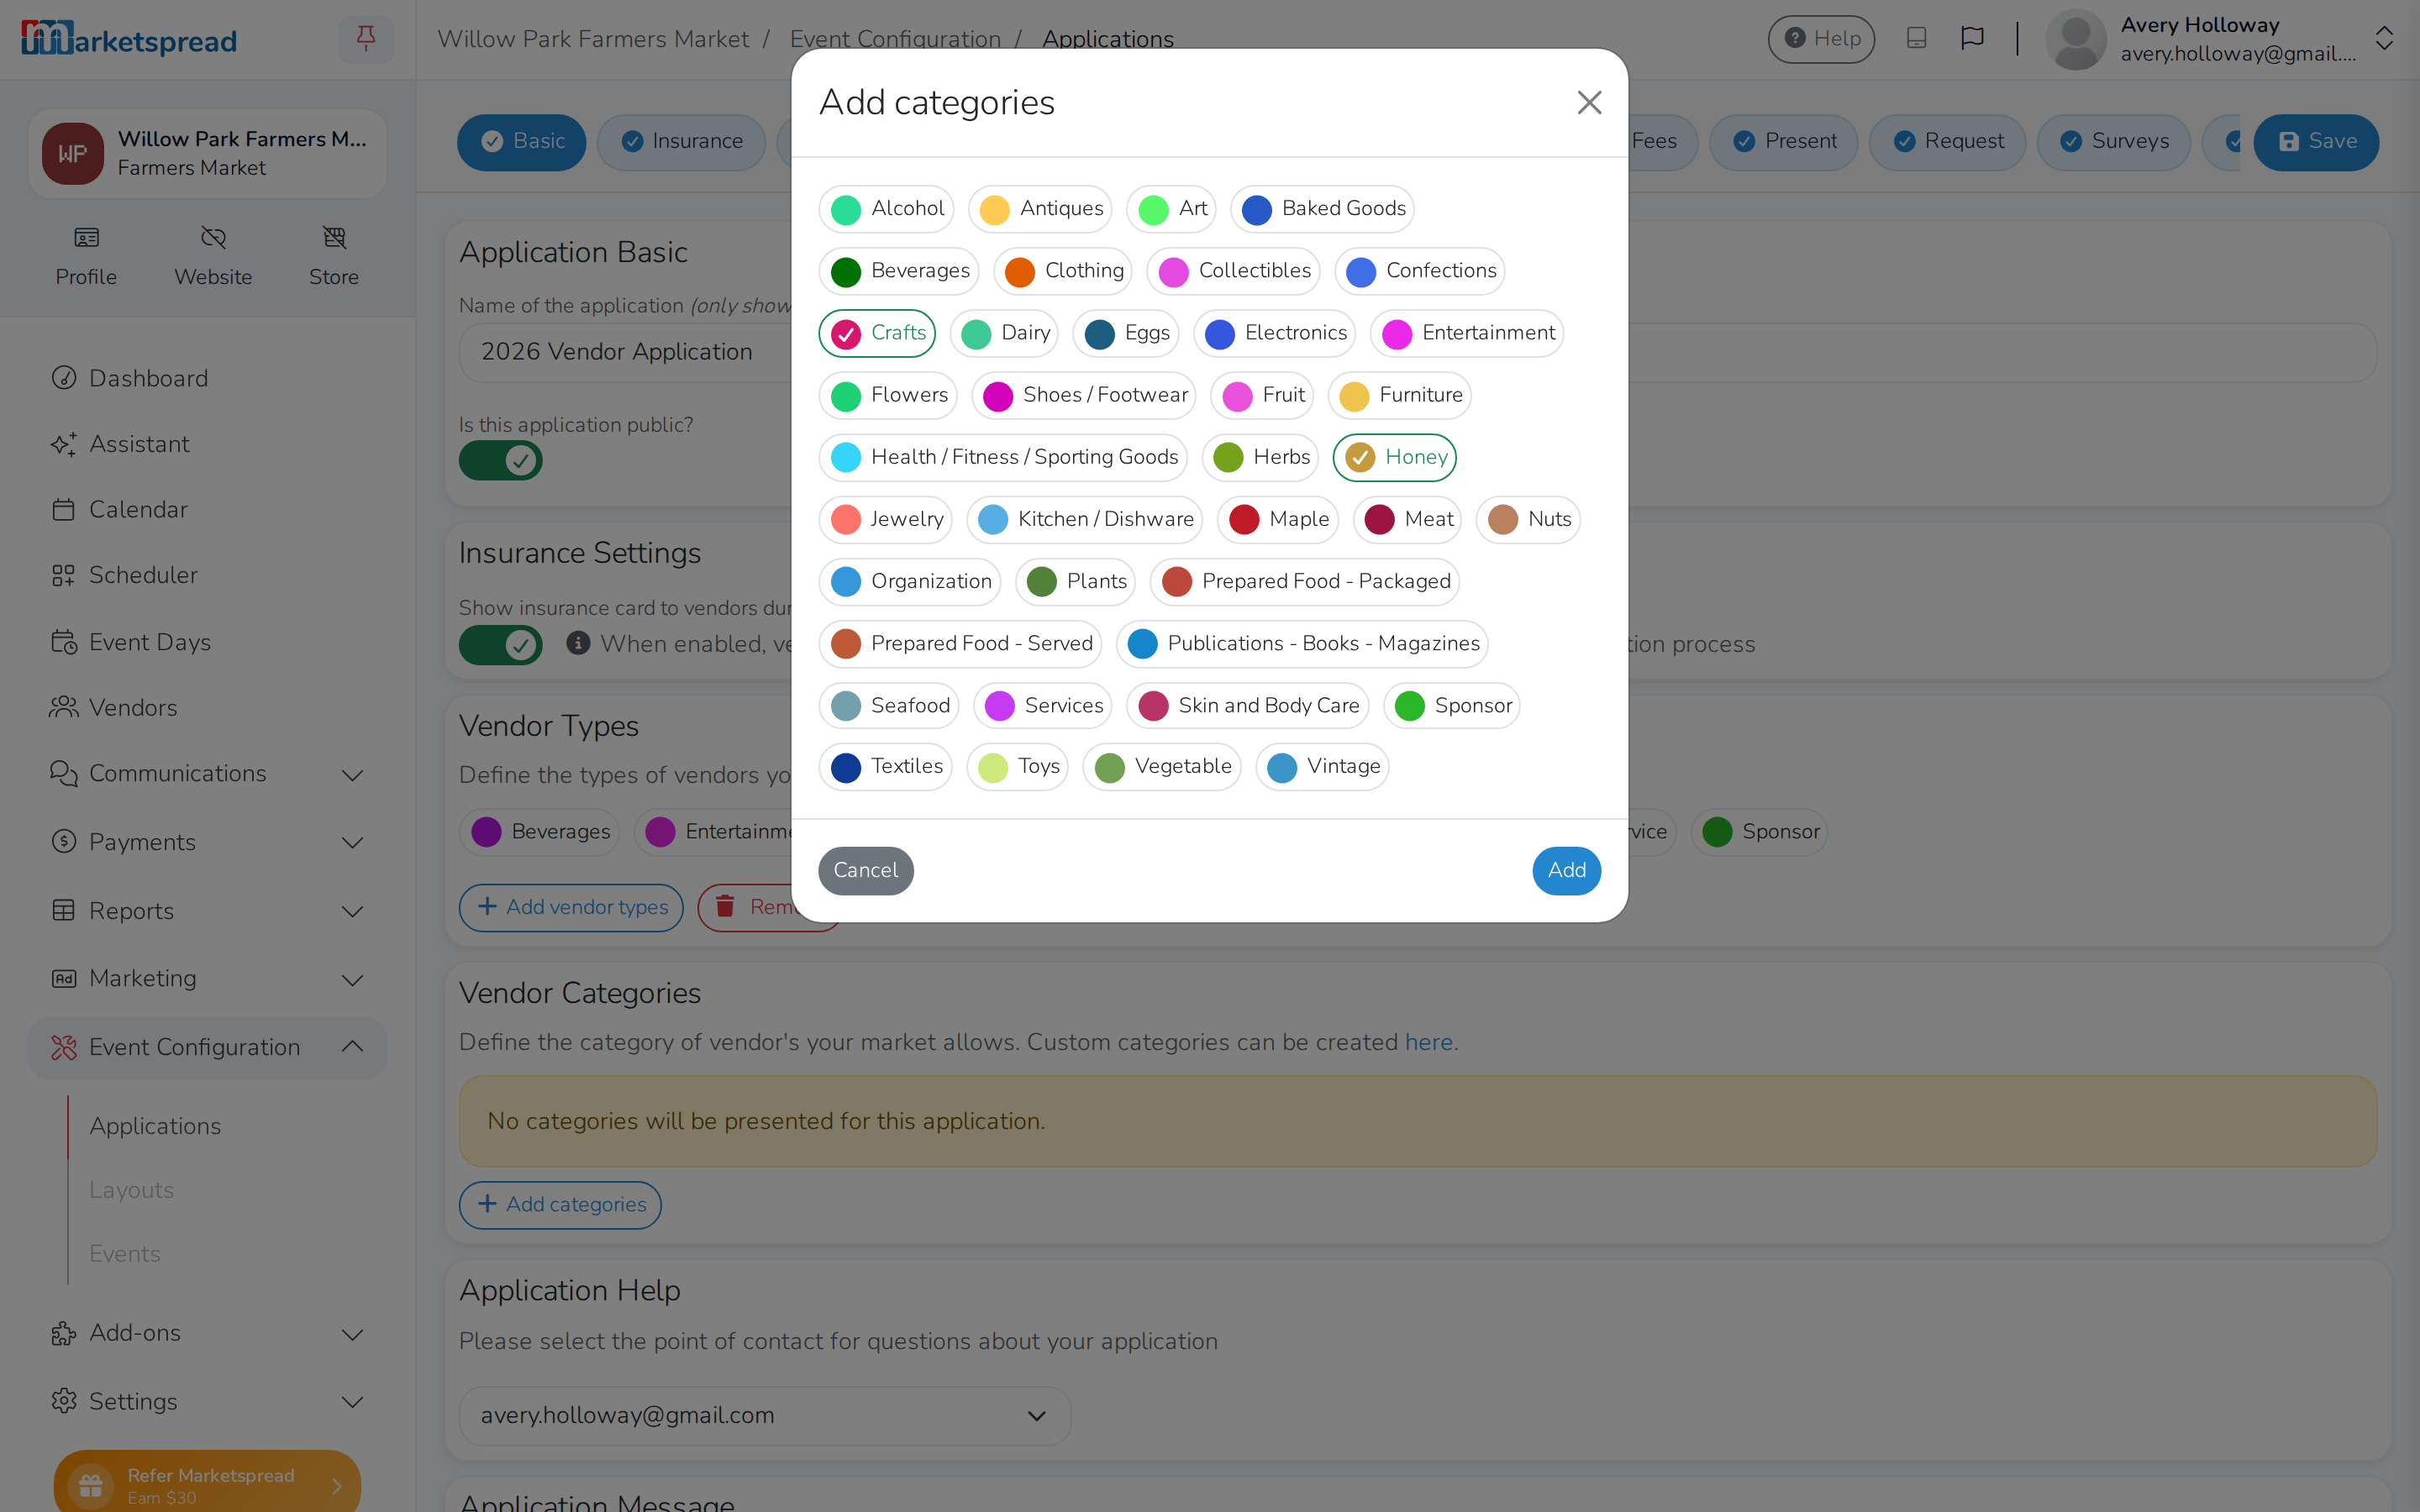
- Under Vendor Categories, click Add categories to choose from your account's list of categories.
- To remove one, click Remove, click each type or category you want to take off, then click Remove again to confirm.

Note
Vendor Types starts with every type your market currently uses already selected. Vendor Categories starts empty — add the ones you want vendors to choose from.
Need a vendor type or category that isn't in your list yet? See How to create custom vendor types.


Set a point of contact
Under Application Help, choose who should answer questions about this application. The dropdown lists everyone with access to manage your account.

Add an application message
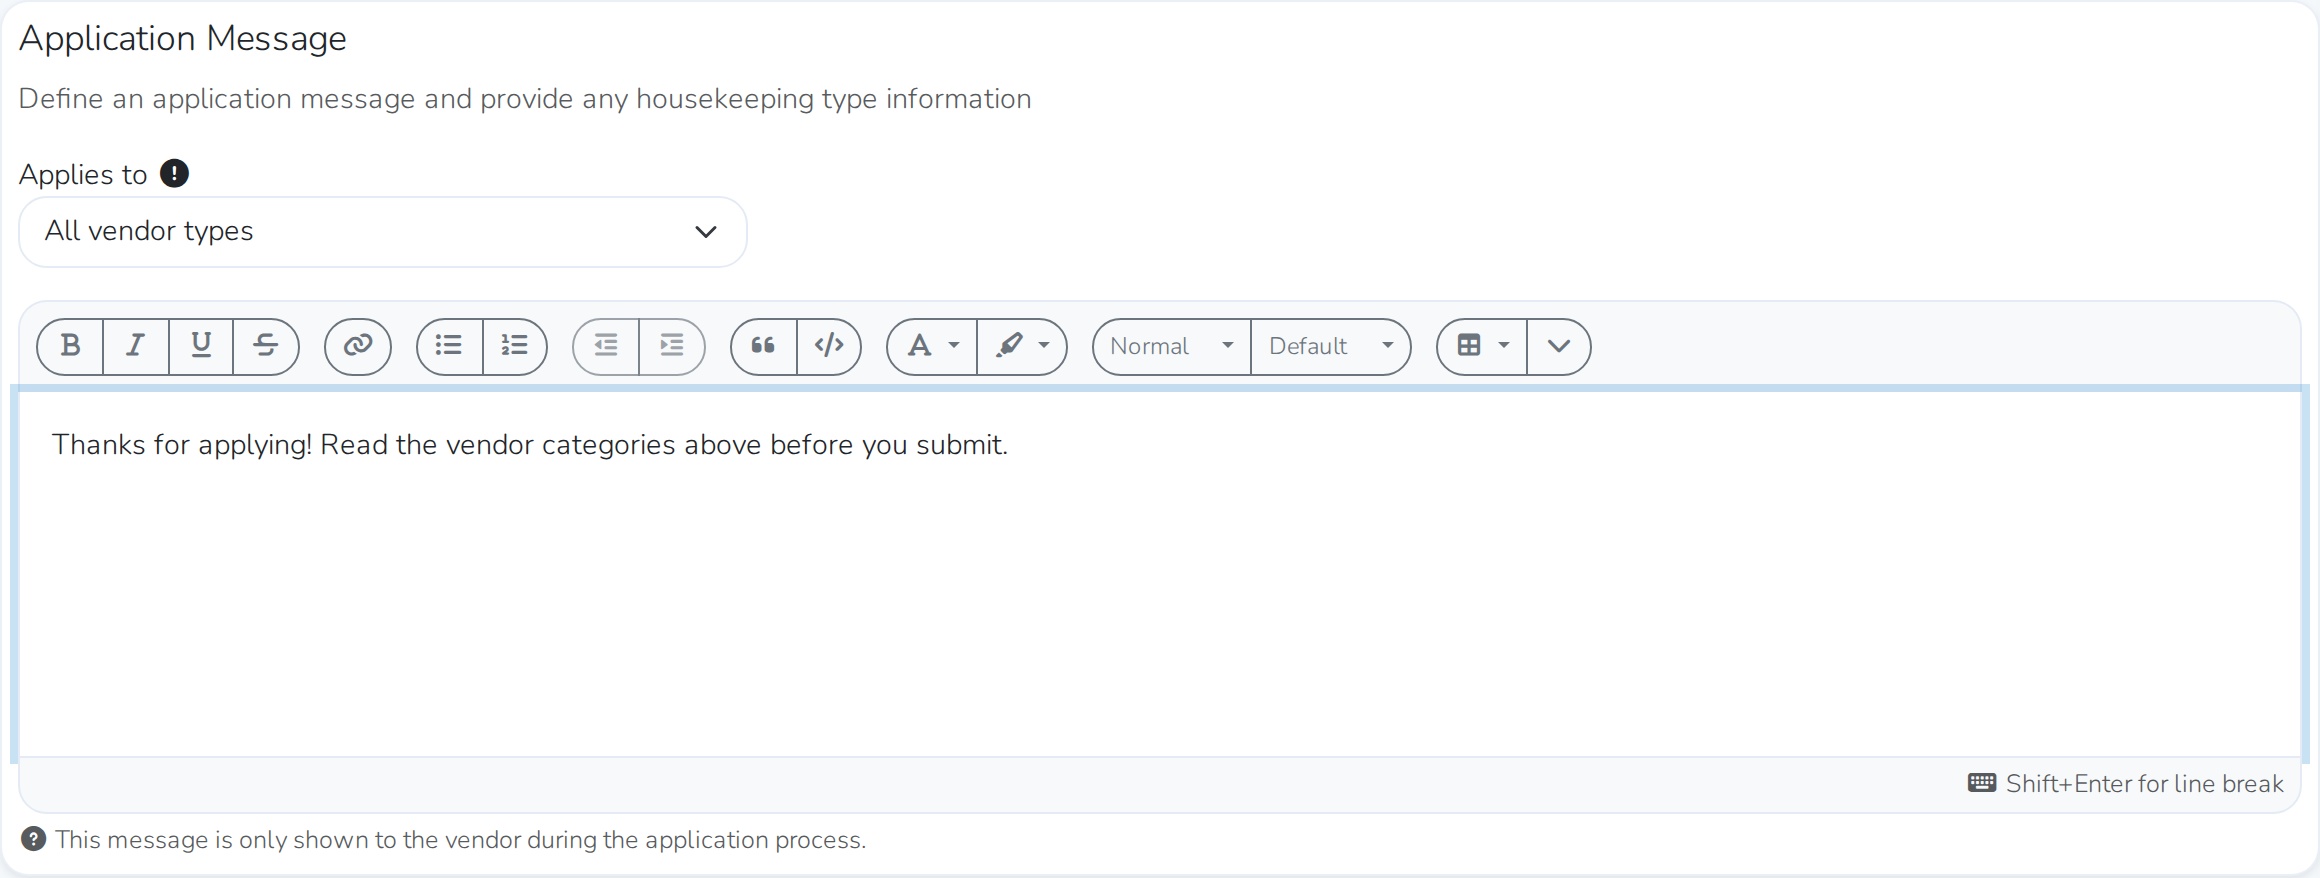
- Under Application Message, use Applies to to choose All vendor types or one specific type.
- Write your message. Use it for a welcome note, instructions, fee information, or any other housekeeping details vendors should know before they apply.
Repeat this for each vendor type that needs its own message.
Collect photos with the application
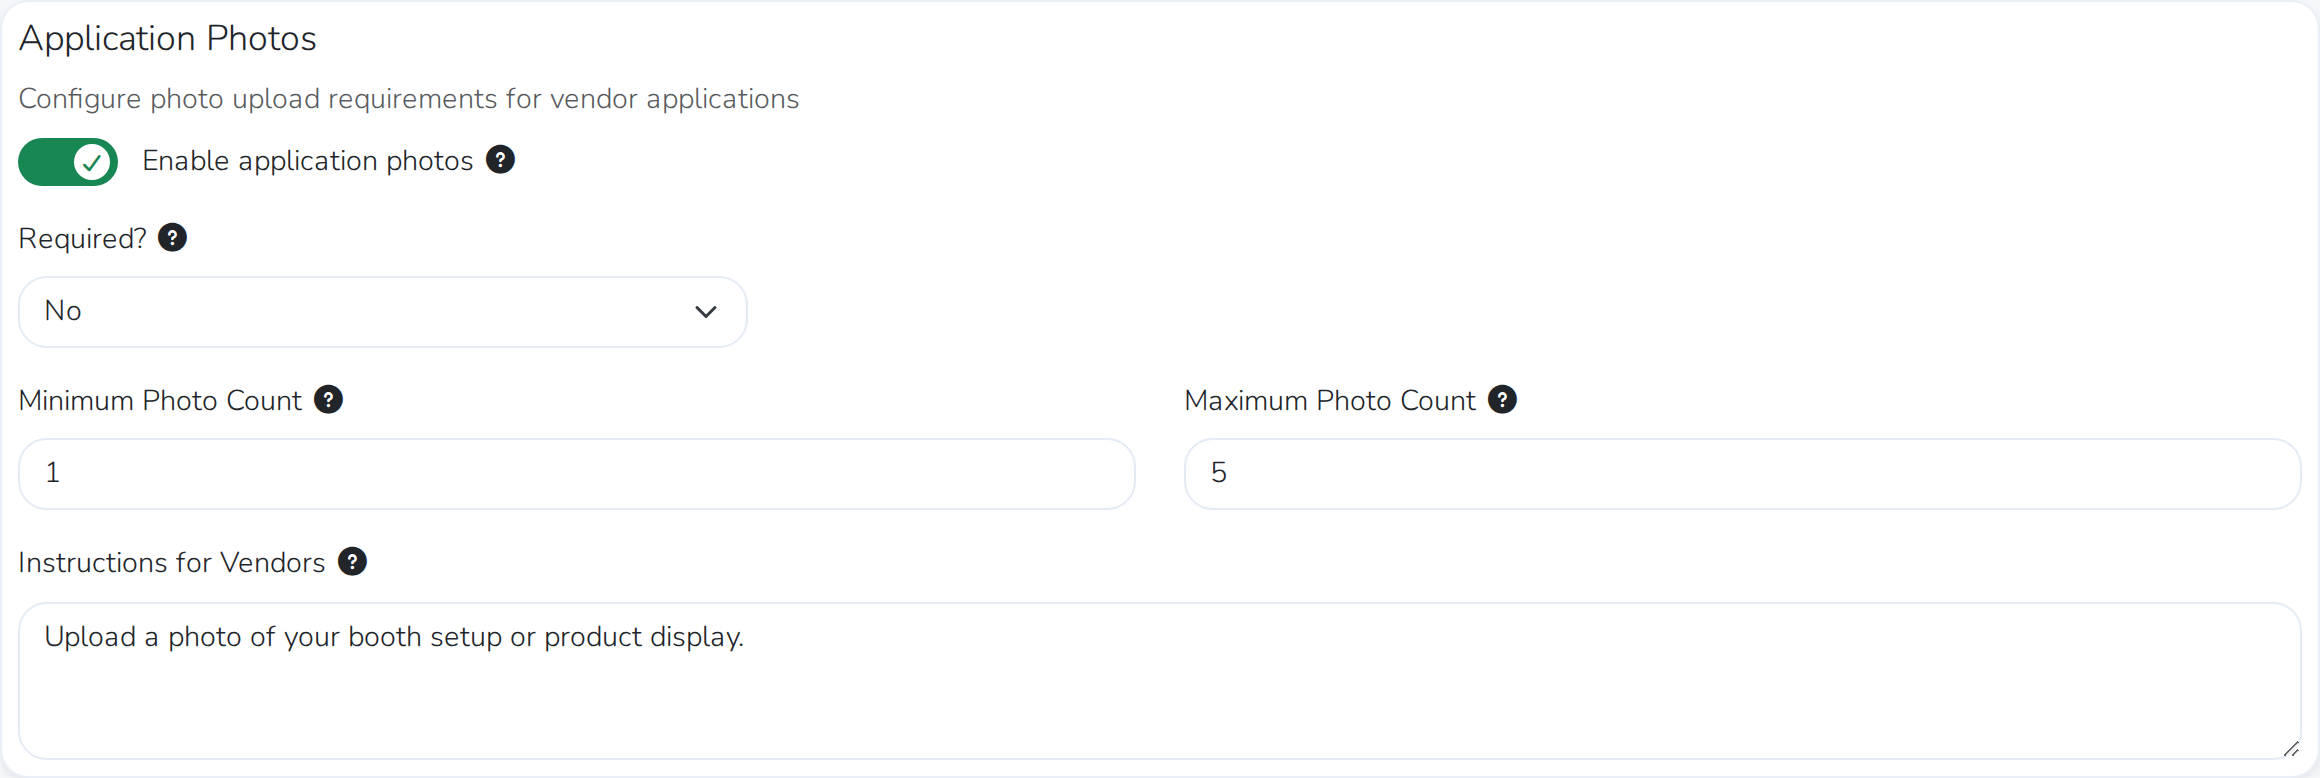
- Under Application Photos, turn on Enable application photos.
- Choose Yes or No under Required? to decide whether vendors must upload a photo to submit.
- Set a Minimum Photo Count and Maximum Photo Count if you want to limit how many they upload (up to 10 each).
- Add Instructions for Vendors telling them what to photograph — their booth setup, product displays, or signage.
Charge application and approval fees
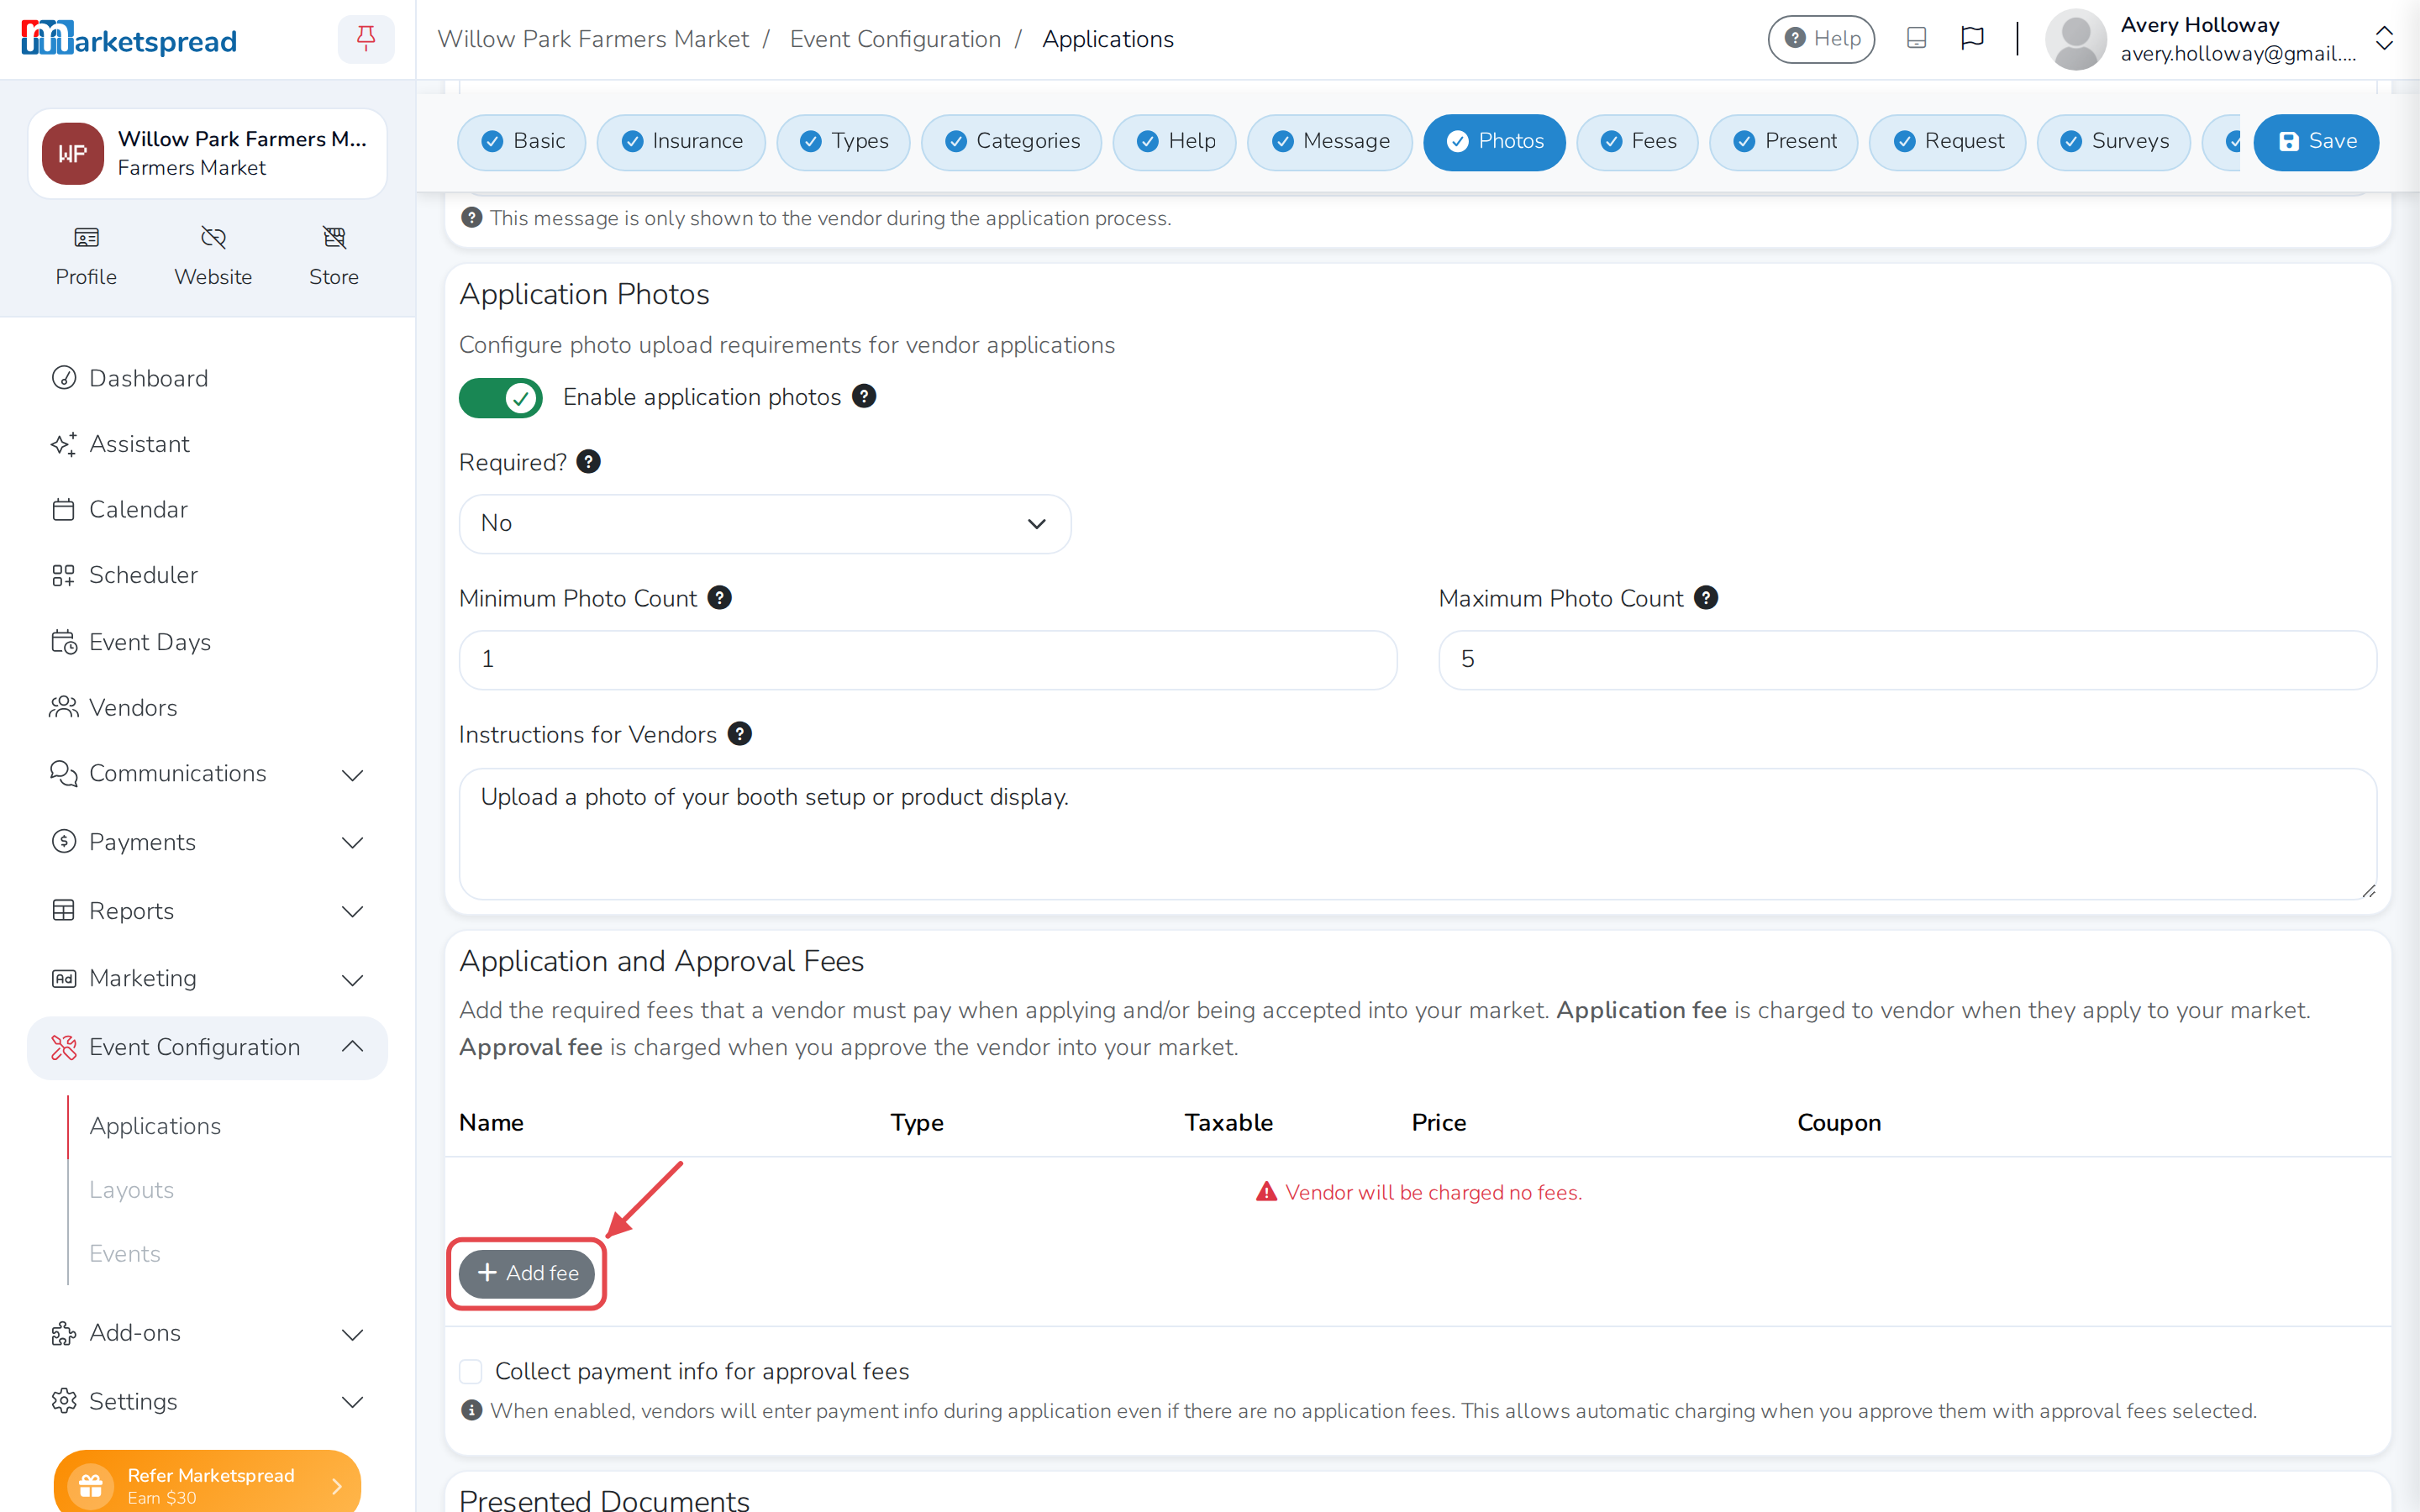
- Under Application and Approval Fees, click Add fee.
- Name the fee, and choose Application or Approval under Type. An application fee is charged when a vendor applies; an approval fee is charged when you approve them.
- Set the price, and turn on Taxable if it should be taxed.
- Choose which vendor types see the fee.
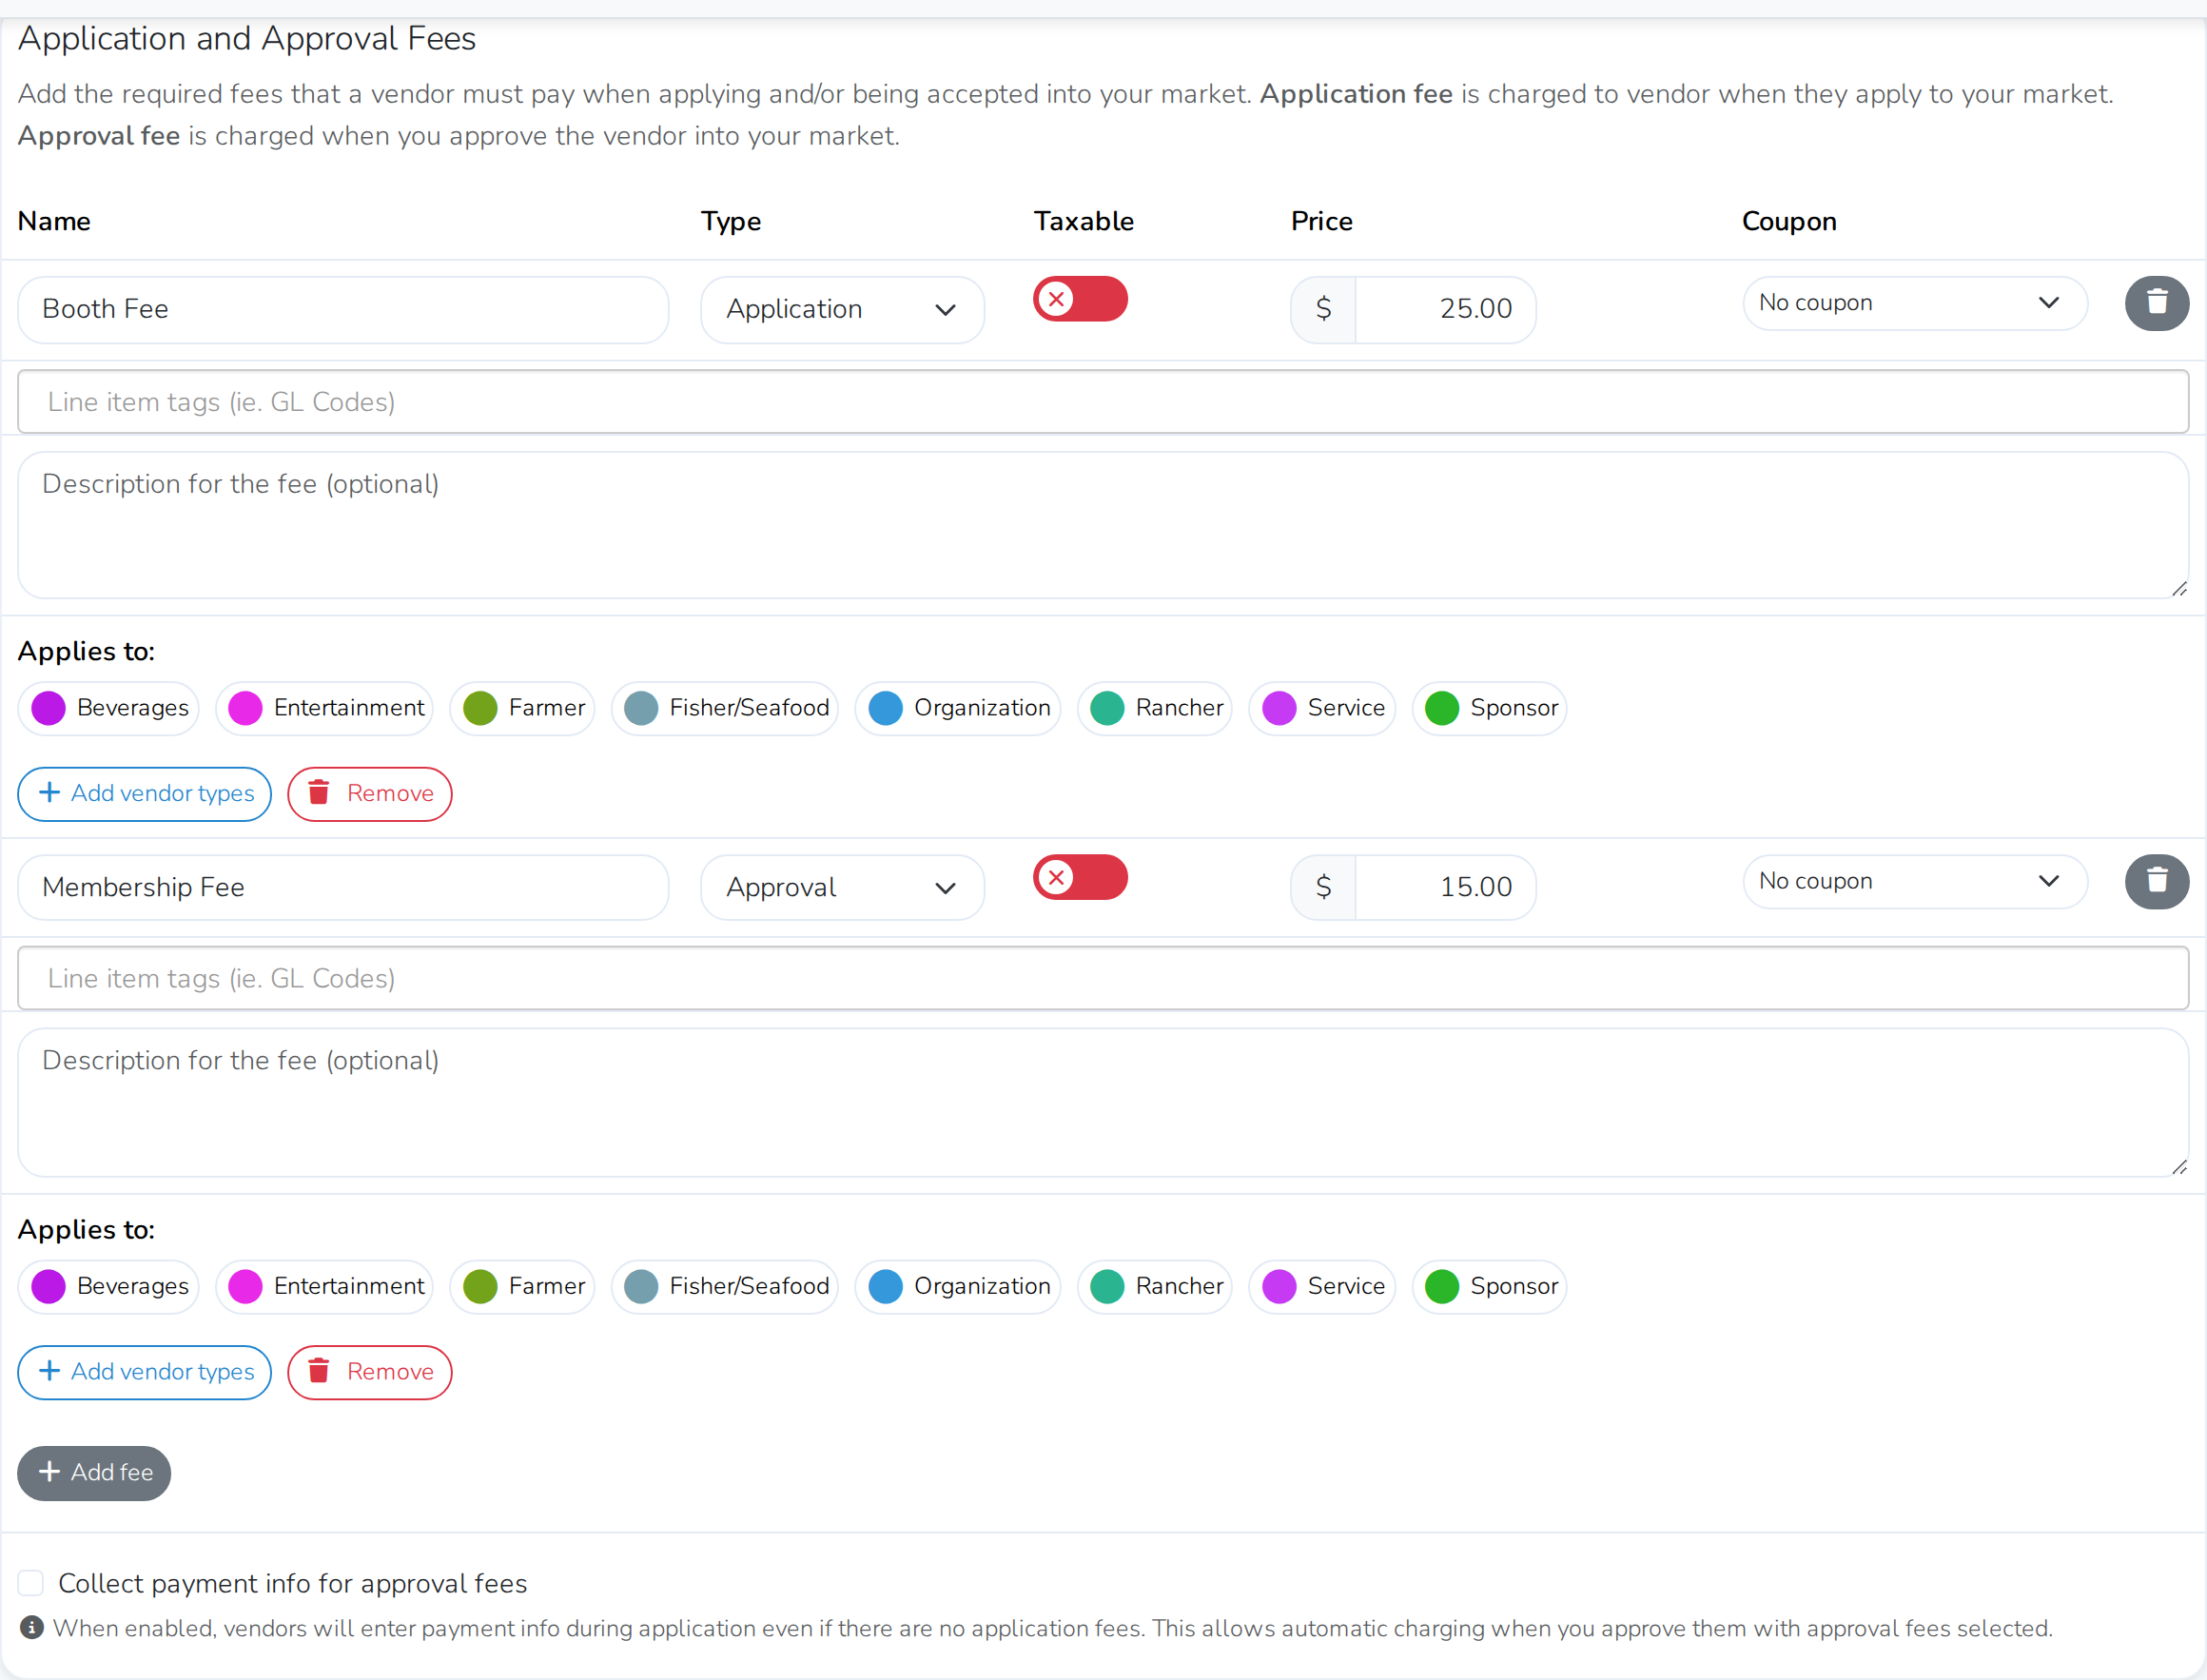
If you take credit cards, vendors are charged when they submit the application. If they pay by cash or check, Marketspread still creates the invoice so you can record the payment later.
Turn on Collect payment info for approval fees to ask vendors for a card during the application — even when there are no application fees — so you can charge approval fees automatically when you approve them. See Collecting Payment Info for Approval Fees.
Ask vendors to review or sign a document
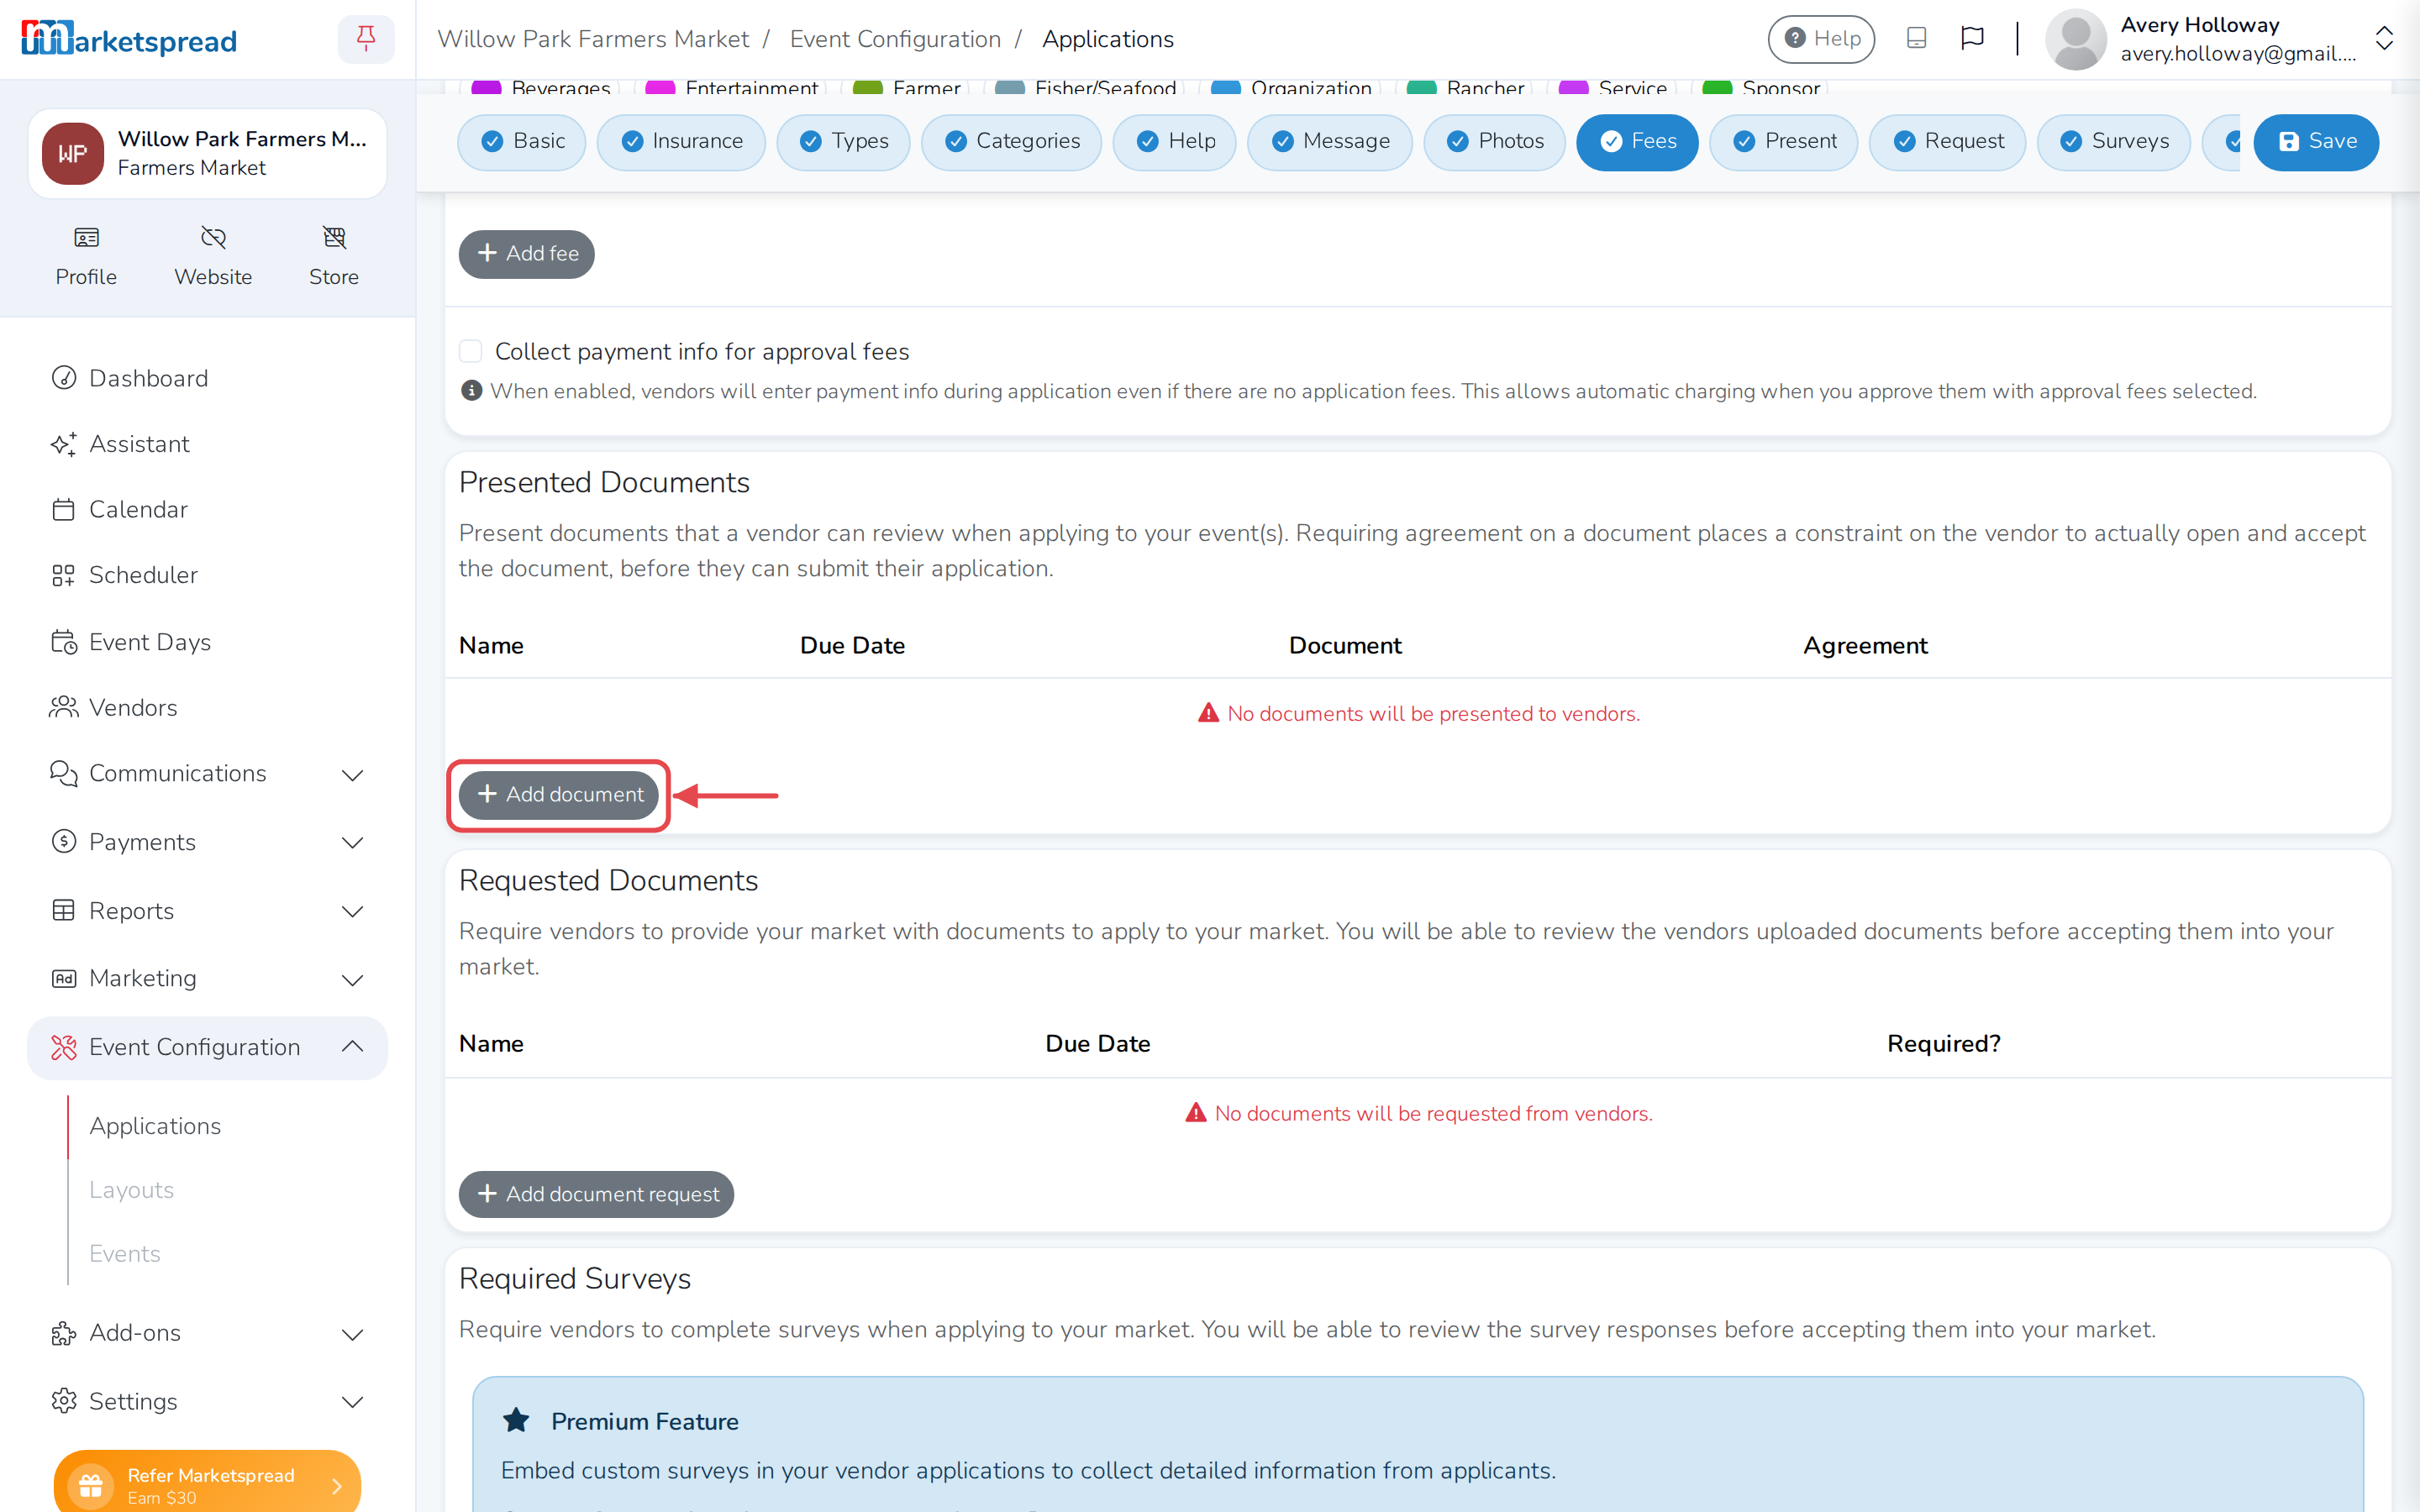
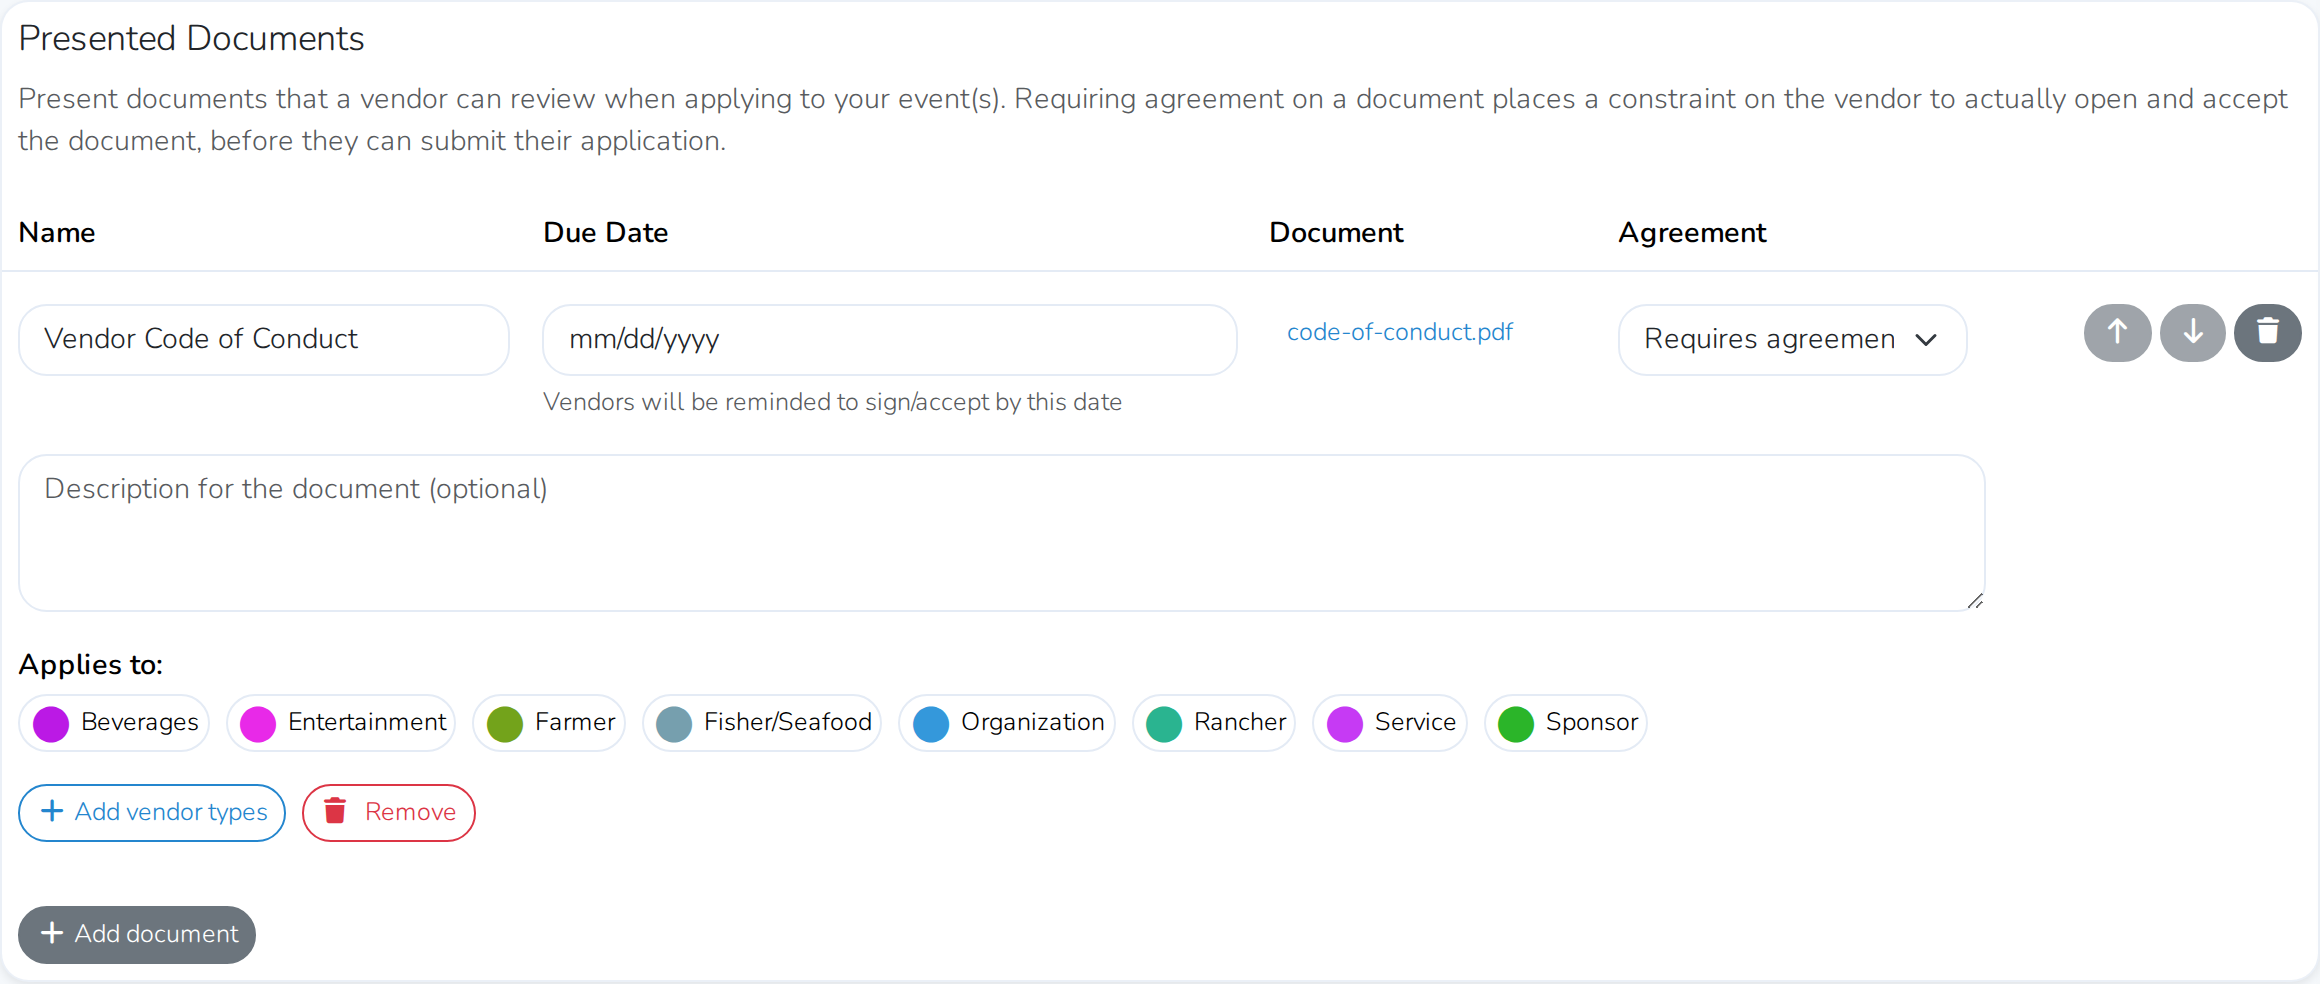
- Under Presented Documents, click Add document.
- Name the document, click Select document, and upload the file.
- Under Agreement, choose how vendors must interact with it:
- No agreement – vendors can view it, nothing more
- Requires agreement – vendors must open it before they can submit
- Optional signature – vendors can sign it, but don't have to
- Requires signature – vendors must sign it before they can submit
- Choose which vendor types see the document.
Request documents from applicants
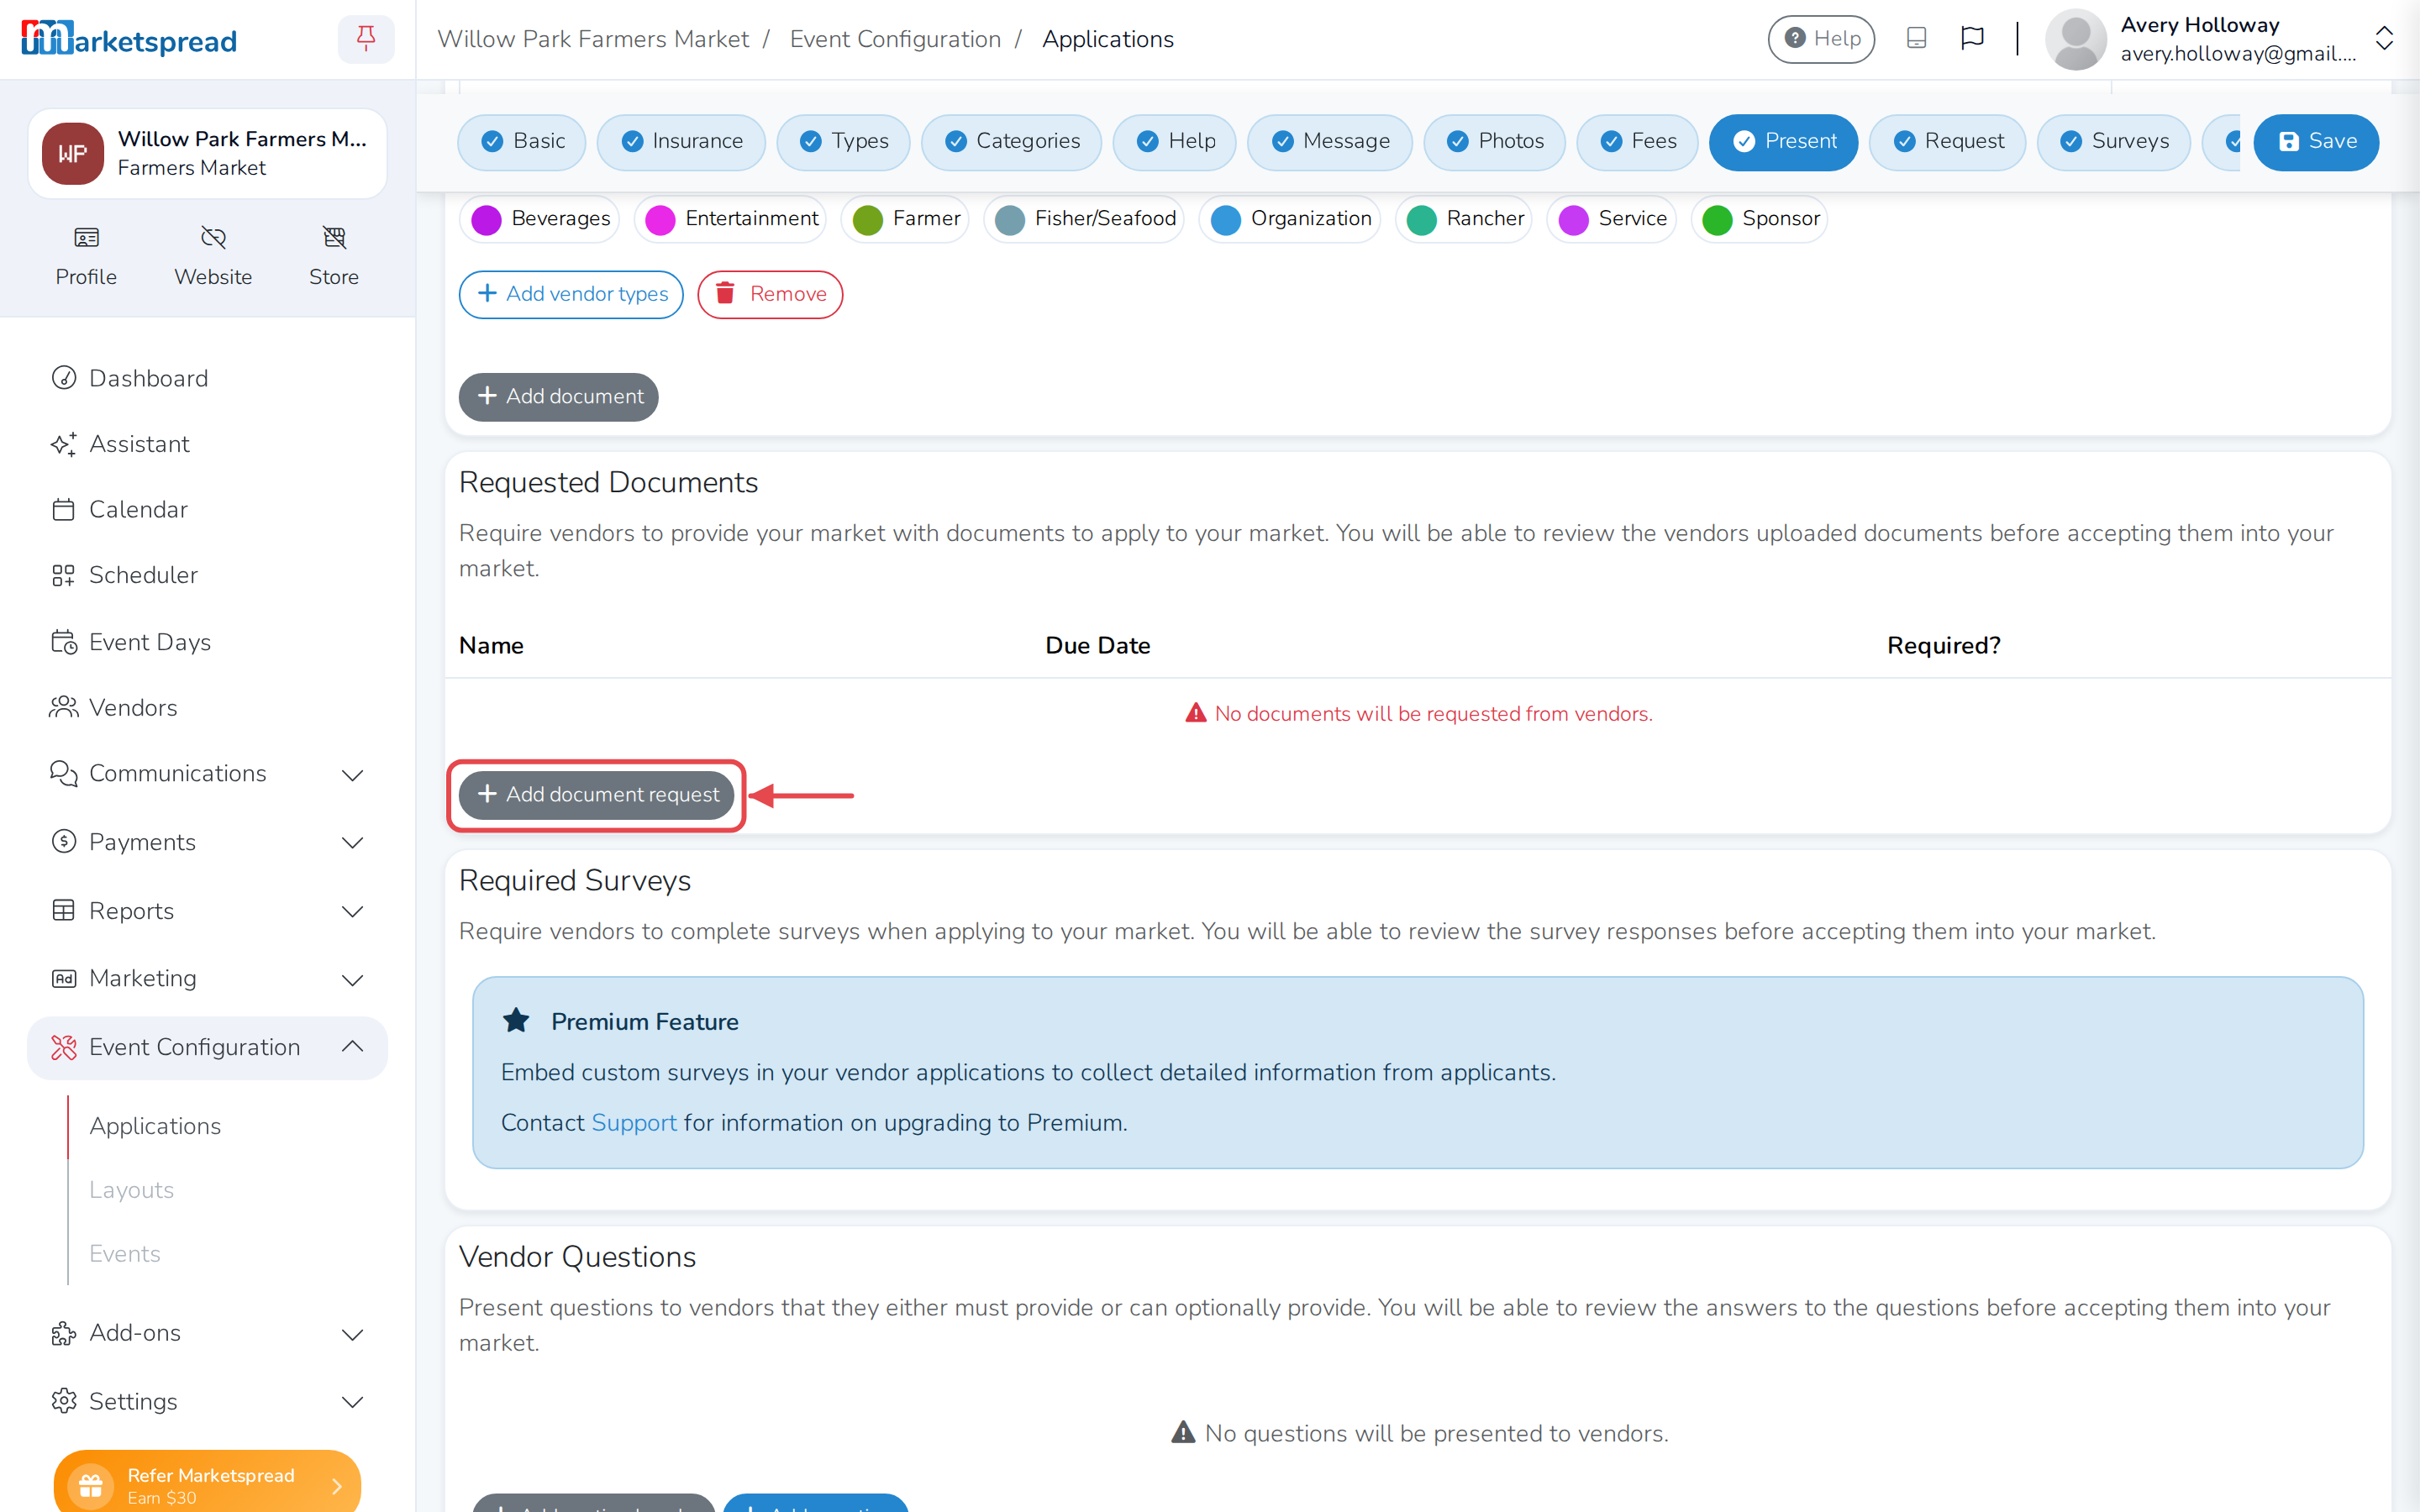
- Under Requested Documents, click Add document request.
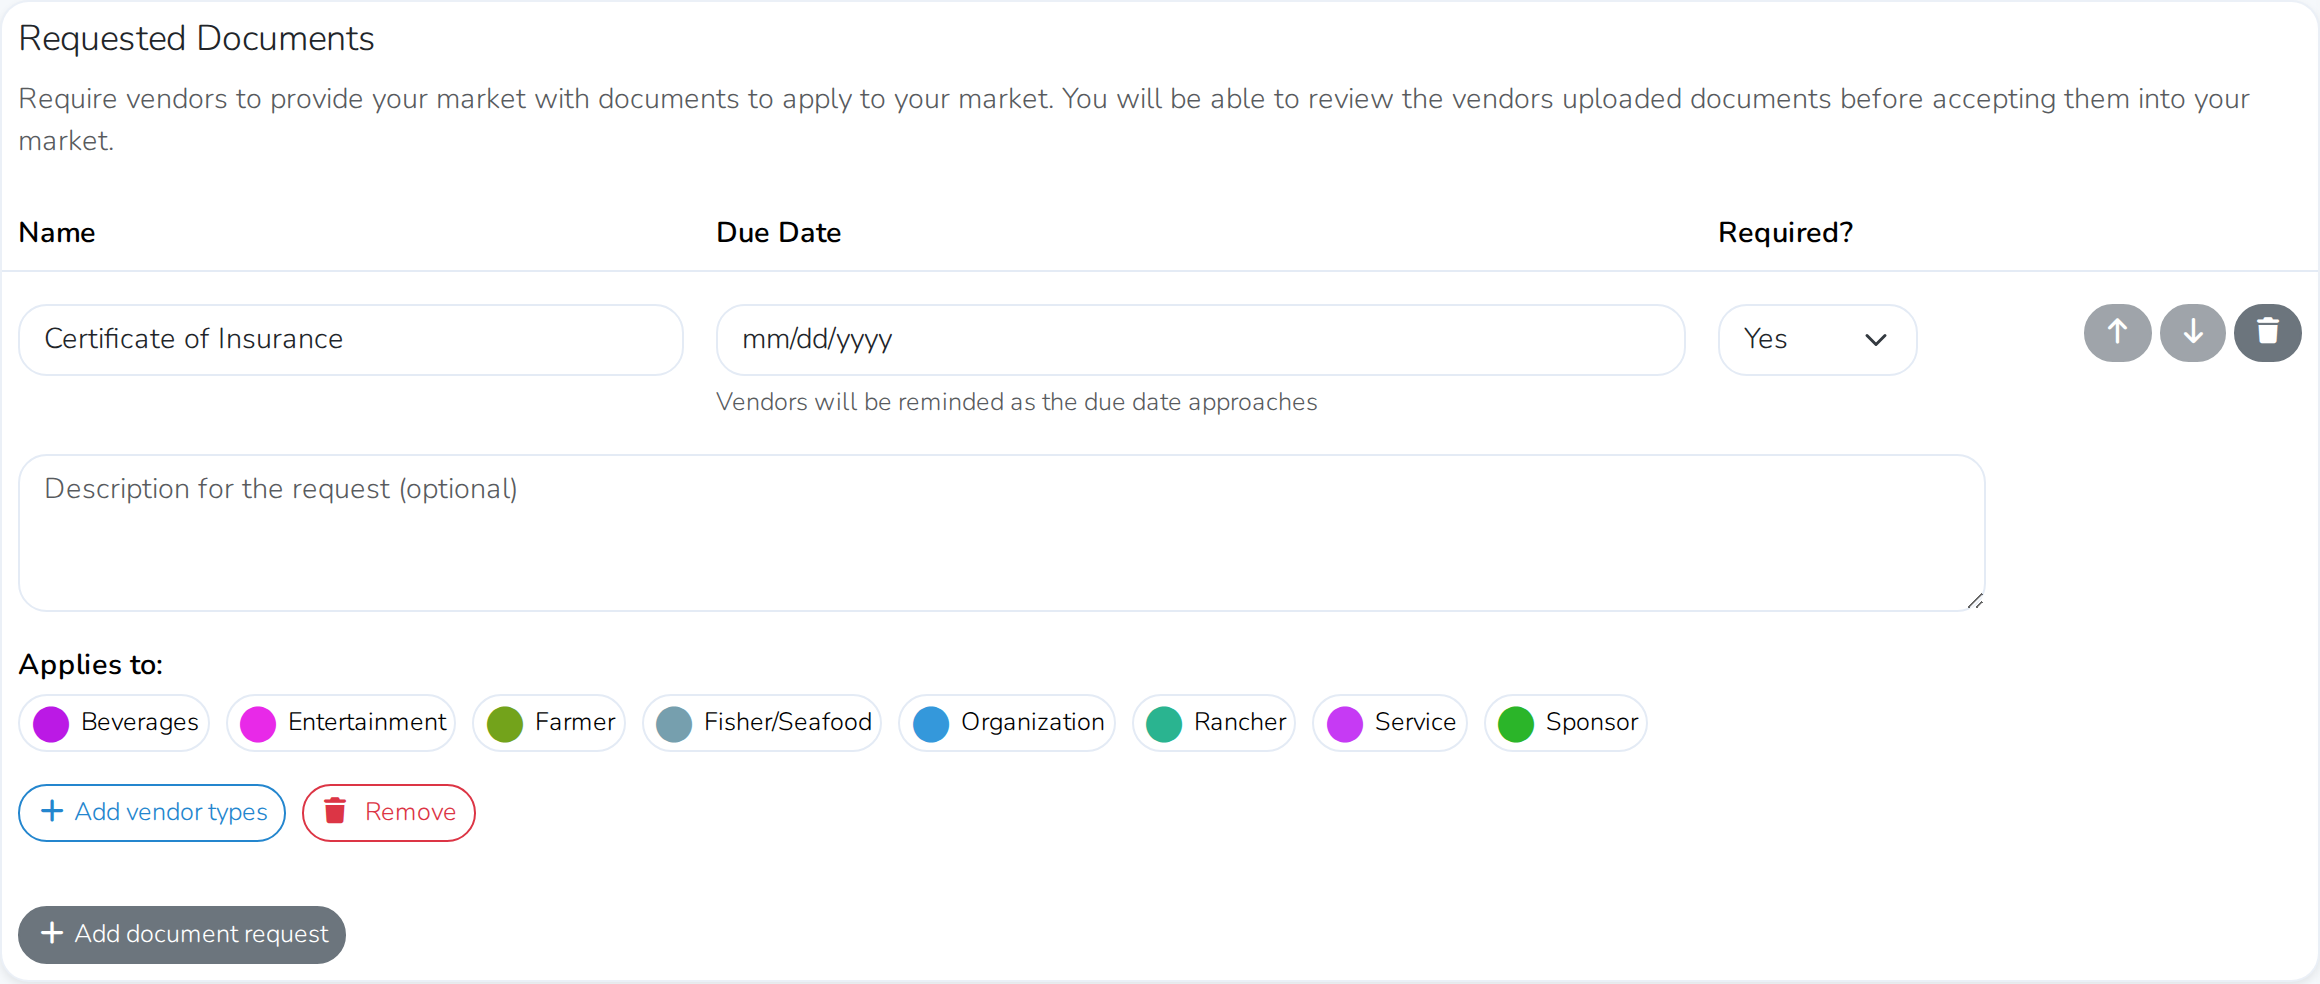
- Name what you need — a certificate of insurance, a resale license.
- Choose Yes or No under Required?, and which vendor types the request applies to.
You'll be able to review whatever vendors upload before you accept them.
Require a survey
Required Surveys is a Premium feature. Click Add survey request, choose one of your market's surveys from the dropdown, and choose whether it's required. You'll be able to review vendors' answers before you accept them.
Ask vendor questions
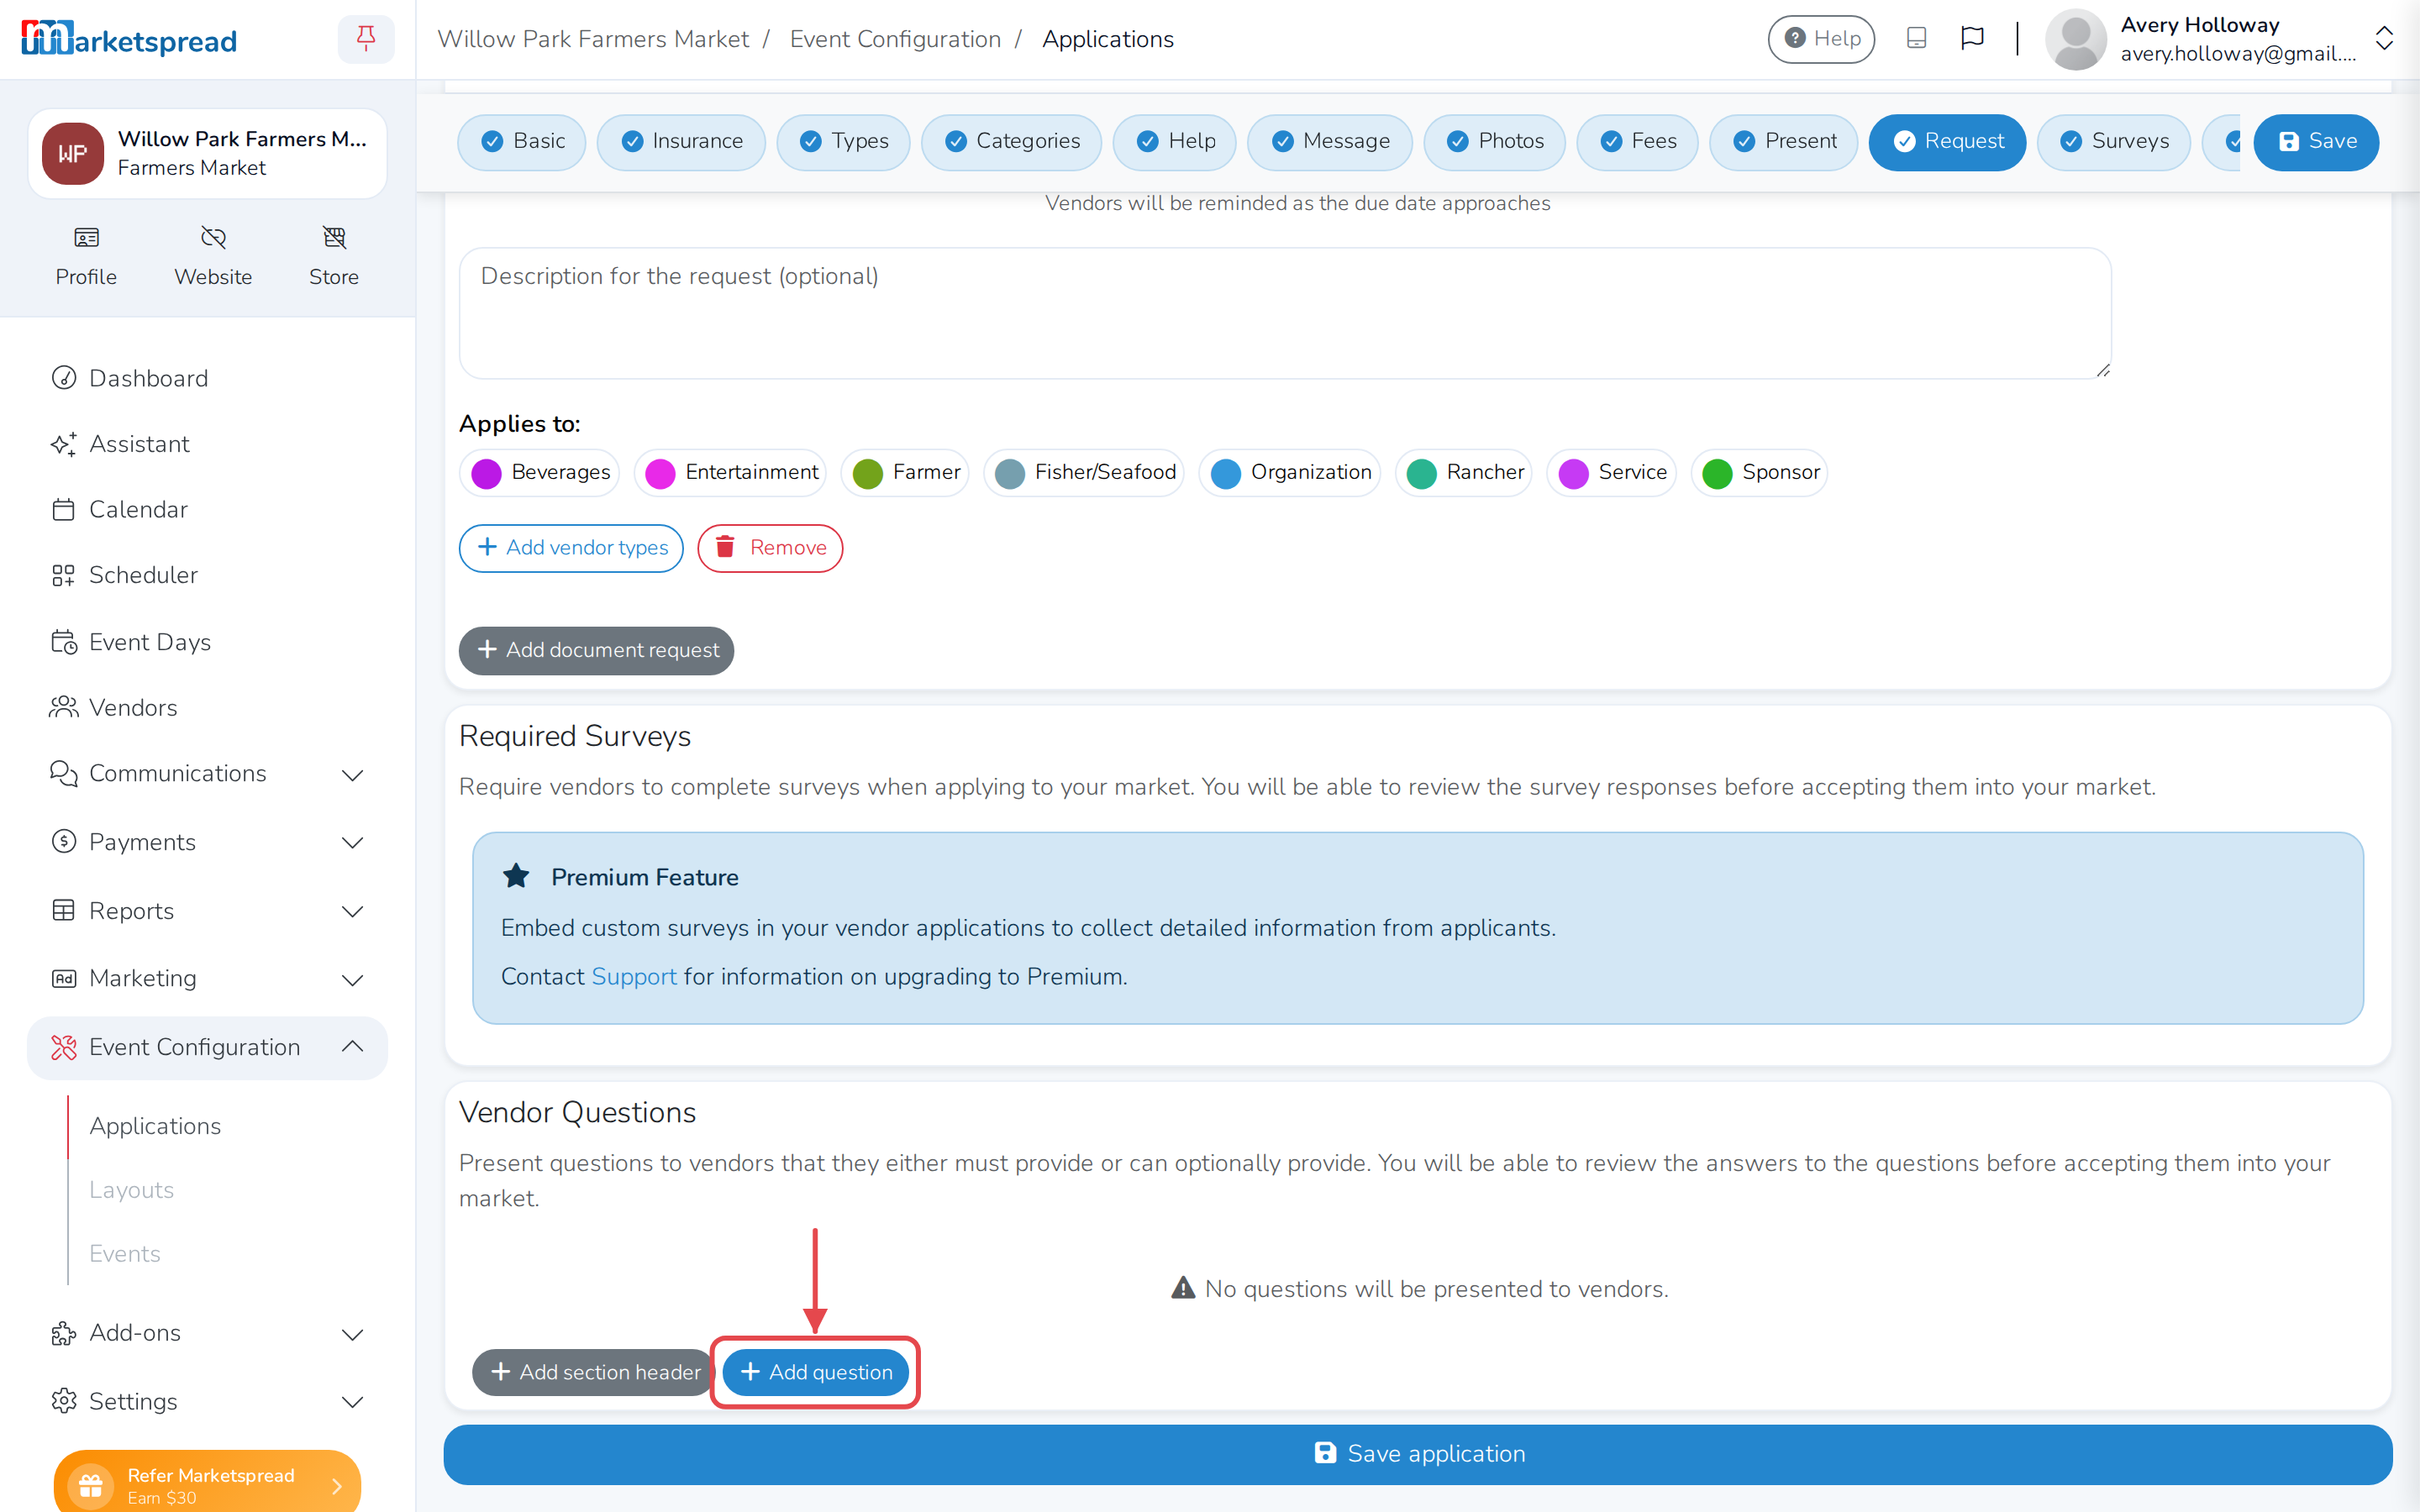
- Under Vendor Questions, click Add question, or Add section header to group your questions.
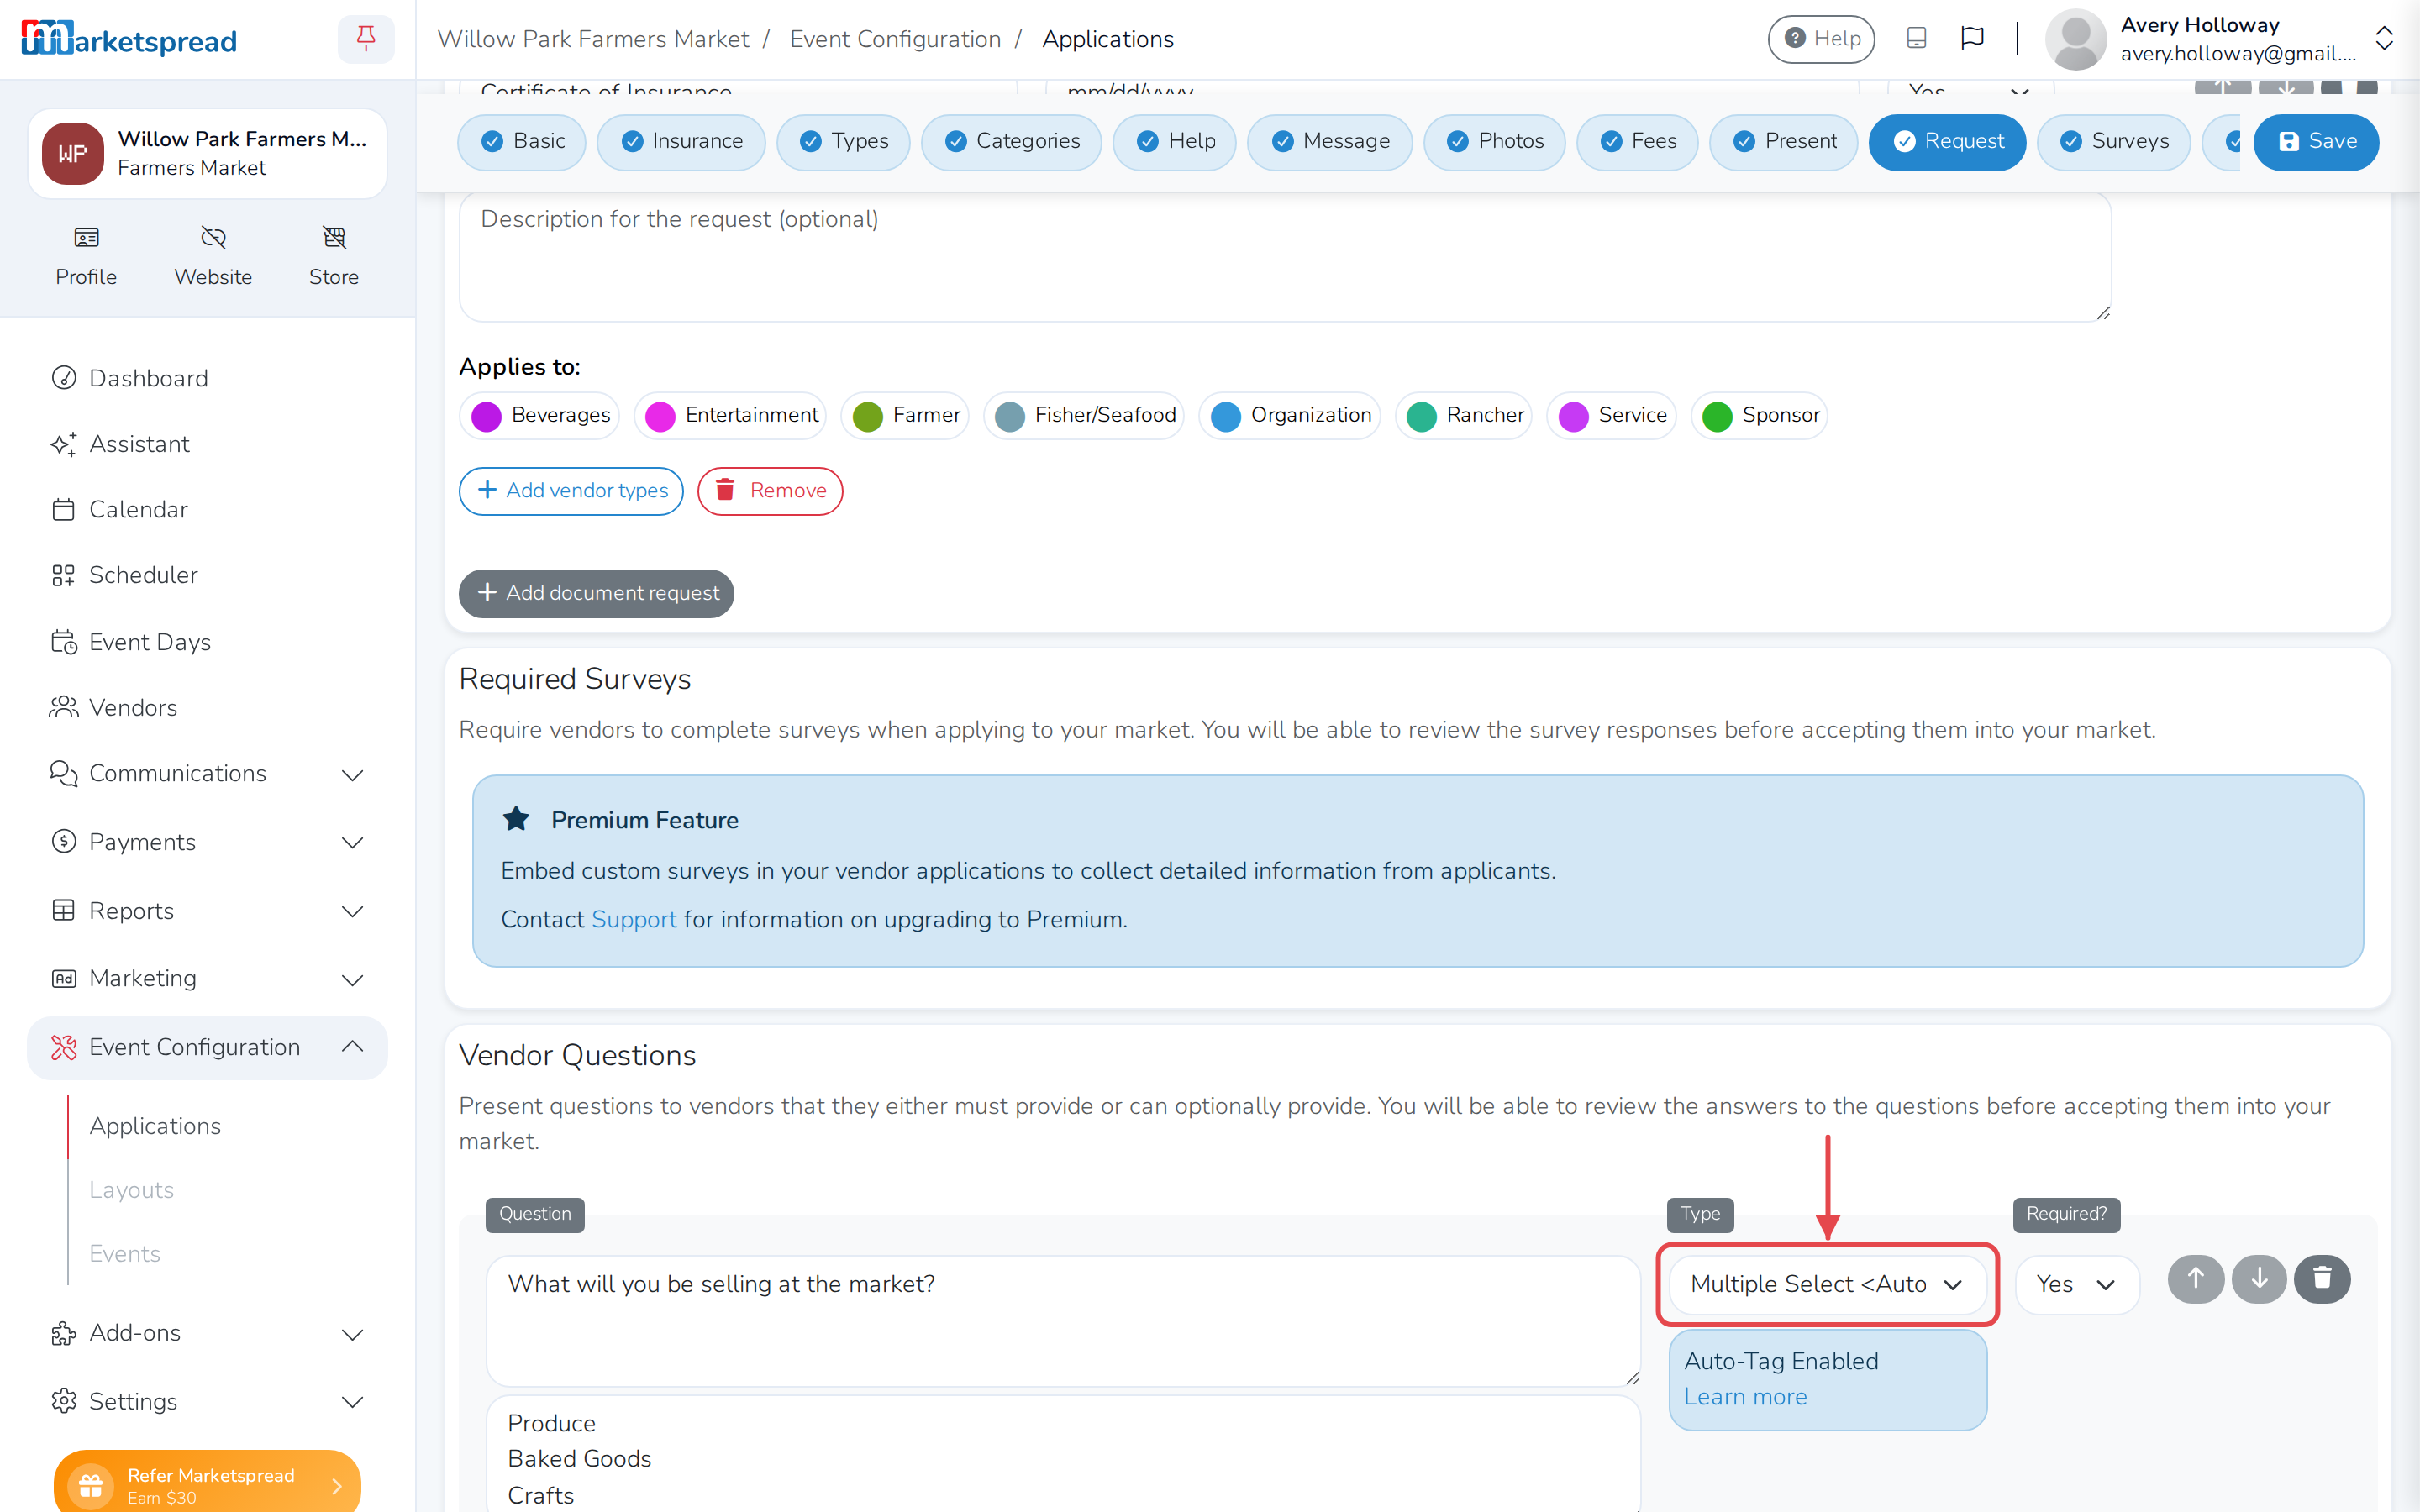
- Type the question, and choose its Type:
- Text – a long written answer
- Short Text – a single-line answer
- Yes/No (Toggle) – a yes/no switch
- Multiple Choice – one answer from a list you write
- Multiple Choice – one answer, and it tags the vendor
- Multiple Choice (Dropdown) – one answer, picked from a dropdown
- Multiple Choice (Dropdown) – a dropdown that also tags the vendor
- Multiple Select – more than one answer allowed
- Multiple Select – more than one answer, each one tags the vendor
- Choose Yes or No under Required?, and which vendor types see the question.
- Turn on Pin to Scheduler if you need to see the answer while booking vendors into booths — a booth number or amenity, for example.
- Use Map to Extended Vendor Data to save the answer onto the vendor's own record, not just this application.
Note
An Auto-Tag question adds the vendor's answer as a tag on their record for that event, the first time they apply or when you place them directly into the event. See Auto Tagging Vendors.
Save your application
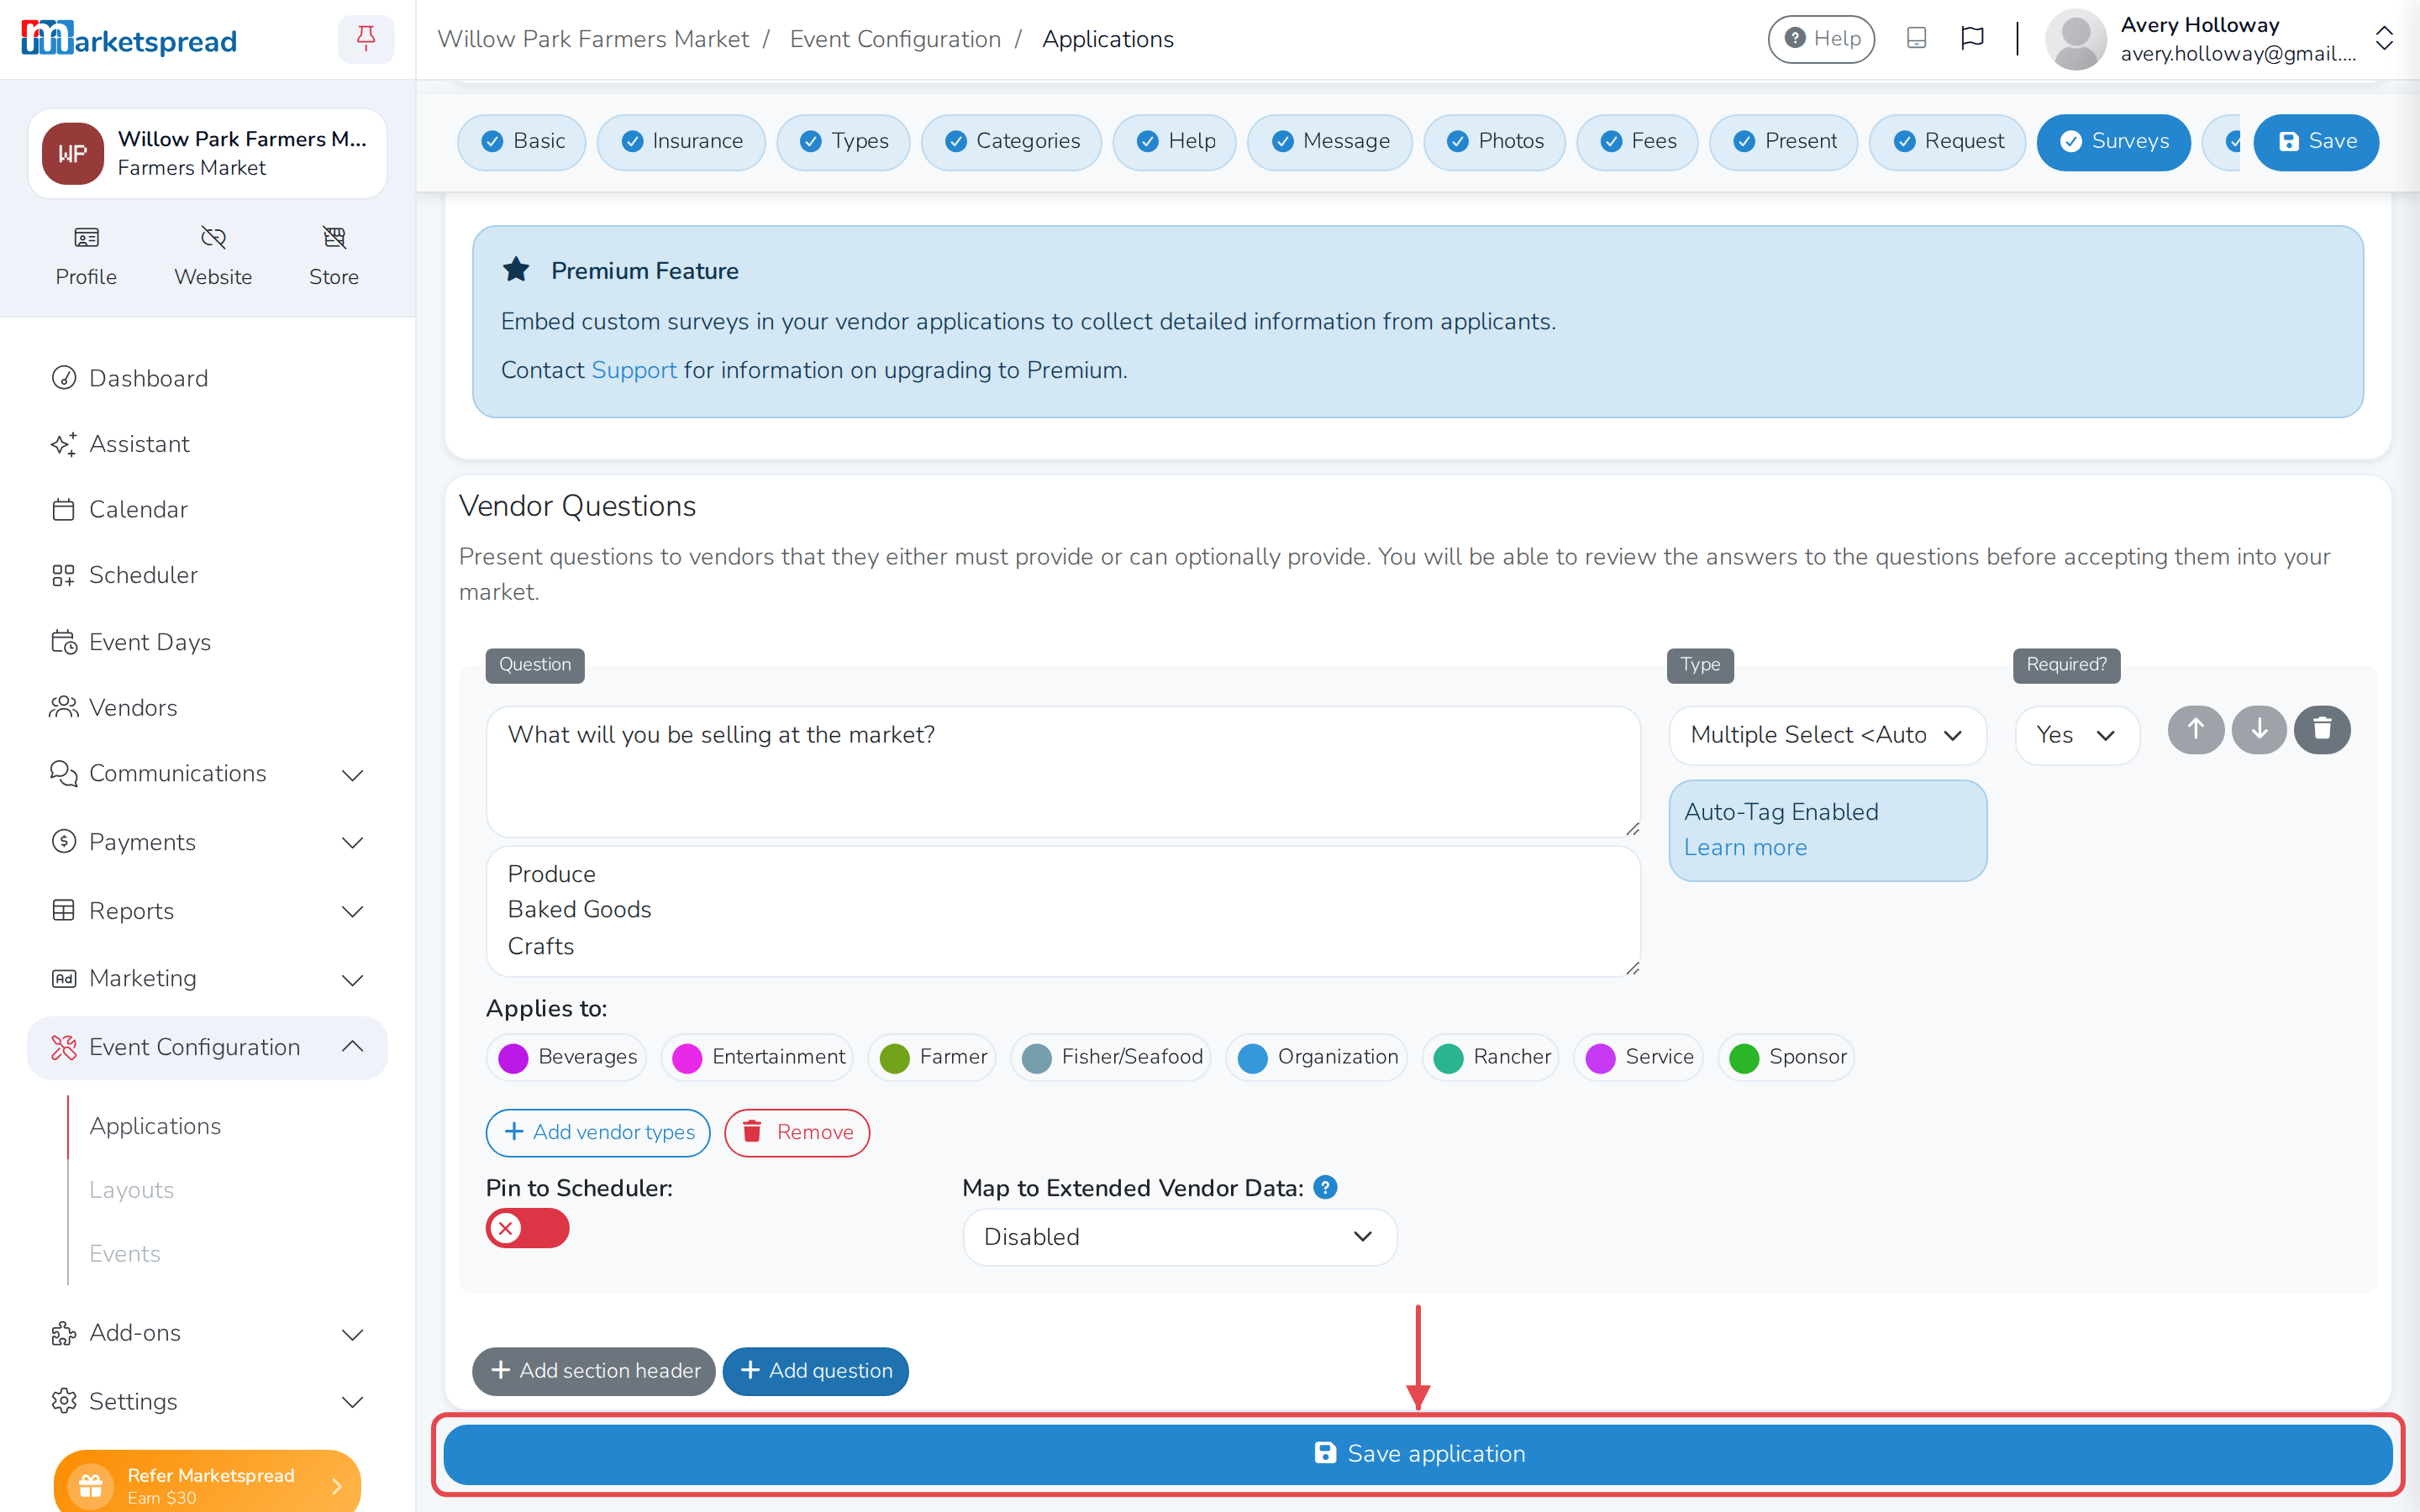
Click Save application at the bottom of the page.
Tip
Saving a template doesn't put it to use — pick it from the Application dropdown when you create or activate an event. See Linking applications between events.