Scheduler is where you assign vendors to booths for each of your events. From
here you can see which booths are filled and which vendors still need a
spot. You can also see the status of the invoice tied to each booking.
Open Scheduler
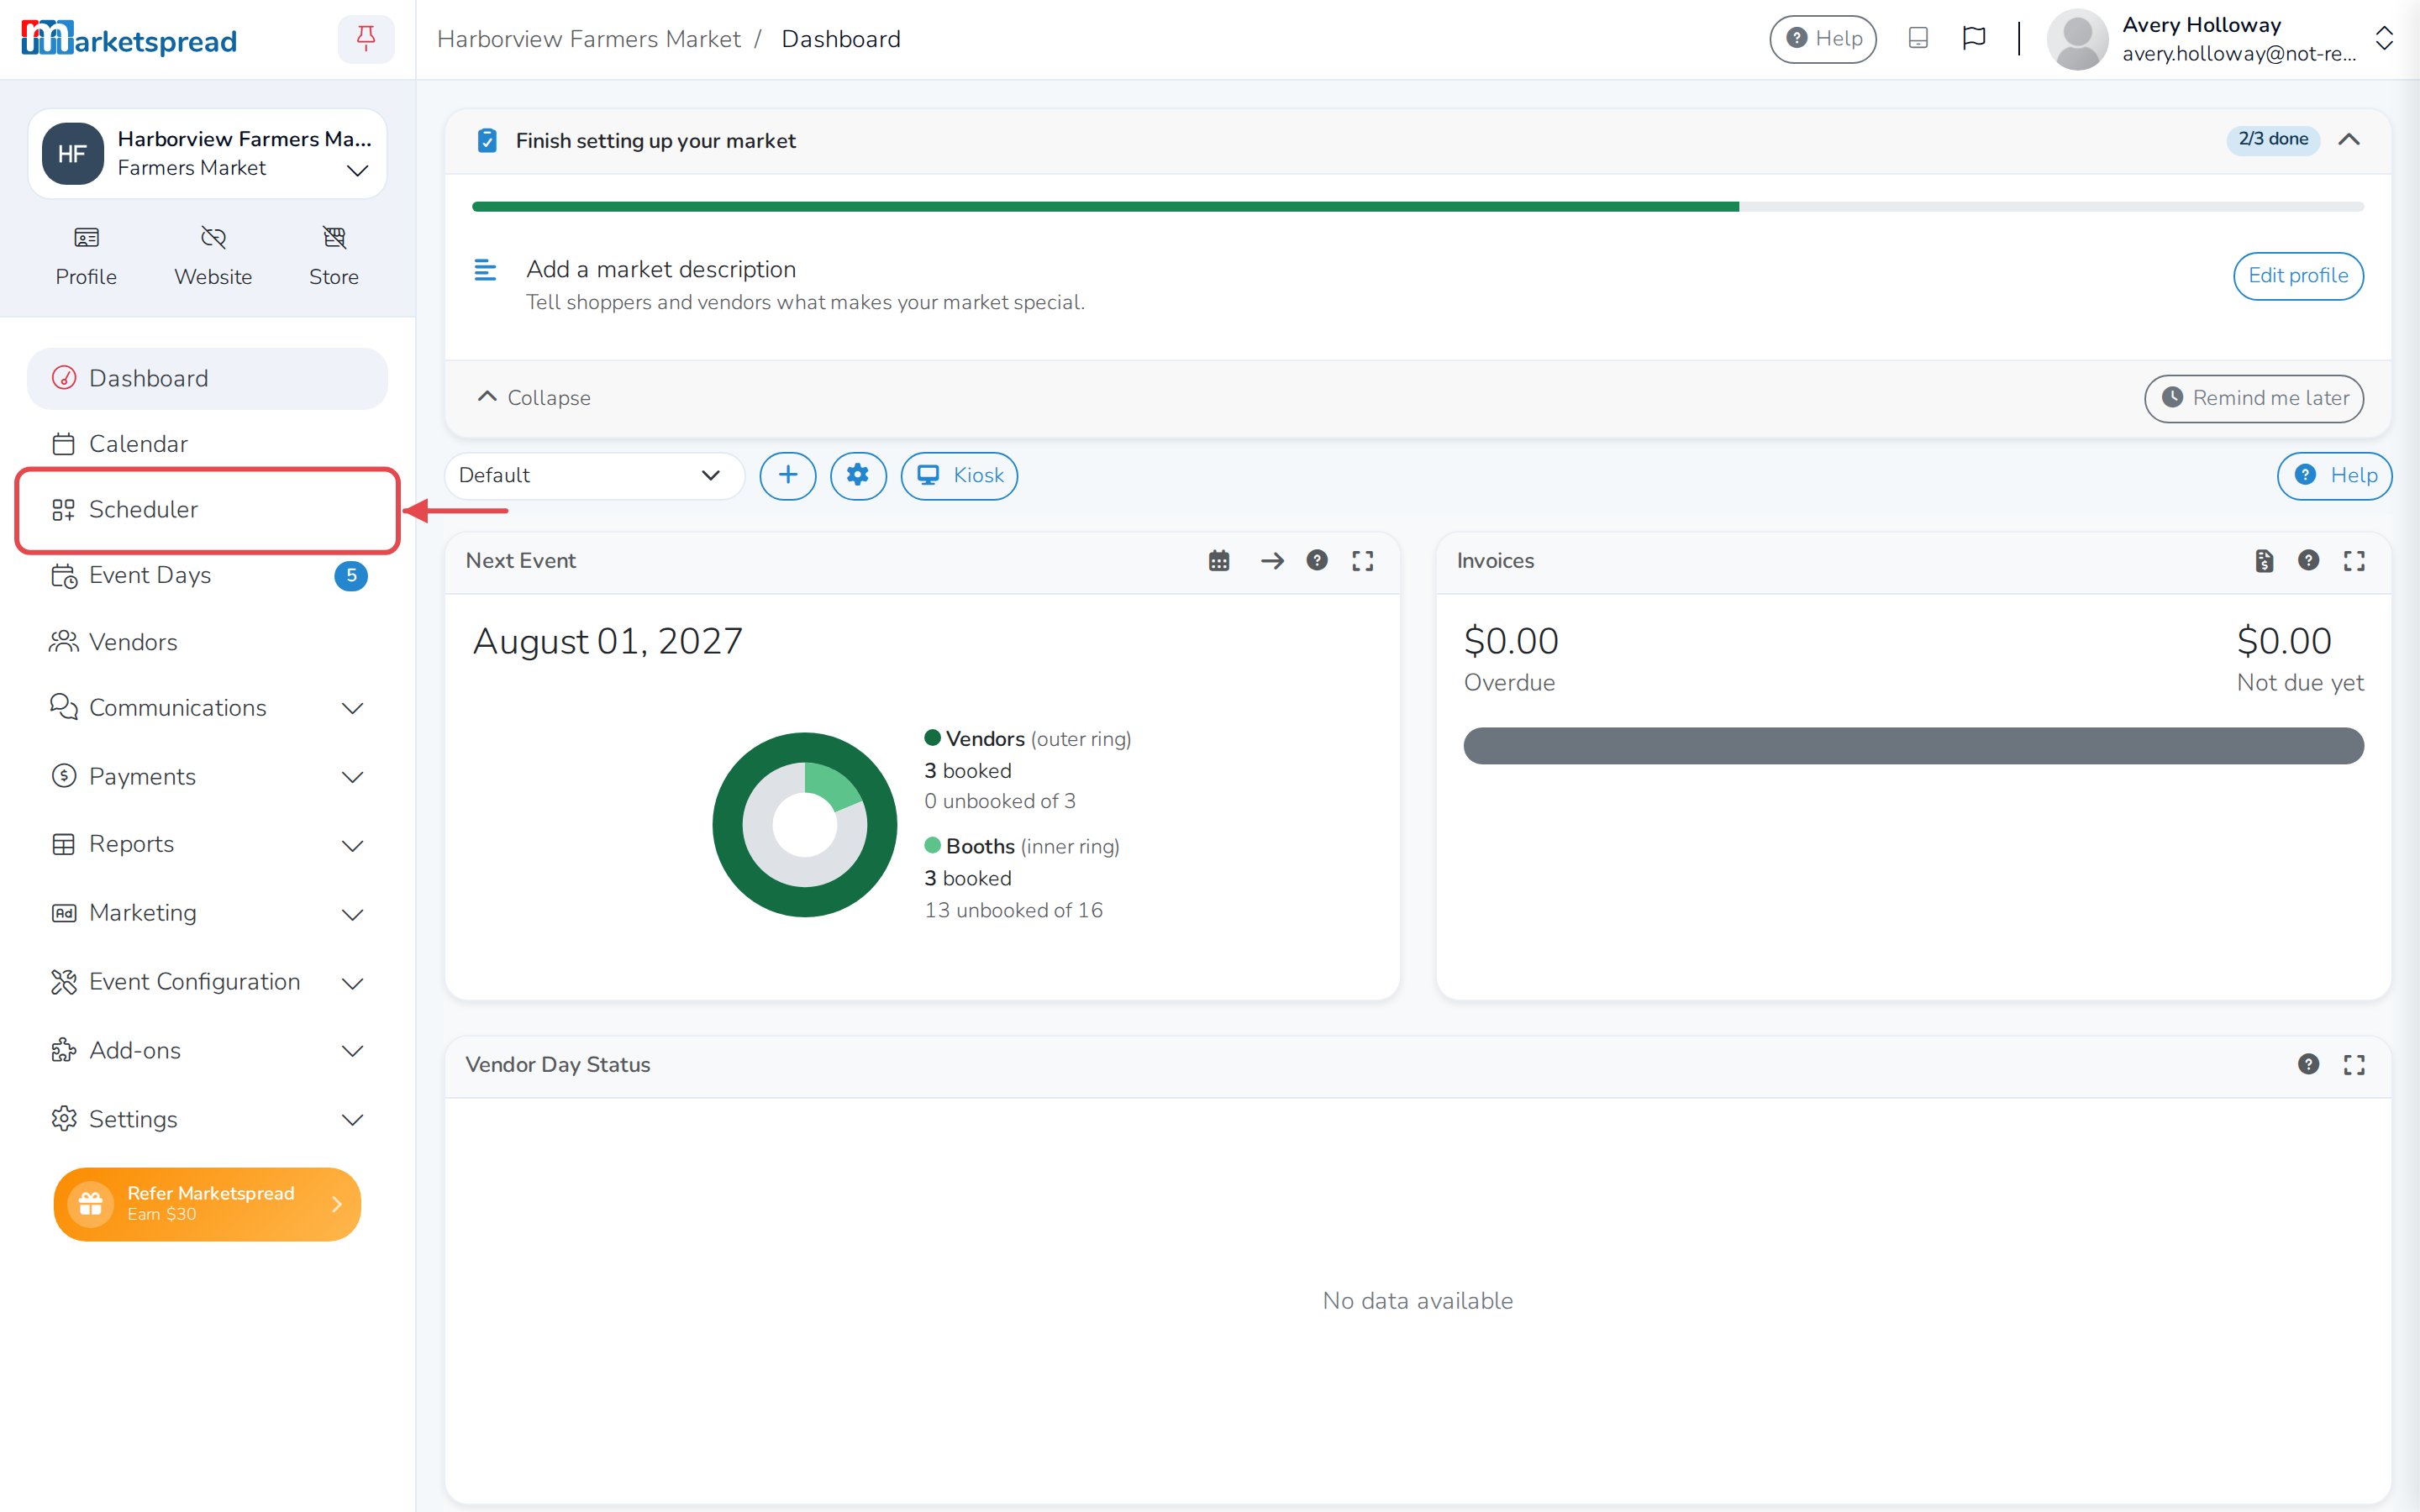
- From your market dashboard, click Scheduler in the left-hand
navigation.
Note
Scheduler doesn't appear if your market's Virtual Only setting is
turned on, since there are no booths to assign.
Scheduler opens already showing an event — the next upcoming one, or the
most recent one if none are coming up.
Switch to a different event
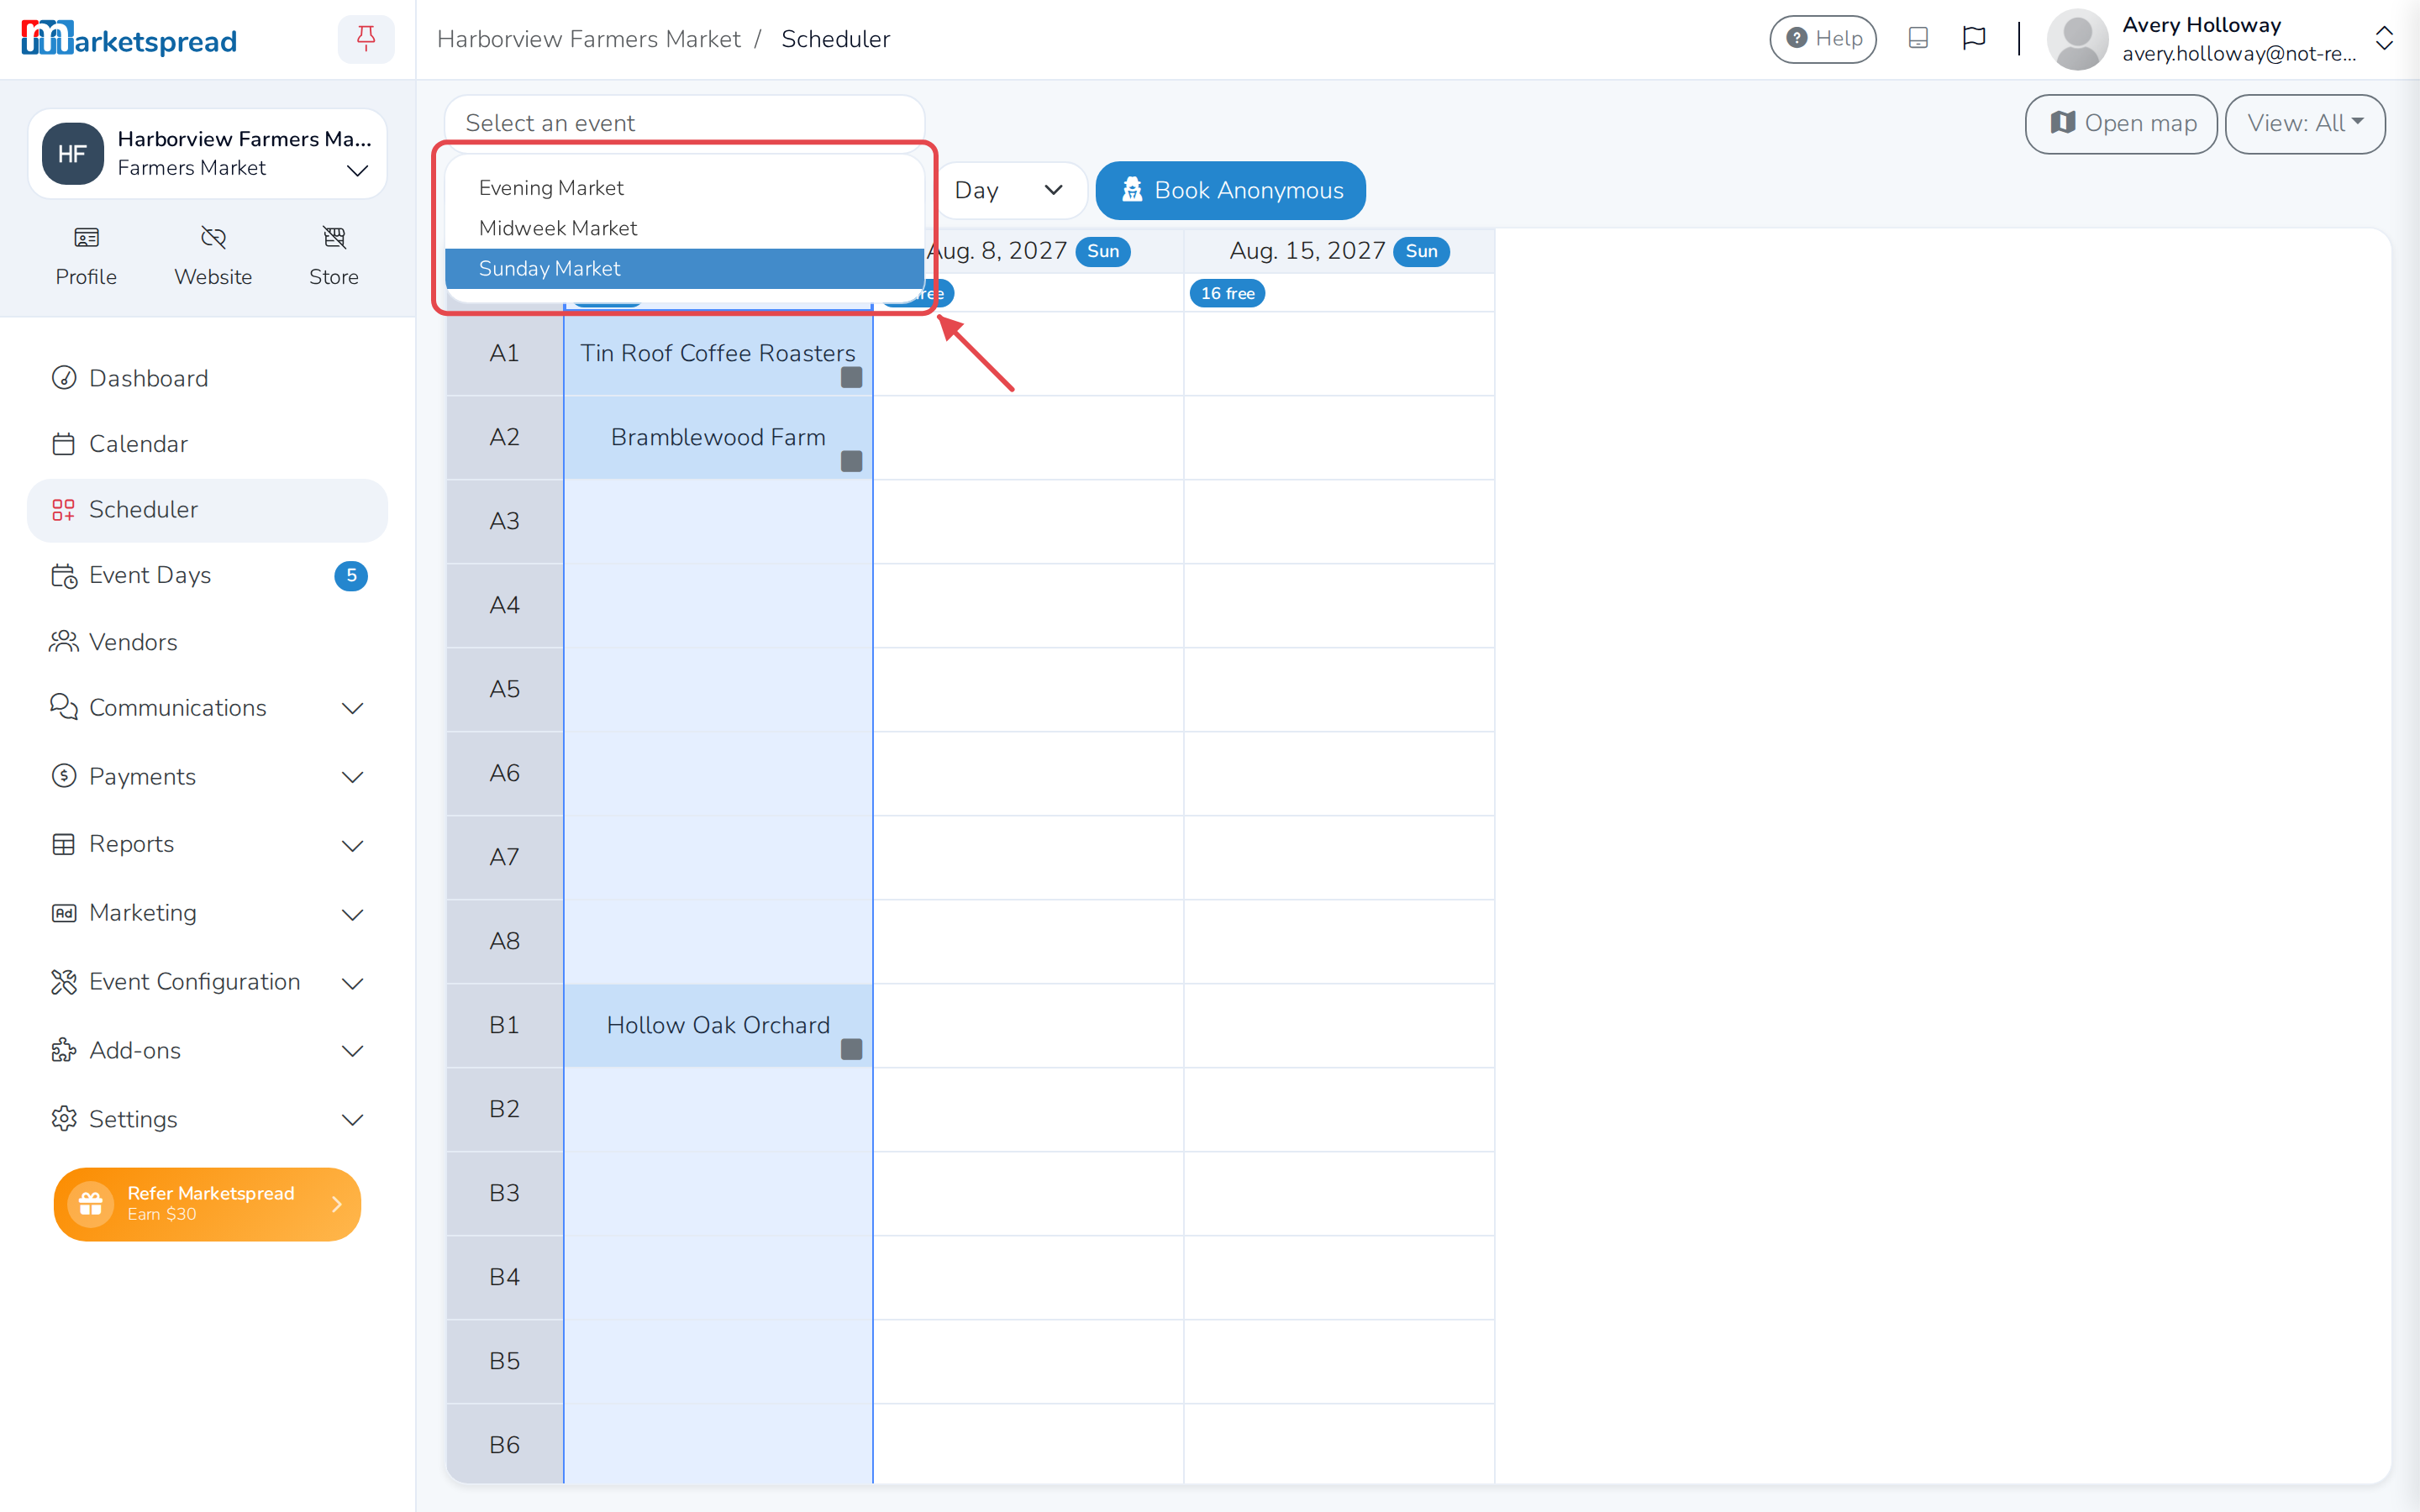
- Click the event dropdown at the top of the screen.
- Search for and choose the event you want to schedule.
Find your way around
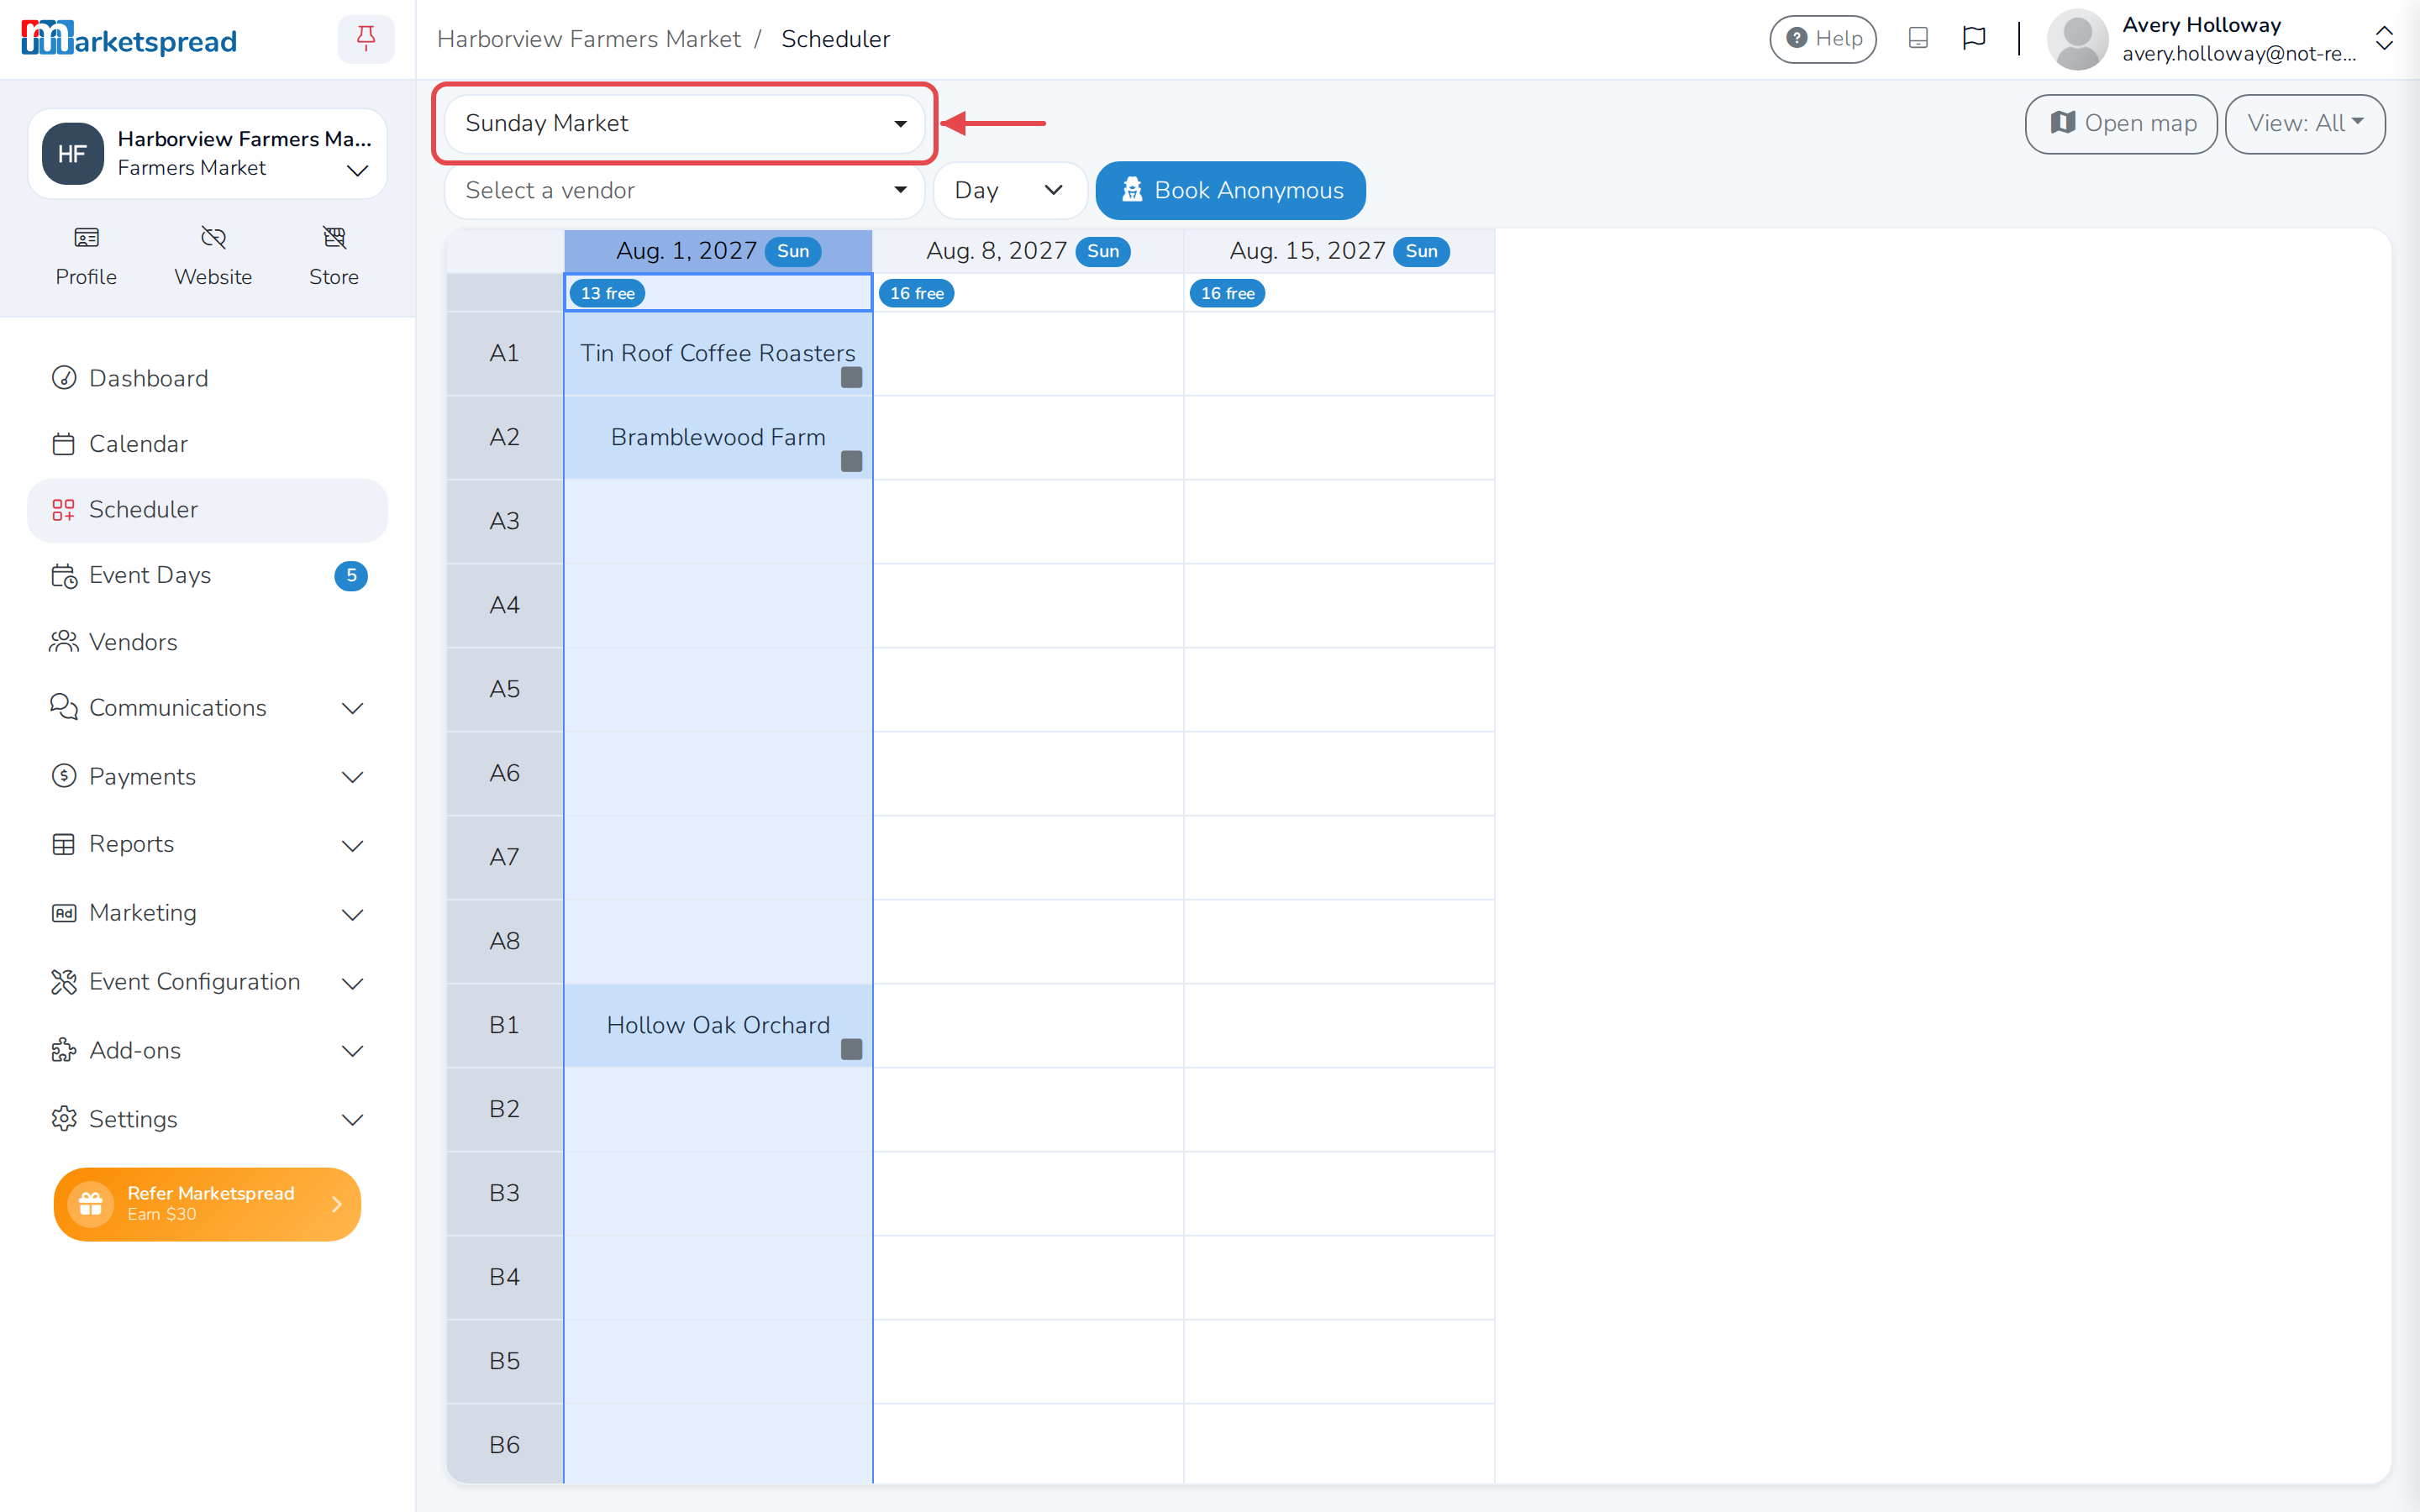
Scheduler shows:
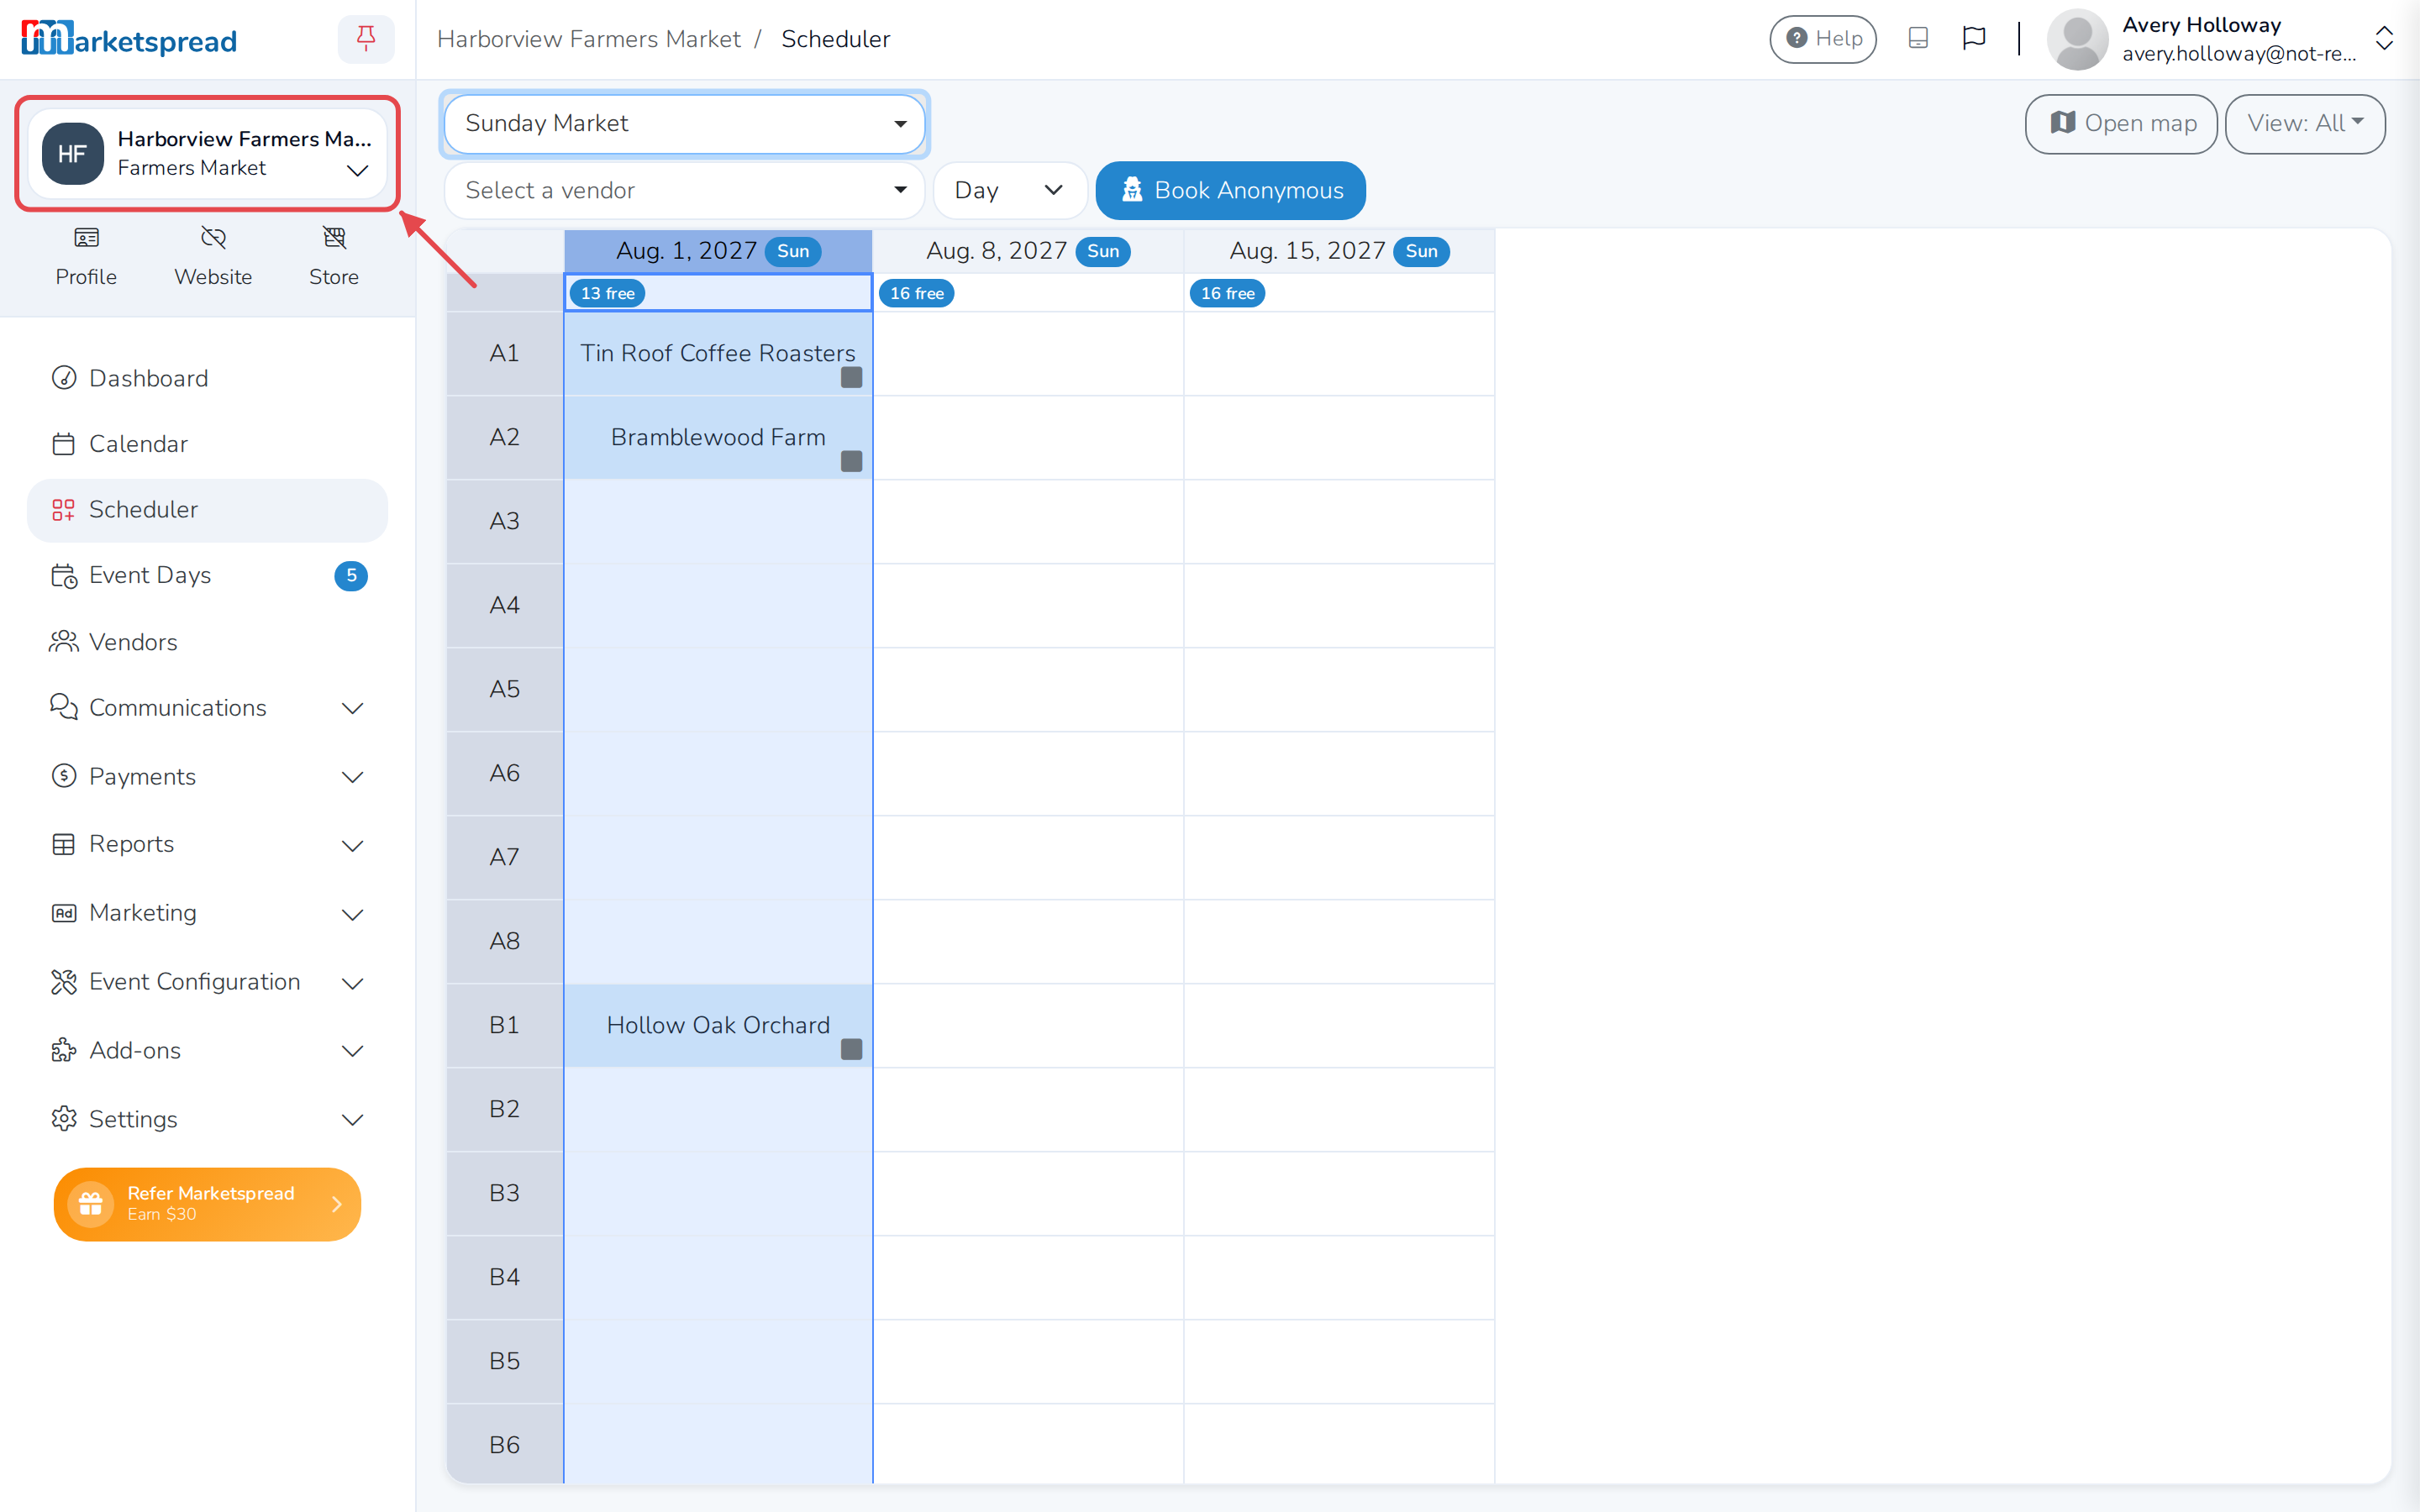
- Your market's name — in the sidebar, so you always know which market
you're scheduling for.
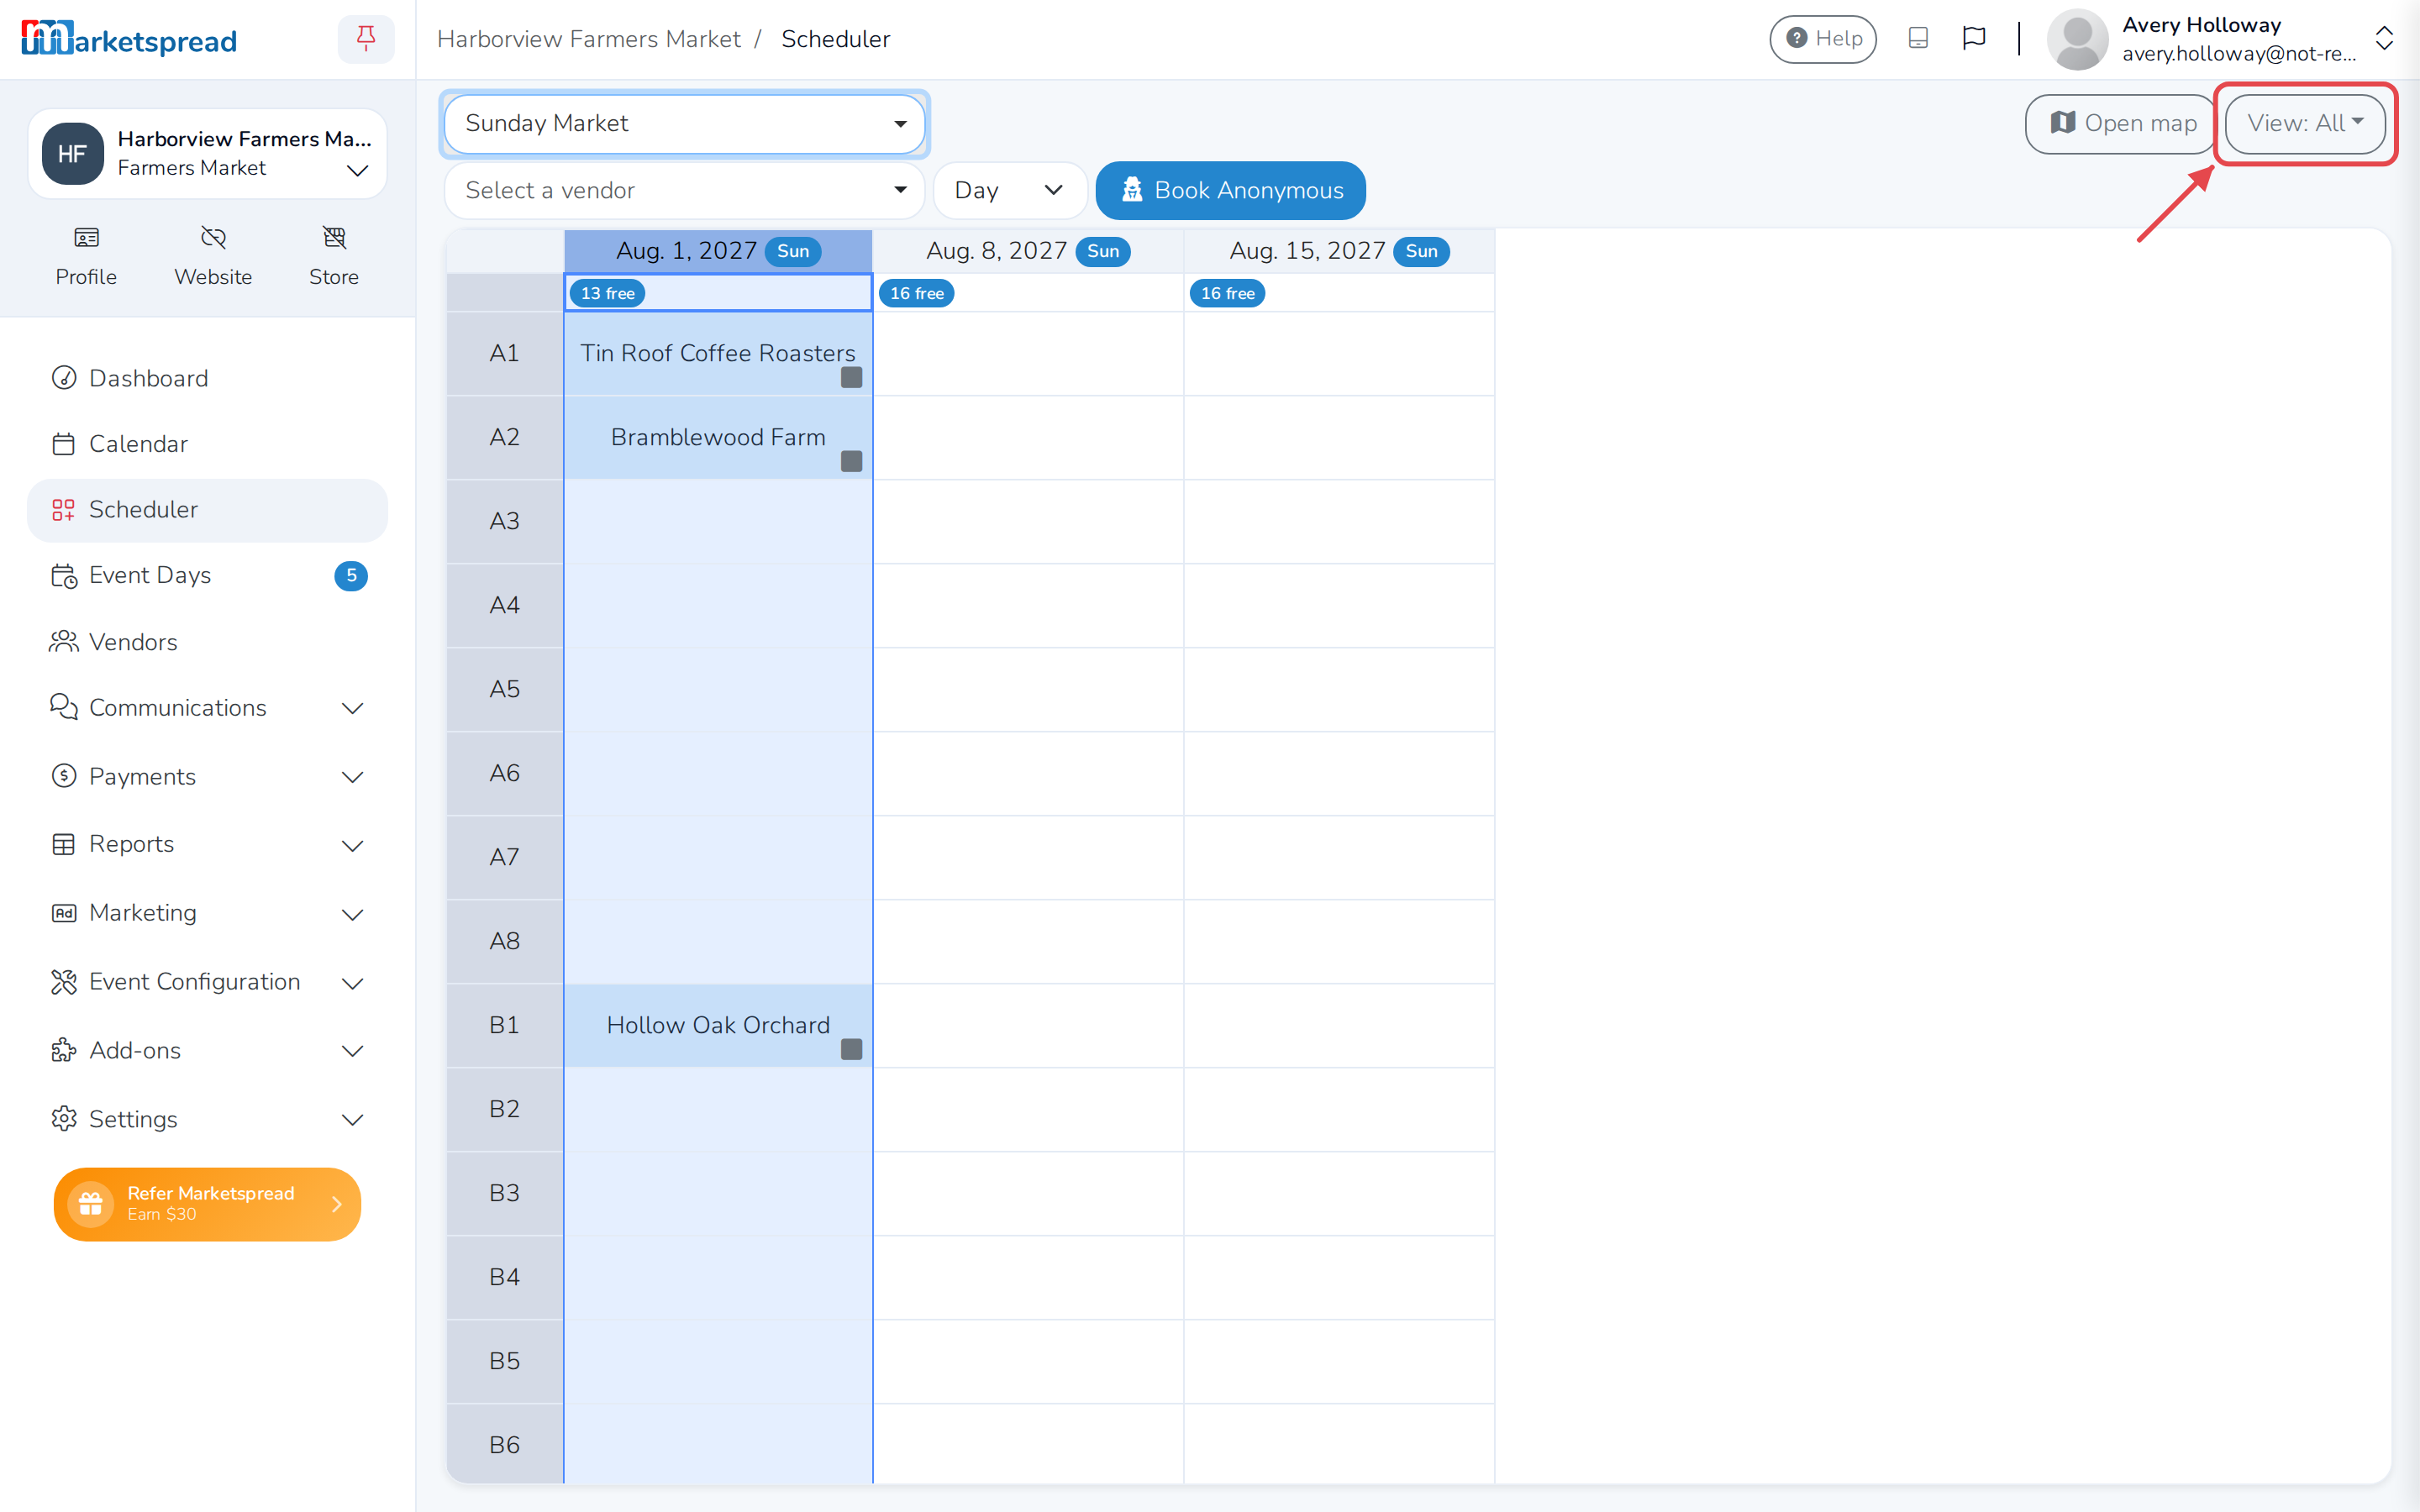
- View — choose whether the grid shows every day of the event, or one
day at a time.
-
The event dropdown — already covered above, in
Switch to a different event. -
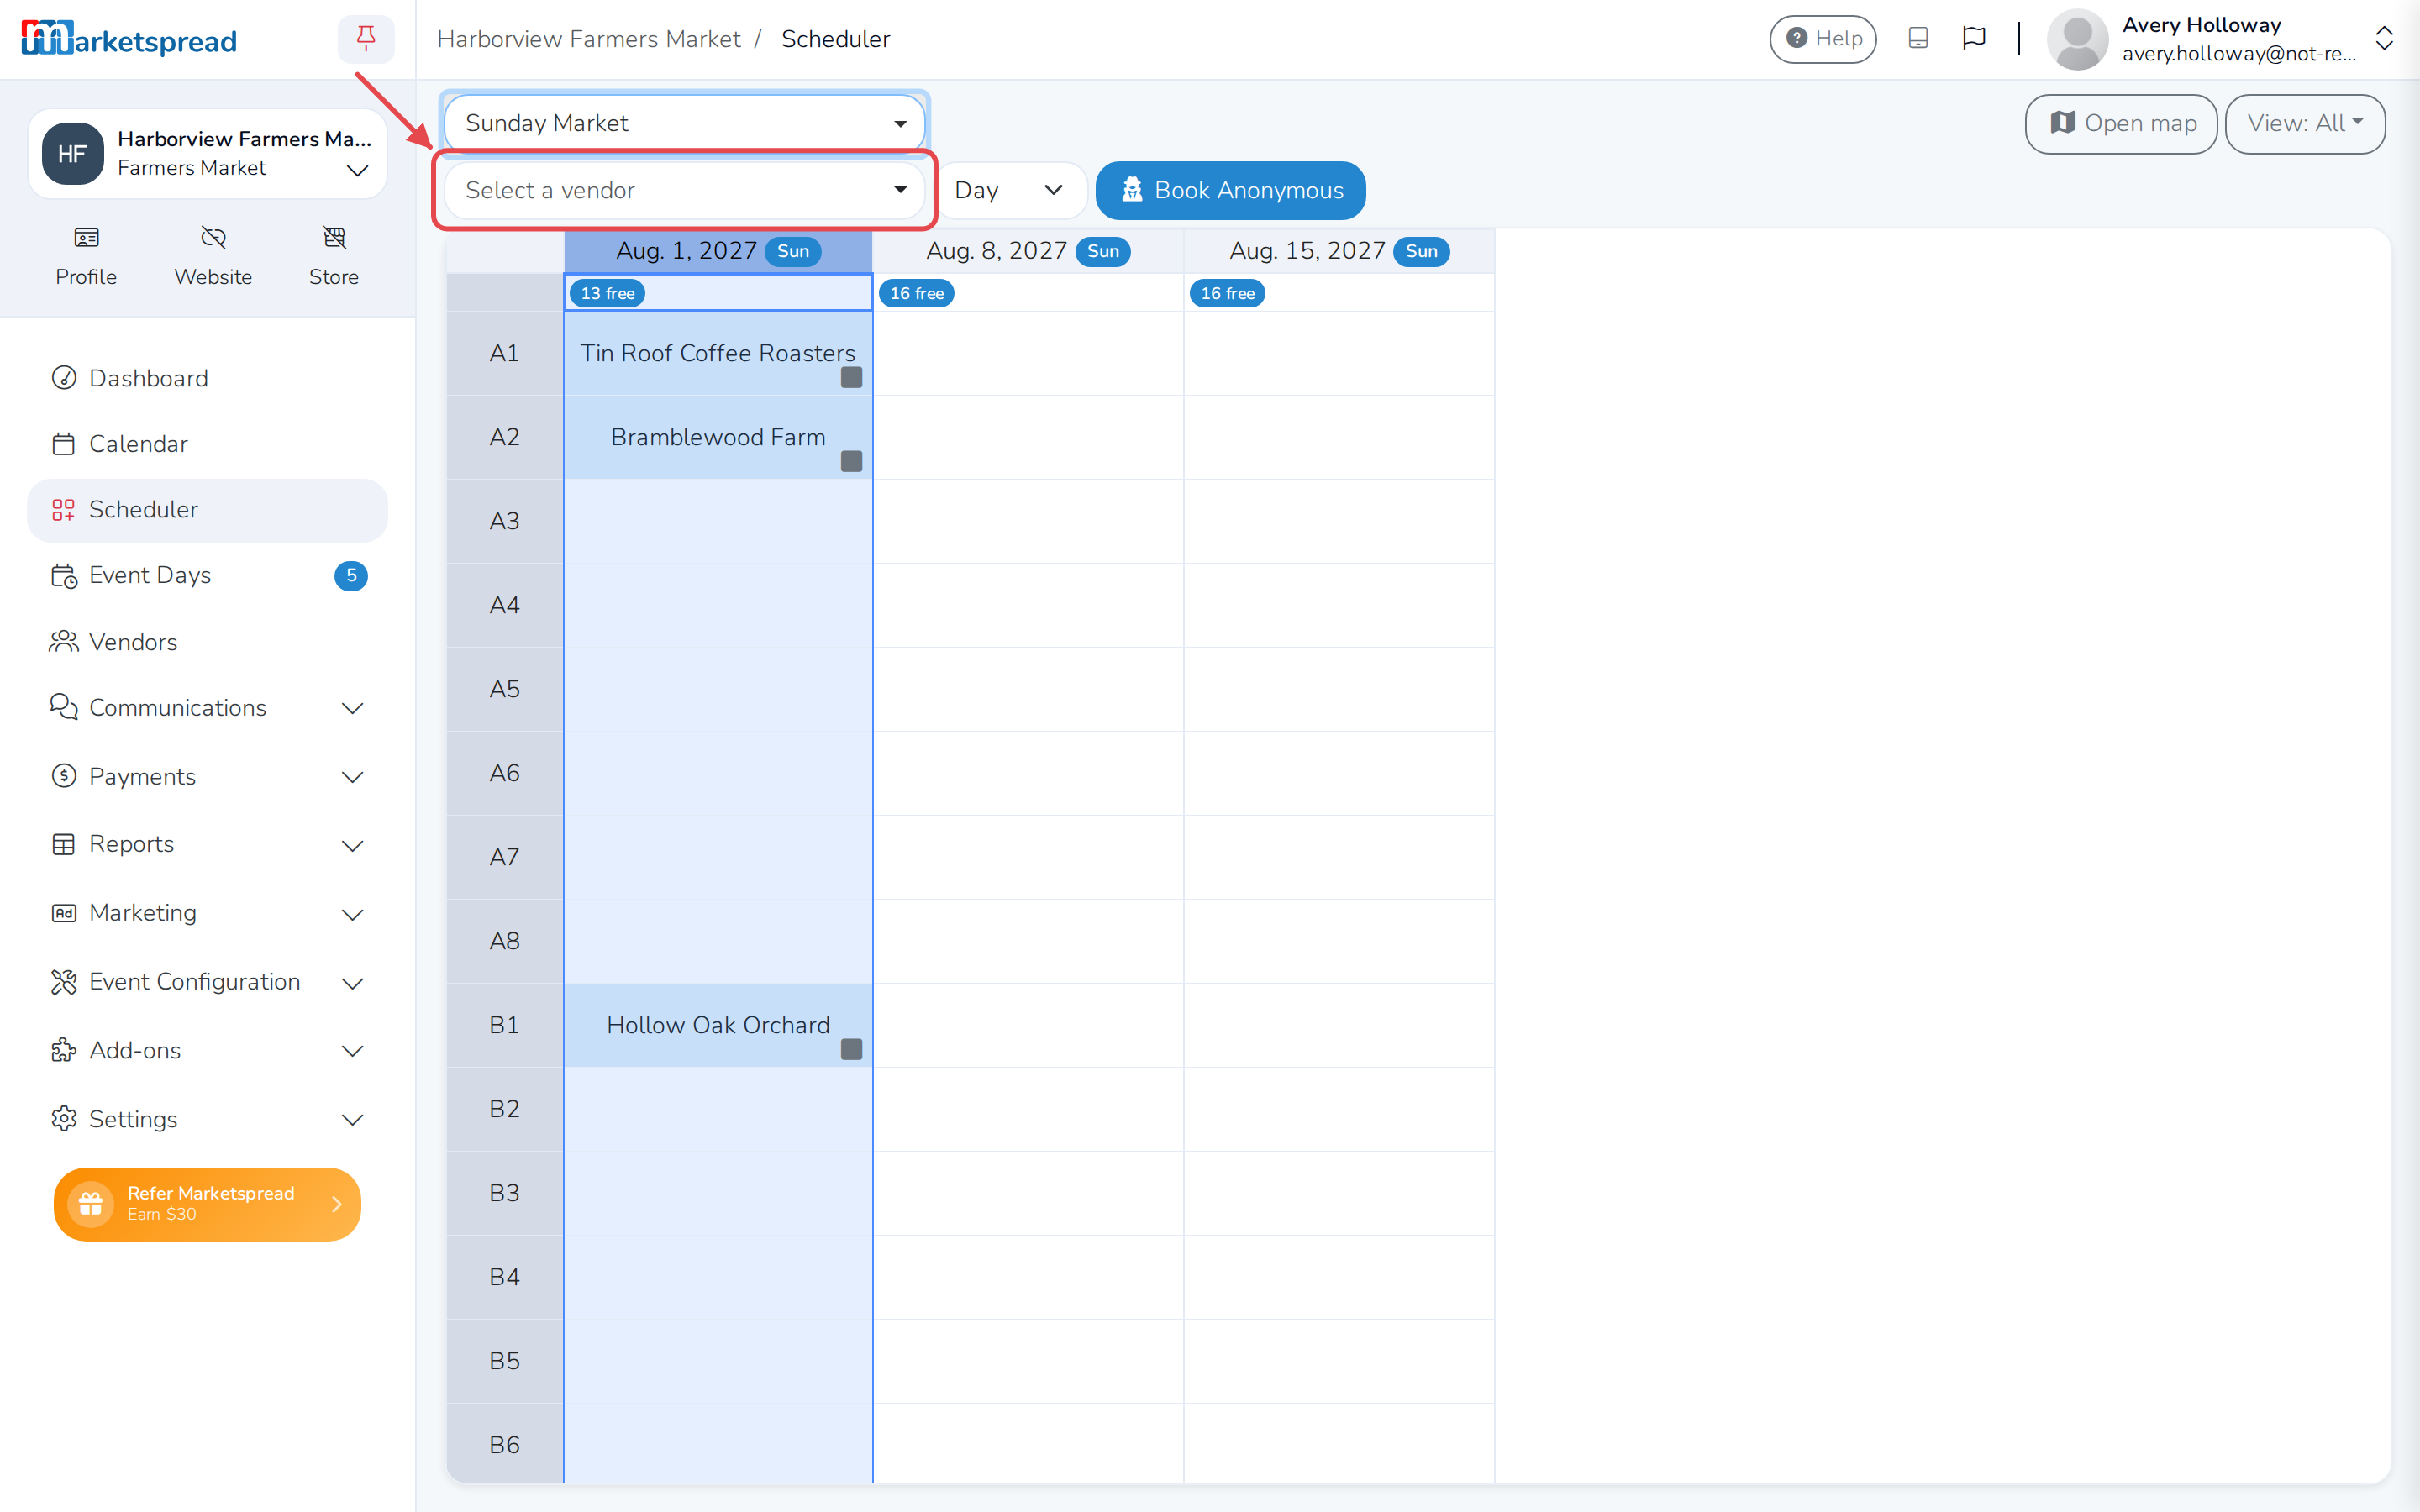
Select a vendor — pick a vendor to see and edit their booth
assignments.
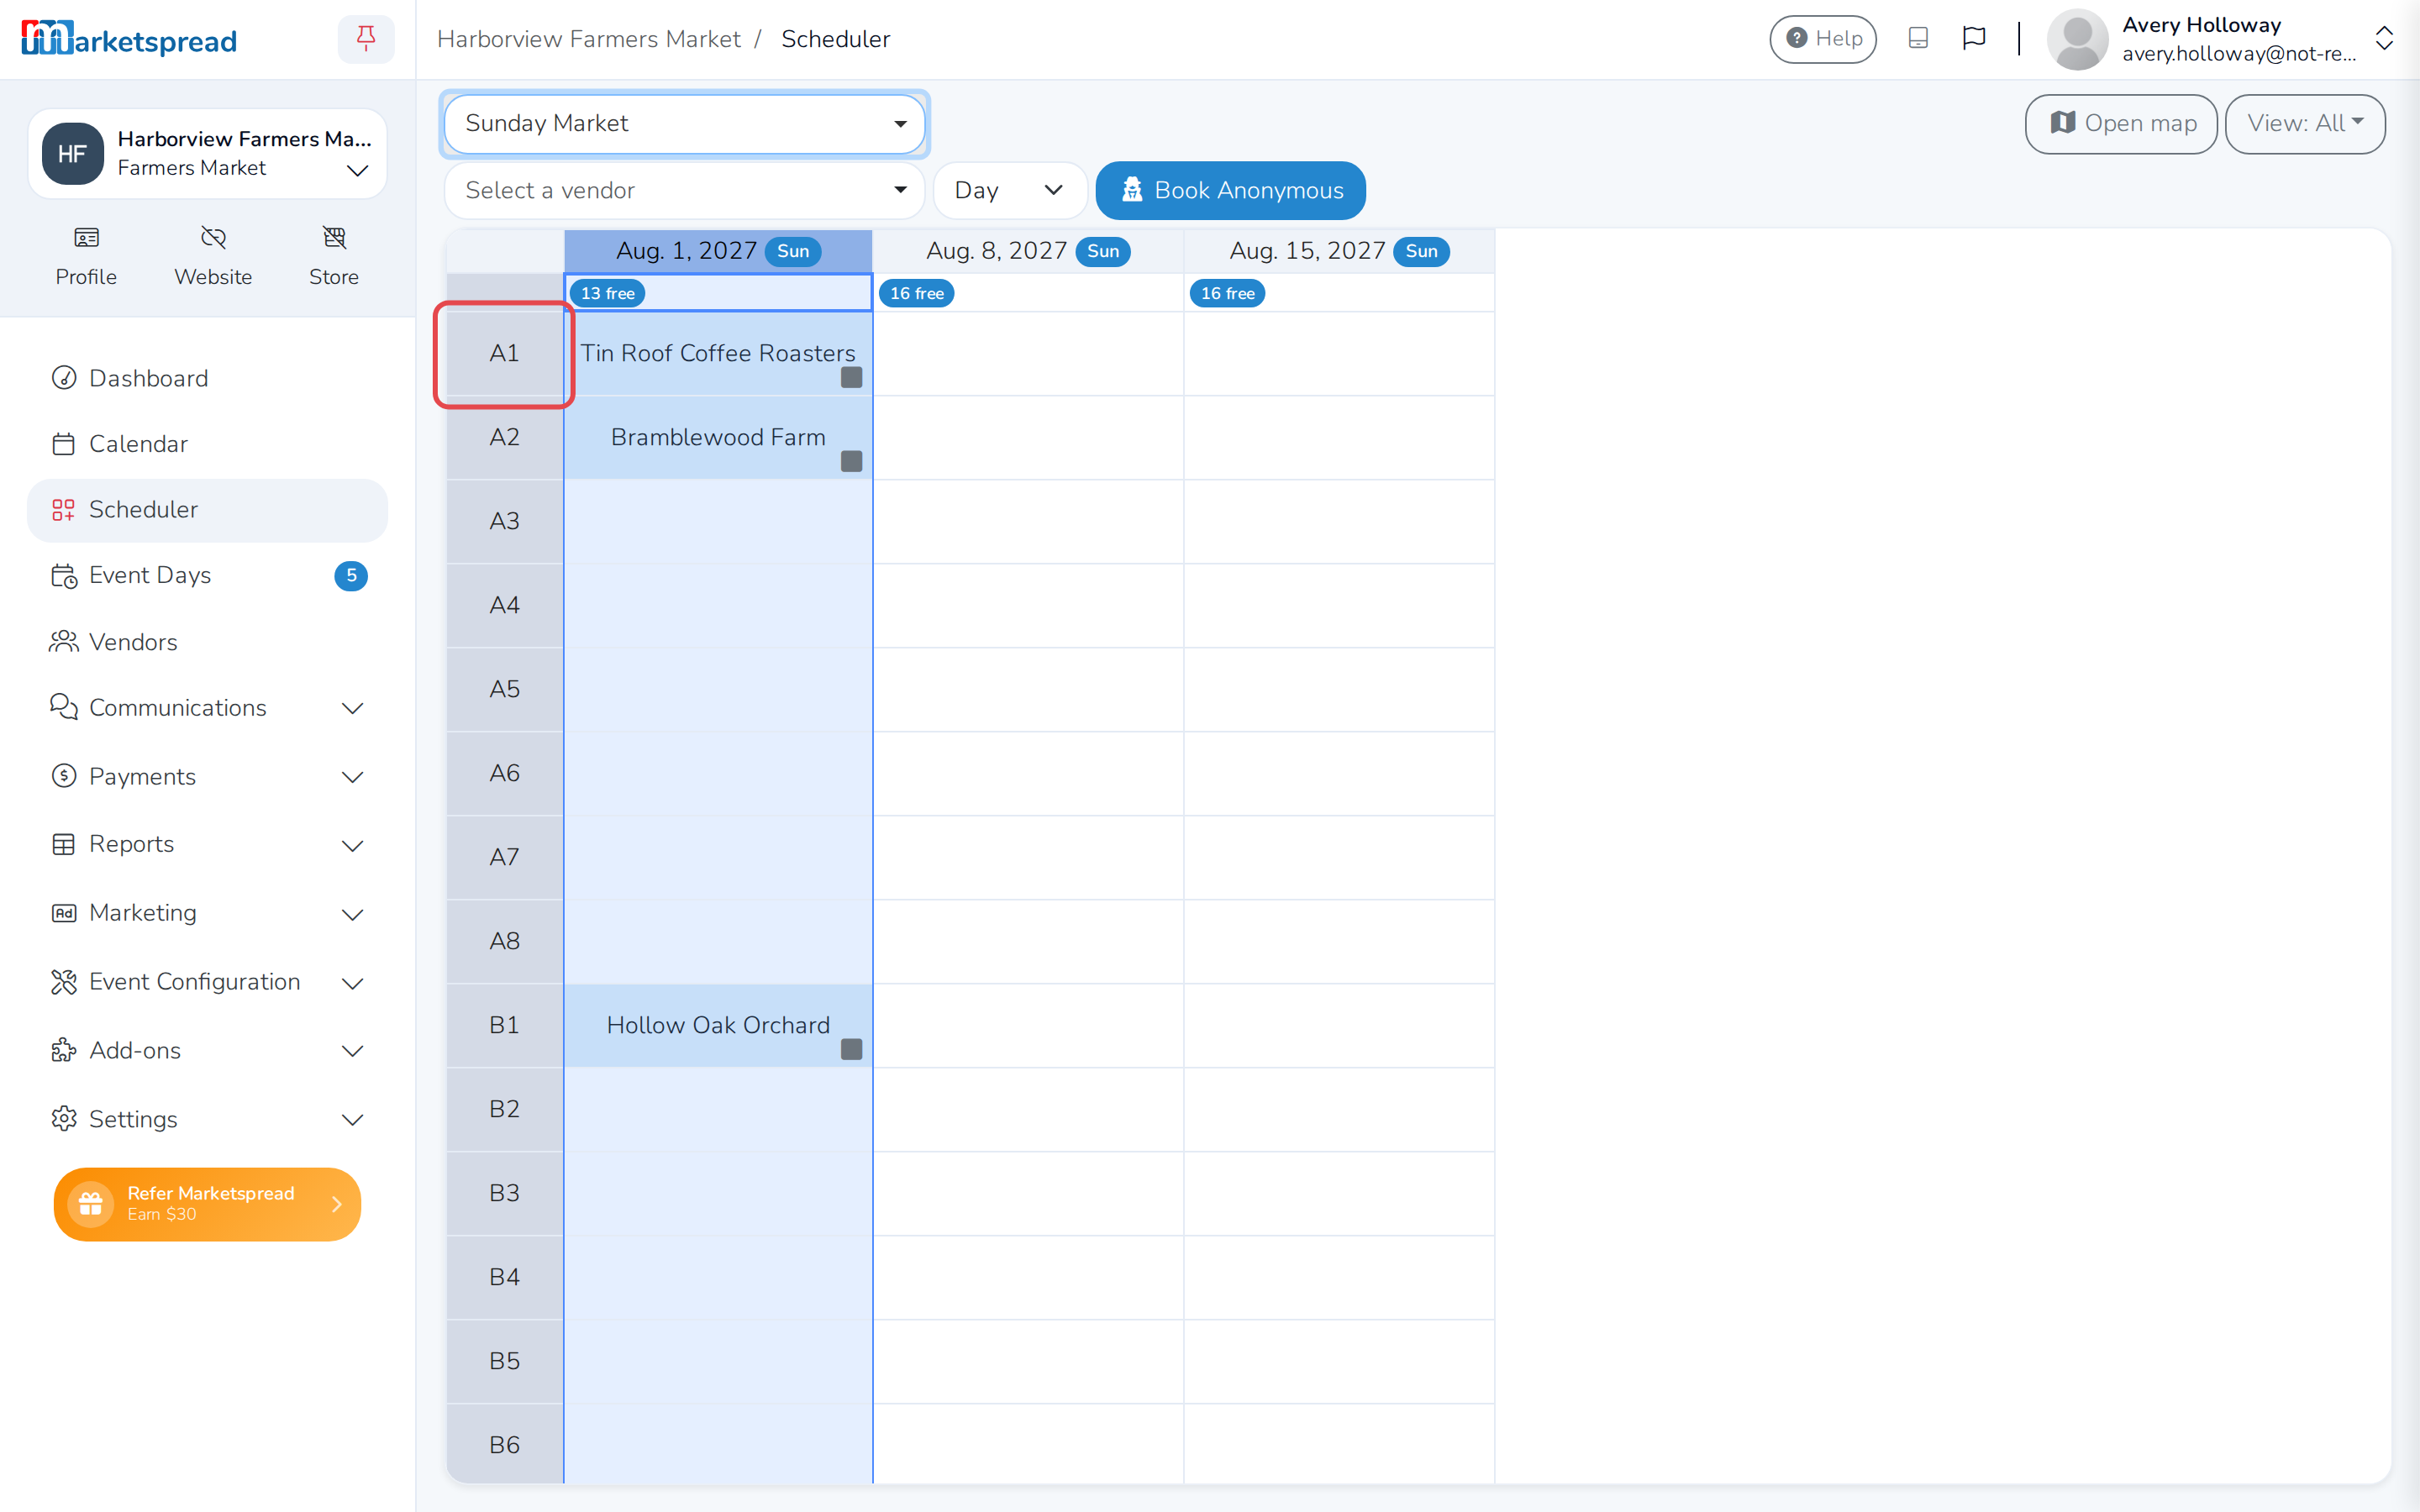
- The booths — down the left, one row for each. A booth shows its
number, unless the market has given it a name instead.
- The event's days — across the top, one column for each.
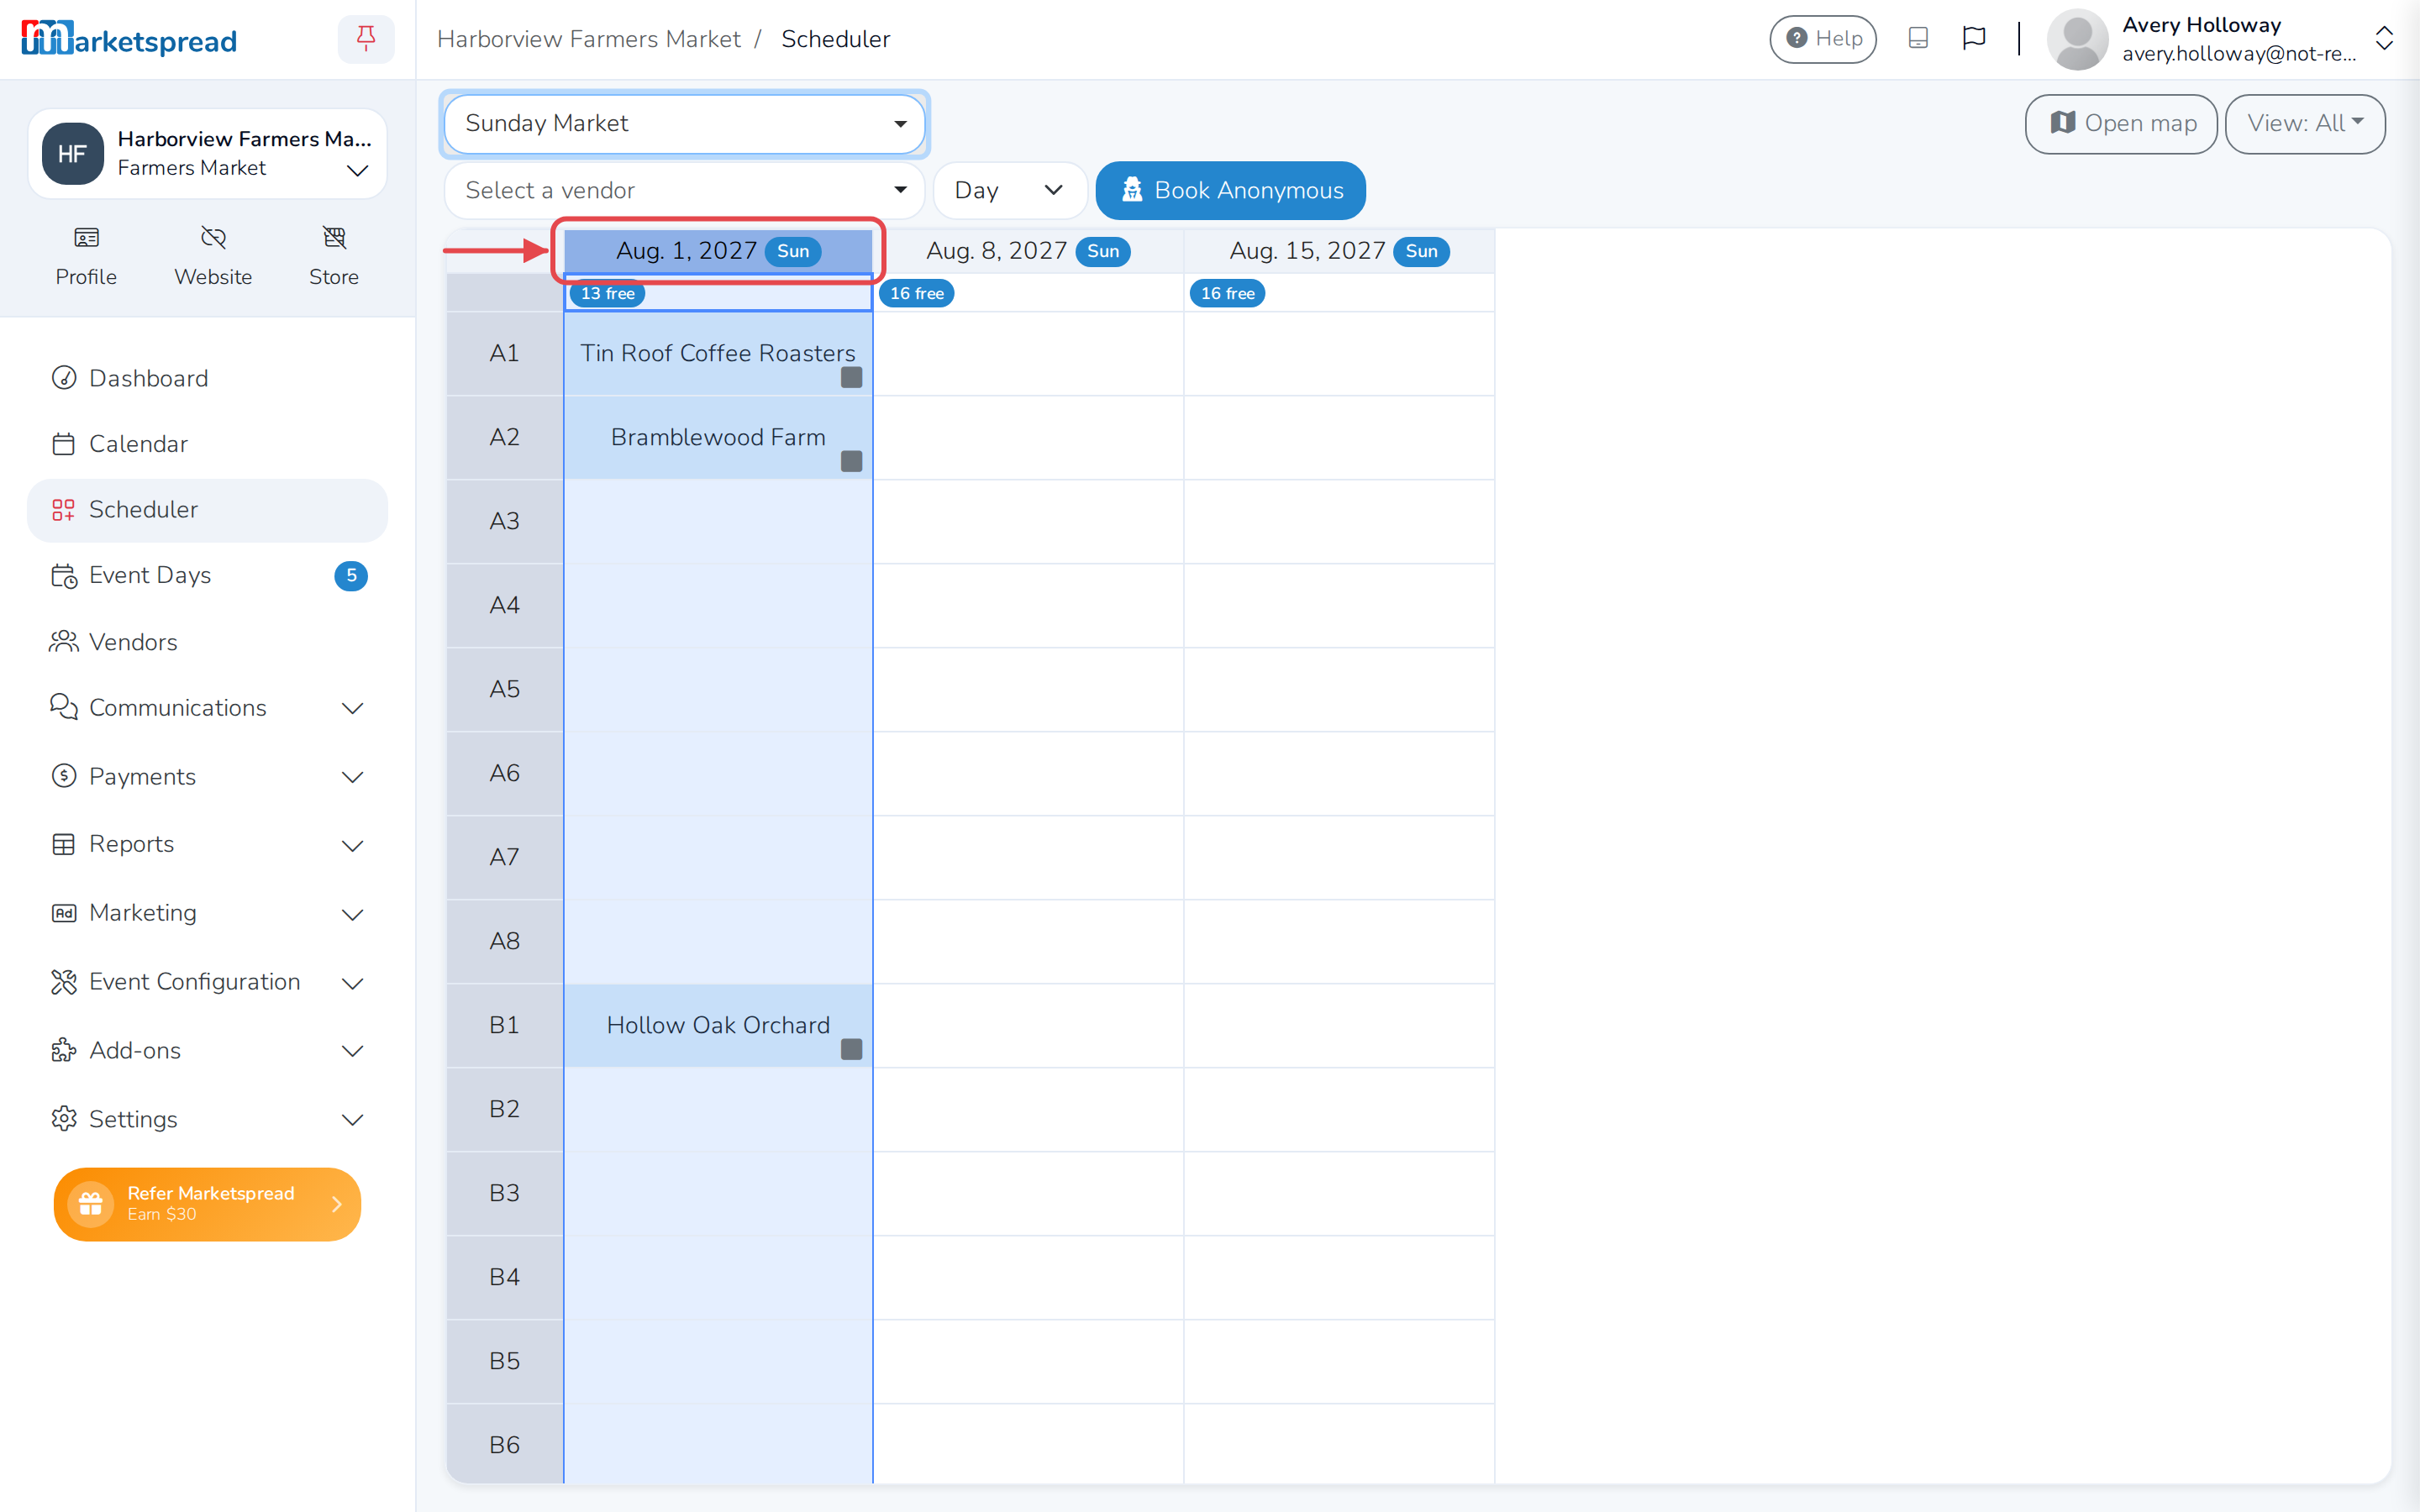
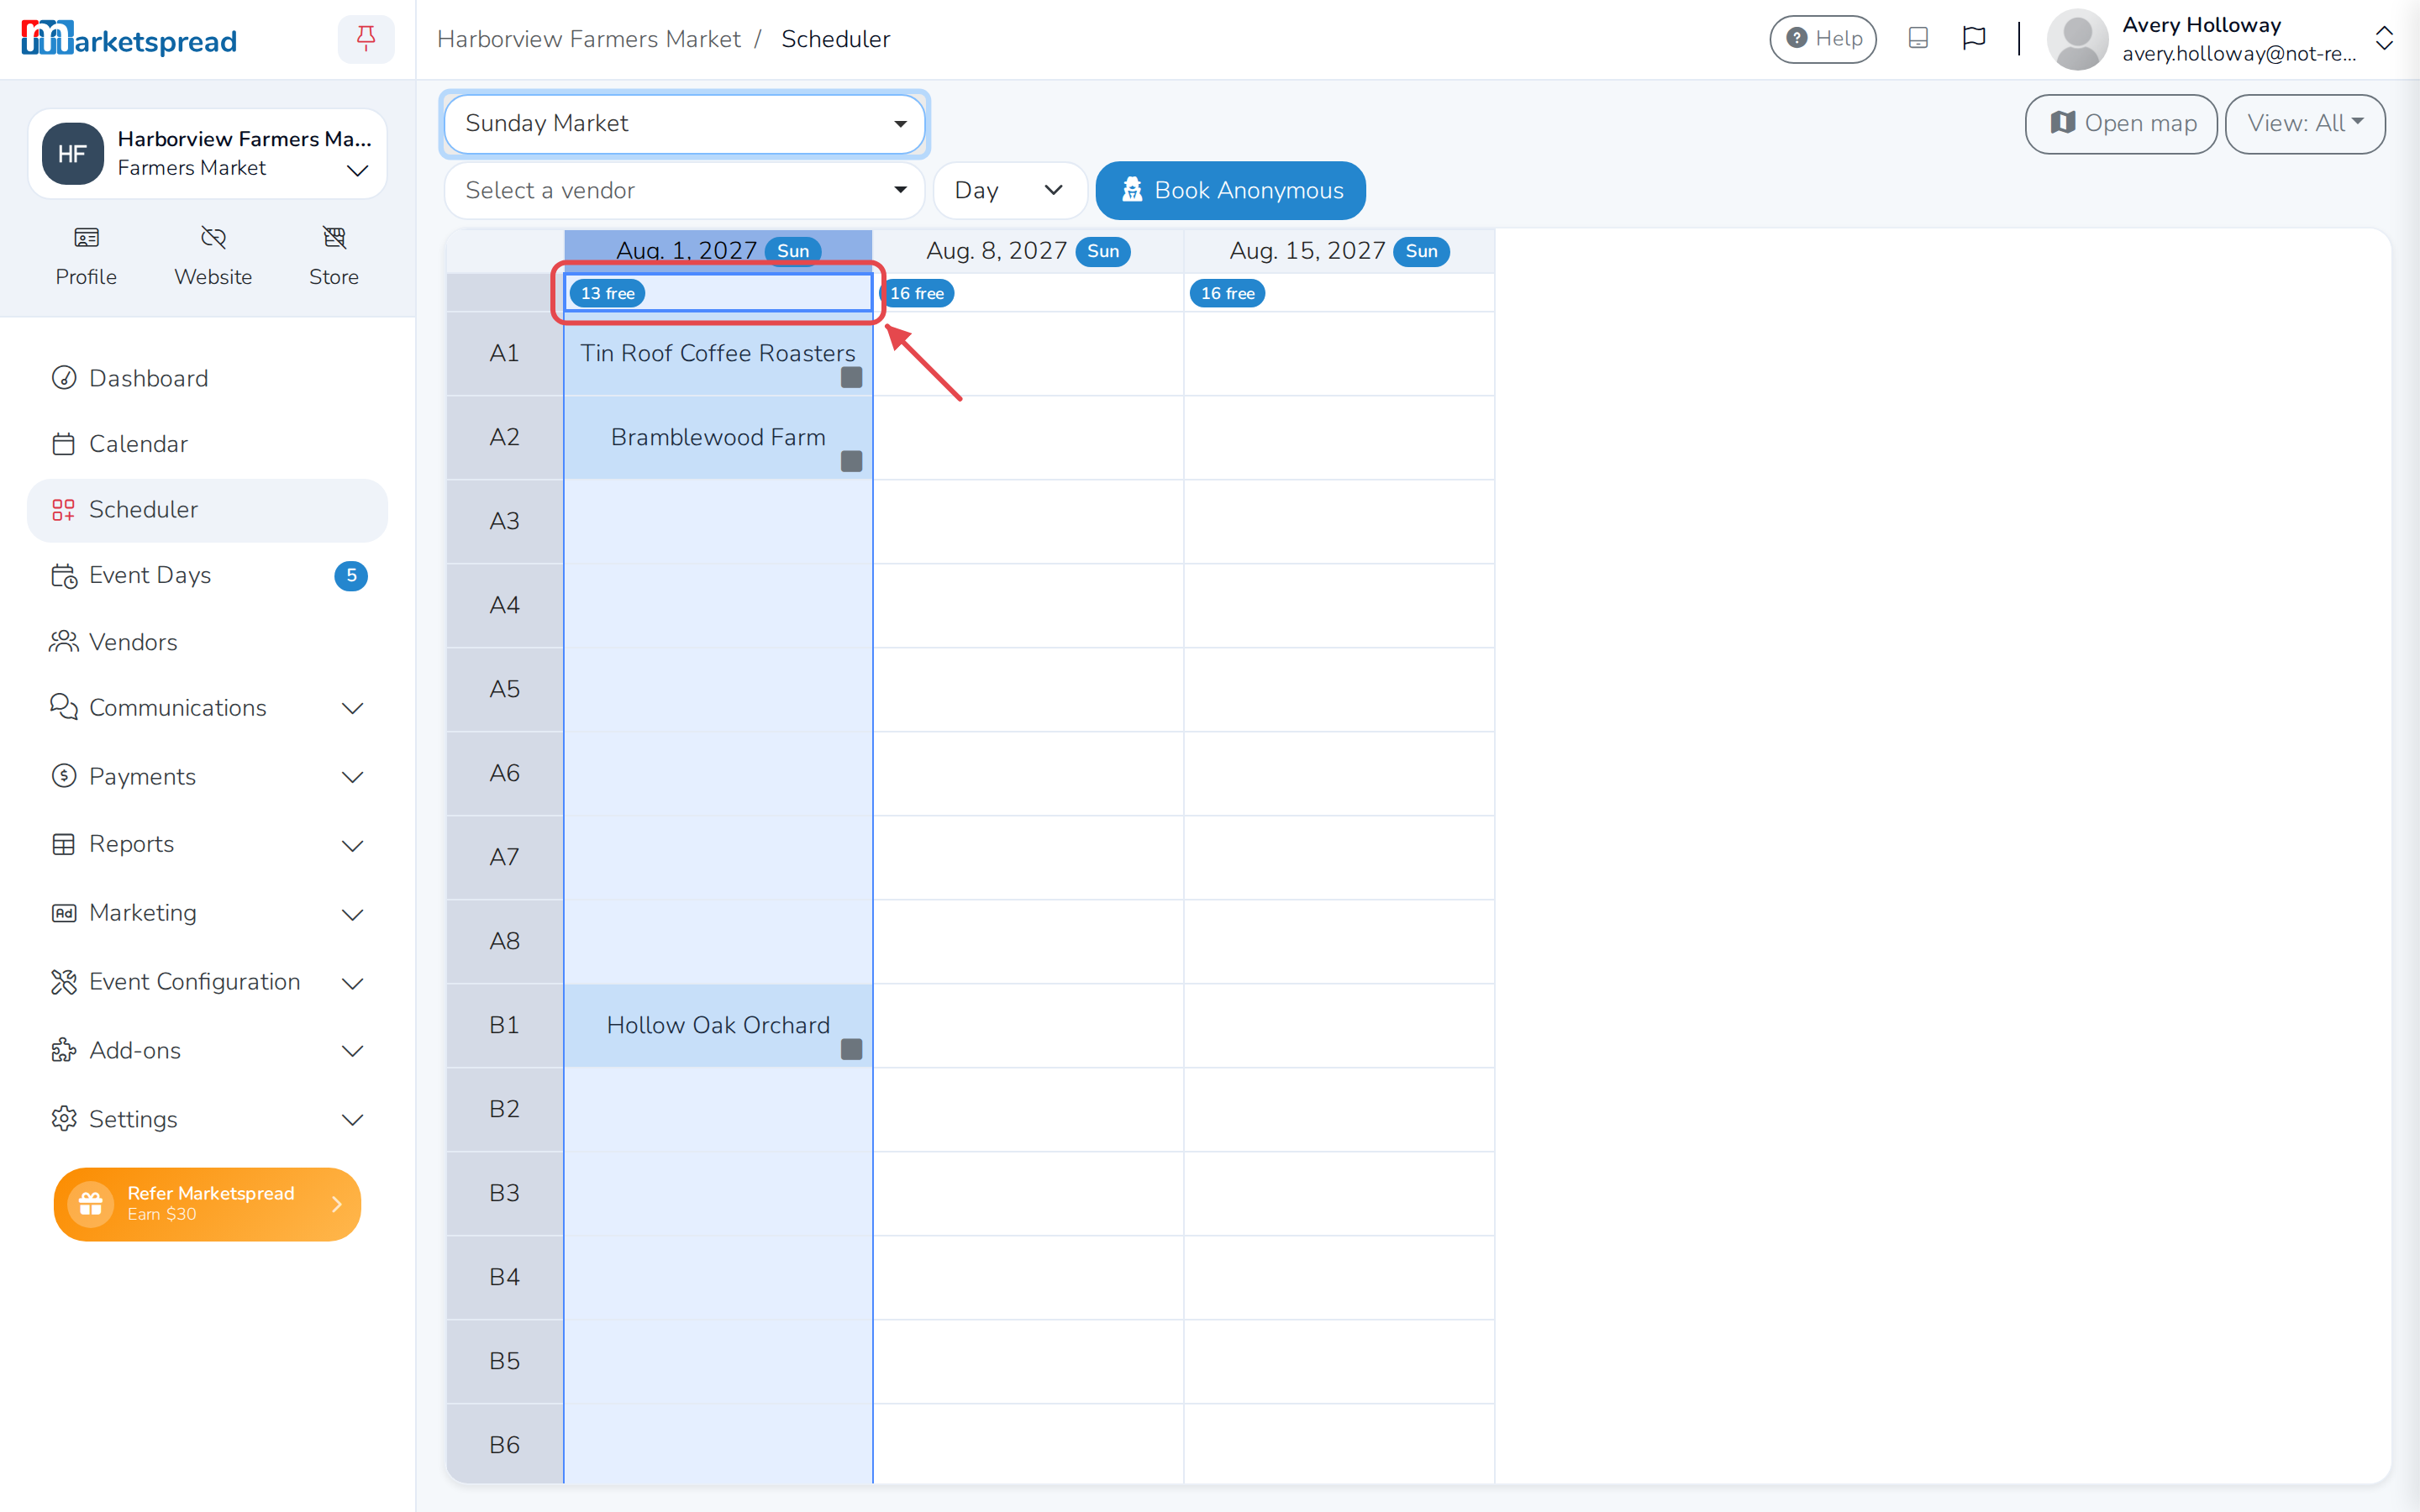
- Under each date, a badge shows how many booths are still free that day.
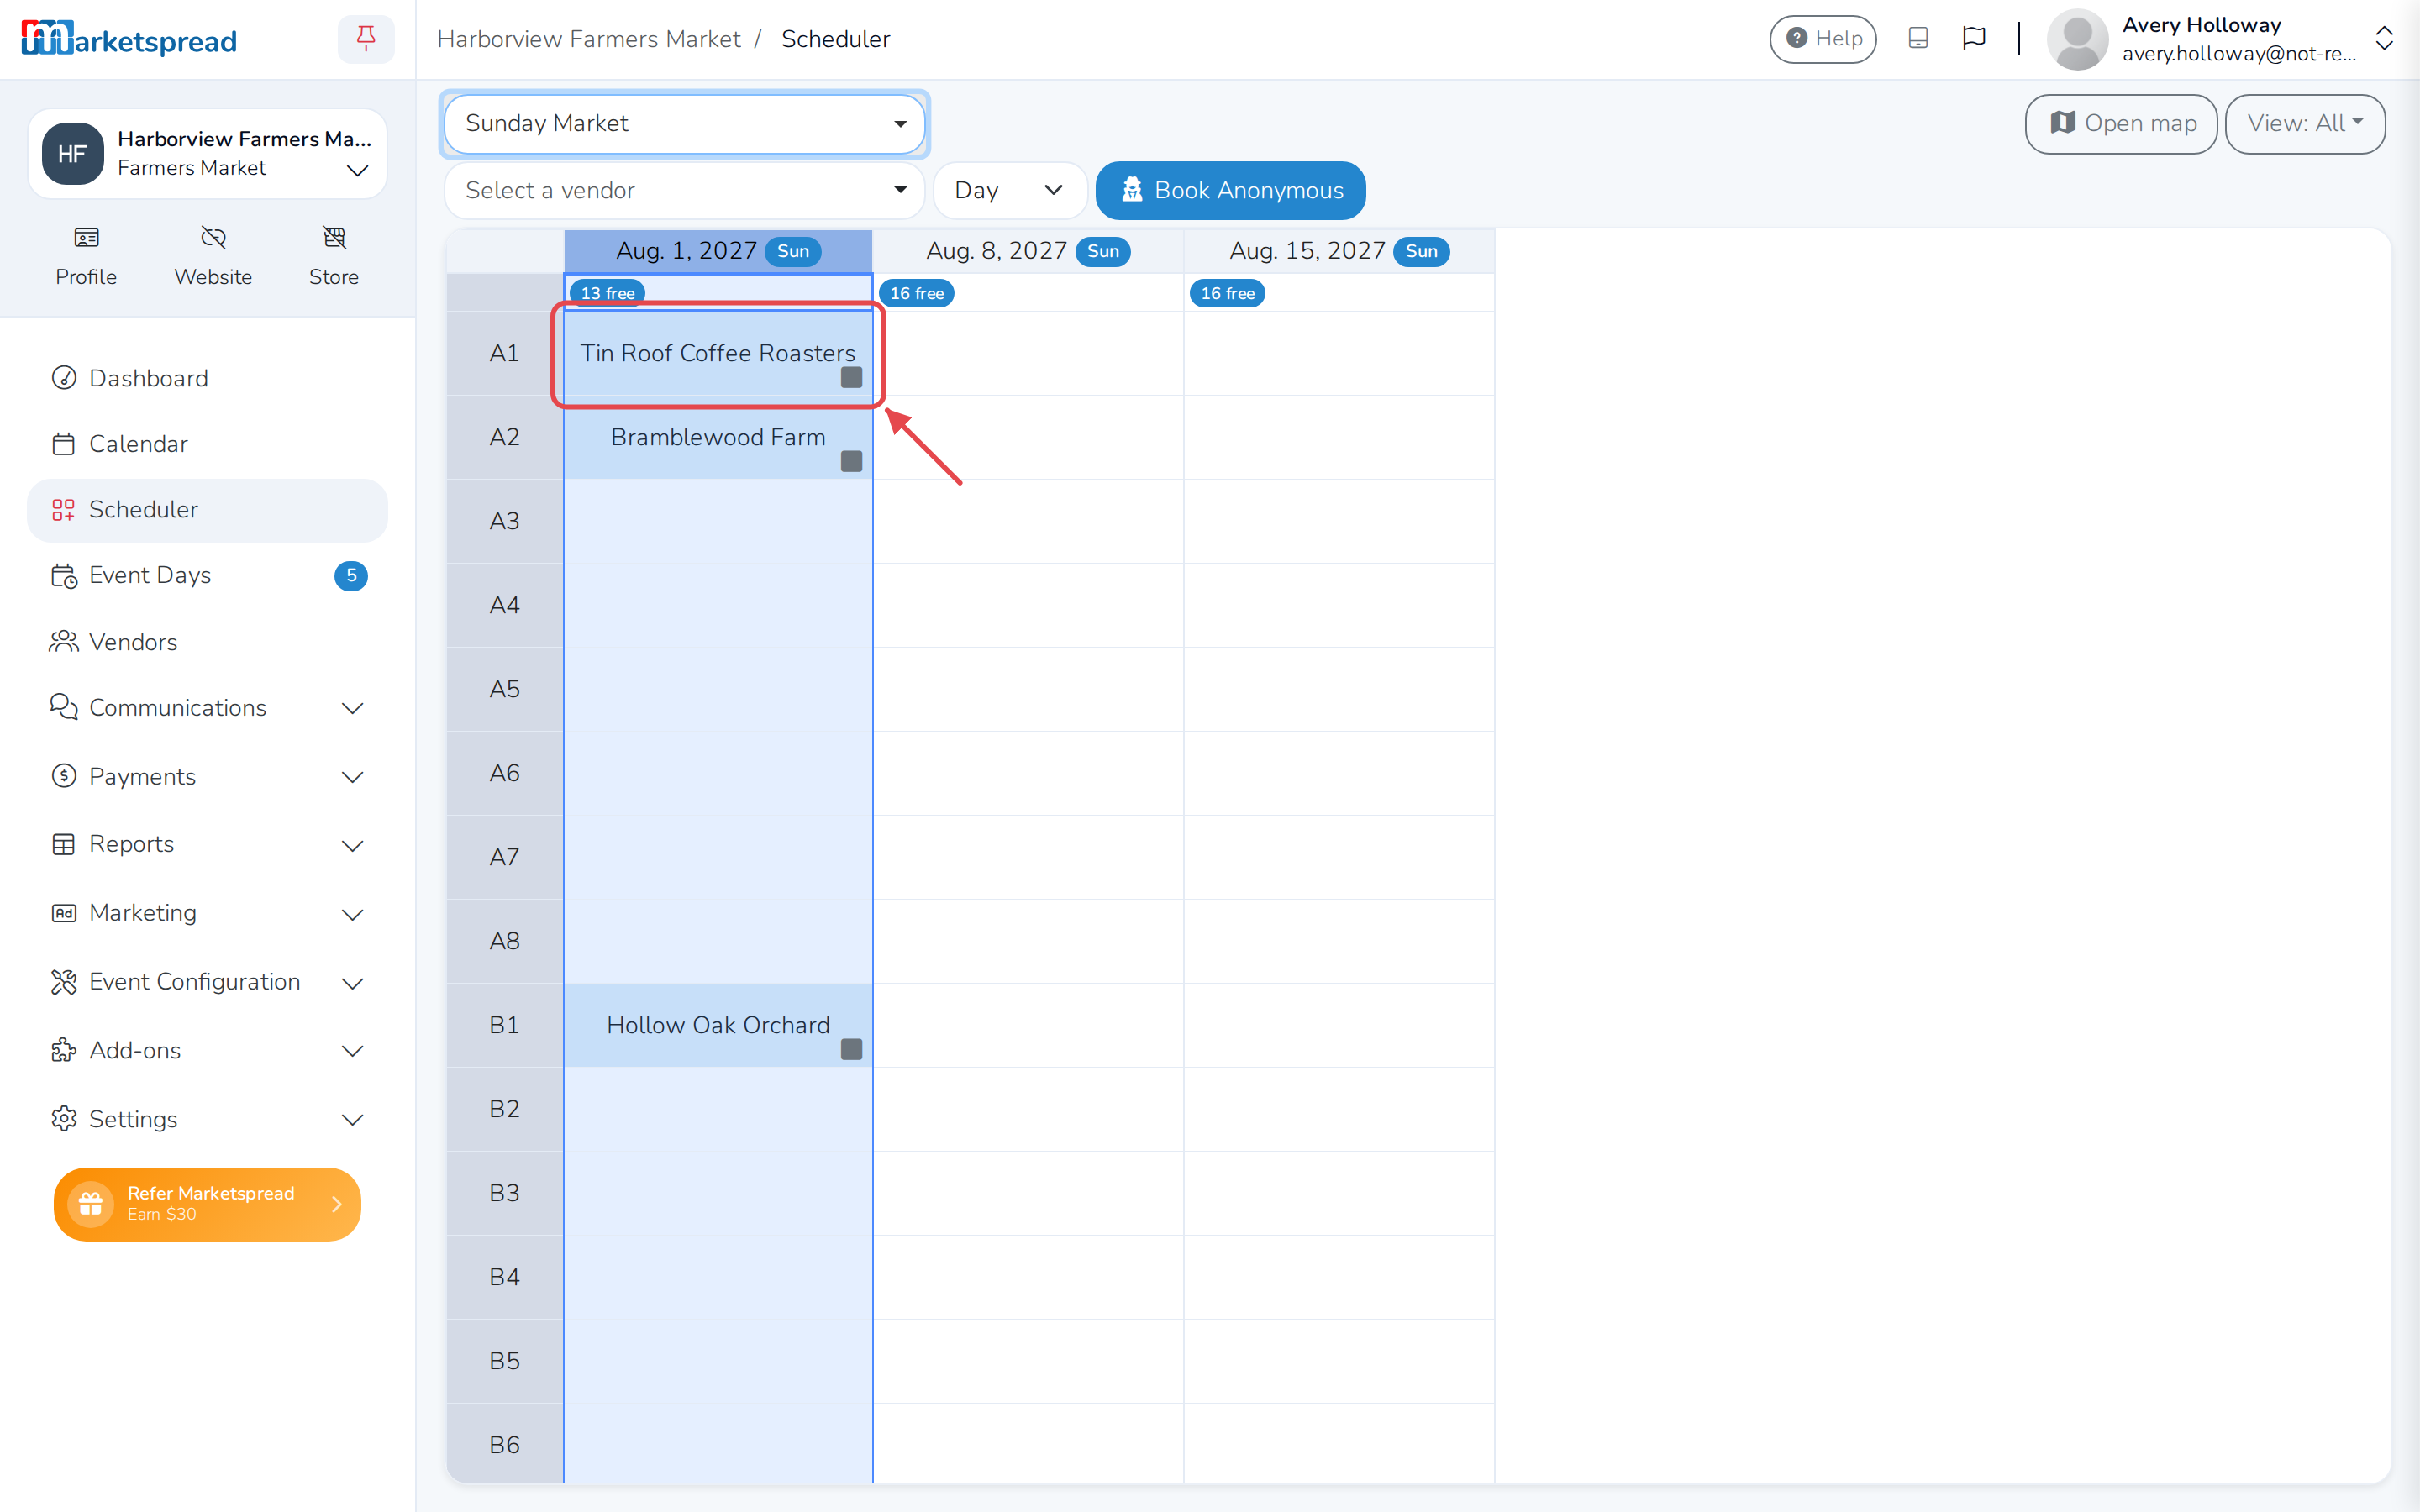
- The cells — show which vendor is booked into each booth, for each
day. Click an empty cell to assign the vendor you've picked.
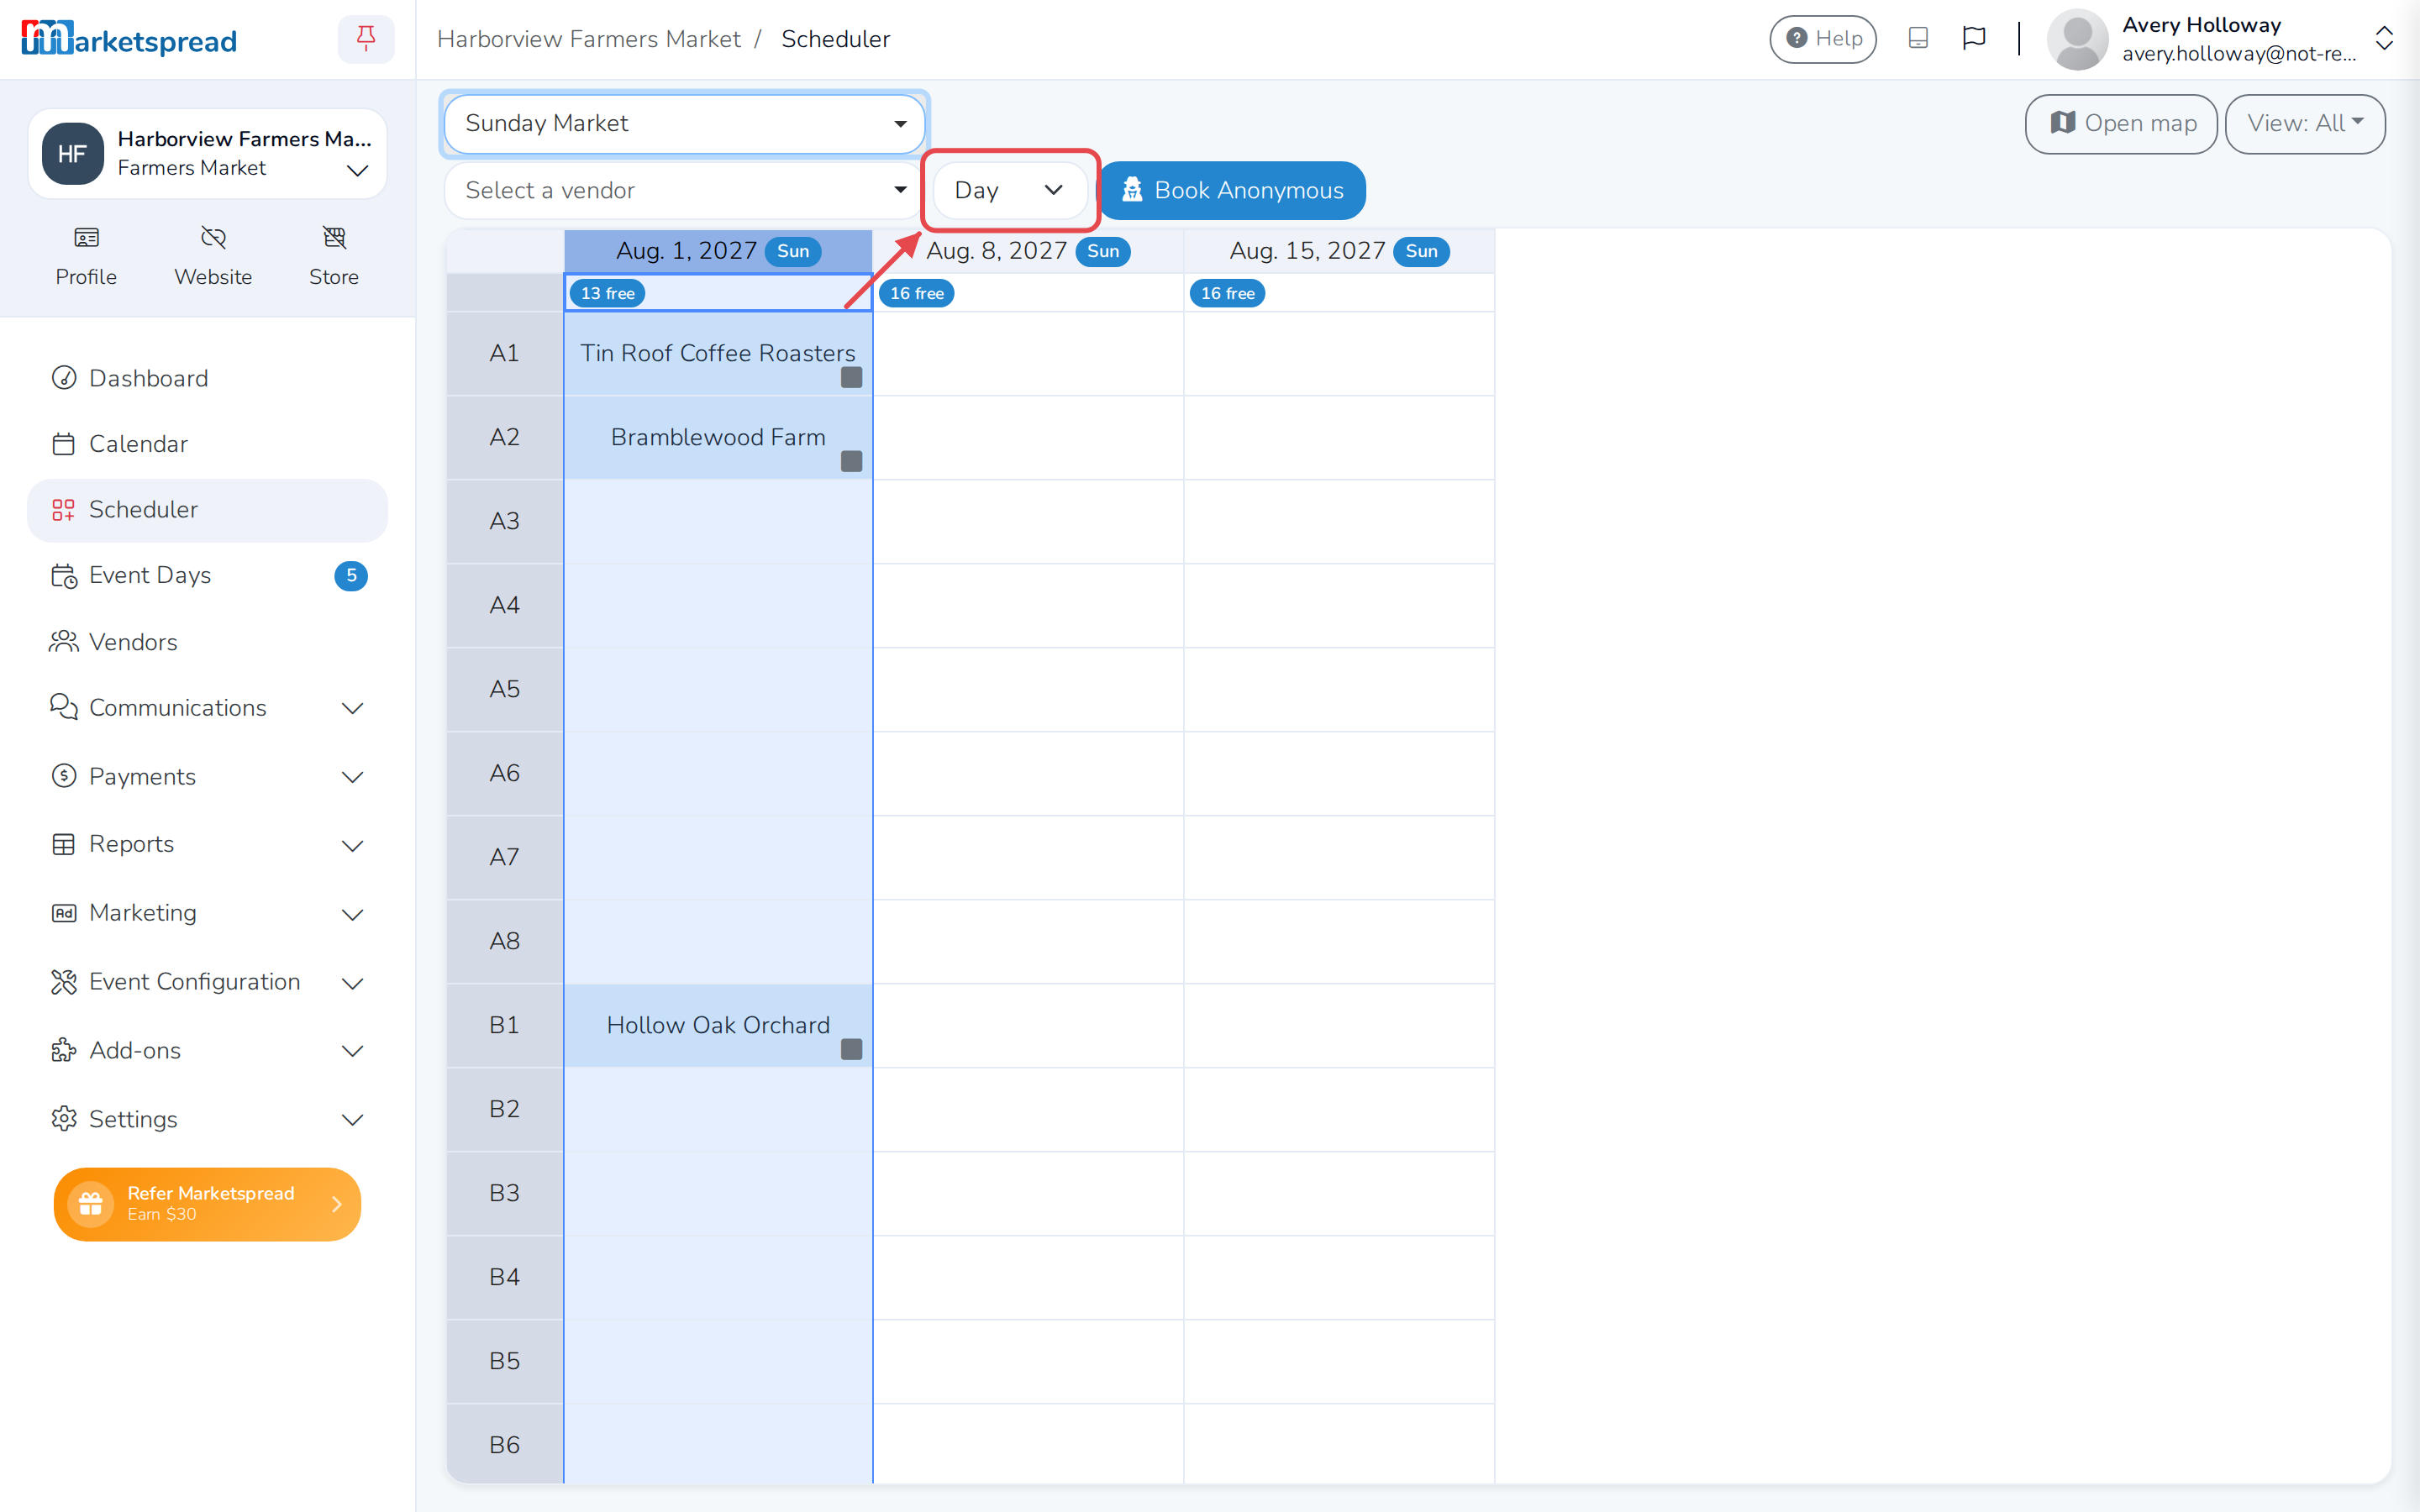
- Day — choose whether you're booking by Day, Week, Month or Event.
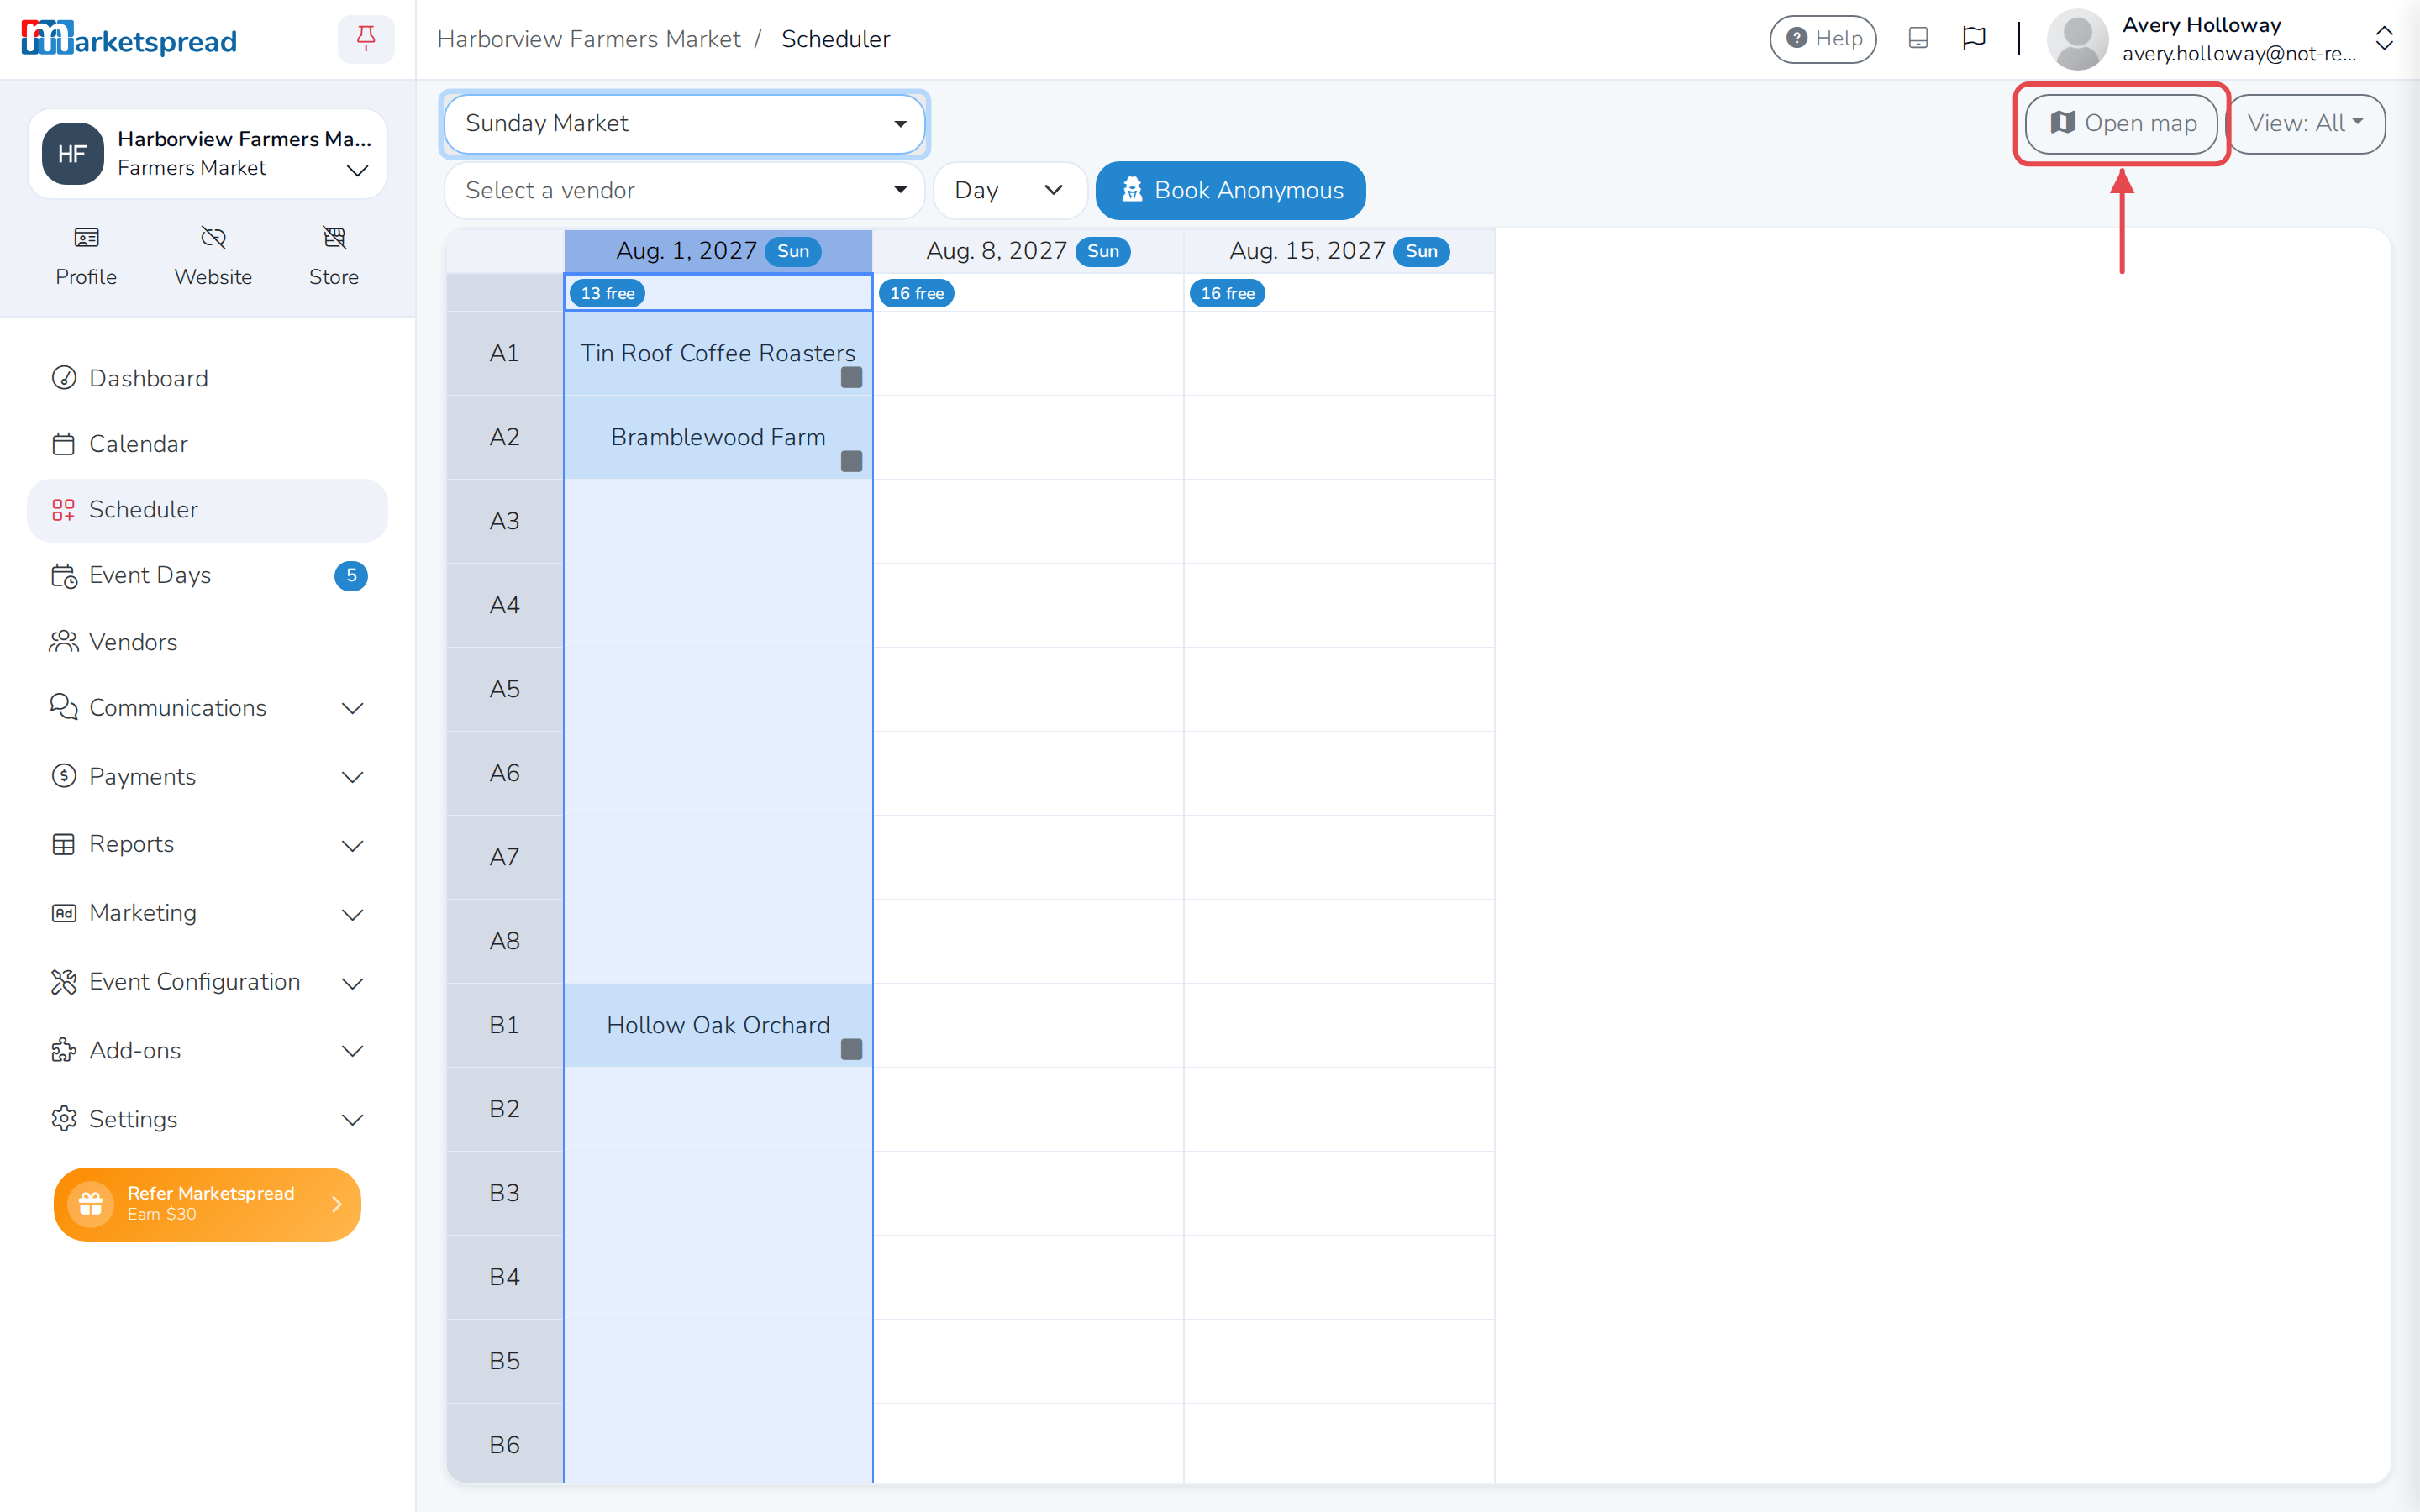
- Open map — opens a map of the event's booths, in a new tab.
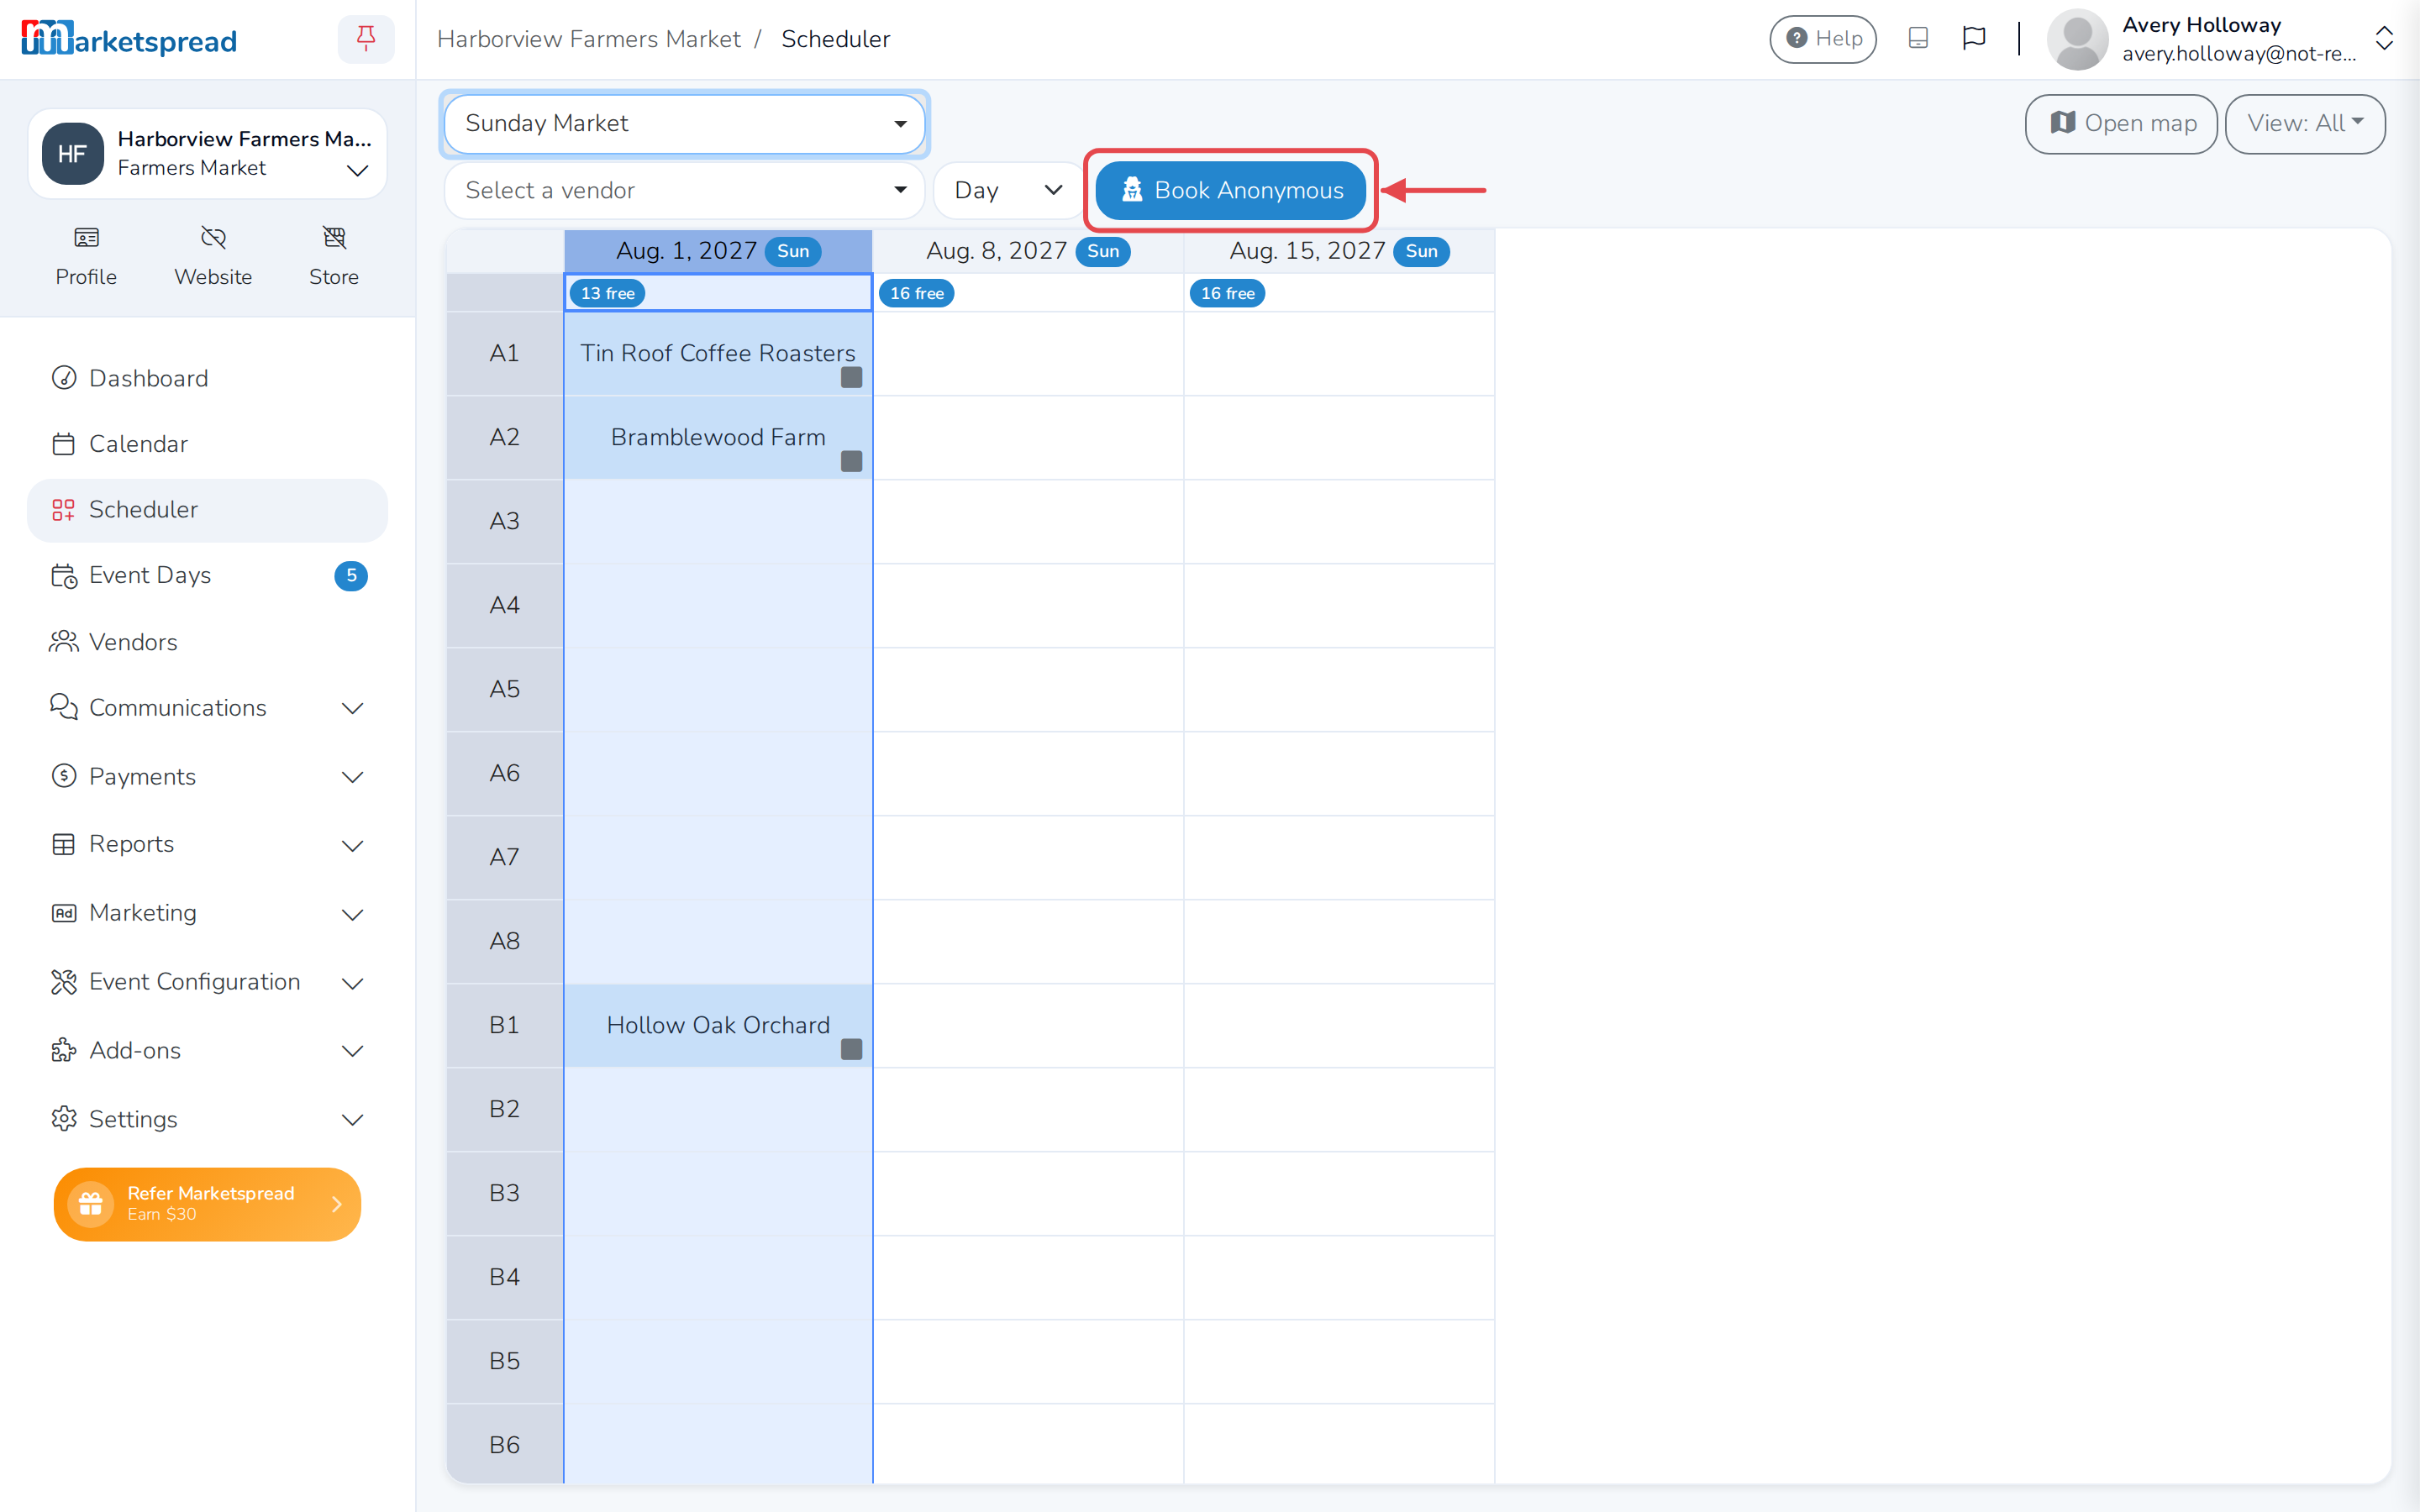
- Book Anonymous — books a booth for someone without a vendor account,
without picking a vendor first.
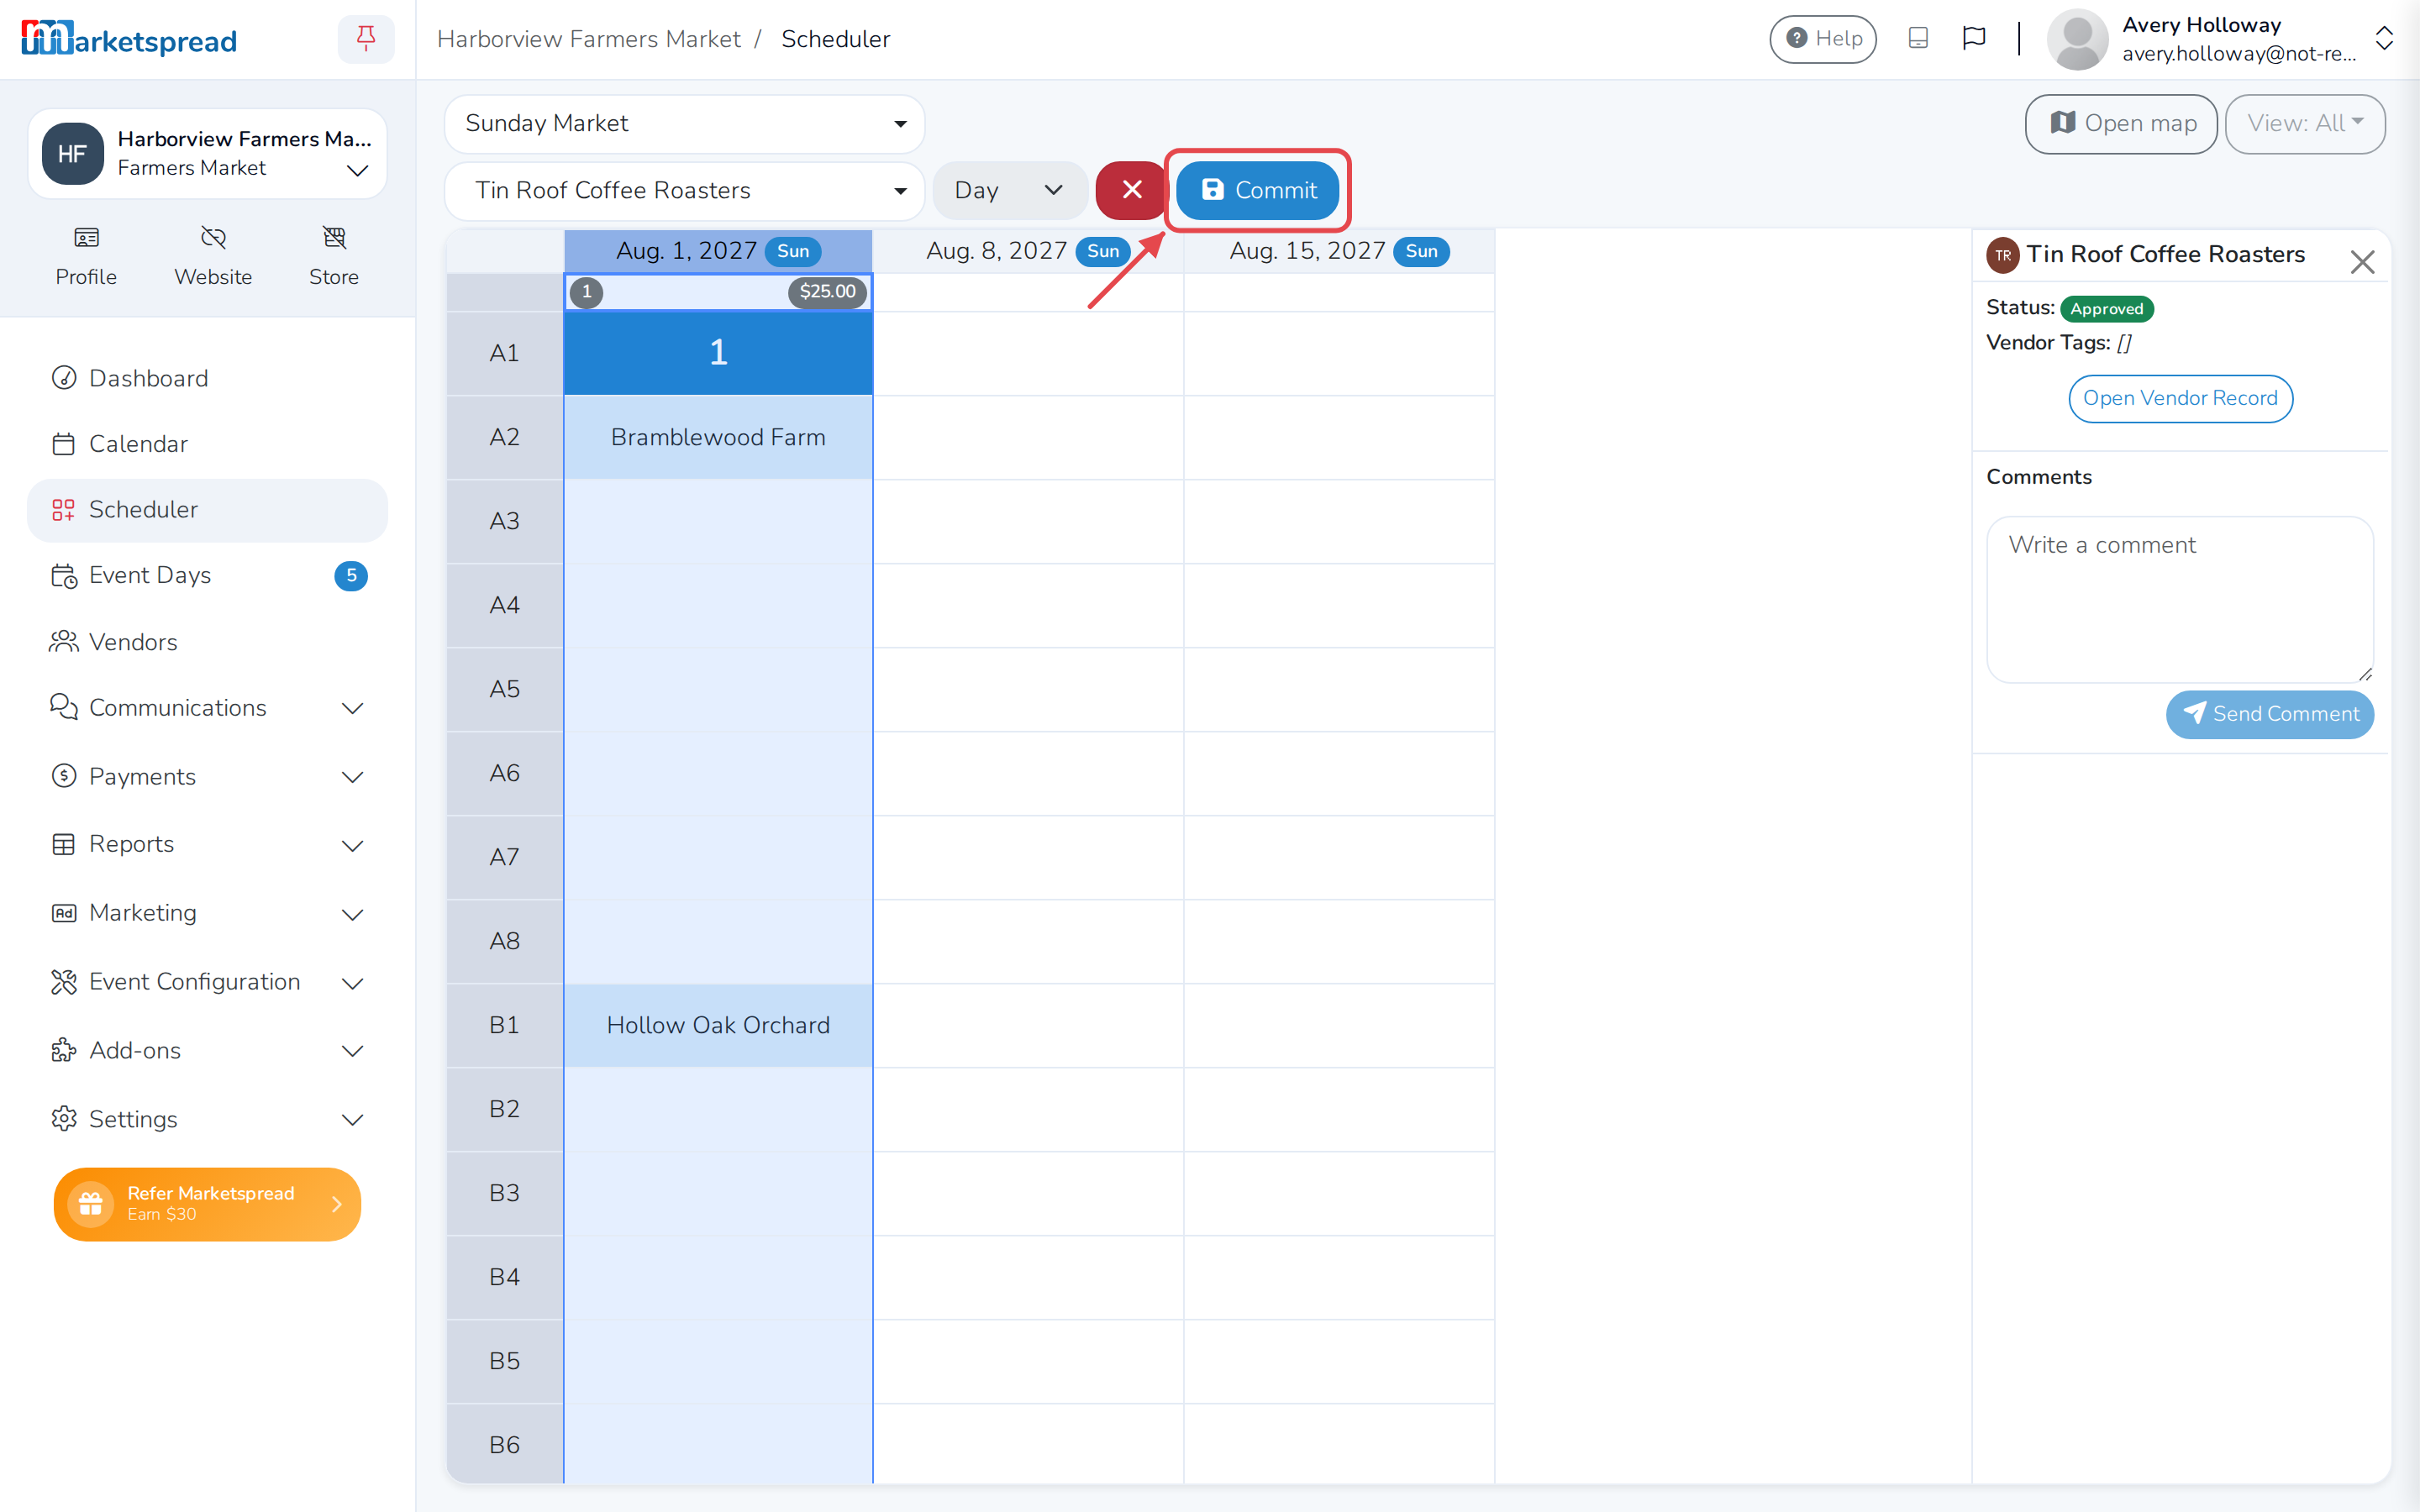
- Commit — appears once you're editing a vendor's booth assignments,
and saves your changes.