


Before vendors can apply to your market, you need an application for them to fill out, a layout of your booths, and an event to put them on. Then you activate the event. This walks through all four, in order, for a market setting up its very first event.
Create an application
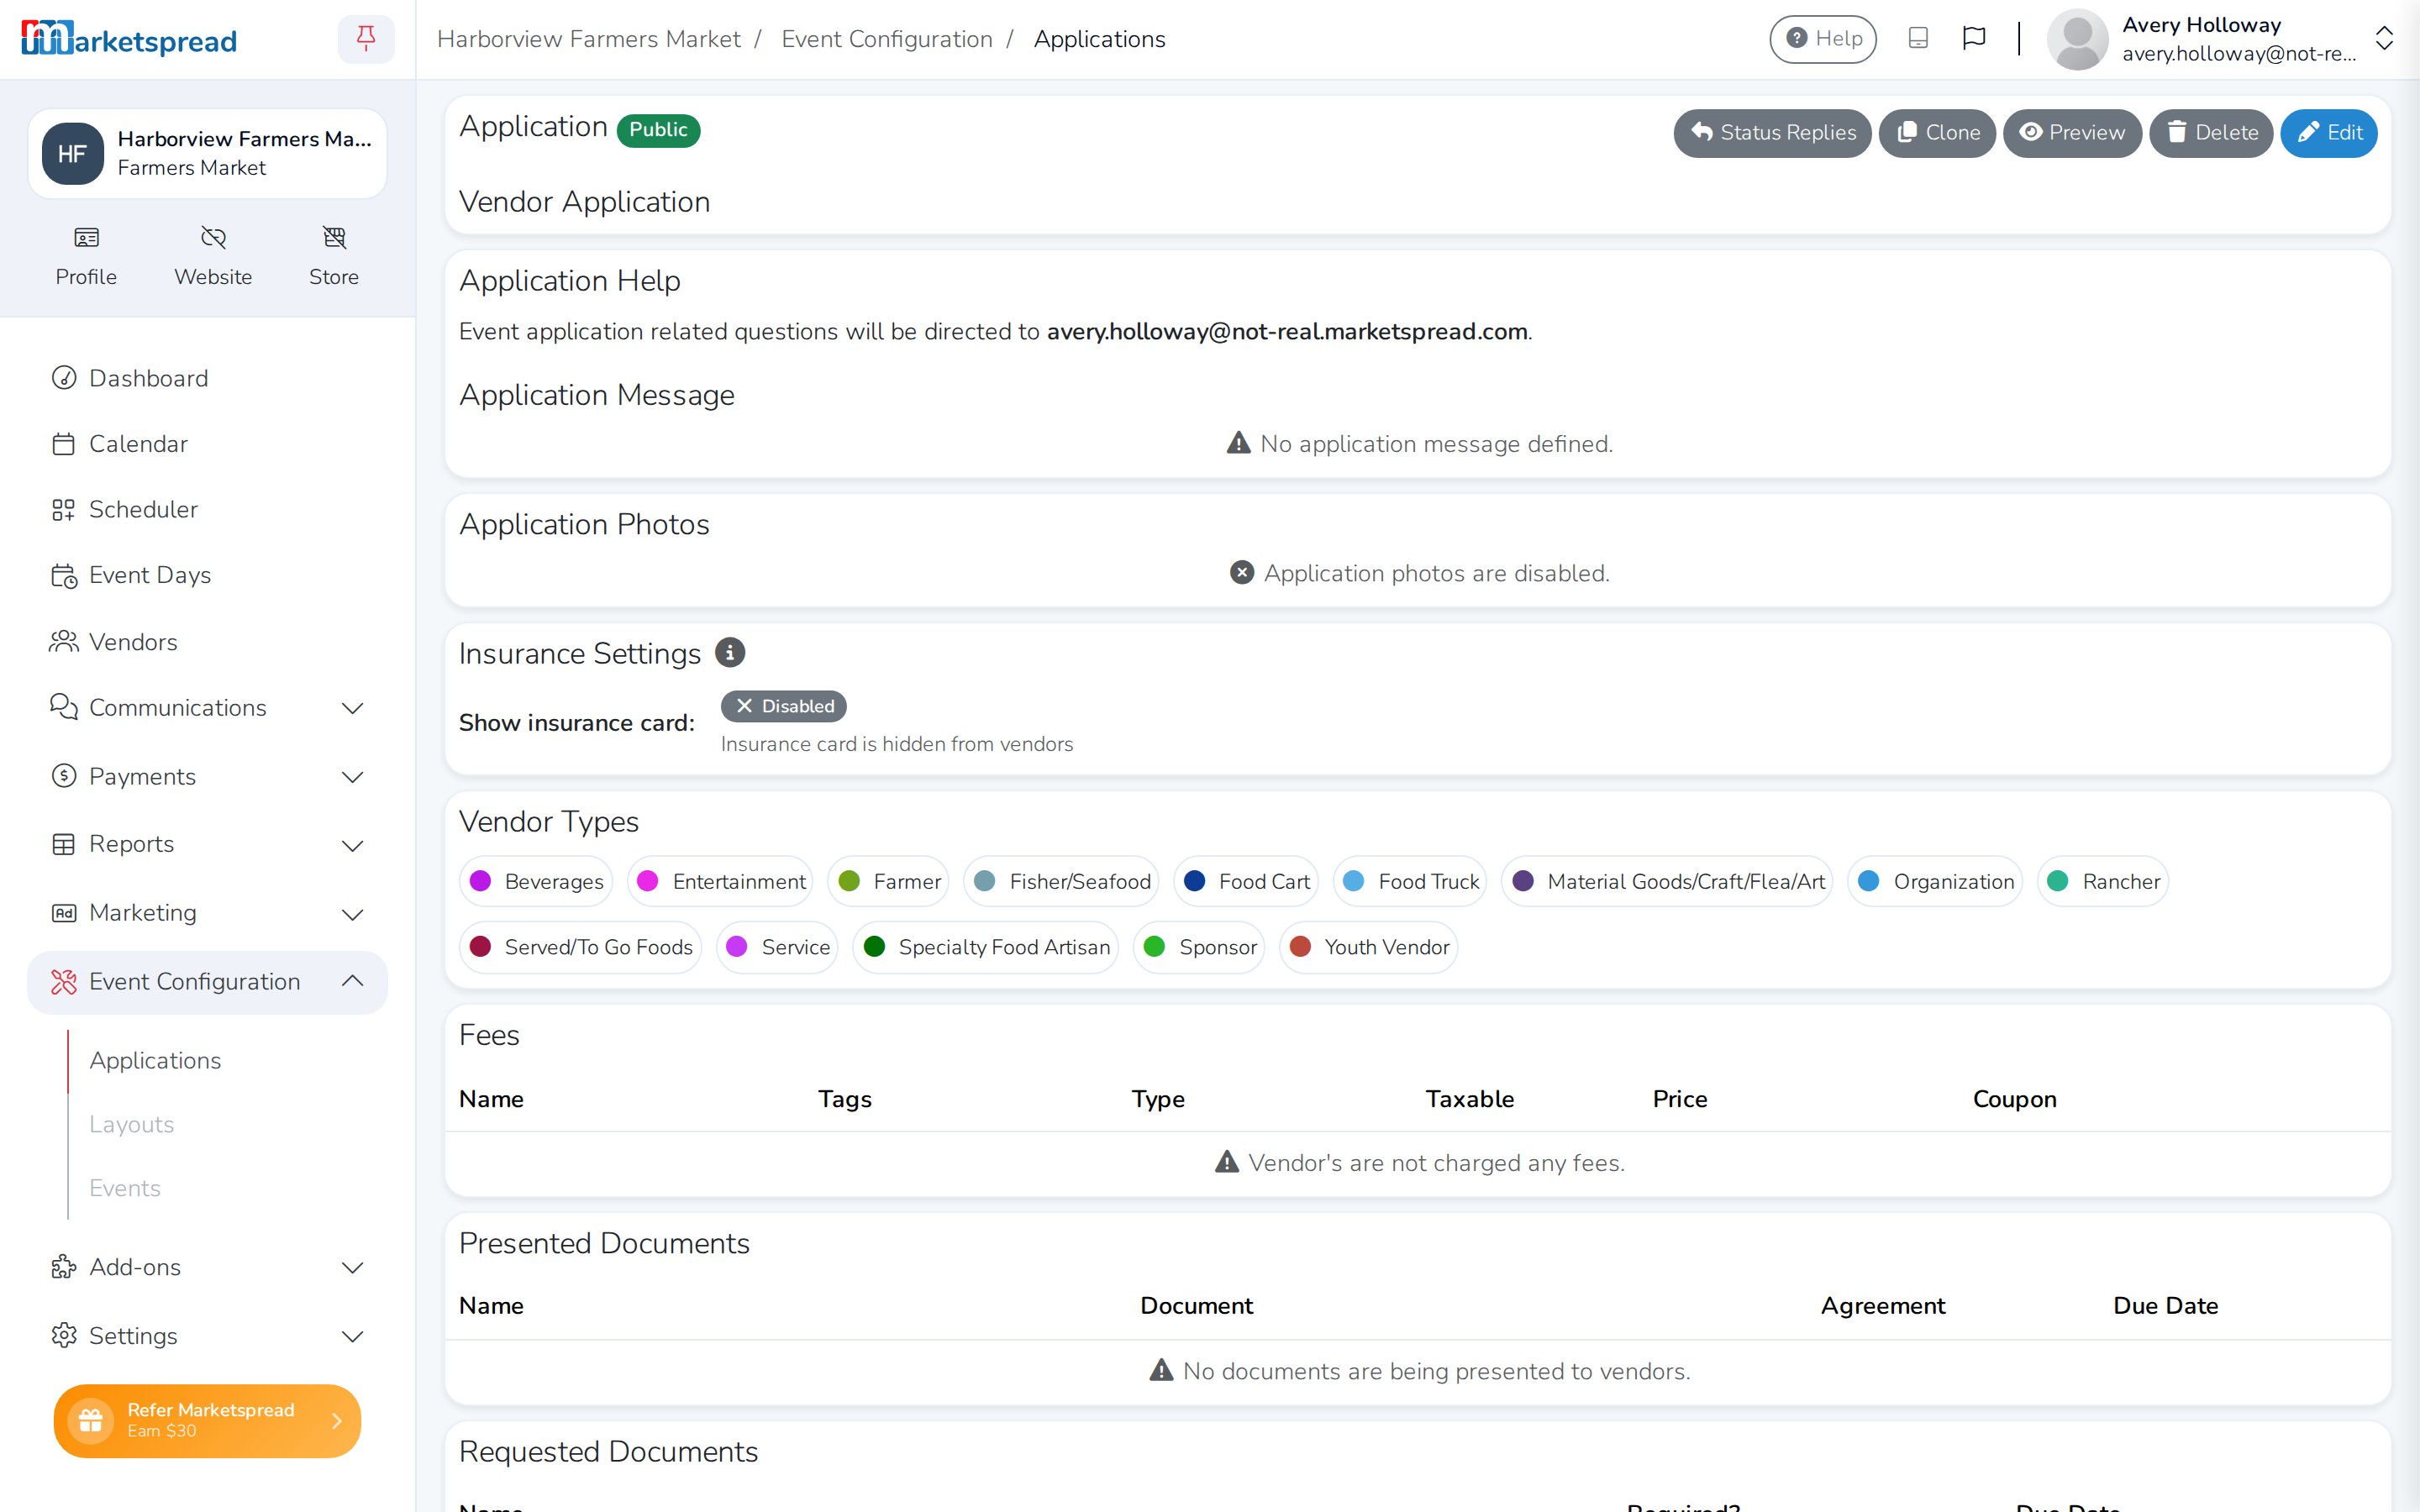
- In the left menu, click Event Configuration, then Applications.
- Click + Add application template.
- Fill in the application — vendor types, fees, questions and any documents you need — then click Save application.
Tip
Click Preview to see the application the way a vendor will. If you'll reuse the same application every year, open it and click Clone instead of building a new one from scratch.
See Creating Applications for how to fill out each section.
Create a layout
- Click Event Configuration, then Layouts.
- Click + Add layout template.
- Add a booth for every space in your market and set its size and price.
- Click Save, then Exit.
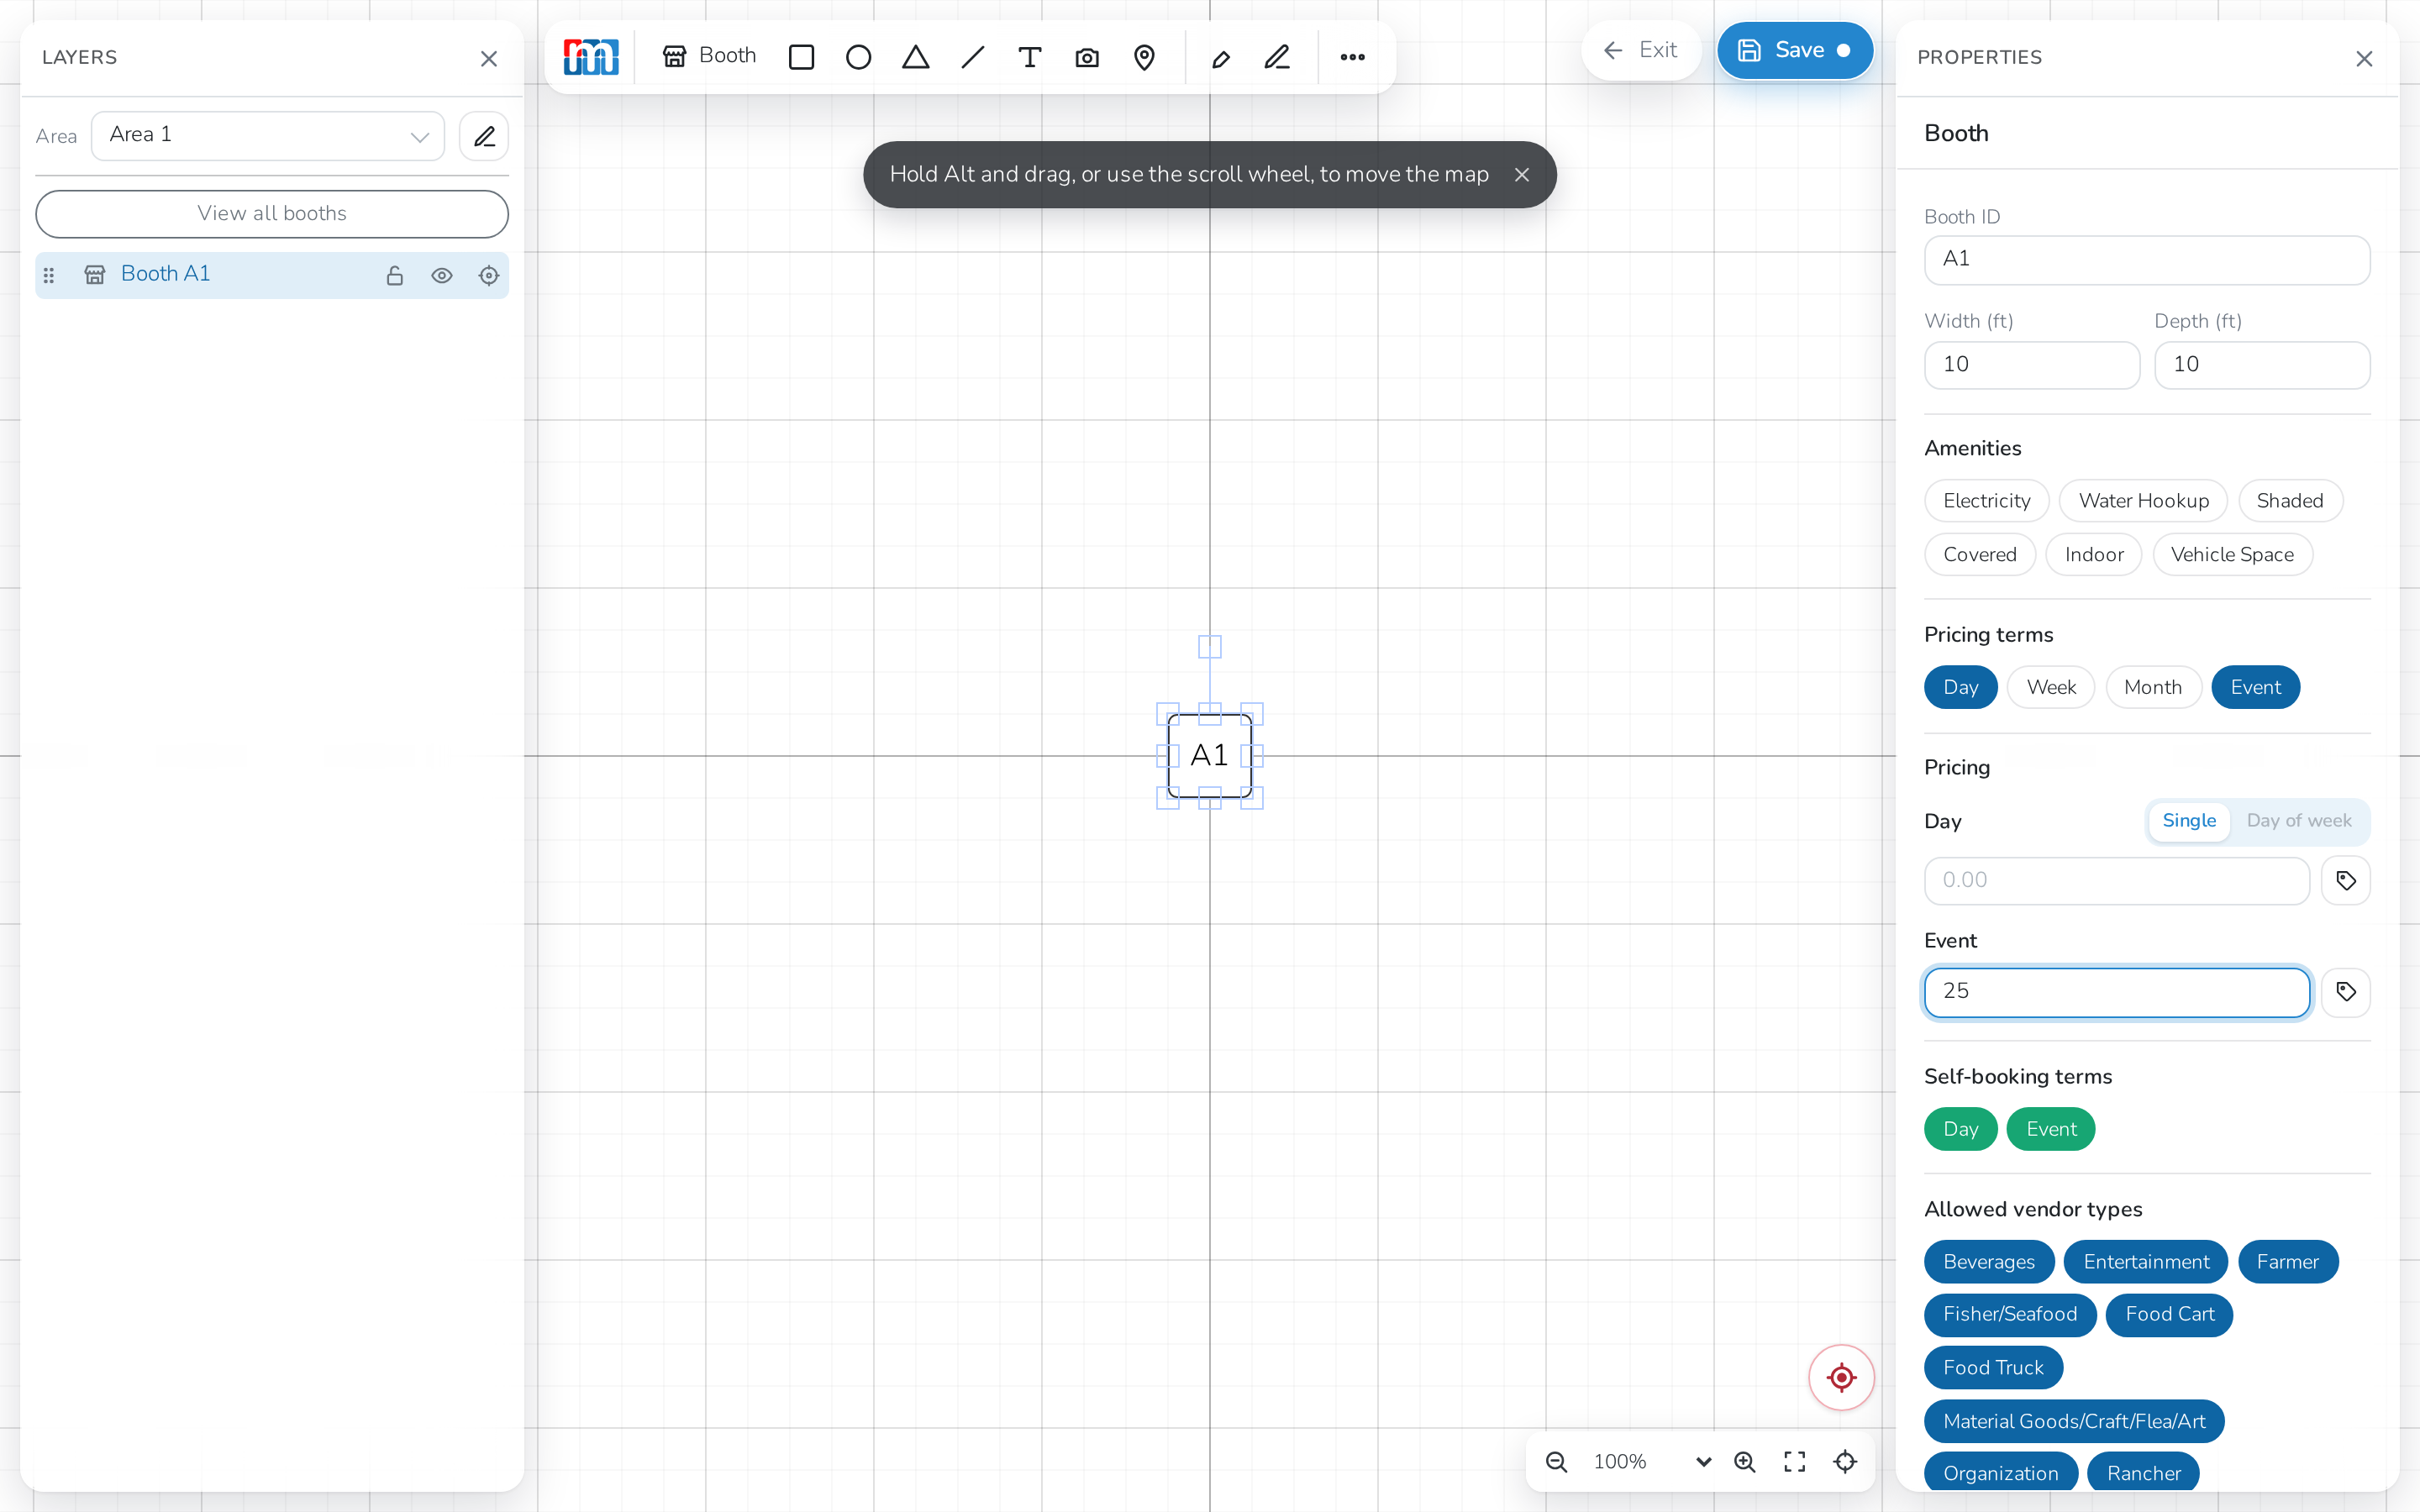
See Layout Designer Overview for how to build out the map.
Create your event
- Click Event Configuration, then Events.
- Click + Add event.
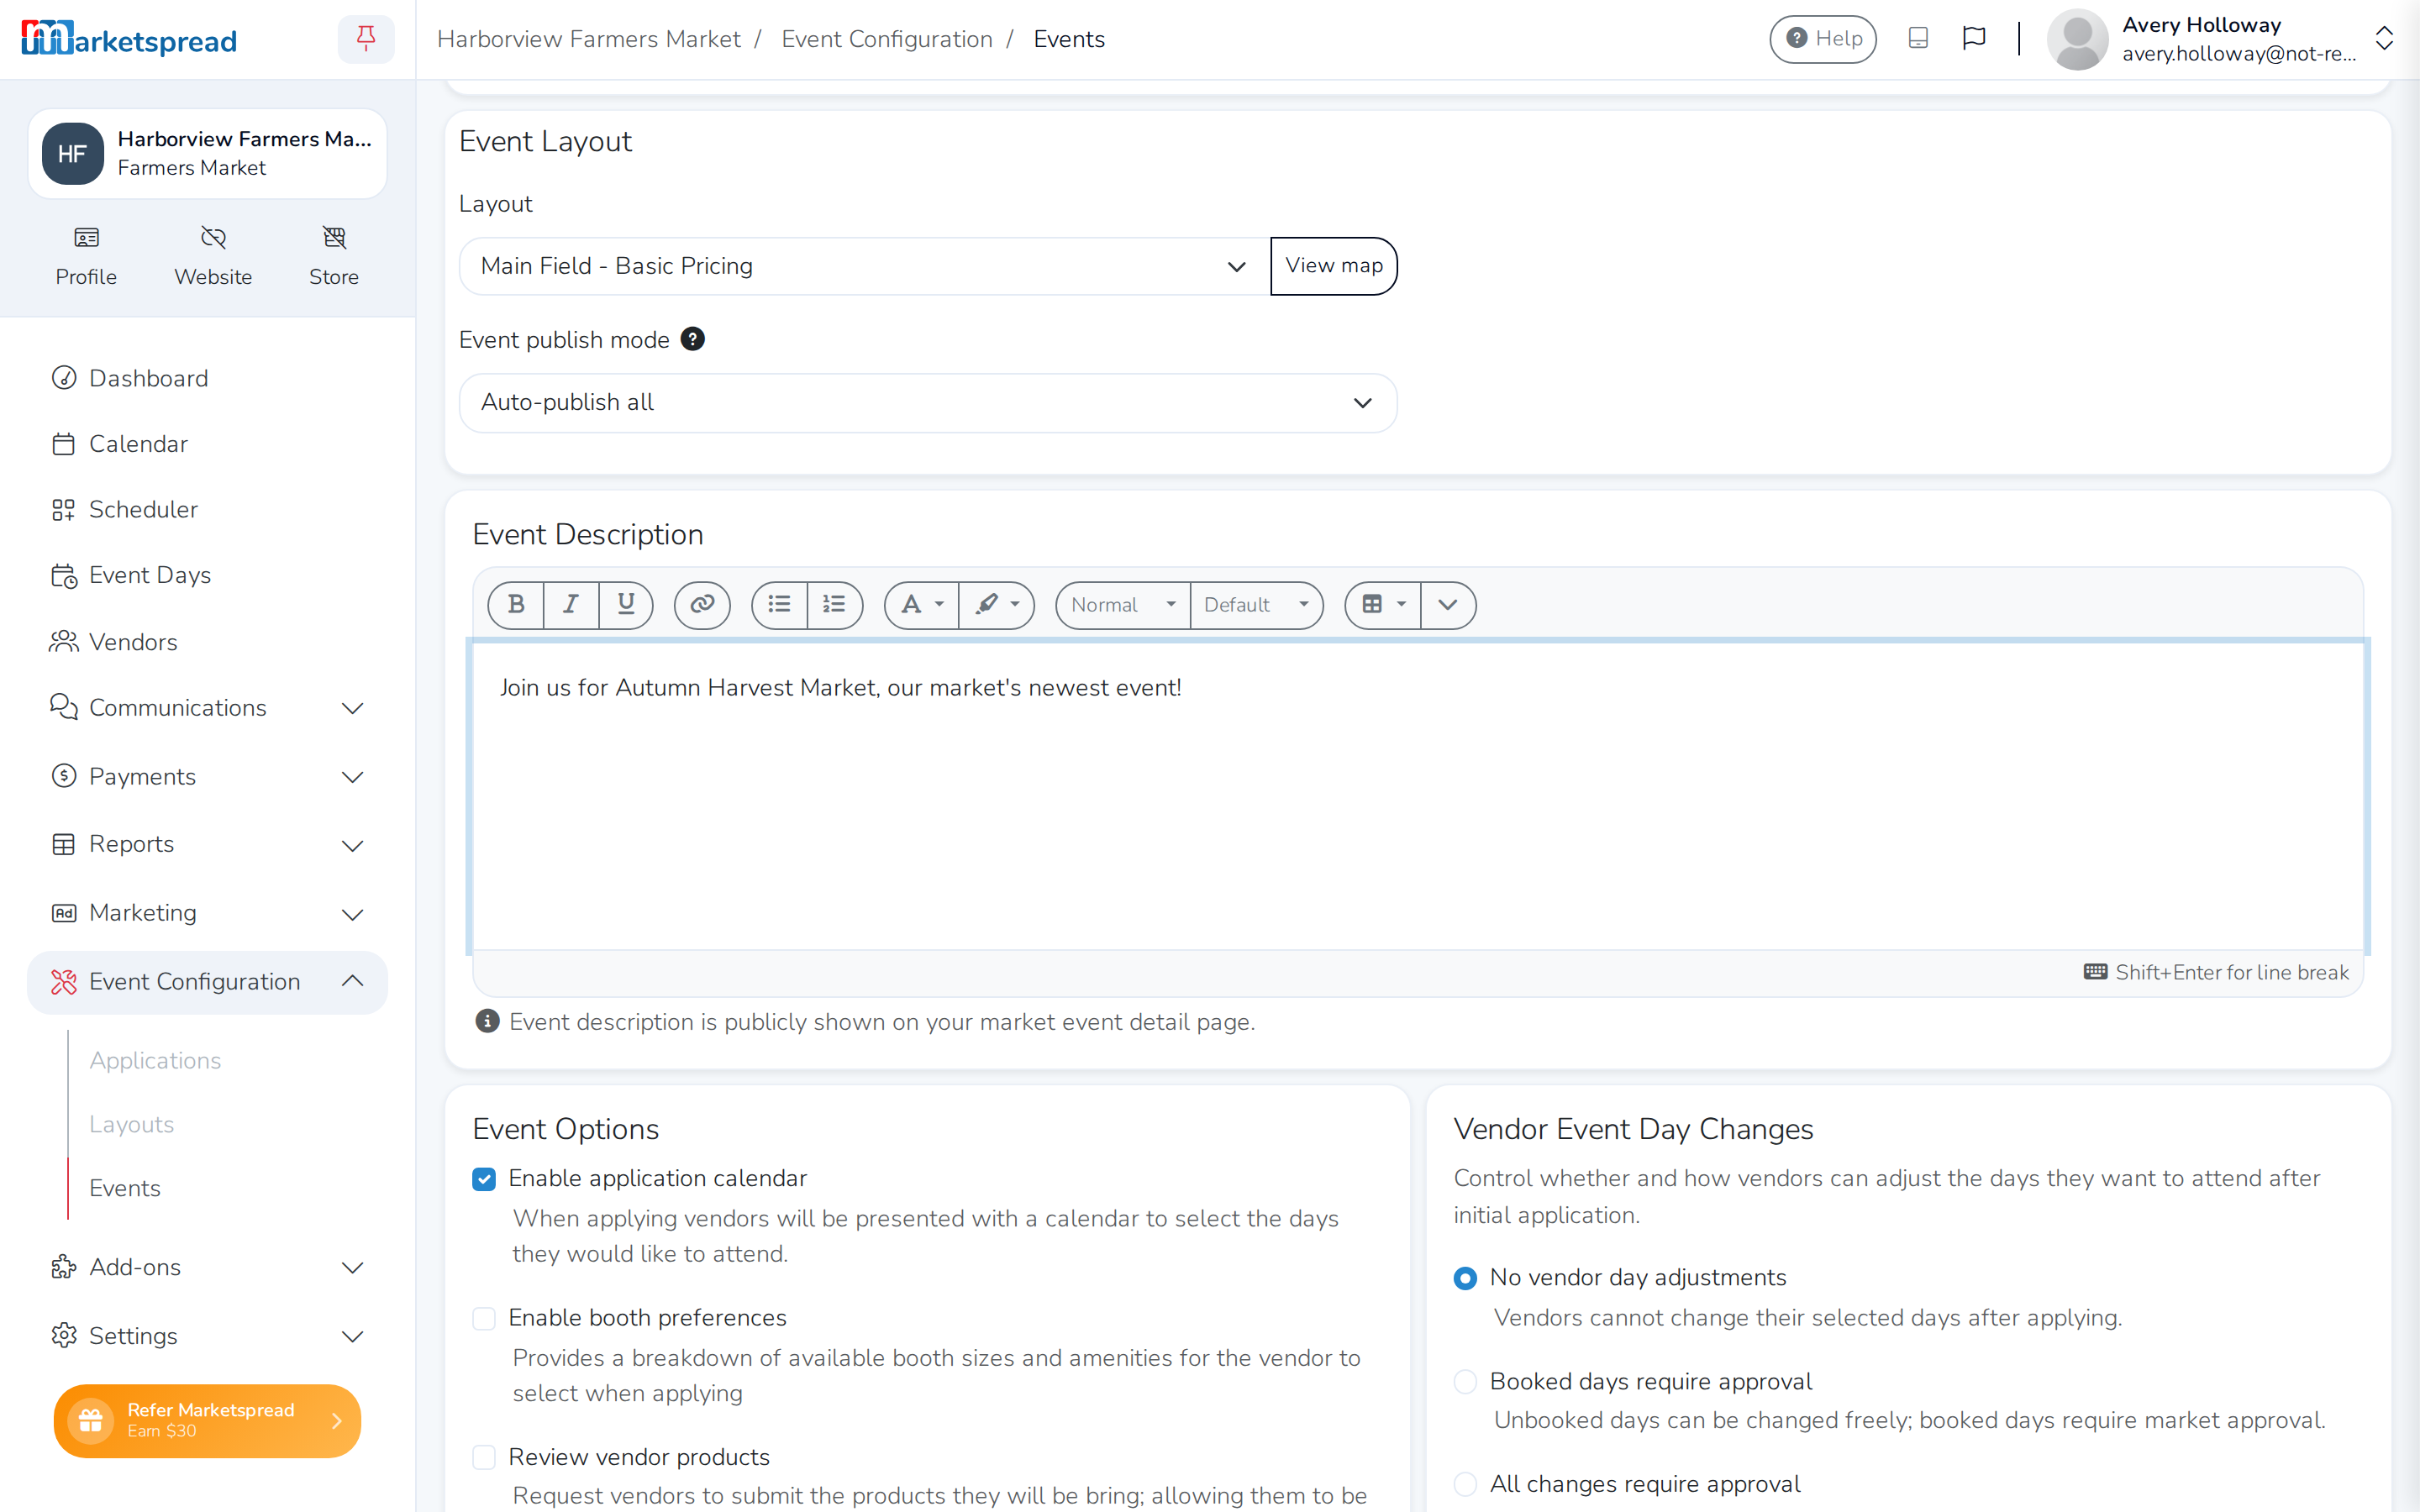
- Choose the Application and Layout you just created, fill in the rest of the event's settings, and write an Event Description — it's shown publicly on your market's event detail page, and is required before you can save.
- Click Save & add days.
Note
You need at least one application and one layout before you can add an event. The Events page prompts you to create them if you haven't yet.
Add days to your event
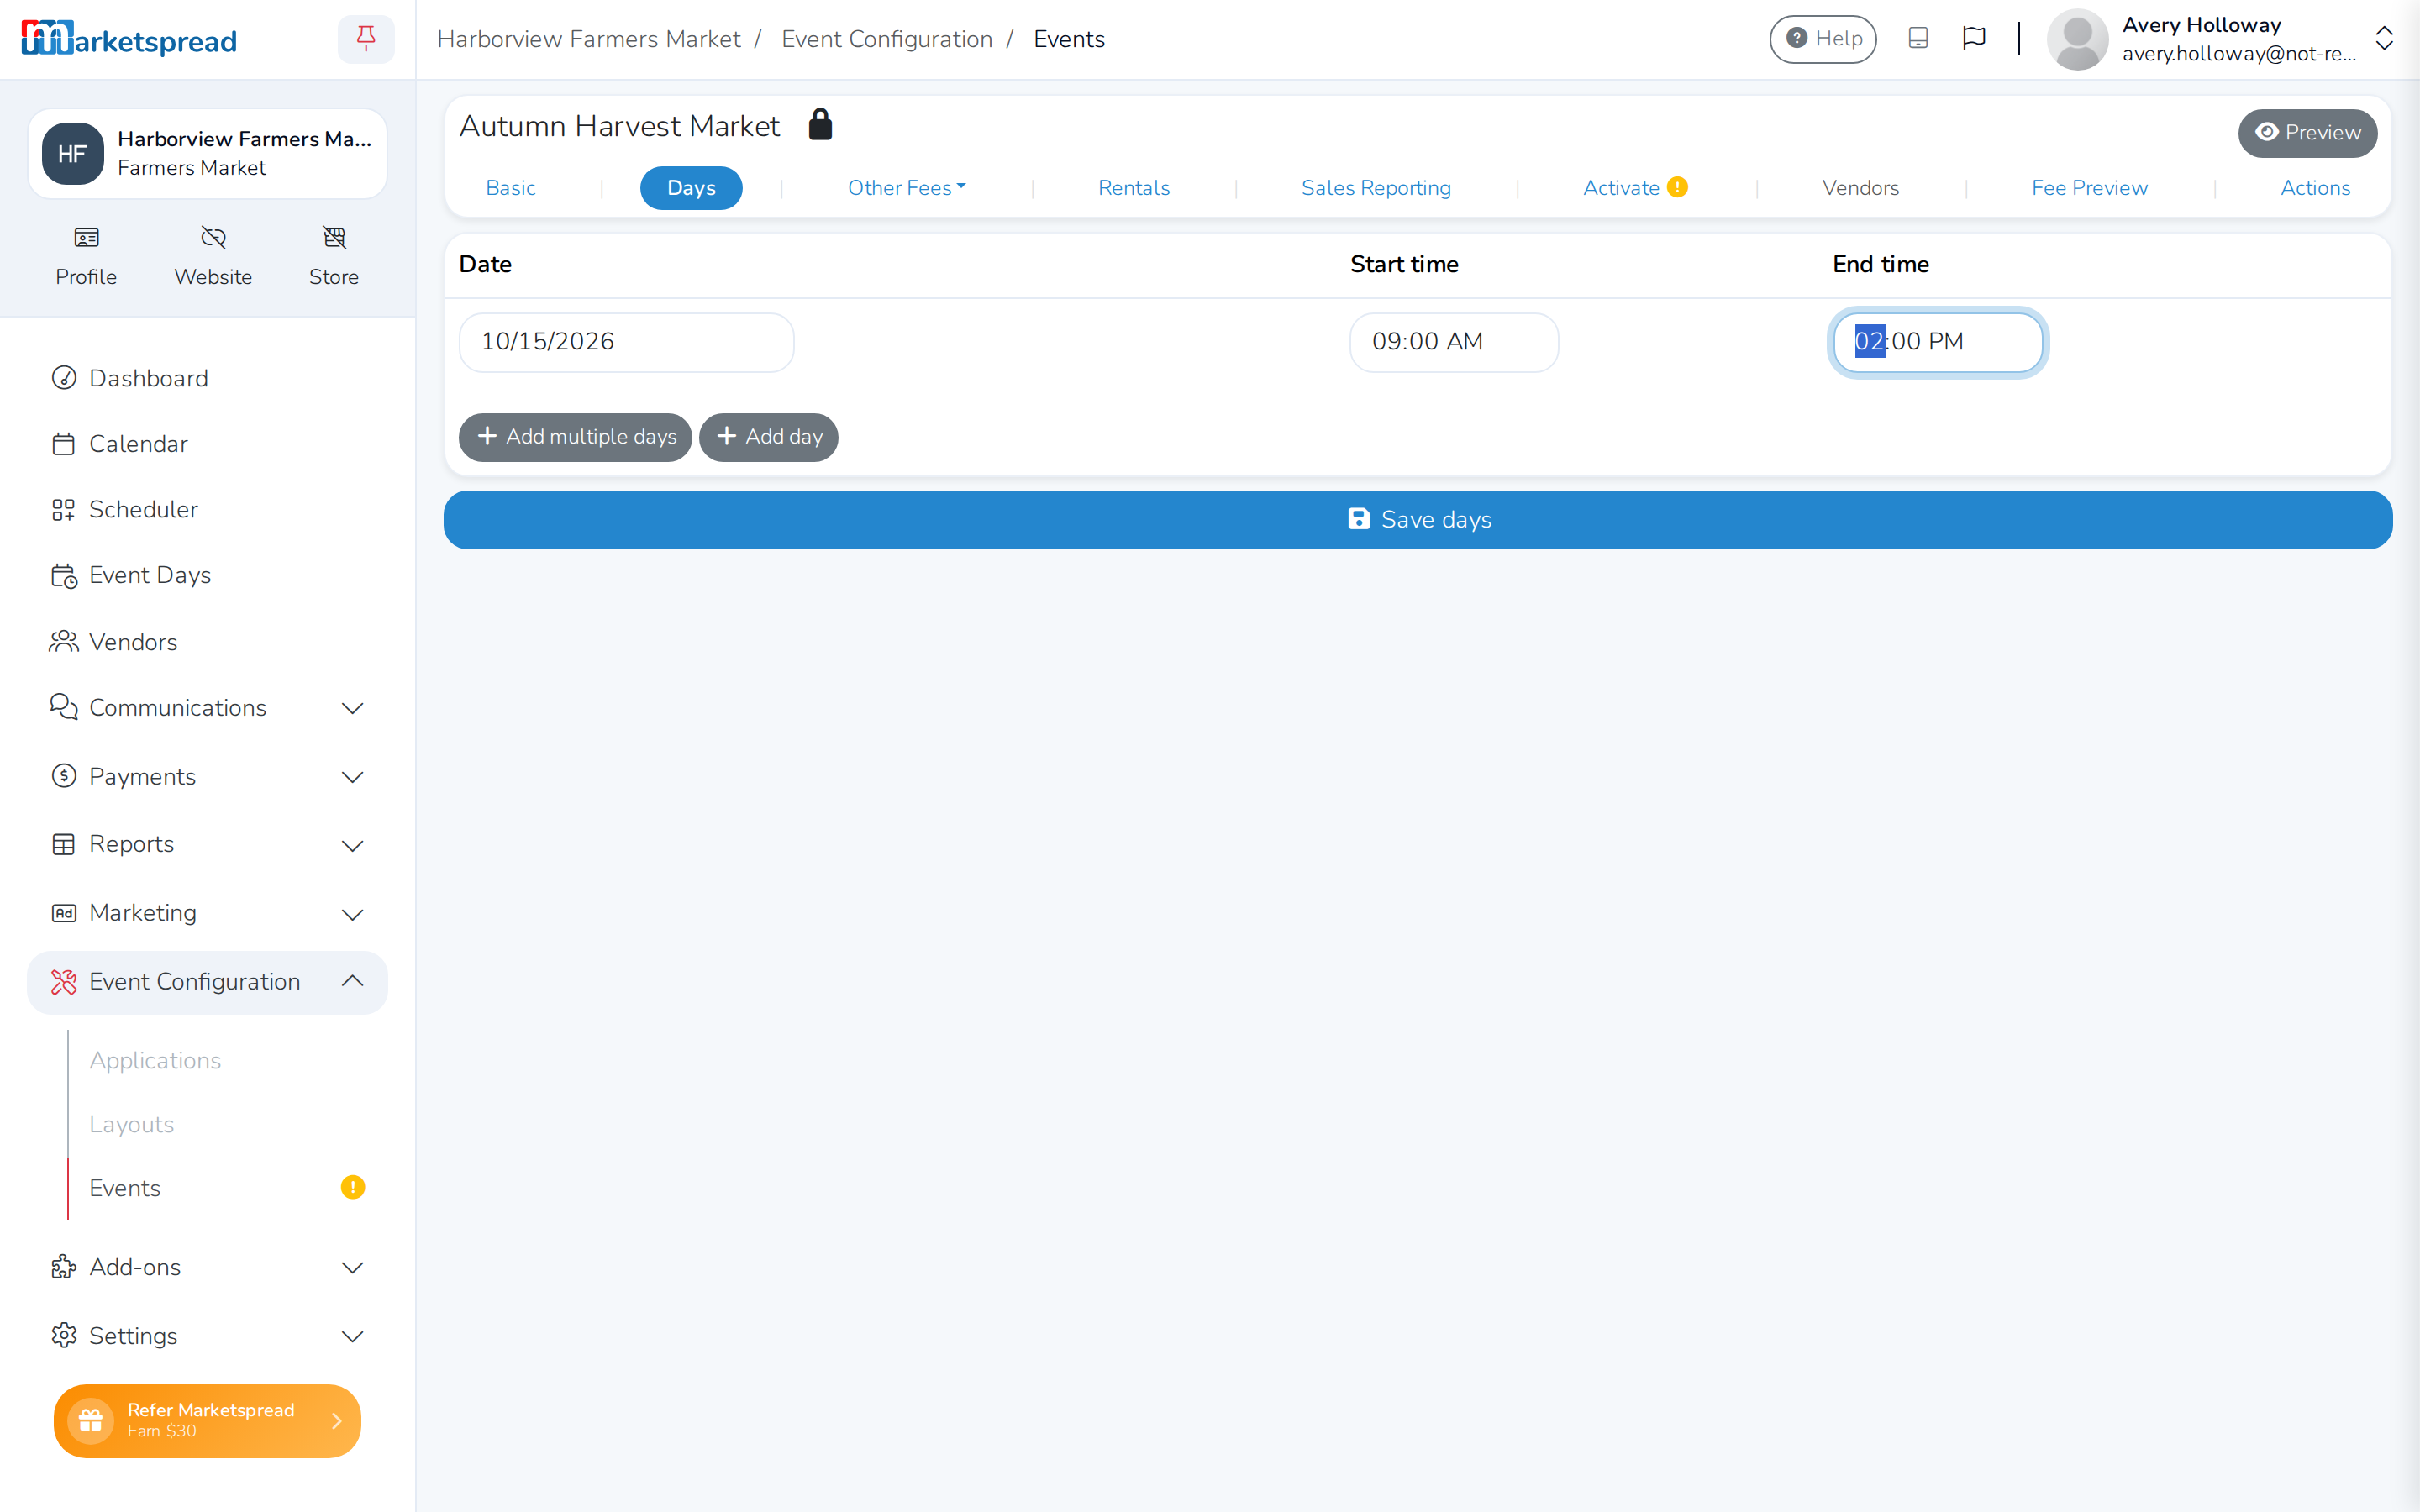
Saving your event's settings takes you straight to its Days tab.
- Click + Add day.
- Enter the Date, Start time and End time.
- Click Save days.
Activate your event
Once your event has its days, click the Activate tab. Choose how the activation fee is paid:
- Market Based — the market pays a fixed price based on the number of booths, no matter how many vendors sign up.
- Vendor Pass-through — each vendor is charged a one-time fee when they're accepted or waitlisted, added automatically to their application. The market also pays a flat $25 activation fee.
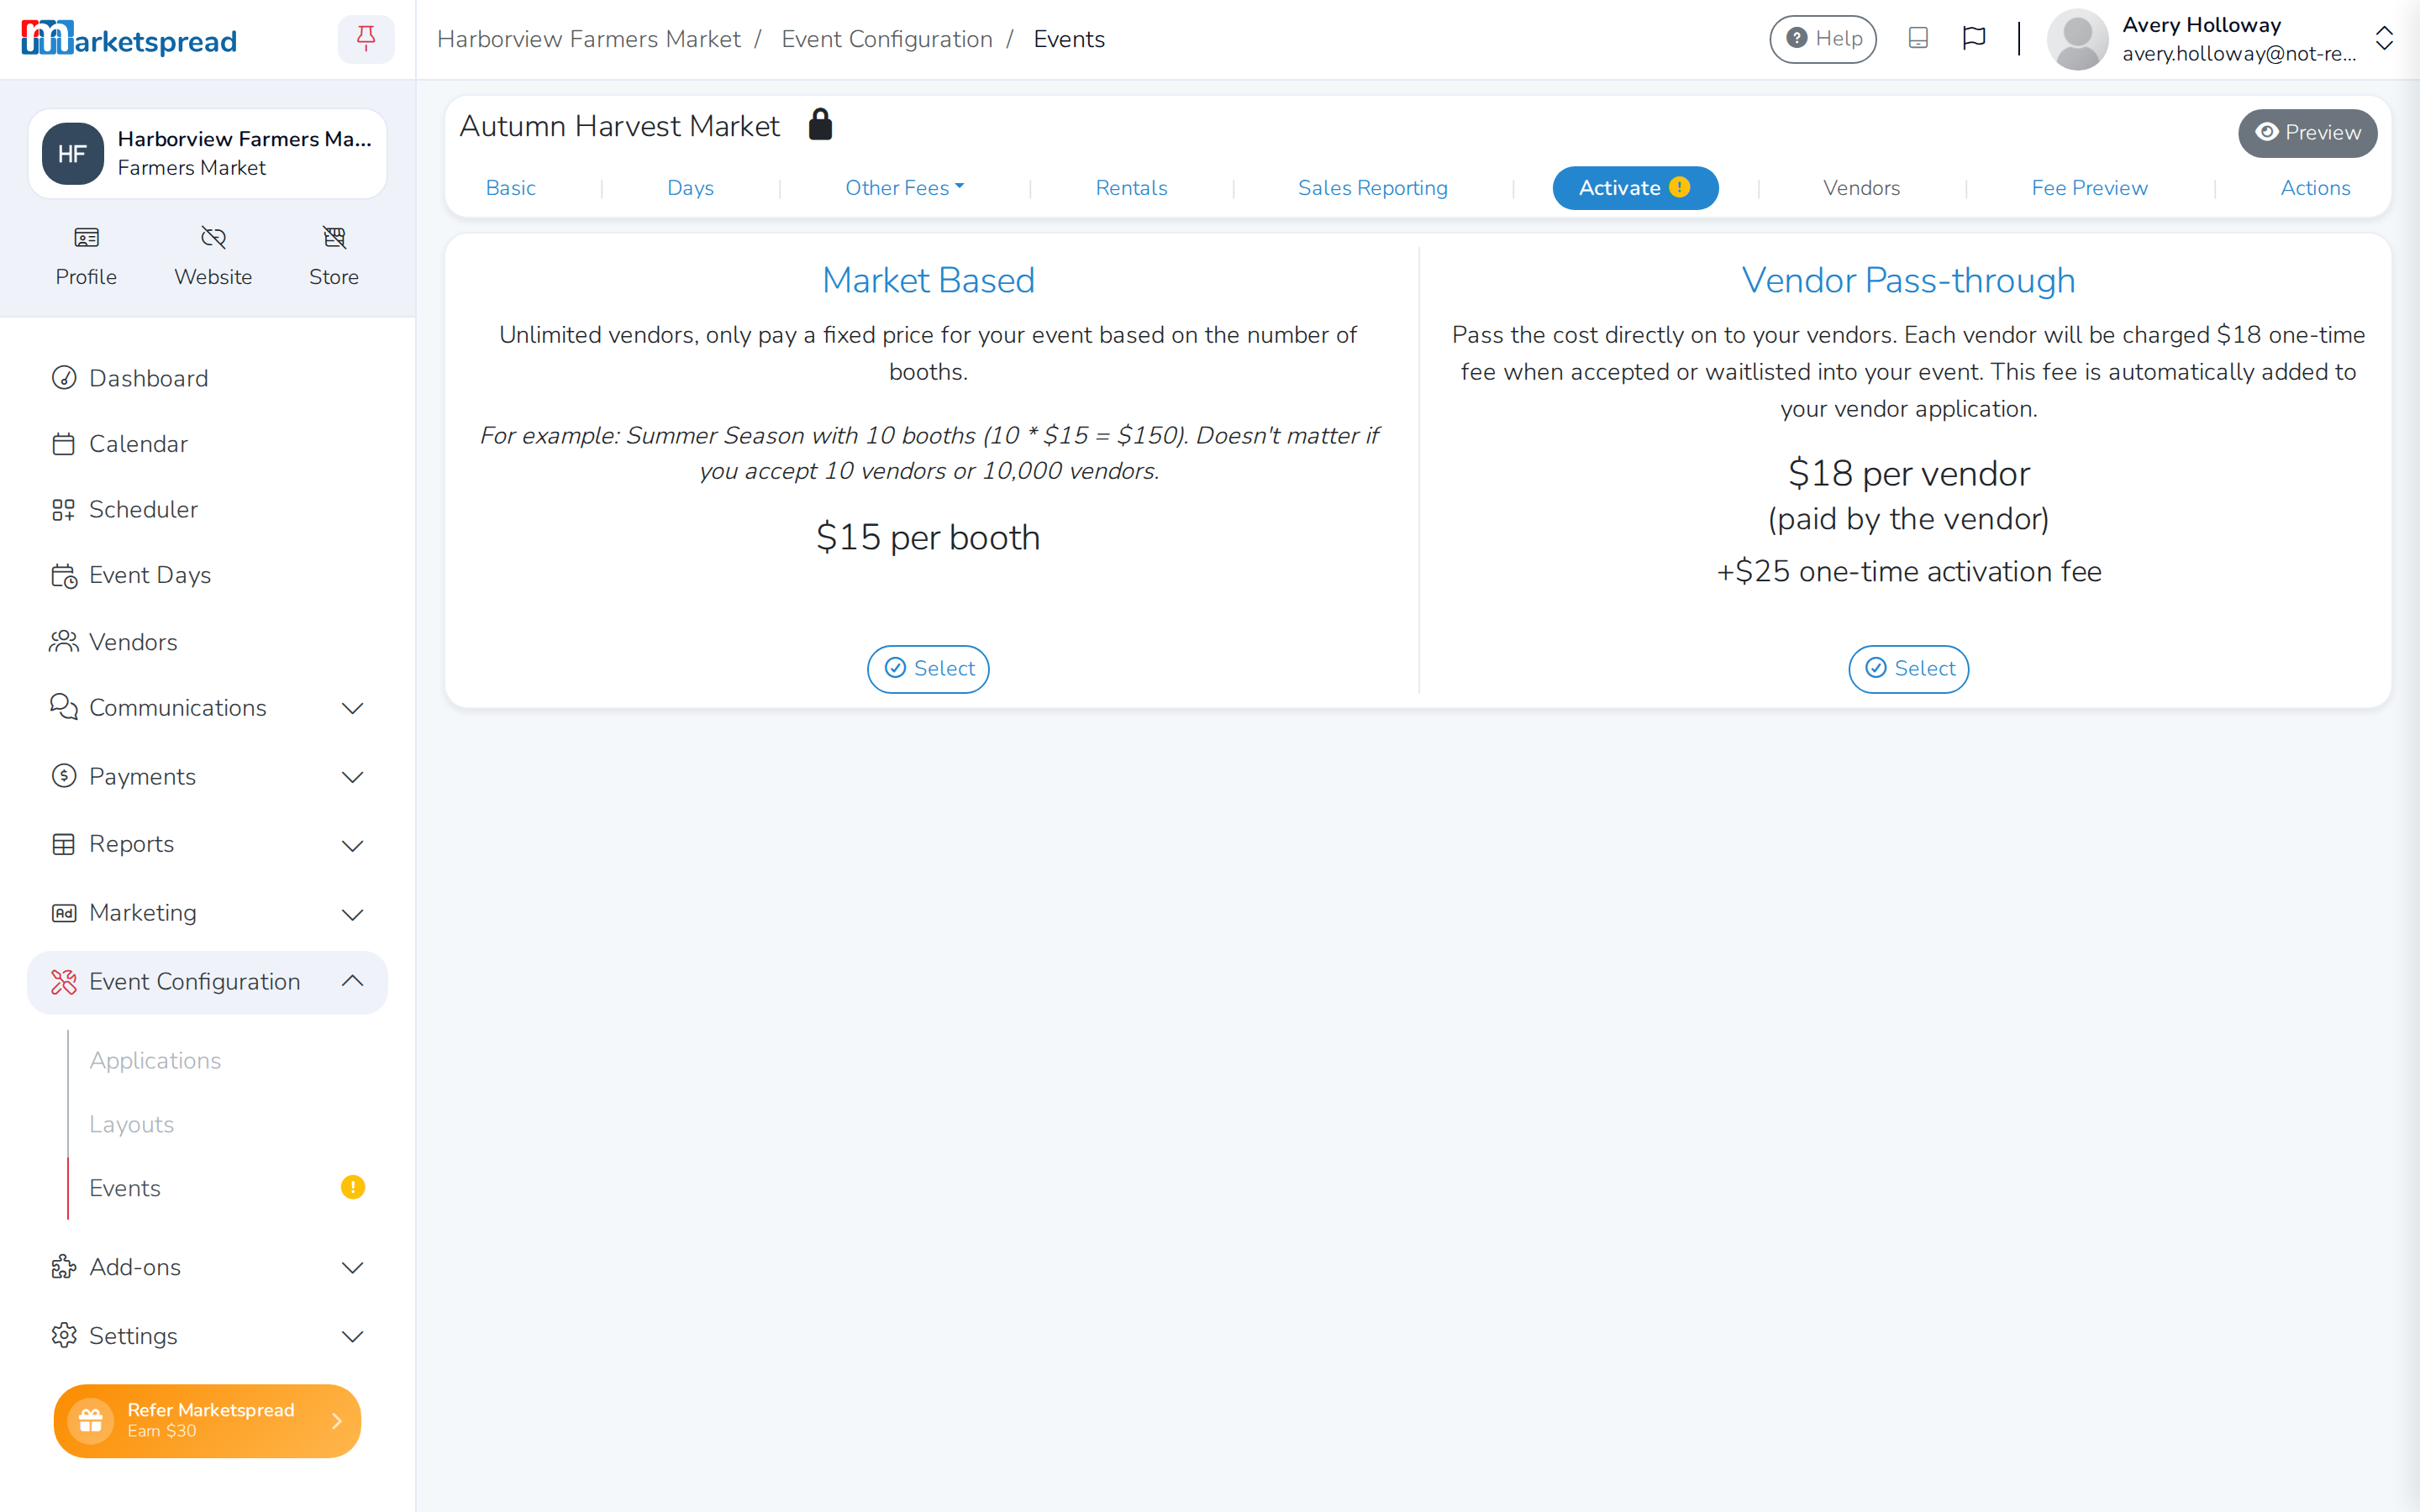
Click Select on the option you want. If you're offered more than one payment plan, choose one, then click Pay to finish.
Important
Vendors can't apply or book a booth until you activate the event.