


If you manage multiple markets or events and want vendors to fill out one application instead of several, create a Virtual Market. A Virtual Market only holds an application — it has no map and no Event Configuration (the market's set of event dates).
For example, say your organization runs several farmers markets at different locations, and you want vendors to apply once instead of once per market.
Creating a single application
Create the market that will hold your combined application the same way you create any other — see How to Create a Market Account. A couple of quick notes for a virtual market:
- You can turn one of your existing markets virtual, or create a new one just to hold the combined application.
- You will be asked to enter your address. Even though the market is virtual, enter a real address with a zip code. Saving other settings later, like turning on Virtual Only, needs one on file.
After your market is created, go to Settings → Profile in your dashboard.
There, find the Virtual Only setting and switch it to Yes, then click Save. By default it is set to No.
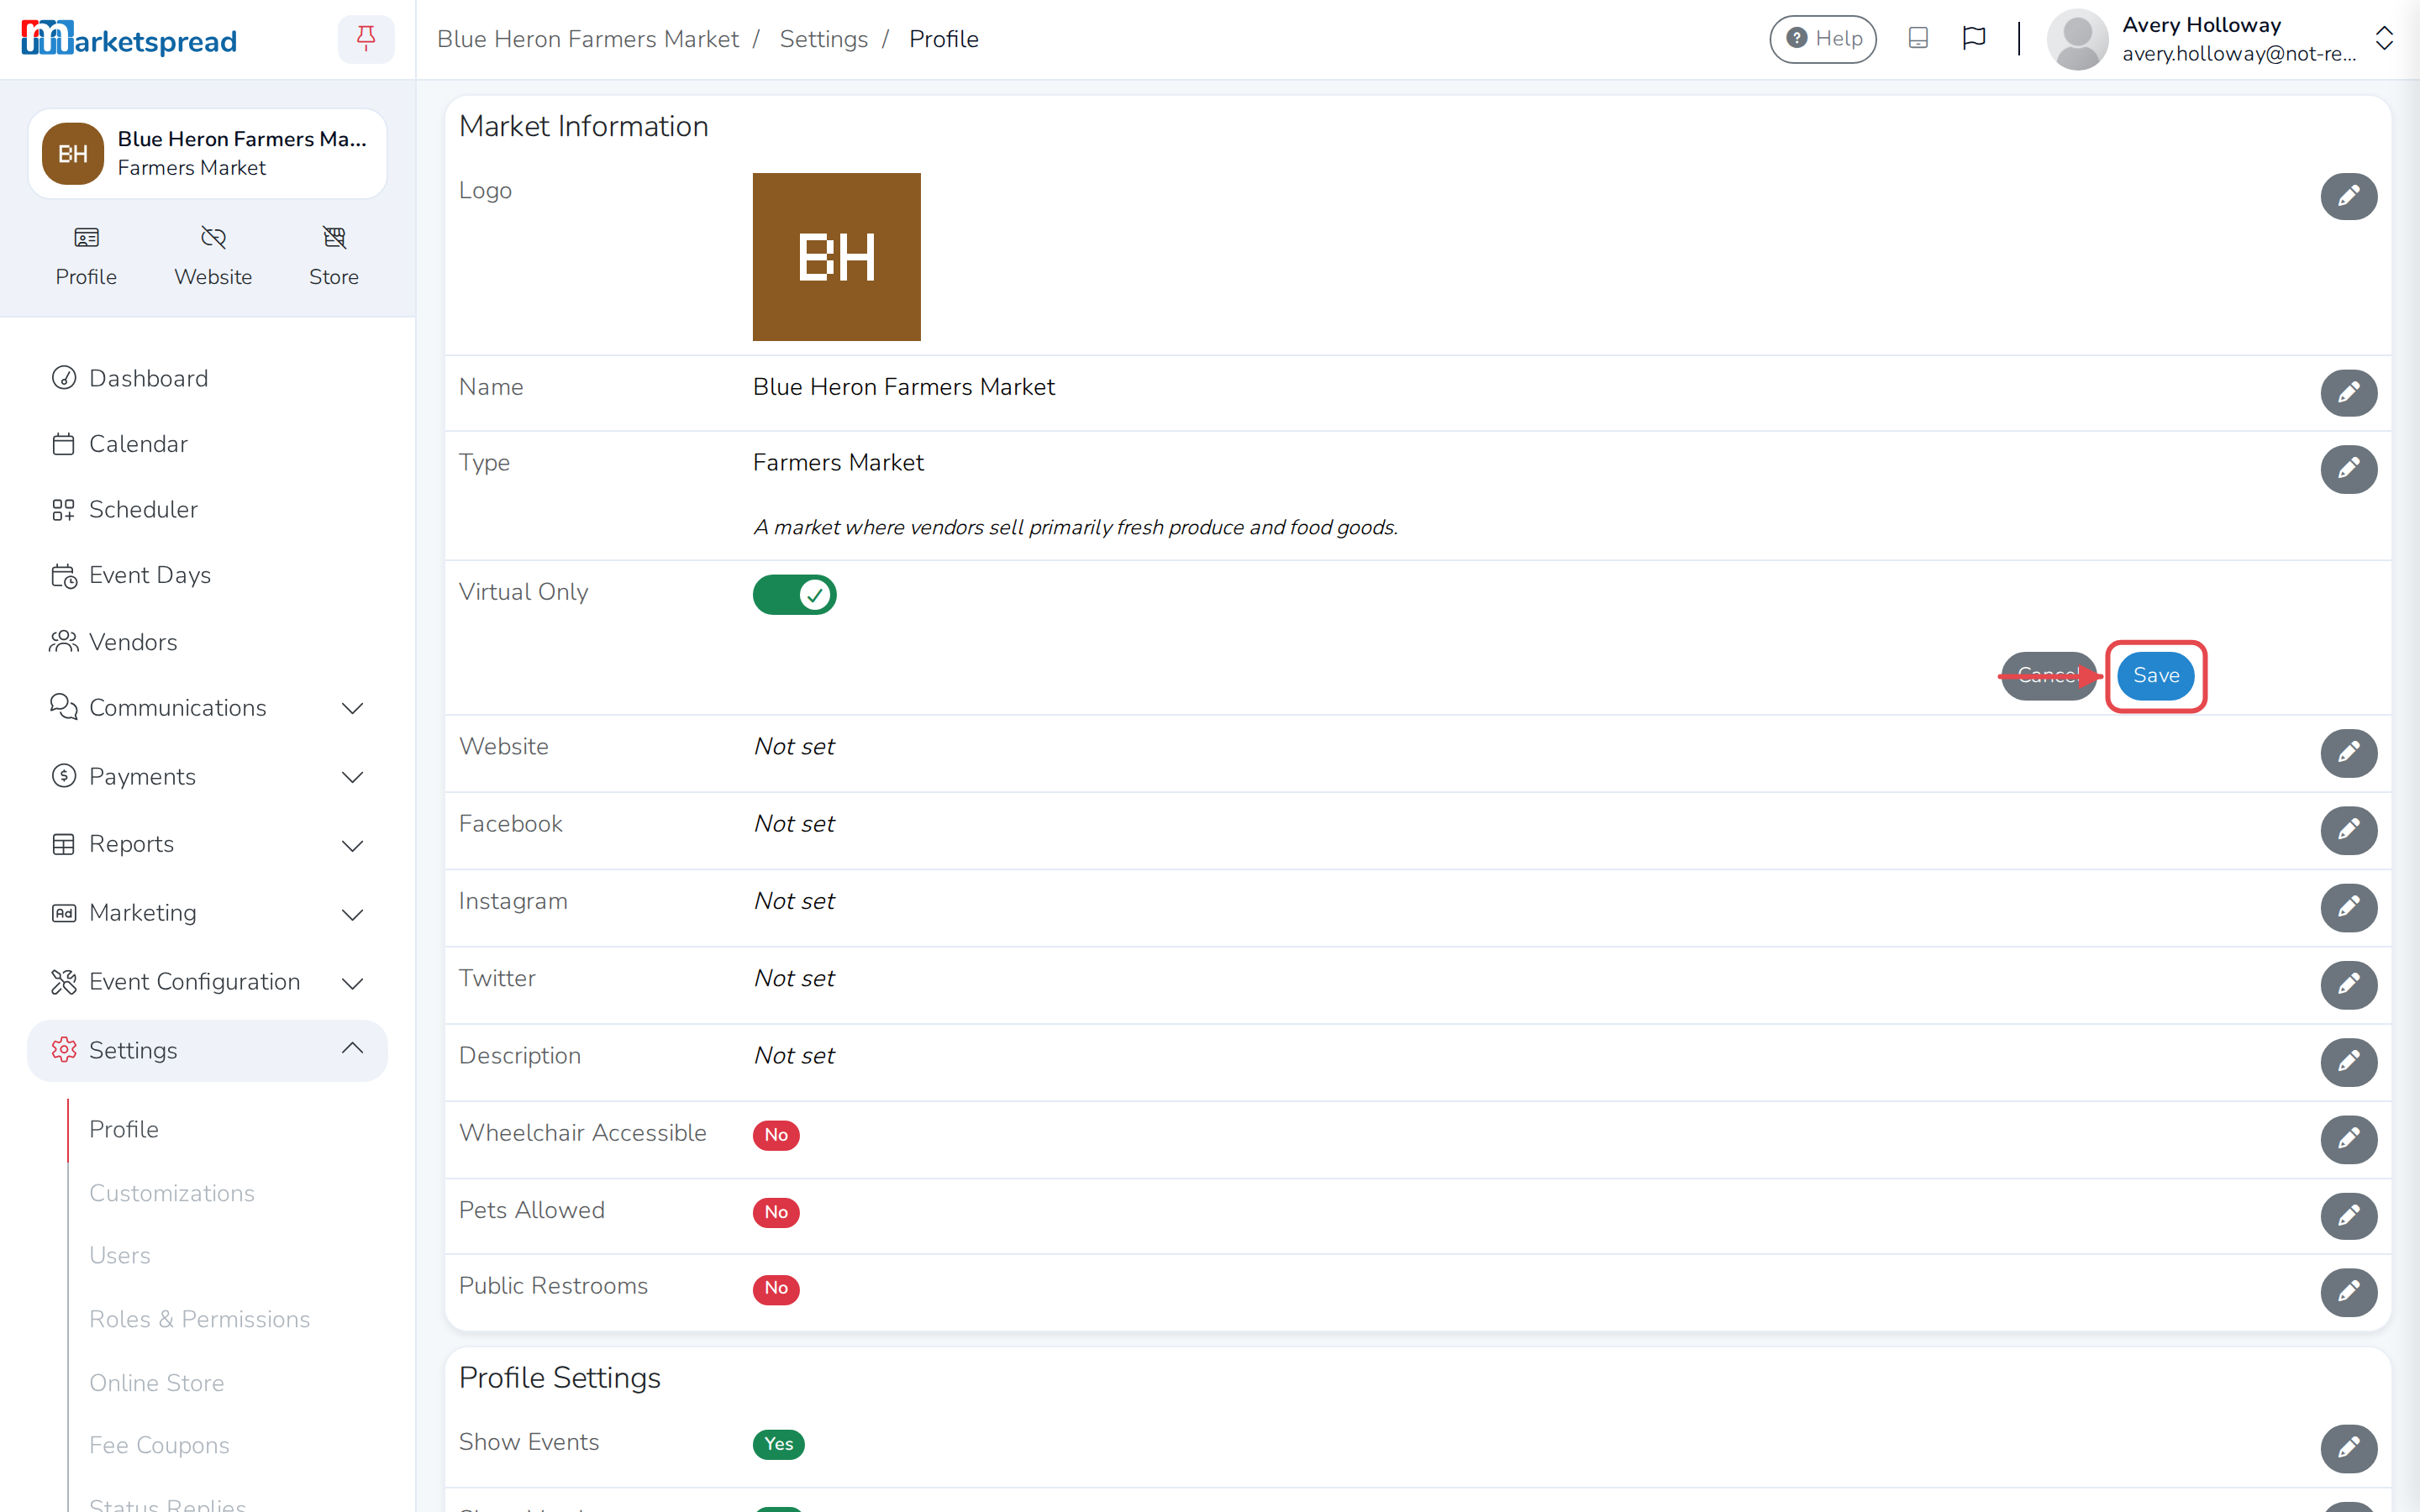
Once it saves, your market is labeled Virtual Only. Since a virtual market doesn't run events, Scheduler and Event Days disappear from the sidebar too, and Event Configuration is replaced by a single Applications link.
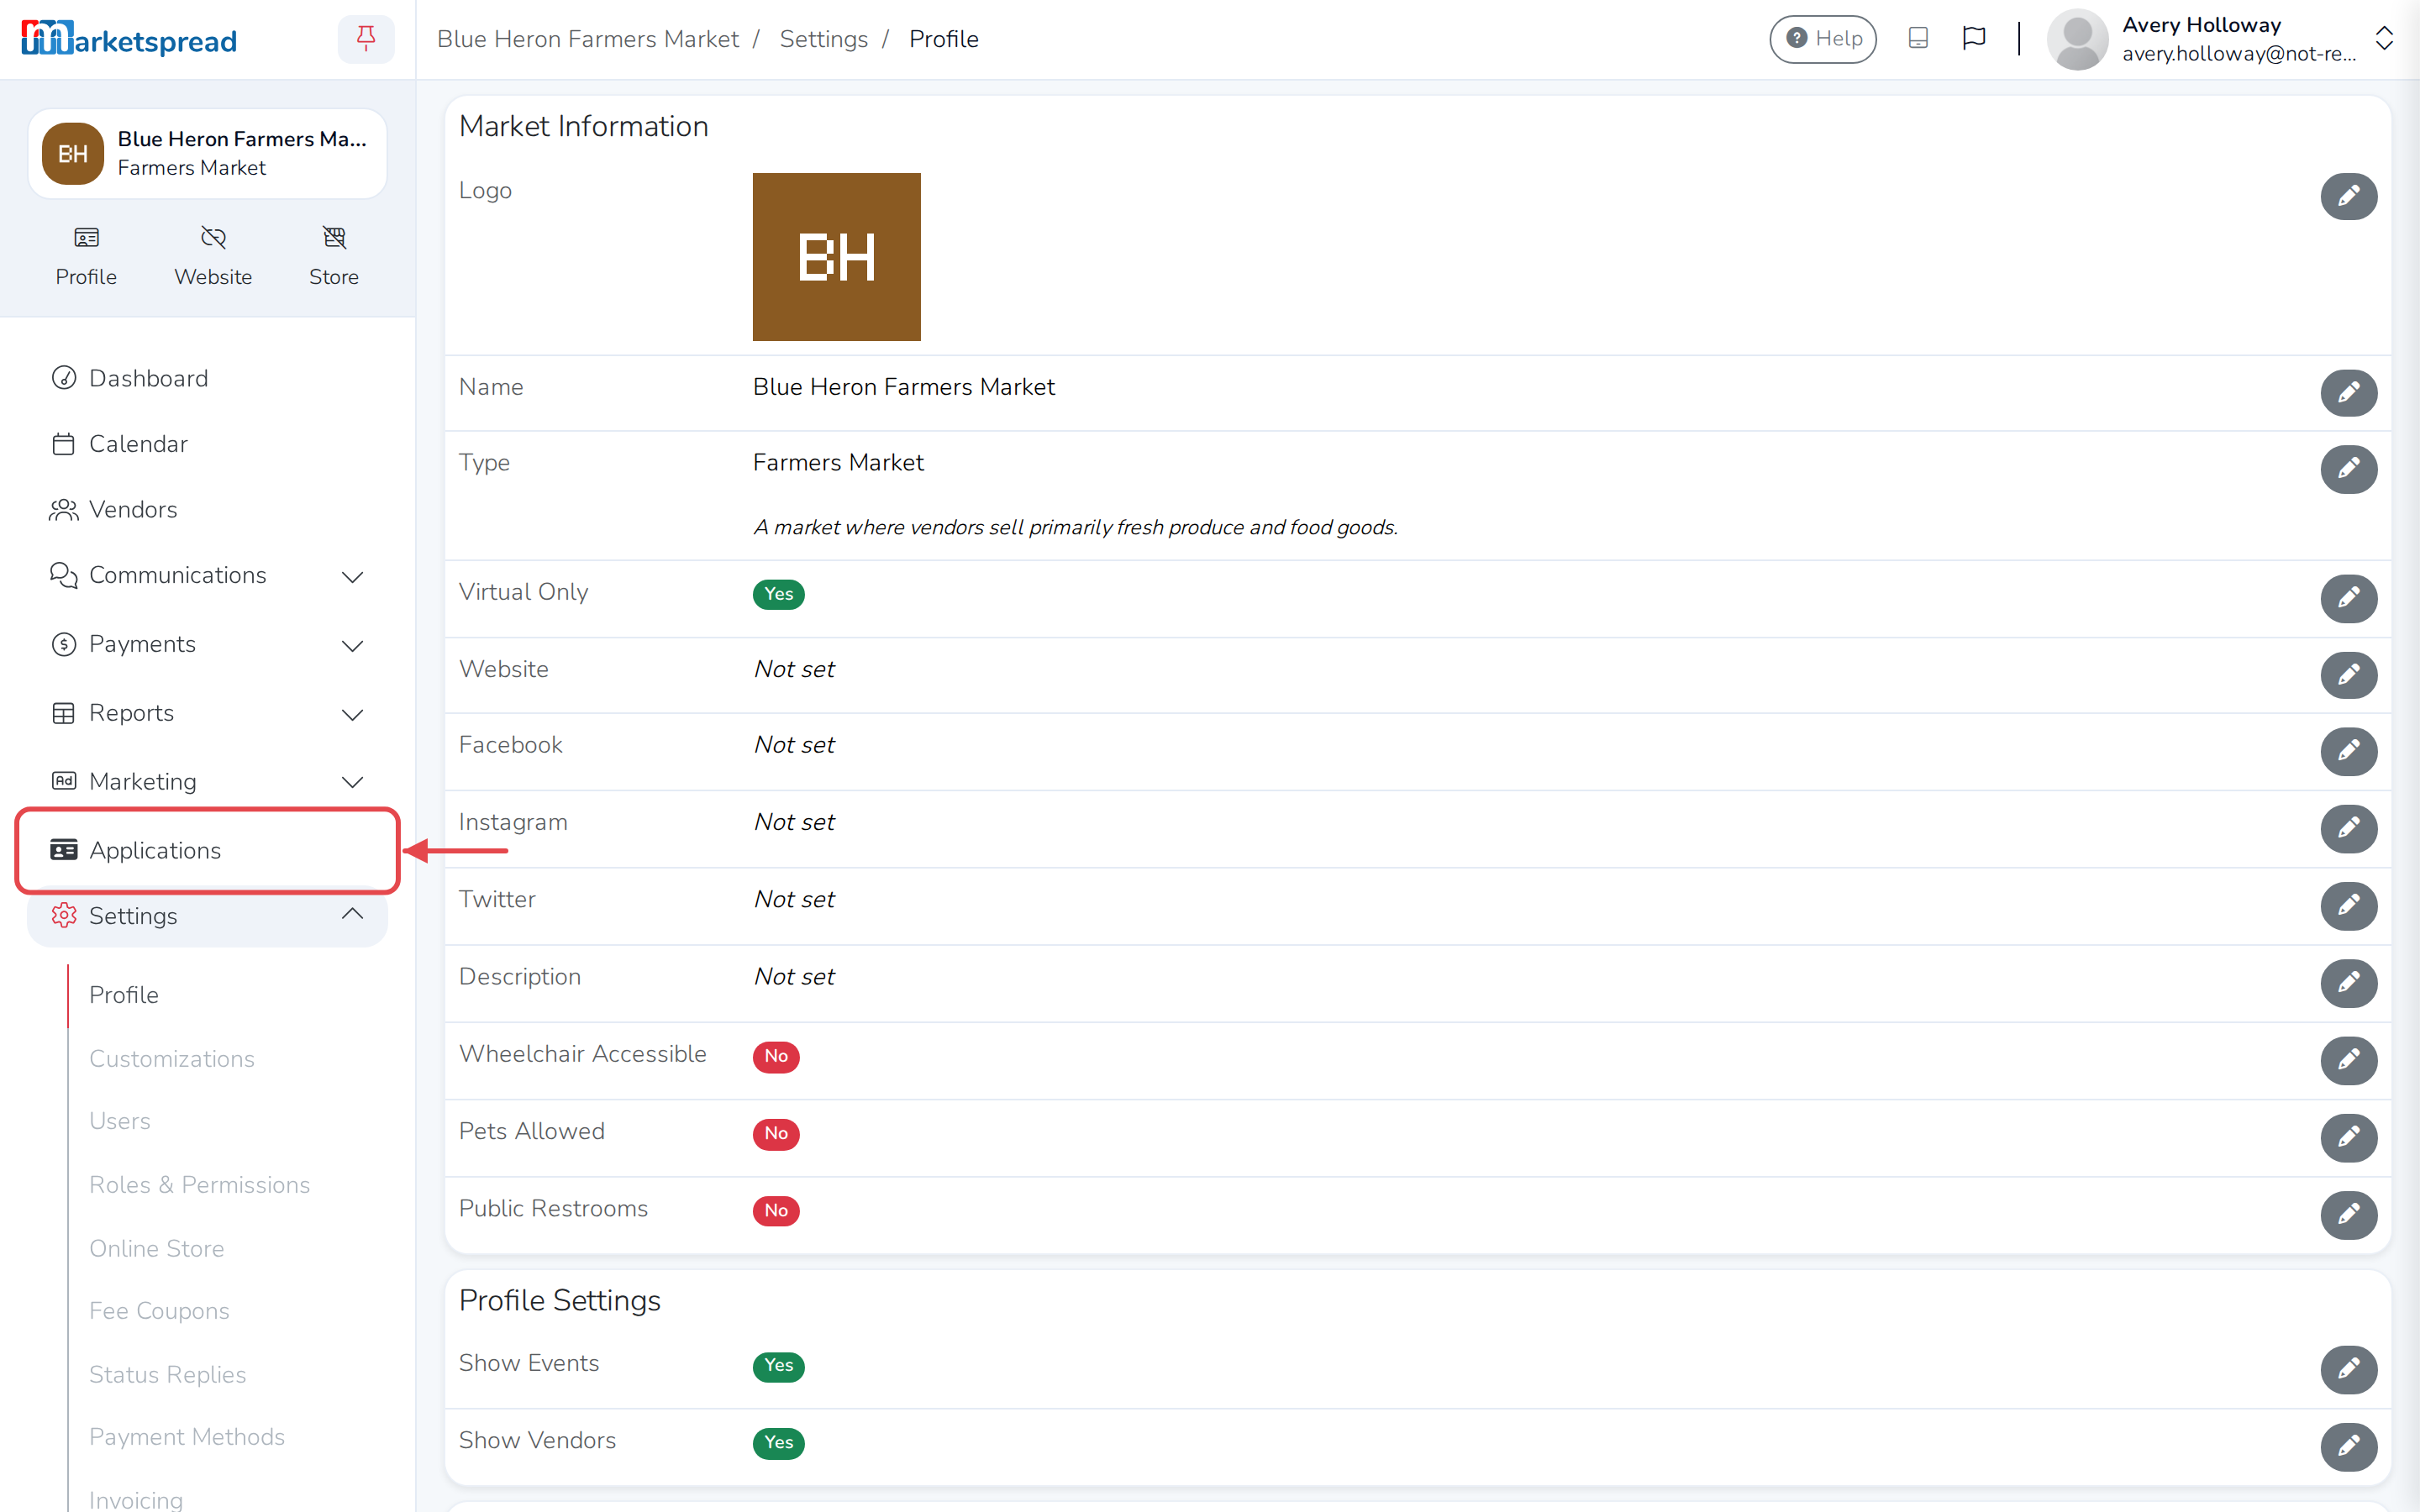
Next, click Applications, then Add application template to create your combined application.
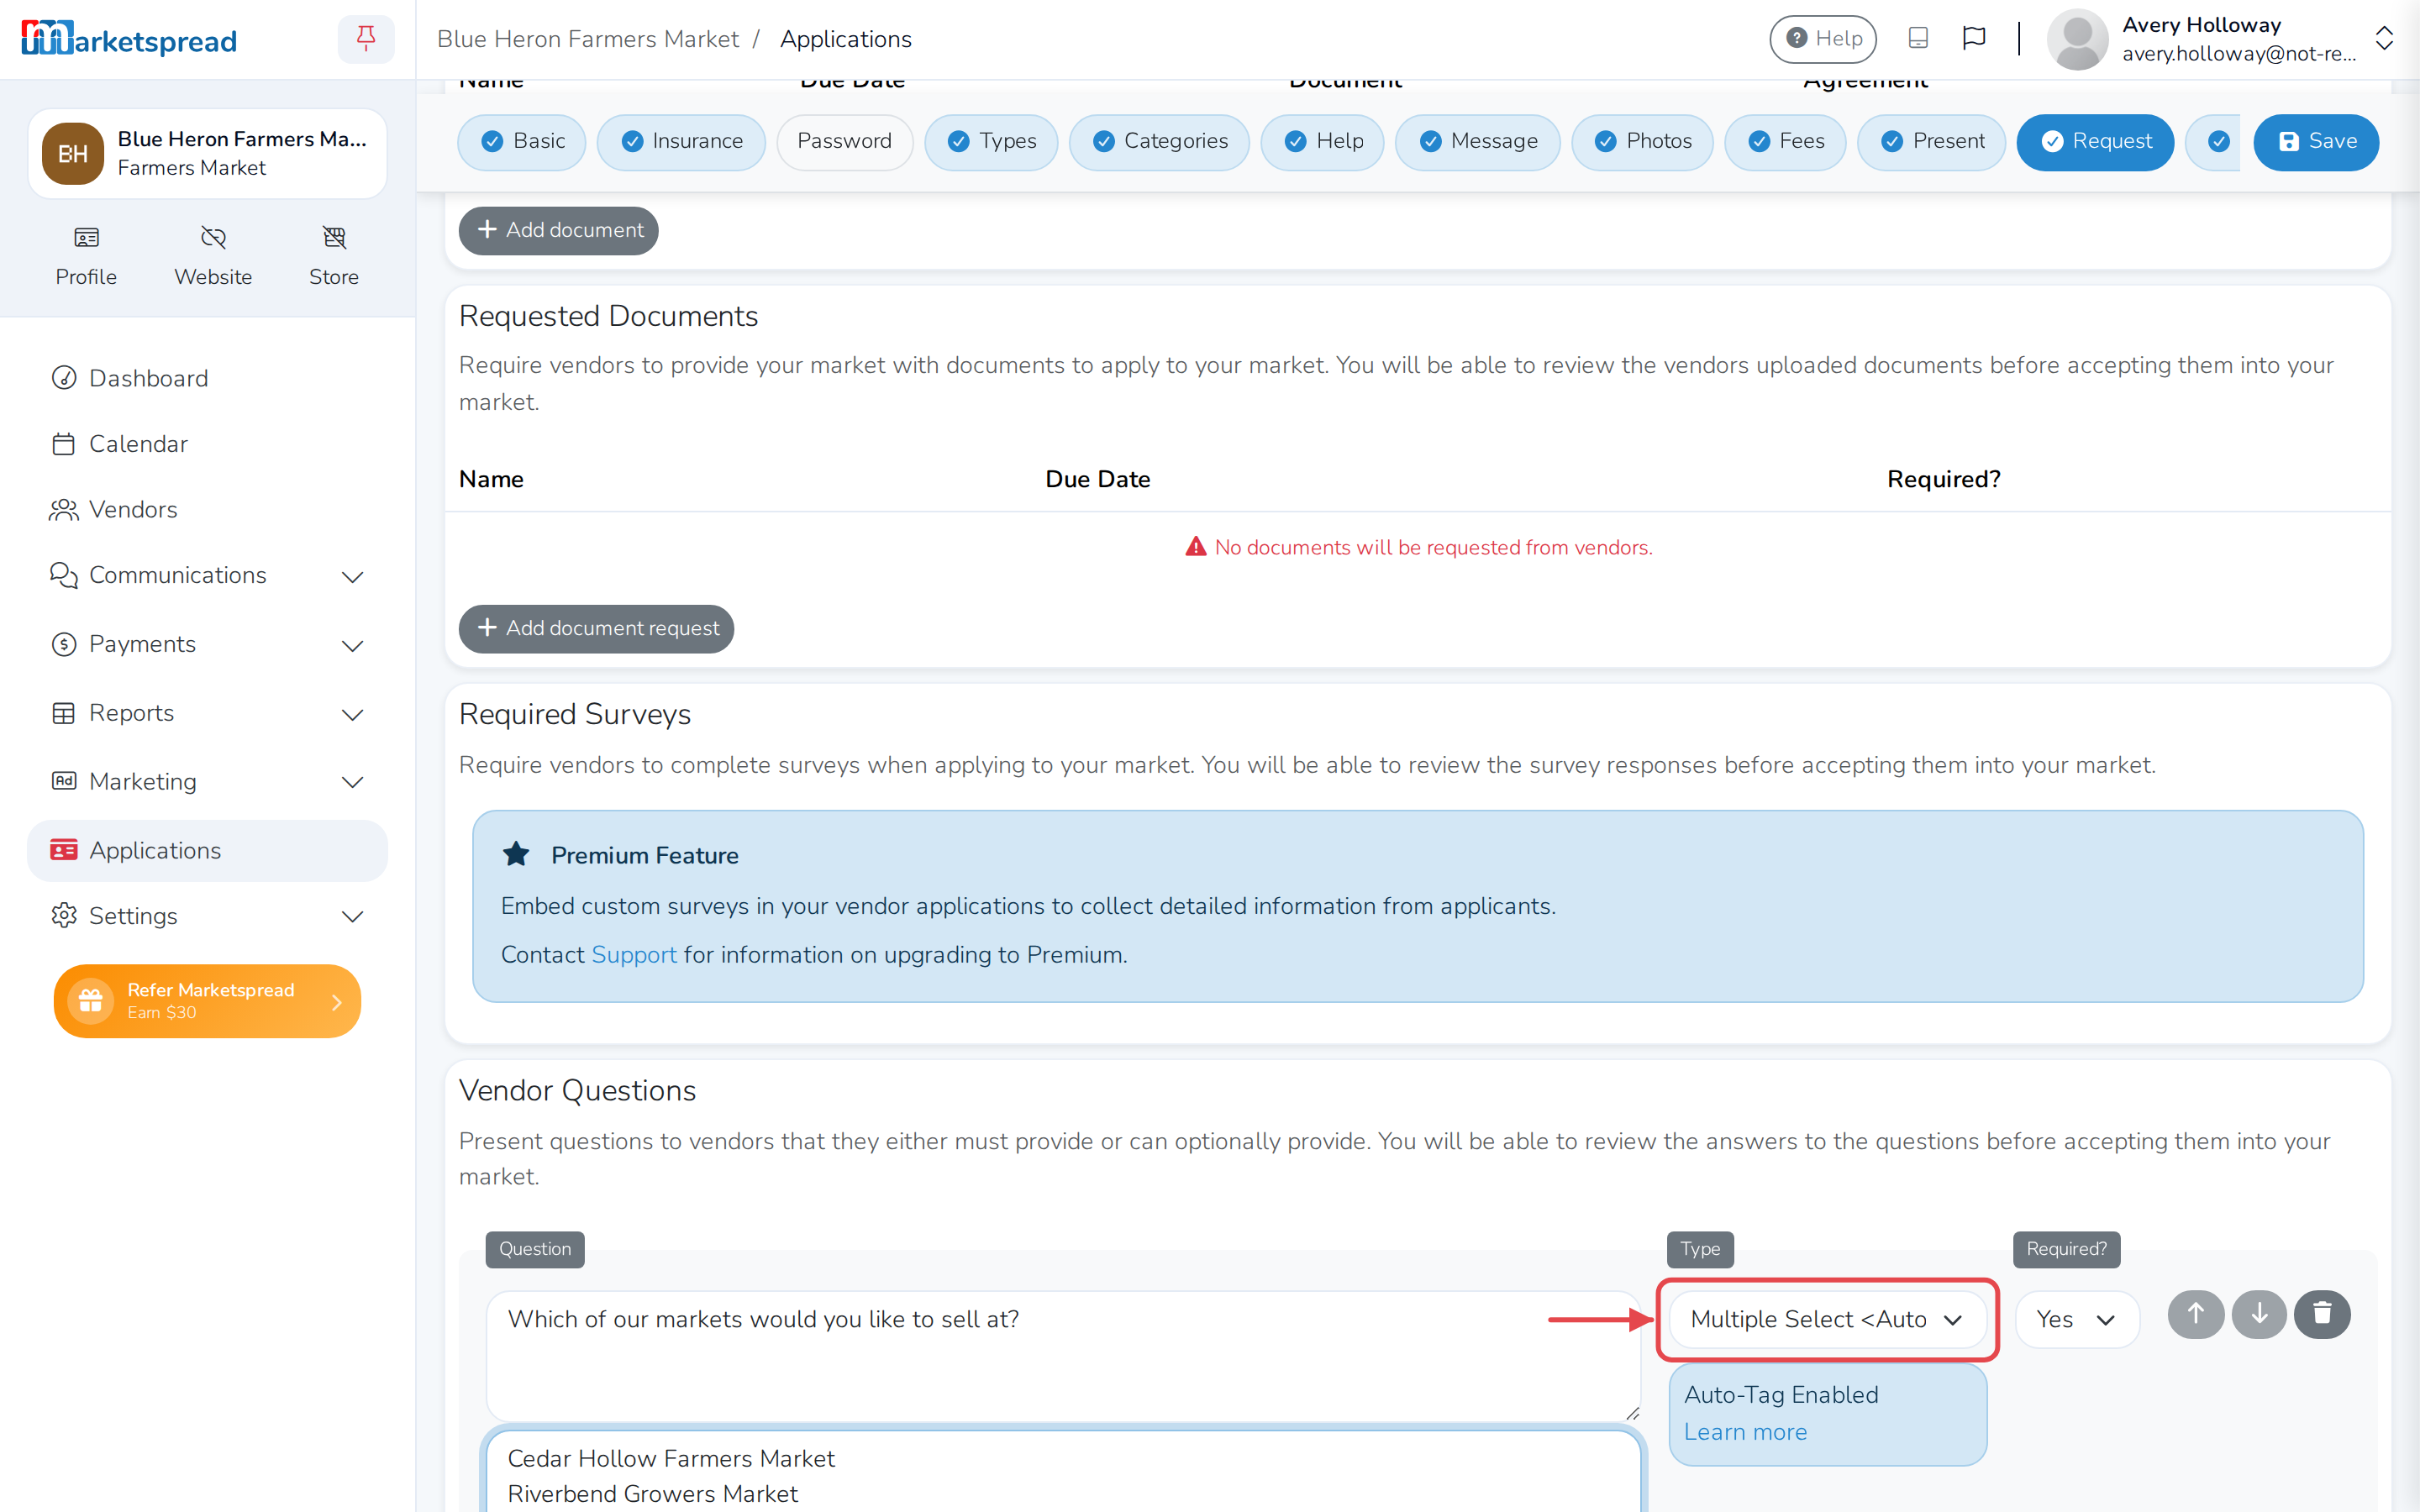
One recommendation is to ask which of your markets the vendor wants to sell at. Create this question as type Multiple Select , and list your other markets as the choices.
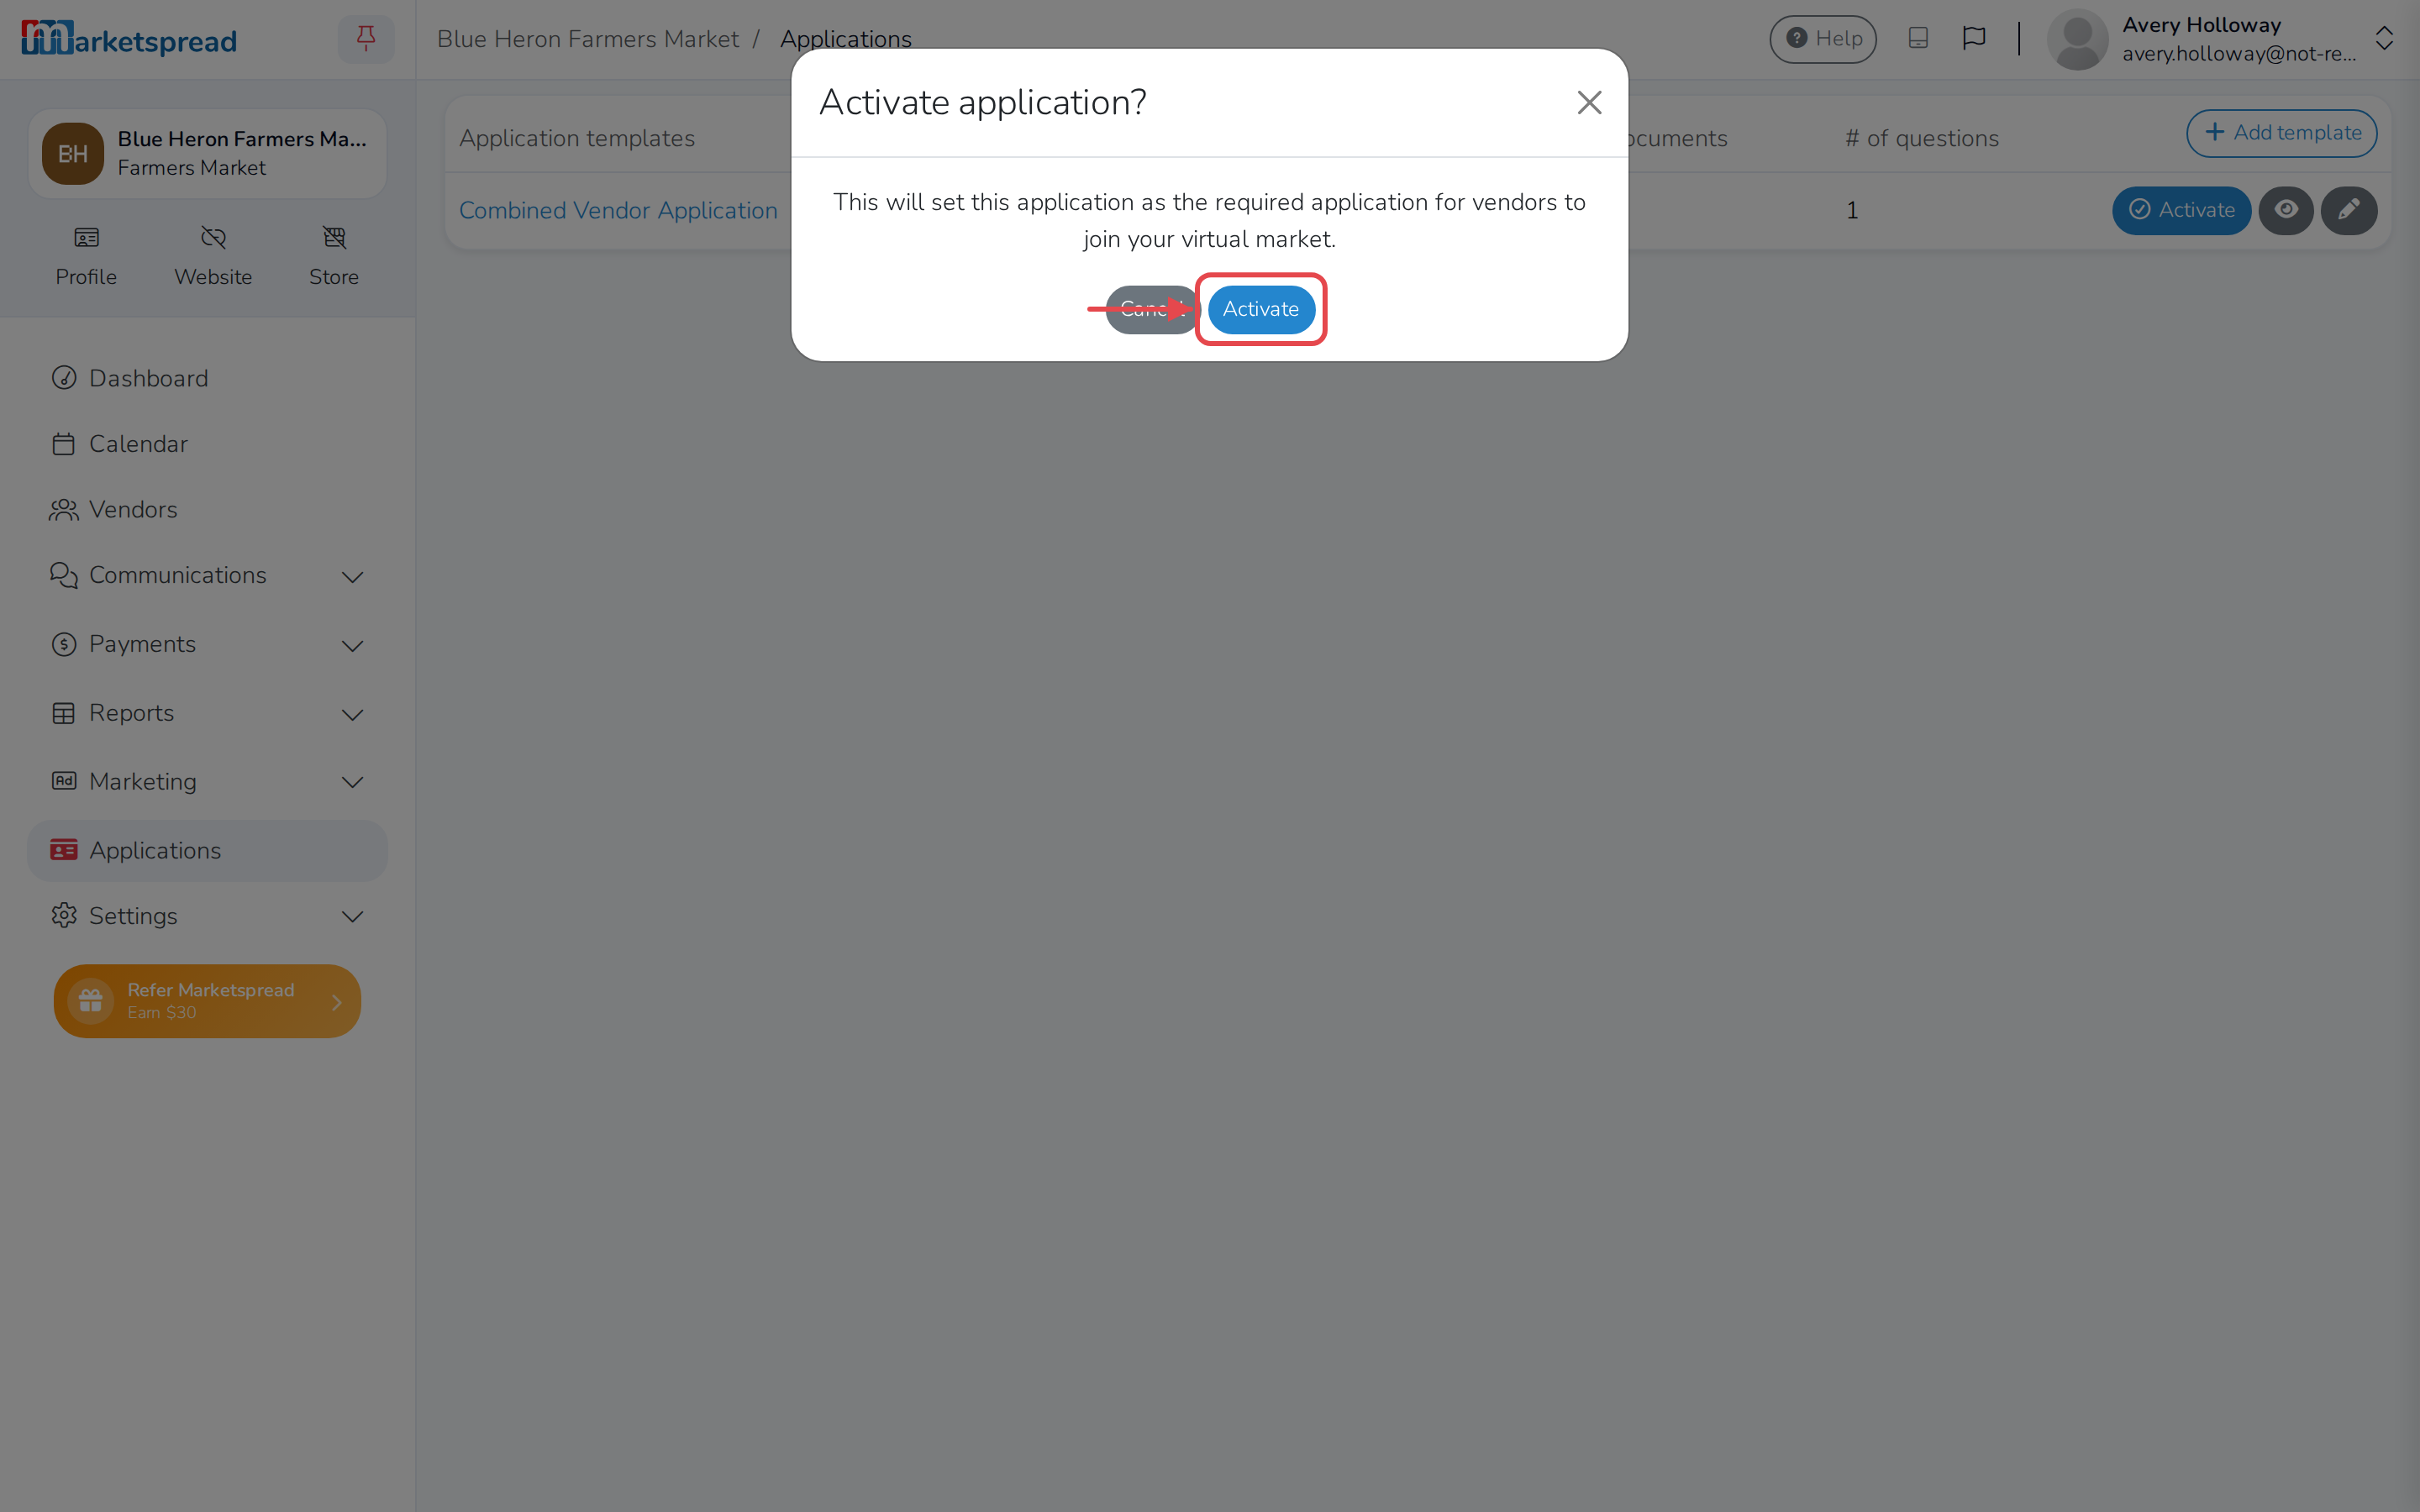
After your application is complete, save it, then click Activate next to it. This will allow vendors to apply to it.
Accepting vendors from your combined application
With a single application, you have a couple of options for accepting vendors into your other markets.
Option 1: Route accepted vendors to each market's application
Vendors apply to your combined application first. Once you accept one, send them to each individual market's application — manually, with an email or an application comment, or automatically with a custom Accepted status reply.
Option 2: Add accepted vendors to each market yourself
Vendors apply to your combined application first. Once you accept one, add them to your other markets directly as Accepted. This is the quicker of the two options.