


A late fee is worth setting up once and reusing. You save it as a line item,
then drop it onto any invoice without retyping the name or the amount.
Set up the late fee
- Open Settings, then Invoicing.
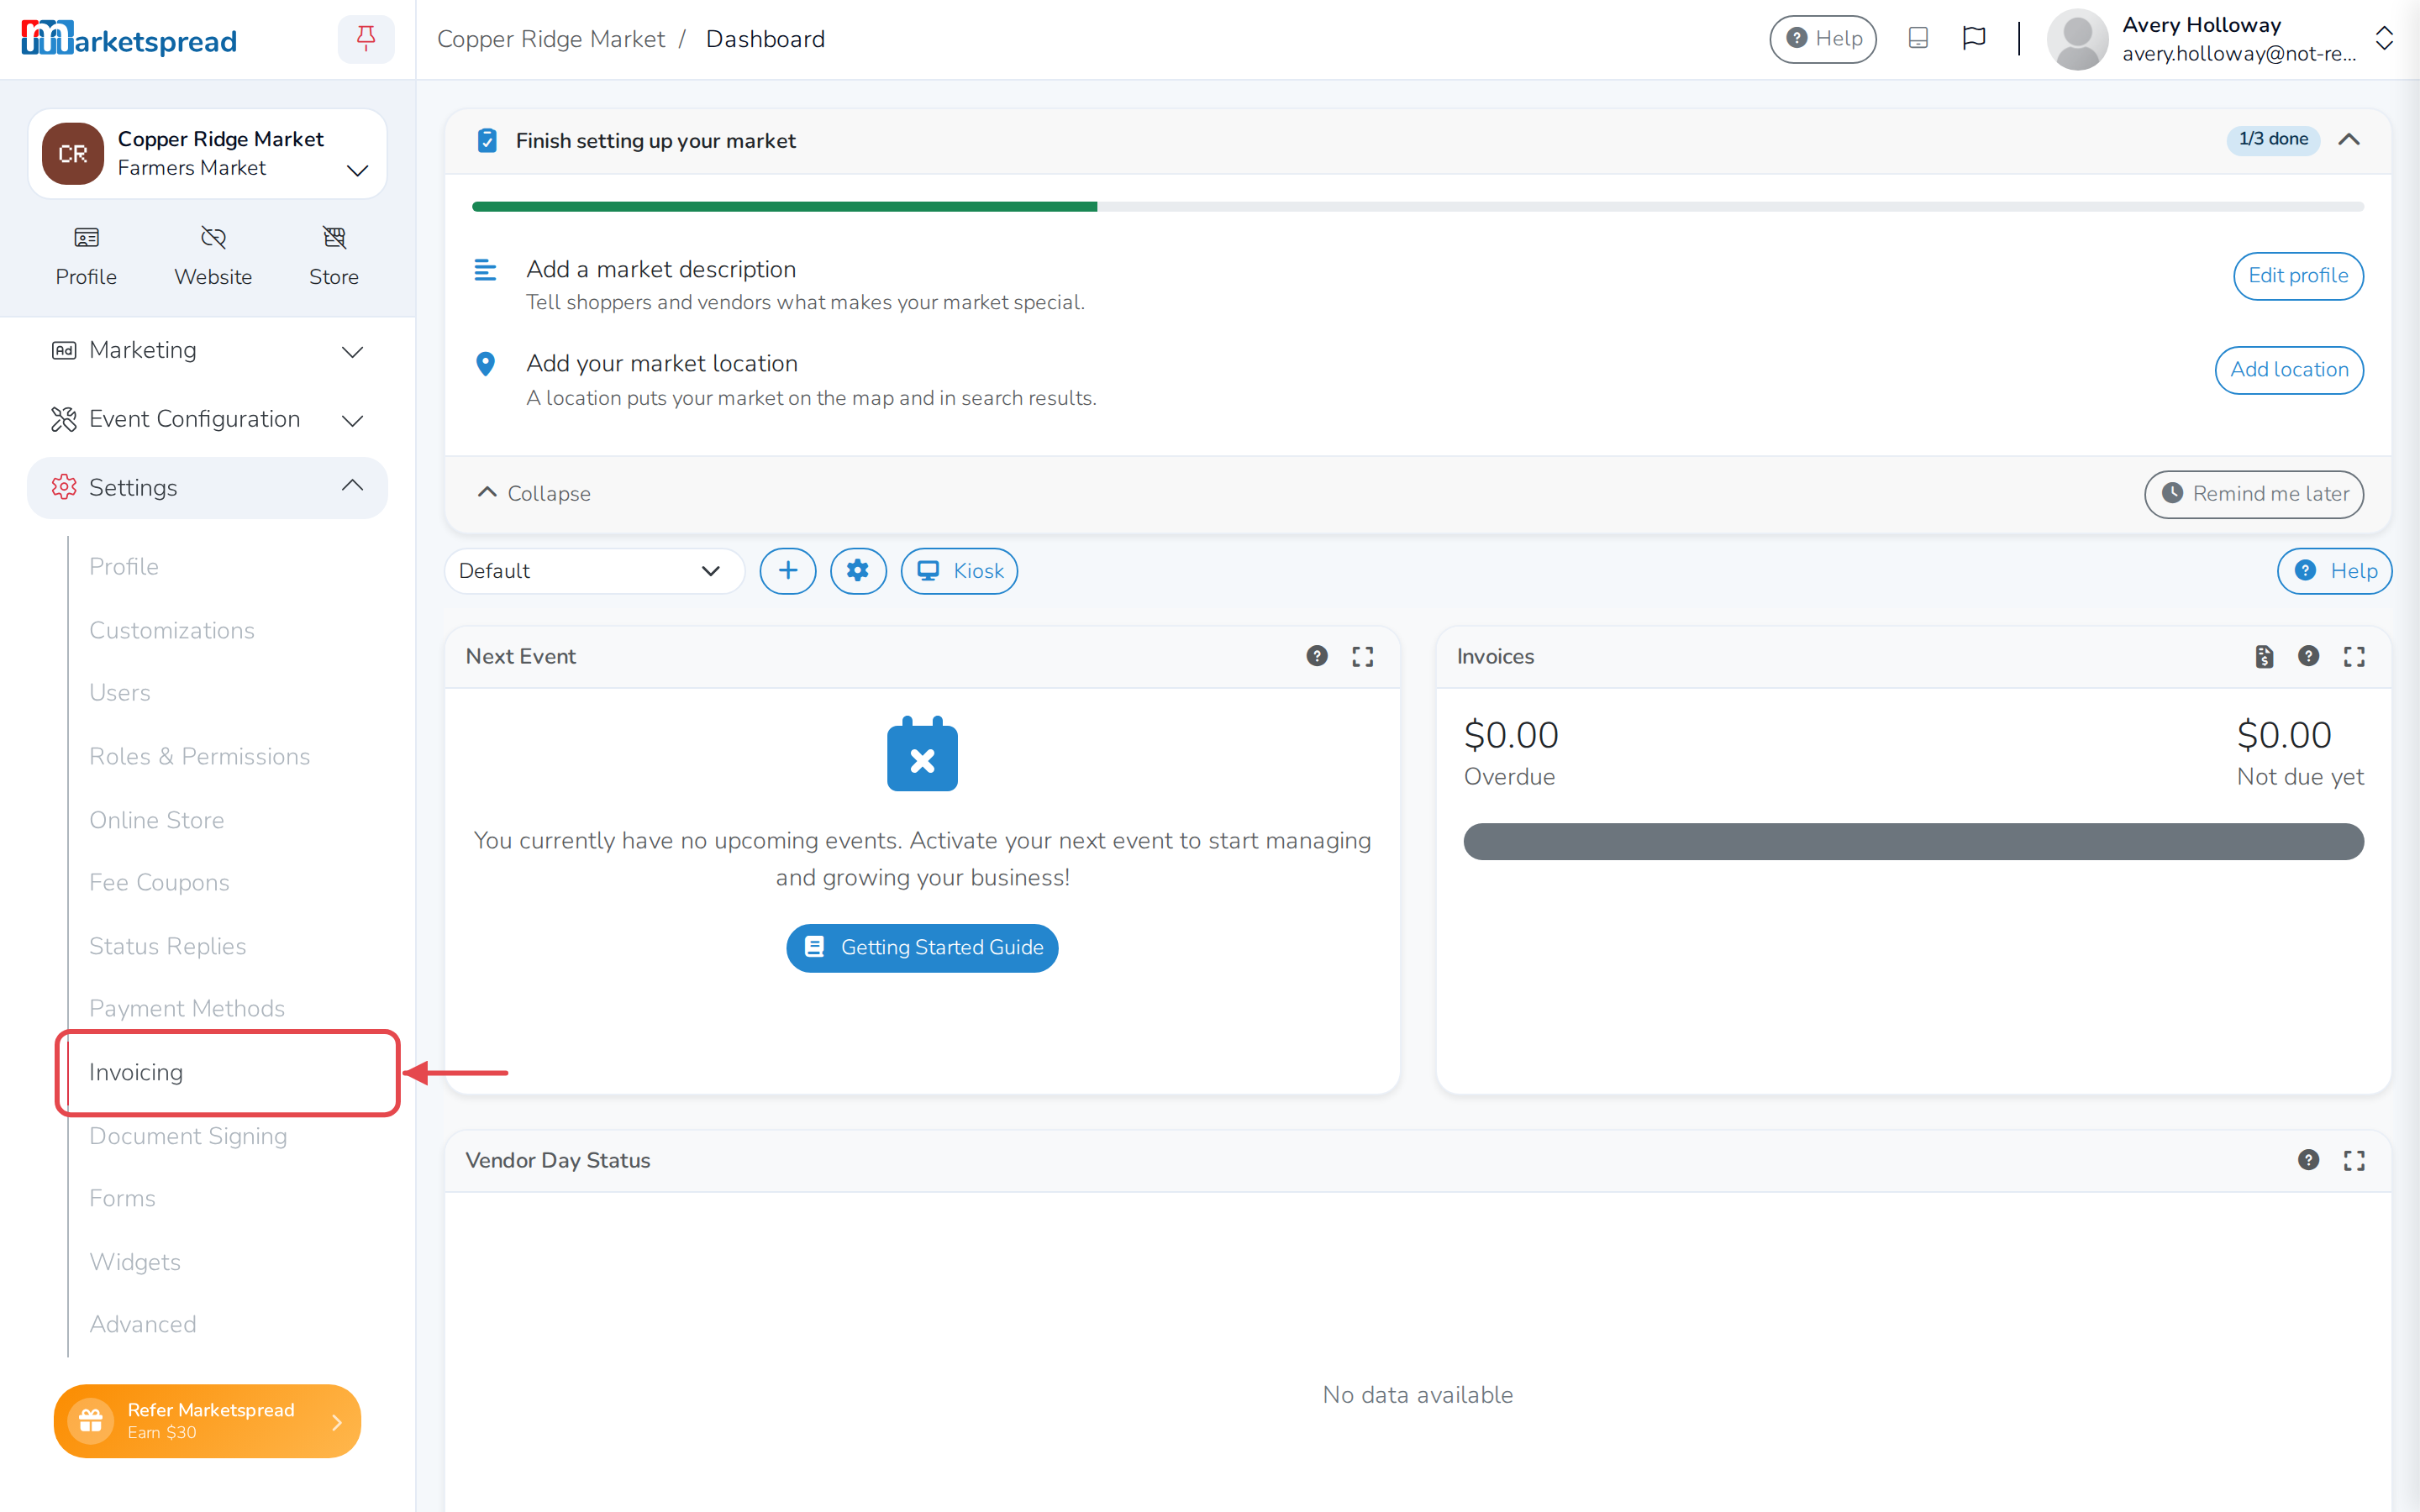
- Find Invoice Items and click + Add line item in the top right.
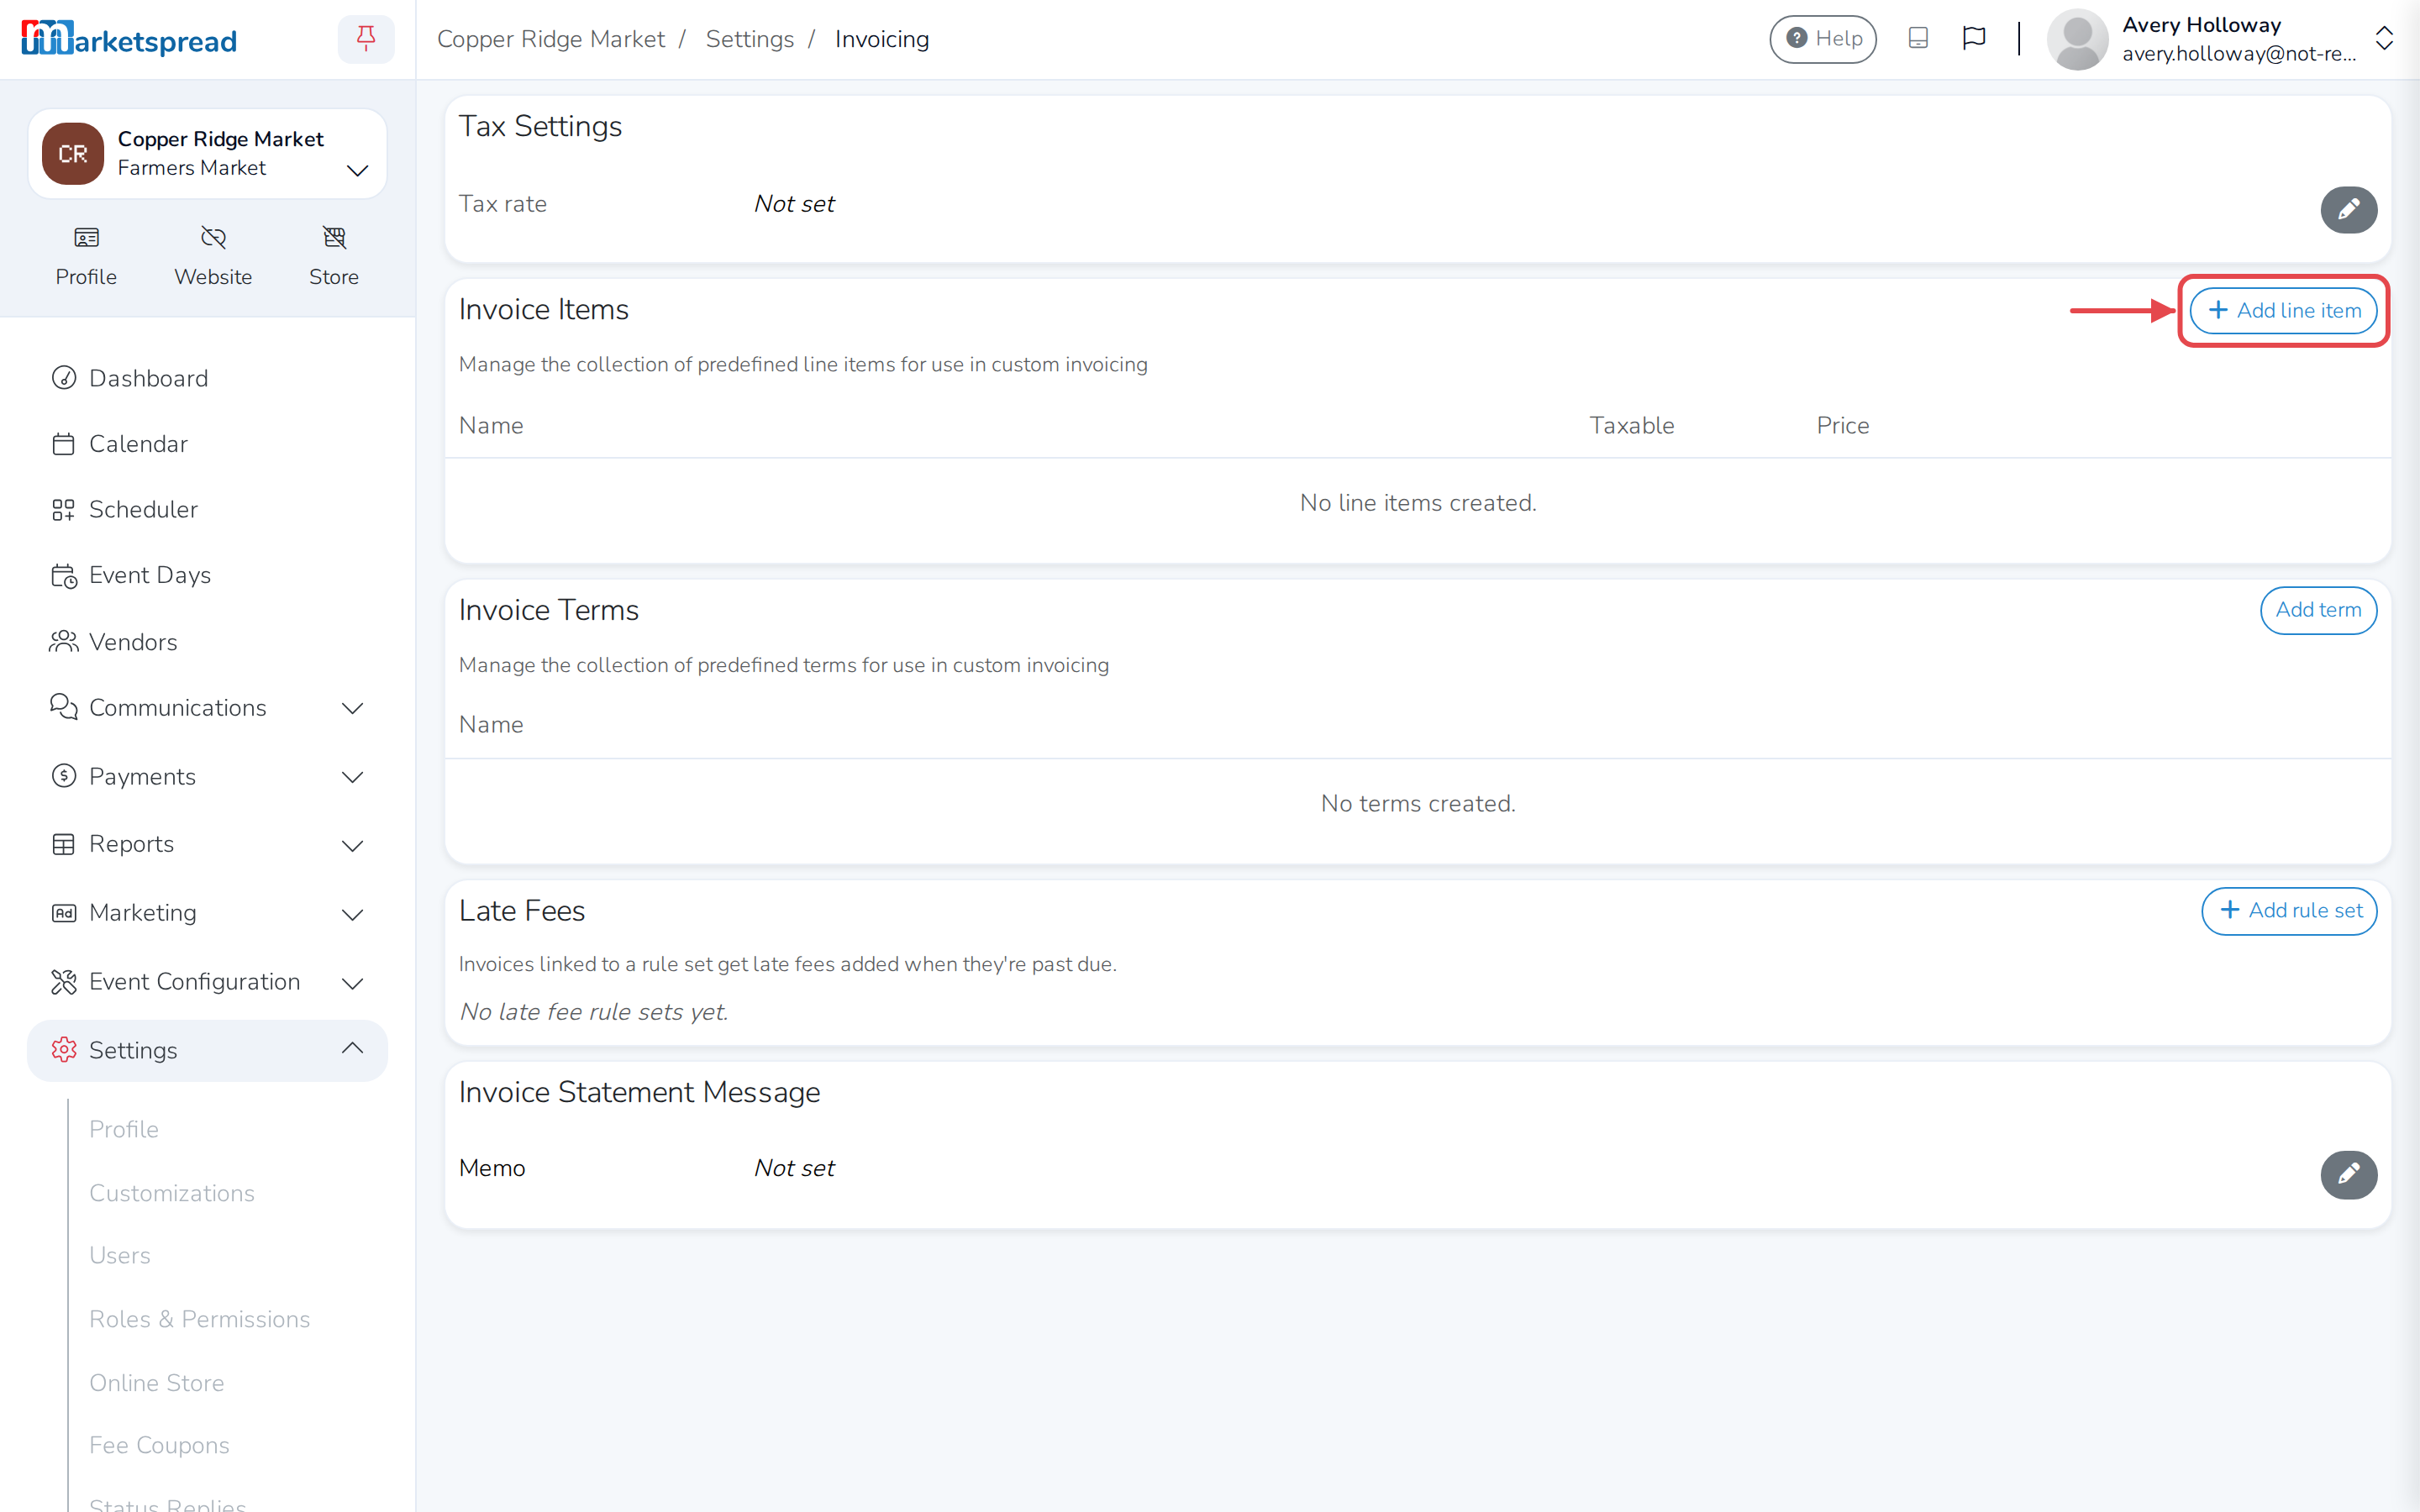
- Give it a Name, such as "Late Fee".
- Turn on Taxable if you have to charge tax on it.
- Fill in the Price.
- Add any Tags you want it grouped under in your reports.
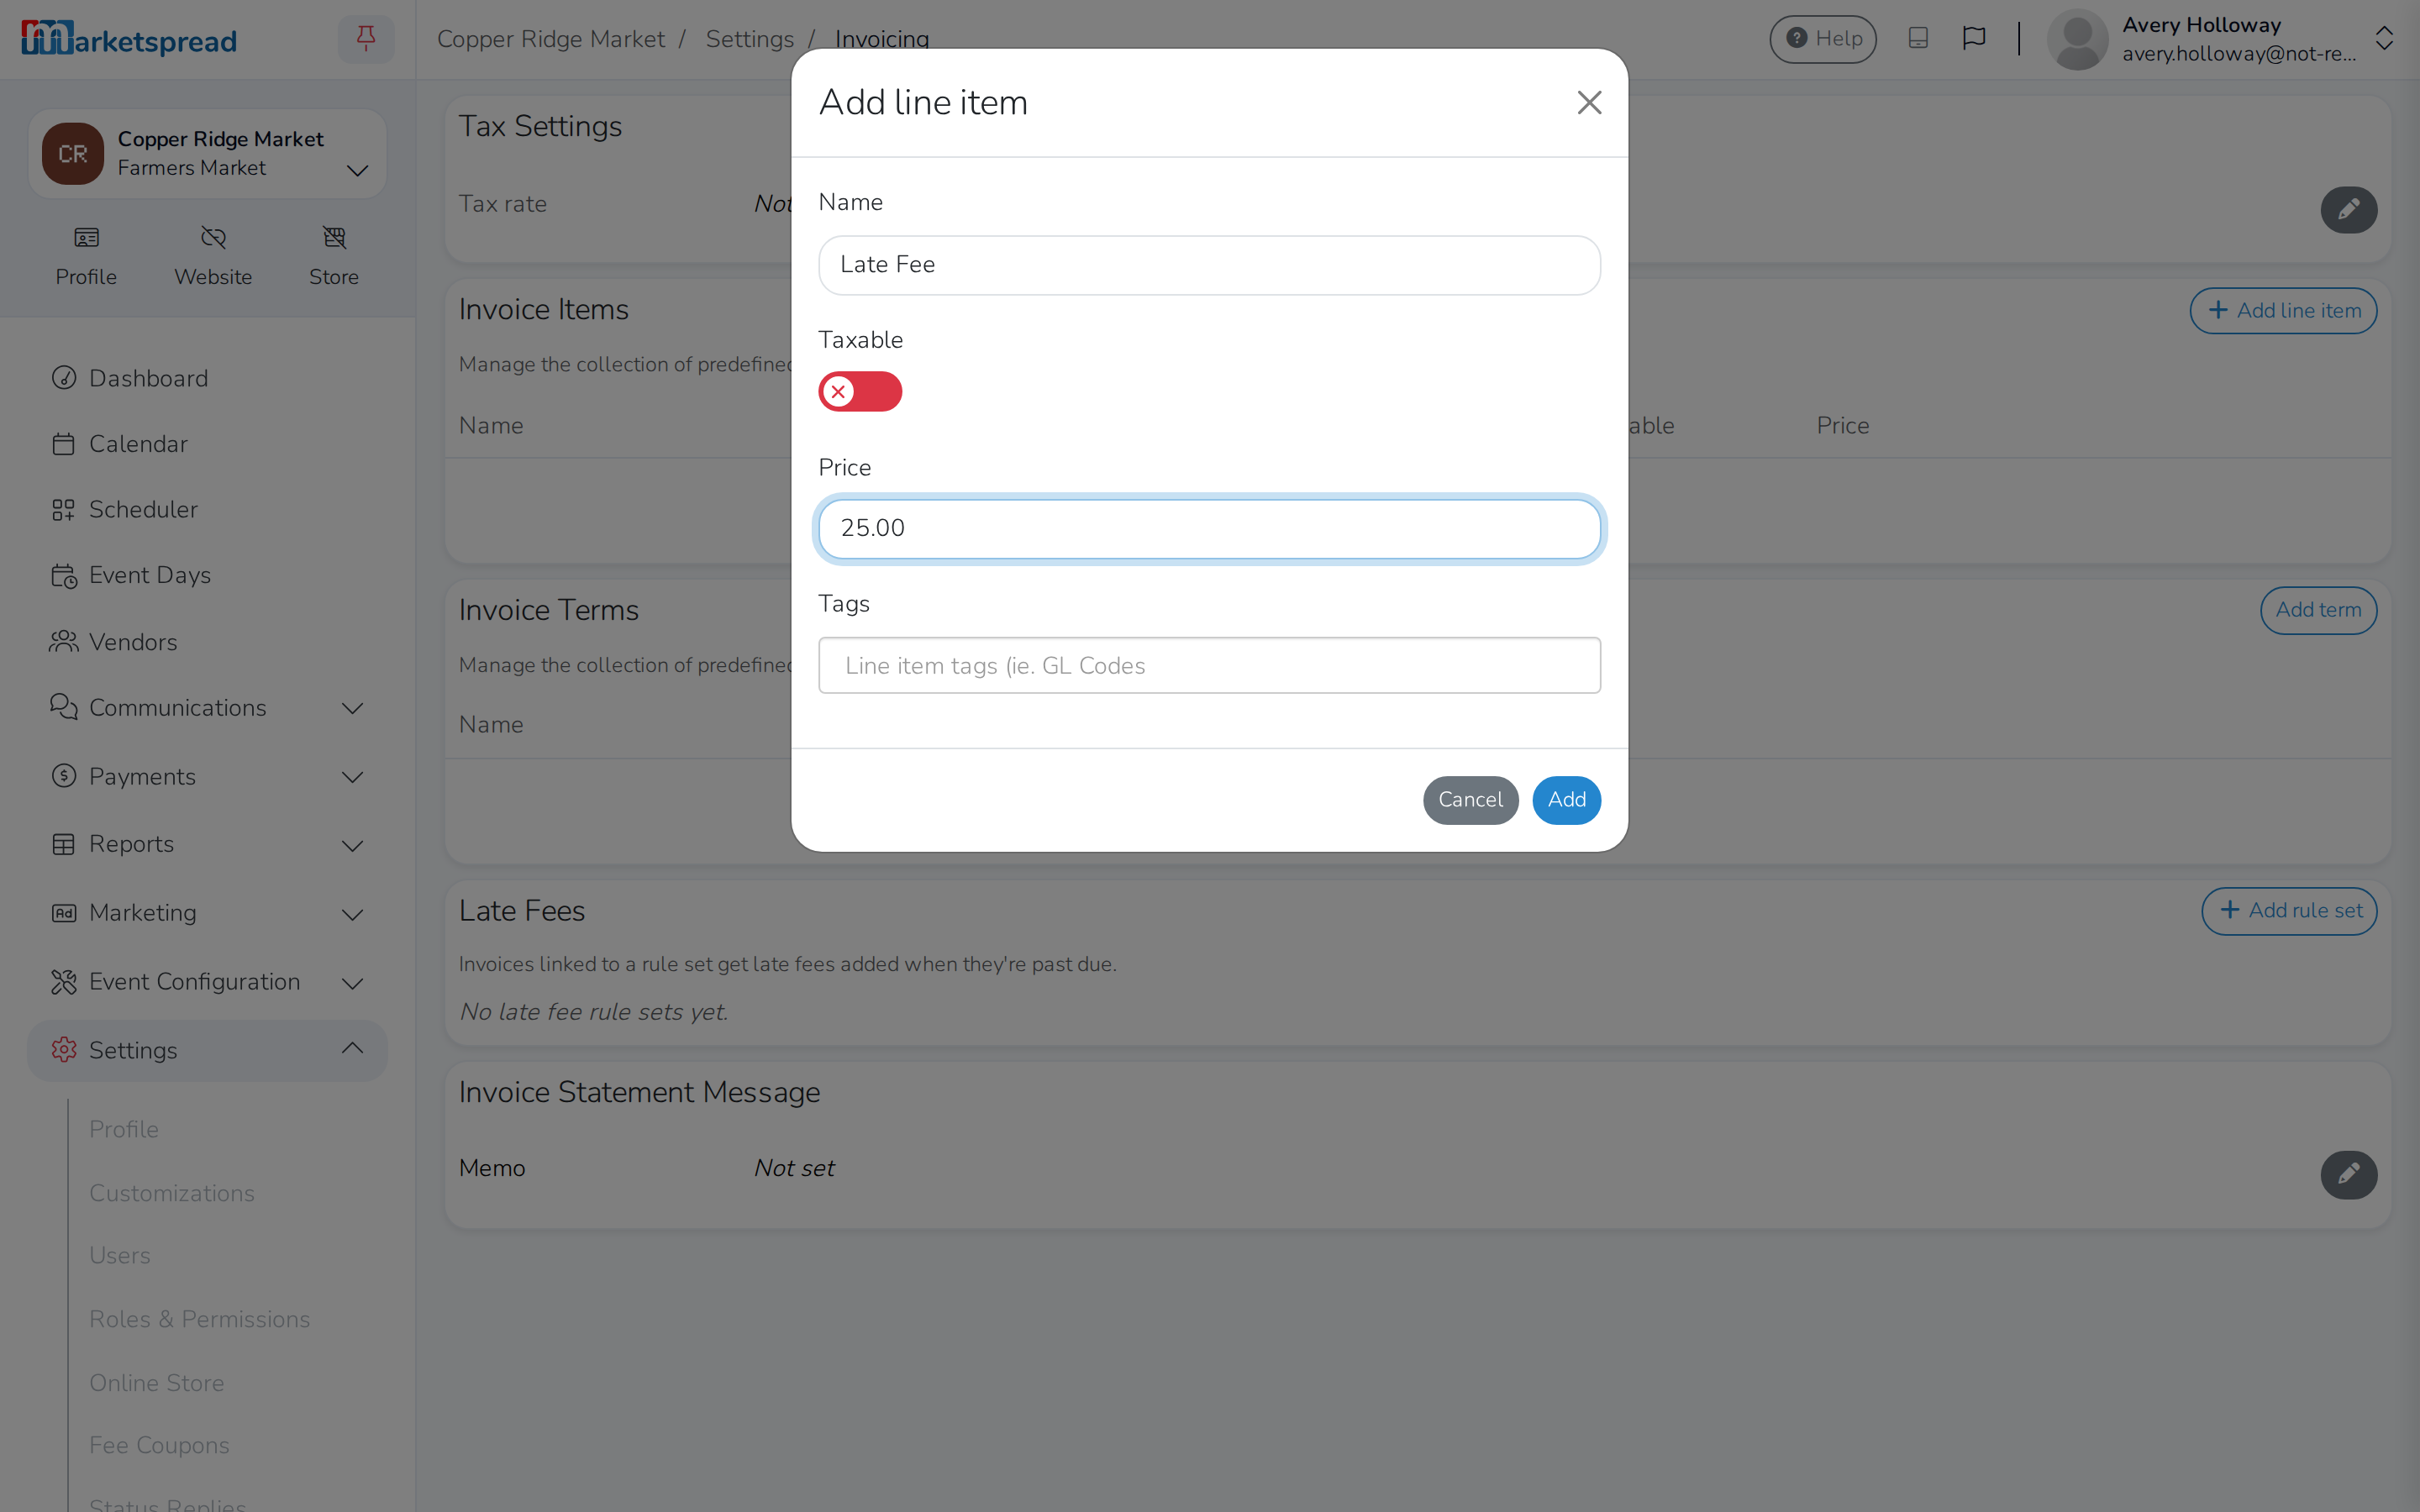
- Click Add.
It now appears in your list of invoice items, ready to use on any invoice.
Put it on an invoice
- Open the invoice you want to add it to.
- Click Edit in the top right.
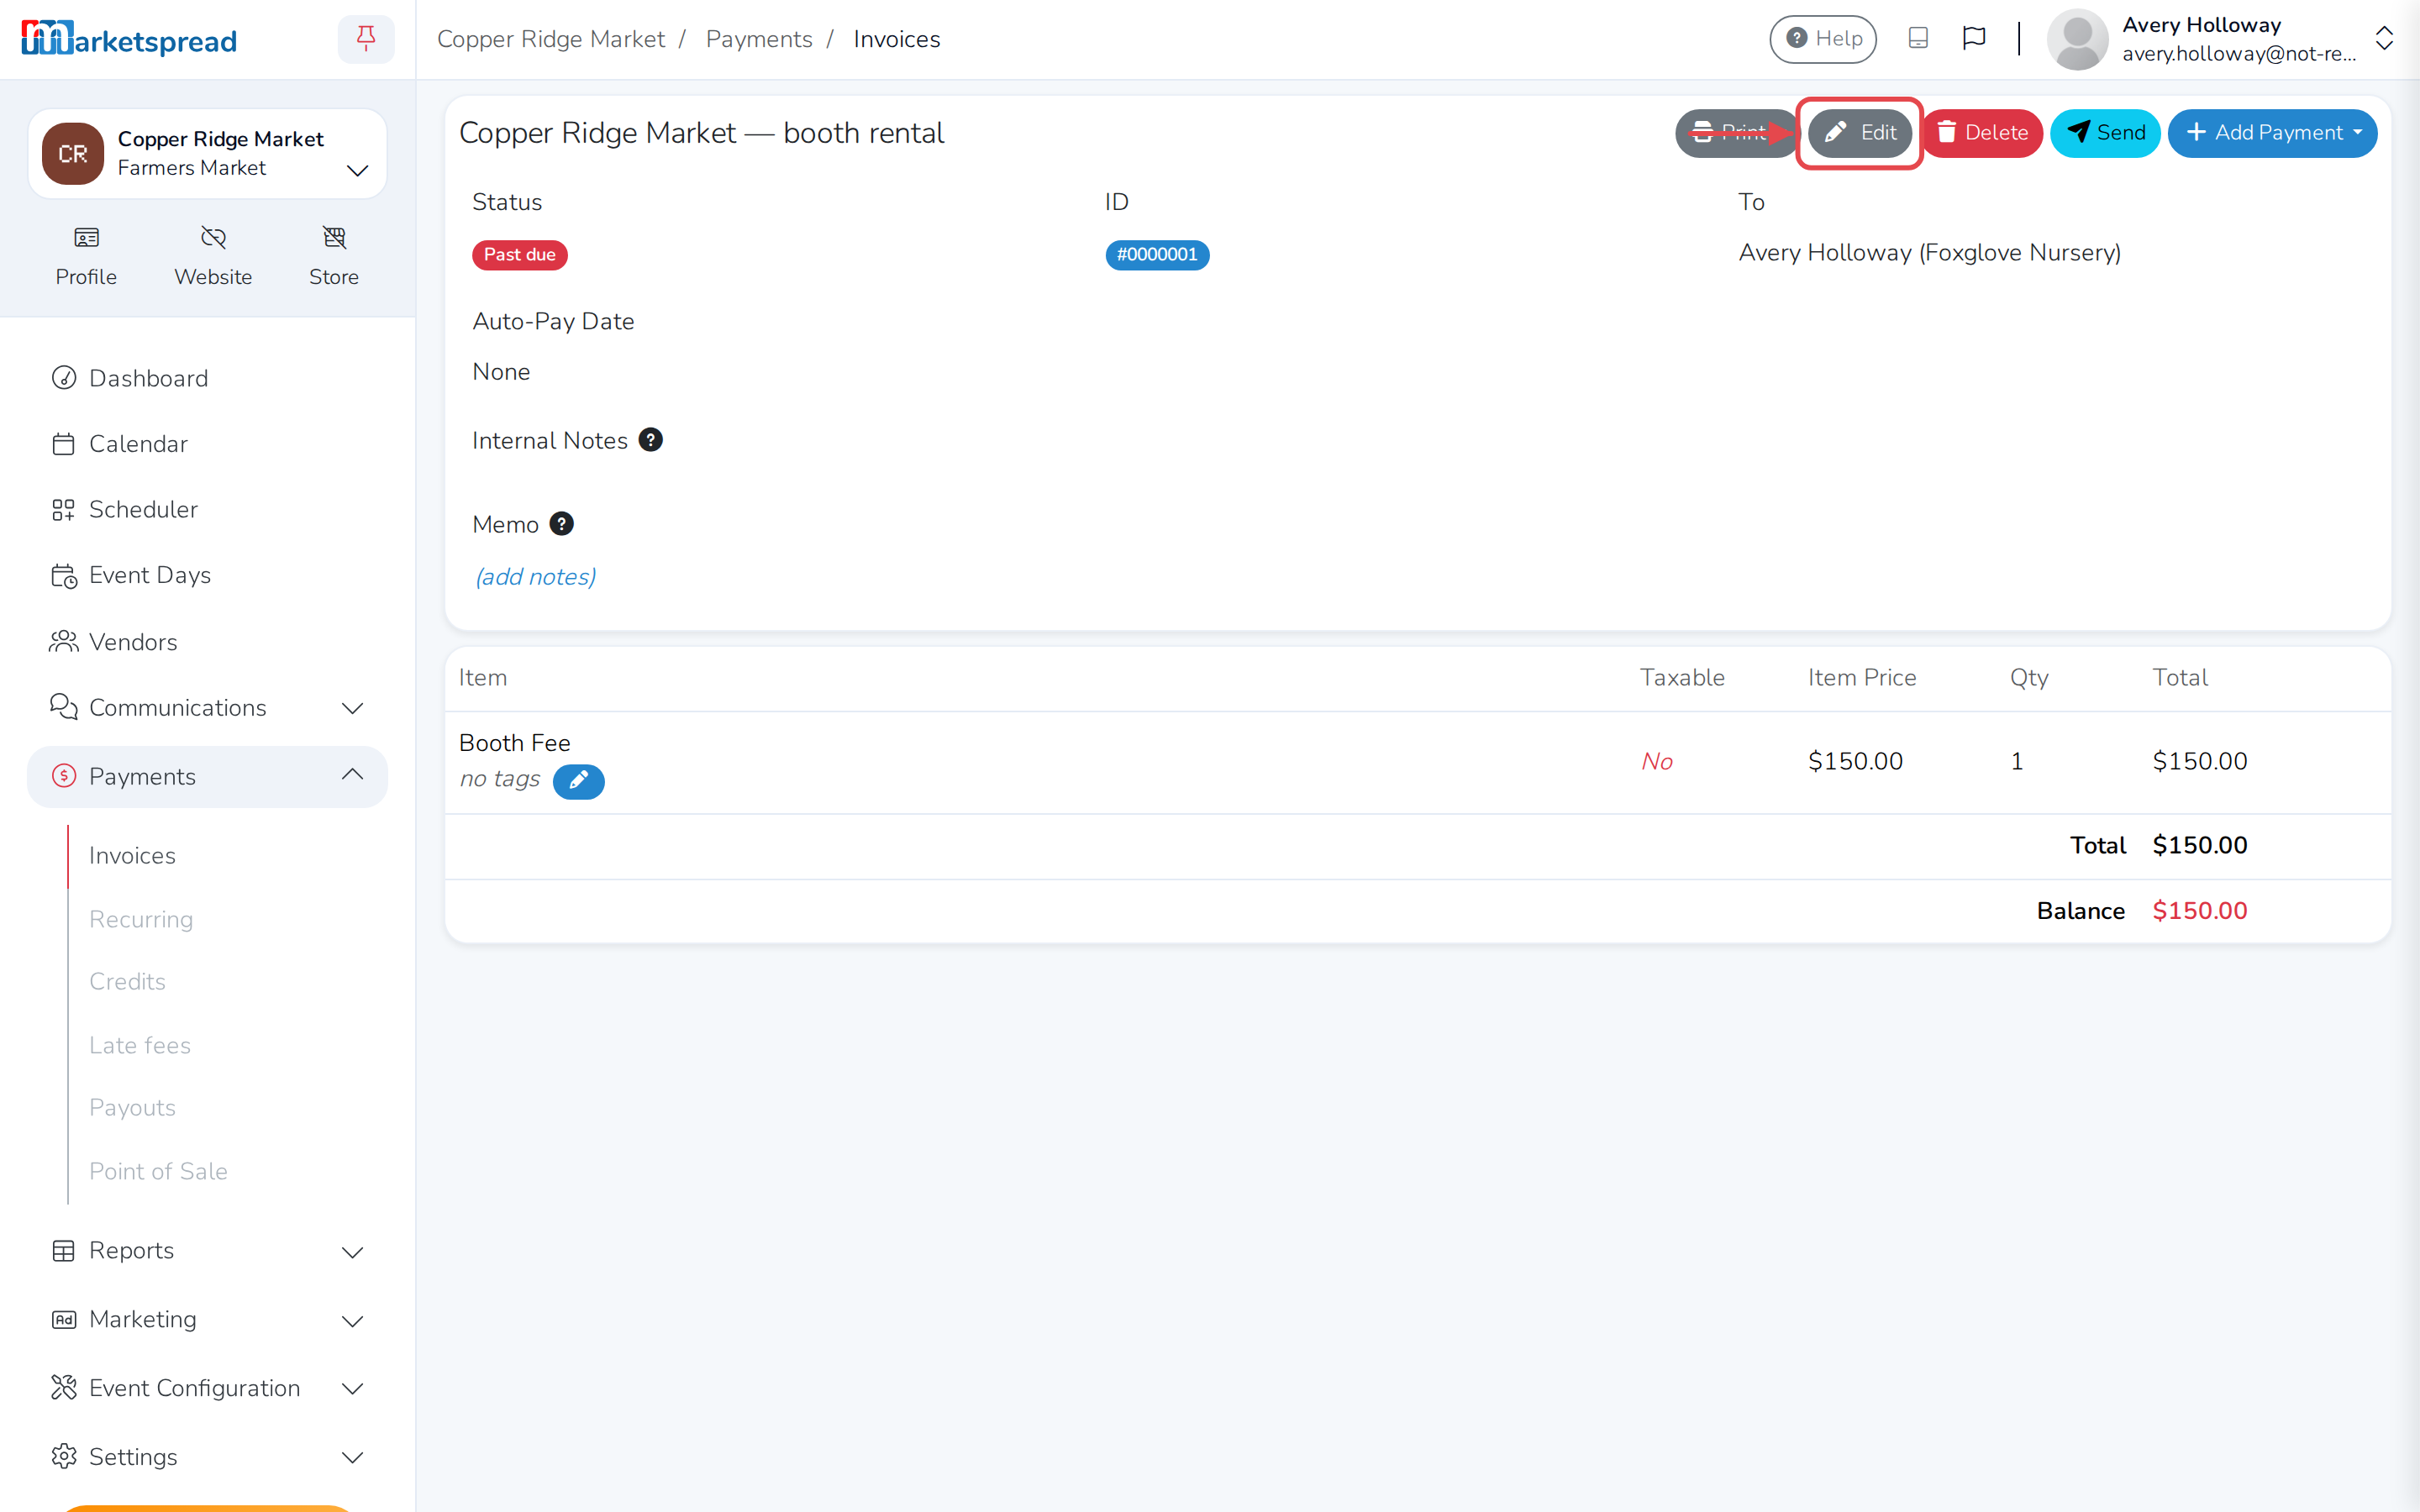
- Click Add Saved Item at the bottom of the invoice.
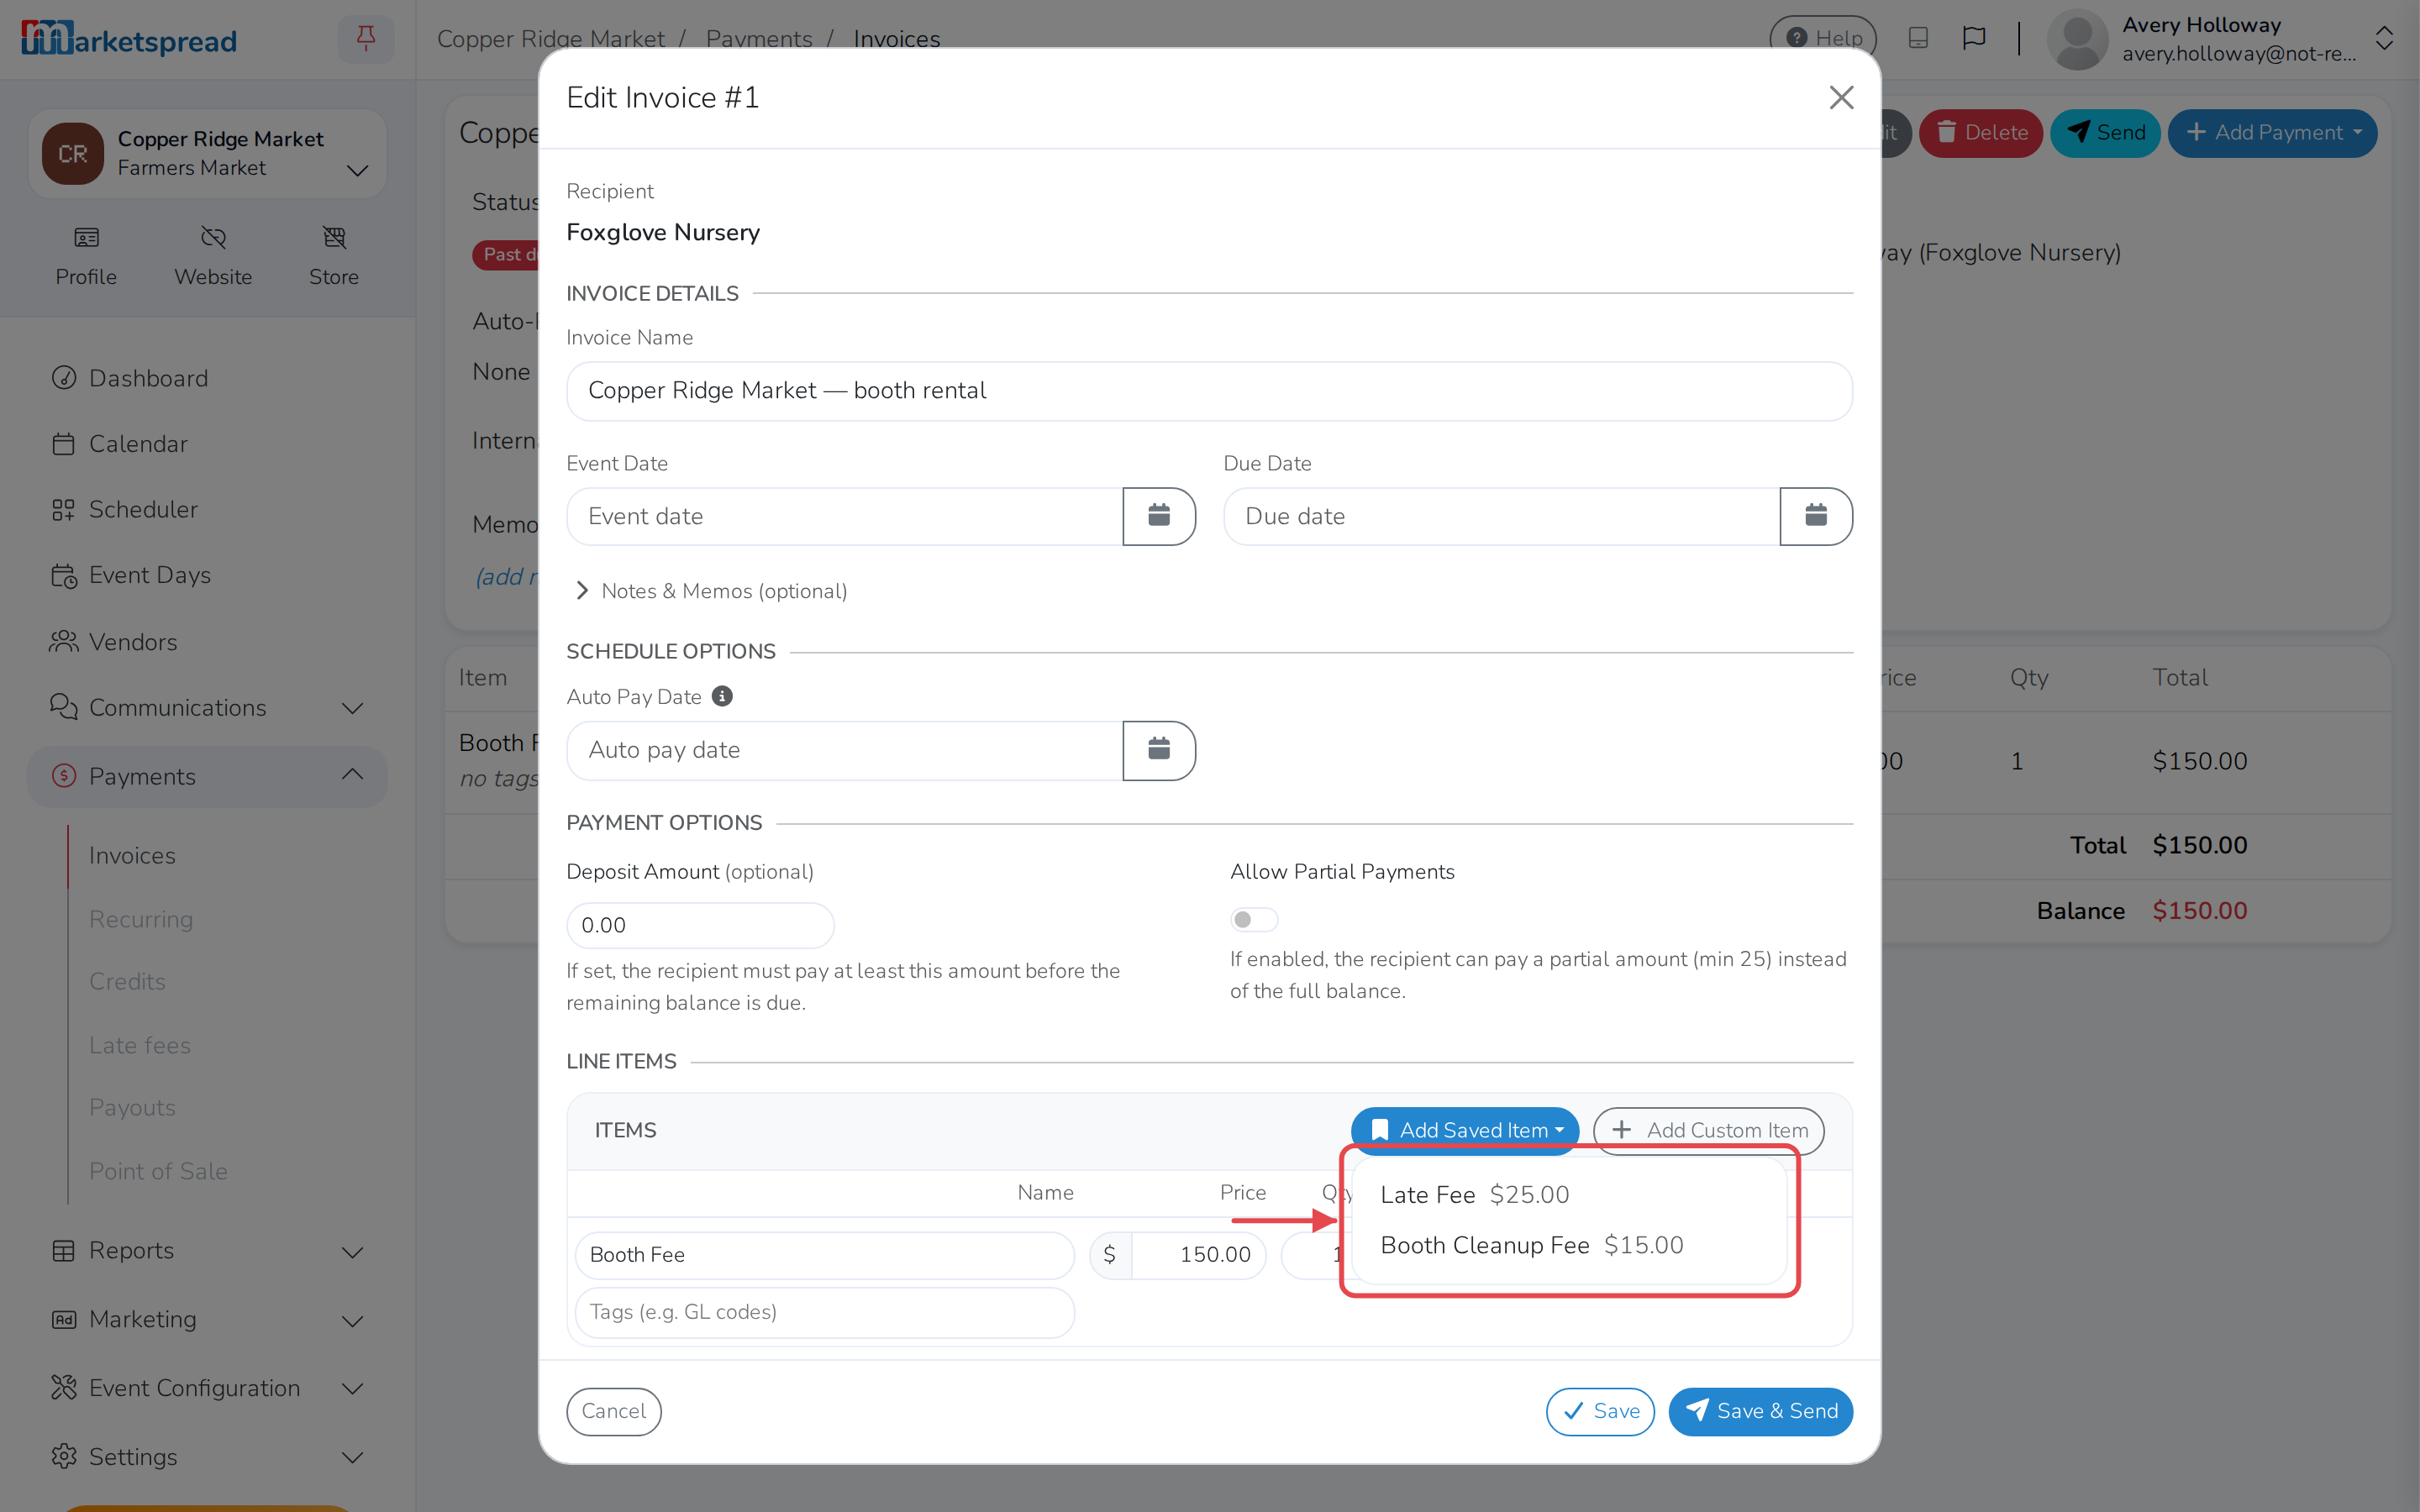
- Choose your late fee from the list.
- Add it to the invoice.
- Click Save & Send.
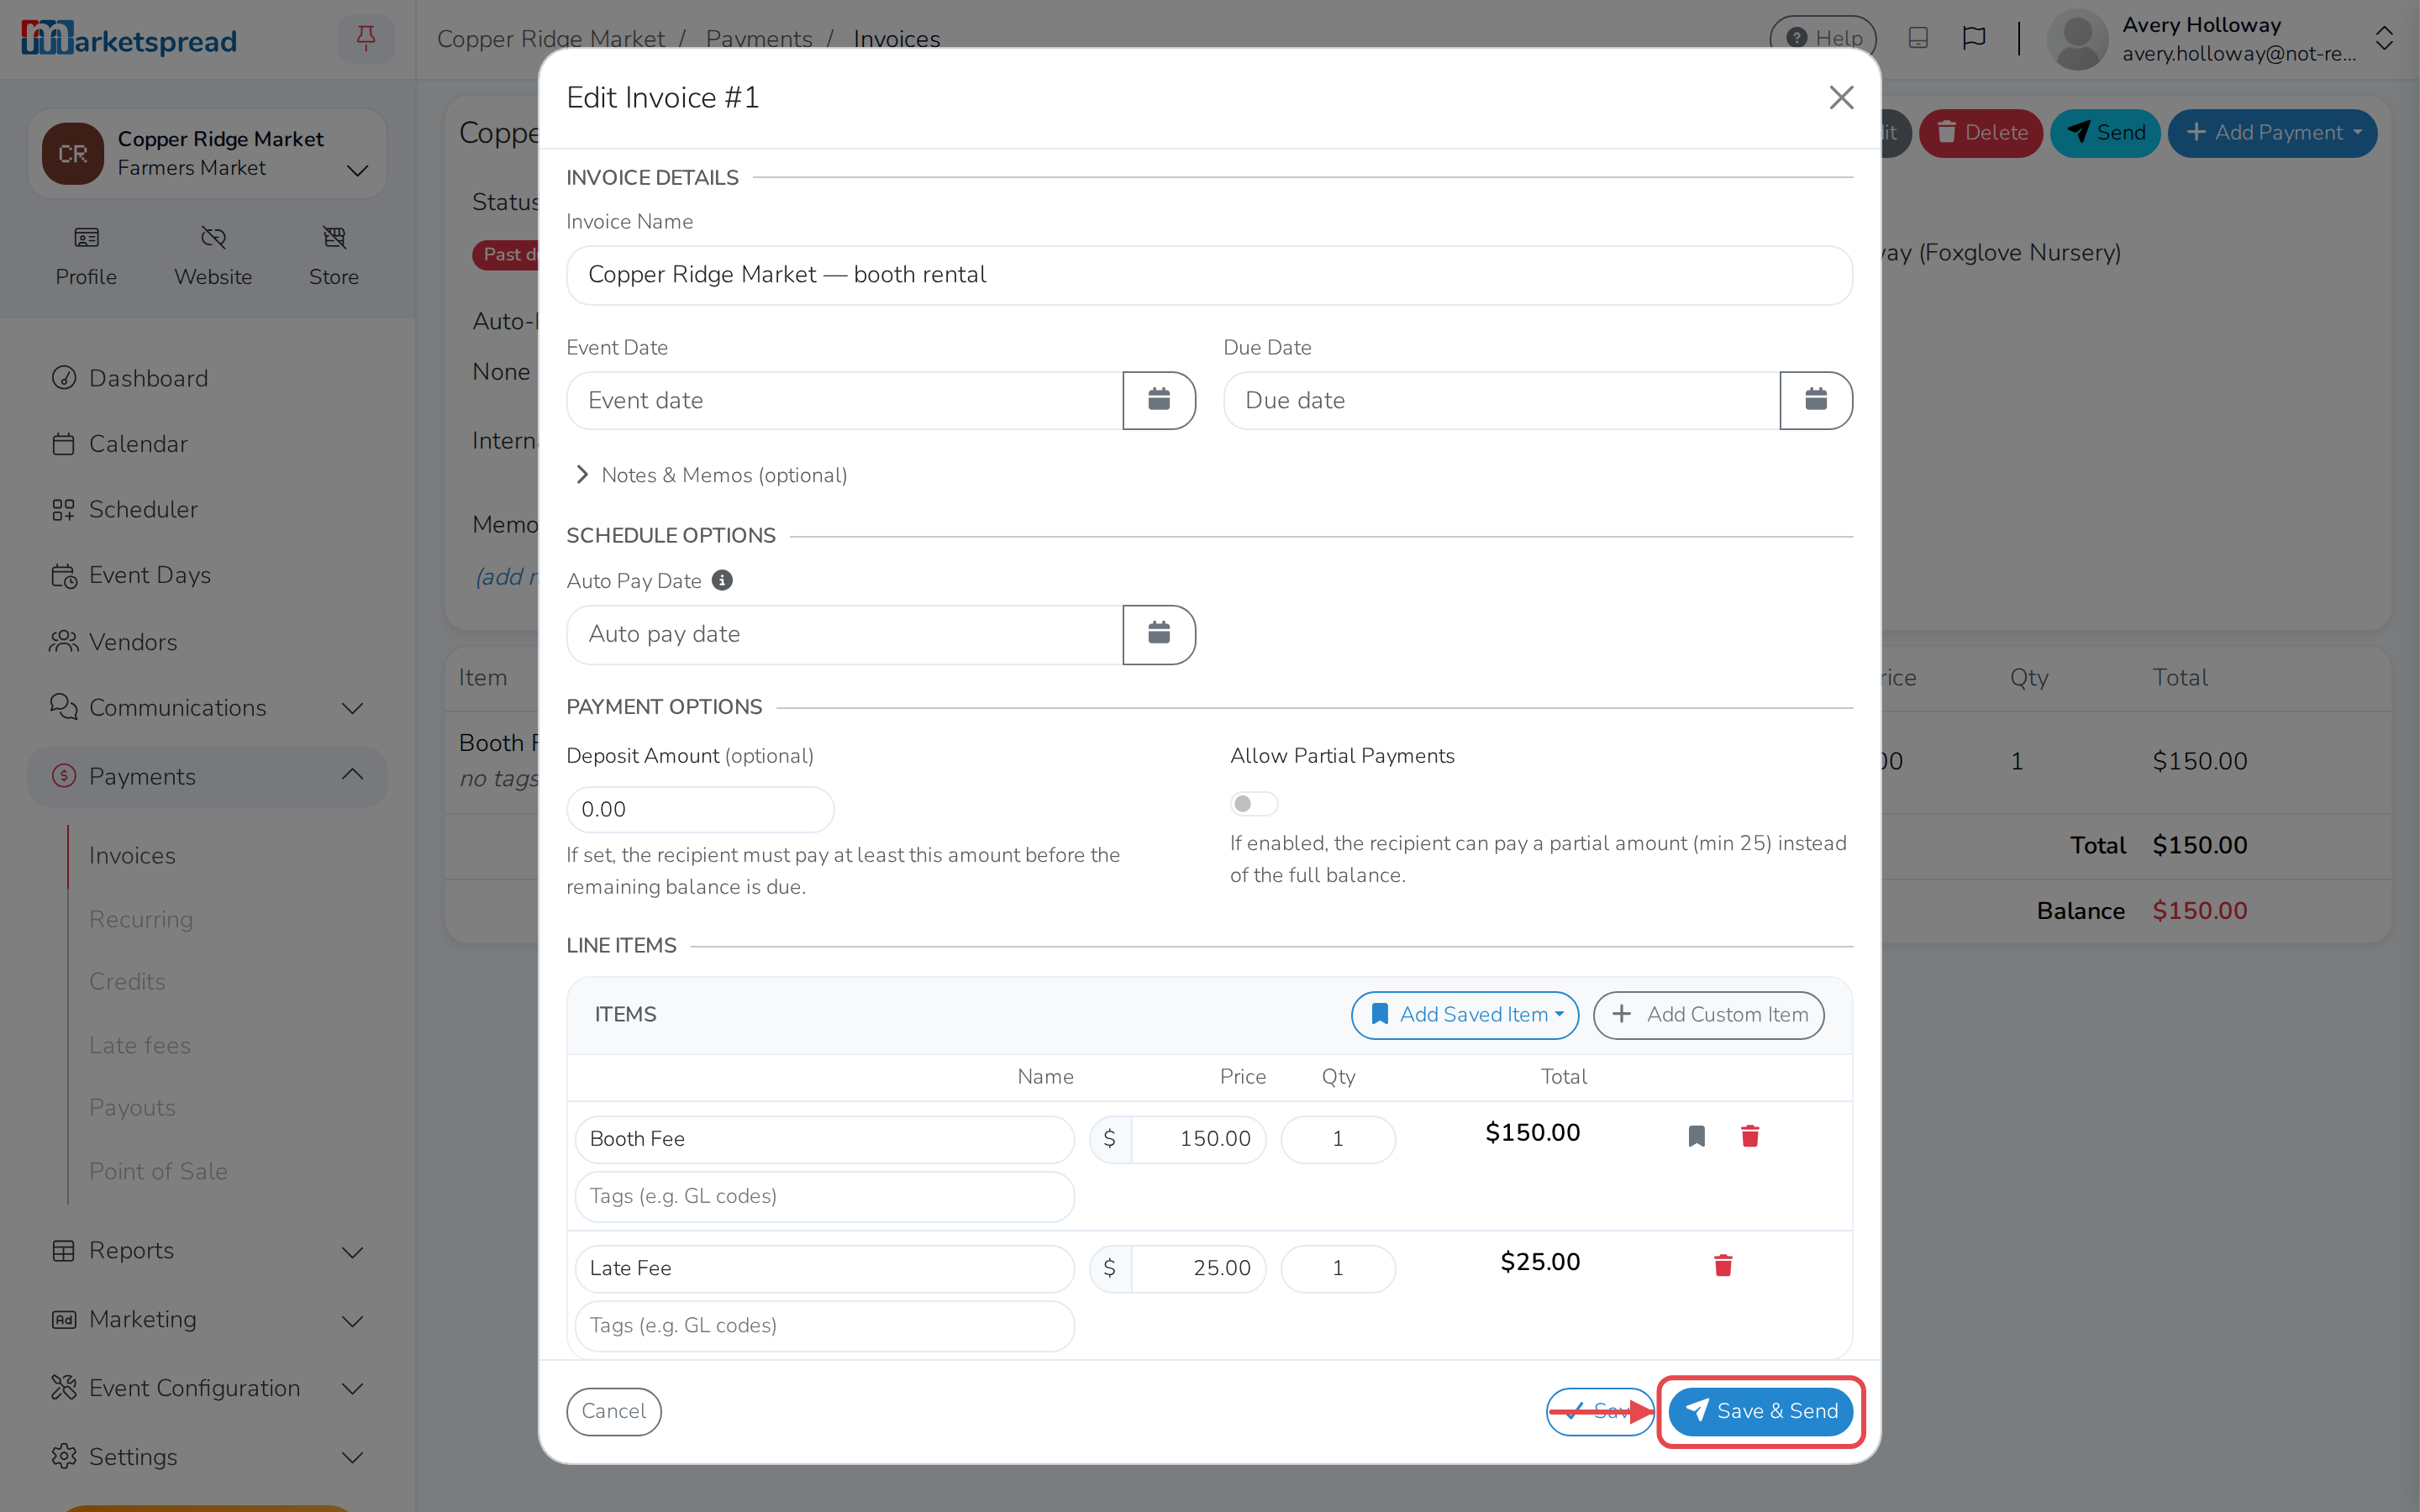
The vendor's invoice now shows the late fee, and the new total is what they
pay.
Use Save to hold it back
Save & Send emails the vendor straight away. Save keeps the
change on the invoice without telling them yet.