


Vendor types group your vendors by what they sell — Farmer, Food Truck, Rancher and so on. Applicants pick one when they apply to your events. Every market starts with a set already in place, on Settings → Customizations under Vendor Types. From there you can add your own, edit one, or delete one you don't need.
Tip
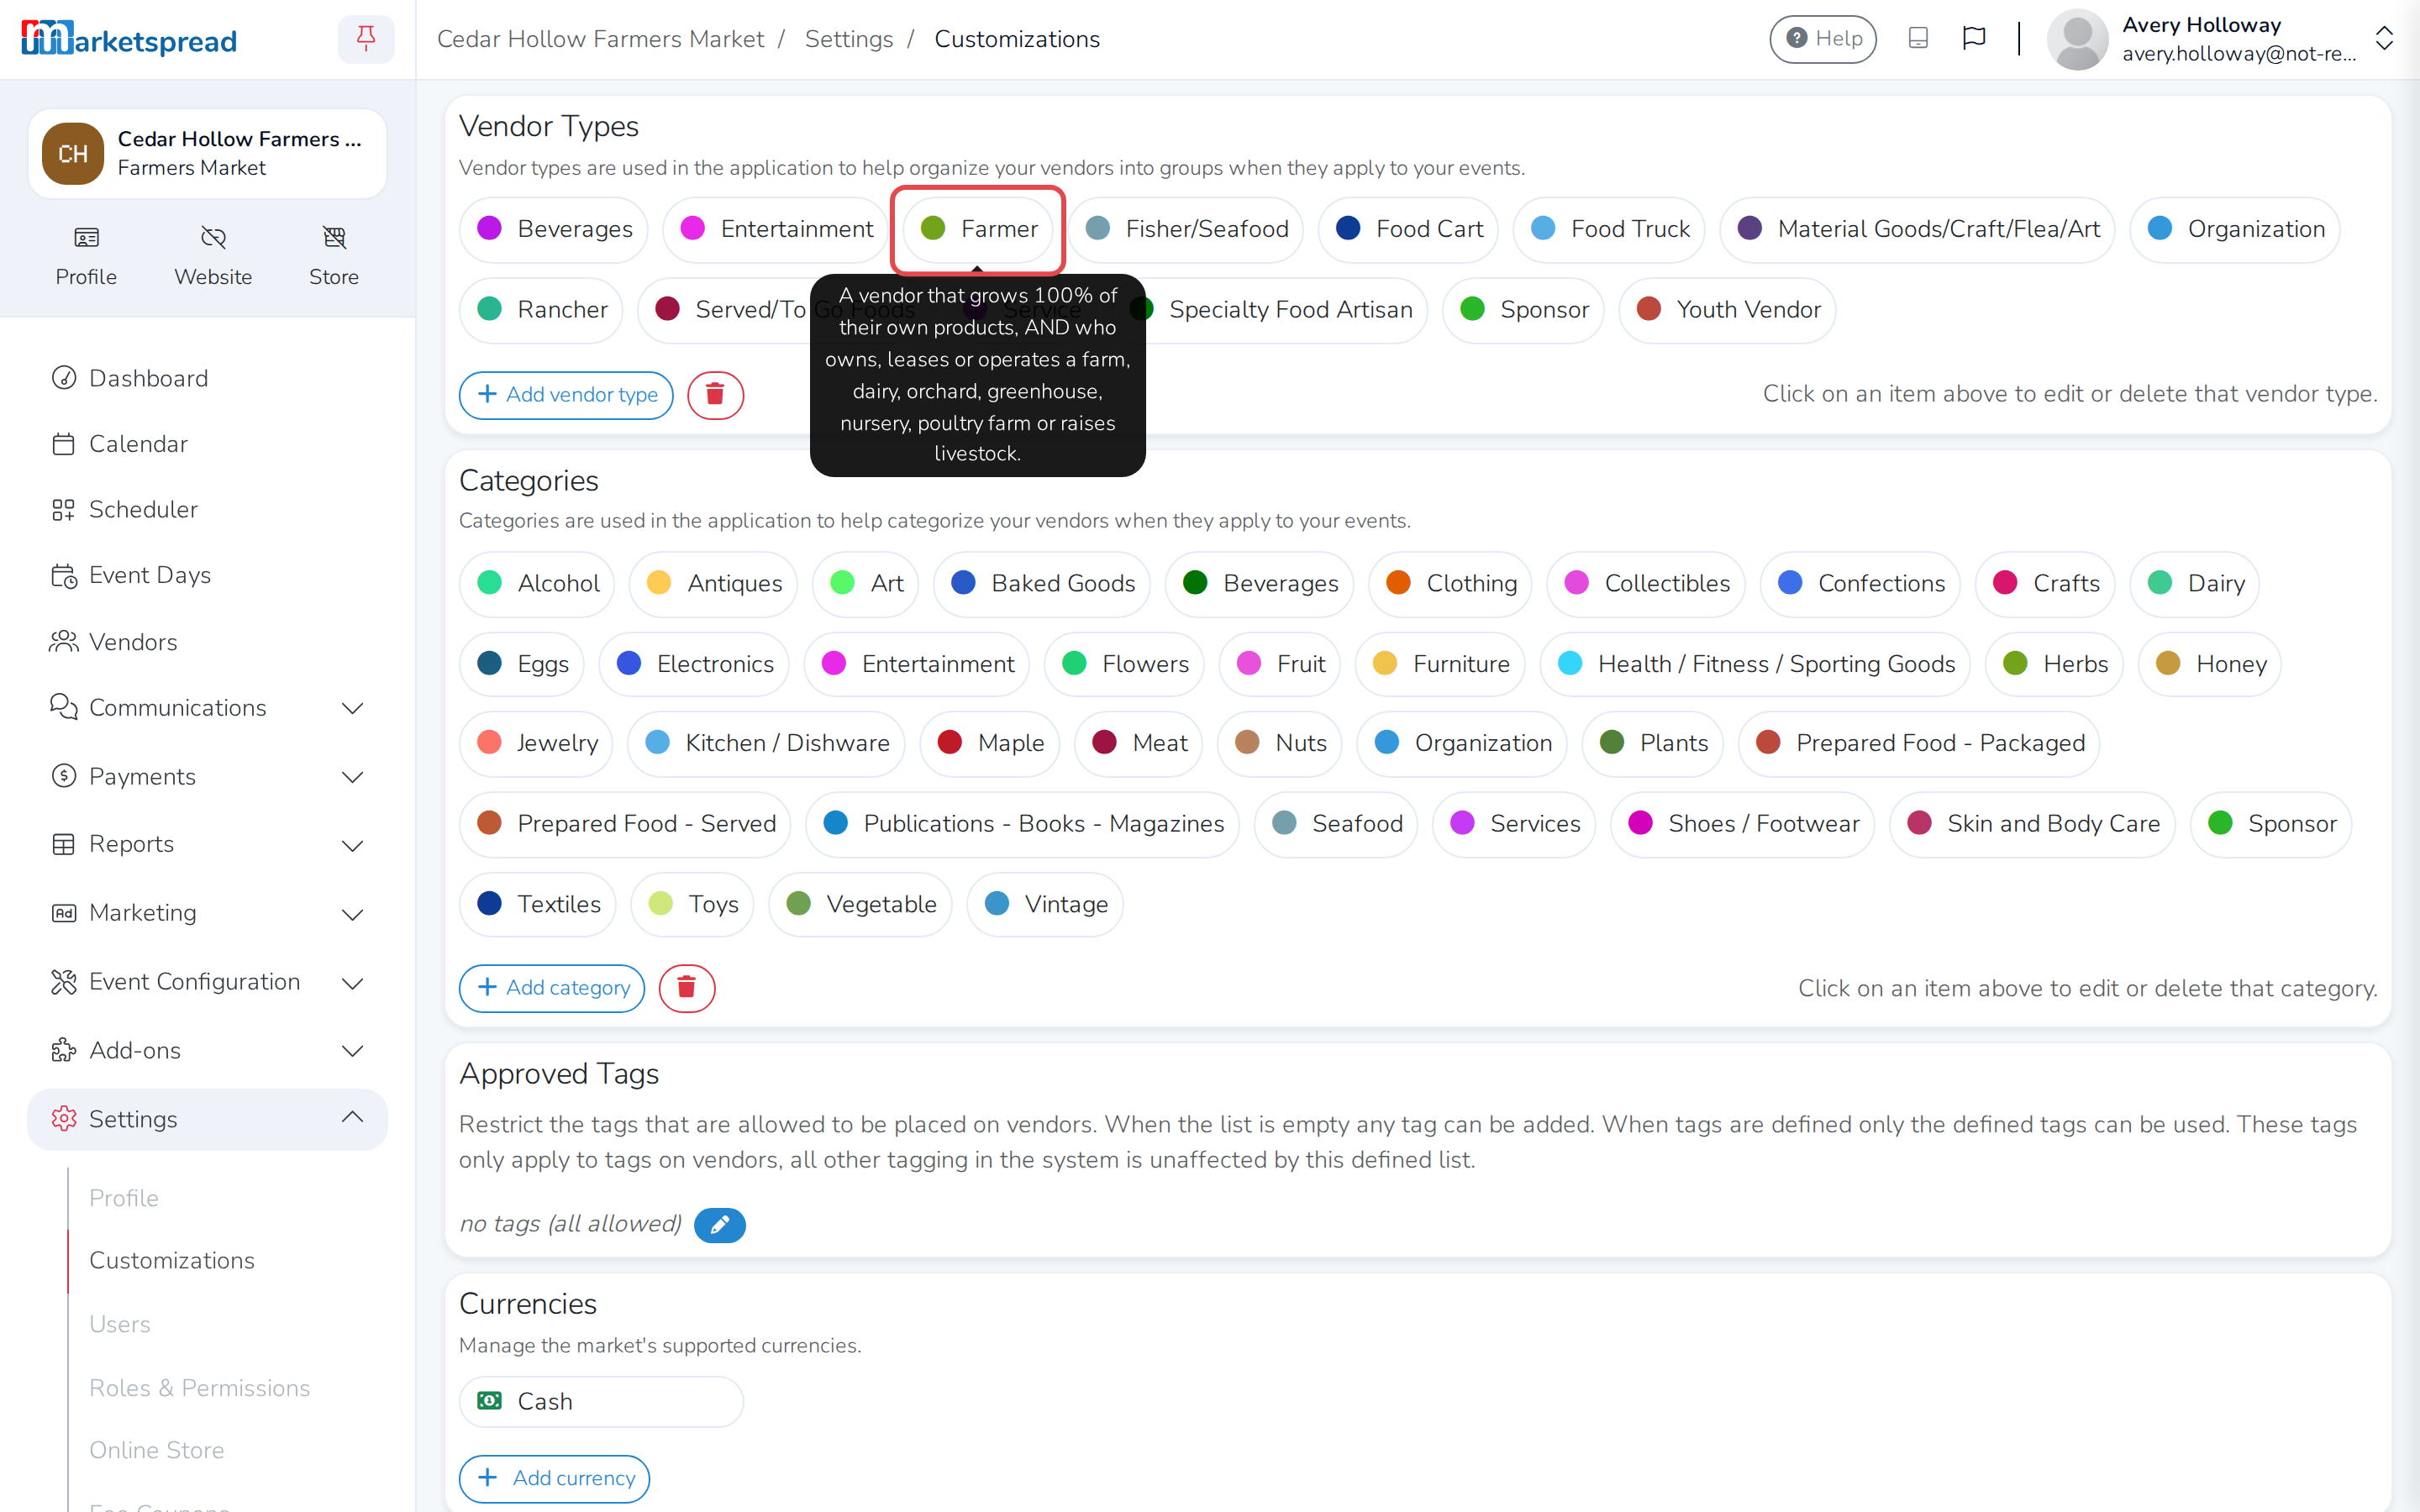
Hover over a vendor type to see its description.
Add a vendor type
- Click Settings in the left-hand menu.
- Click Customizations.
- Under Vendor Types, click Add vendor type.
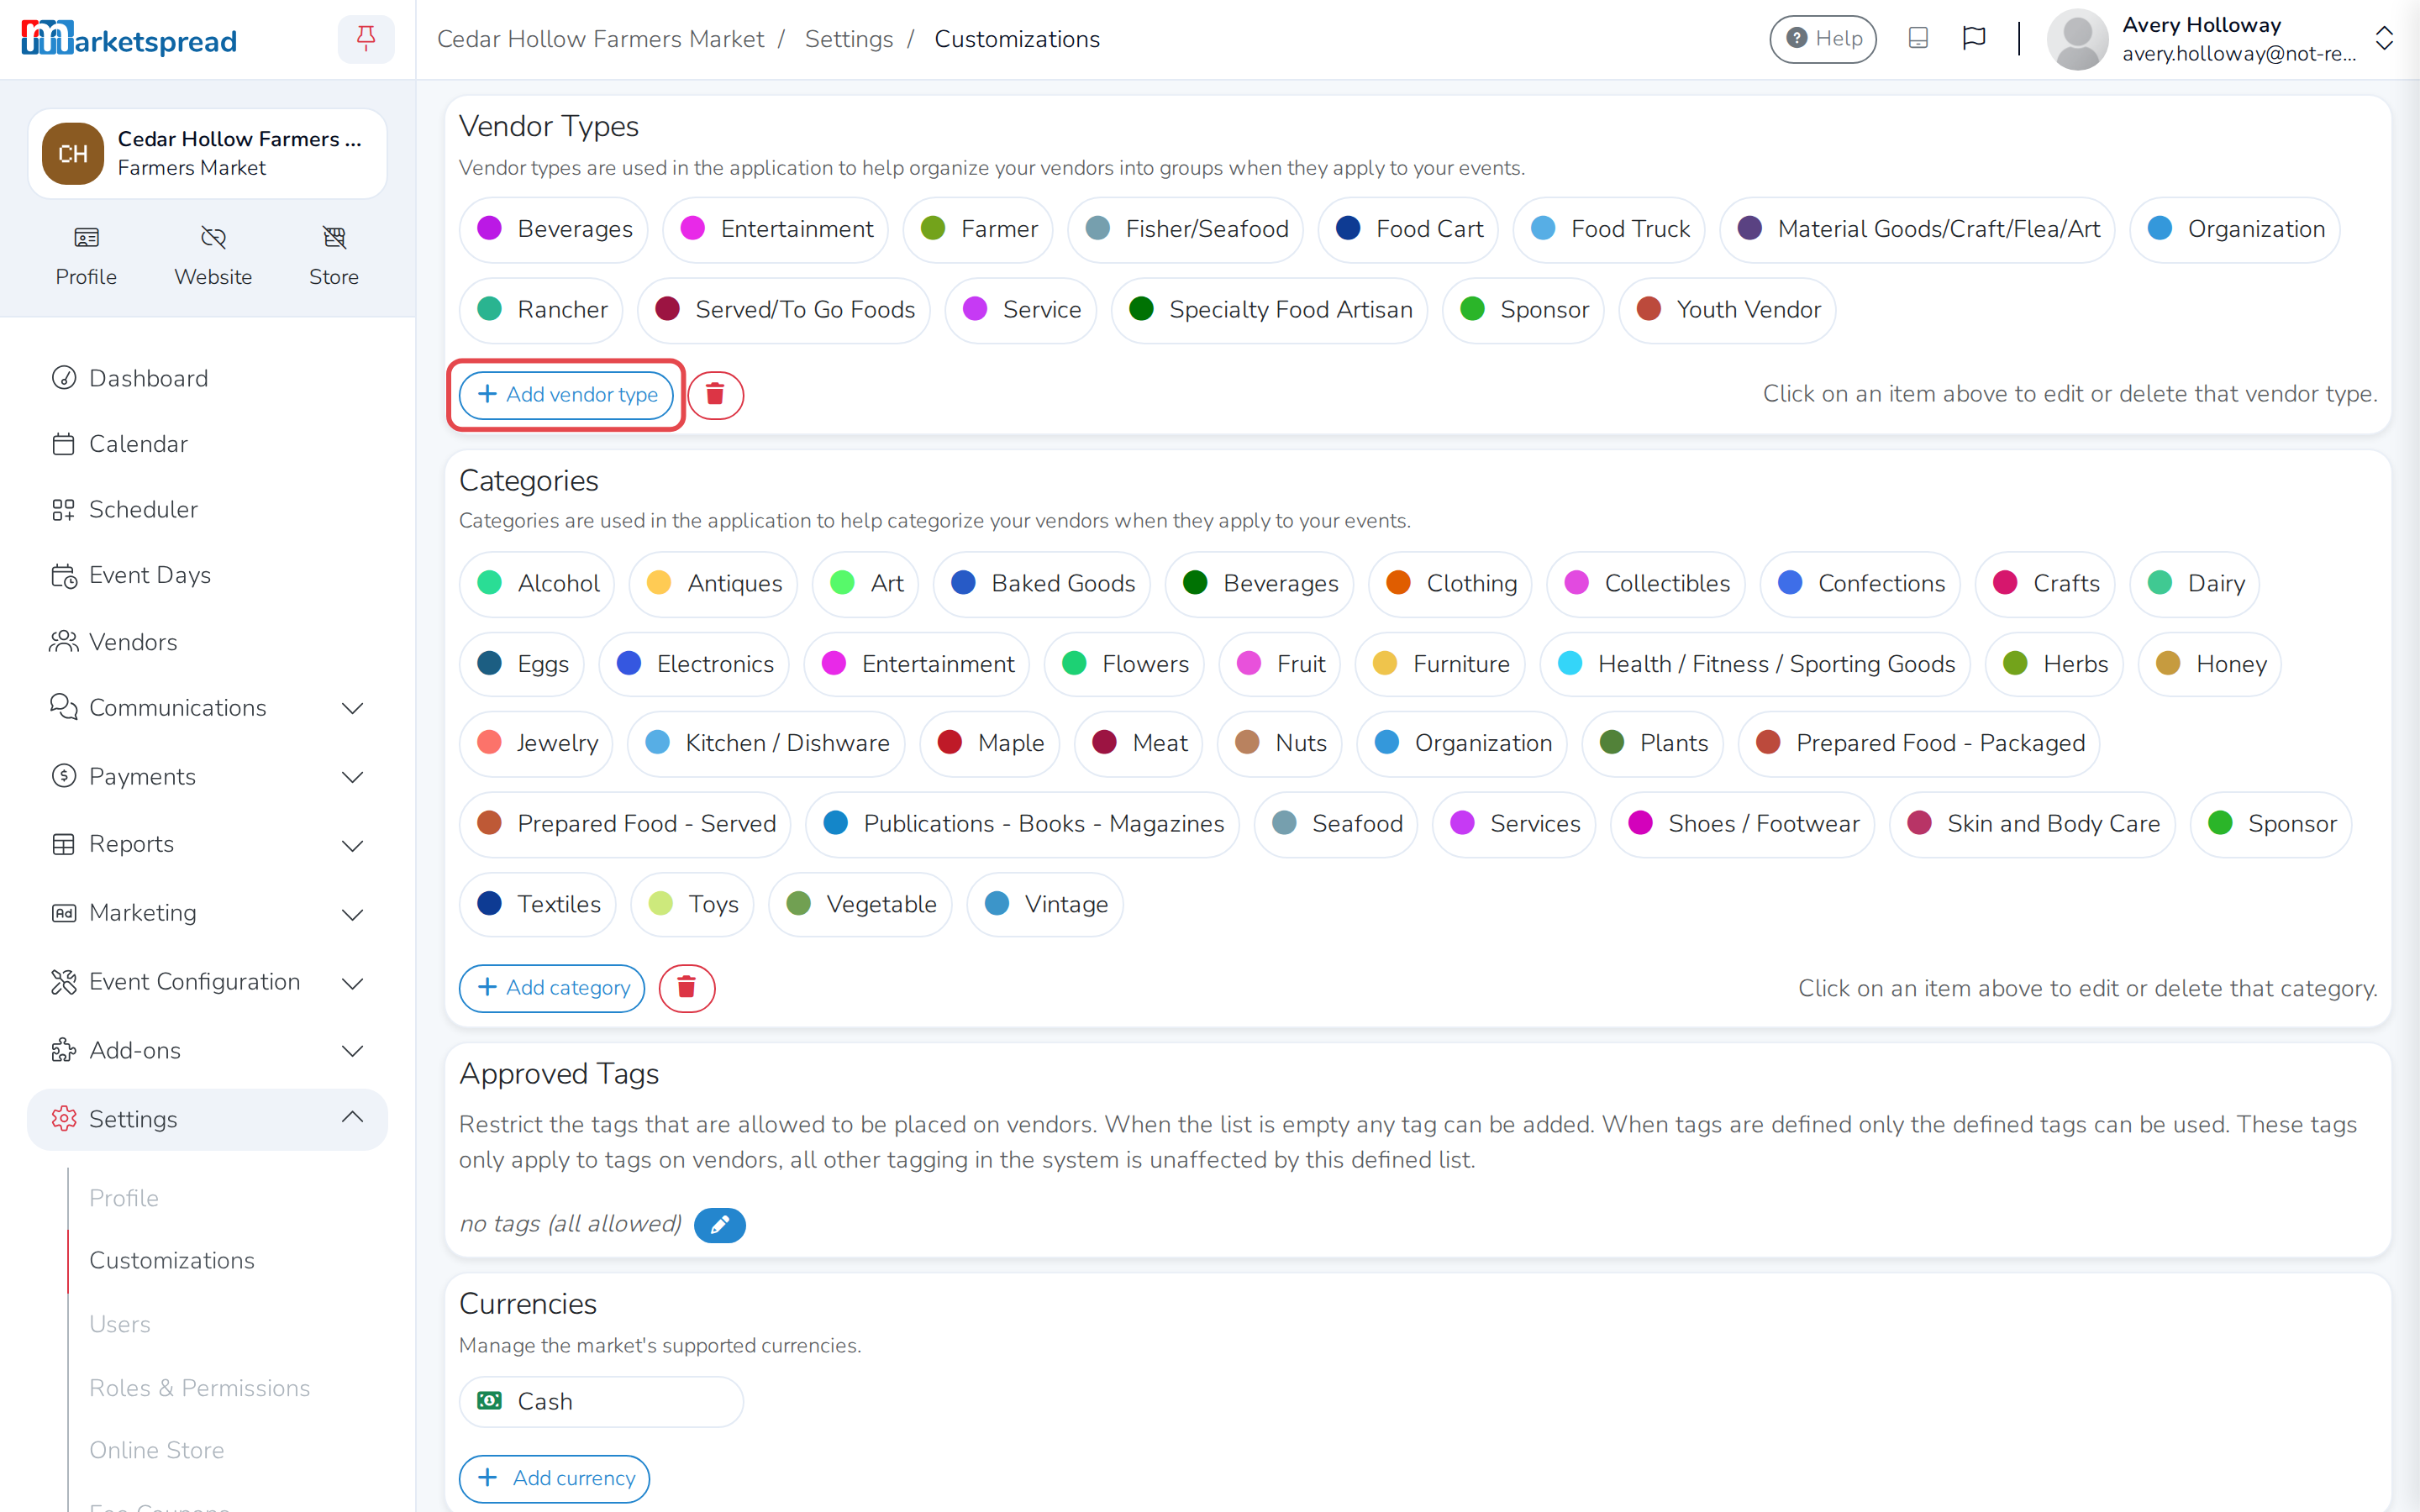
- Click the color square and pick a color.
- Fill in Name.
- Fill in Description, if you want one.
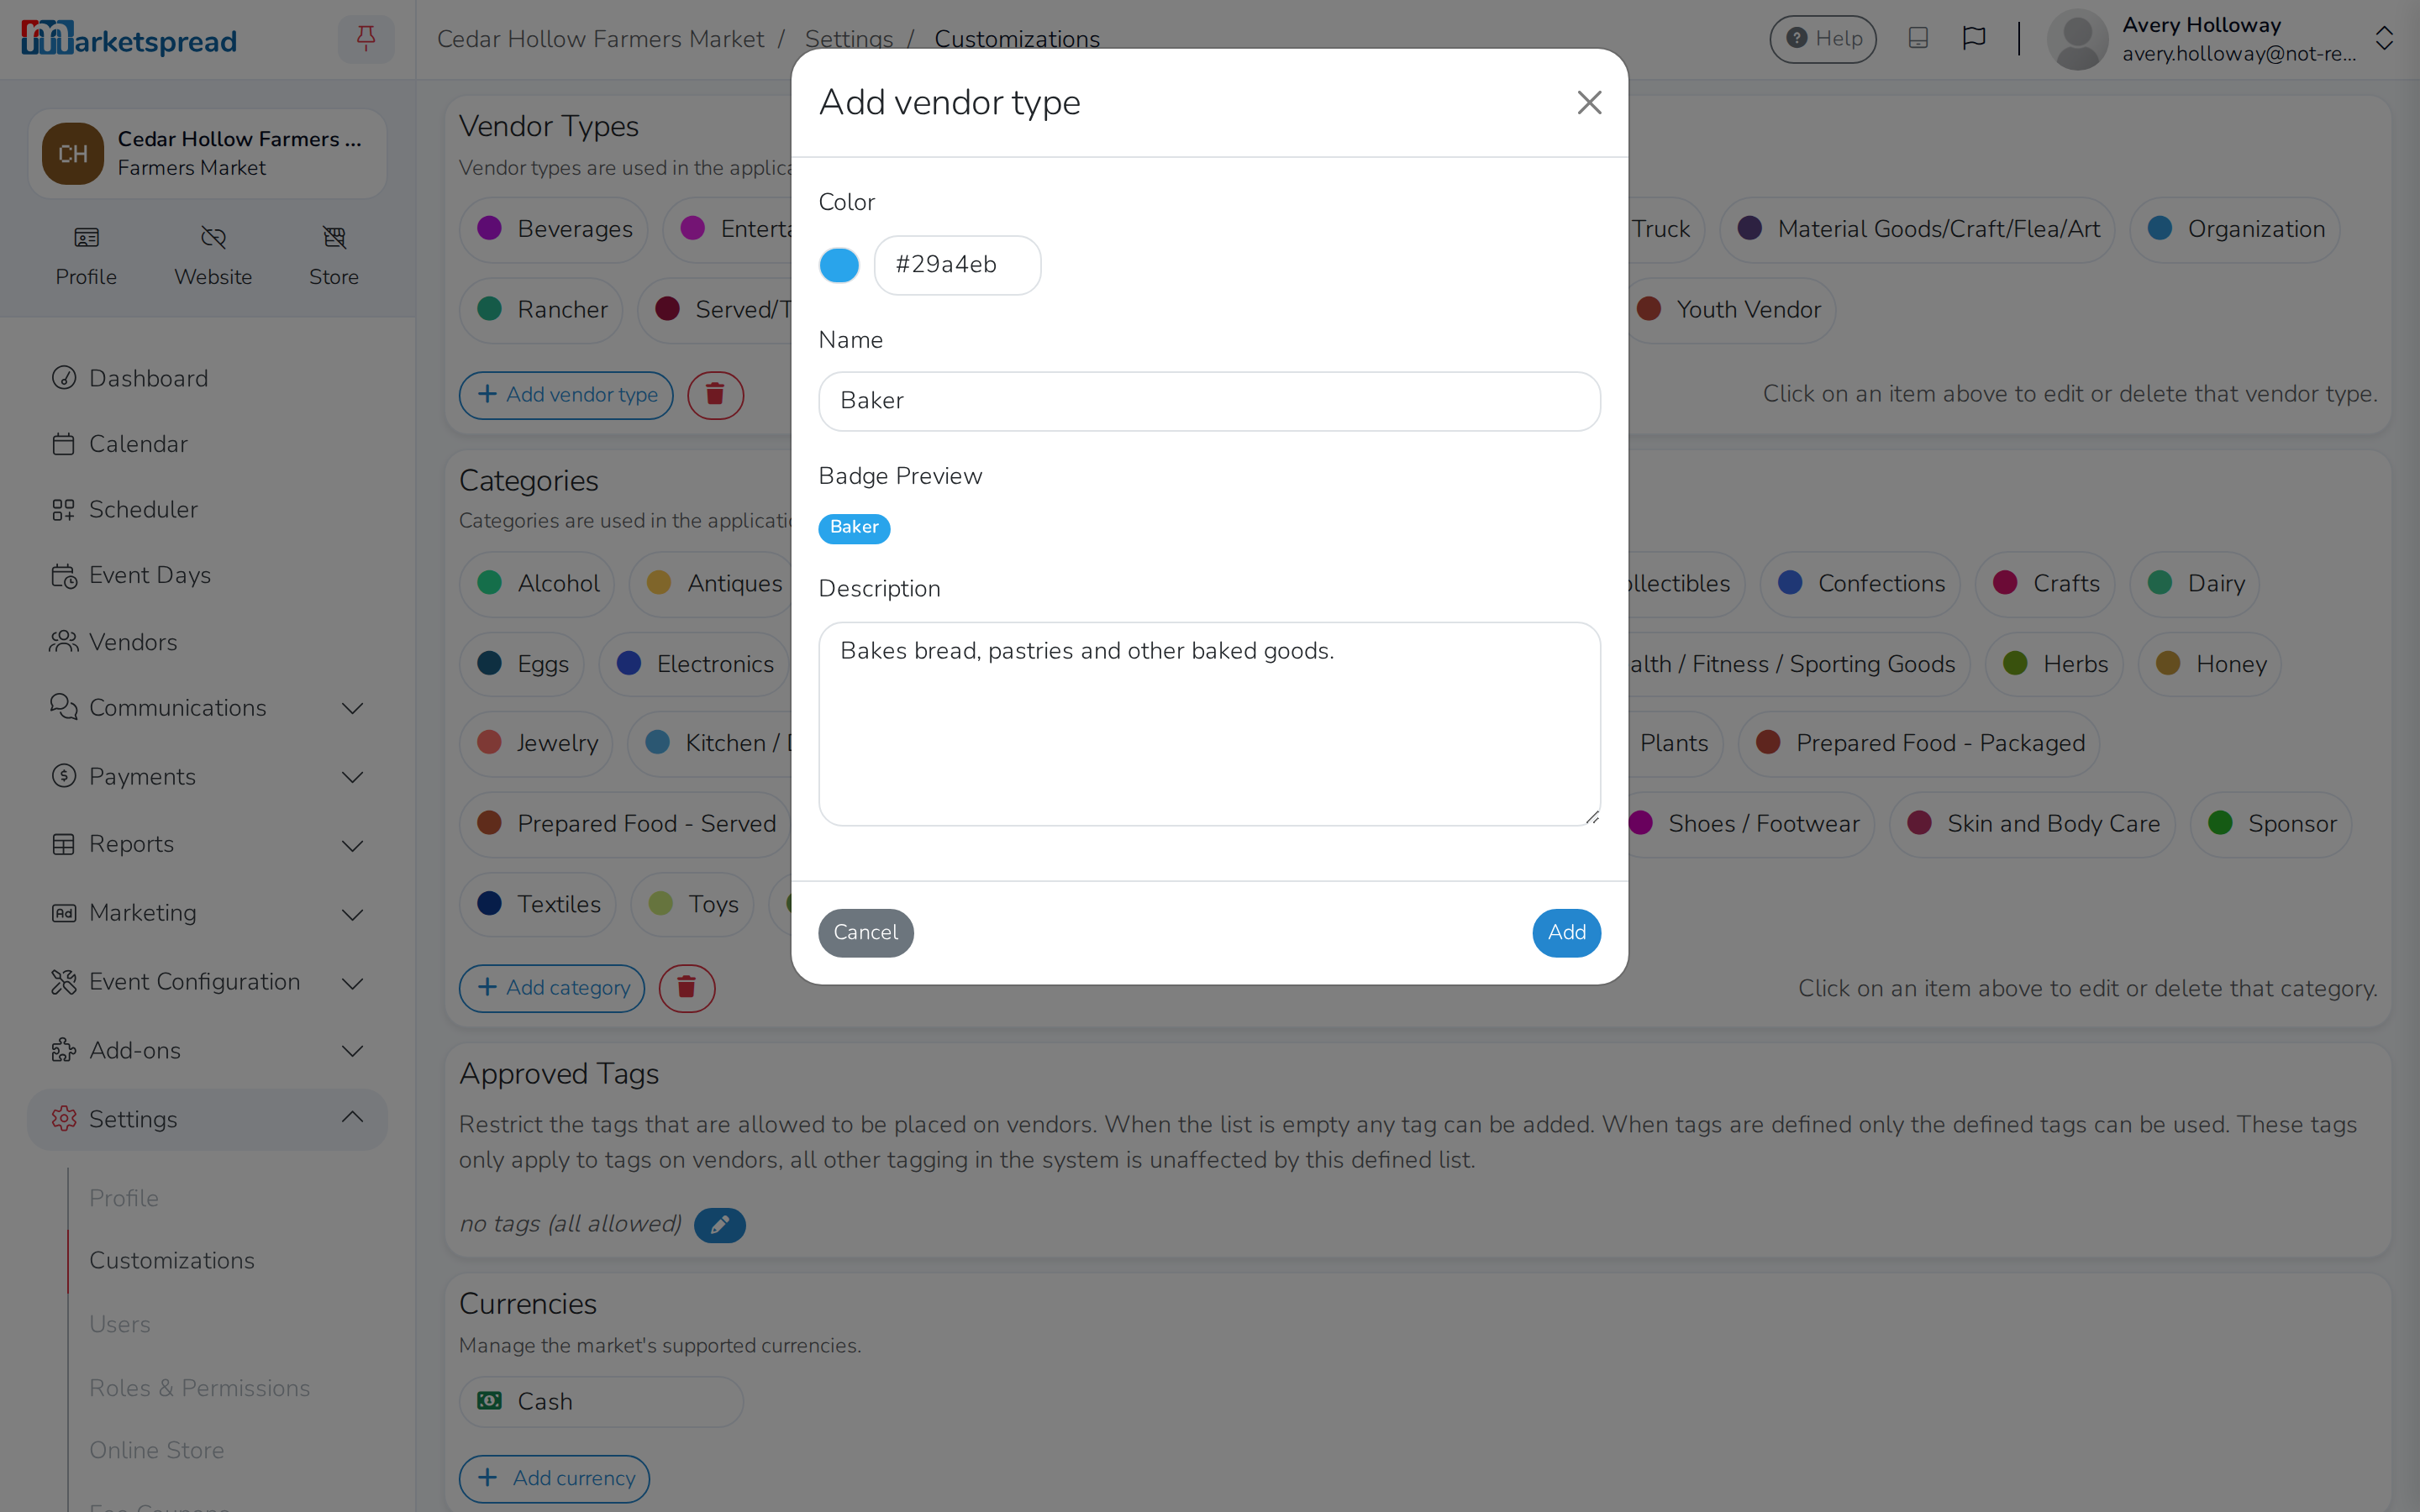
- Click Add.
It now appears in your list of vendor types.
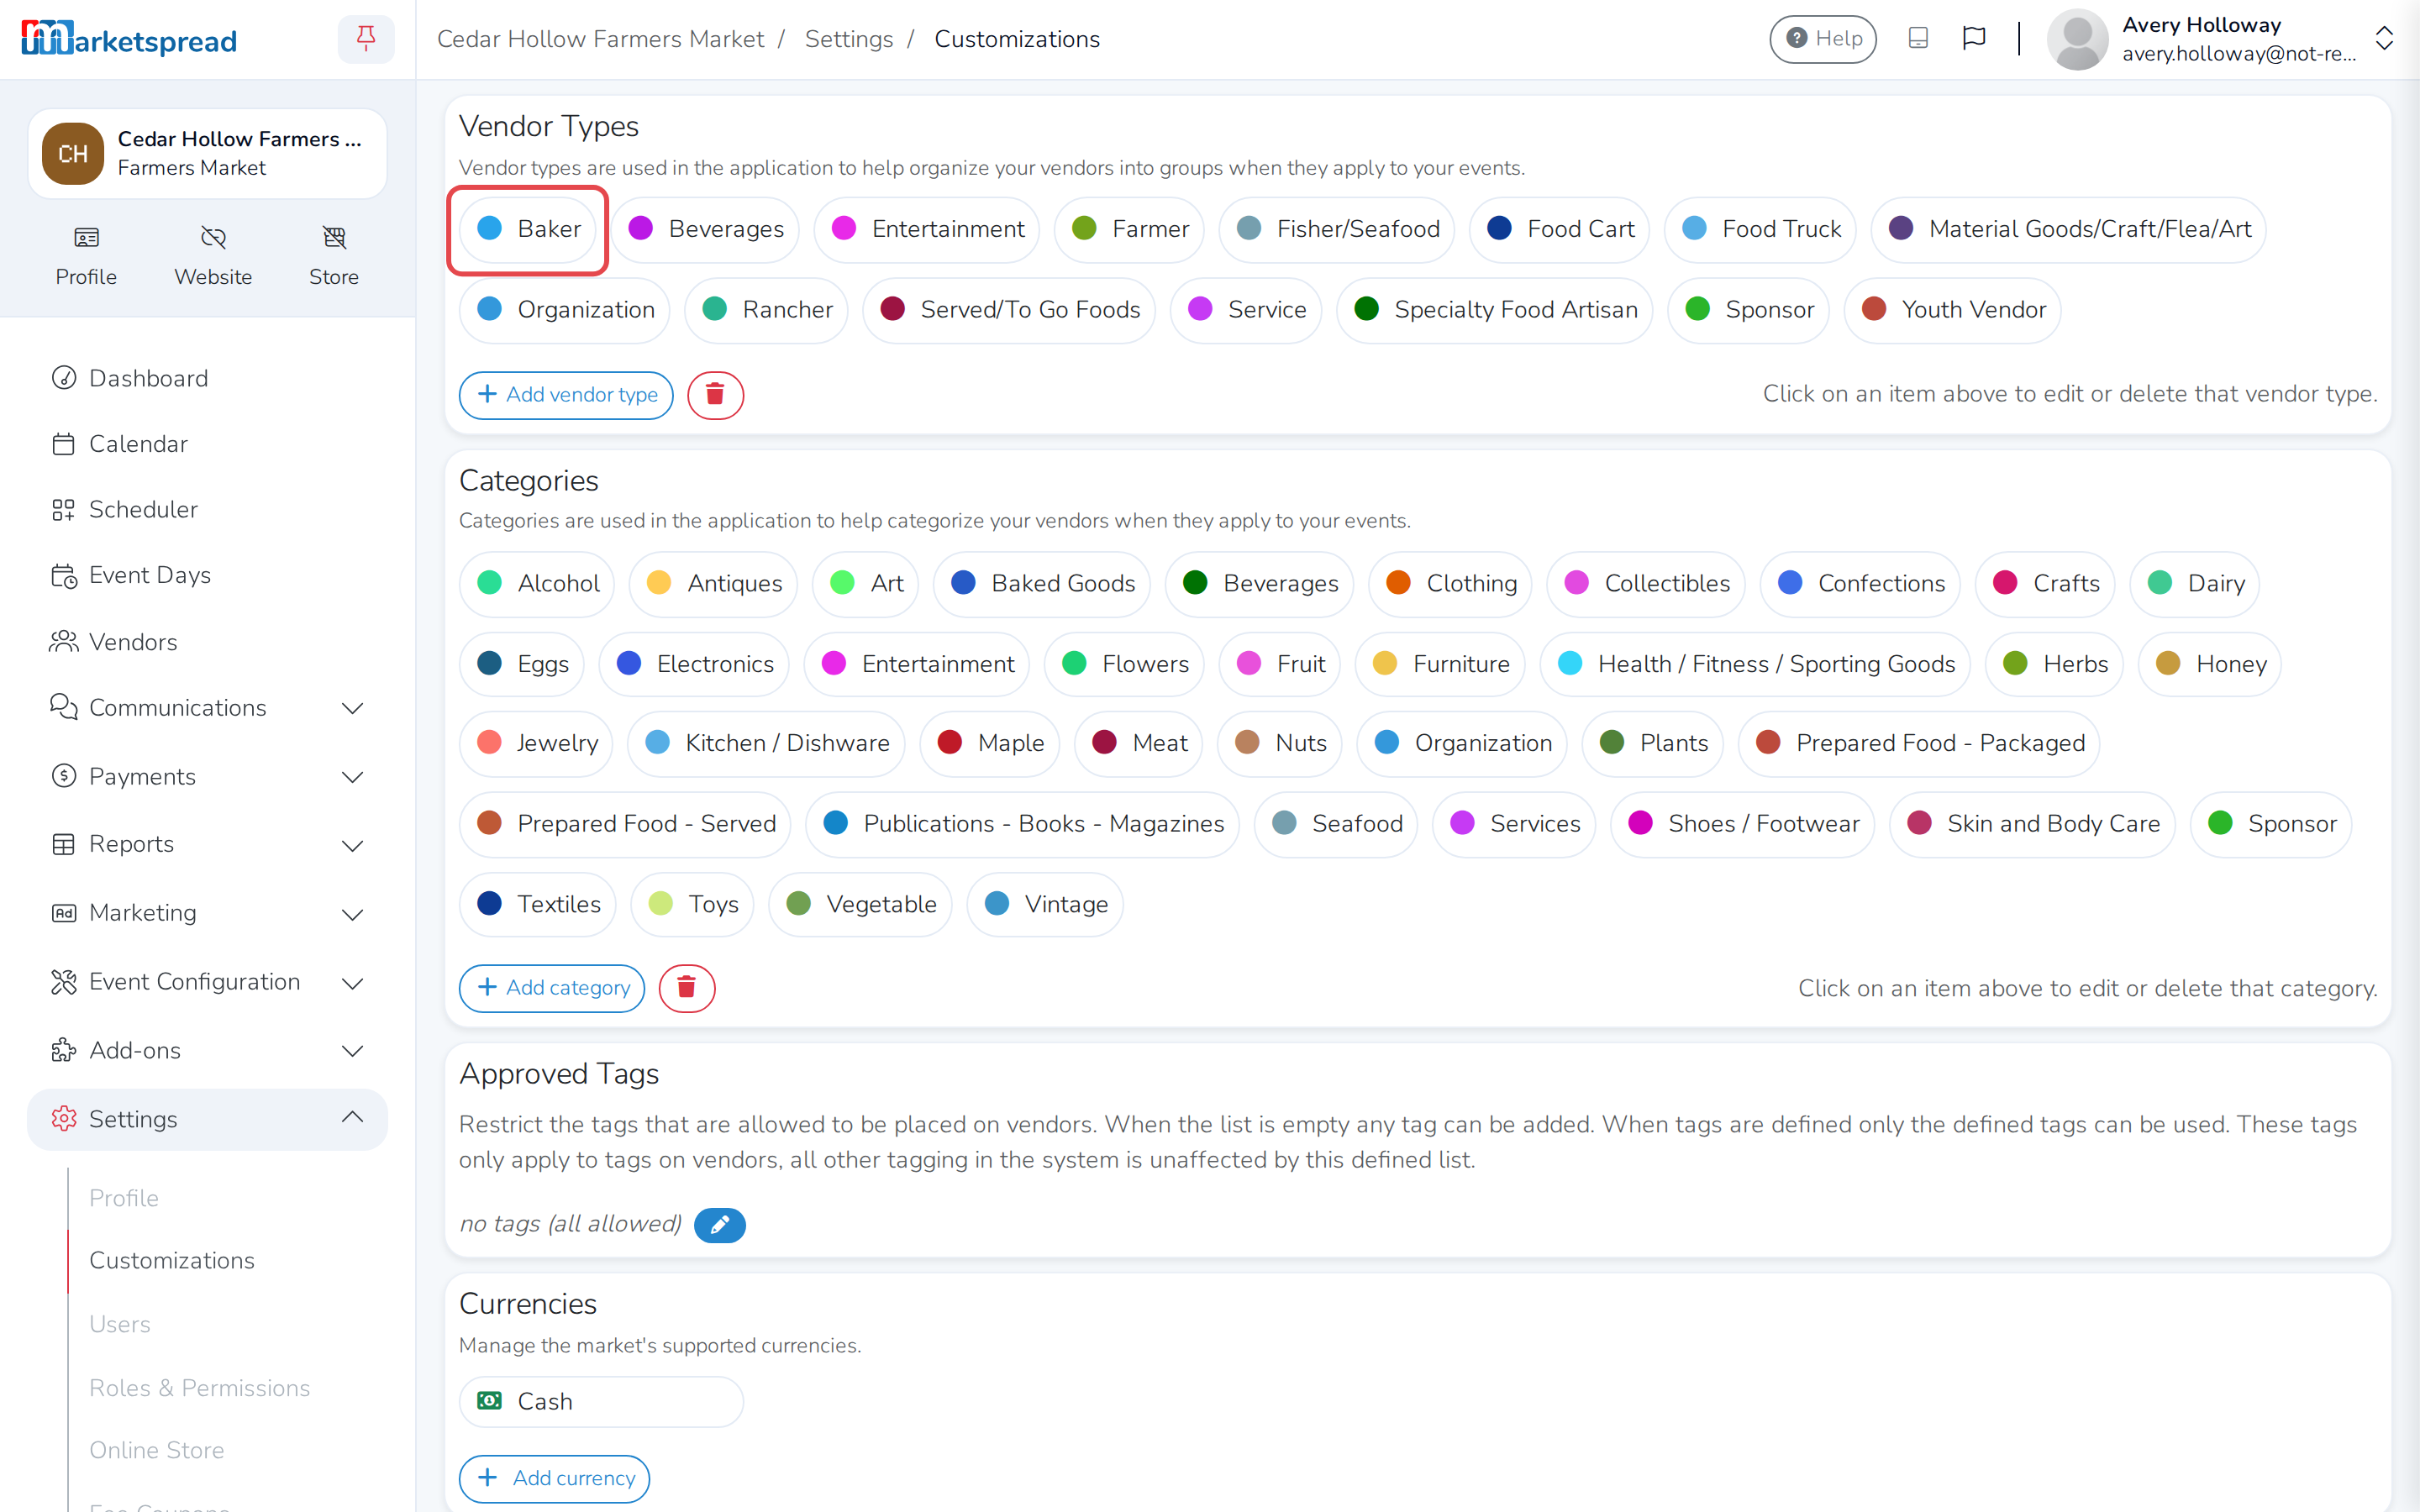
Edit a vendor type
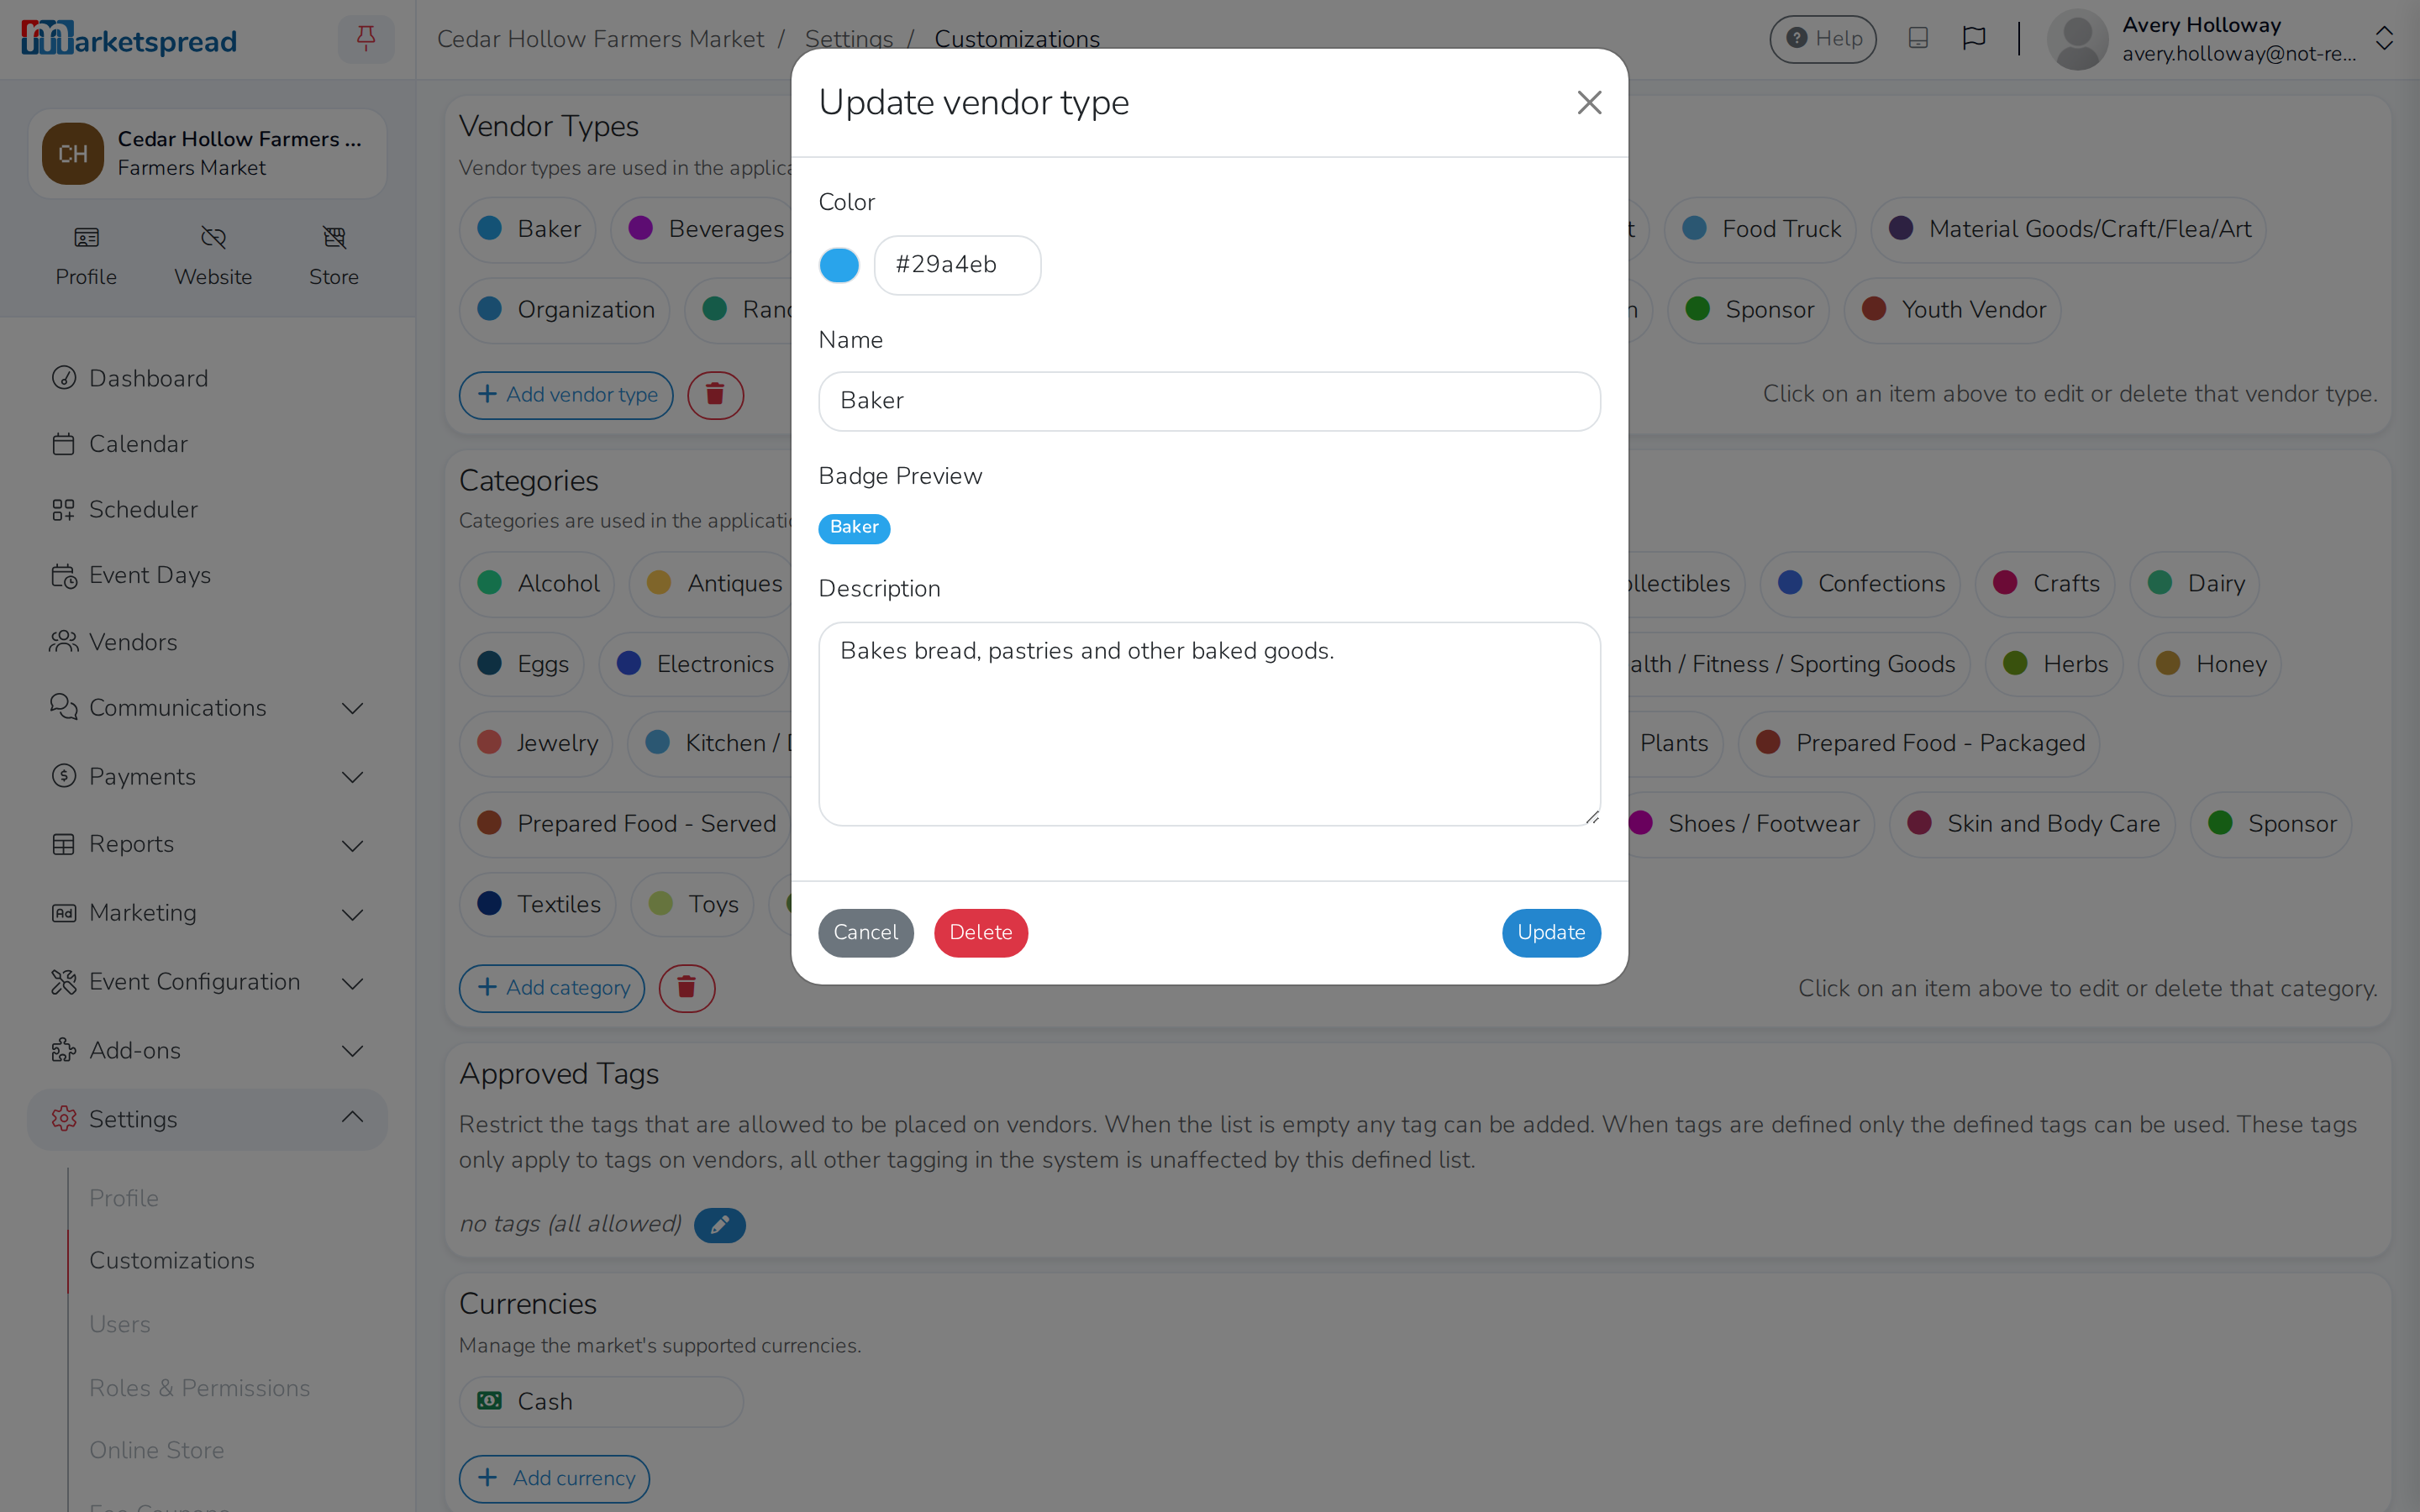
- Click the vendor type you want to change.
- Update its Color, Name or Description.
- Click Update.
Delete a vendor type
- Click the vendor type you want to remove.
- Click Delete, in the same window the edit step above opens.
- Click Delete again to confirm.
Delete several vendor types at once
- Click the trash icon next to Add vendor type.
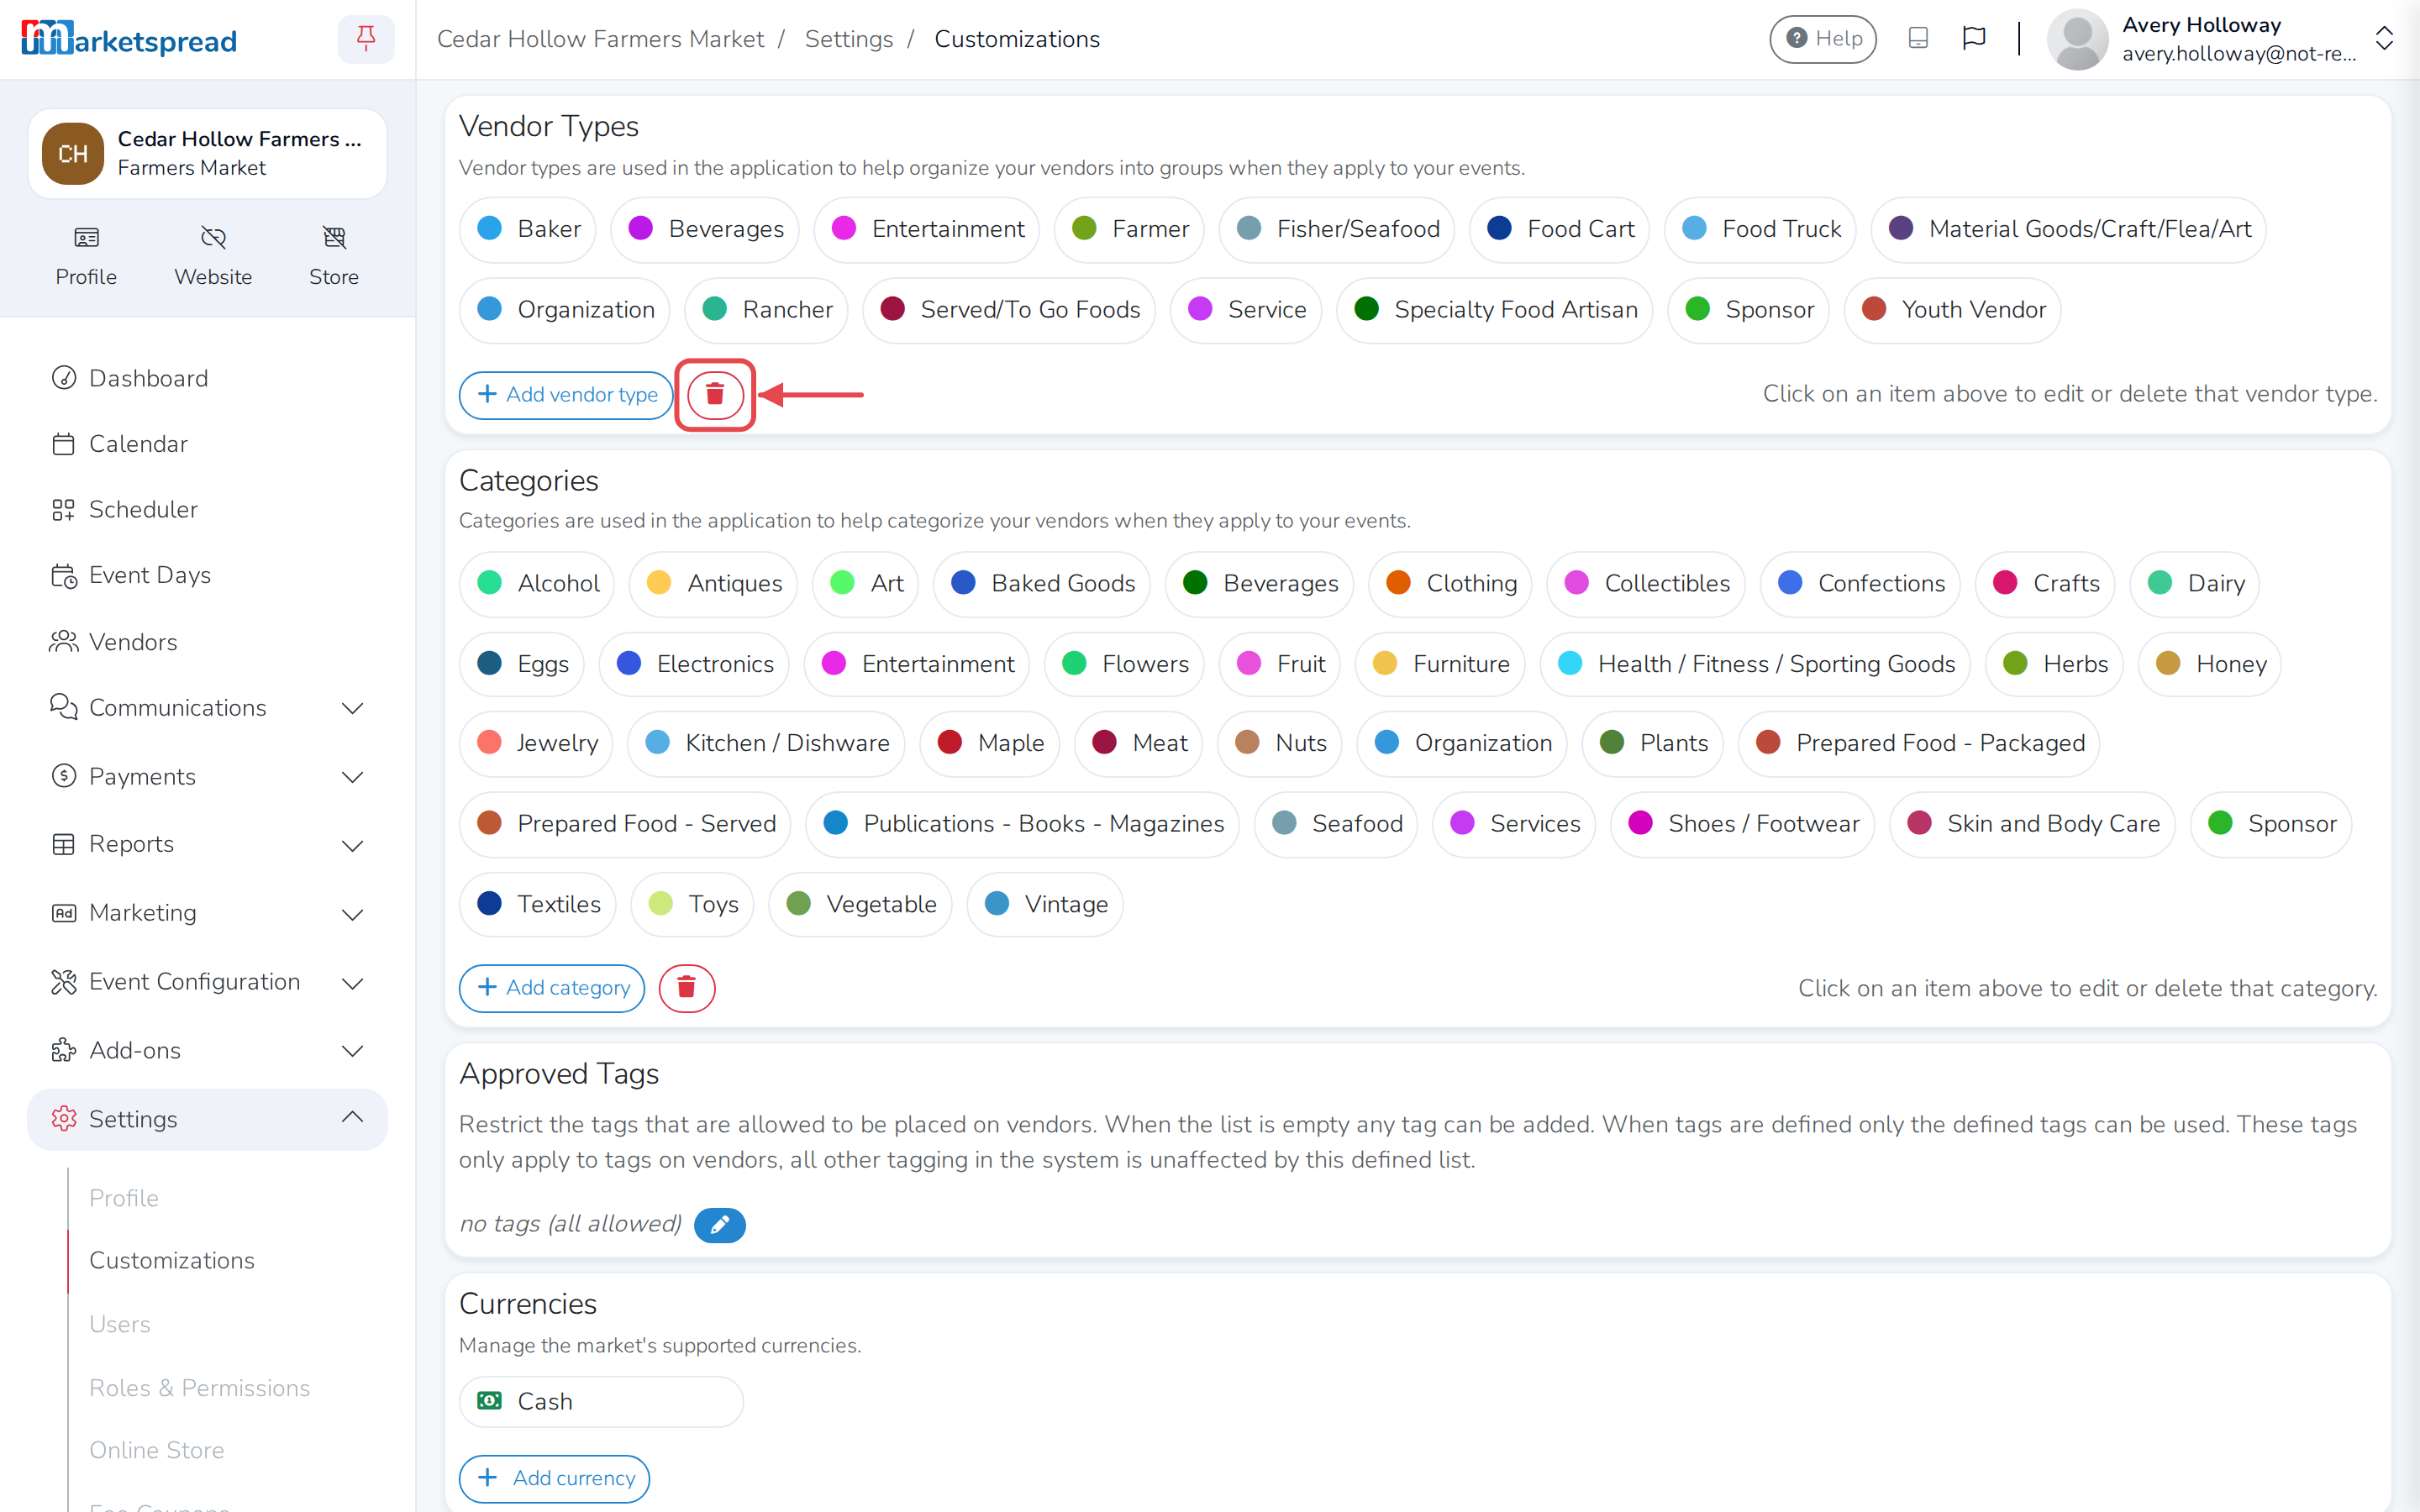
- Click each vendor type you want to remove.
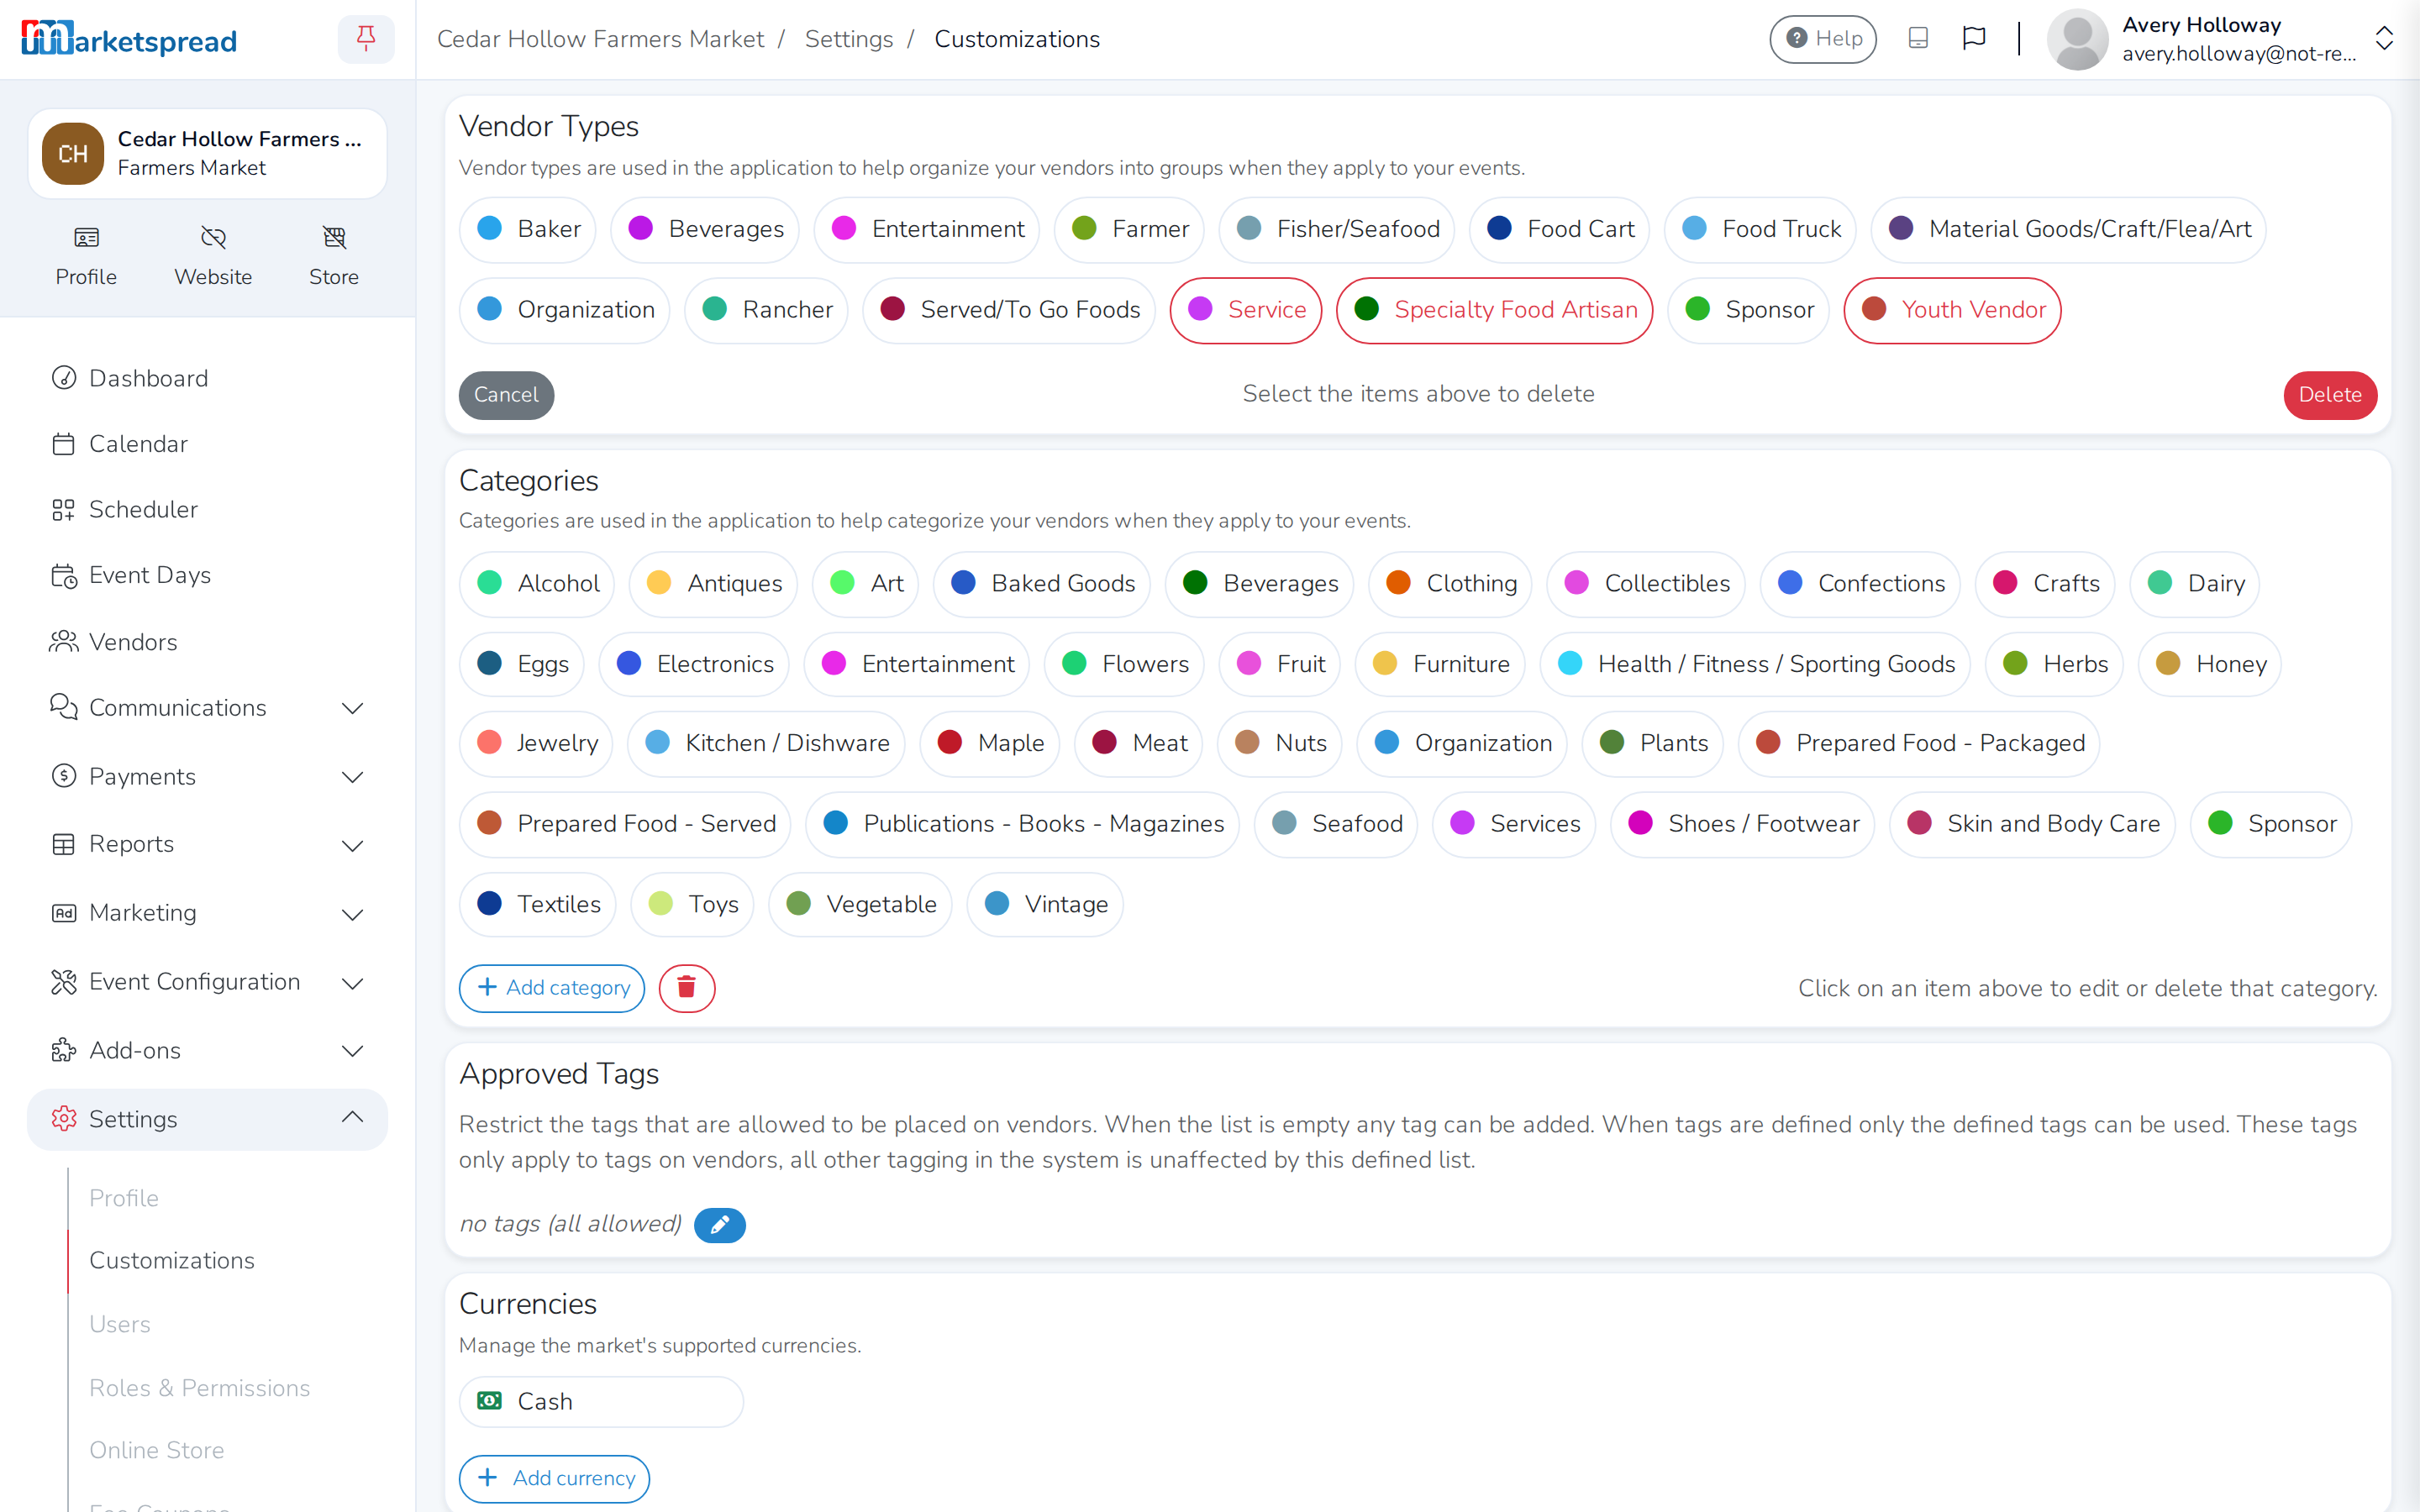
- Click Delete.
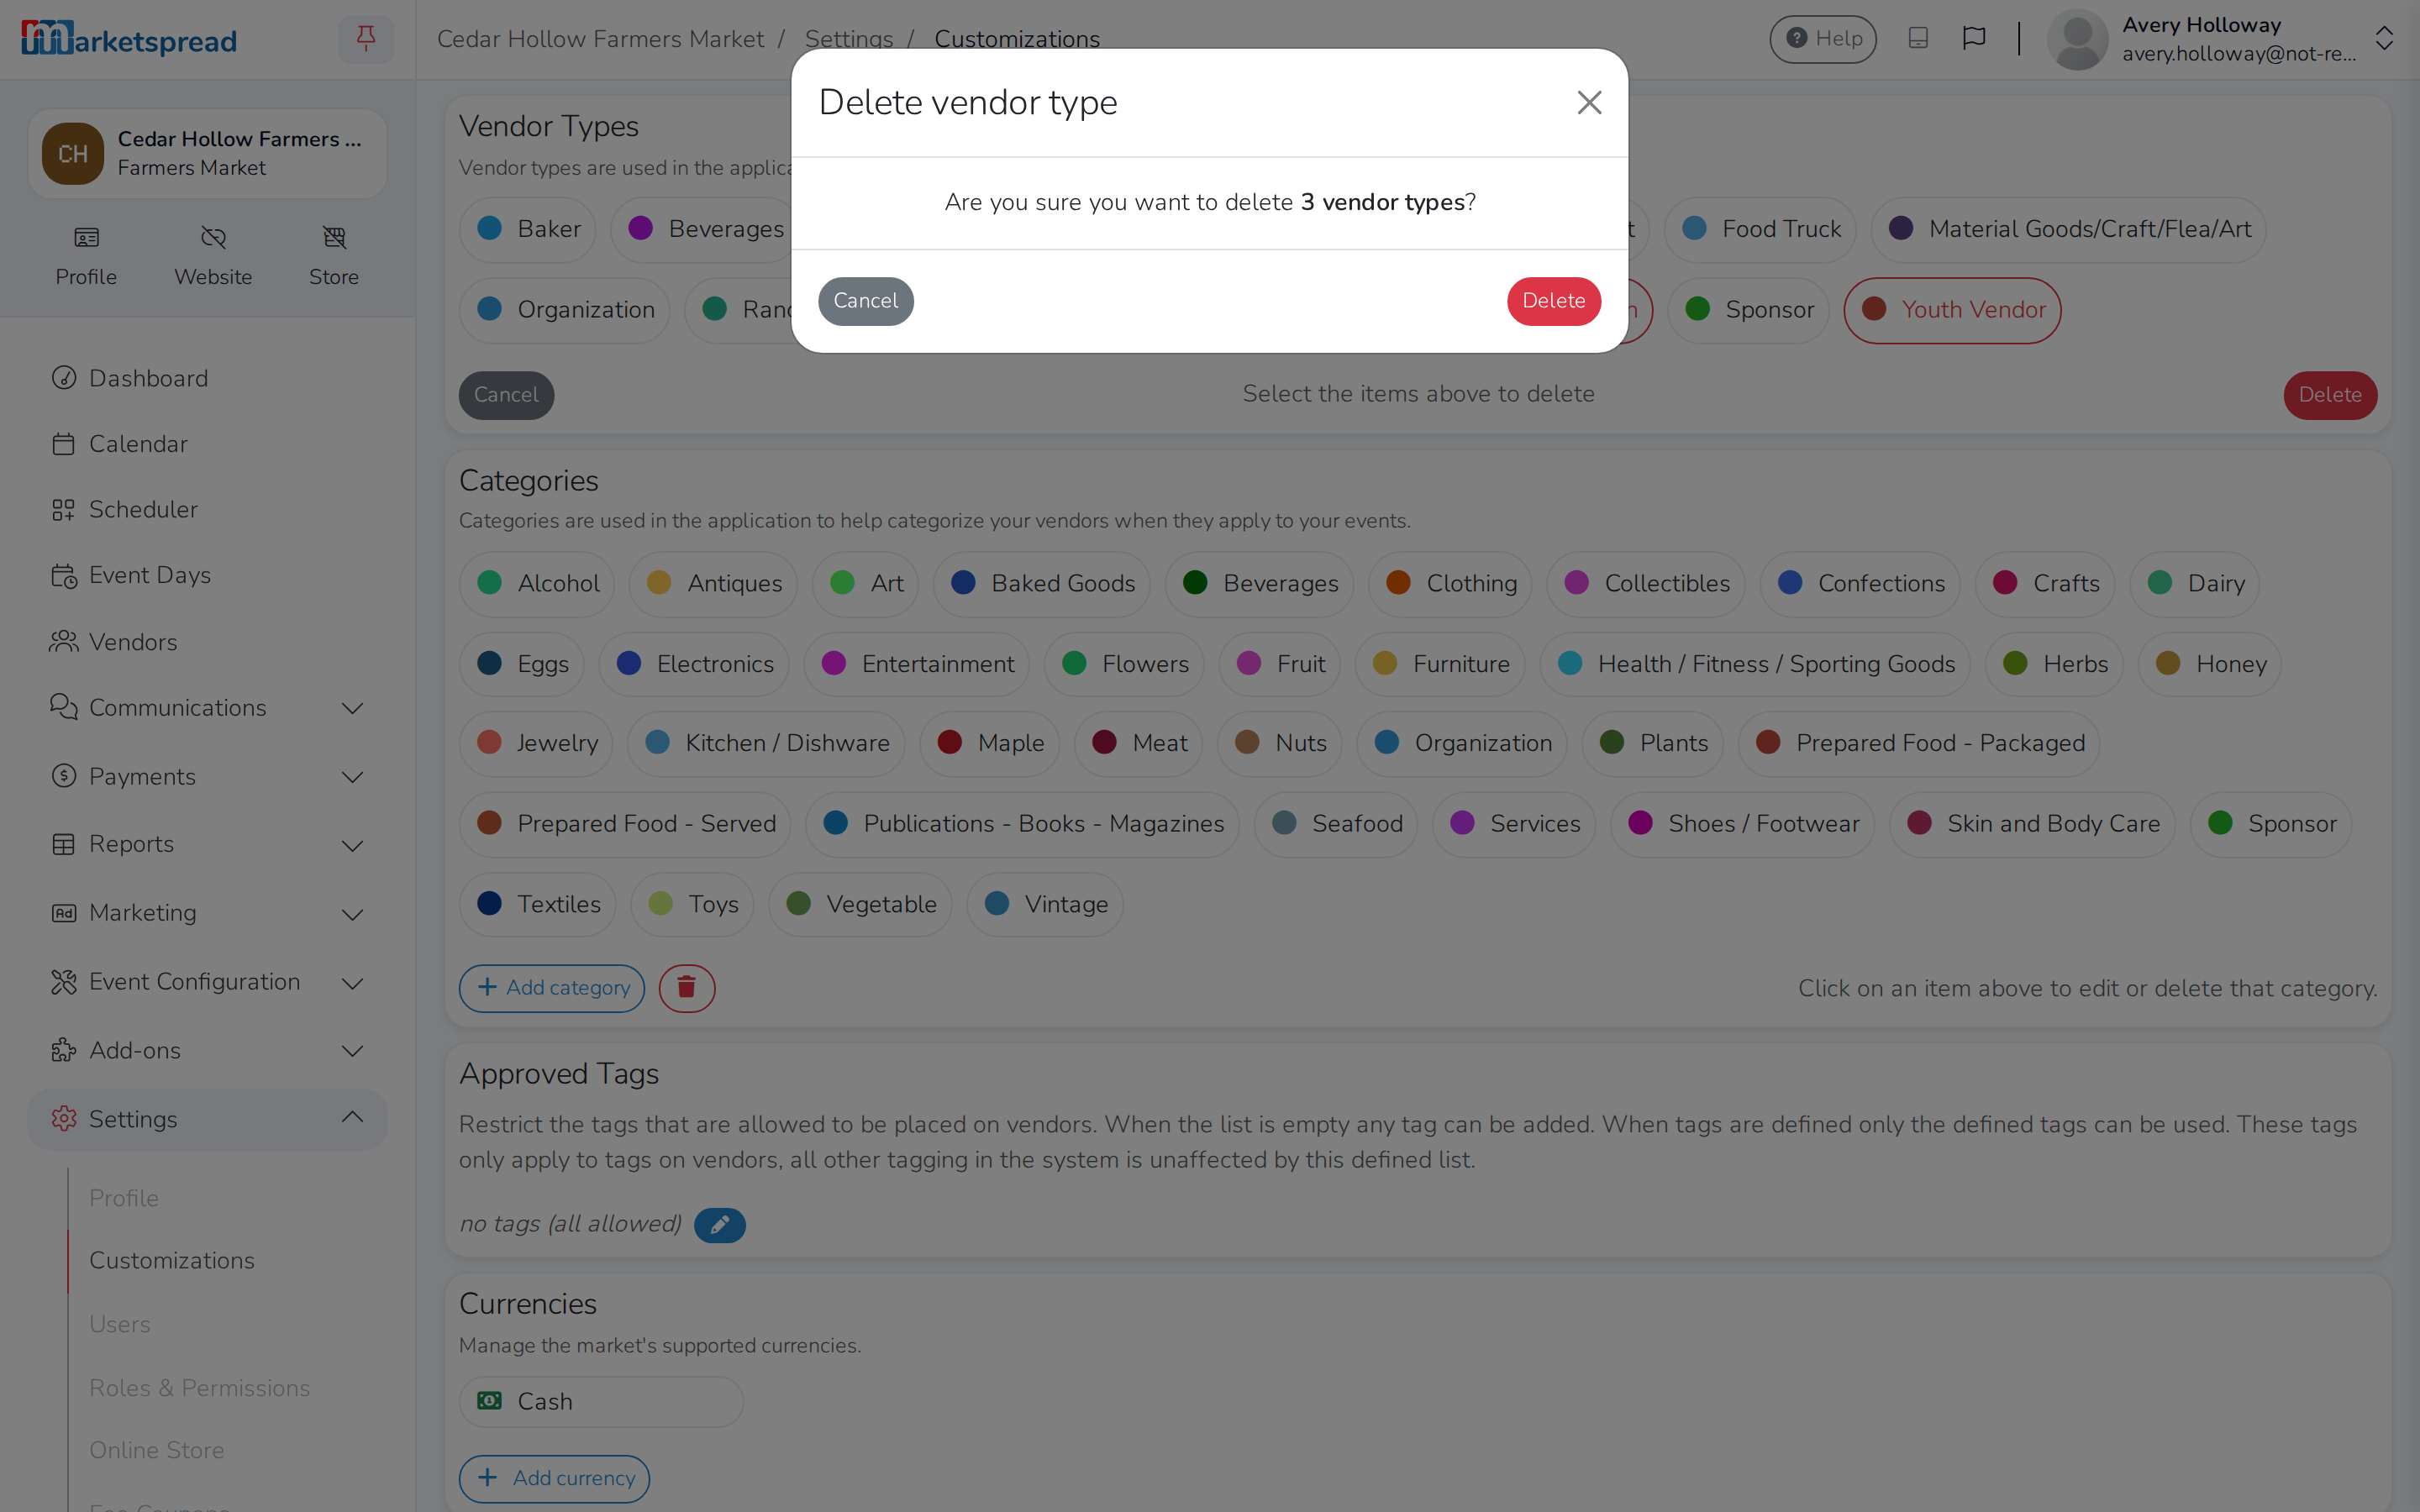
- Click Delete again to confirm.
Note
If you delete every vendor type, vendors won't be asked to choose one when they apply.