


Every event booked at your venue moves through the same five steps, from Application to Booking. Open any event from your venue's Events page to see which steps are done, and use its tabs to work on whatever comes next.
- Application — the customer's request for your space
- Quote — what you're charging them
- Contract — the signed agreement
- Payment — what's been invoiced and paid
- Booking — the event is confirmed
See where a booking stands
-
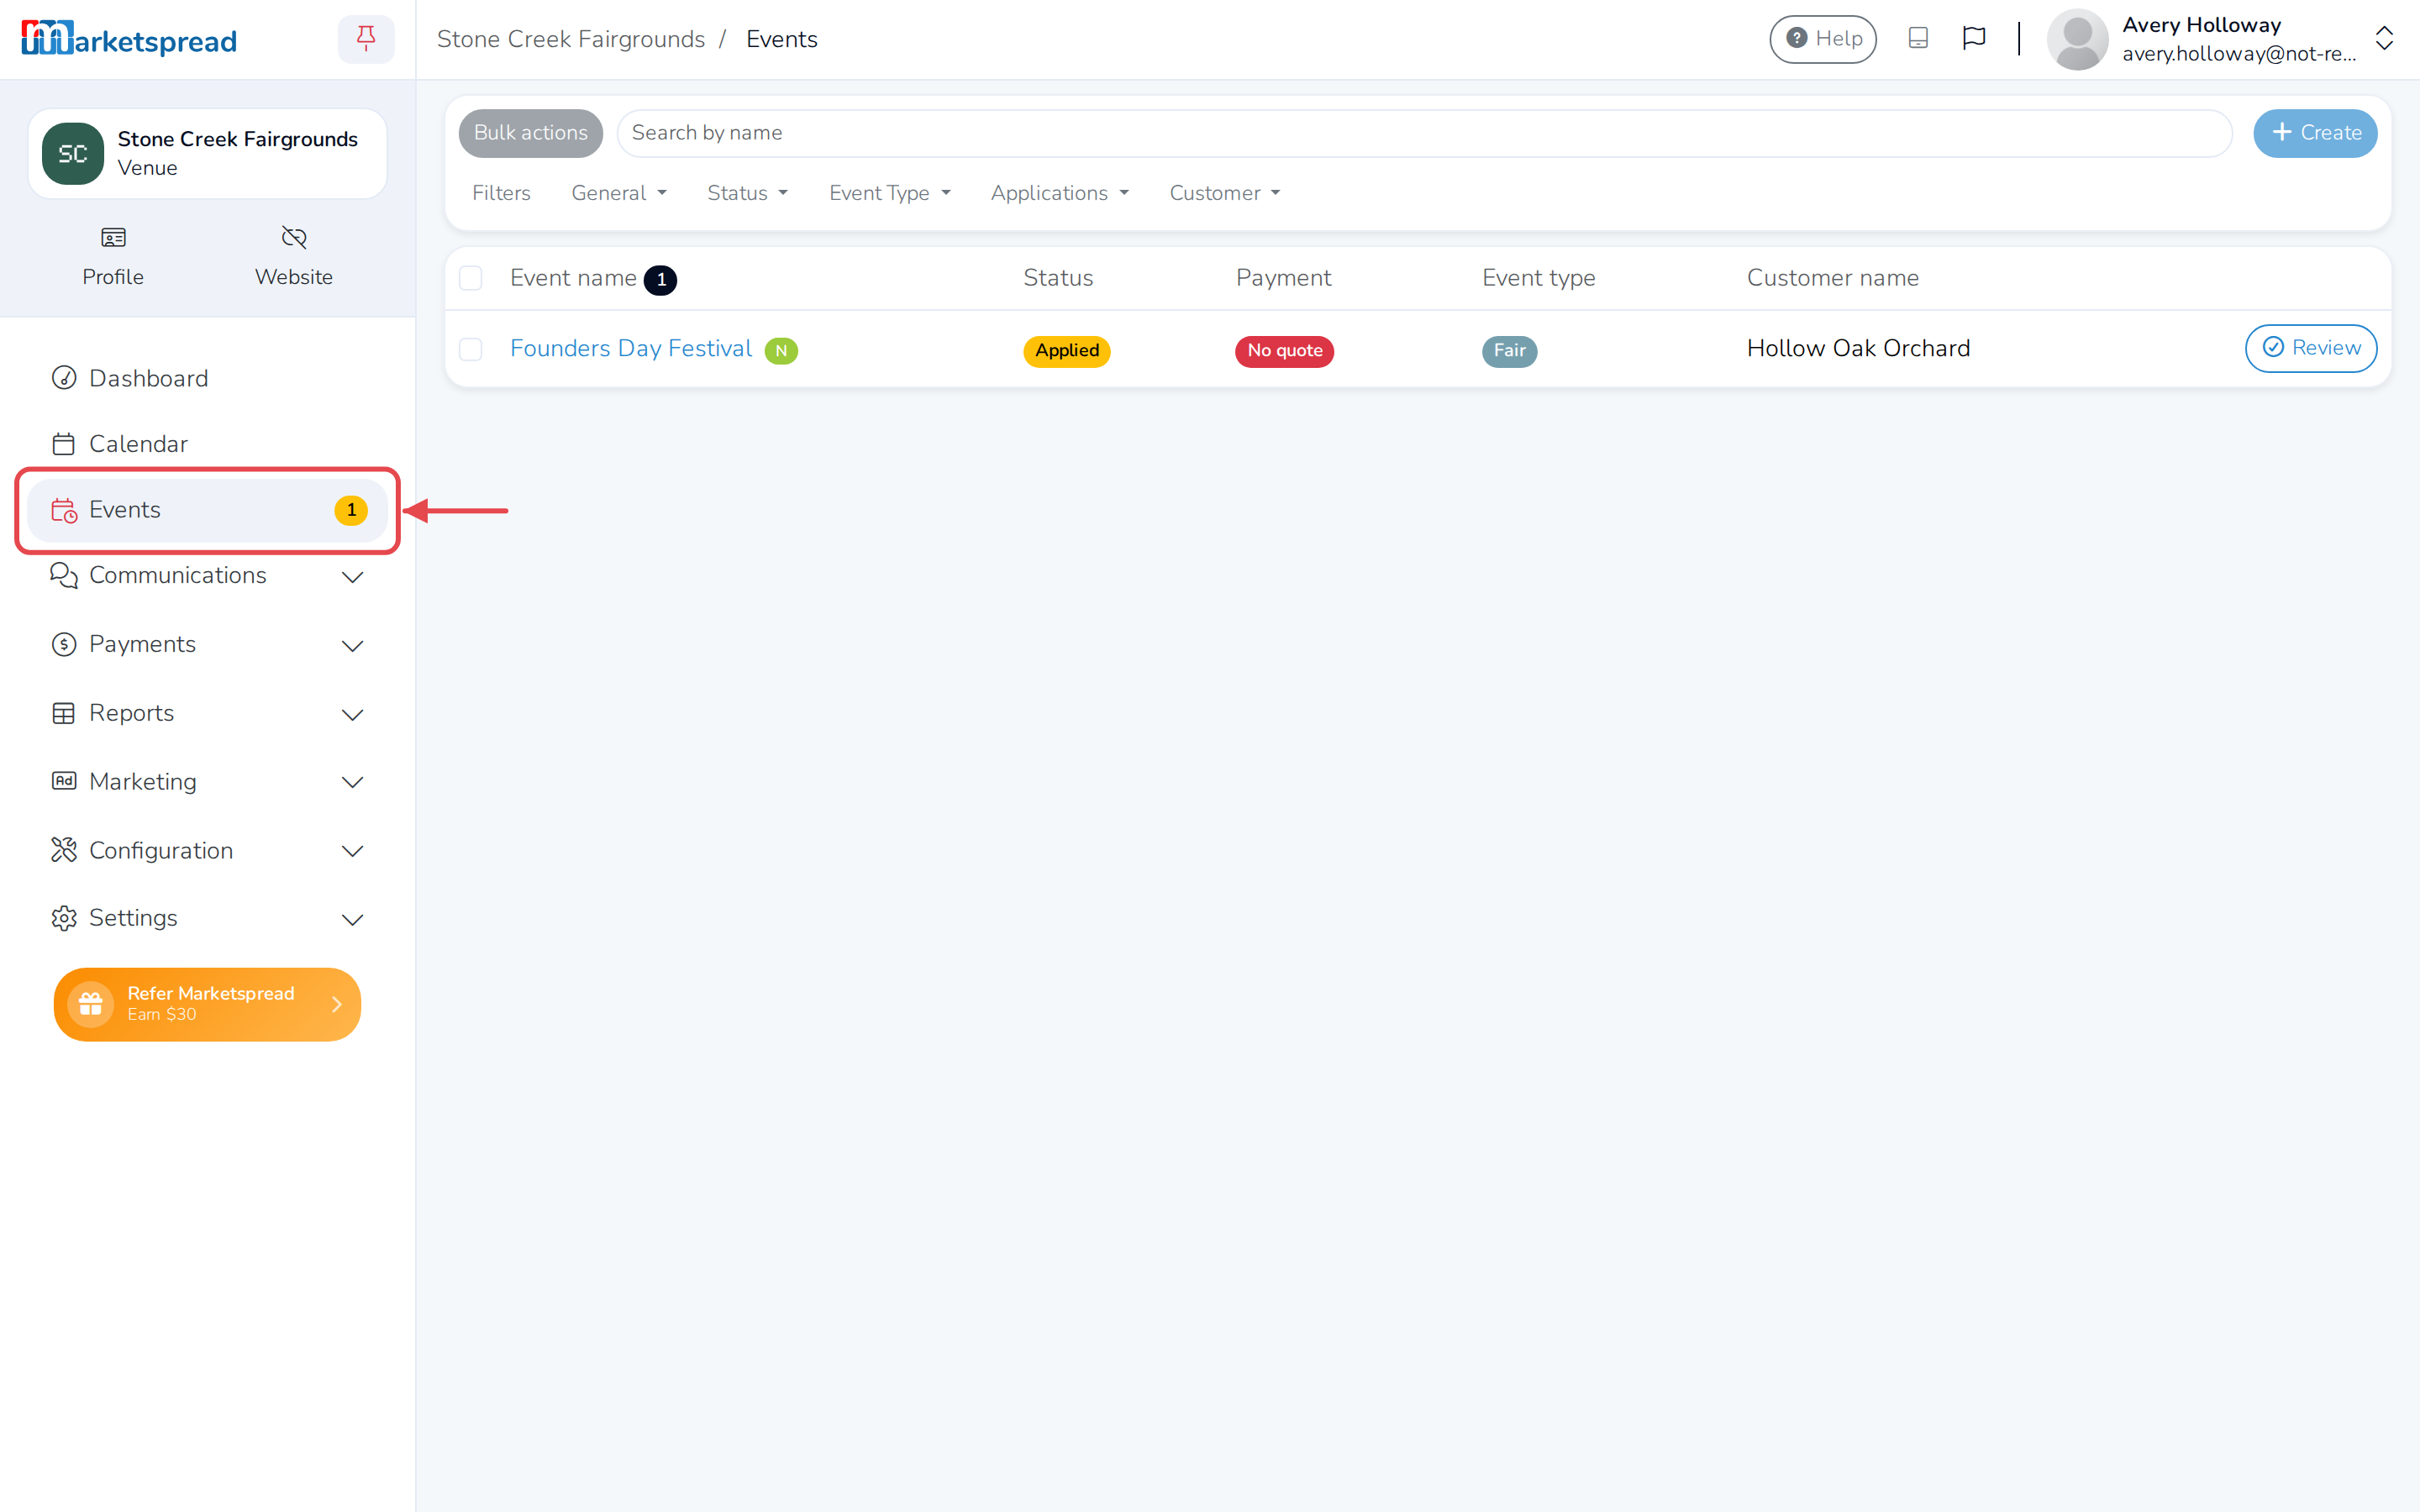
Click Events in the left-hand menu.
-
Click an event's name, or its Review button, to open it.
-
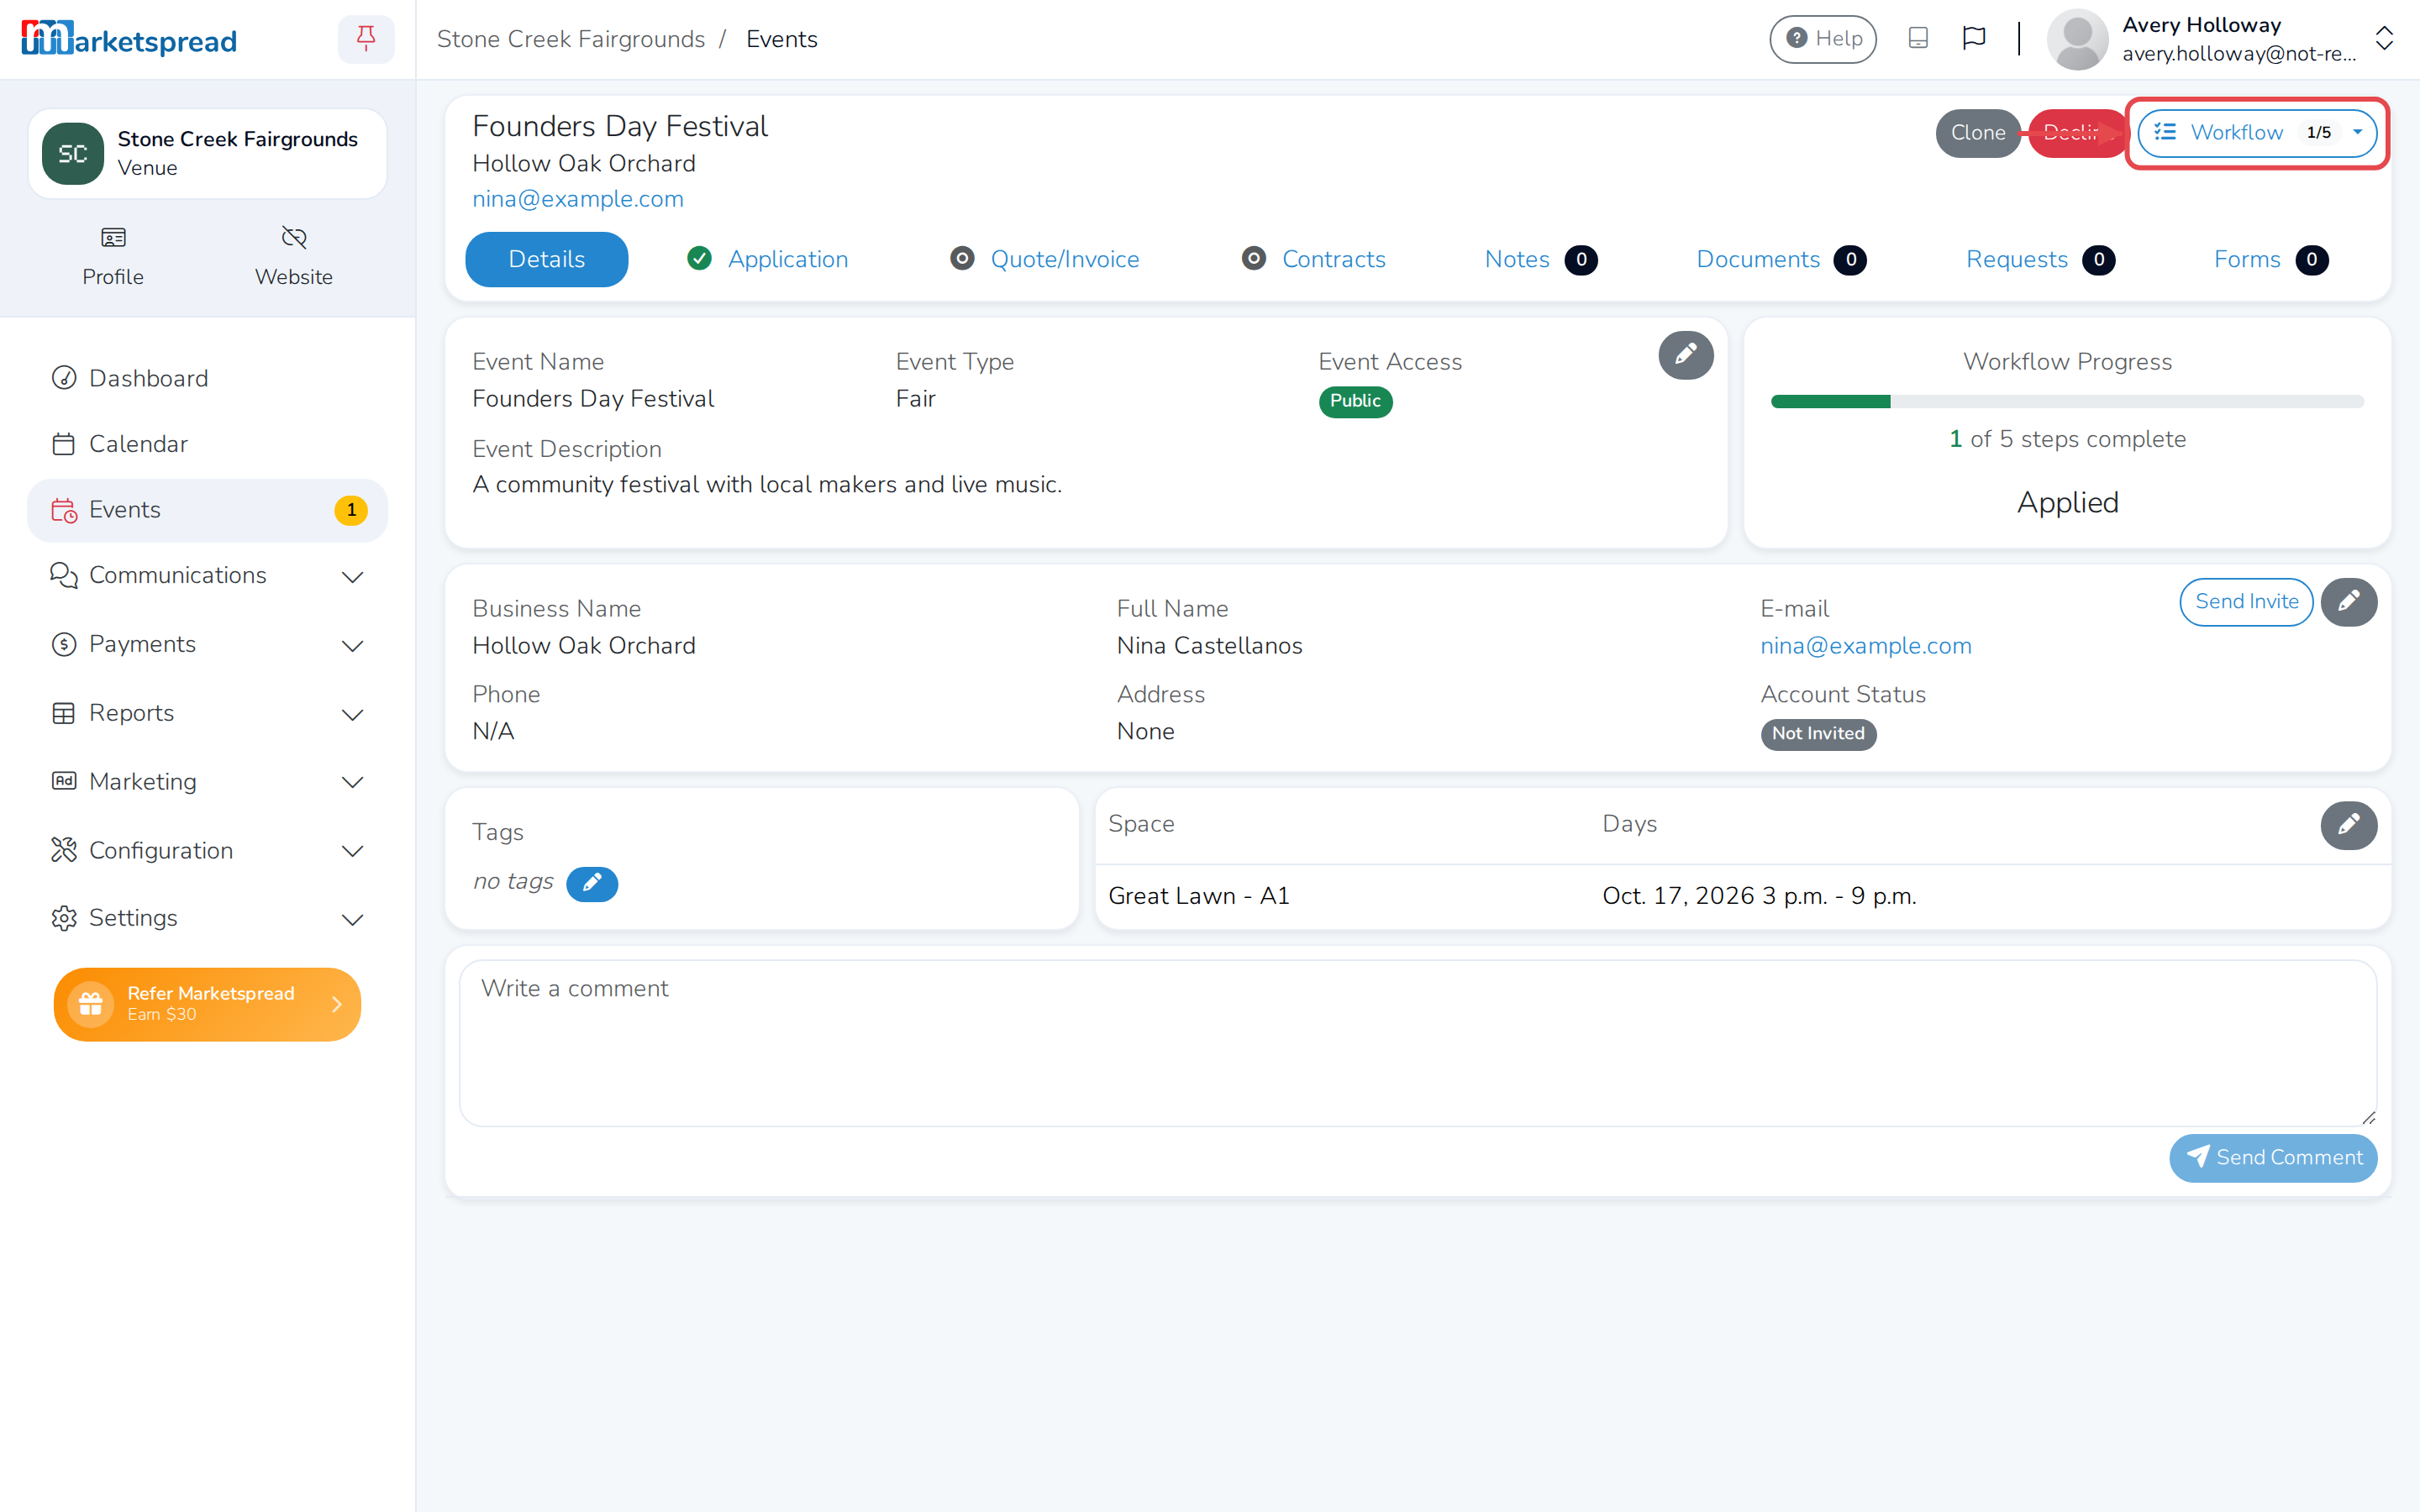
On the Details tab, the Workflow Progress card shows how many of the 5 steps are complete.
-
Click Workflow at the top right to see every step, its status, and what to do next.
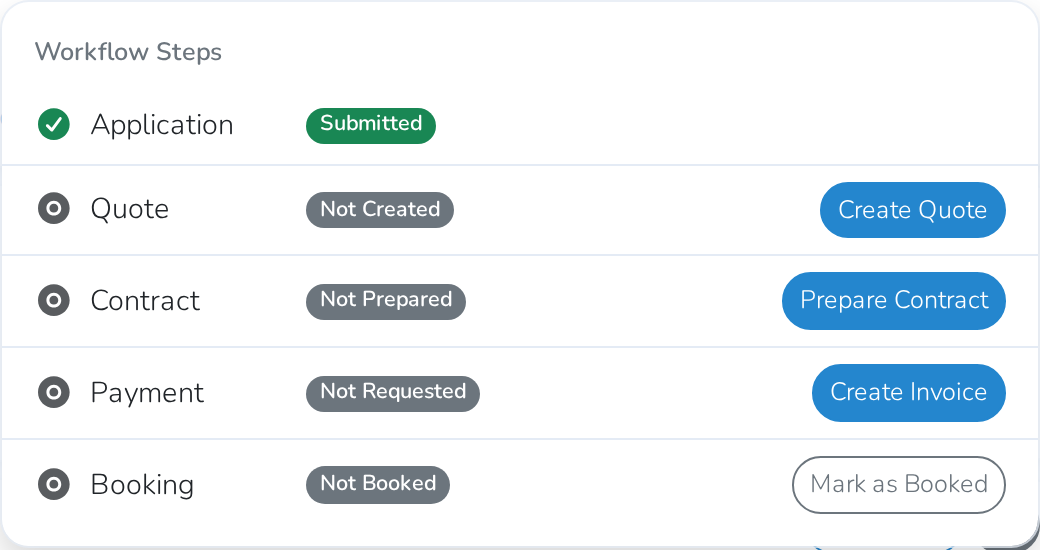
Each step also has its own tab — Application, Quote/Invoice, Contracts — with an icon showing whether it's done, waiting on the customer, or not started.
Register an event manually
Most events arrive from a customer applying online, and appear here on their own. To add one yourself:
- Click Events in the left-hand menu.
- Click Create. If your venue has more than one application, choose one under Select an application and click Select.
- Under Customer Selection, choose Create a new customer or Select an existing customer.
- Fill in the Event Information.
- Under Space/Day Selection, choose the space and days you're booking.
- Click Submit.
Prepare and send a contract
- Open the event and click the Contracts tab.
- Click Add a Contract.
- Click Prepare on the contract's row.
- Choose the document to use.
- Add signers and any other fields, then click Send to Customer.
Once everyone has signed, the contract's status changes to Signed and you can download it.
Mark the event as booked
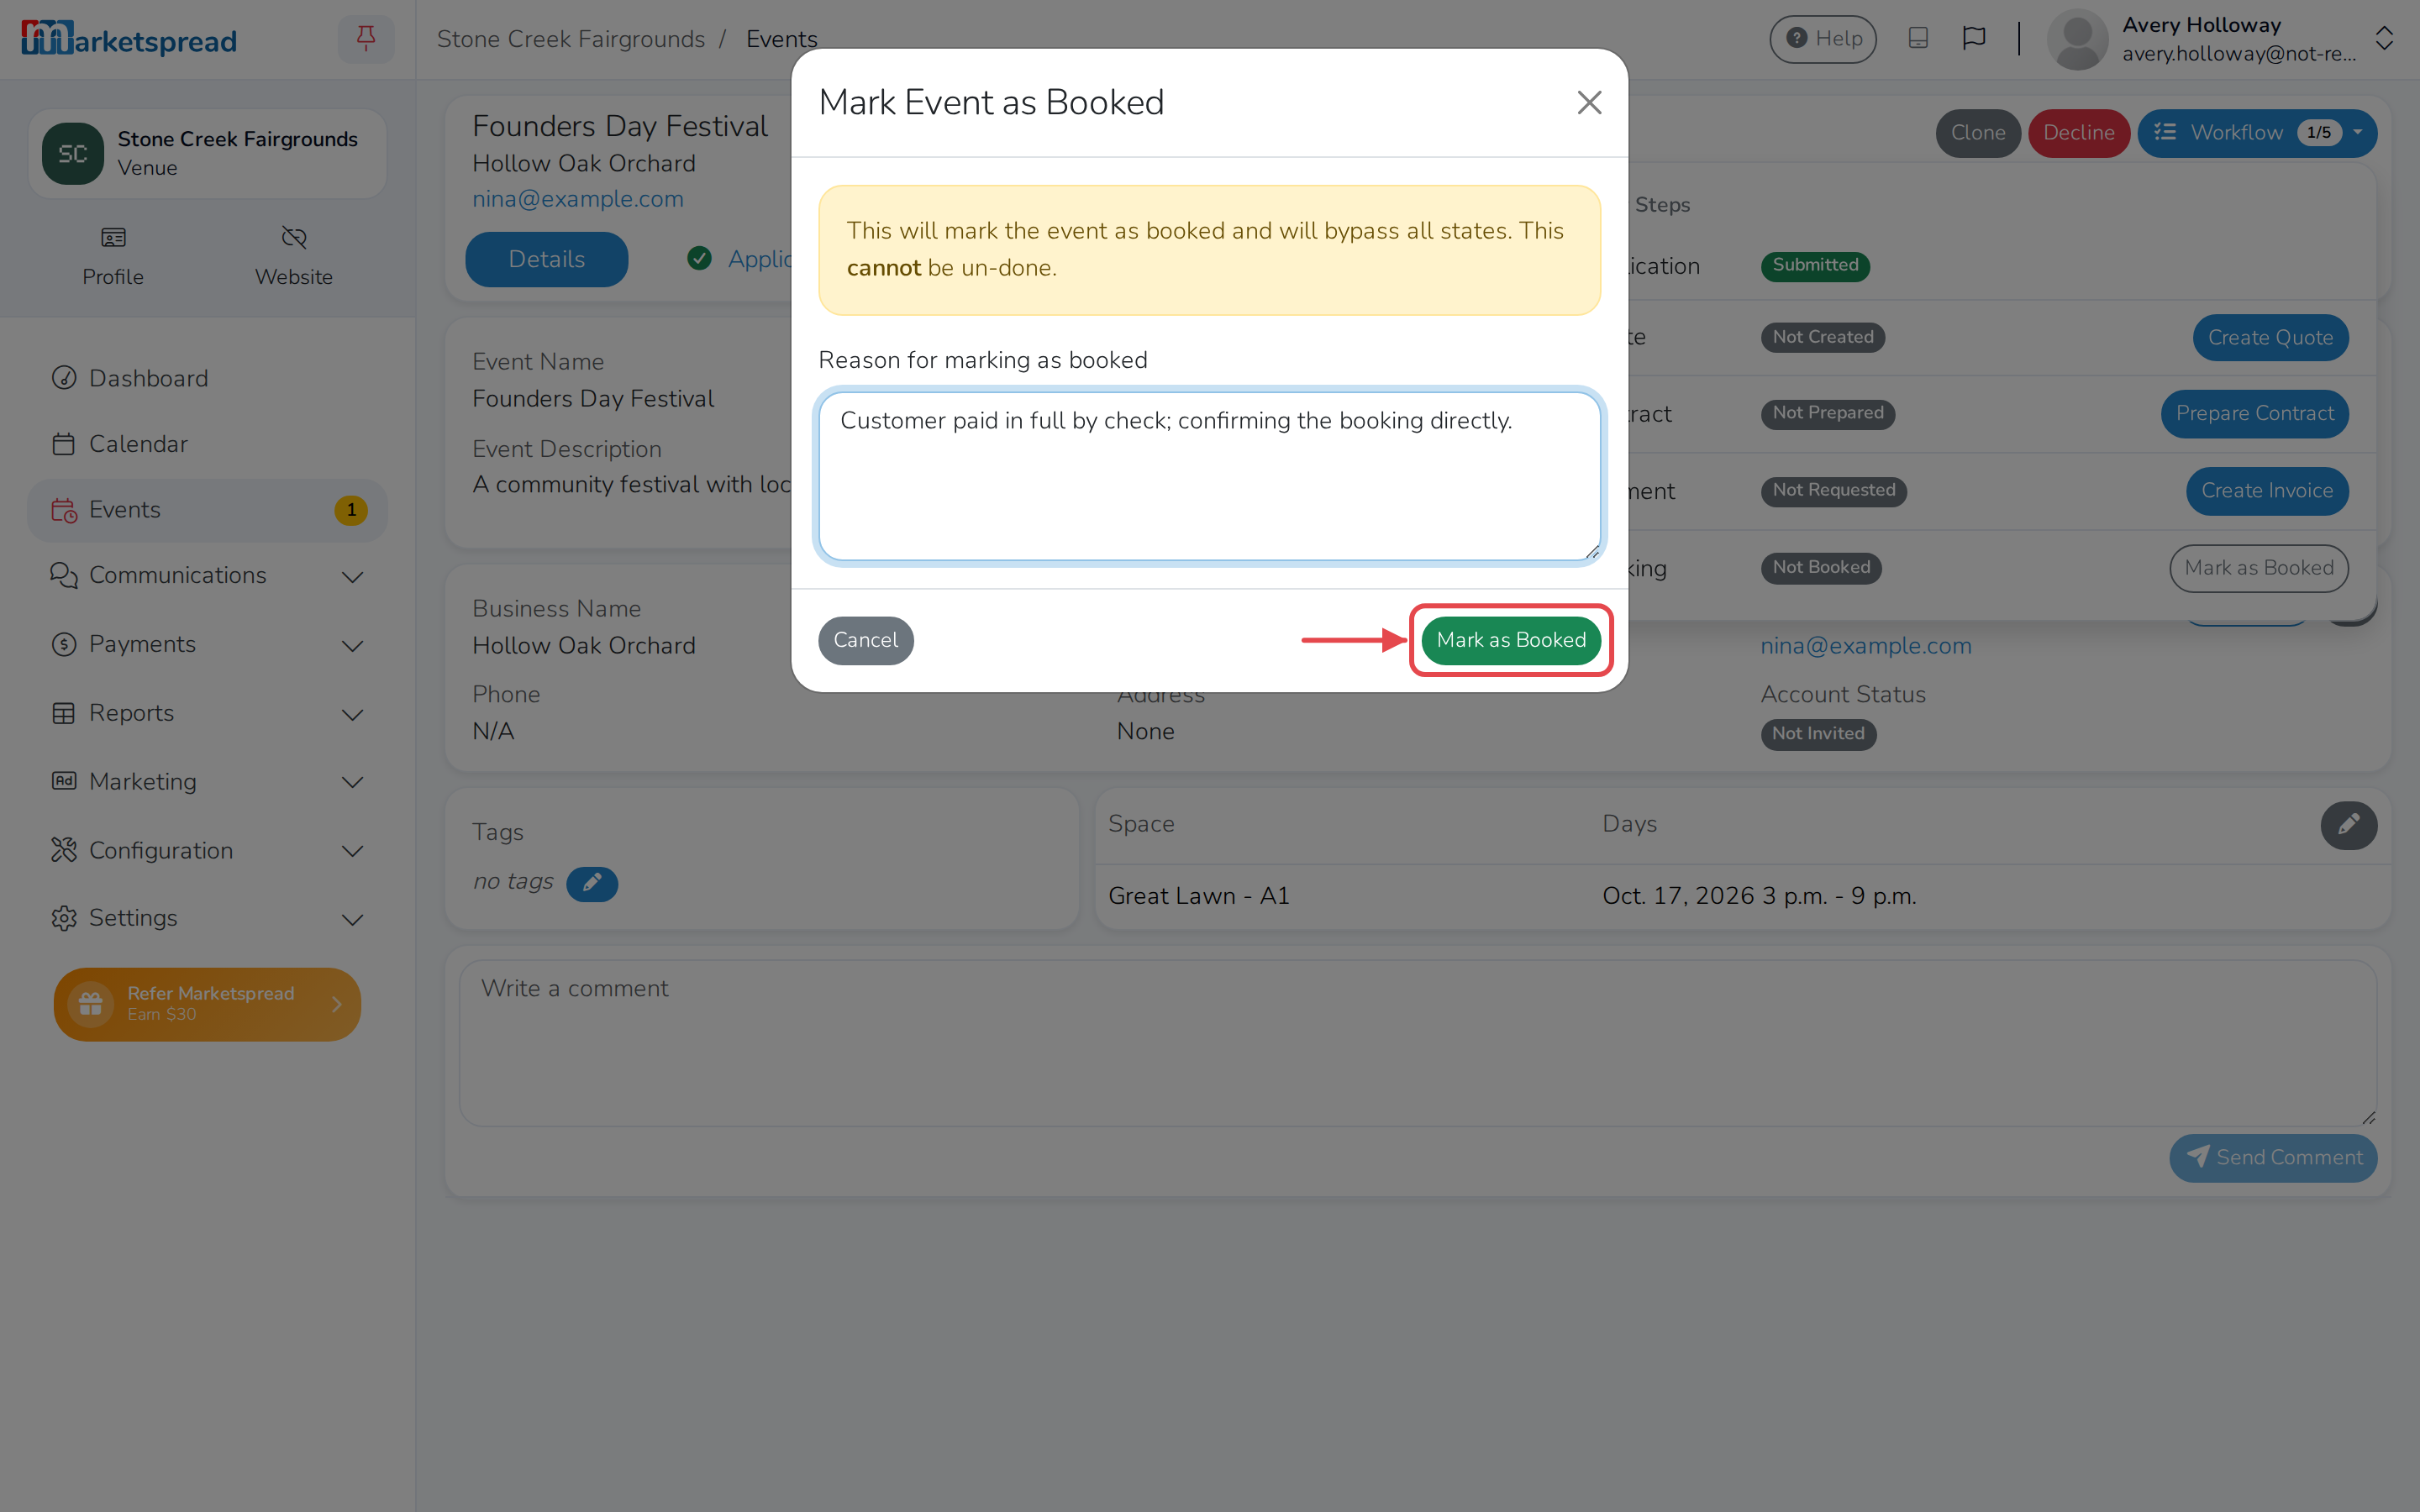
Marking an event as booked confirms it, whatever step the rest of its workflow is on. It can't be undone.
-
Open the event and click Workflow at the top right.
-
Next to Booking, click Mark as Booked.
-
Fill in Reason for marking as booked.
-
Click Mark as Booked.