


Your venue's Settings hold the details customers see on its public profile, plus a few options that change how bookings and notices work. Open Settings in the left-hand menu of your venue dashboard to reach them.
From here you can:
- Update your venue's profile — name, description, social links and amenities
- Add your manager's details
- Set your location and contact details
- Choose whether your phone numbers show on your public profile
- Turn on advanced settings for card payments and overdue notices
- Close or delete your venue
Update your venue's profile
-
Click Settings in the left-hand menu, then click Profile.
-
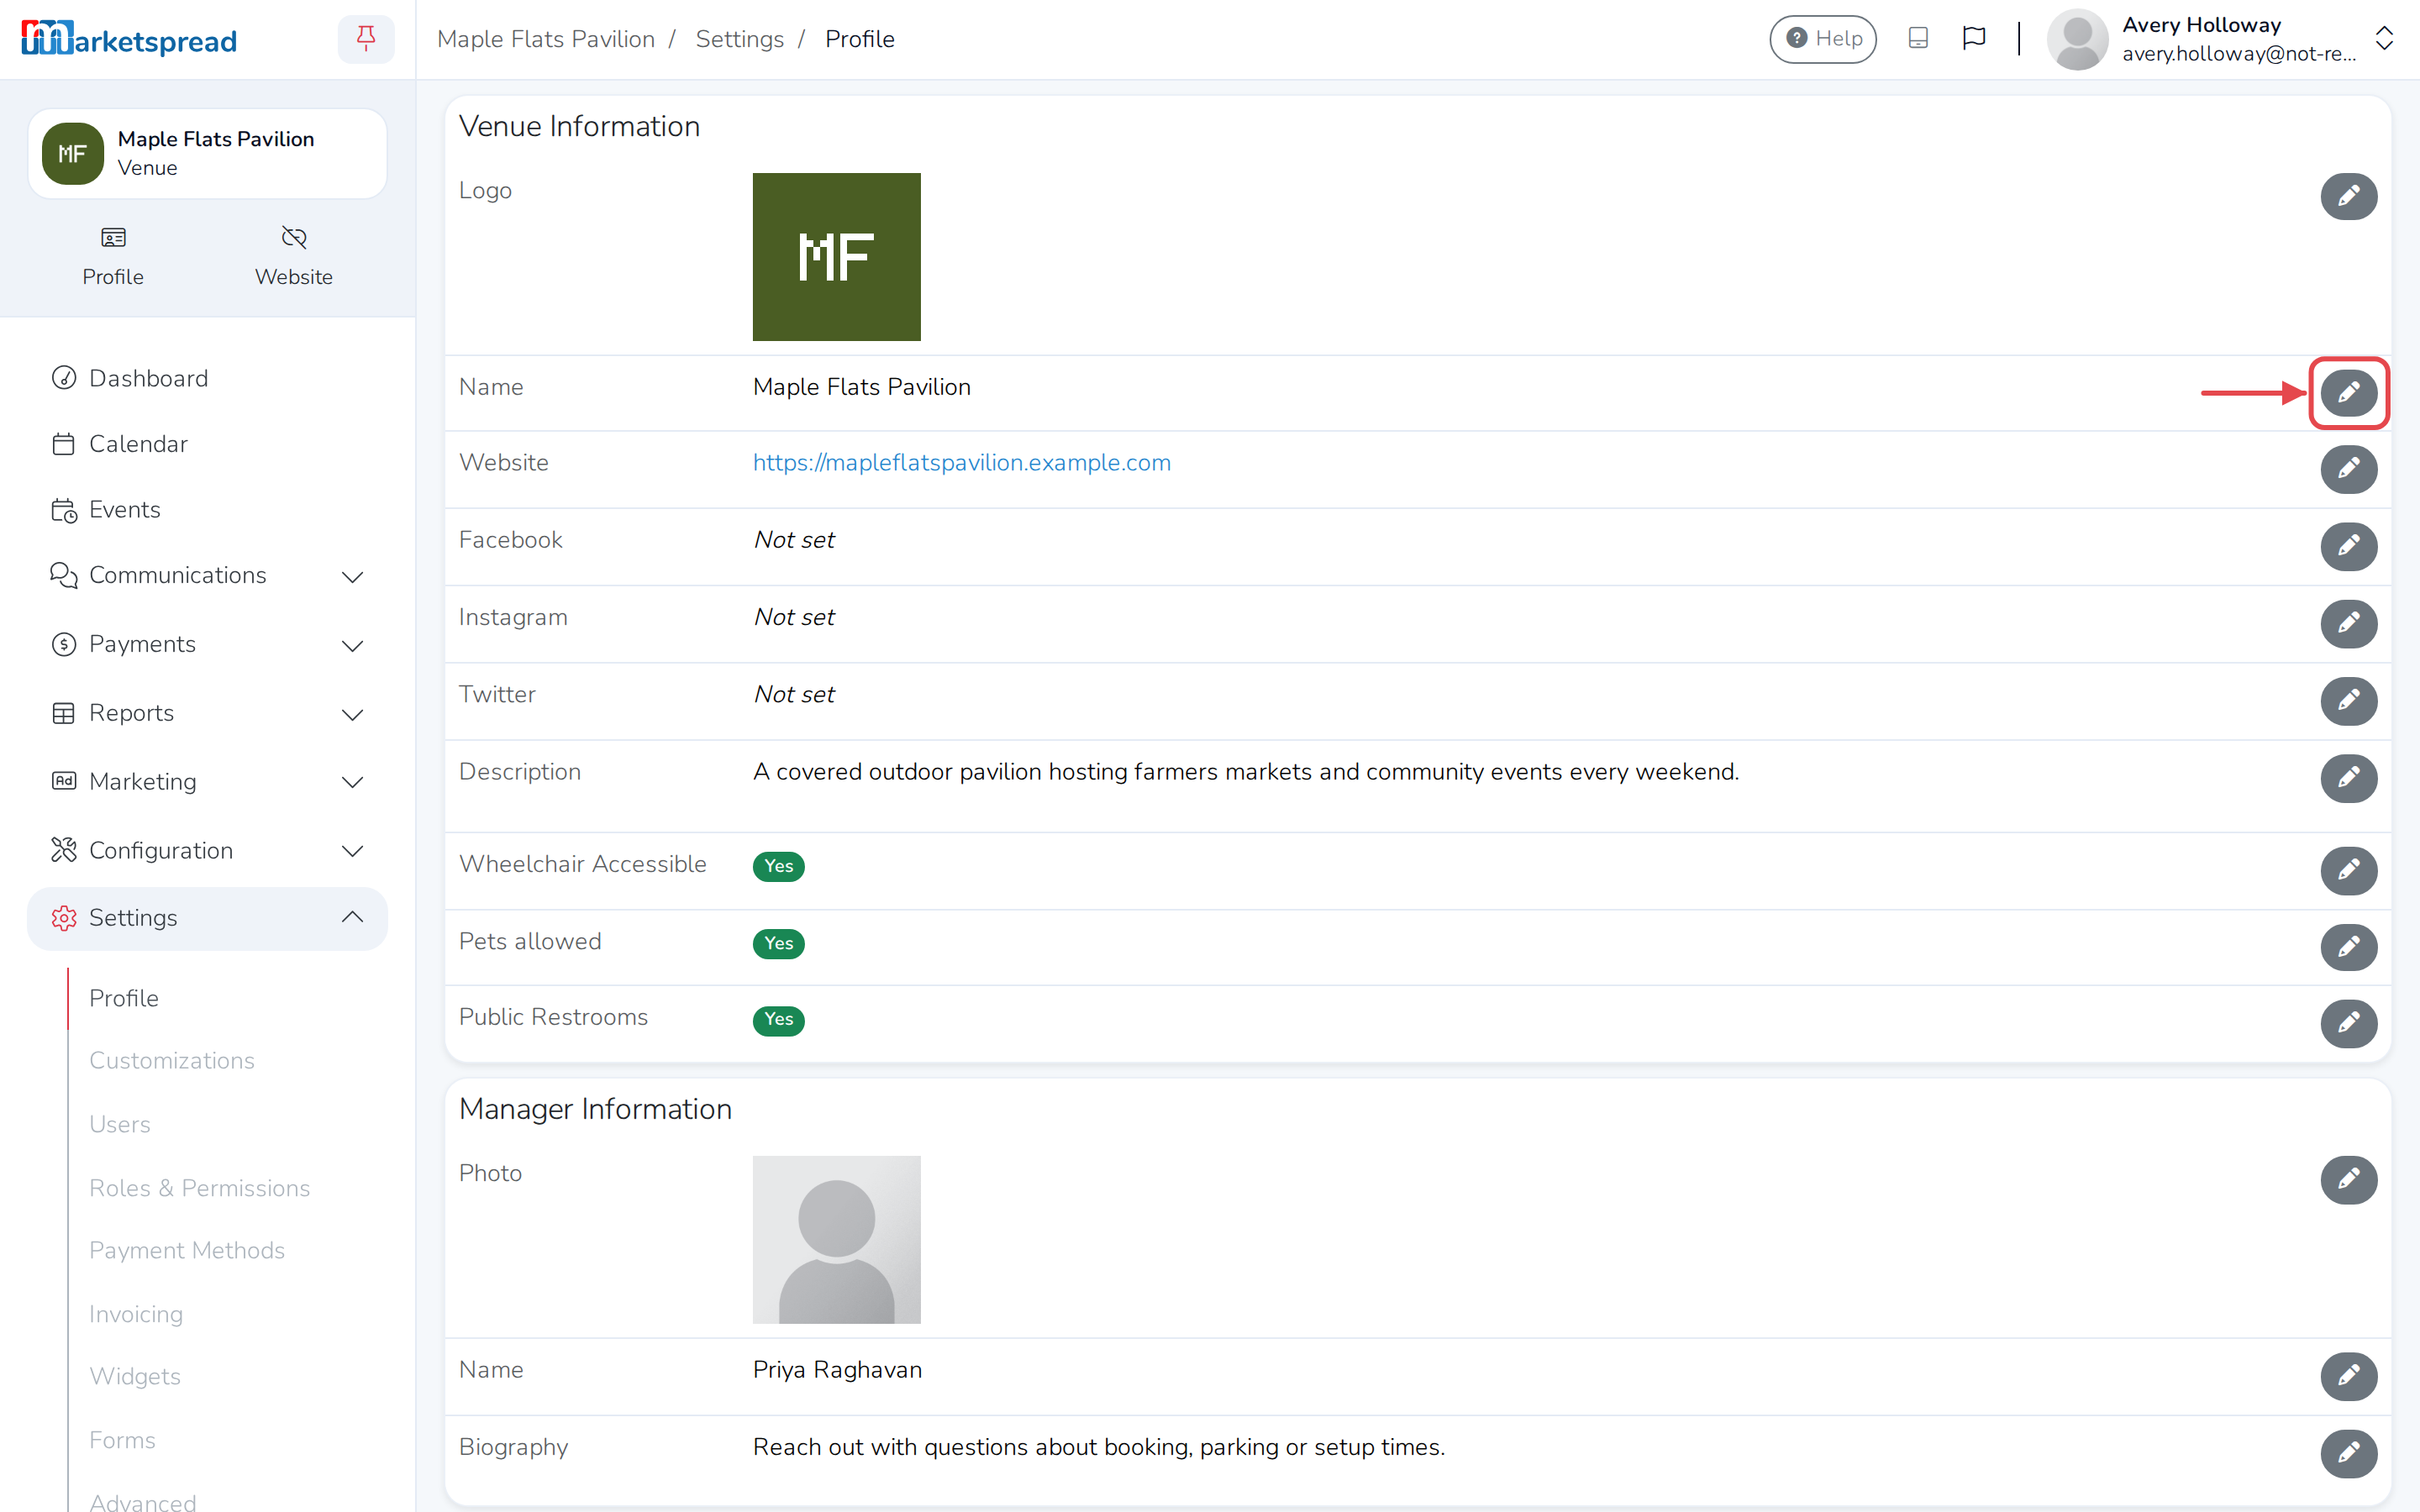
Under Venue Information, click the pencil icon next to the field you want to change — Name, Website, Facebook, Instagram, Twitter, Description, Wheelchair Accessible, Pets allowed or Public Restrooms.
-
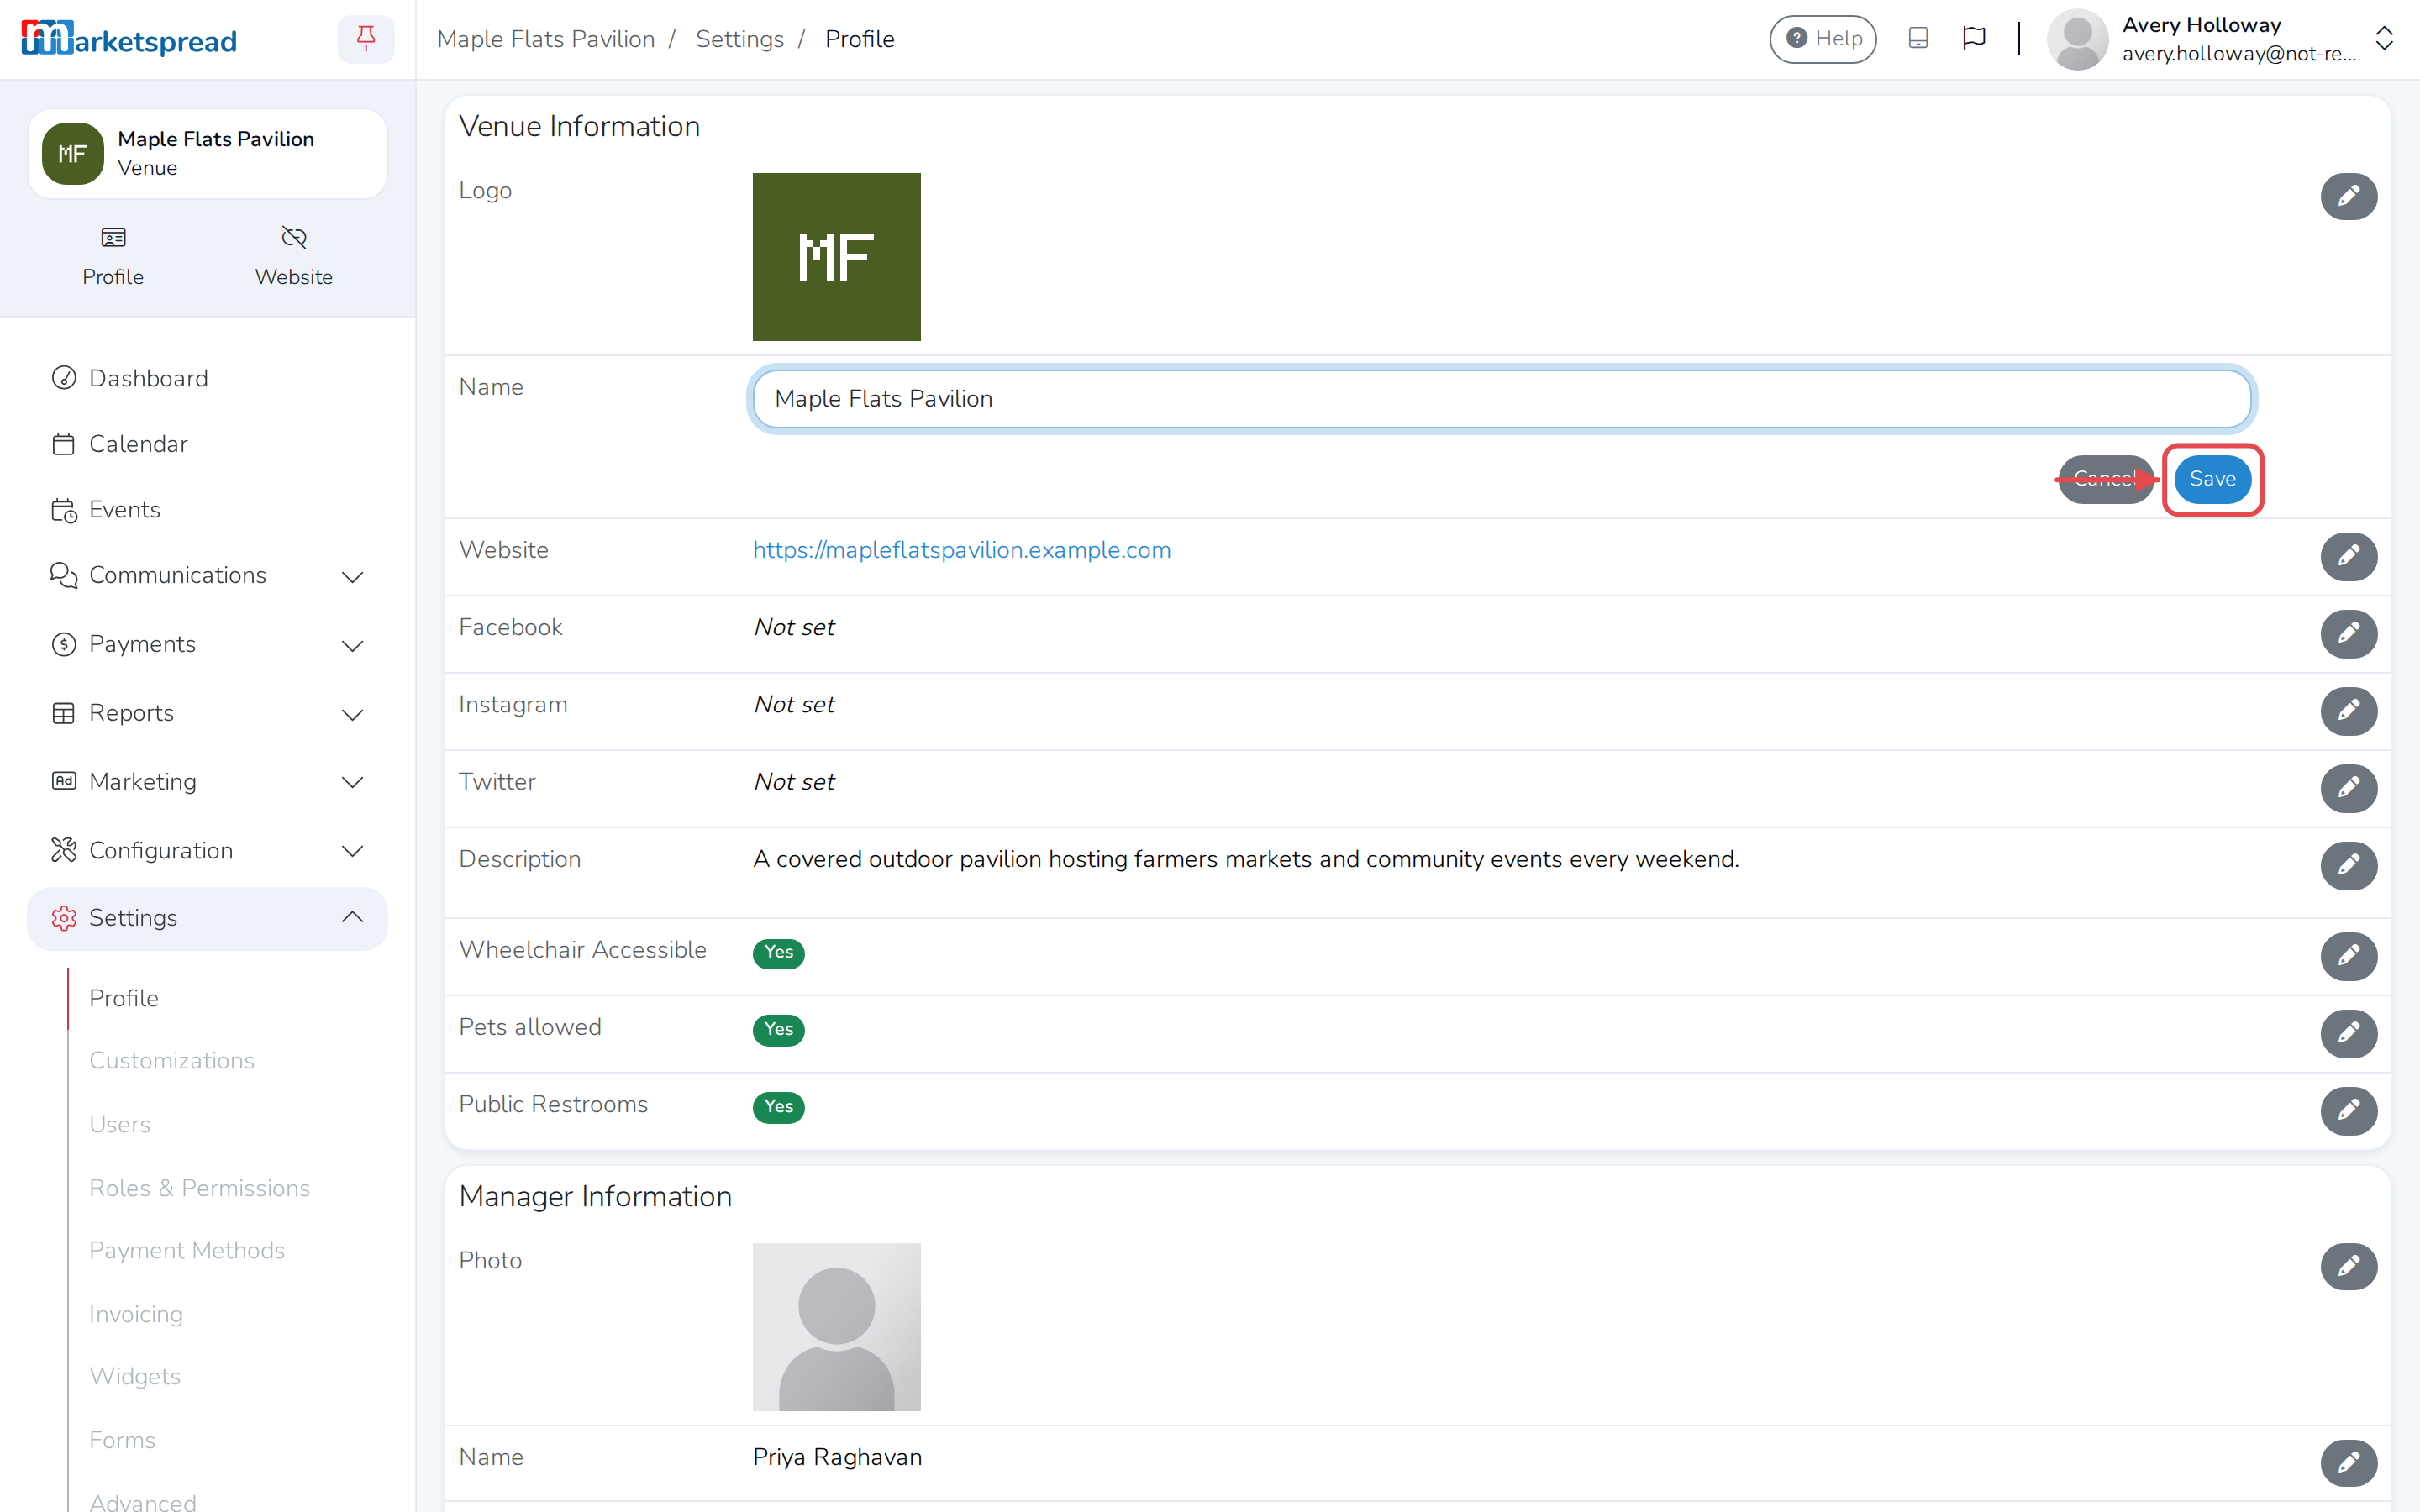
Update it.
-
Click Save.
To change the logo, click Edit underneath it and choose a new image instead.
Add your manager's details
Under Manager Information, add a photo, name and short biography for the person customers should ask for.
- Click the pencil icon next to Name or Biography, or click Edit underneath the photo.
- Fill it in.
- Click Save.
Set your location and contact details
Location Information is the address customers see on your public profile, with a map. Contact Information is where they can reach you directly.
- Click the pencil icon next to Address, Address desc., Office phone or Cell phone.
- Fill it in.
- Click Save.
Show your phone number on your public profile
Turning on Publish office phone or Publish cell phone puts that number on your venue's public profile. Leave it off to keep the number for your own use only.
- Click the pencil icon next to Publish office phone or Publish cell phone.
- Turn it on.
- Click Save.
Turn on advanced settings
-
Click Settings in the left-hand menu, then click Advanced.
-
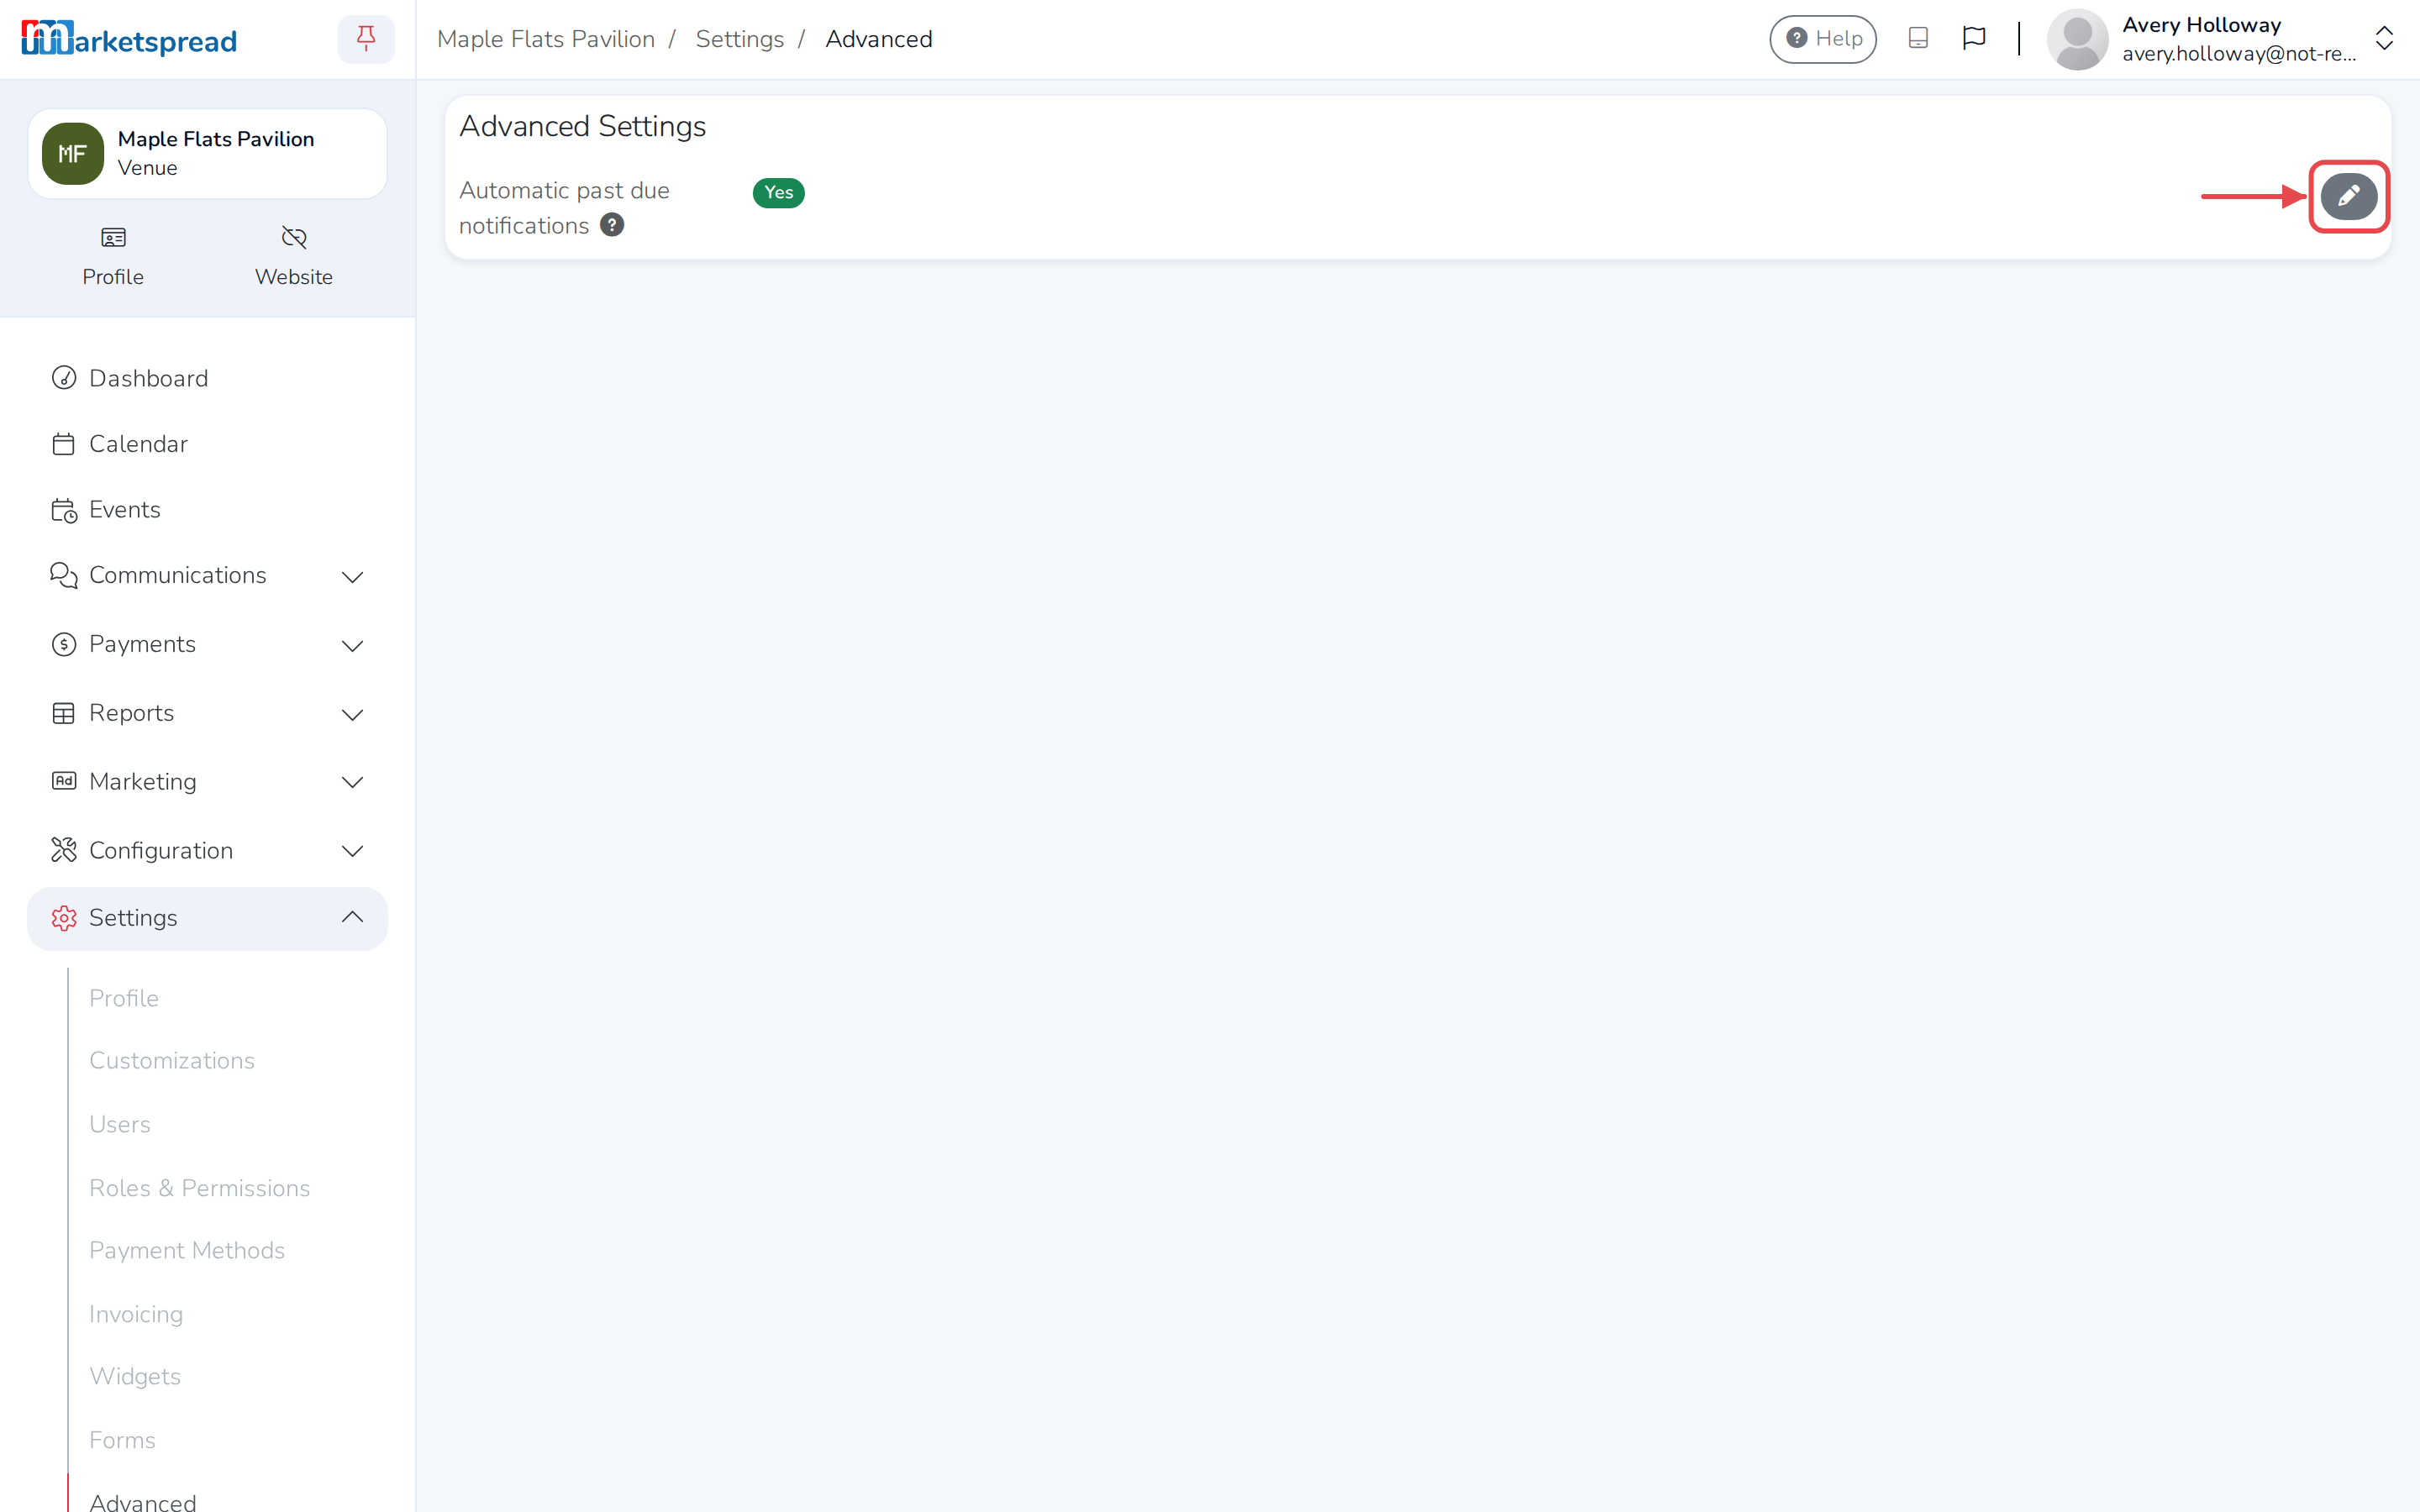
Click the pencil icon next to the setting you want to change:
- Automatic past due notifications — emails a customer automatically once their invoice is overdue.
- Credit card only for app/approval fees — stops customers paying application and approval fees by cash or check. You'll only see this if your venue accepts card payments.
-
Turn it on or off.
-
Click Save.
If this page shows no settings at all, they're managed for you at the organization level instead.
Close your venue
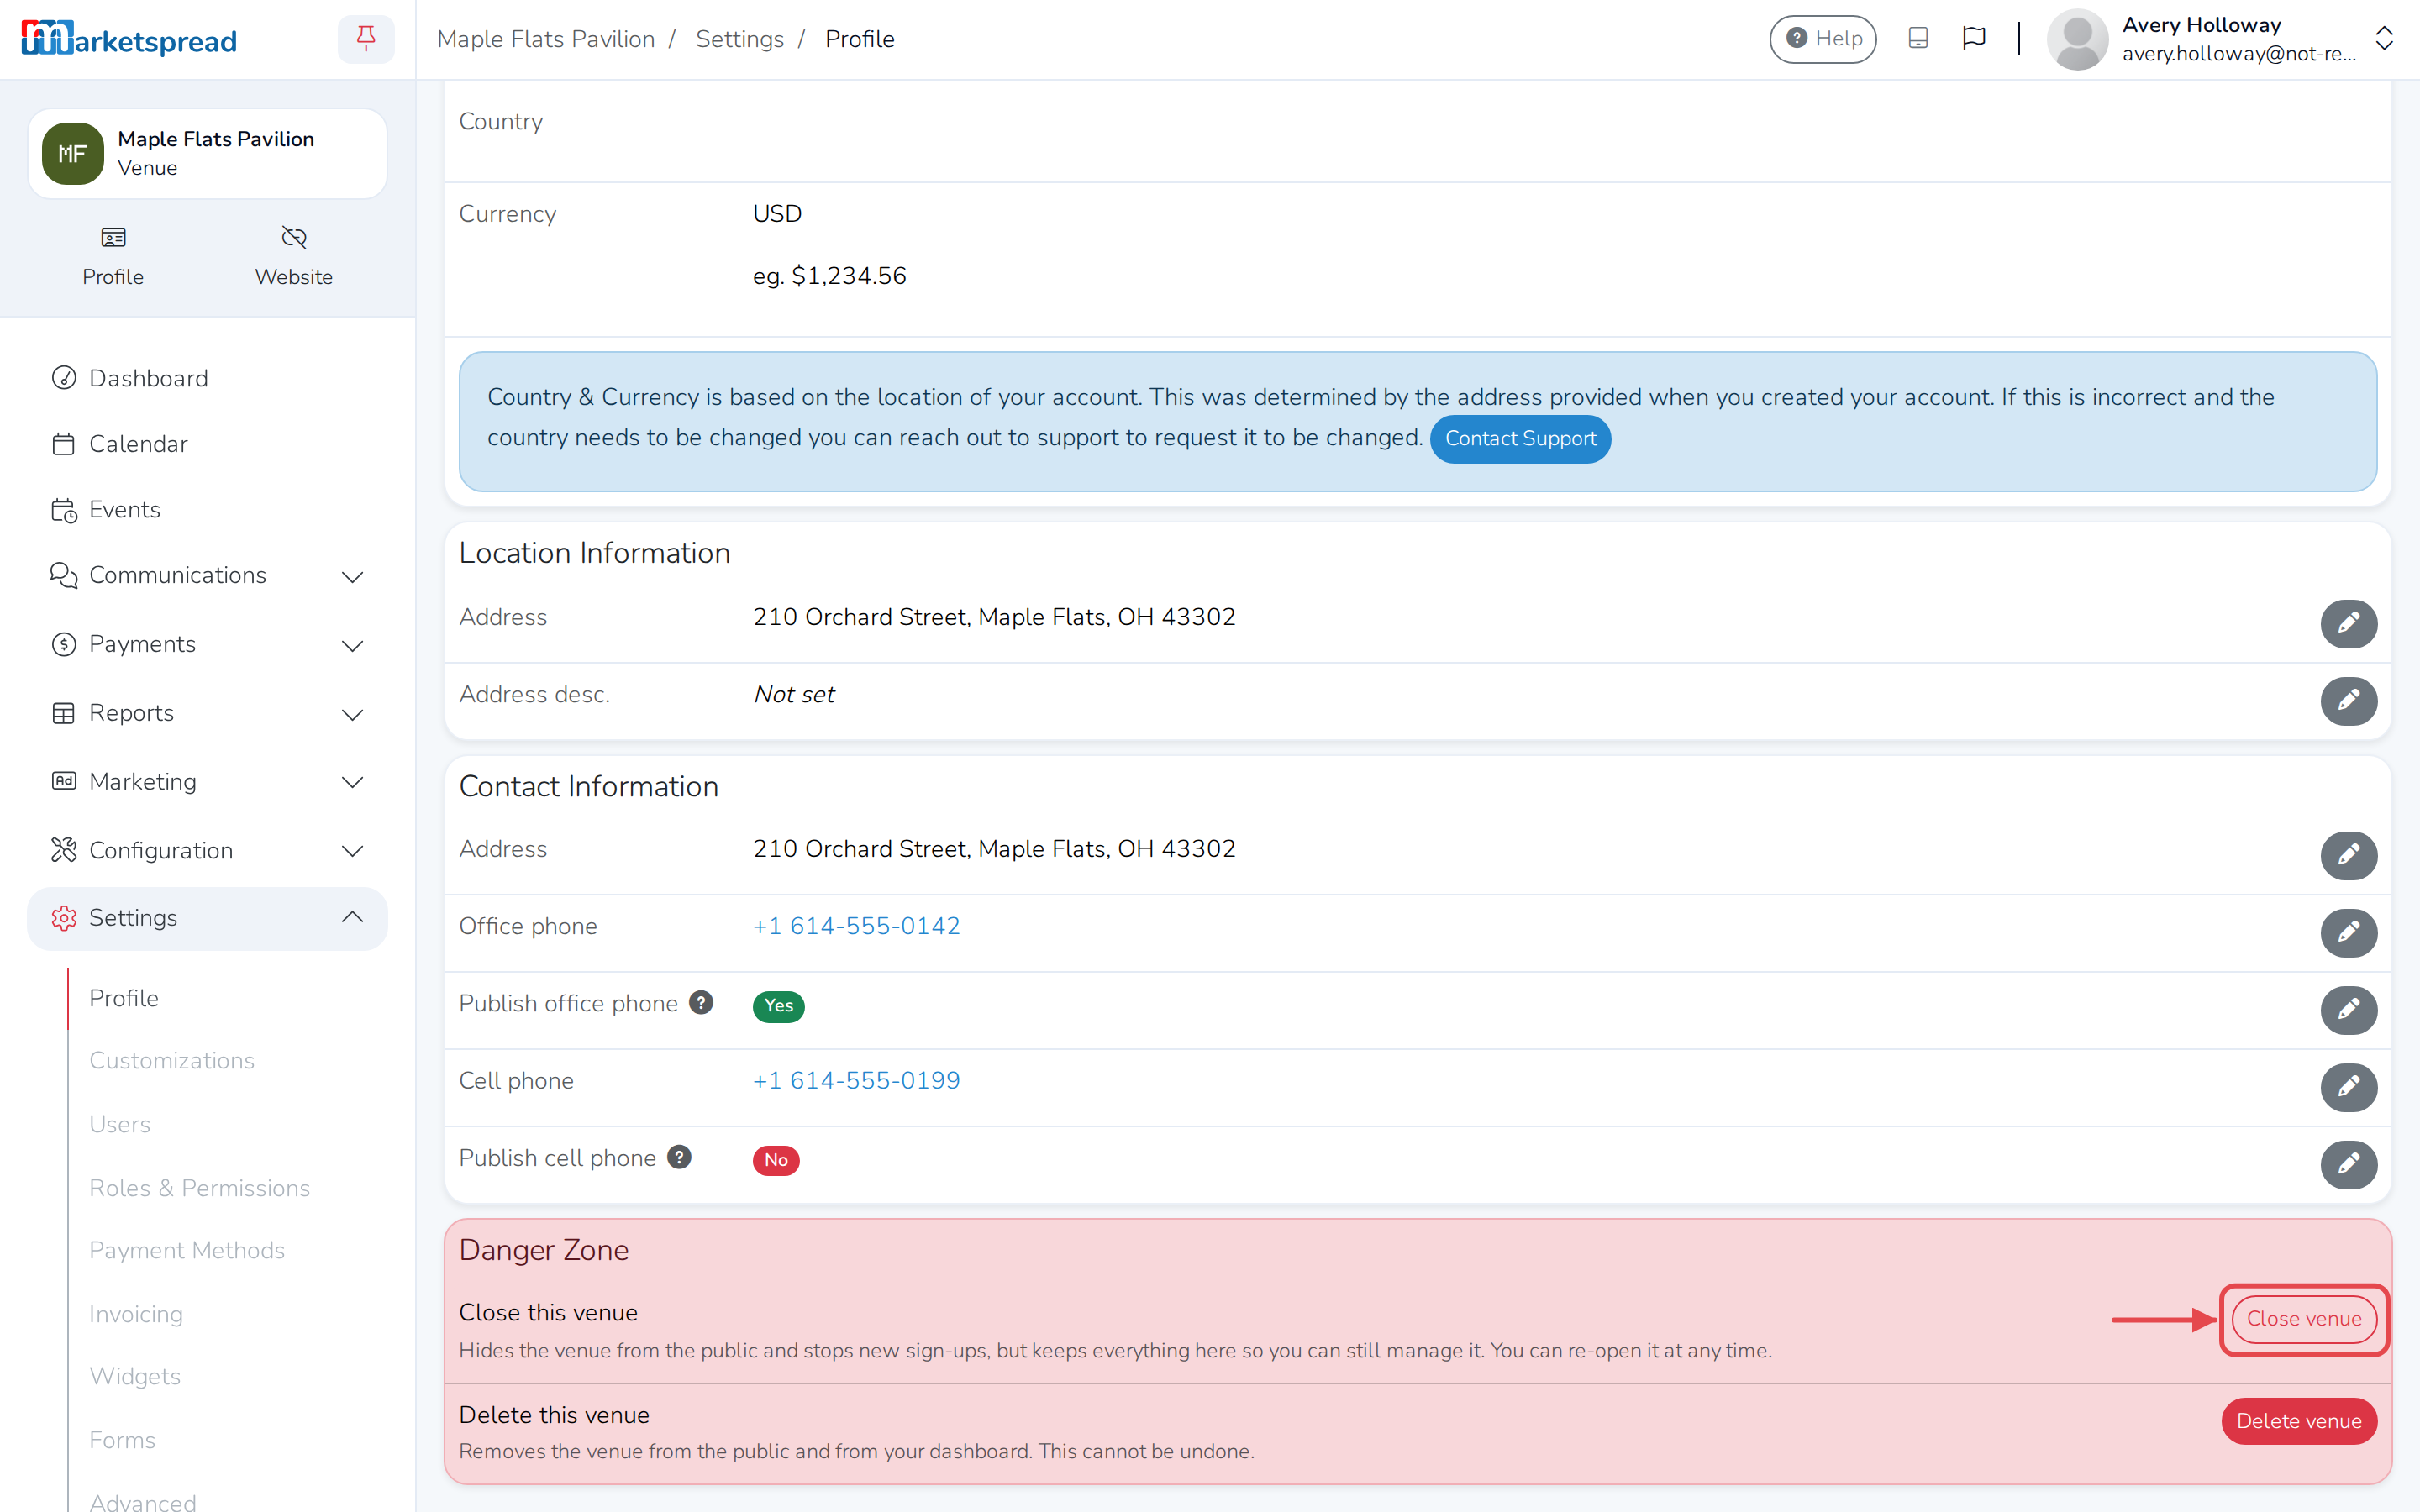
Closing hides your venue from the public and stops new booking requests. You keep everything else, so you can still manage it and reopen it later.
-
Click Settings in the left-hand menu, then click Profile.
-
Scroll to Danger Zone and click Close venue.
-
Type CLOSE to confirm.
-
Click Close venue.
To reopen it, come back here and click Re-open venue.
Delete your venue
Deleting removes your venue from the public and from your dashboard, along with everything attached to it — bookings, invoices and history. This can't be undone.
- Click Settings in the left-hand menu, then click Profile.
- Scroll to Danger Zone and click Delete venue.
- Type DELETE to confirm.
- Click Delete venue.
Only your venue's account owner can close or delete it. If you're not the owner, ask them to do it for you.