A post is a short update — text, photos, or both — that shows on your venue's public page for anyone browsing it to see. Add and remove posts from Marketing > Posts in your venue's dashboard.
Add a post
-
Click Marketing in the left-hand menu, then click Posts.
-
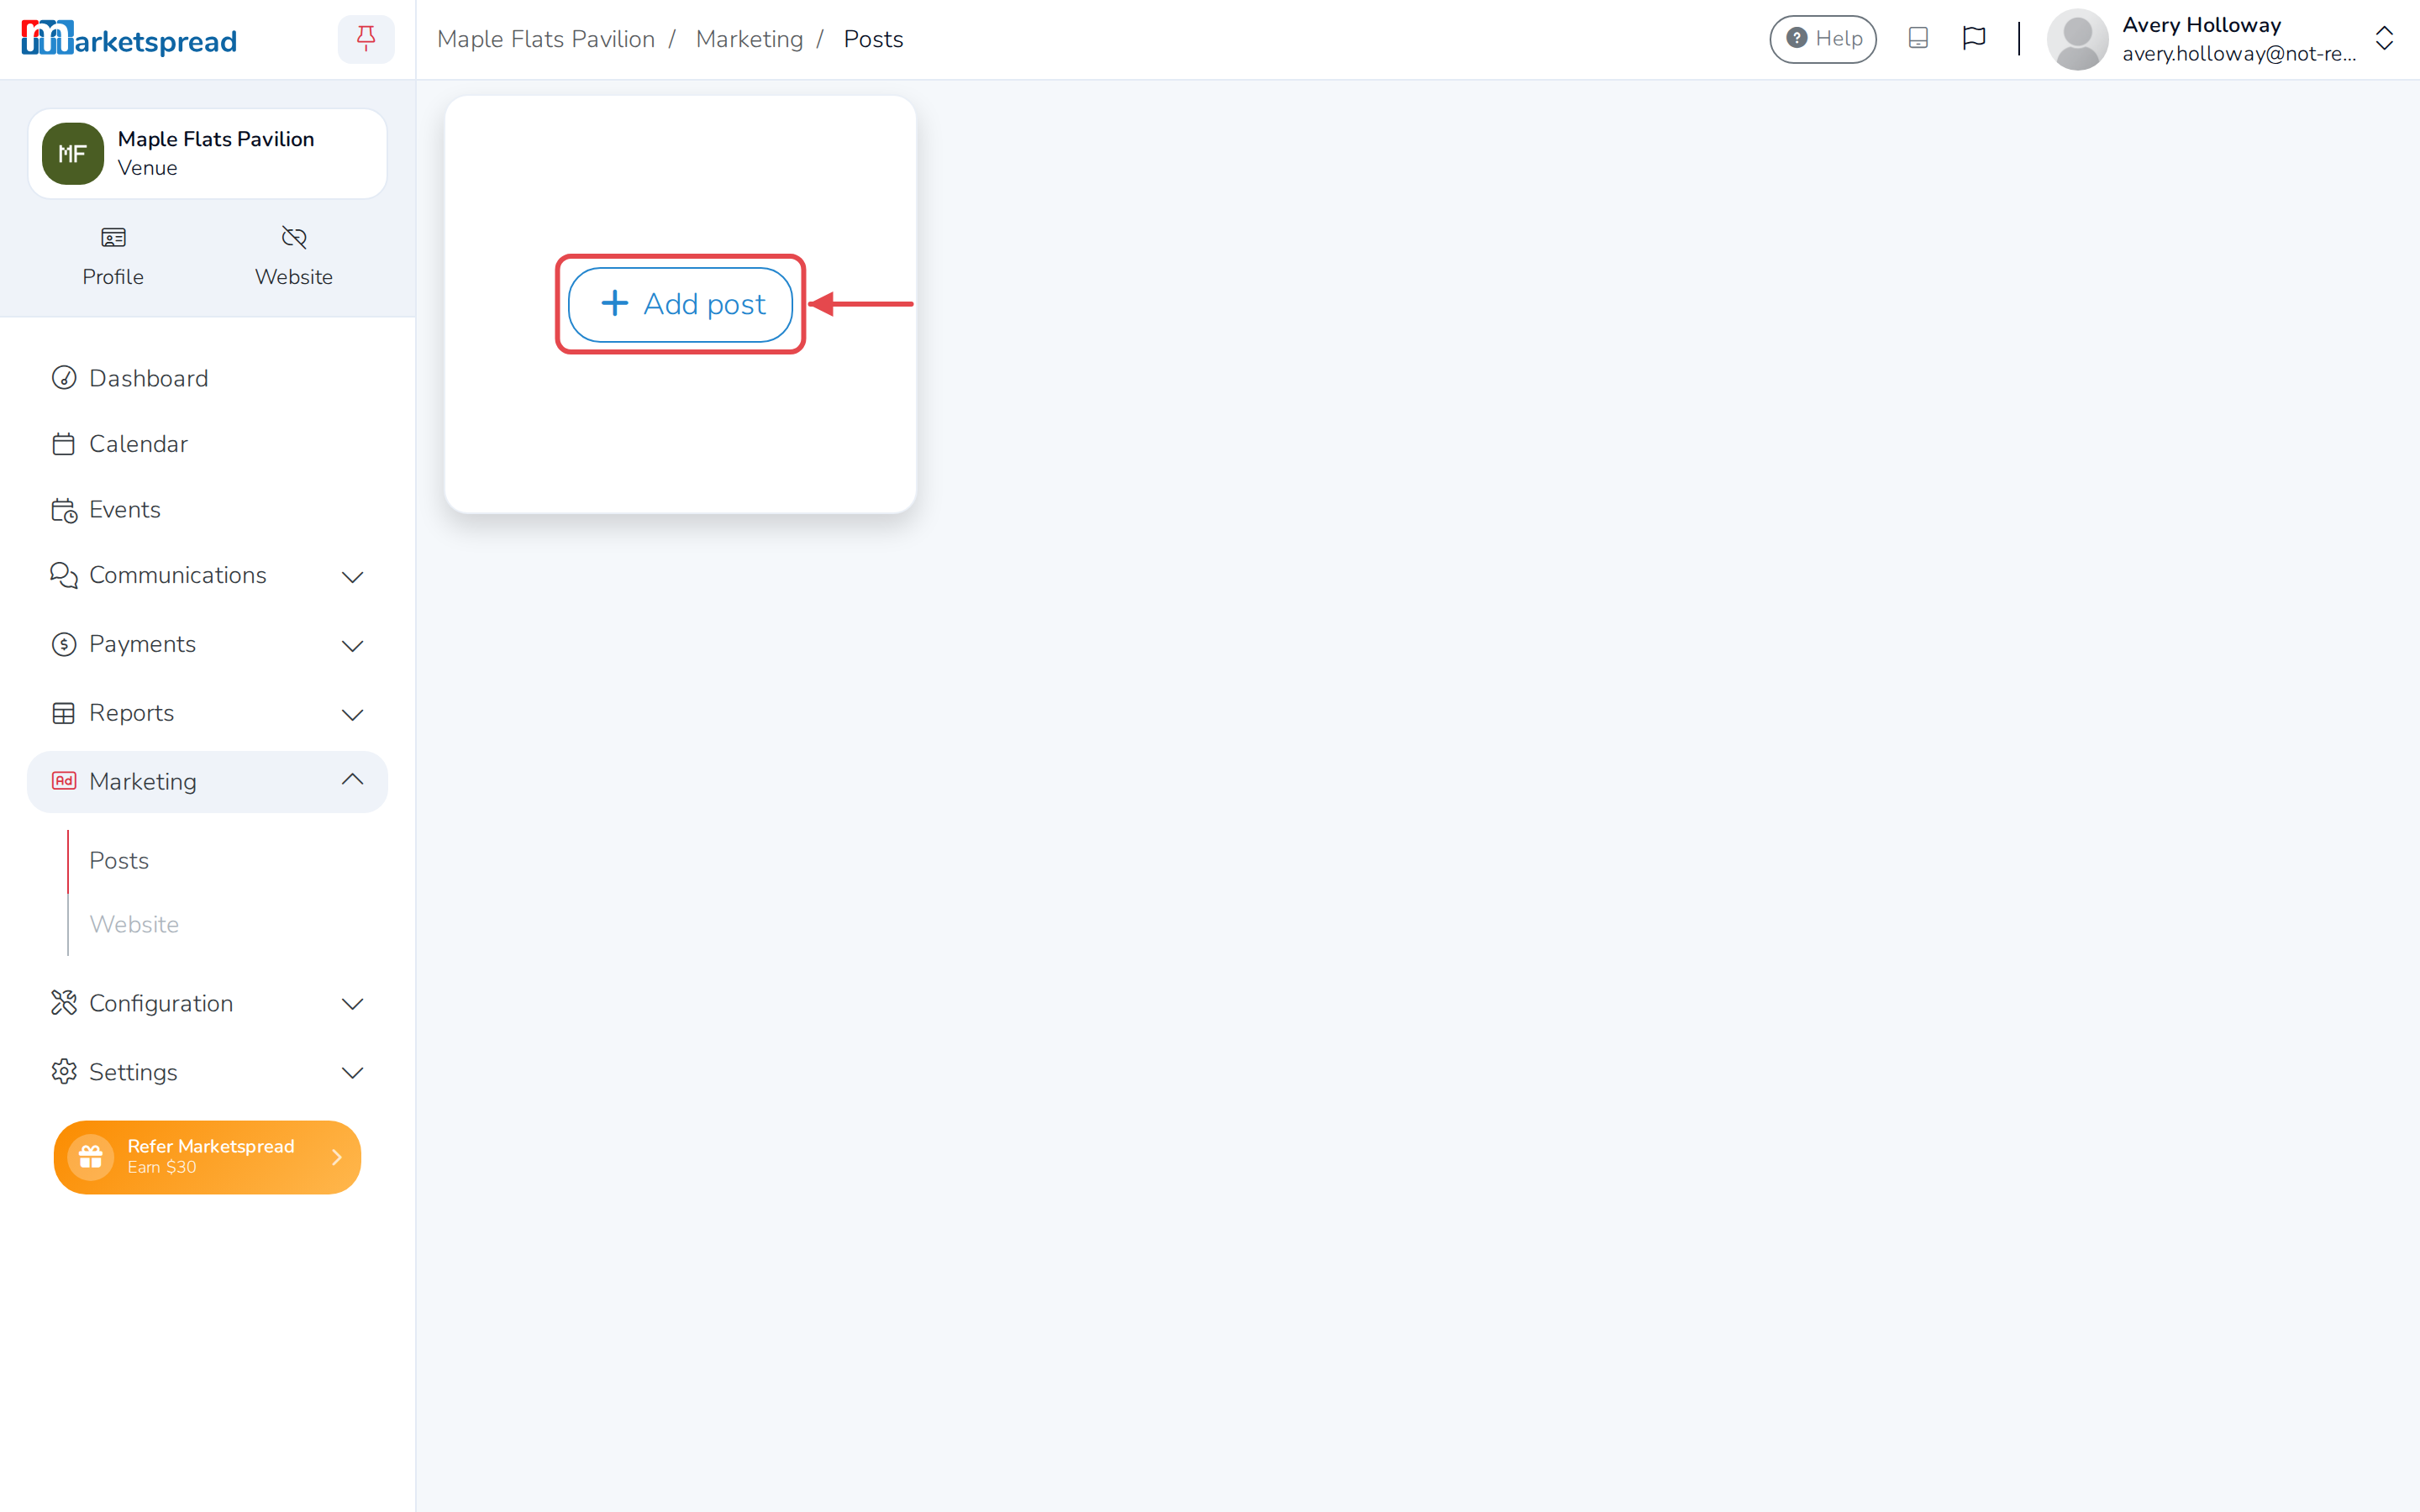
Click Add post.
-
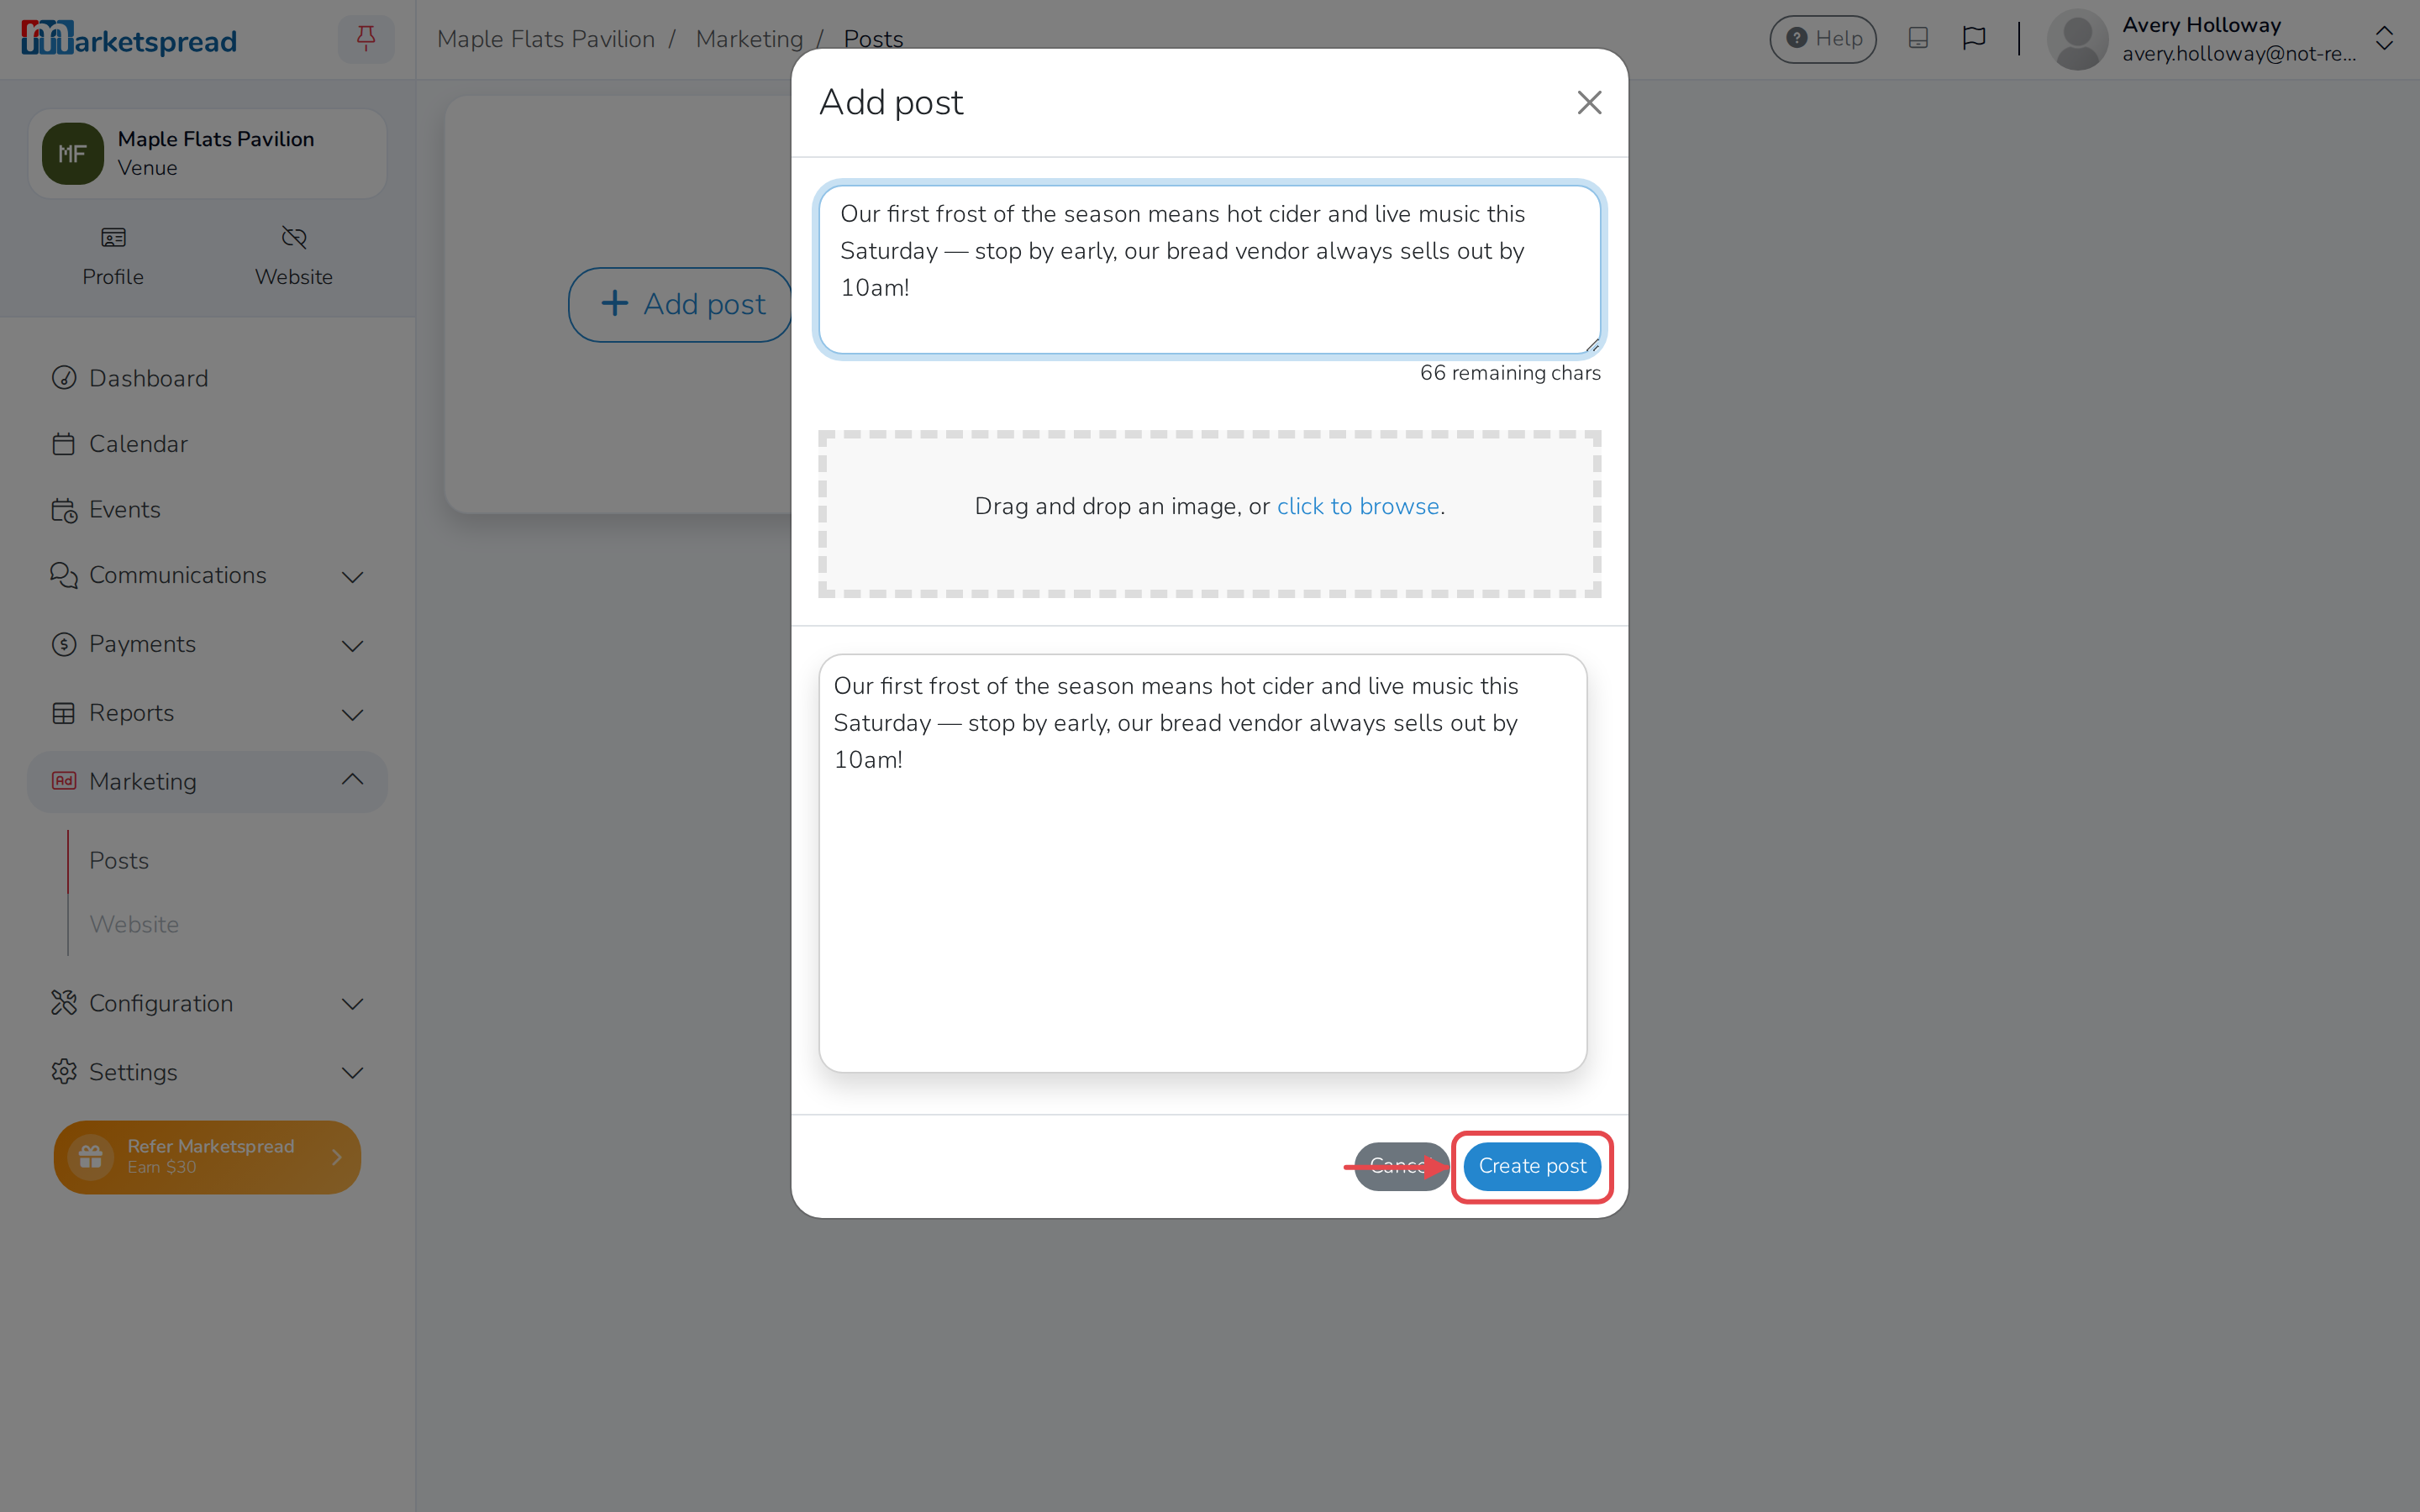
Type what you want to share, up to 200 characters.
-
To add a photo, drag it into the box, or click click to browse and choose one.
-
Crop the photo, then click Add image. Repeat to add more photos.
-
Click Create post.
Your post shows up right away near the top of your venue's page, above your events. If you have more posts than fit, people can click View more to see the rest.
Delete a post
Deleting a post removes it from your venue's page for good.
-
Click Marketing in the left-hand menu, then click Posts.
-
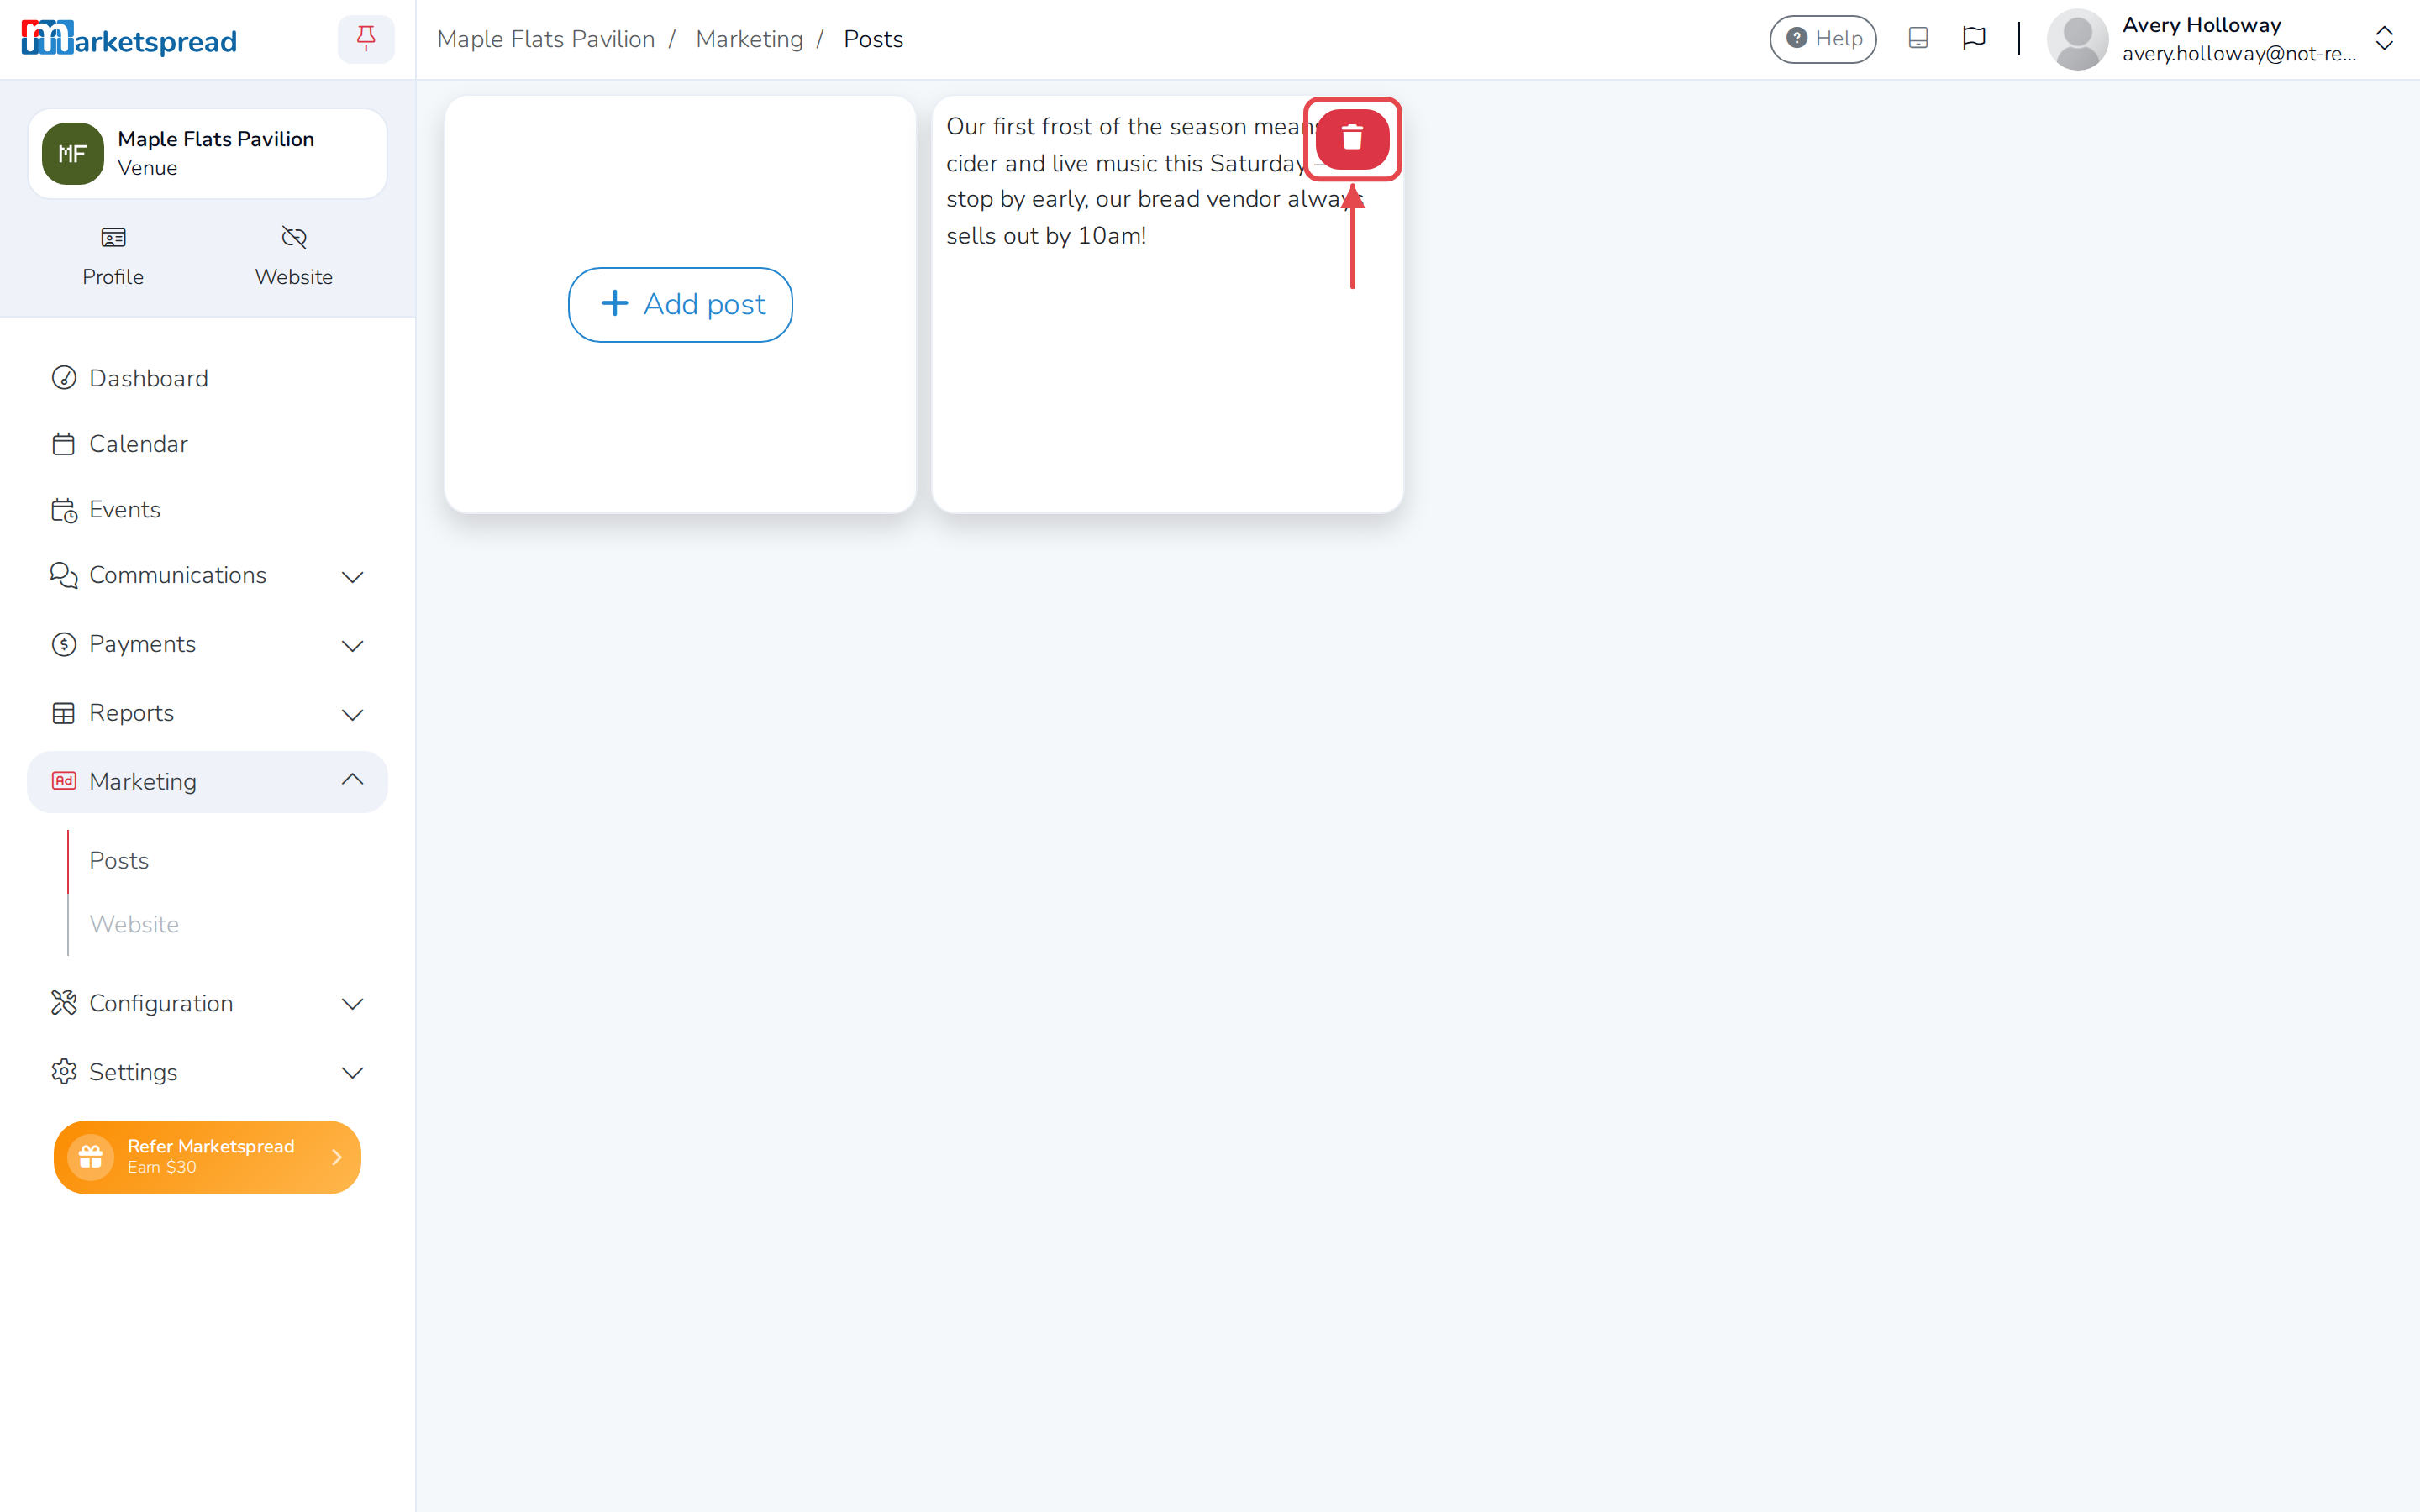
Hover over the post you want to remove.
-
Click the trash can icon in its corner.
-
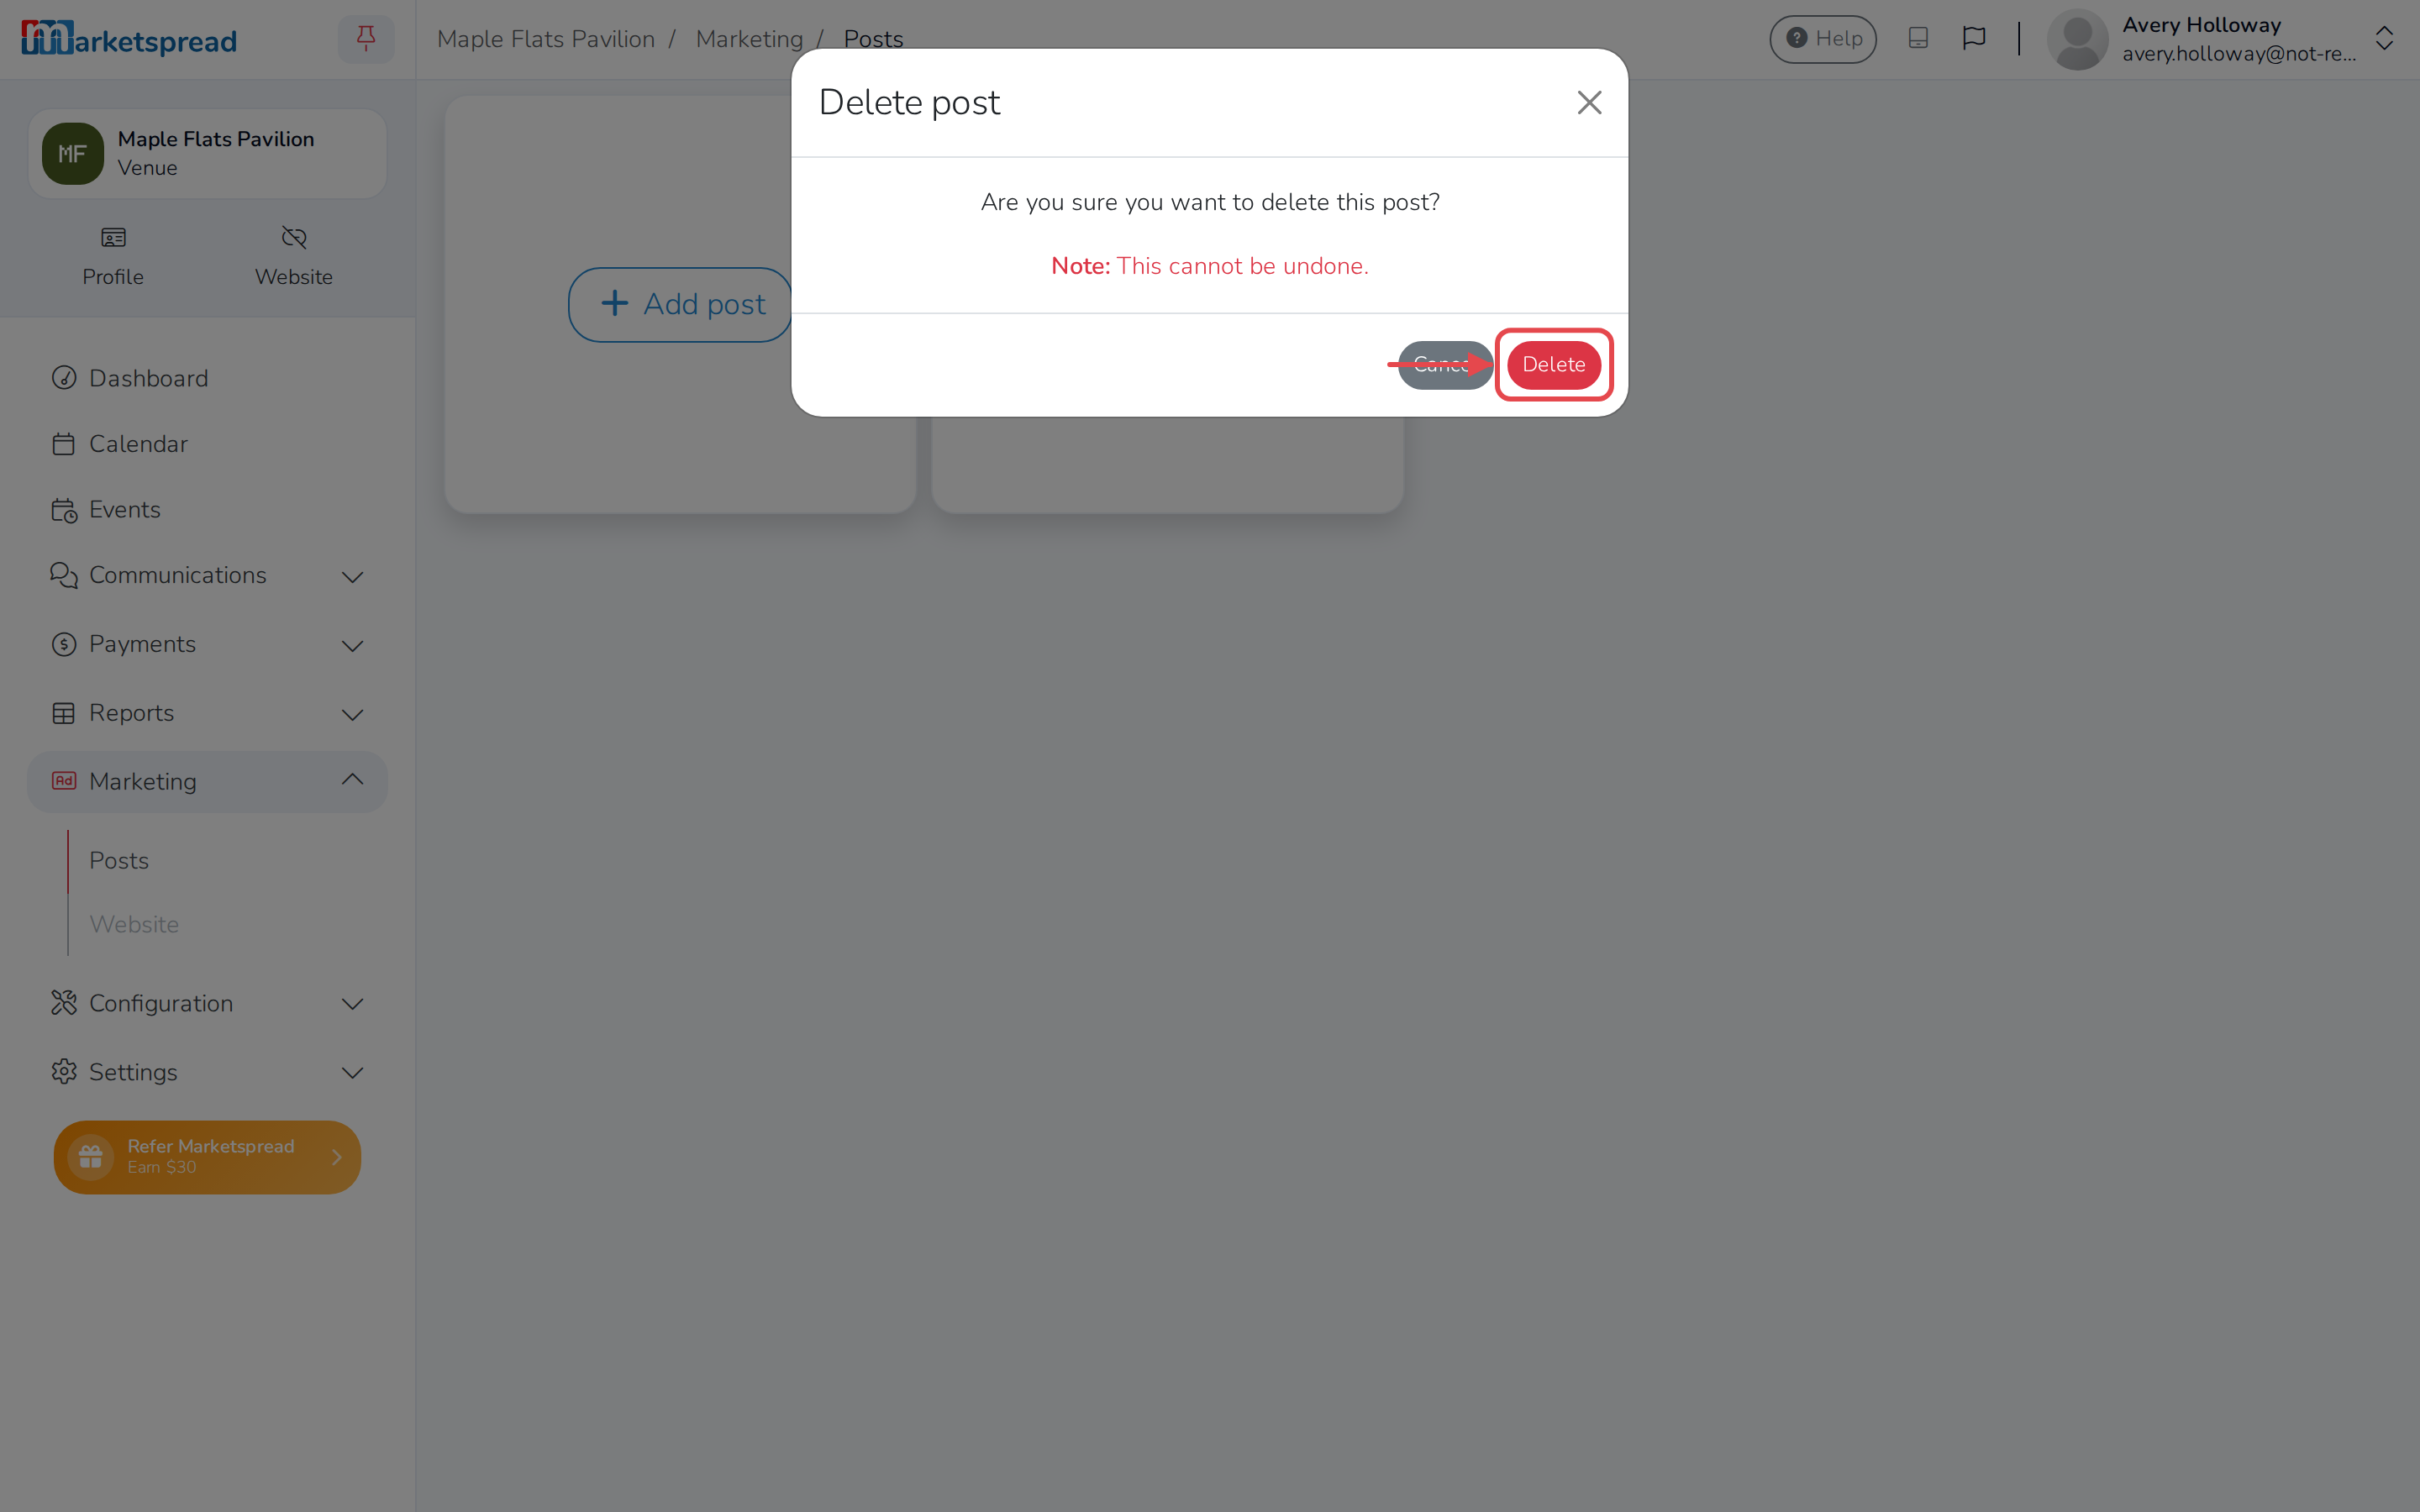
Click Delete to confirm.