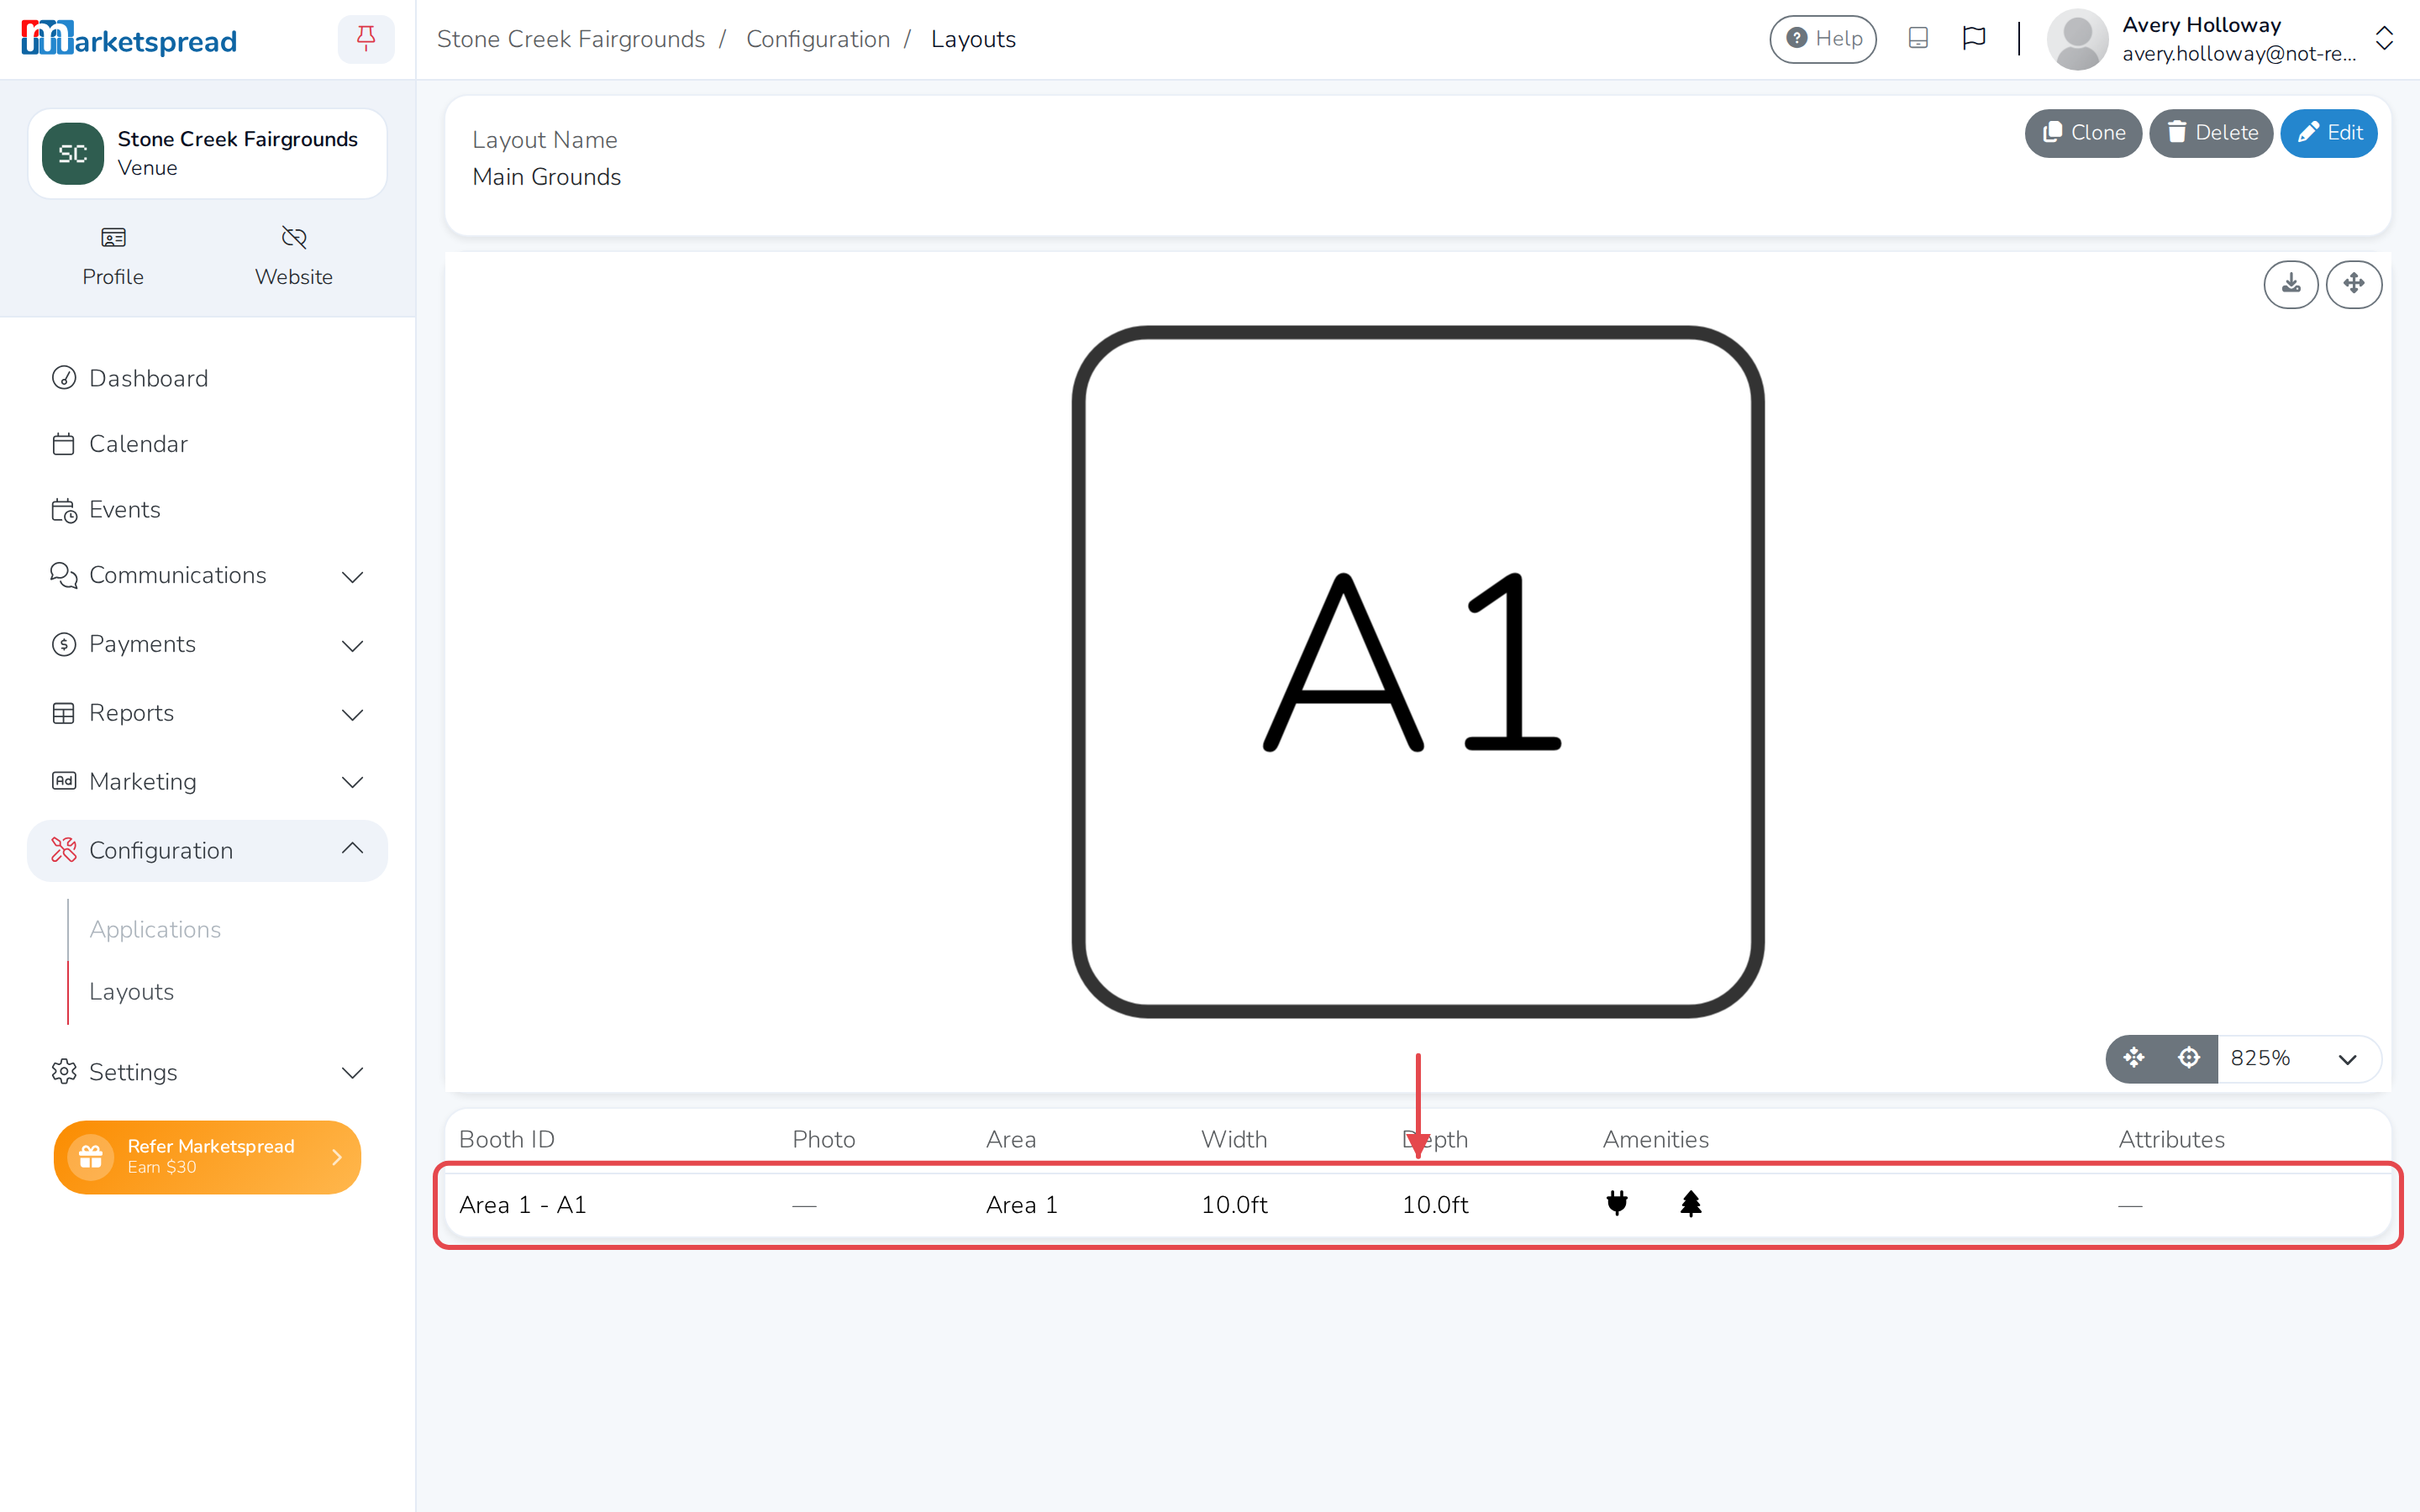
A layout is a map of your venue's spaces — the booths, tables or areas someone can book for an event. It's what a customer picks from when they apply to book your venue, so you need at least one before you can take a booking. Each space you add gets its own ID, size and amenities.
Create a layout
-
Click Configuration in the left-hand menu, then click Layouts.
-
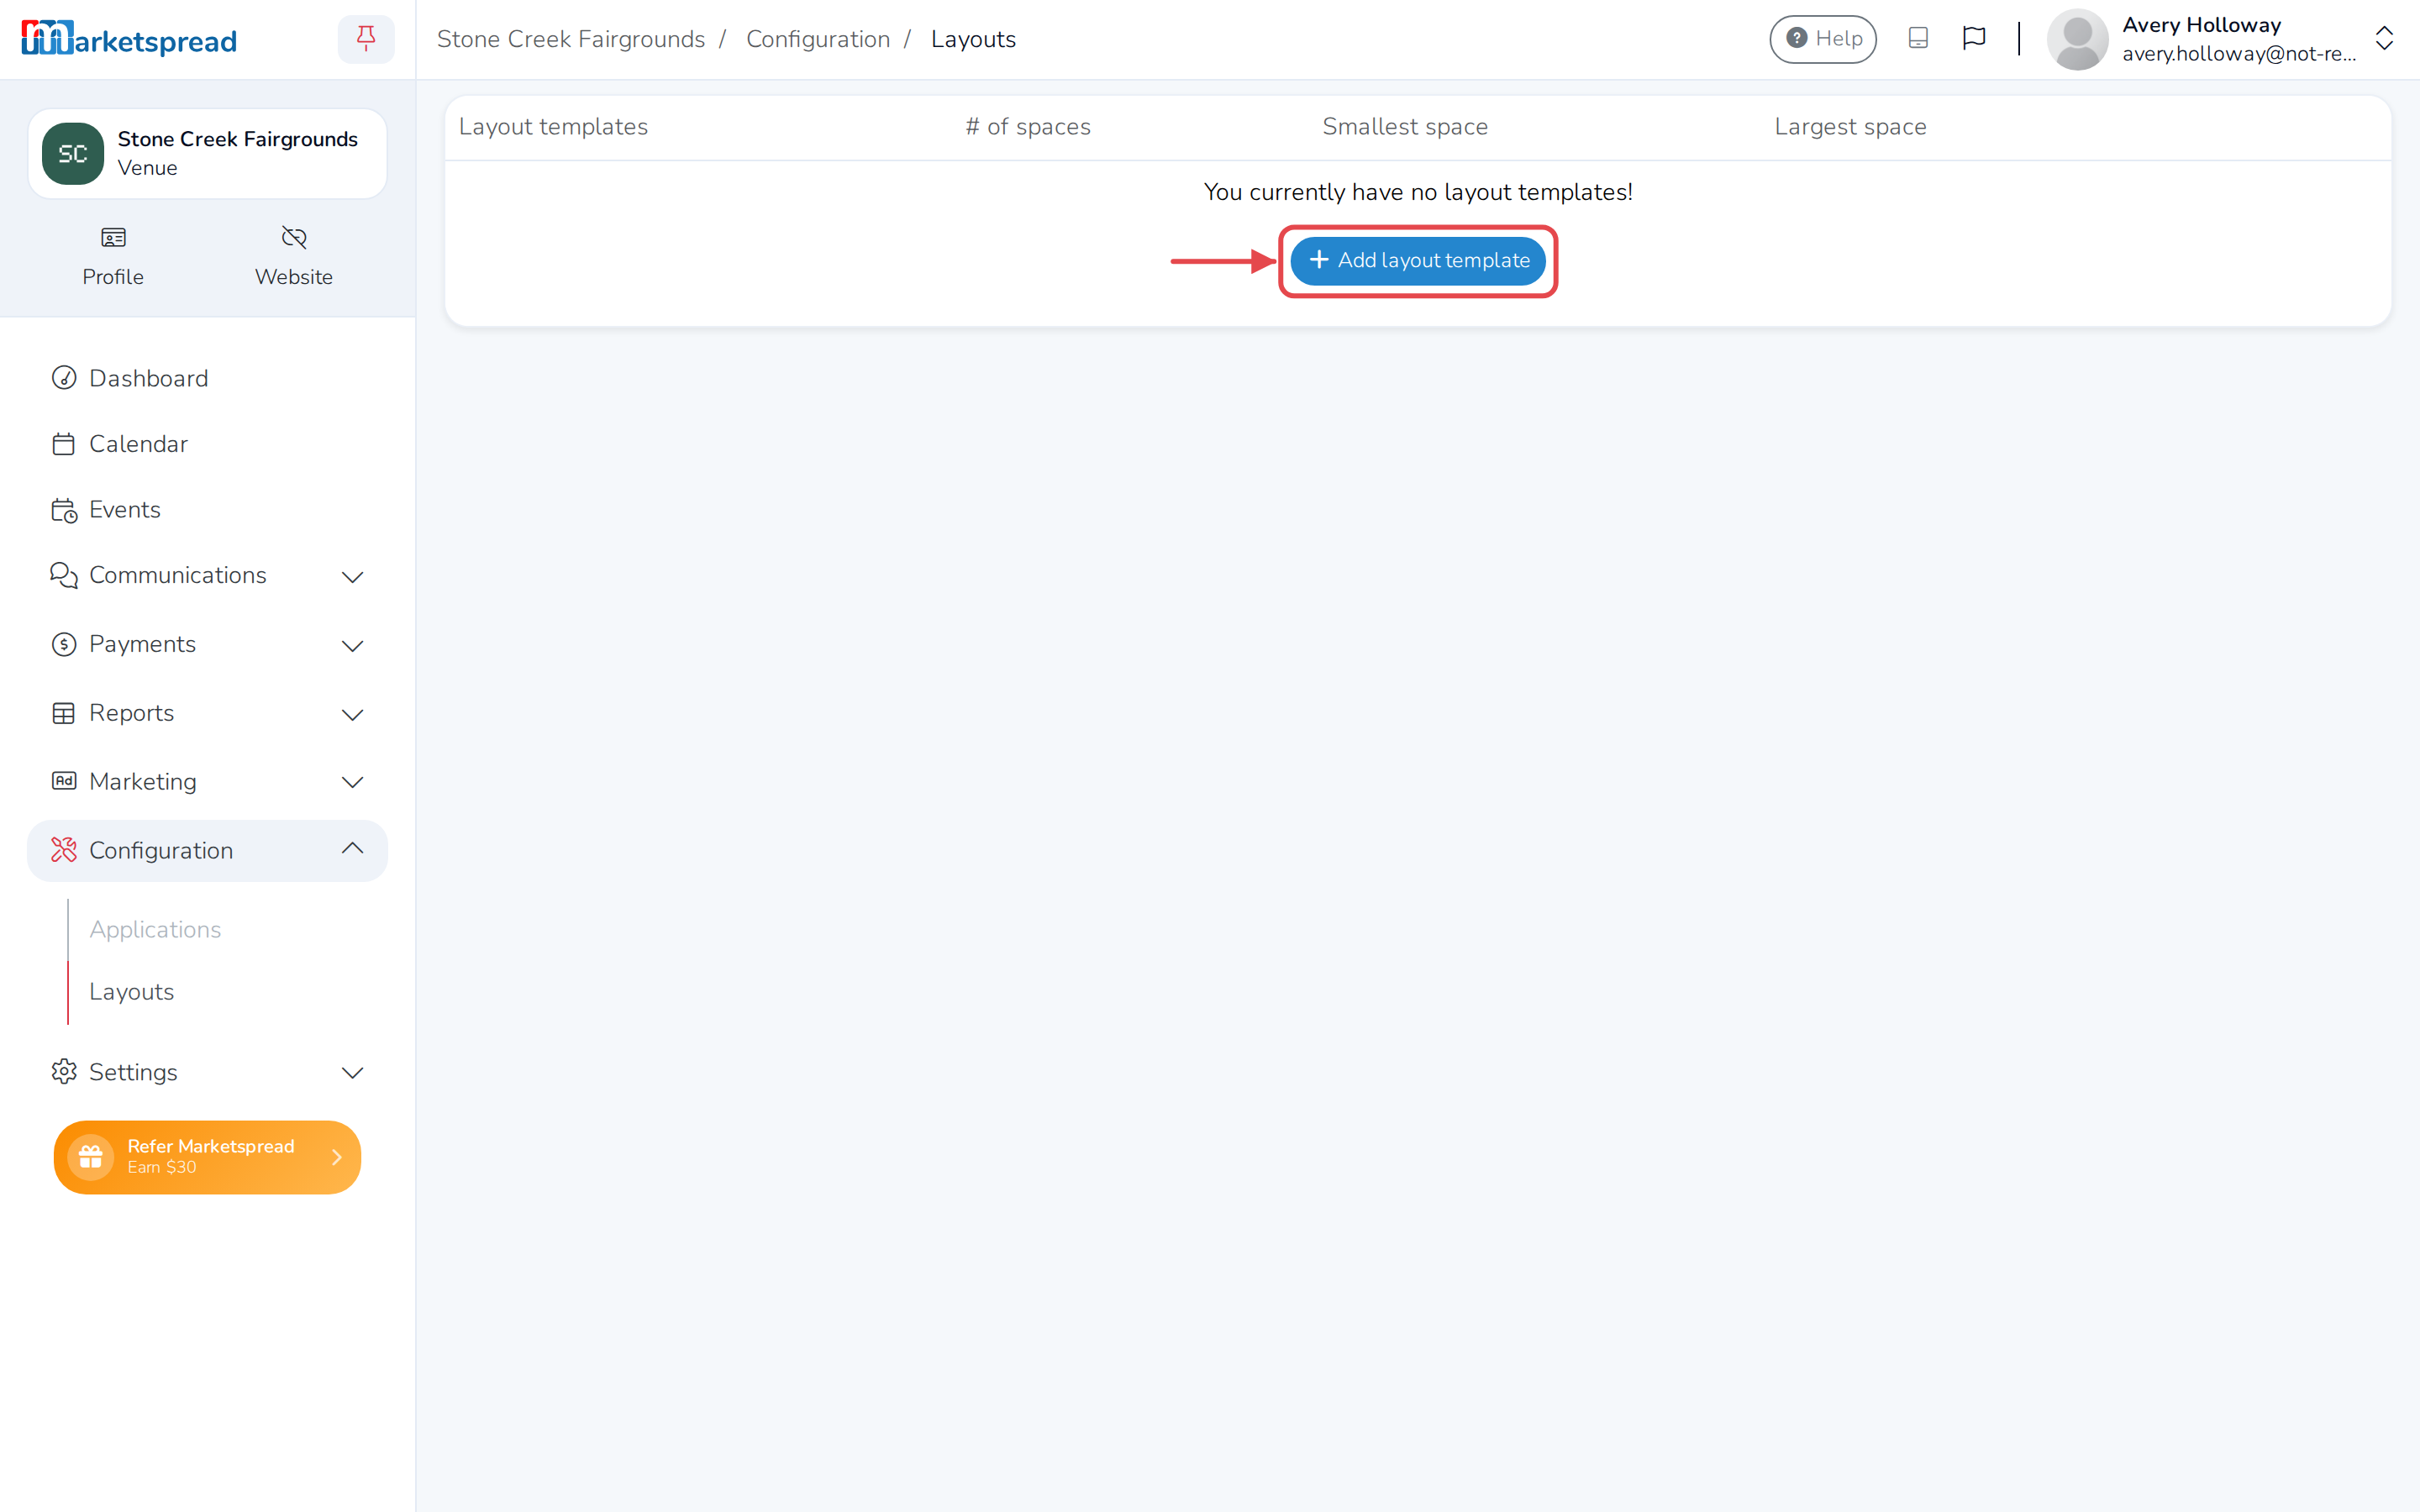
Click Add layout template.
-
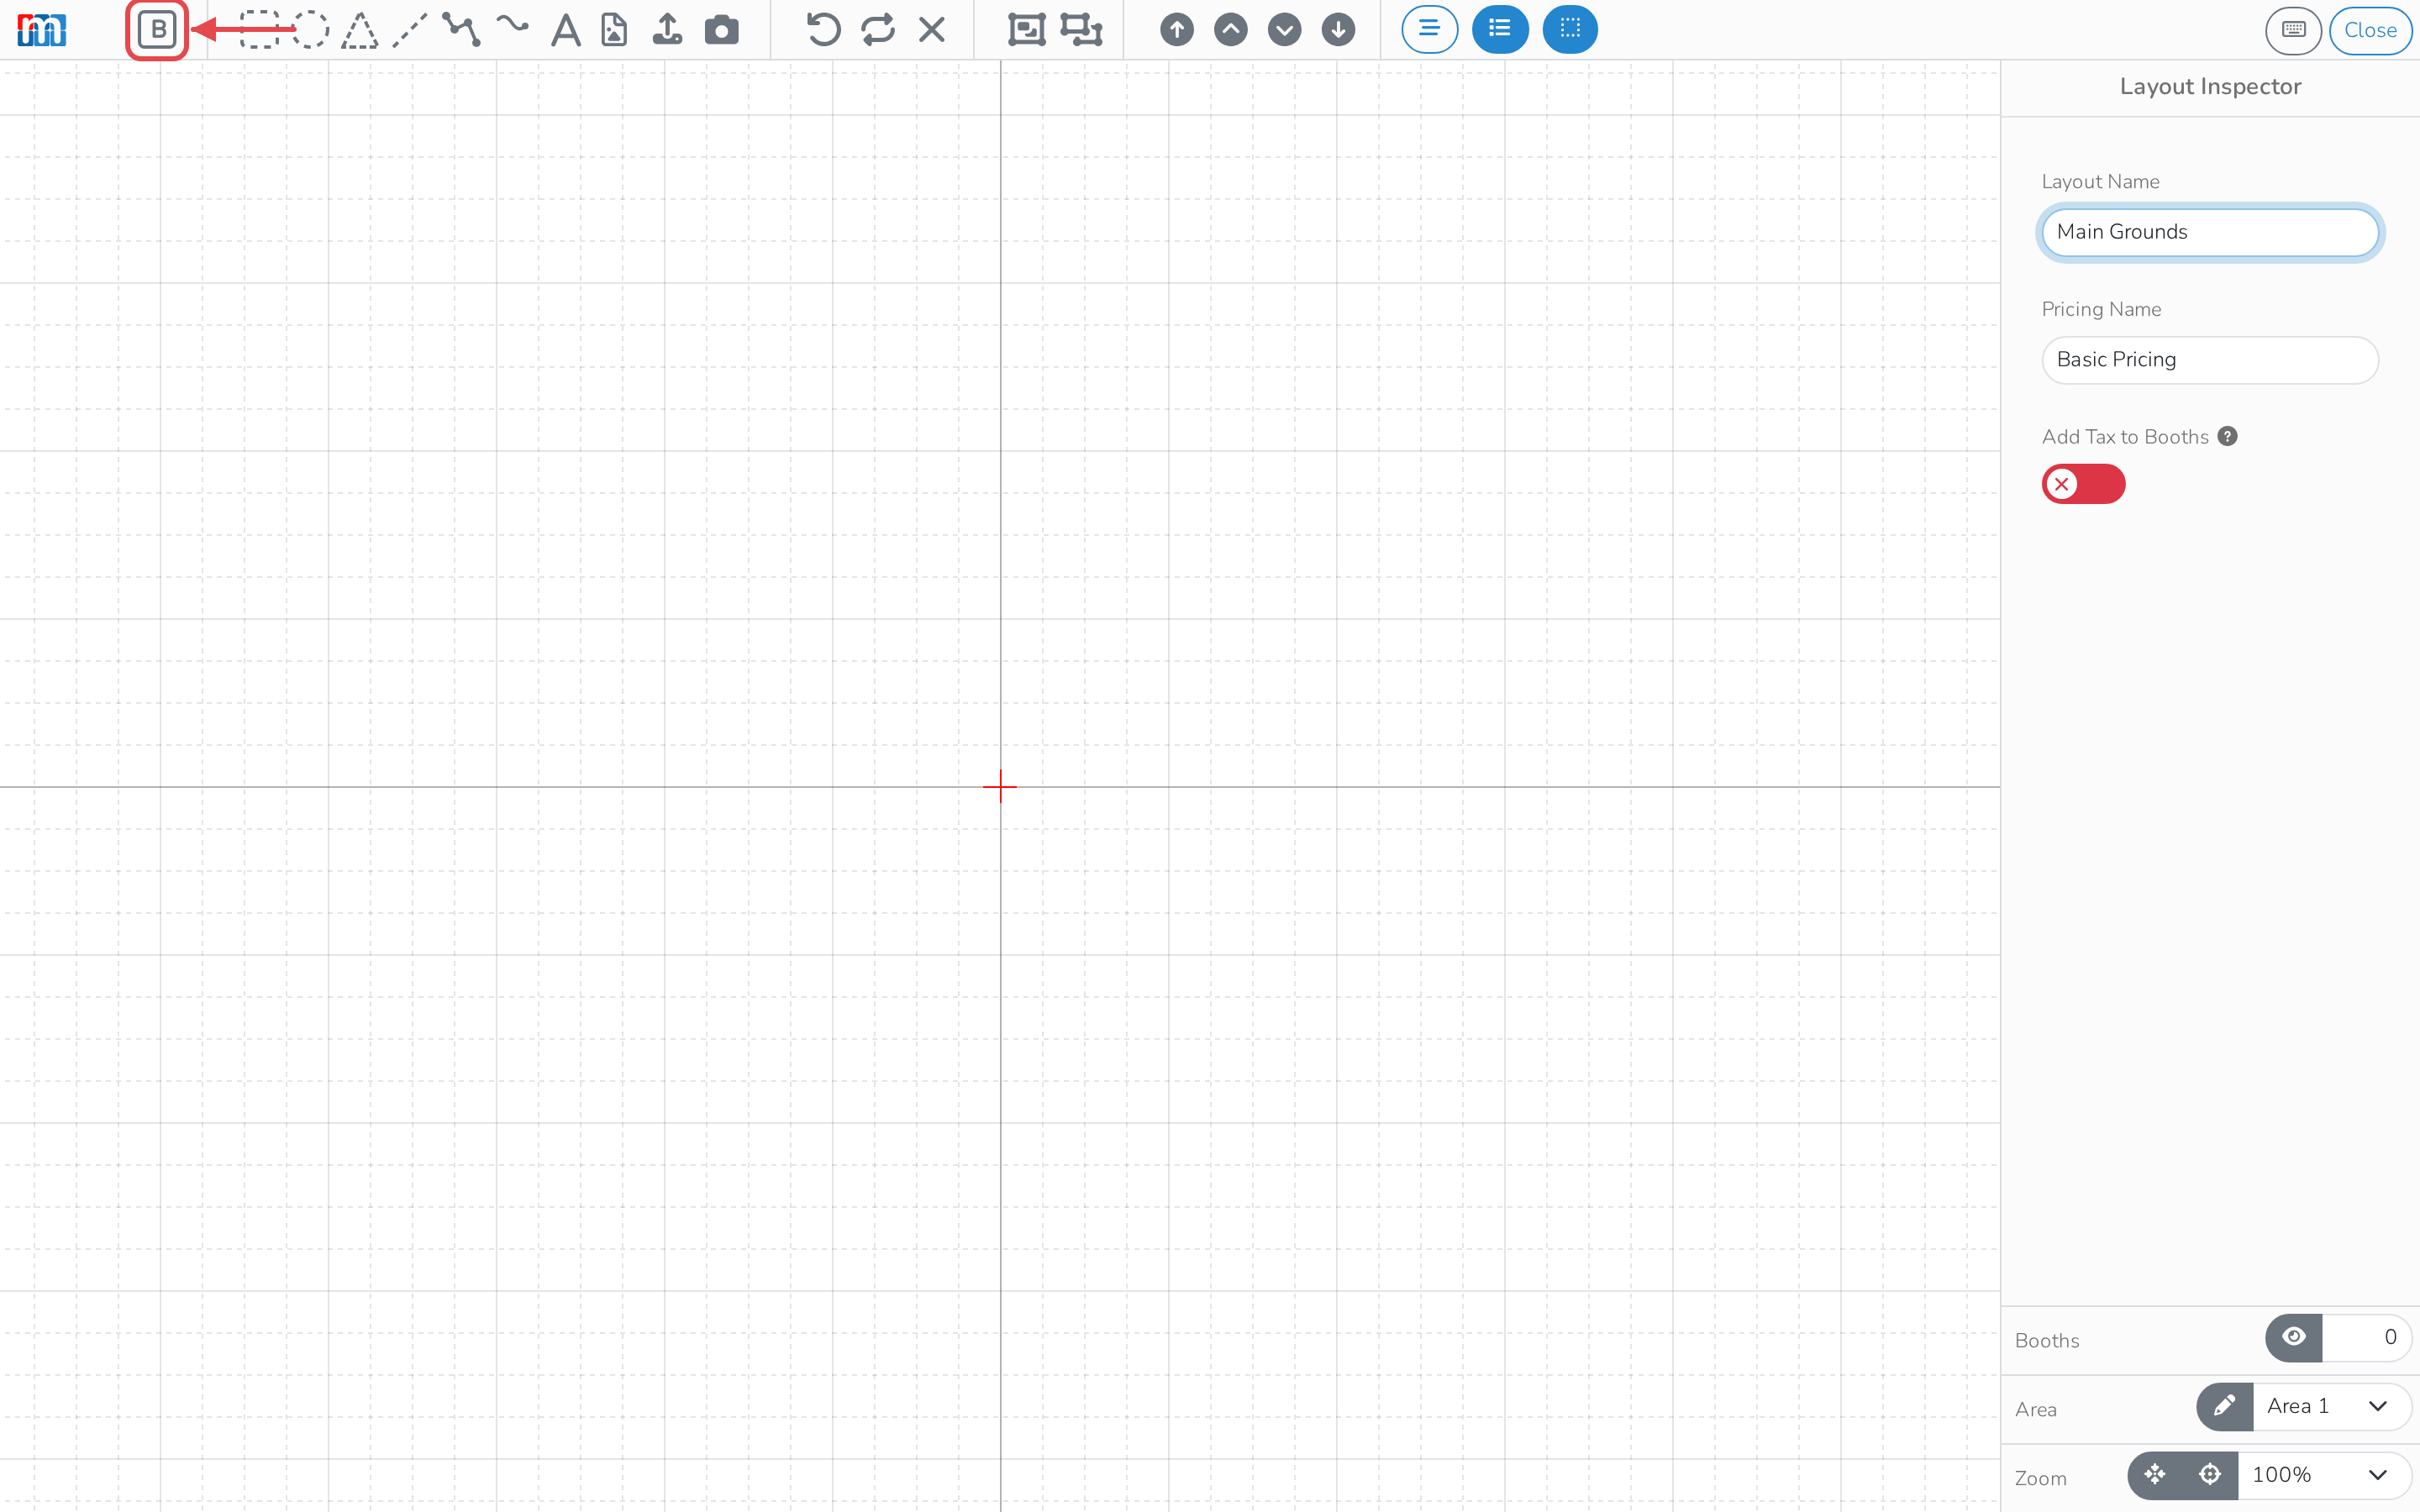
Fill in Layout Name with a name for your layout.
Add a space
-
Click the Add booth tool in the toolbar.
-
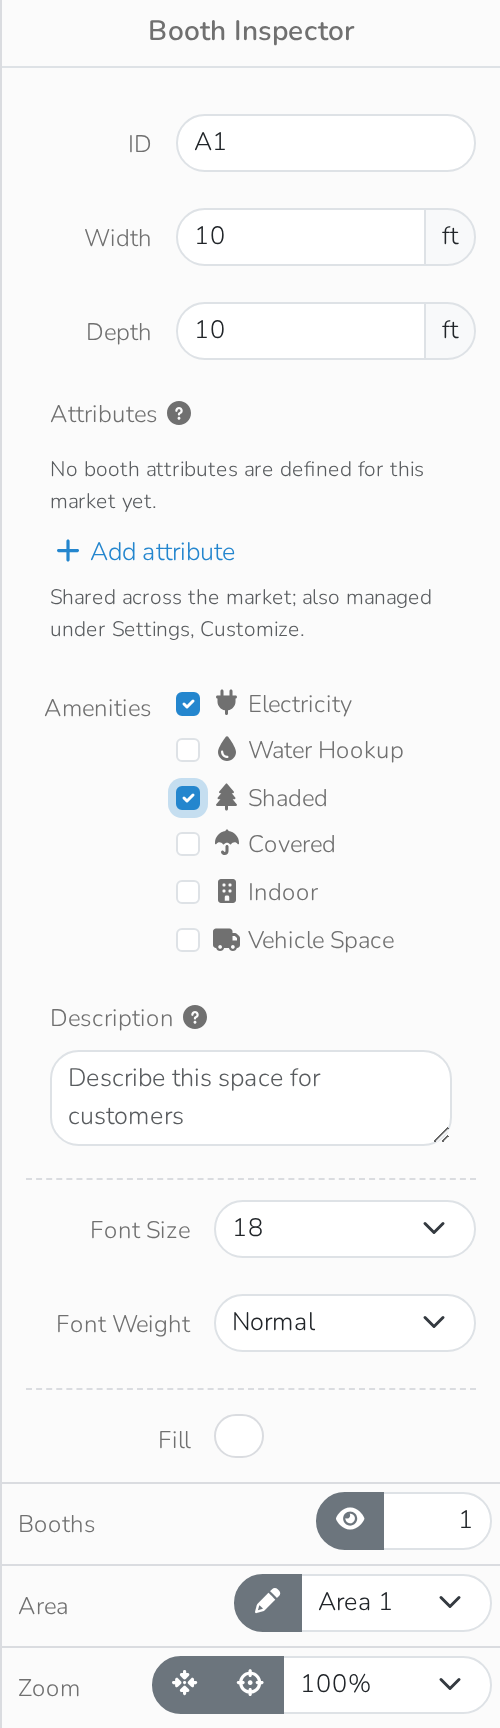
Click the new booth on the canvas to select it. The Booth Inspector opens.
-
Fill in its ID, Width and Depth.
-
Check off any Amenities it has: Electricity, Water Hookup, Shaded, Covered, Indoor or Vehicle Space.
-
Repeat for each space at your venue.
Save and view your layout
-
Click Save & Close.
-
Your layout appears on the Layouts page, showing how many spaces it has and the smallest and largest among them.
-
Click the layout's name to see it, with the spaces you added listed below.