


Custom forms let you collect information on your own terms — a checklist for load-in, a waiver, anything you'd otherwise track on paper. Build one from Settings, then Forms, and choose where it shows up. From there you can also publish a form, and see every form you've published and how much it's been used.
Create a form
-
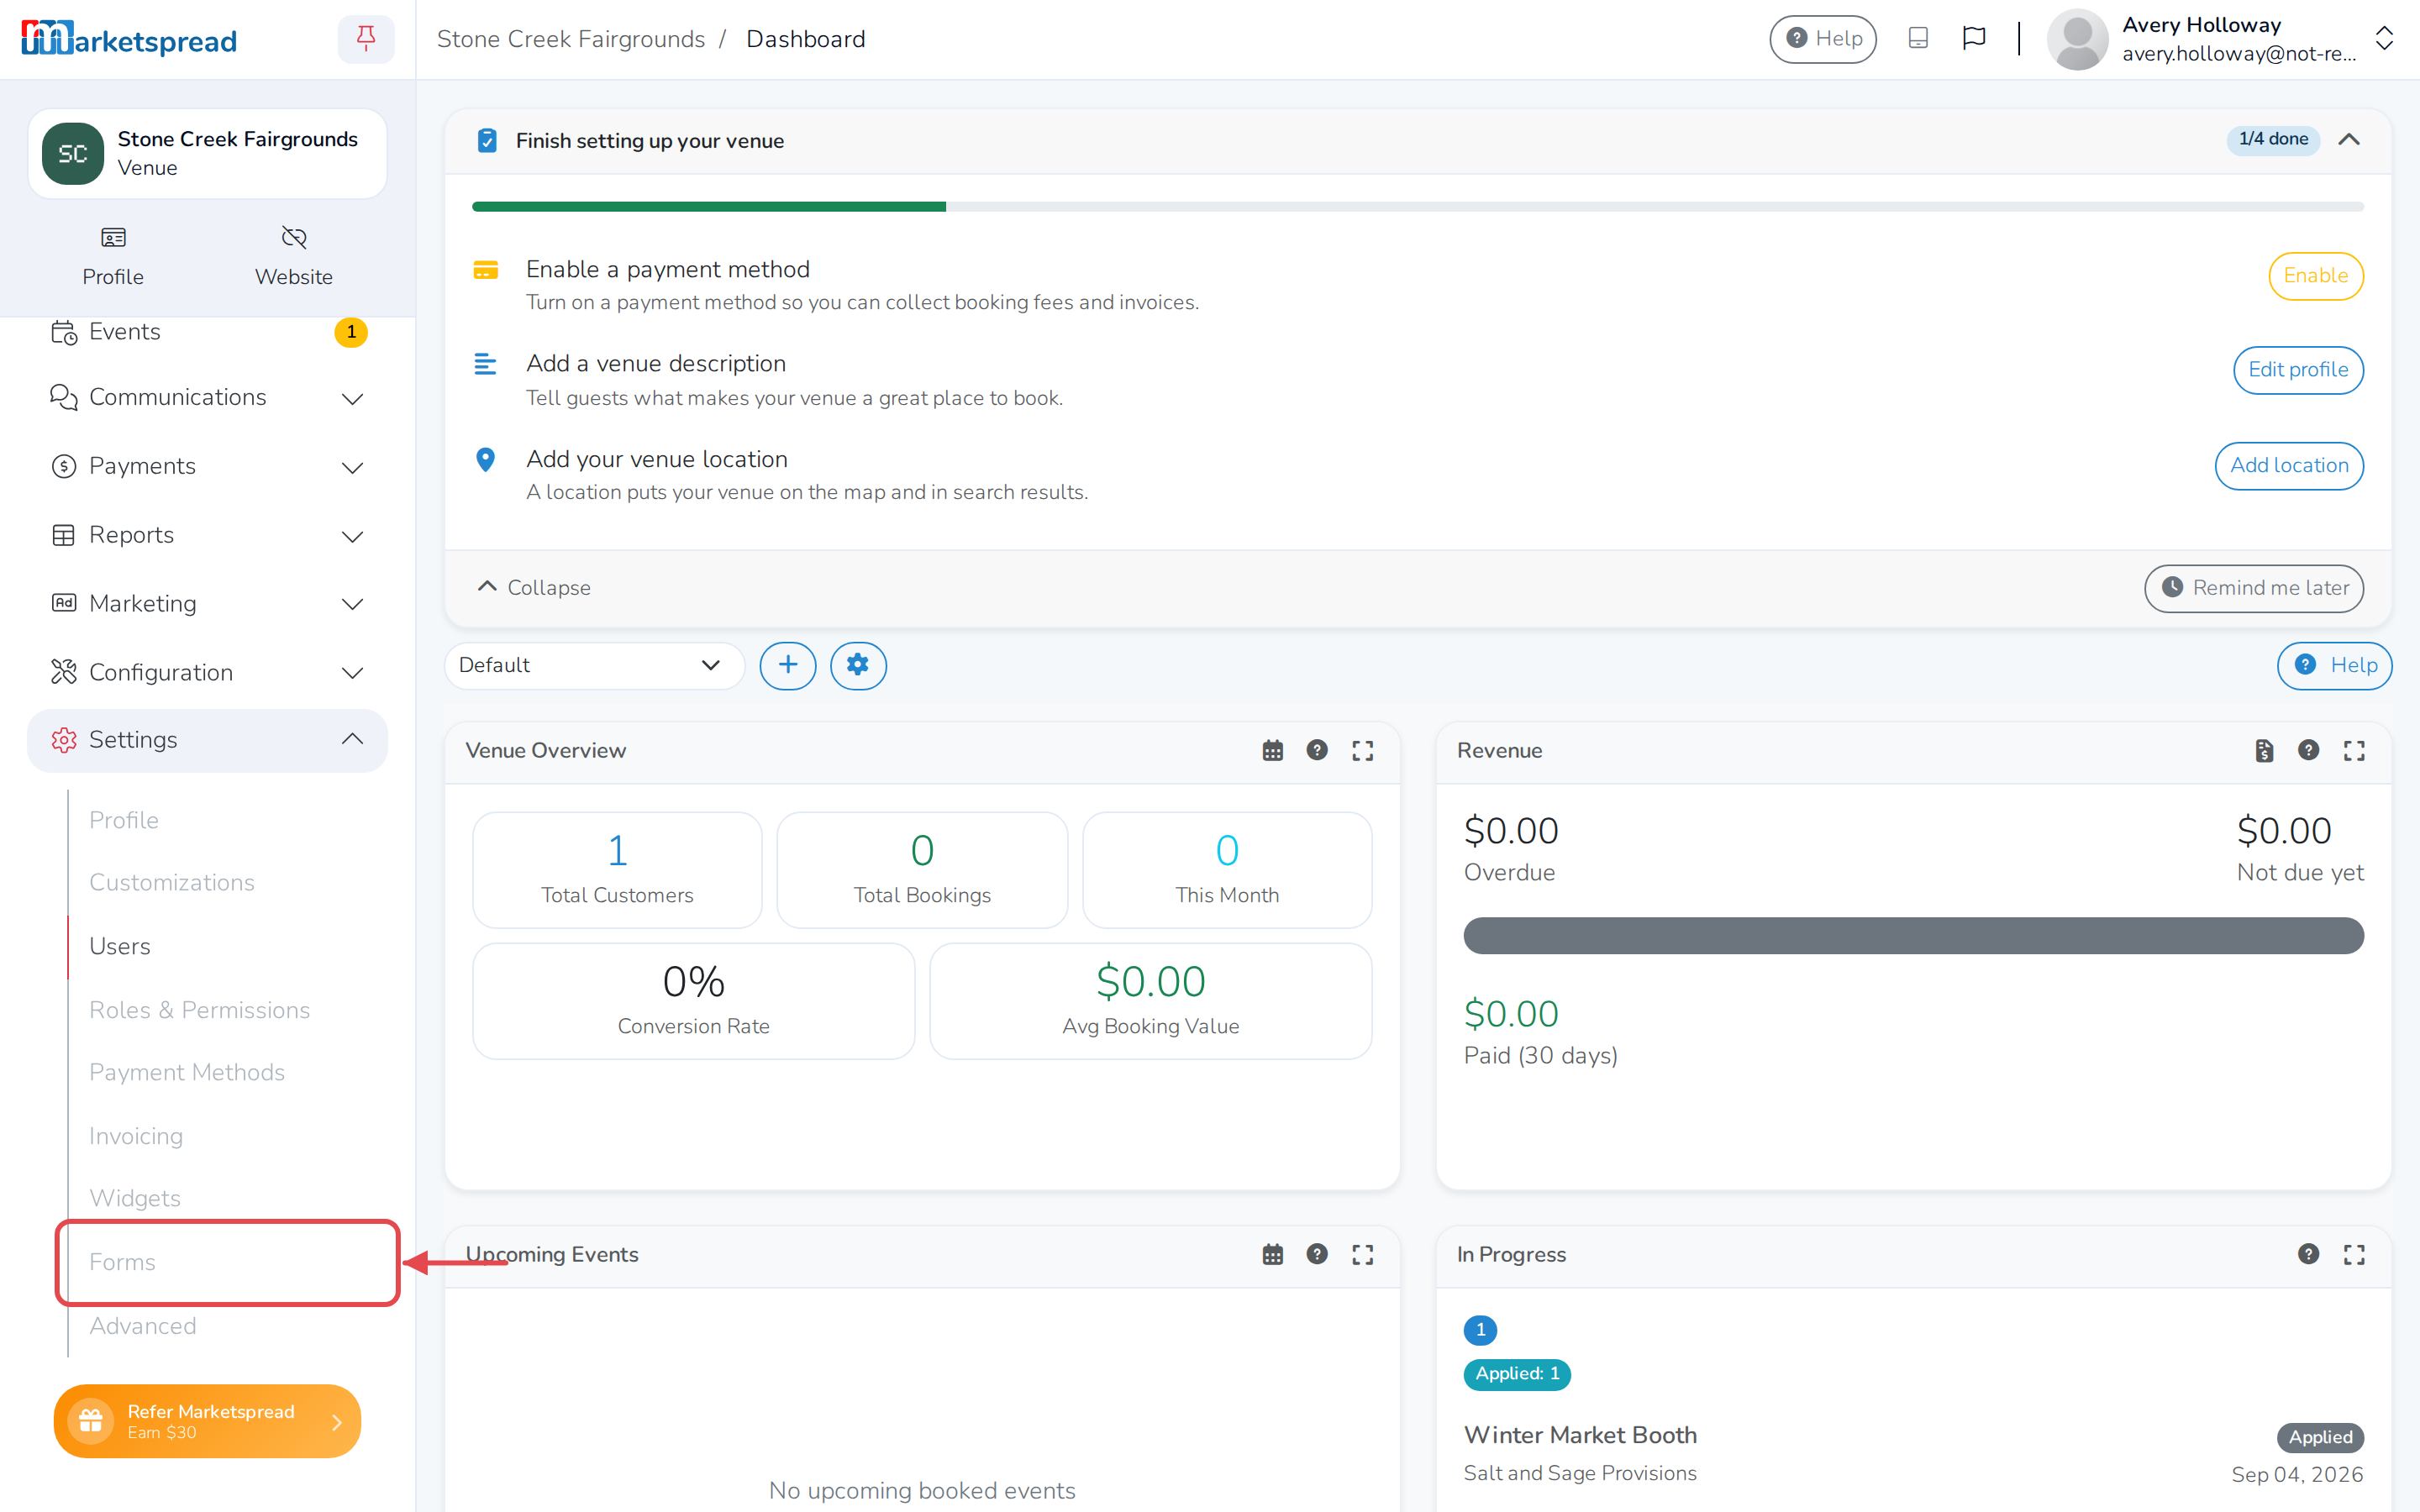
Click Settings, then Forms.
-
Click Create a form.
-
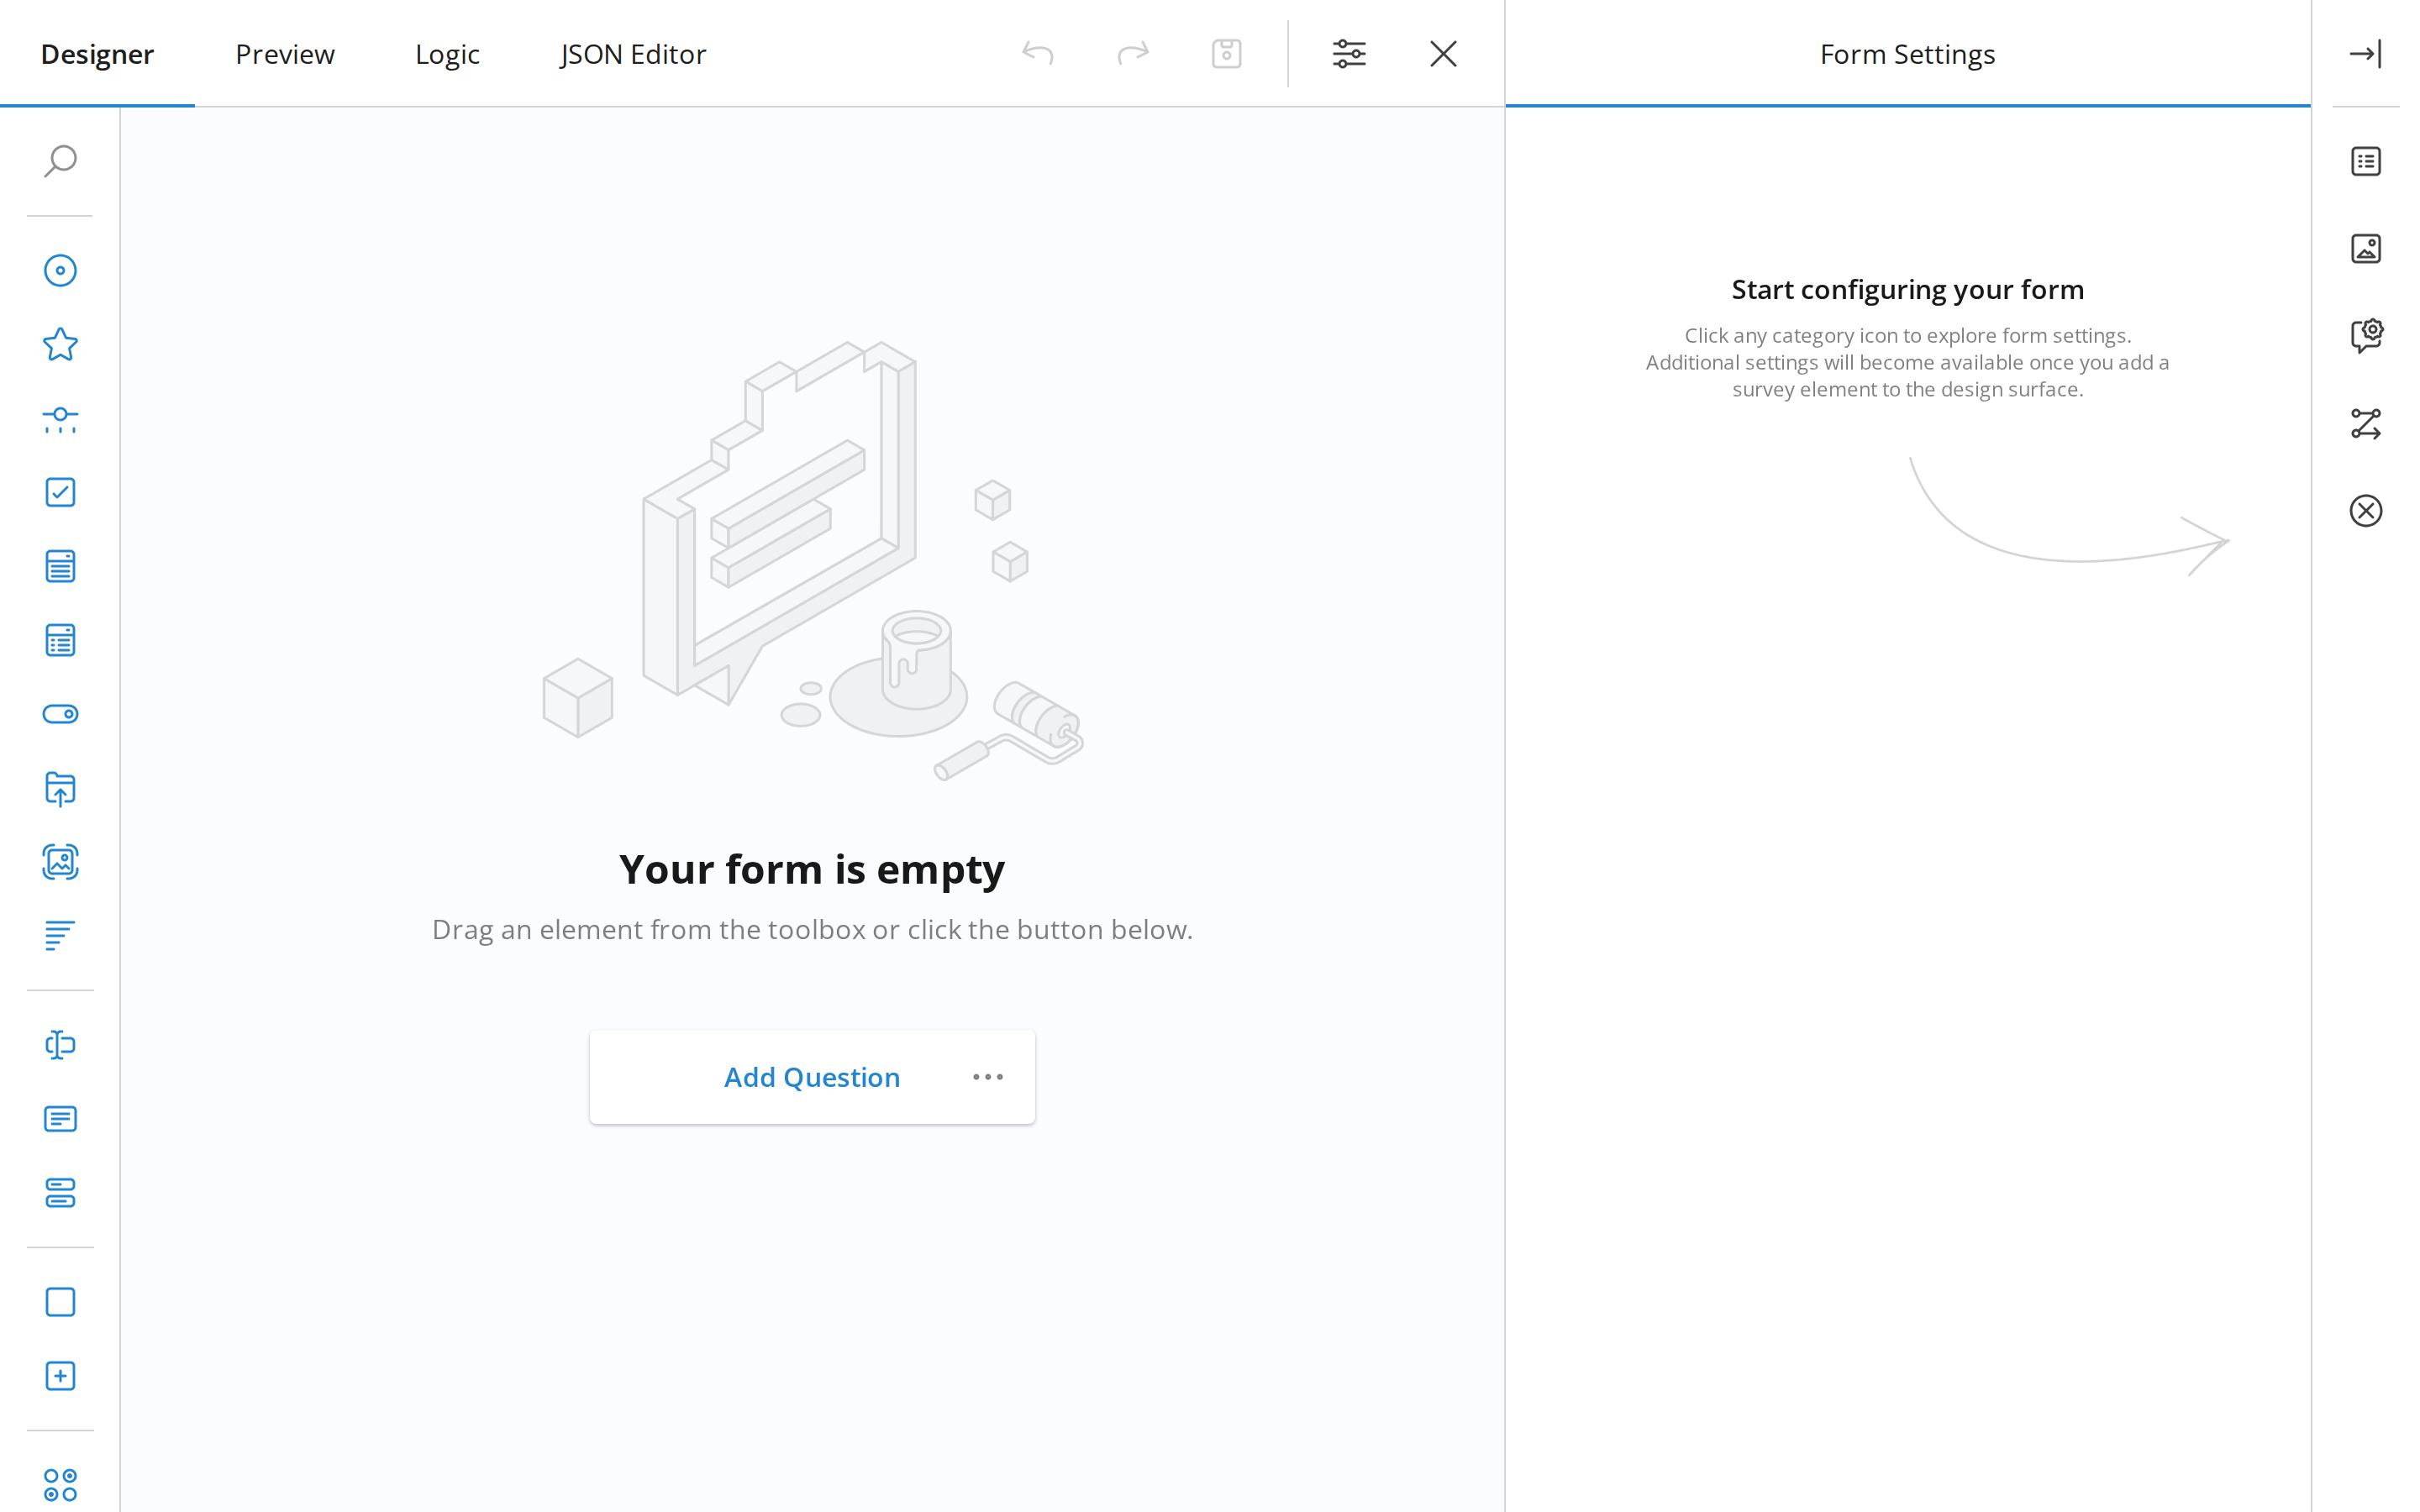
Click Add Question, then pick a question type from the list.
-
Click the Form settings icon to give the form a title and description.
Choose where the form appears
A new form is already set to appear directly on a booking. If you'd rather send it to a customer instead, open the form's settings and, under General, change Form is usable in these areas of the platform:
- Venue Signup — the form appears on a booking, ready to fill in
- Survey, Request or Recurring Request — the form is sent instead
A form can only be one of Survey, Request or Recurring Request — not more than one.
Publish a form
A form has to be published before it can be used.
-
In the form editor, click Save Form.
-
Click Exit to leave the editor.
-
Find your form under Form templates and click Publish.
-
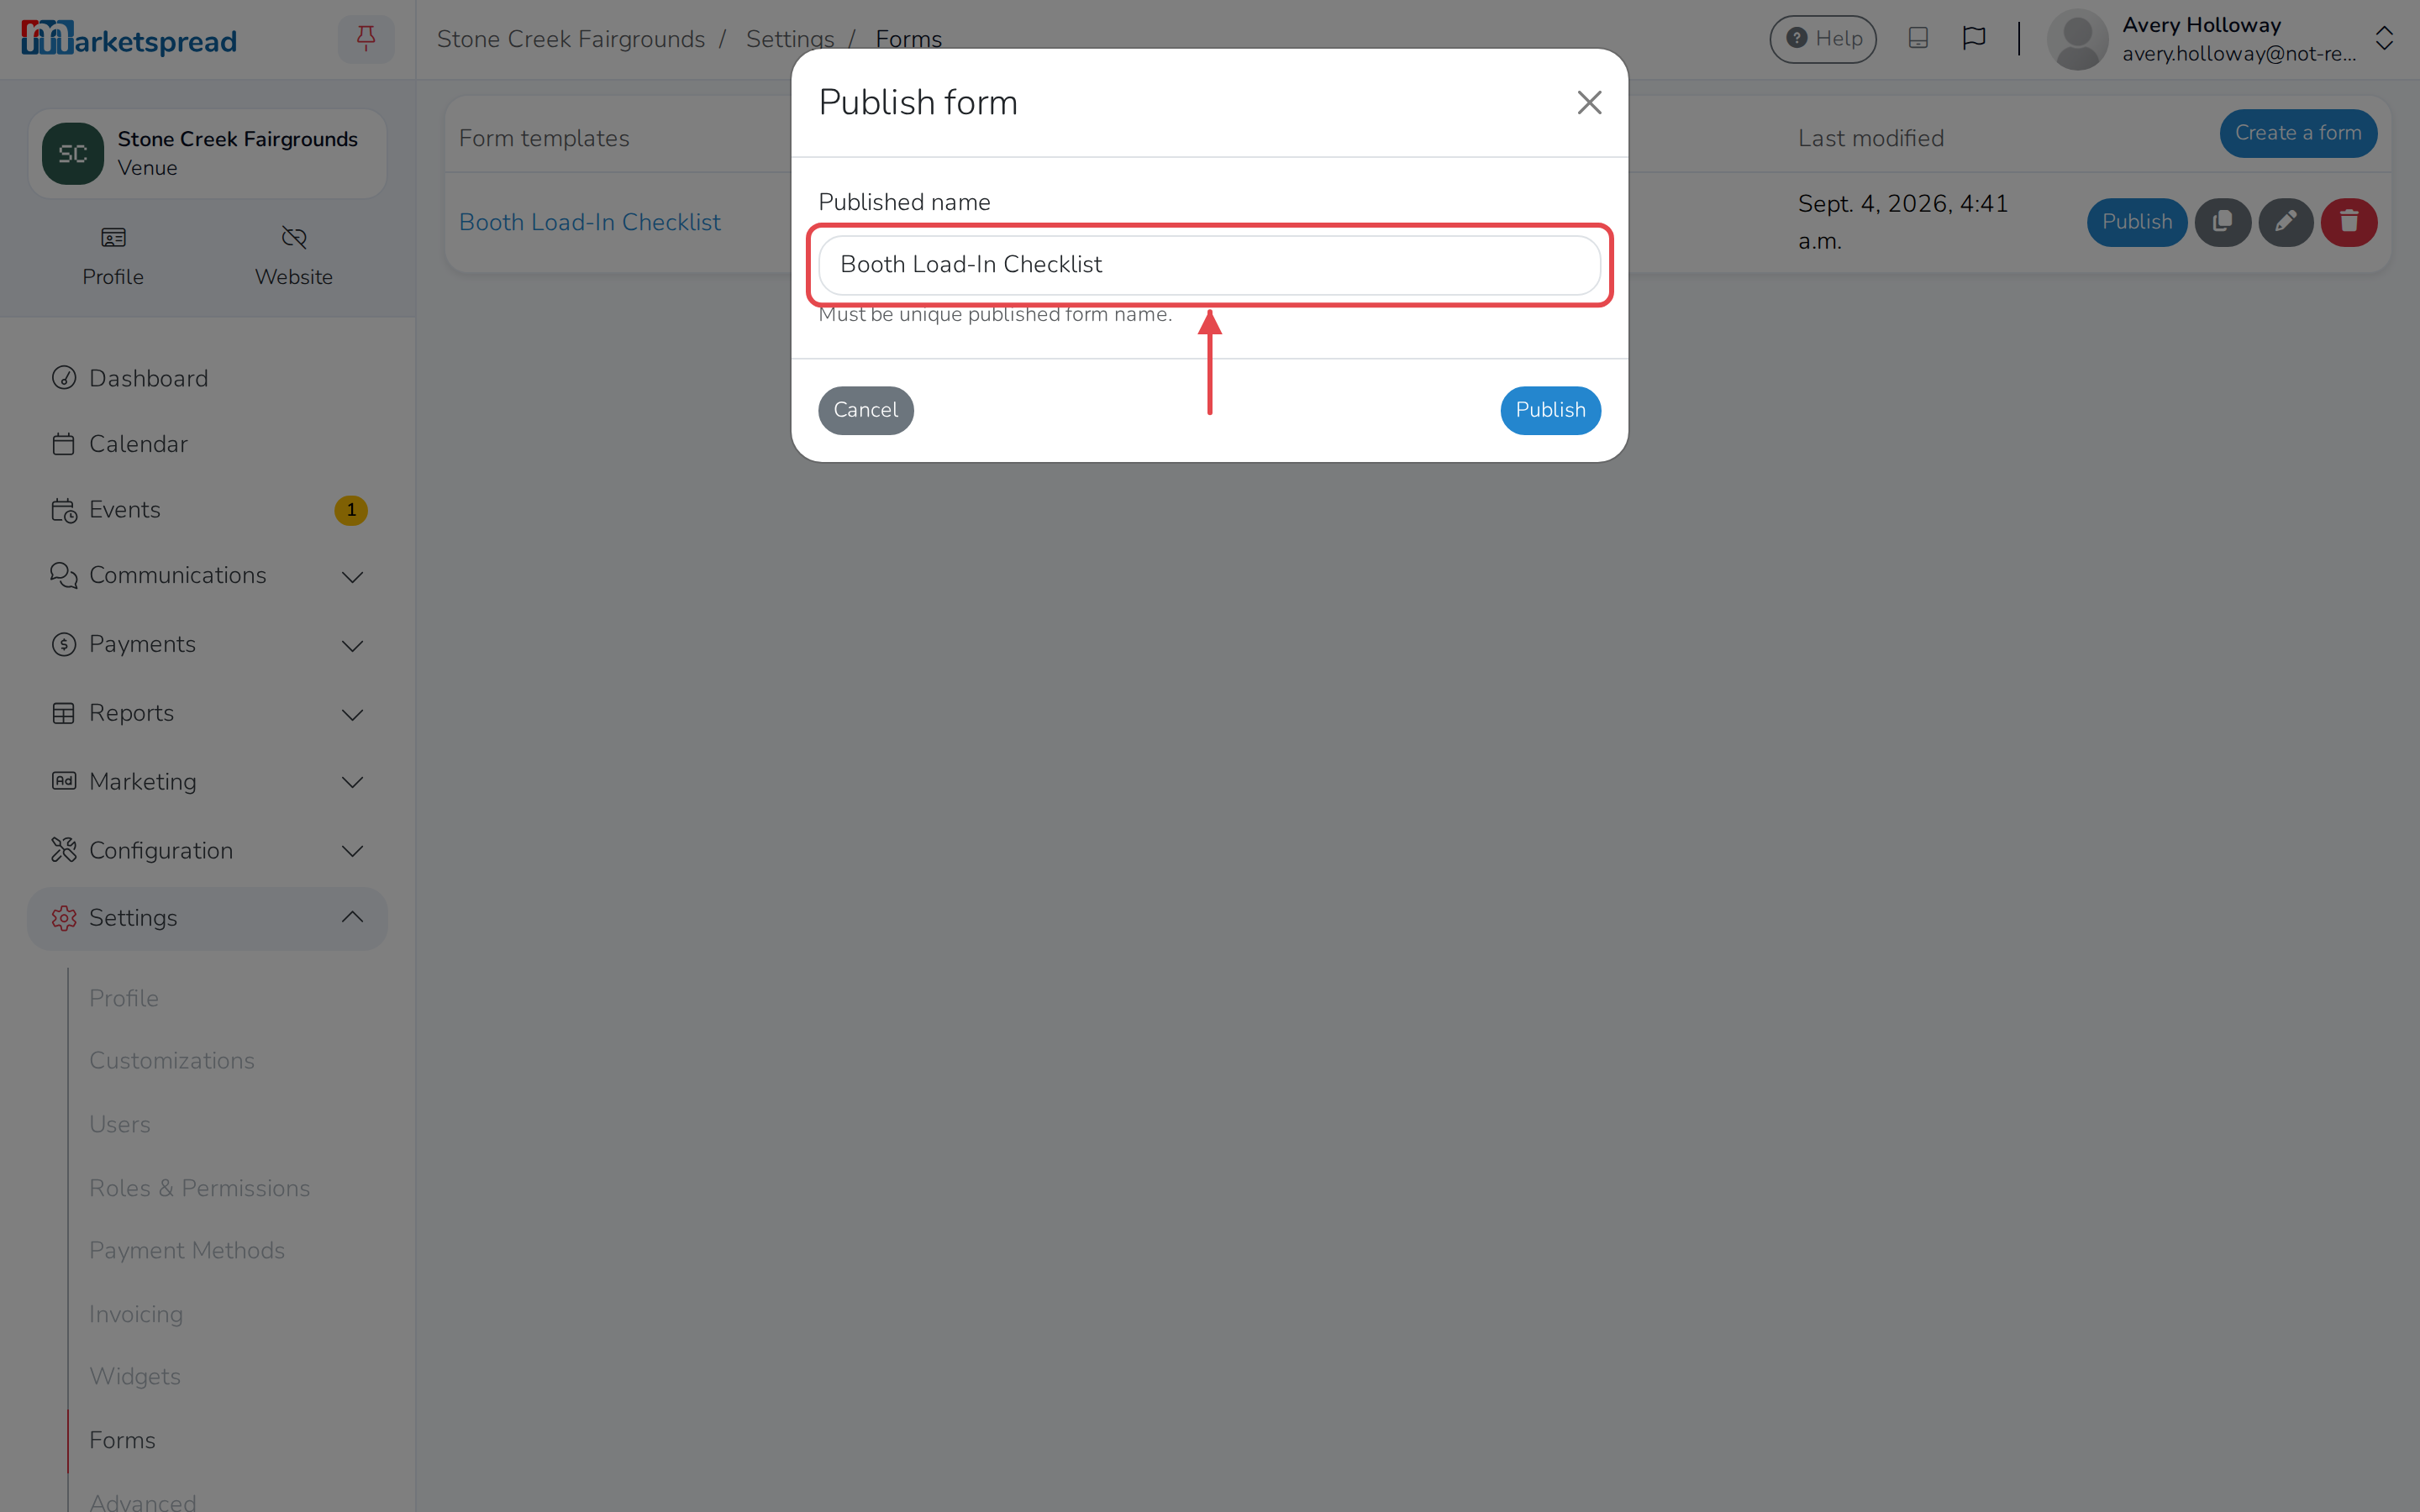
Fill in Published name — this is the name your team sees when they use it.
-
Click Publish.
Fill in a form on a booking
A form set to Venue Signup appears on the booking itself.
-
Open the booking from your venue's Events page.
-
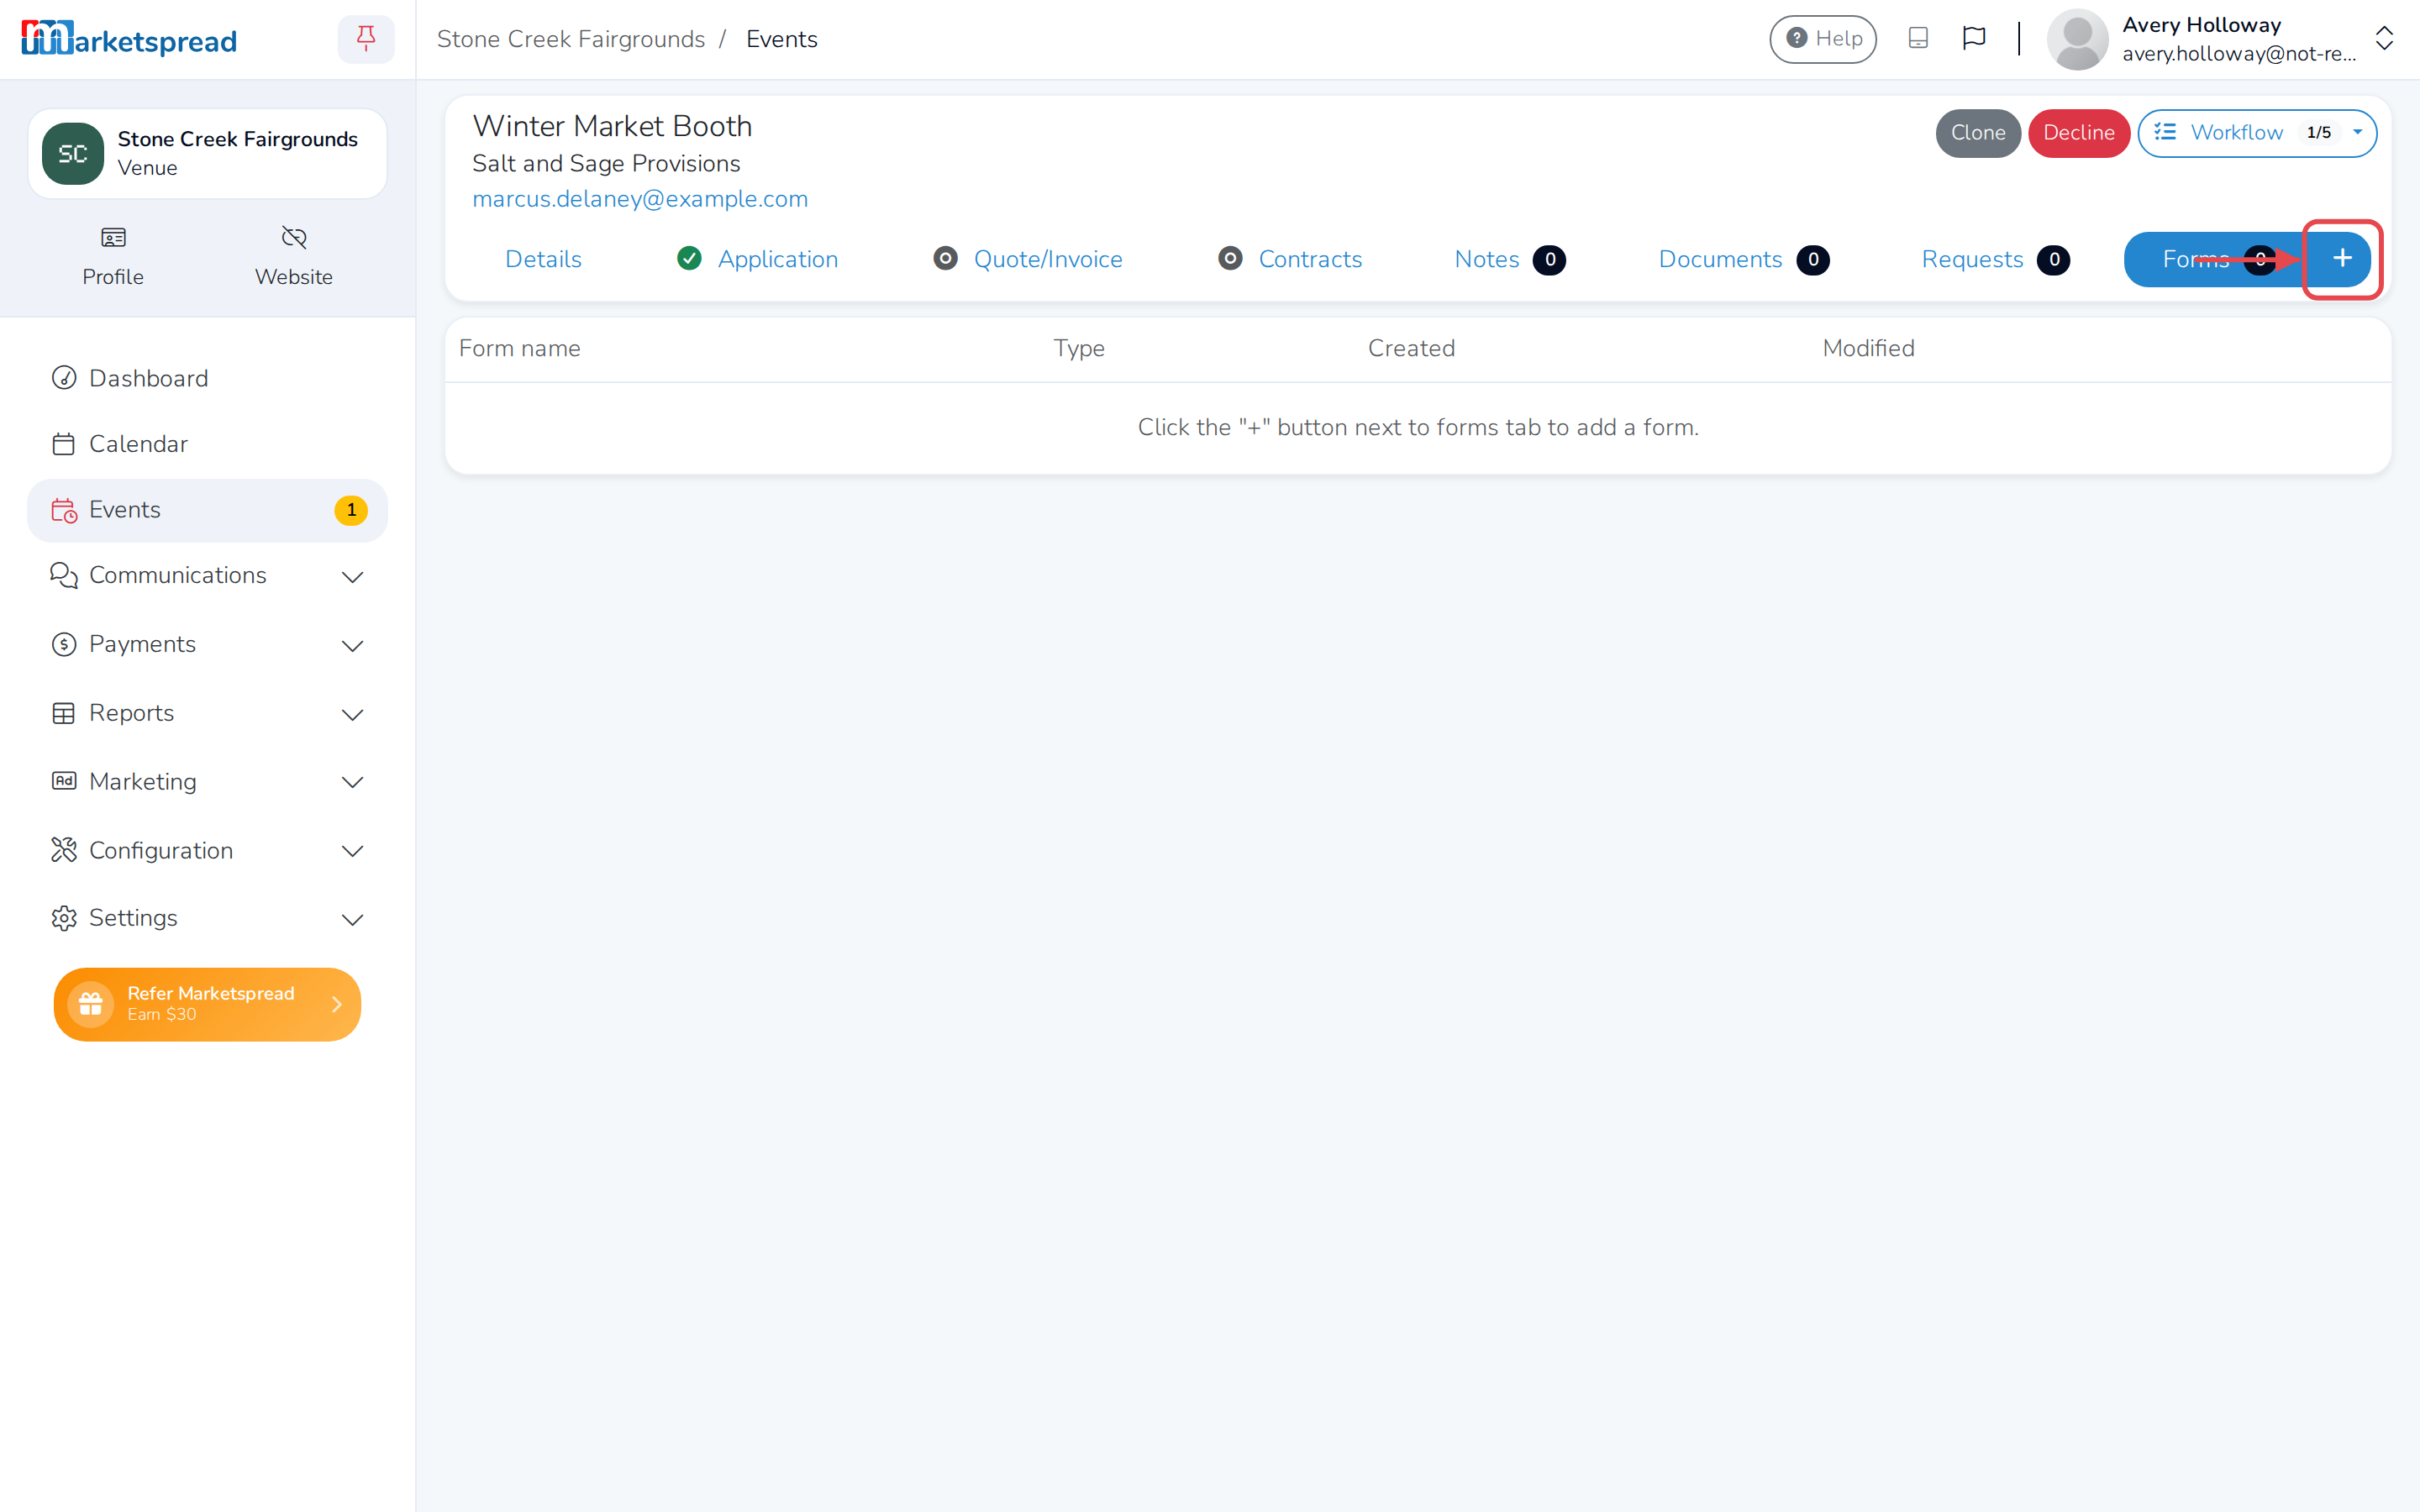
Click the Forms tab.
-
Click the + button.
-
Choose the form you want to fill out.
-
Fill in the fields, then click Add.
View or edit a submitted form
On the booking's Forms tab, click the eye icon next to an entry to see what was submitted, or the pencil icon to change it.
Delete a form entry
- On the booking's Forms tab, click the trash icon next to the entry.
- Click Delete to confirm.