


Your venue's dashboard is where you set it up before it can take bookings. From Settings and Configuration in the left-hand menu, you can:
- Update your venue's public profile
- Add spaces to your venue
- Create a booking application
Your venue also comes with event types for customers to pick from when they apply — see Set up your event types.
Update your venue's profile
Your profile is what customers see on your venue's public page.
- Click Settings, then Profile.
- To change your Logo or Manager Photo, click Edit under it and upload a new image.
- Everything else has its own pencil icon — your name, website, social links, description, address, contact details, and settings like Wheelchair Accessible. Click it next to whatever you want to change.
- Make your change, then click Save.
Add spaces to your venue
A layout is the set of spaces customers can book — a booking application points to one.
-
Click Configuration, then Layouts.
-
Click Add layout template.
-
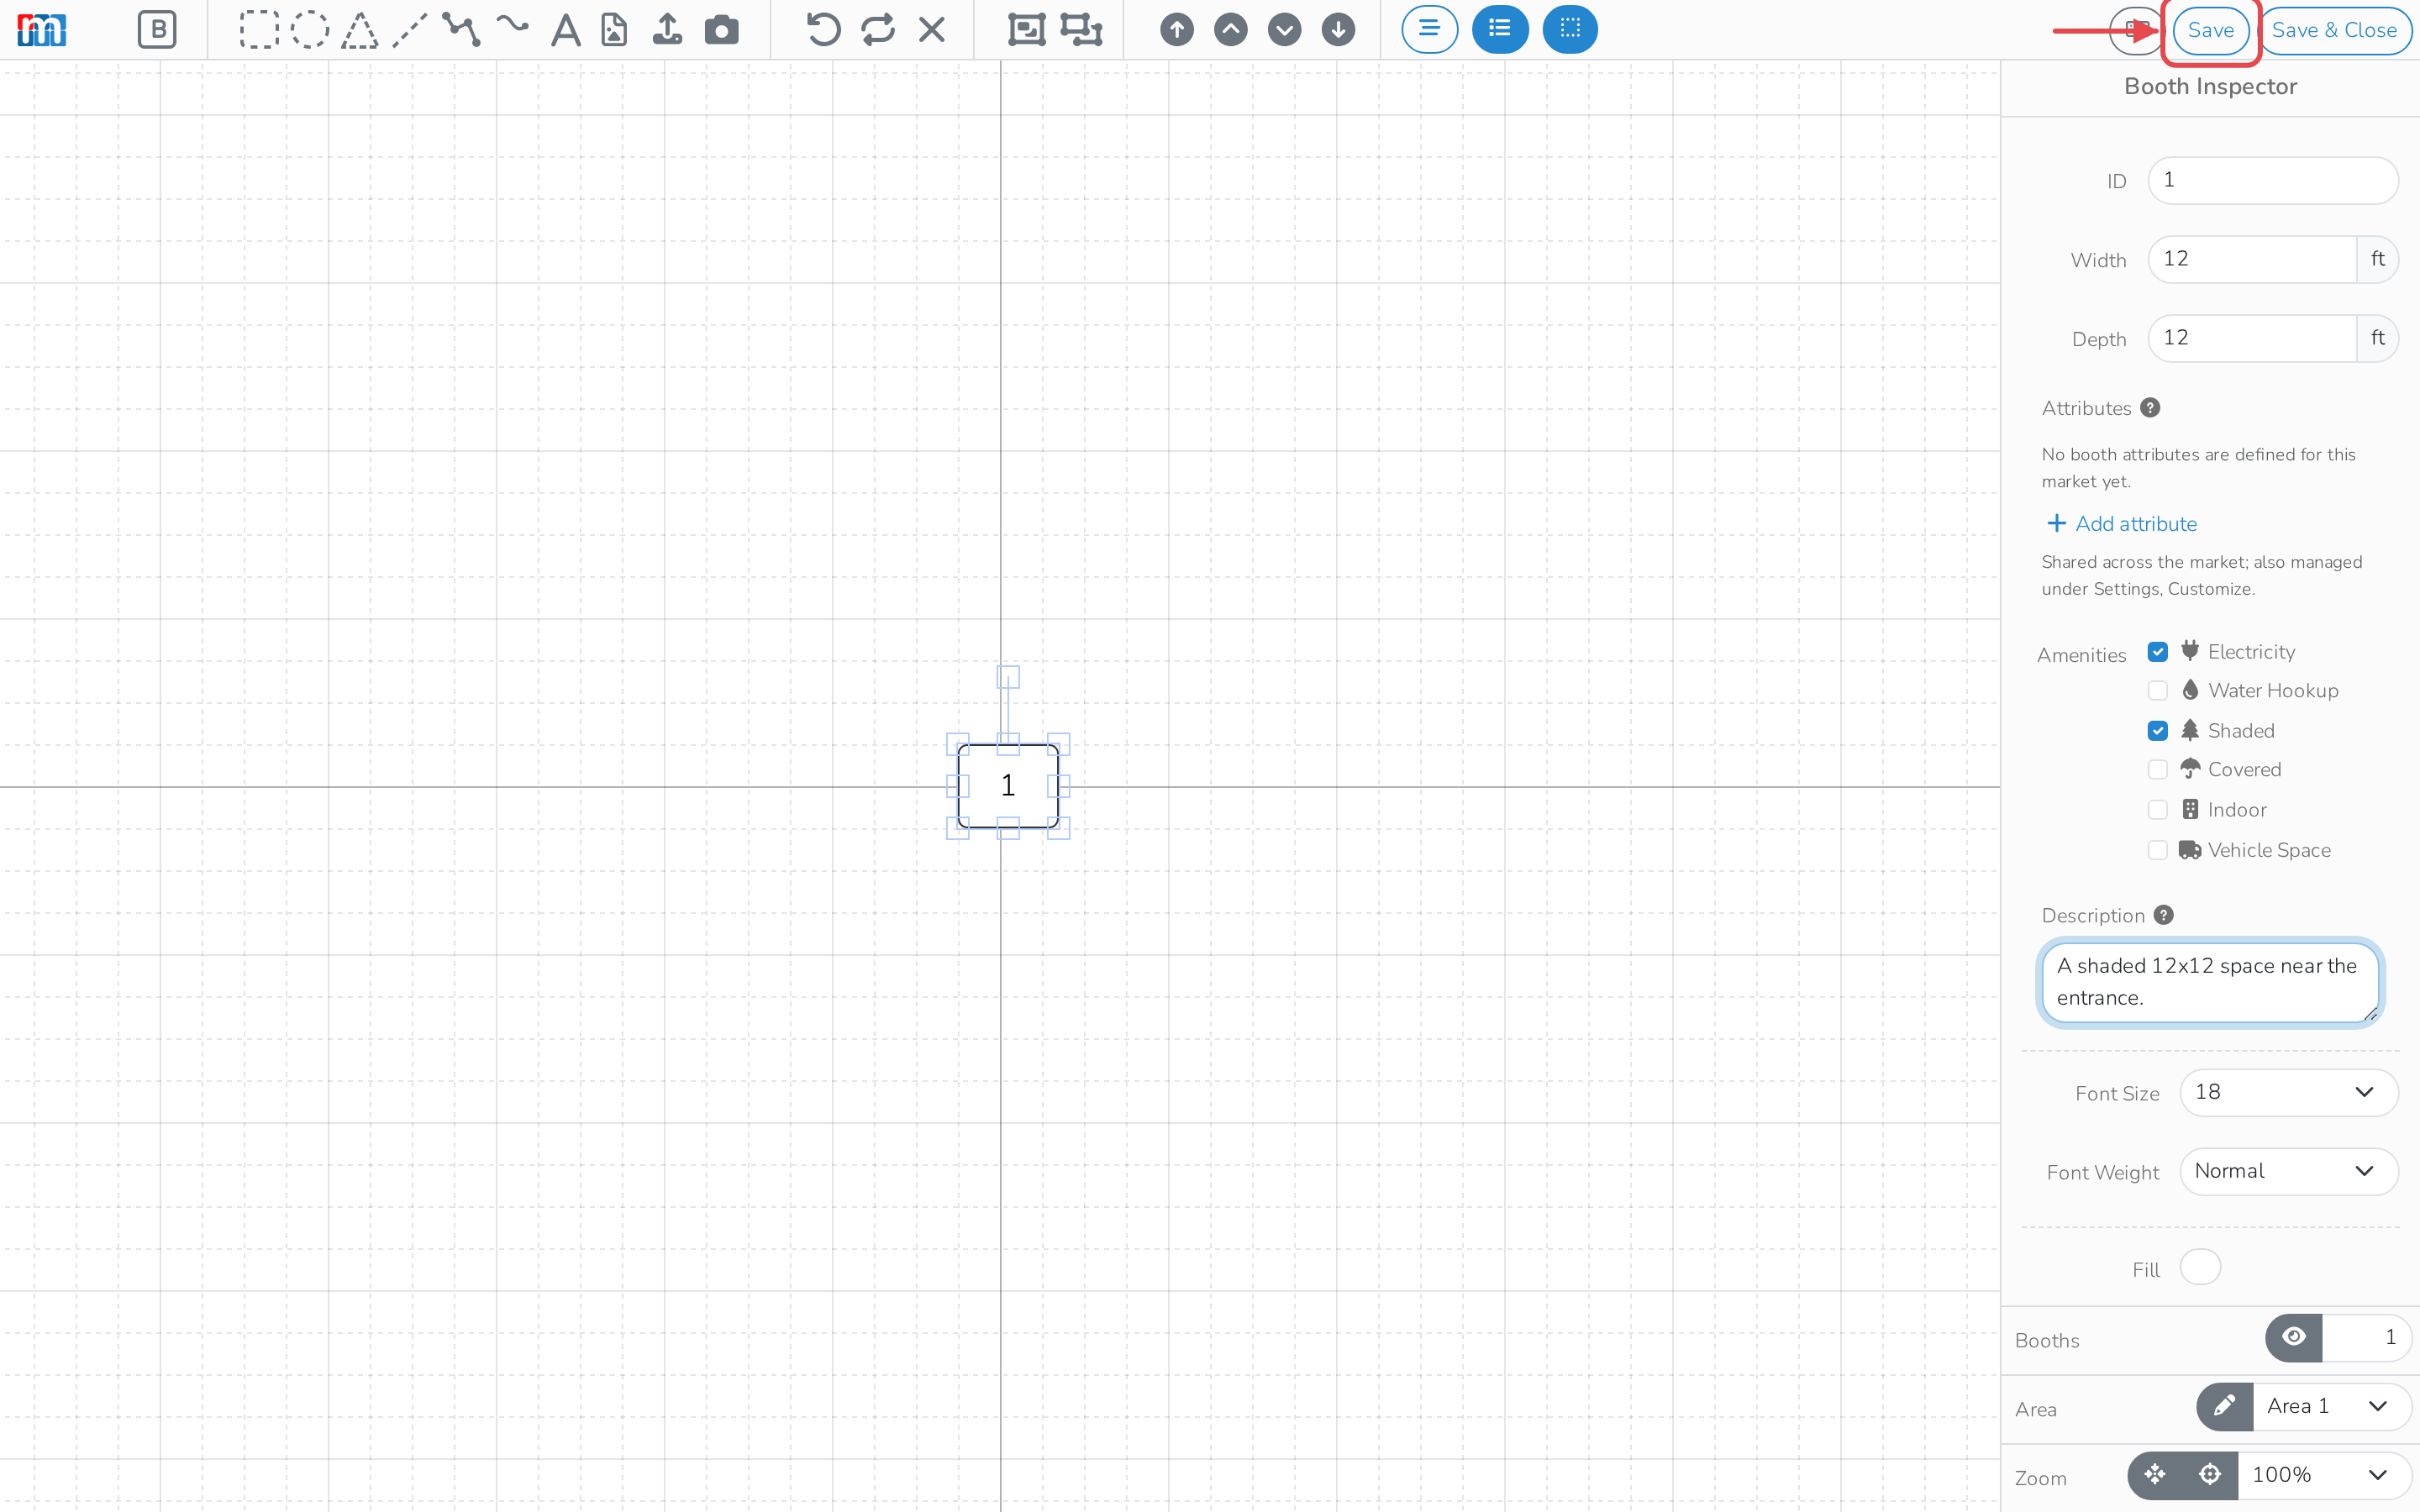
In the toolbar, click Add booth to add a space to the layout.
-
Fill in its Width and Depth, and turn on any Amenities it has, like Electricity, Shaded or Indoor.
-
Add a Description so customers know what they're picking.
-
Click Save.
Create a booking application
An application is the form customers fill out to book your venue.
-
Click Configuration, then Applications.
-
Click Add application template.
-
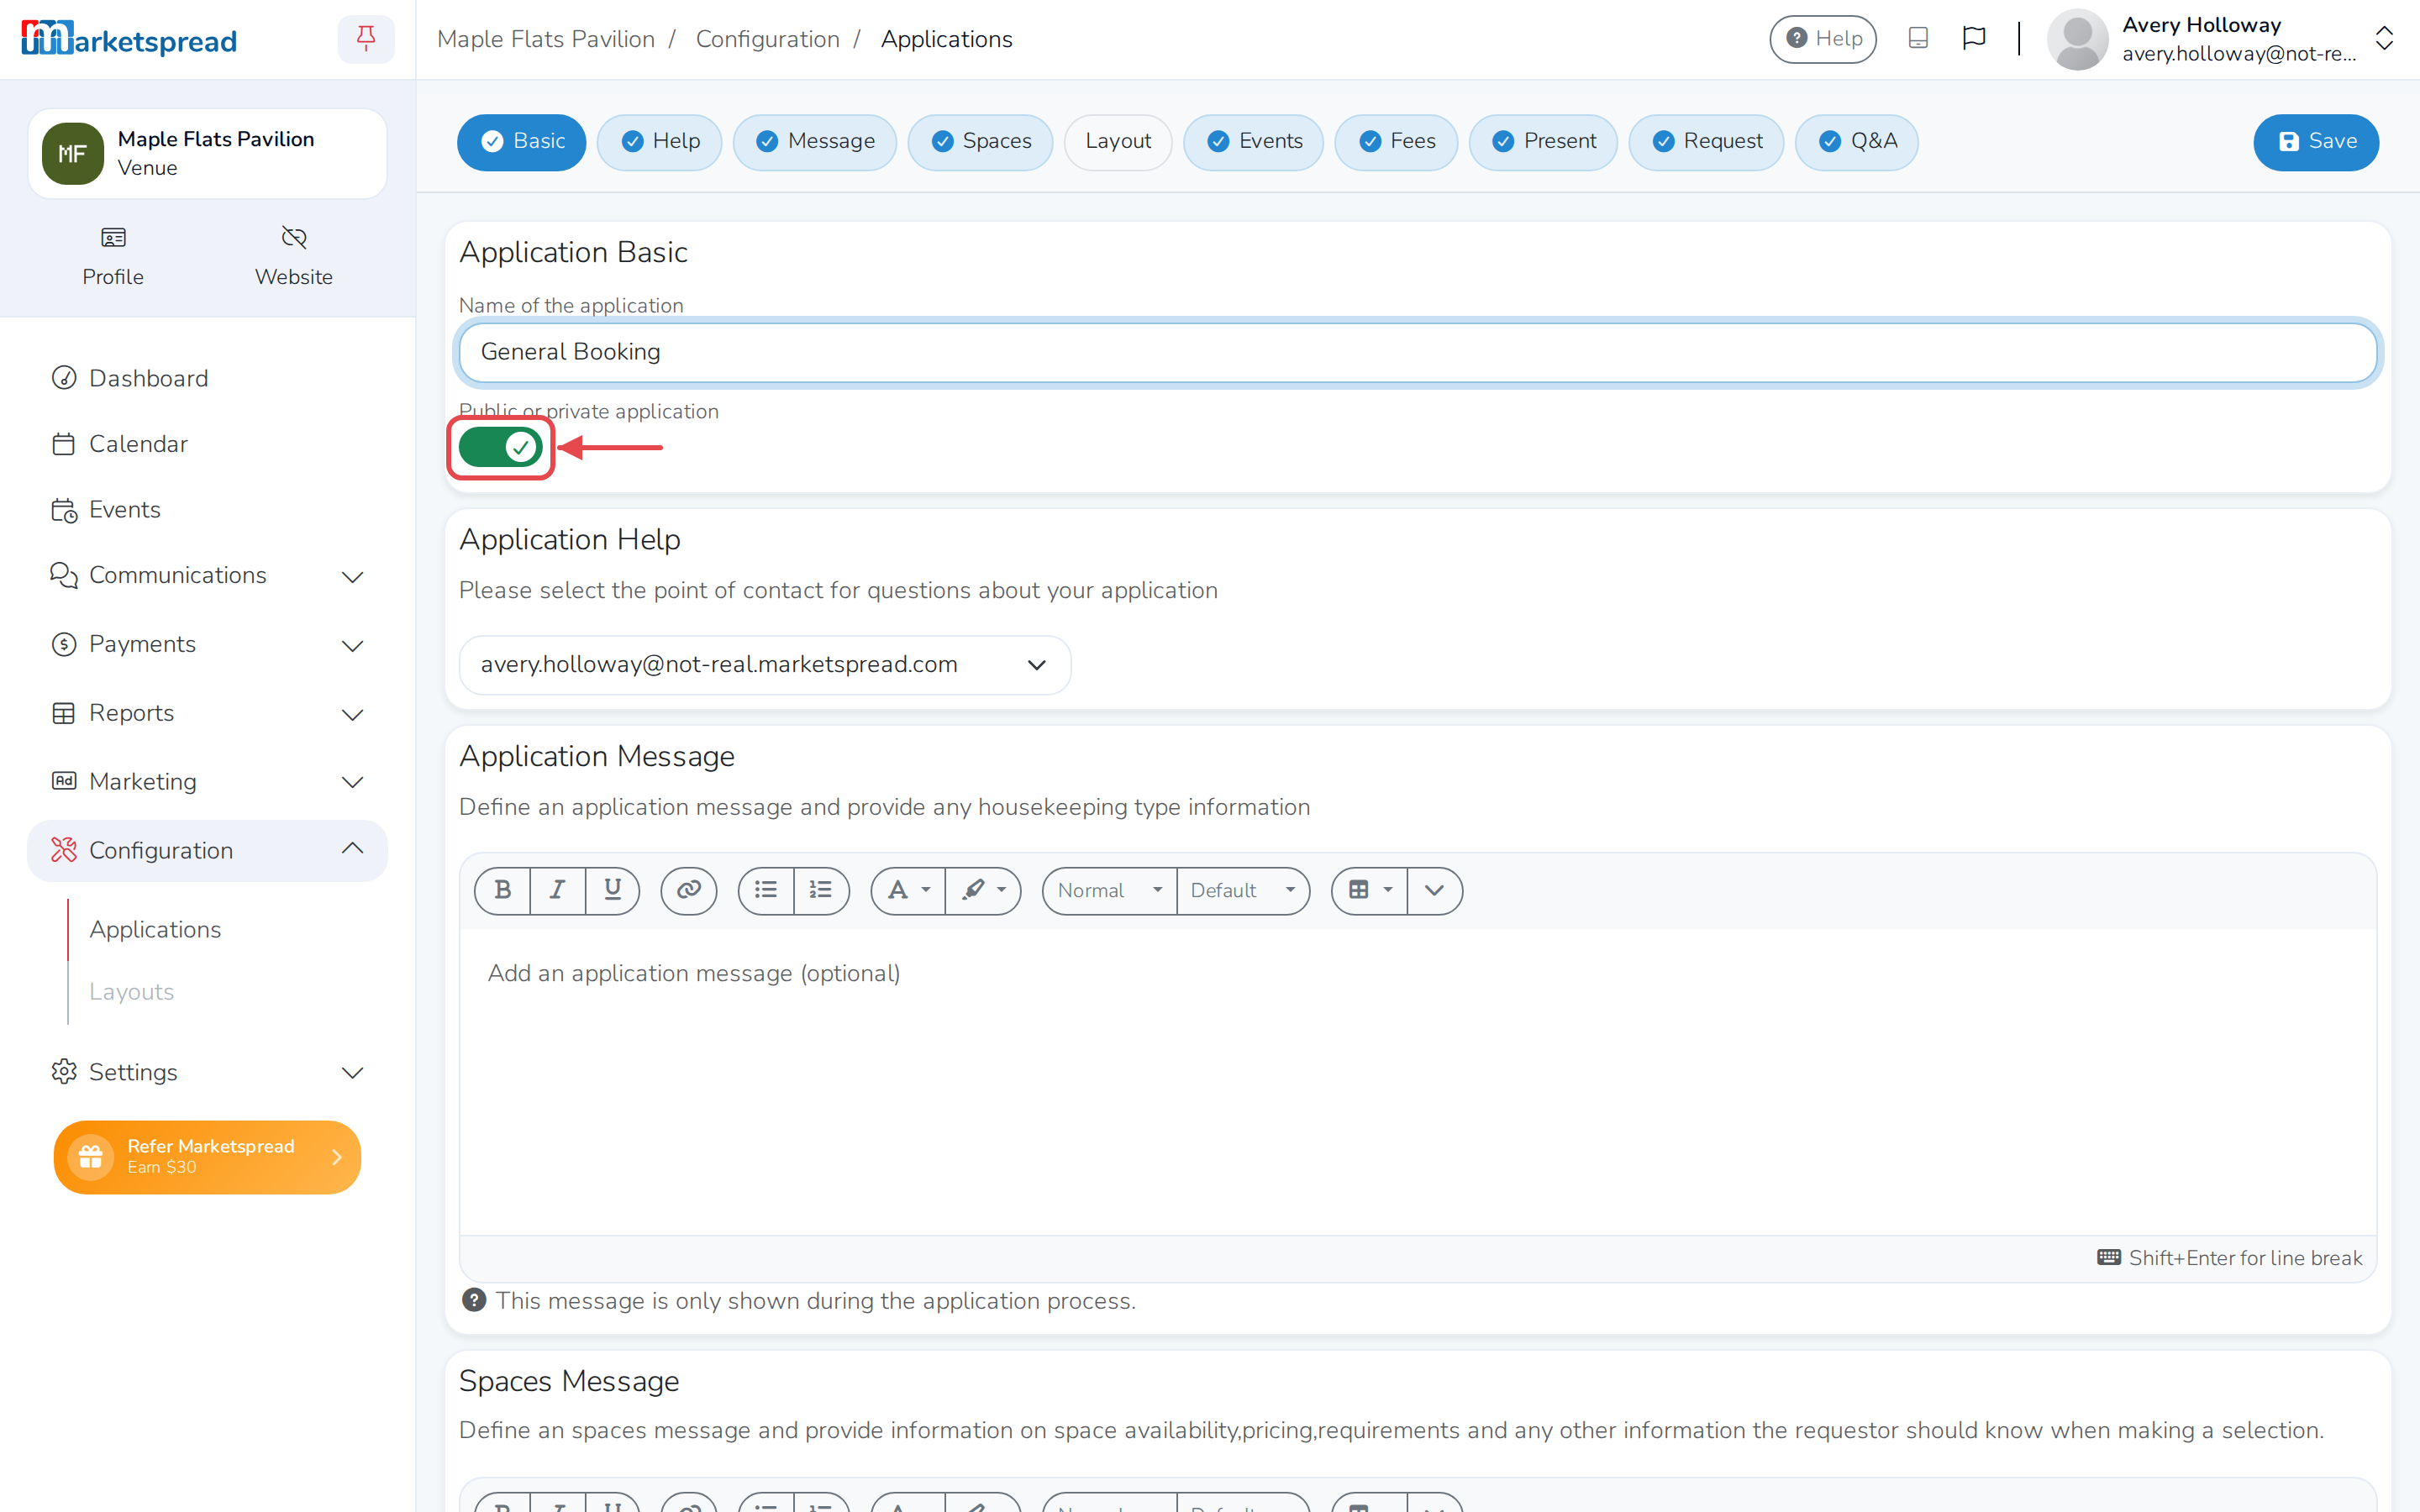
Fill in the Name of application. It's public by default — turn off Public or private application if you want it invite-only instead.
-
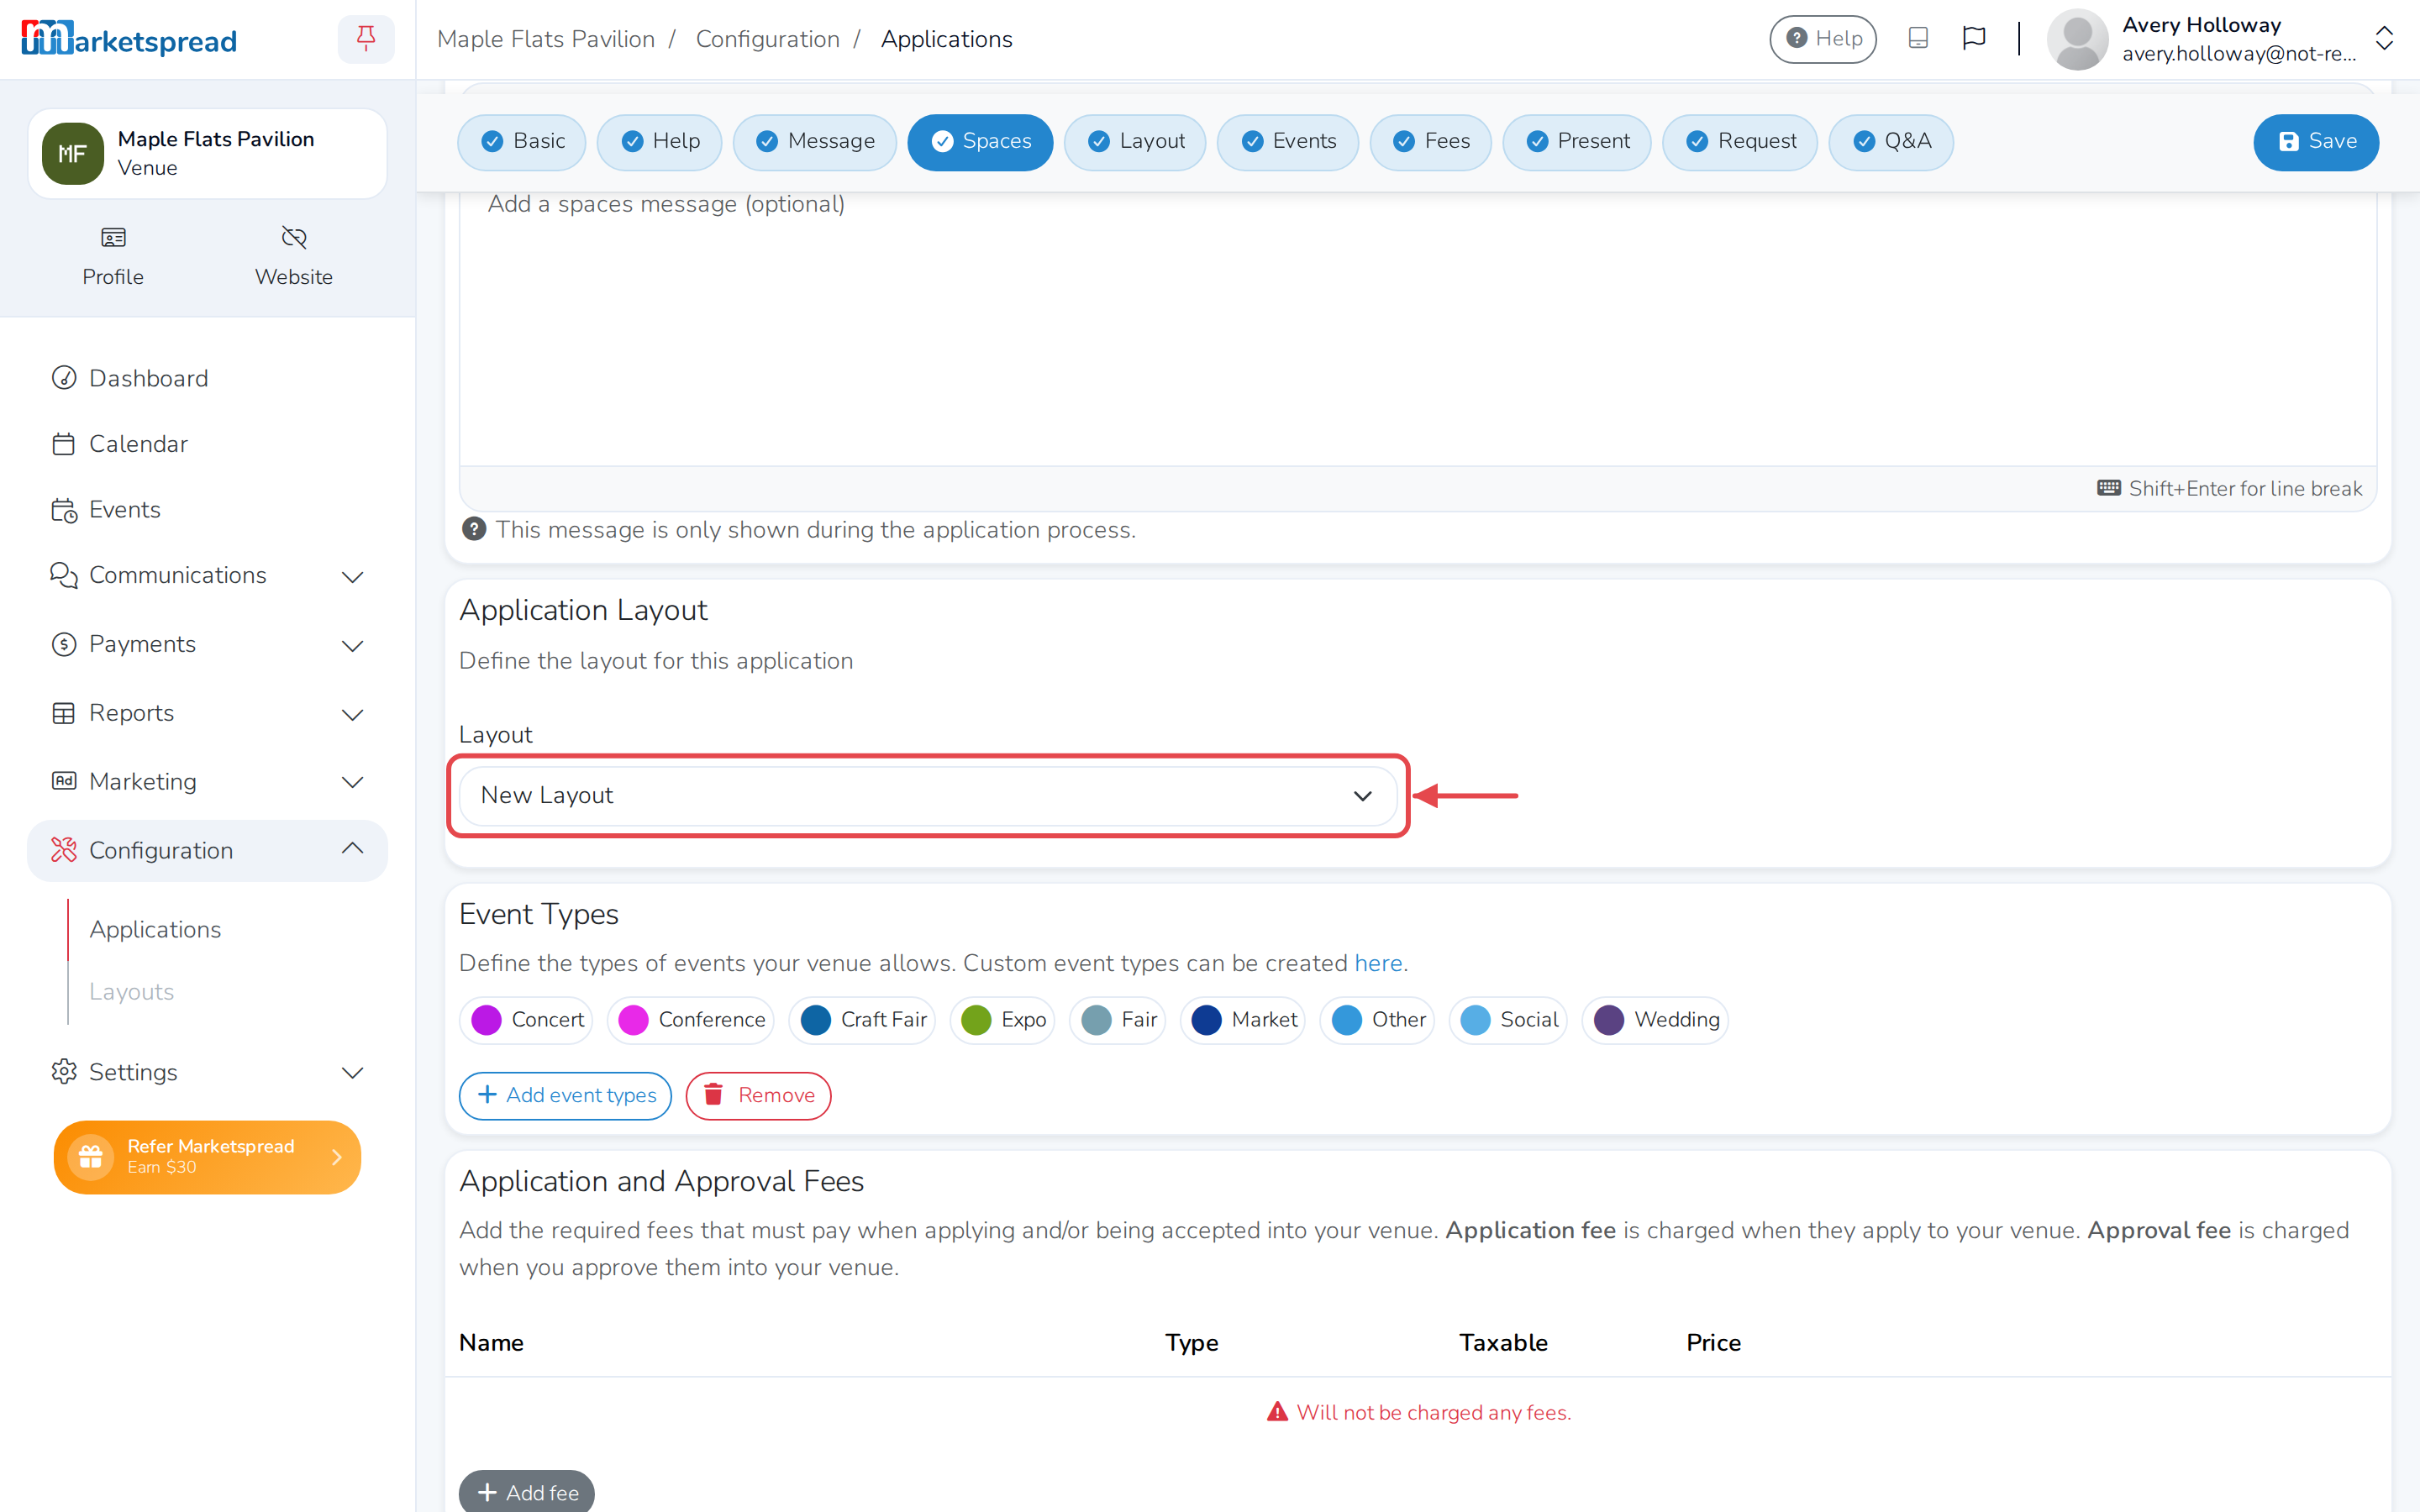
Under Application Layout, choose the Layout you want it to use.
-
Add anything else you want customers to see or answer — fees, documents, or your own Questions — then click Save application.
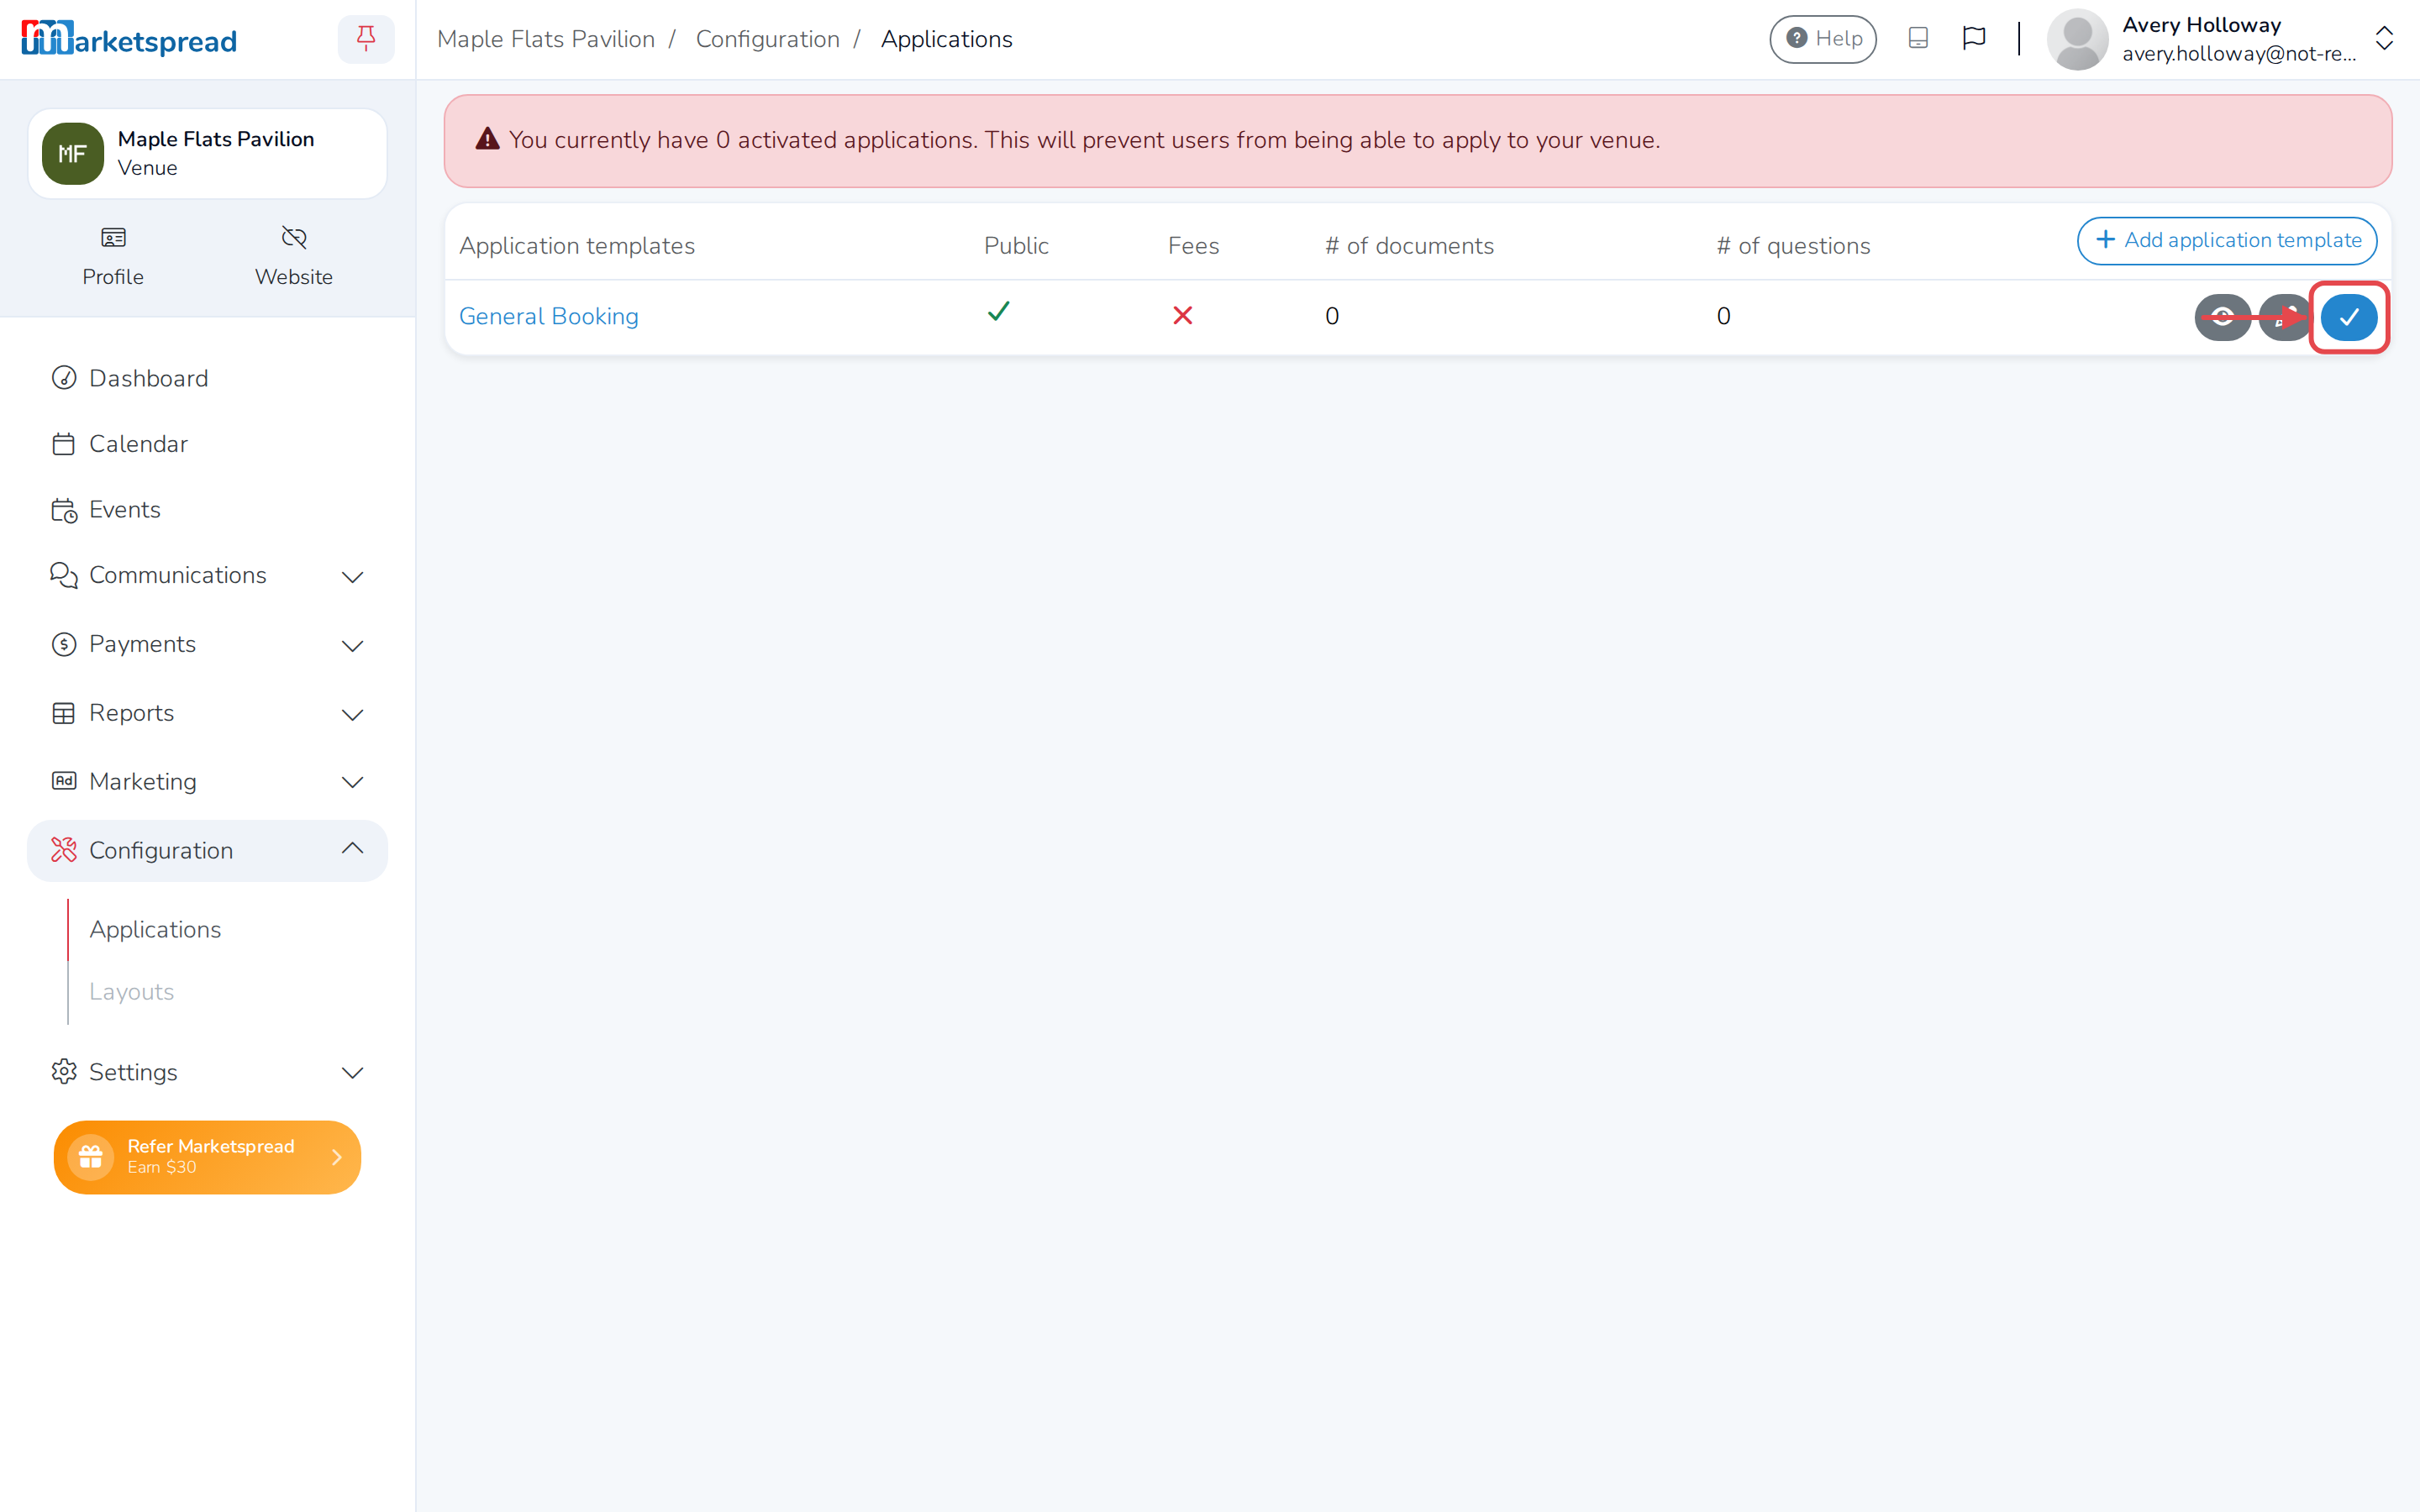
The application is saved as a template until you activate it. On the Applications page, click Activate next to it to make it live.
Good to know
You can't activate an application until its layout has at least one space — add spaces to the layout first.