


Your venue's Users page lists everyone who can sign in and work on your account, and what each of them can access. Open Settings, then Users, in the left-hand menu — only your venue's owner, or someone with an Administrator or Manager role, can get here. From this page you can add someone, change what they can access, update their details, remove them, or hand over ownership of the account.
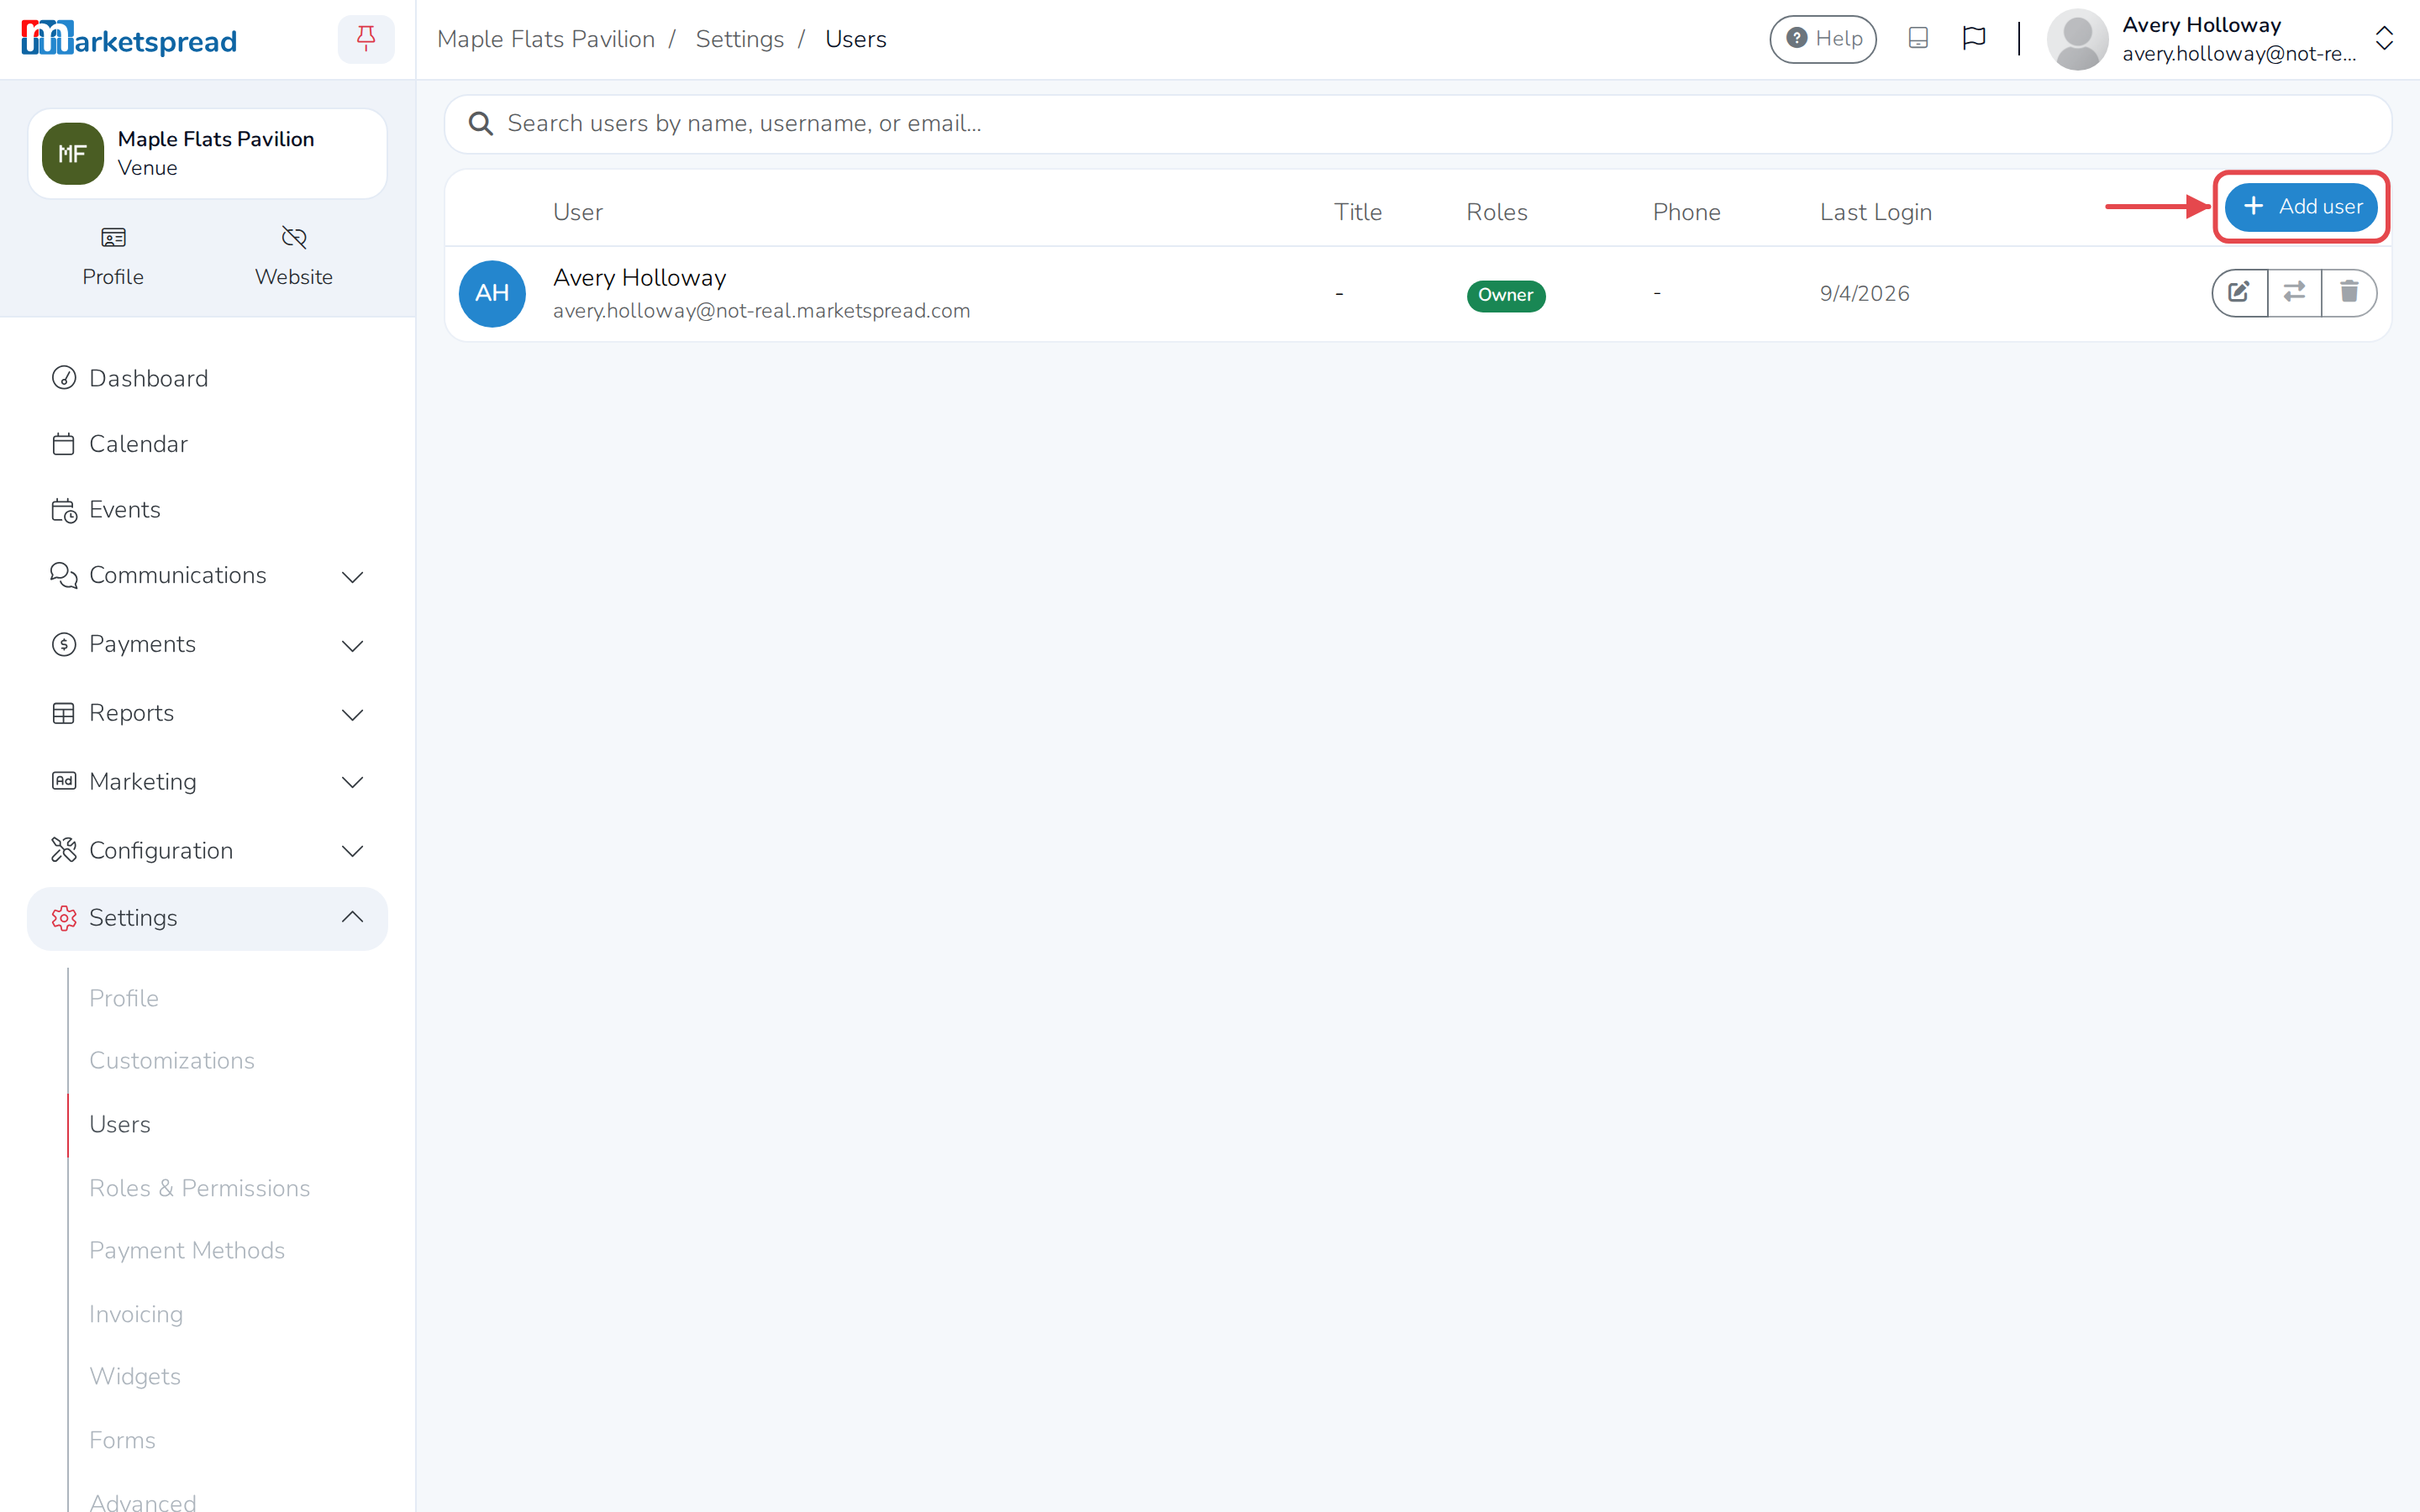
Add user to your venue
- Click Add user.
- Fill in their Email Address. If they don't already have a Marketspread account, one is created for them.
- Fill in their First Name and Last Name.
- Add their Office Phone or Cell Phone (optional).
- Add a Title, like "Market Manager" (optional).
- Choose a role next to Organization for account-wide things, like inviting other people.
- Choose a role next to Venue for its day-to-day settings and bookings.
- Leave either row as No role assigned to leave that part out.
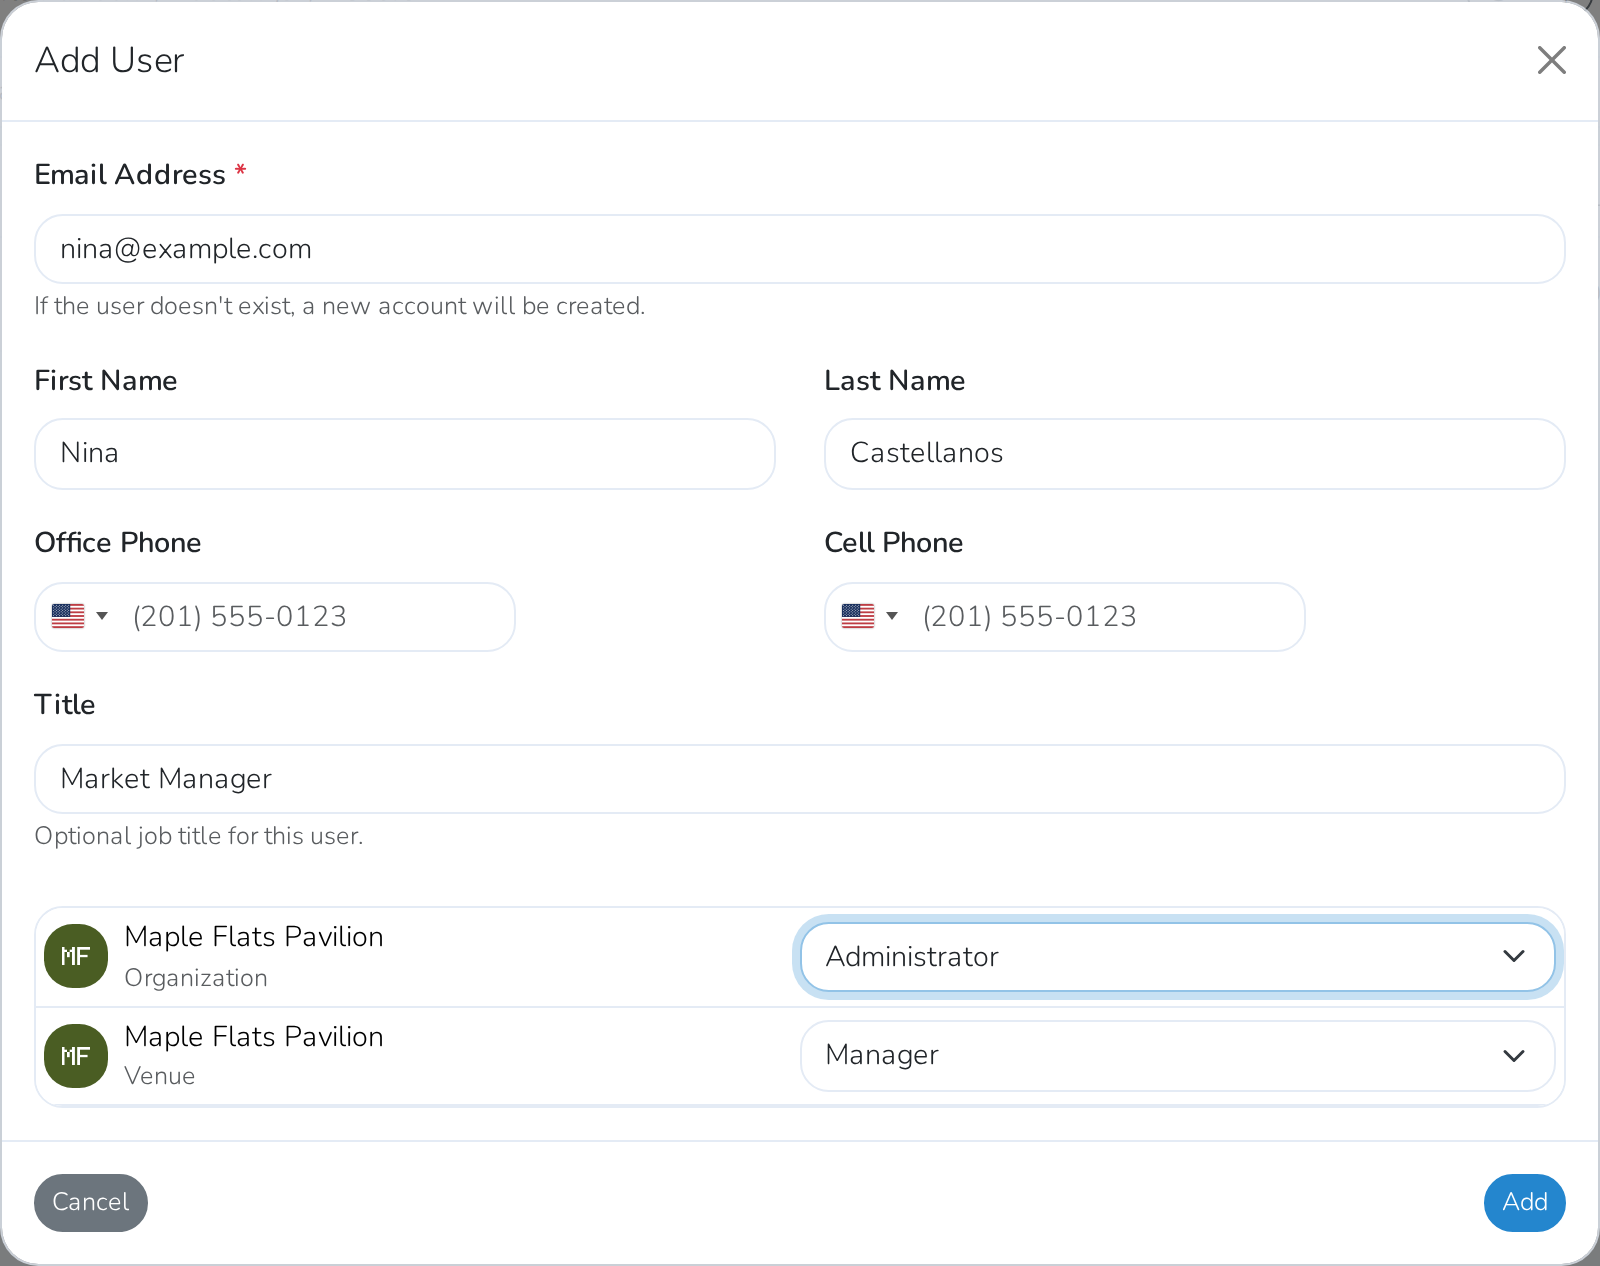
- Click Add.
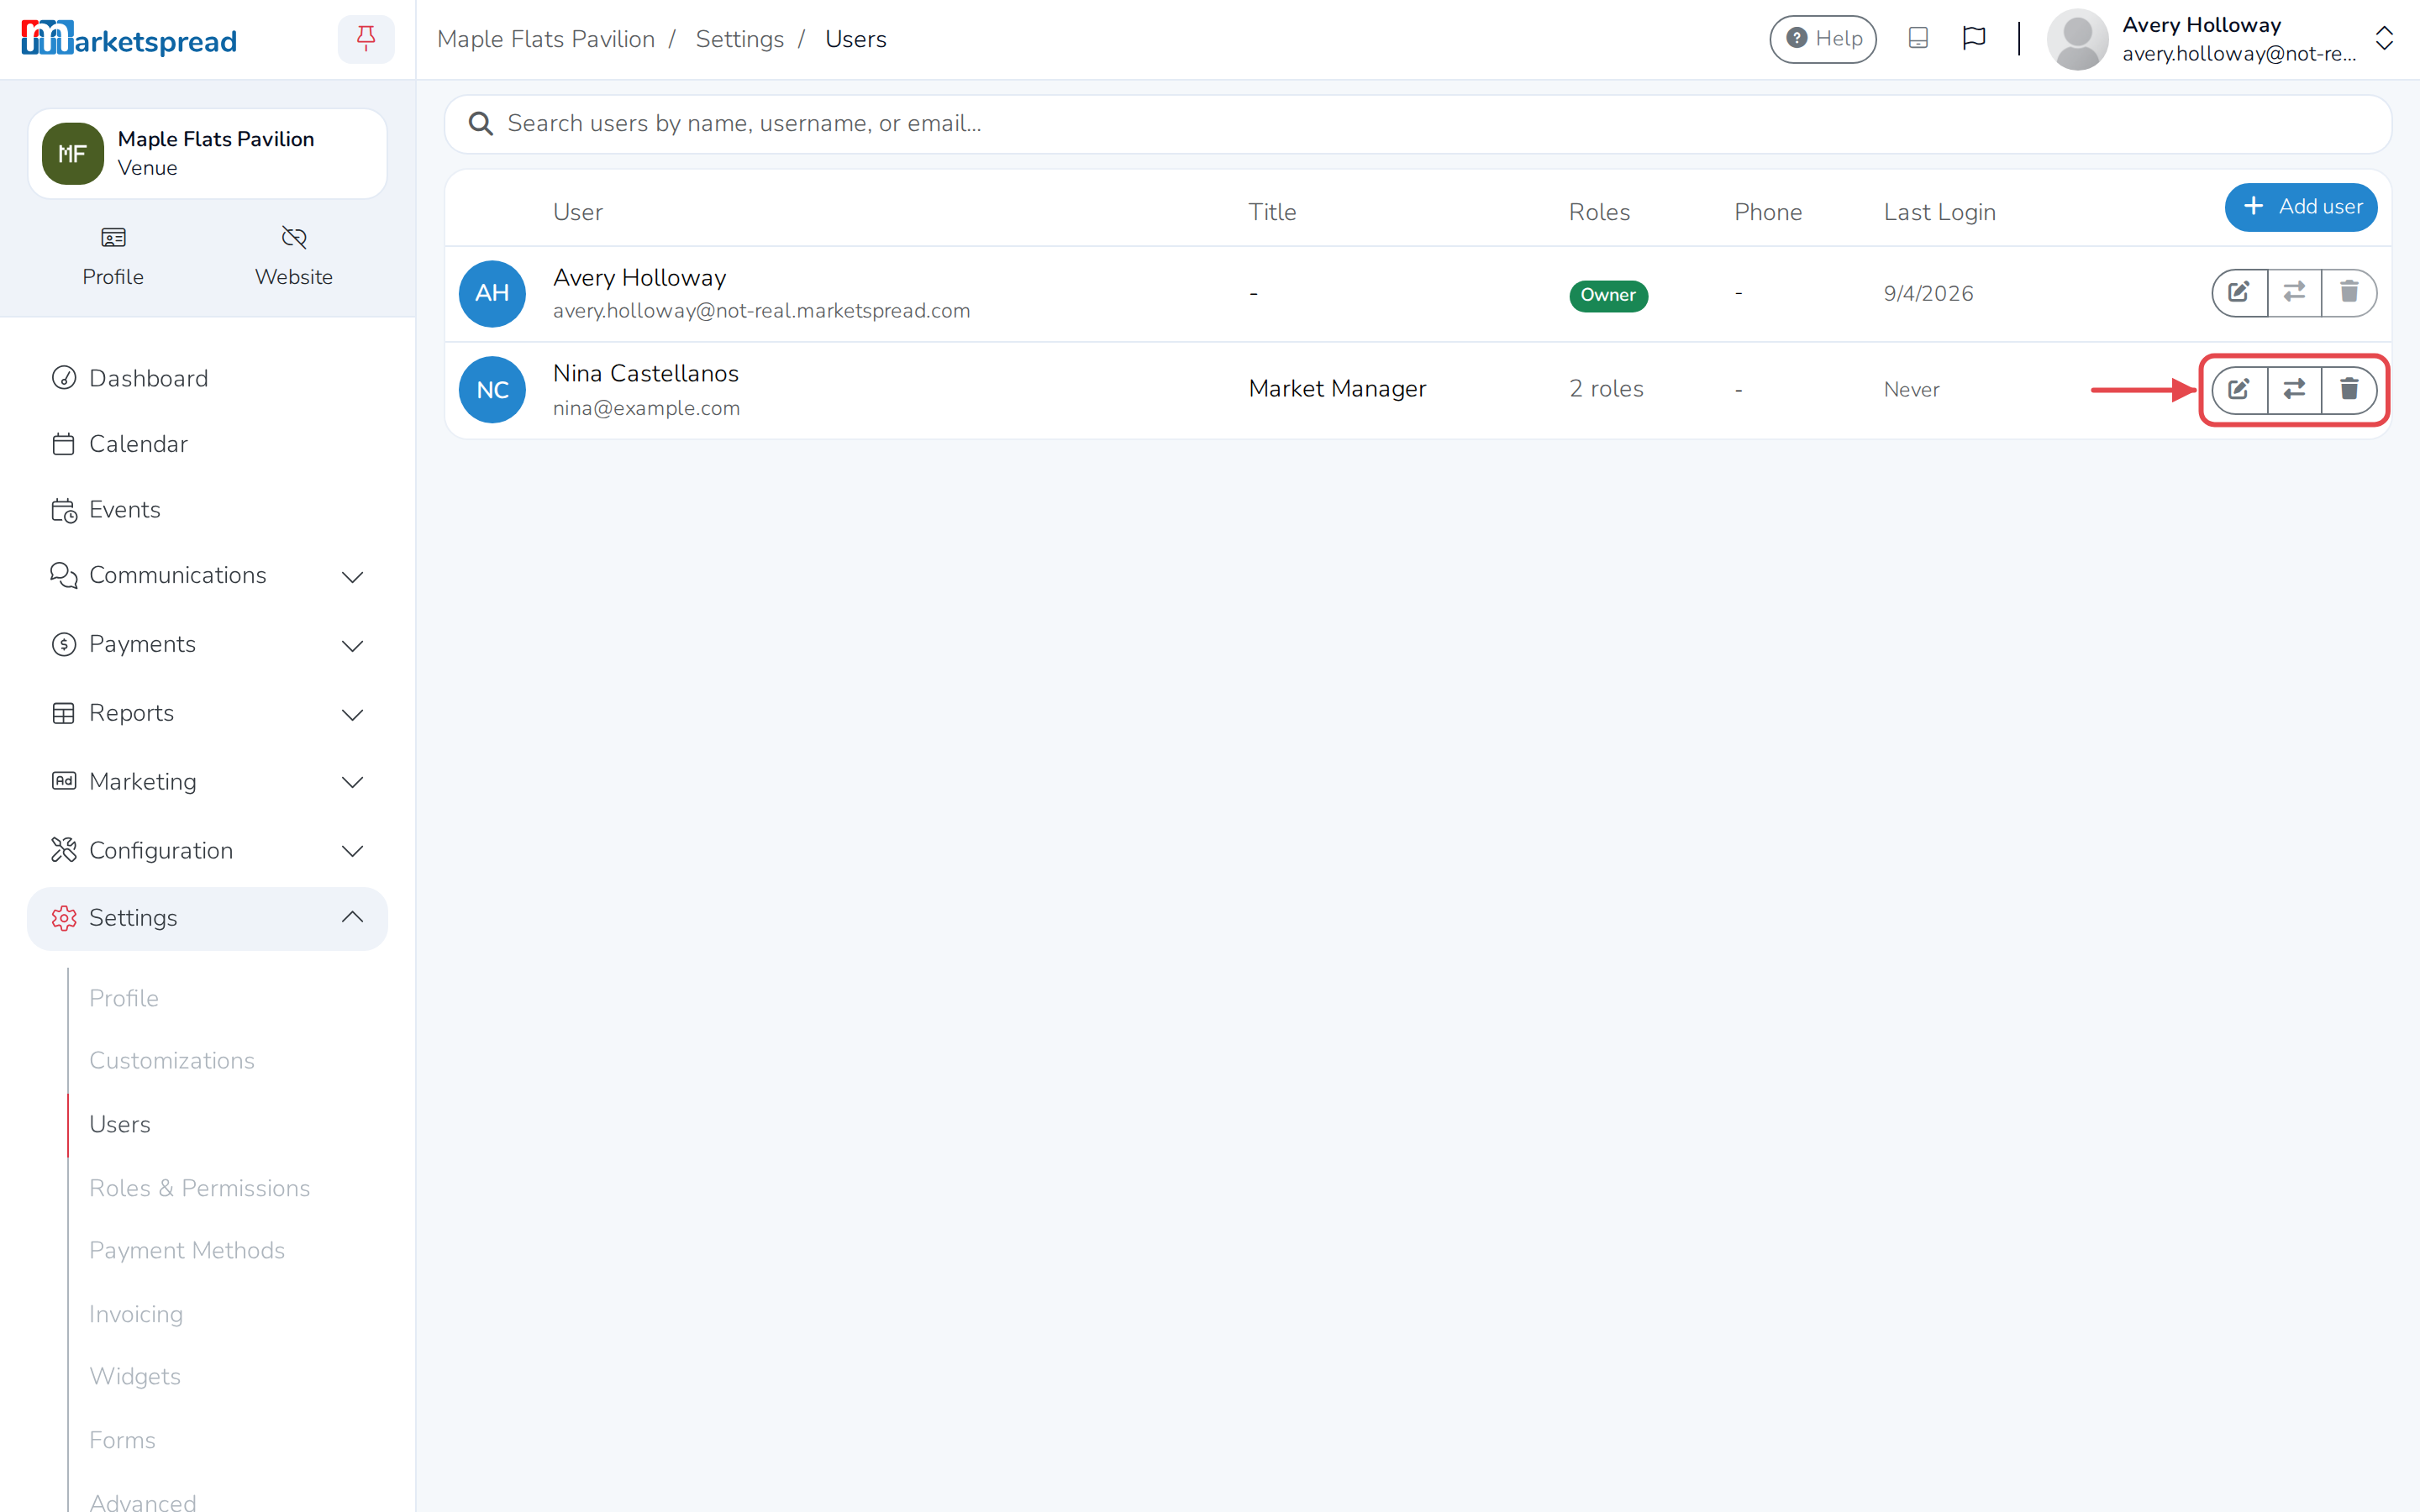
Update user's role or details
- Click the pencil icon next to their name.
- To change what they can access, choose a different role from the dropdown next to Venue or Organization.
- To update their contact details, change their Office Phone, Cell Phone or Title. You can't change someone's email, and once they've signed in for the first time you can no longer change their name or phone number either.
- Click Save.
Remove user from your venue
- Click the trash icon next to their name.
- Click Delete to confirm.
This removes all of that person's role assignments and can't be undone. You can't remove the account's owner.
Transfer ownership of your venue
Transferring ownership hands full control of the account to someone else — you won't be the owner anymore. Only the current owner can do this, and only for someone who has already signed in at least once.
- Click the exchange icon next to their name.
- Type TRANSFER to confirm.
- Click Transfer.