


Roles decide what someone on your venue's team can see and do. Every venue has four built-in roles — Administrator, Manager, Accountant and Reporter — and if your plan includes it, you can build your own custom role with just the permissions you choose. From Roles & Permissions in Settings you can see what each role covers, and create, change or delete a custom one.
Open Roles & Permissions
- Click Settings in the left-hand menu, then Roles & Permissions.
If your venue is part of a larger organization with more than one market or venue, this takes you to your organization's own Roles & Permissions page instead.
See what a role can do
- Click a role's name in the list.
- Its permissions show below, checked off and grouped by area — Bookings, Invoices, Layouts, and so on.
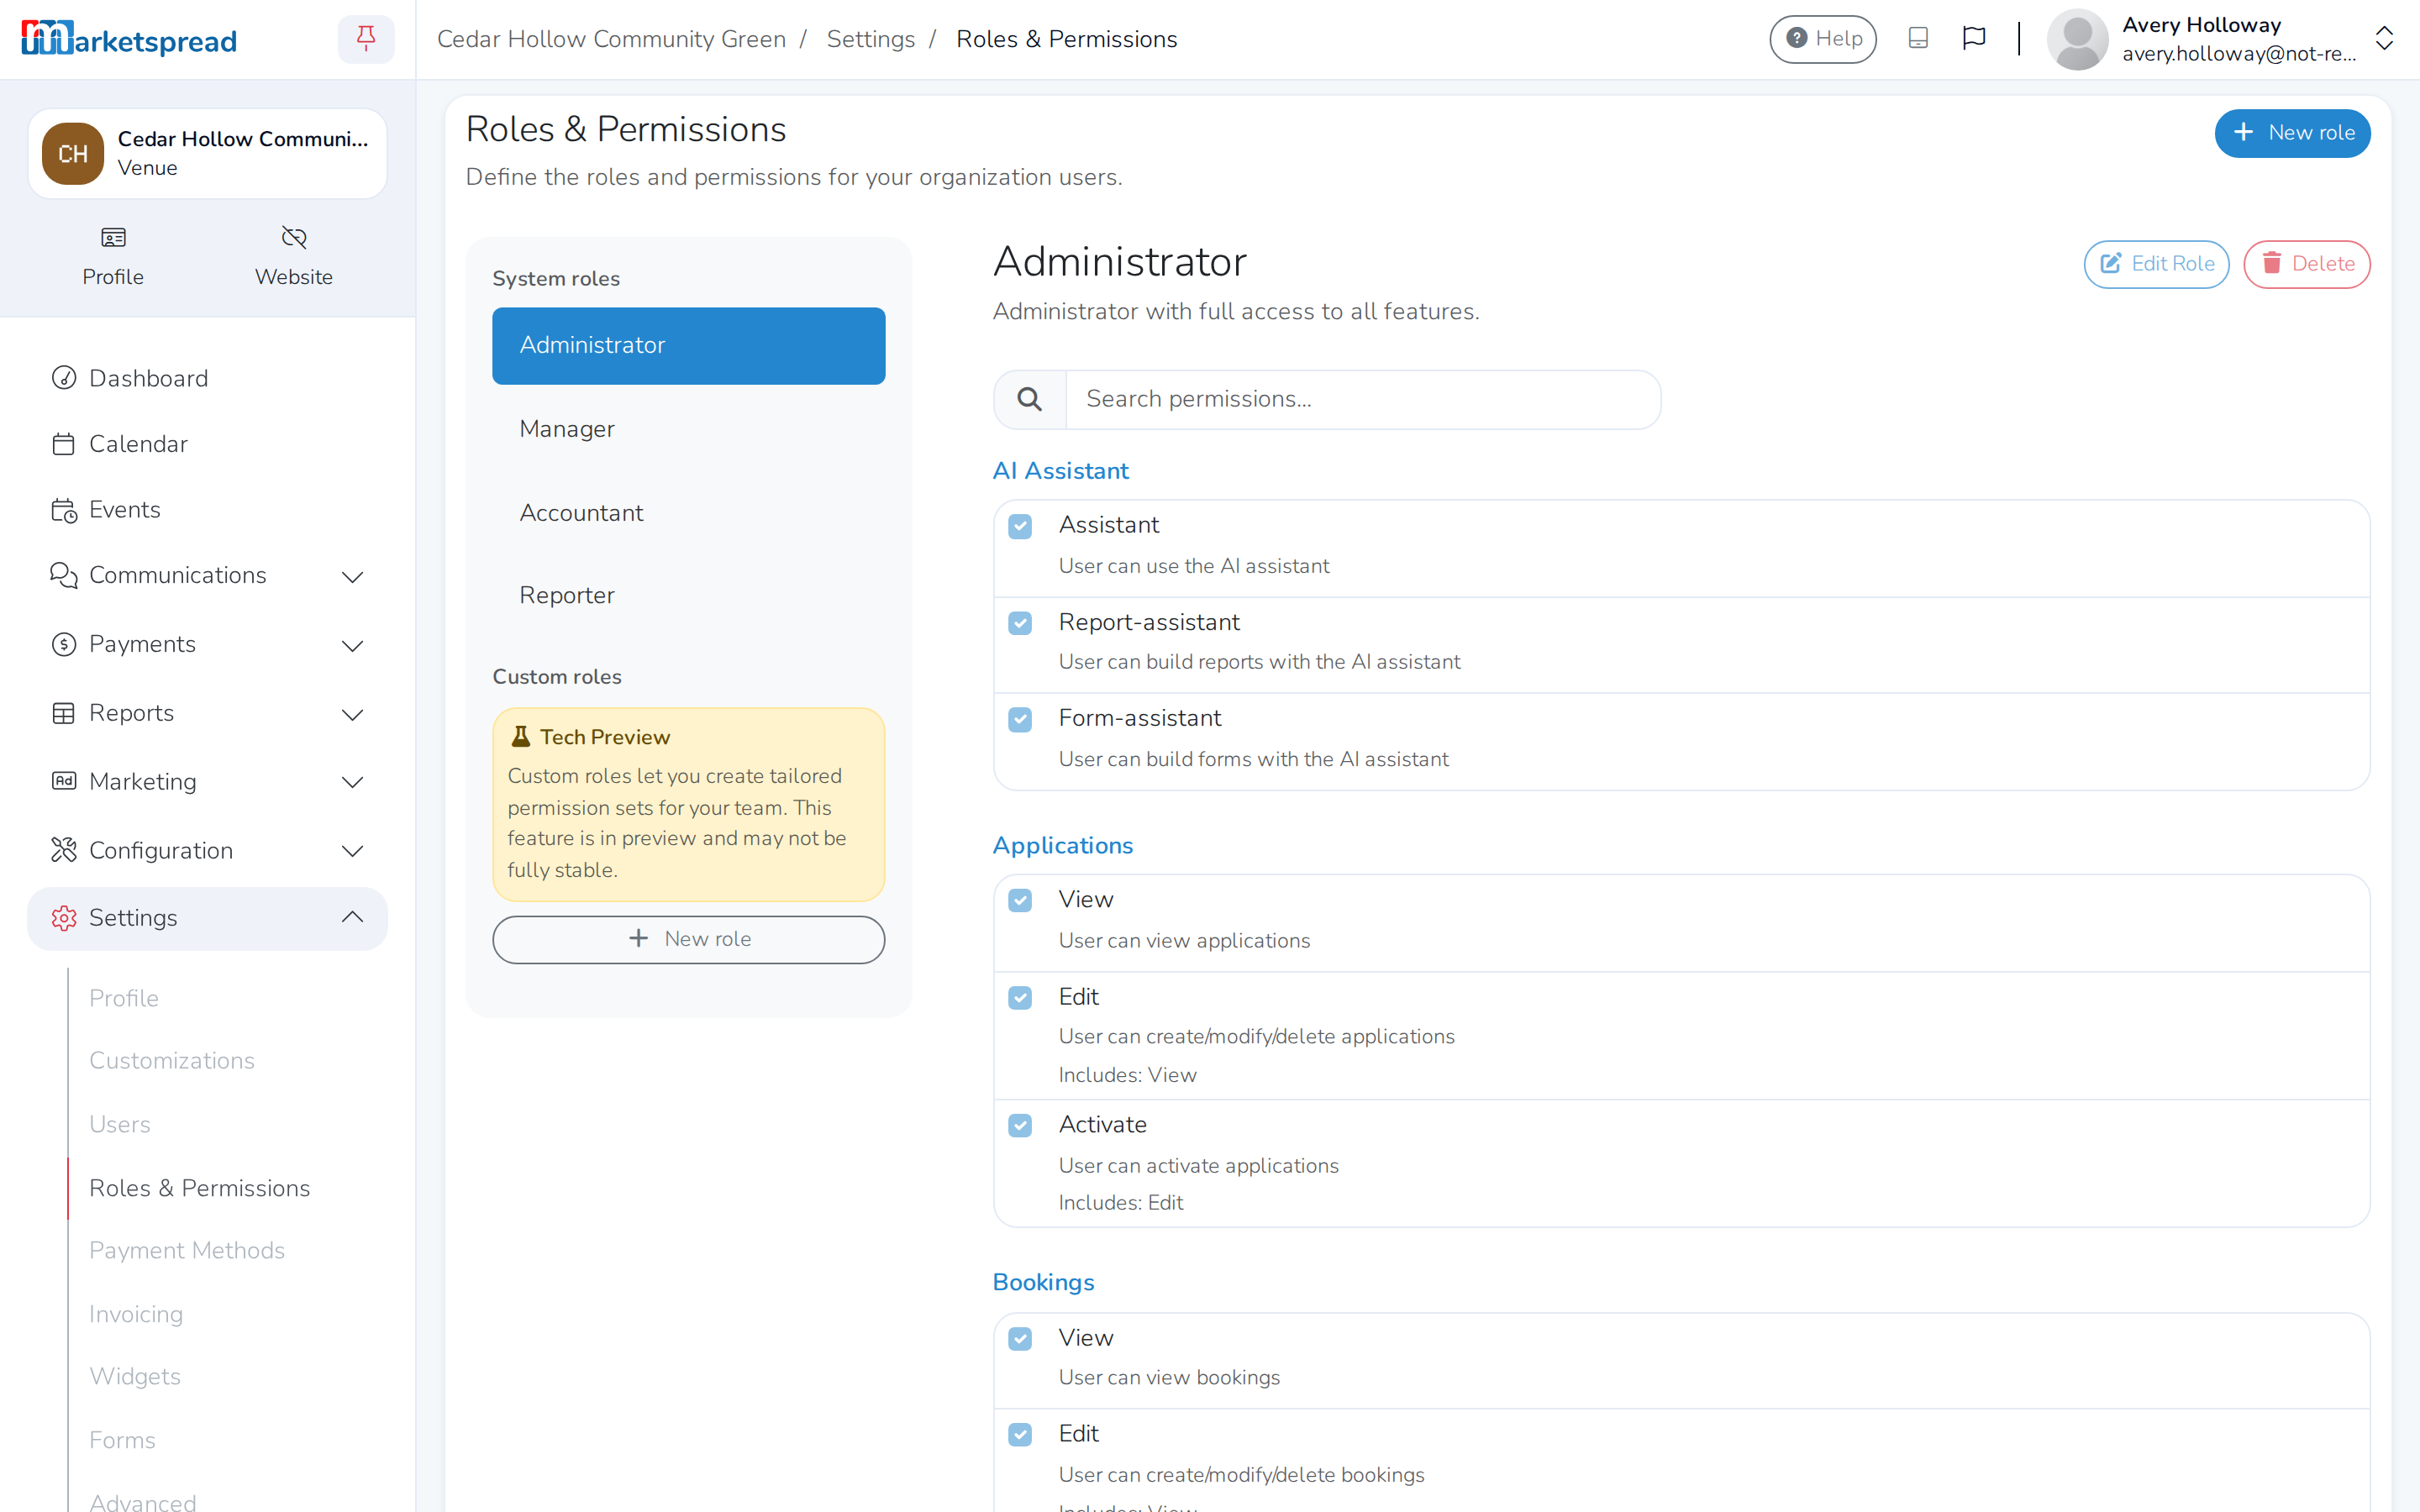
Administrator, Manager, Accountant and Reporter are built in, under System roles. You can look at what each one includes, but you can't change them:
- Administrator has full access to everything.
- Manager can do the everyday work — bookings, invoicing, customers, reports — but can't change venue settings, activate events, edit or publish forms, or edit the venue's layout.
- Accountant can view invoices, credits and reports, and can't change anything.
- Reporter can only view and run reports.
Create a custom role
Custom roles need a plan that includes them. If yours doesn't, New role shows an upgrade message instead of the form. Custom roles are new, so you might run into the occasional rough edge.
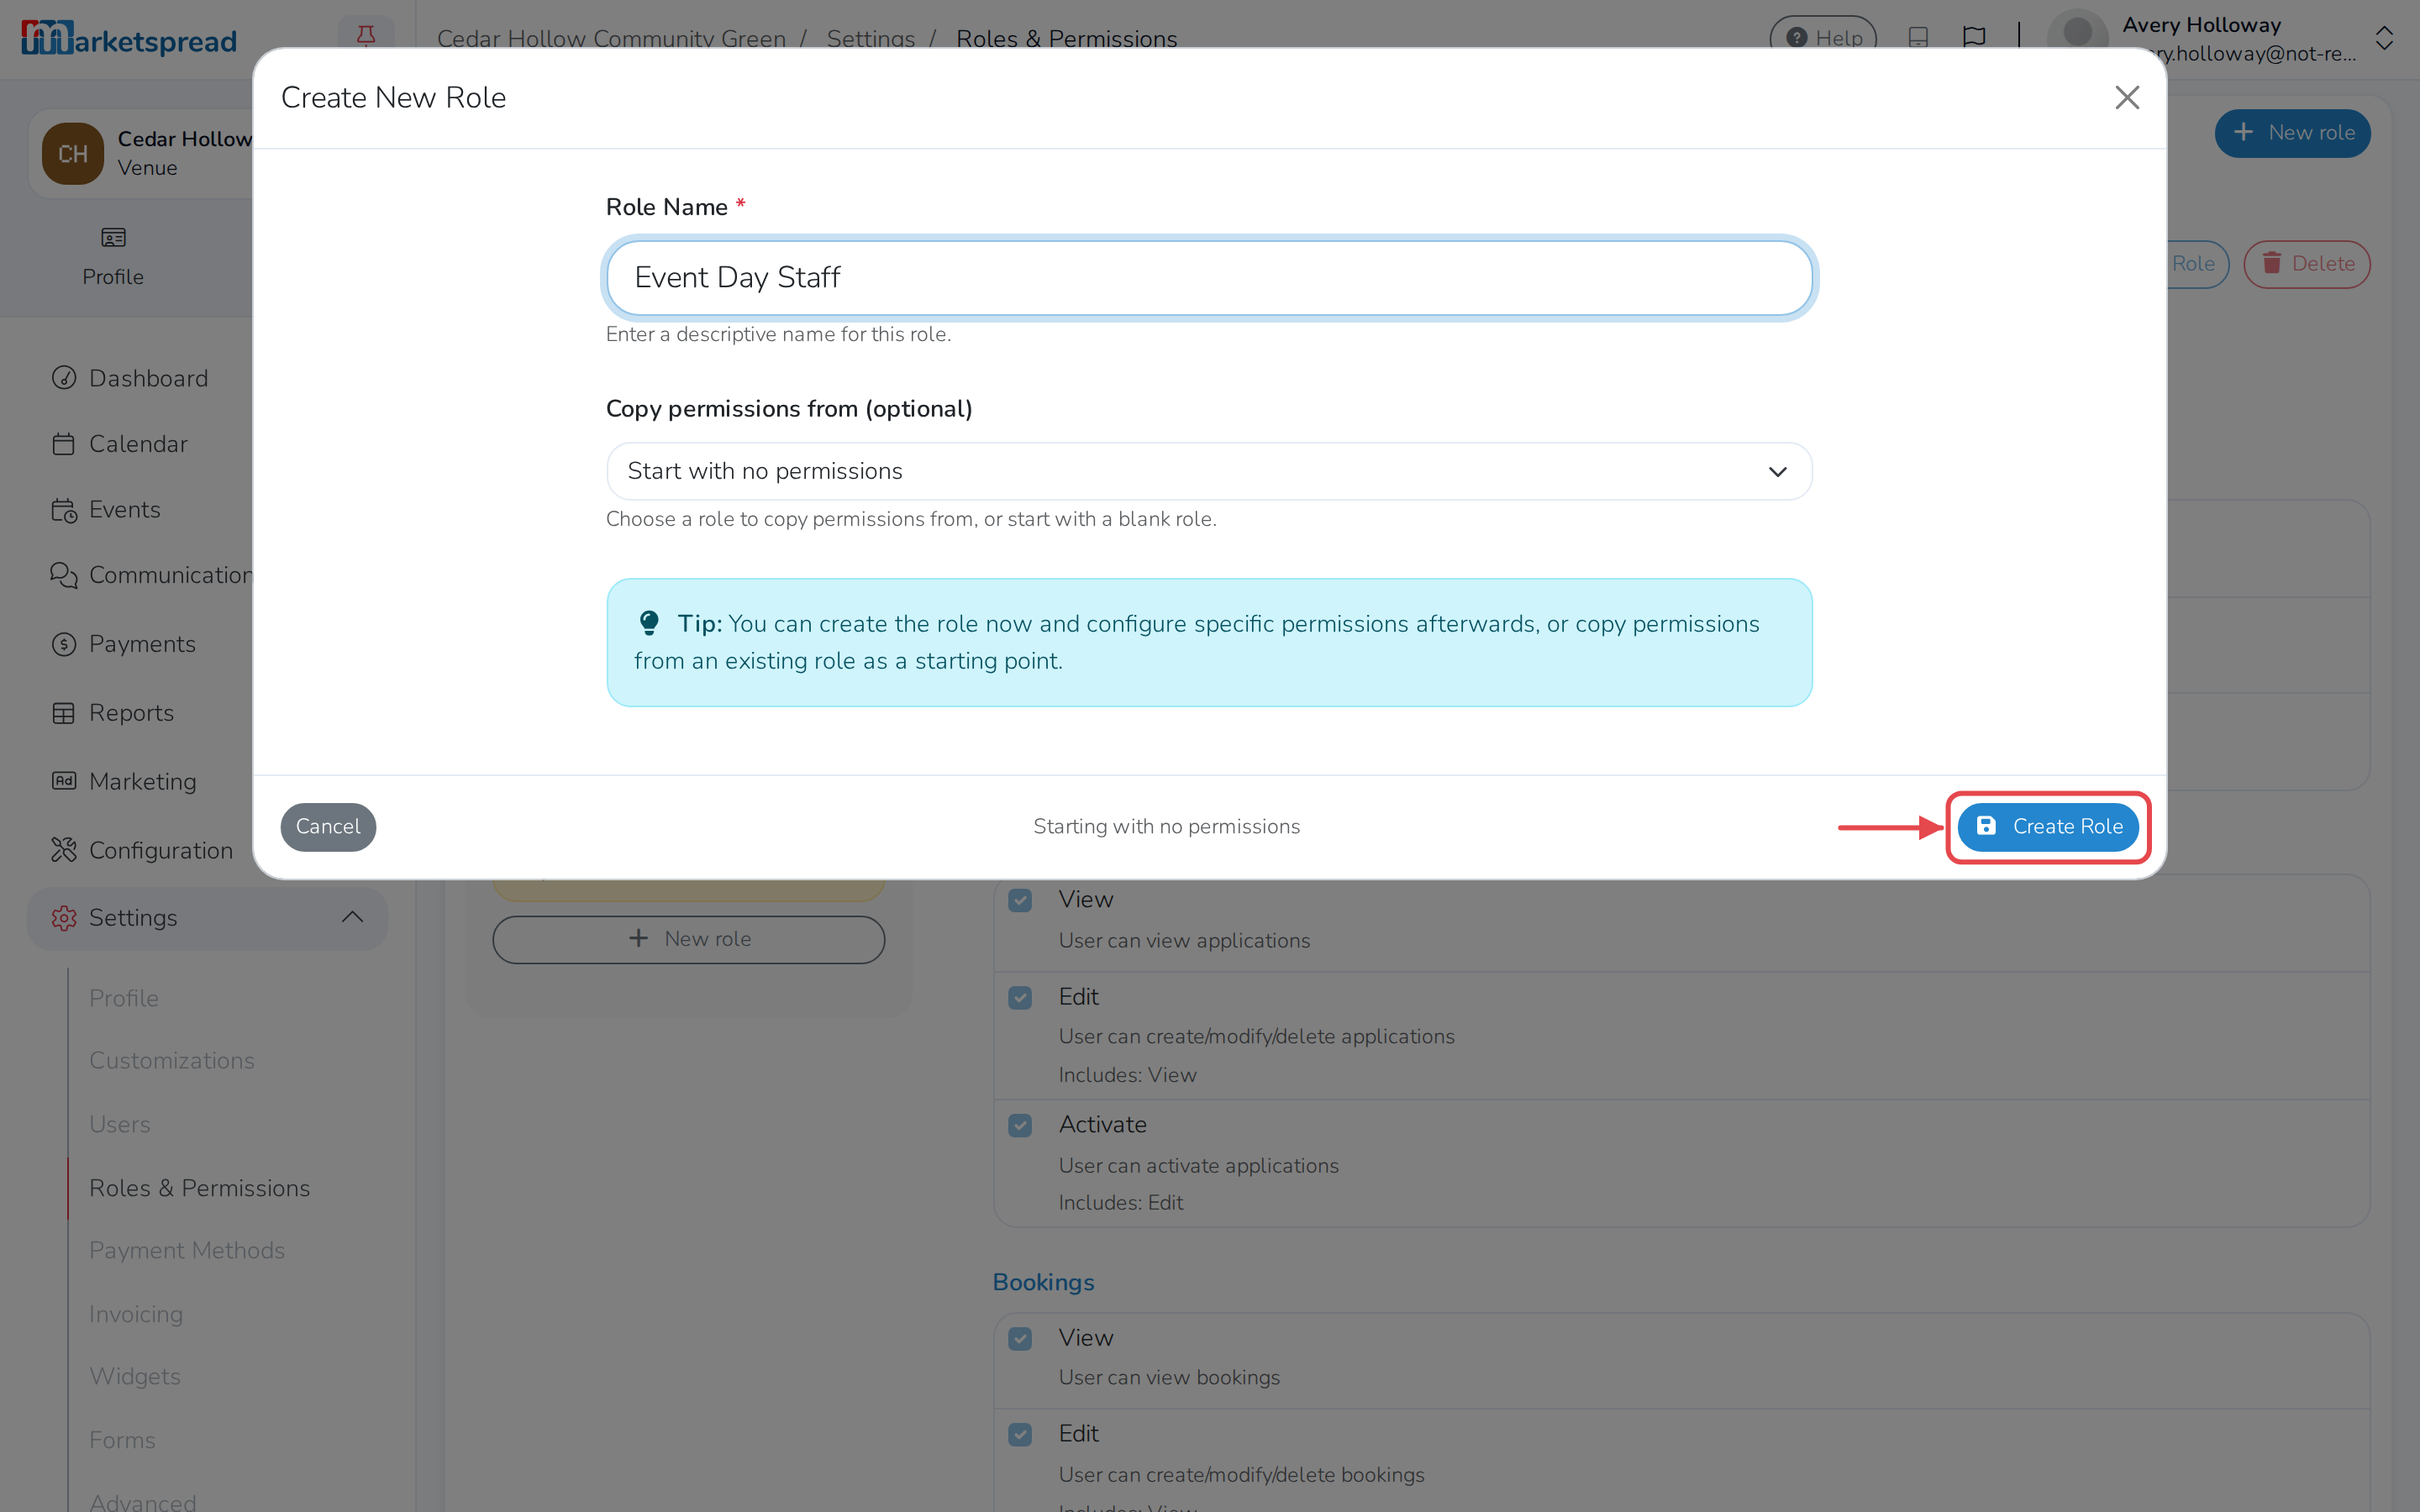
- Click New role.
- Fill in Role Name.
- To start from an existing role's permissions, choose it under Copy permissions from (optional). Otherwise leave it on Start with no permissions.
- Click Create Role.
Change what a custom role can do
- Click the custom role's name in the list, under Custom roles.
- Check or uncheck permissions, grouped by area.
- Click Save Changes.
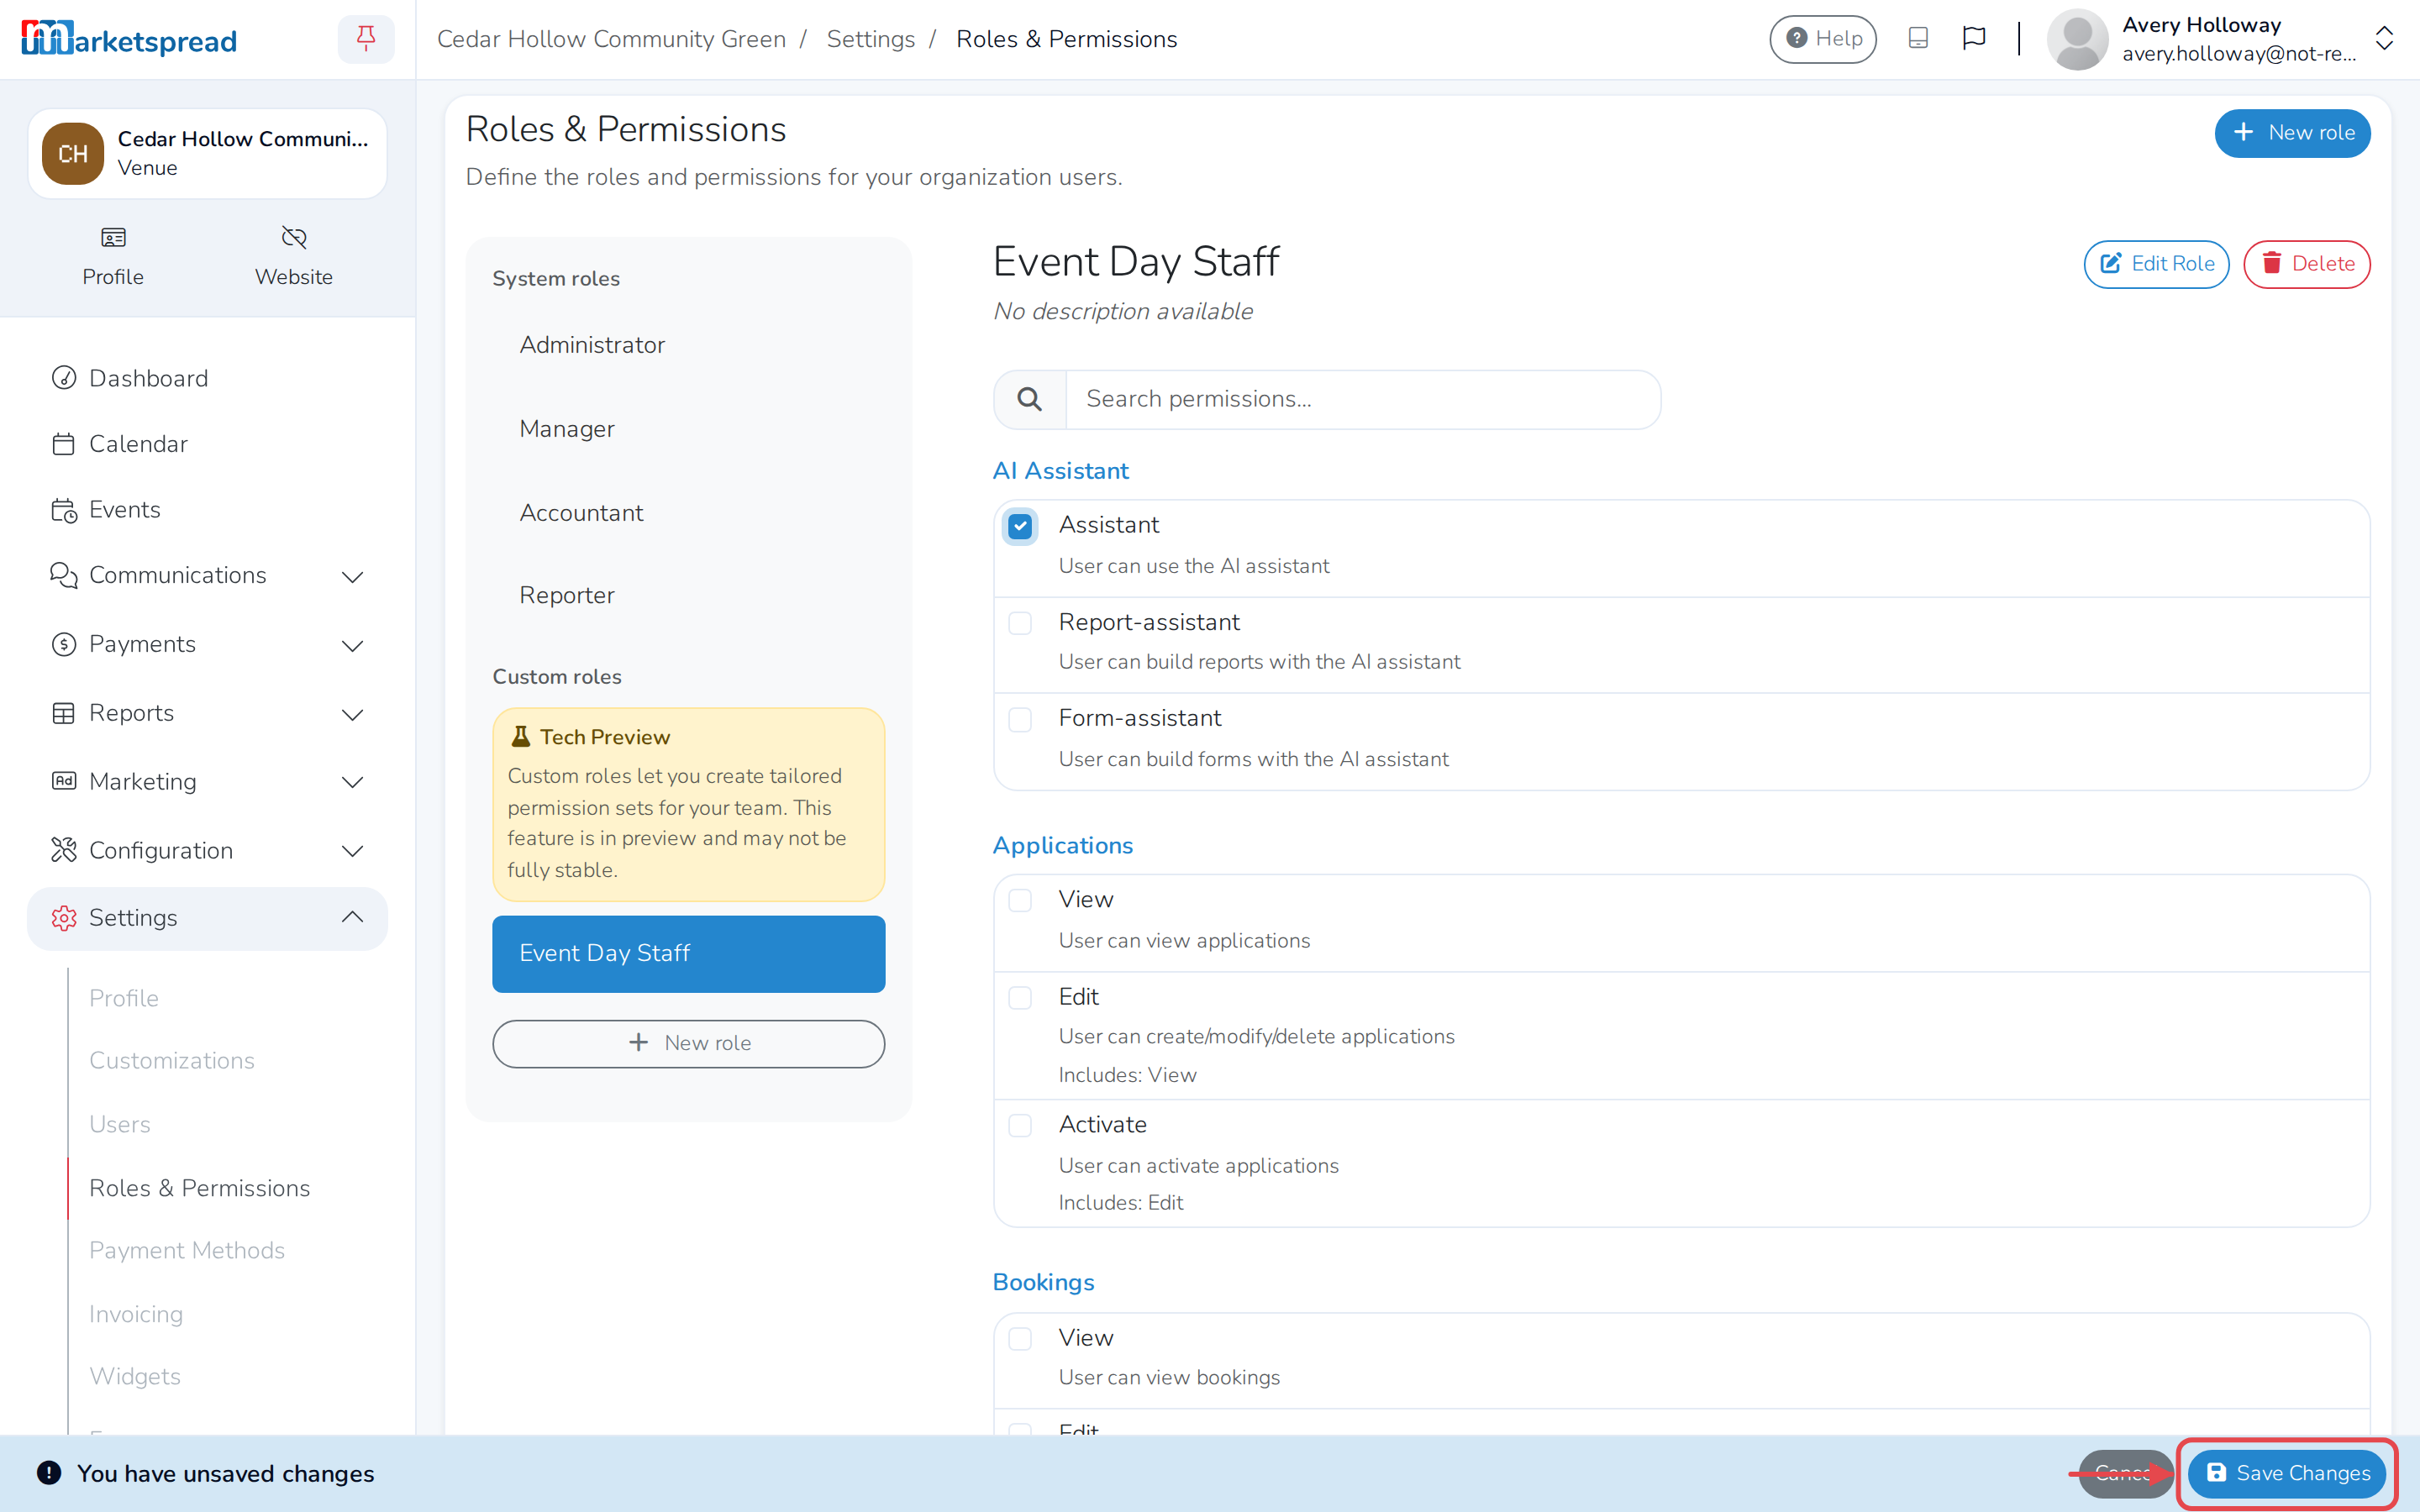
Some permissions include others — turning on Edit for something turns on View too, and you can't turn View off on its own while Edit stays checked.
Rename or describe a custom role
- Select the custom role.
- Click Edit Role.
- Change Role Name or Description.
- Click Update Role.
Delete a custom role
Deleting a role can't be undone. Anyone who has it loses those permissions right away.
- Select the custom role.
- Click Delete.
- Click Delete Role to confirm.
Good to know: this page only defines what a role can do. To give a role to someone on your team, add them from Users in Settings.