


Vendor Premium is a paid upgrade to your vendor profile that helps you stand out and sell more. Turn it on from Add-ons, then Premium, in your vendor dashboard.
Premium gets you:
- Access to the AI Assistant, to ask about your applications, bookings, orders and invoices across every market you trade with
- A Verified badge, shown in search, VendorHub and your market applications
- A higher place in search results and VendorHub, above vendors without it
- The ability to post updates, photos and galleries to your profile
- Card payments through the built-in point of sale
- Online selling with pickup, delivery or shipping
- Advanced sales reports
- Direct access to Marketspread's support team
The rest of your profile
Your business information, certifications, manager details and contact
information live separately, under Settings, then Profile —
covered in full in Update your vendor or exhibitor profile.
Turn on Premium
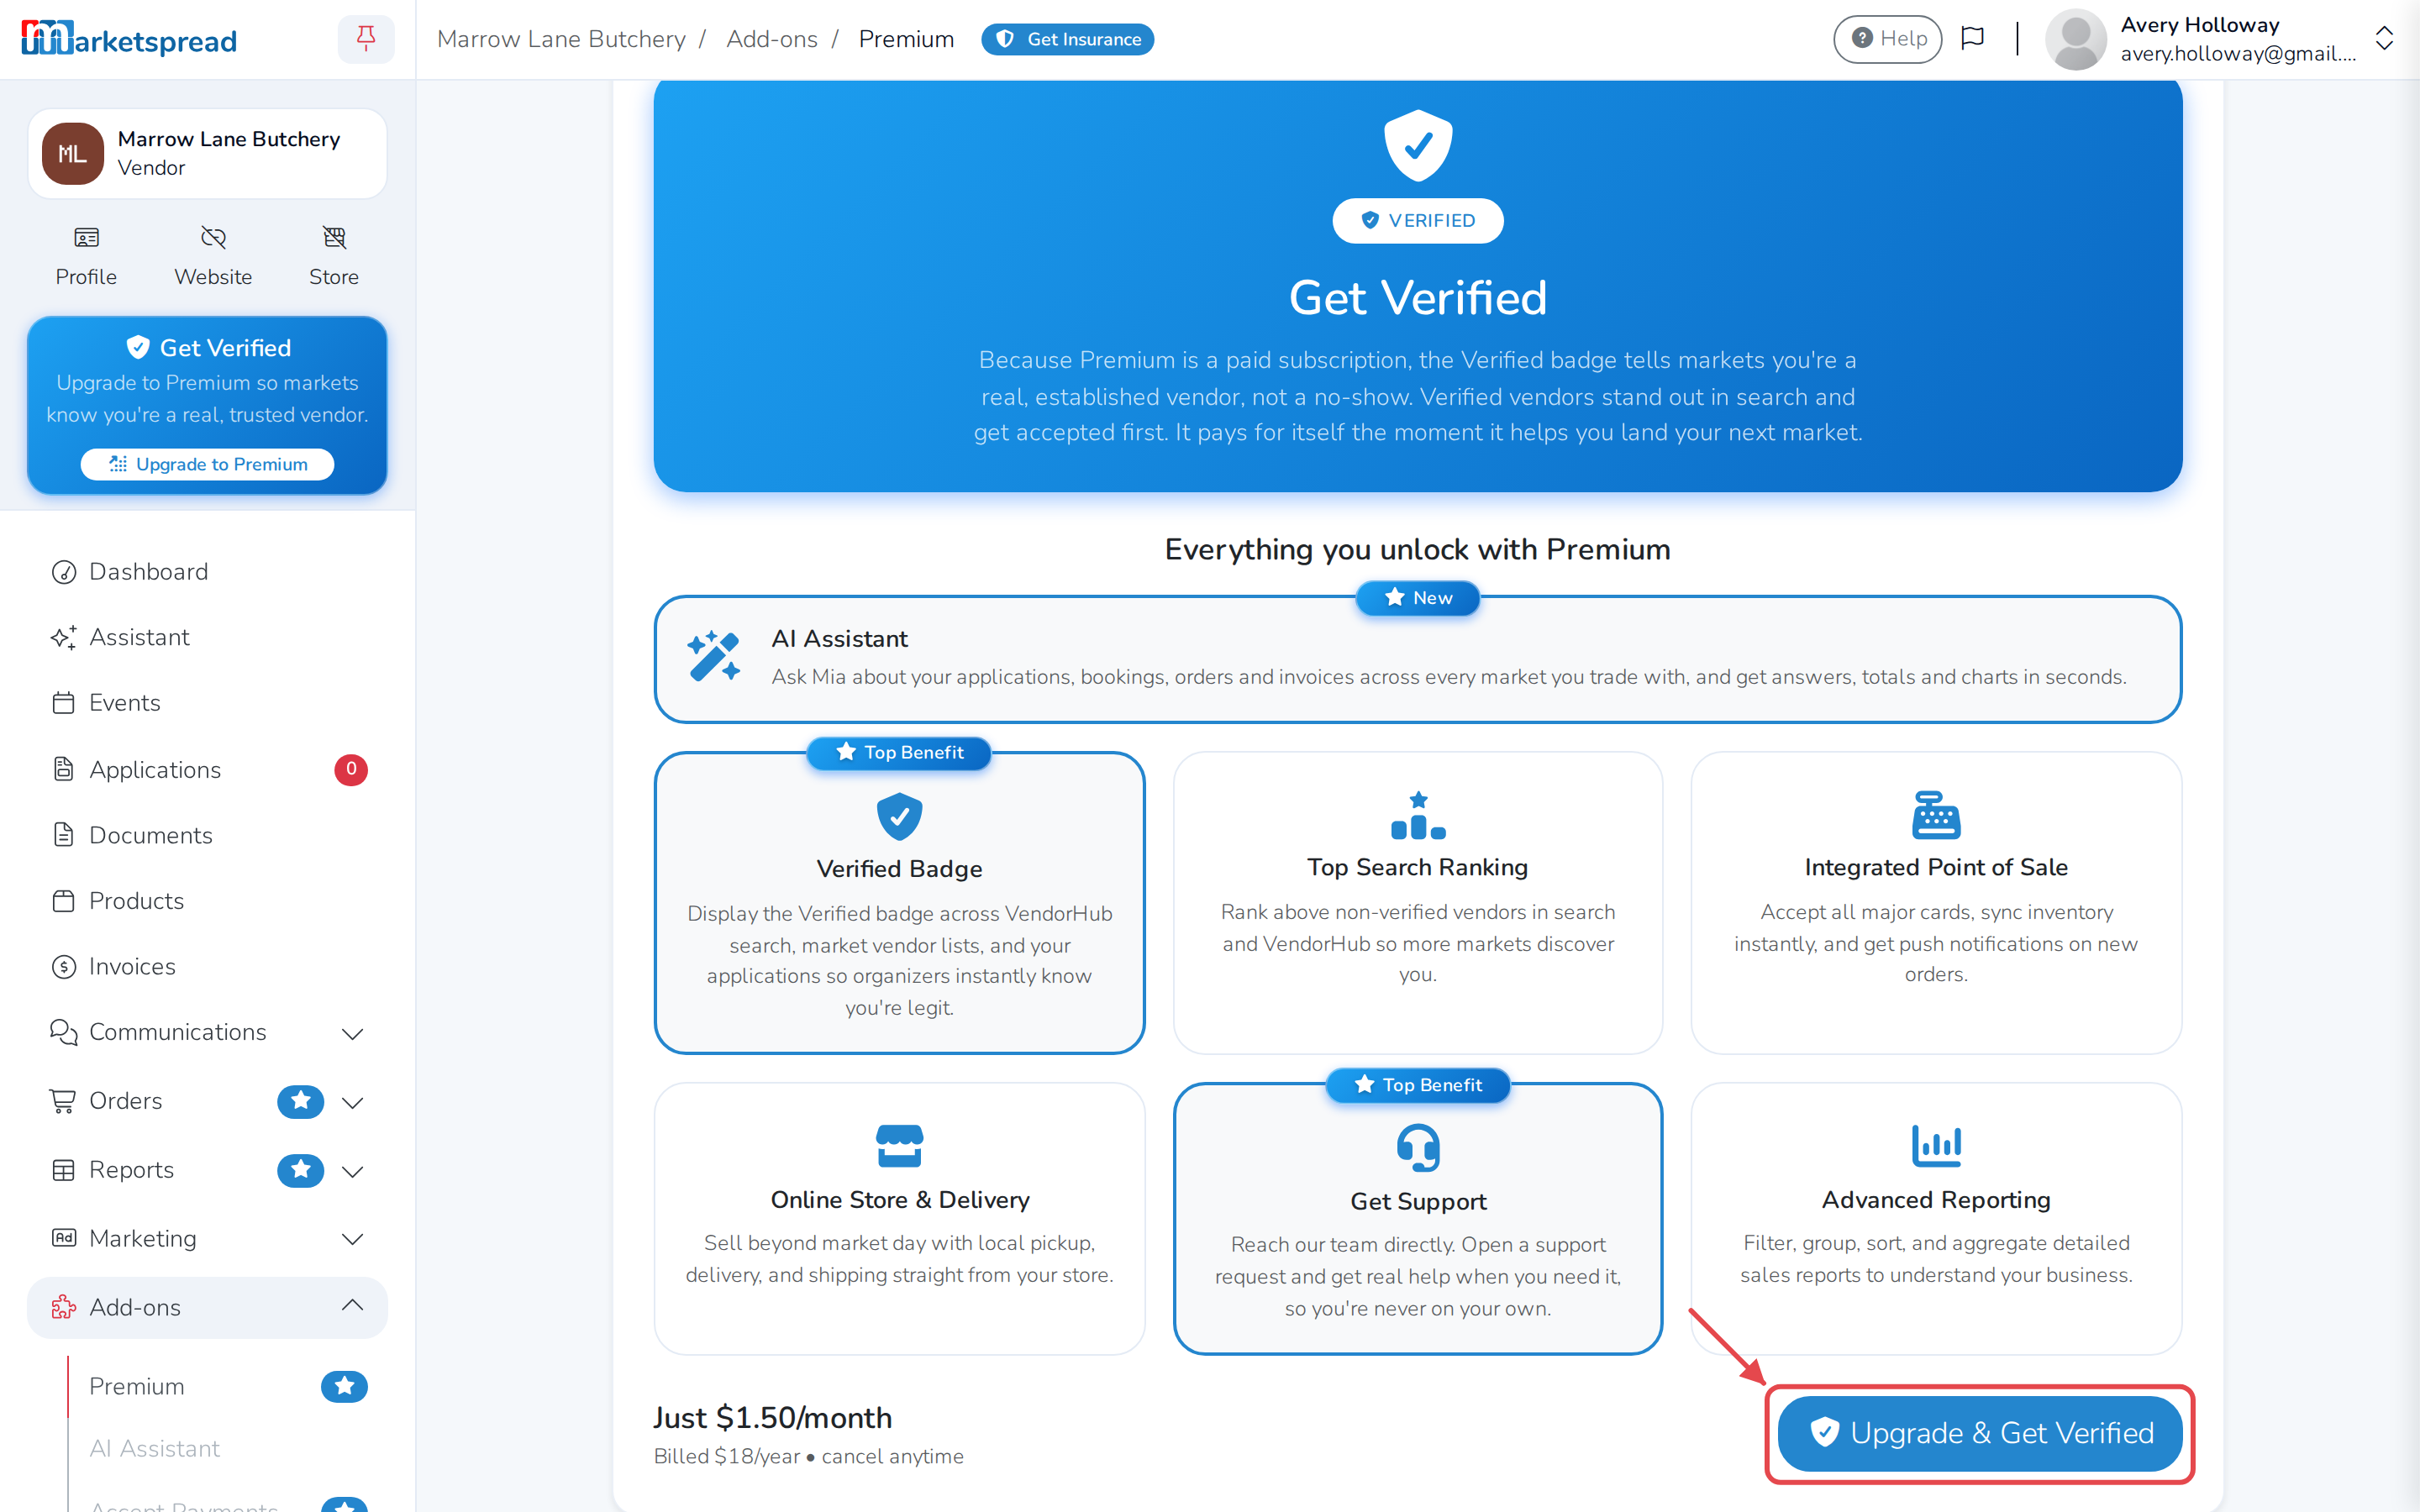
- Open Add-ons, then Premium.
- Click Upgrade & Get Verified.
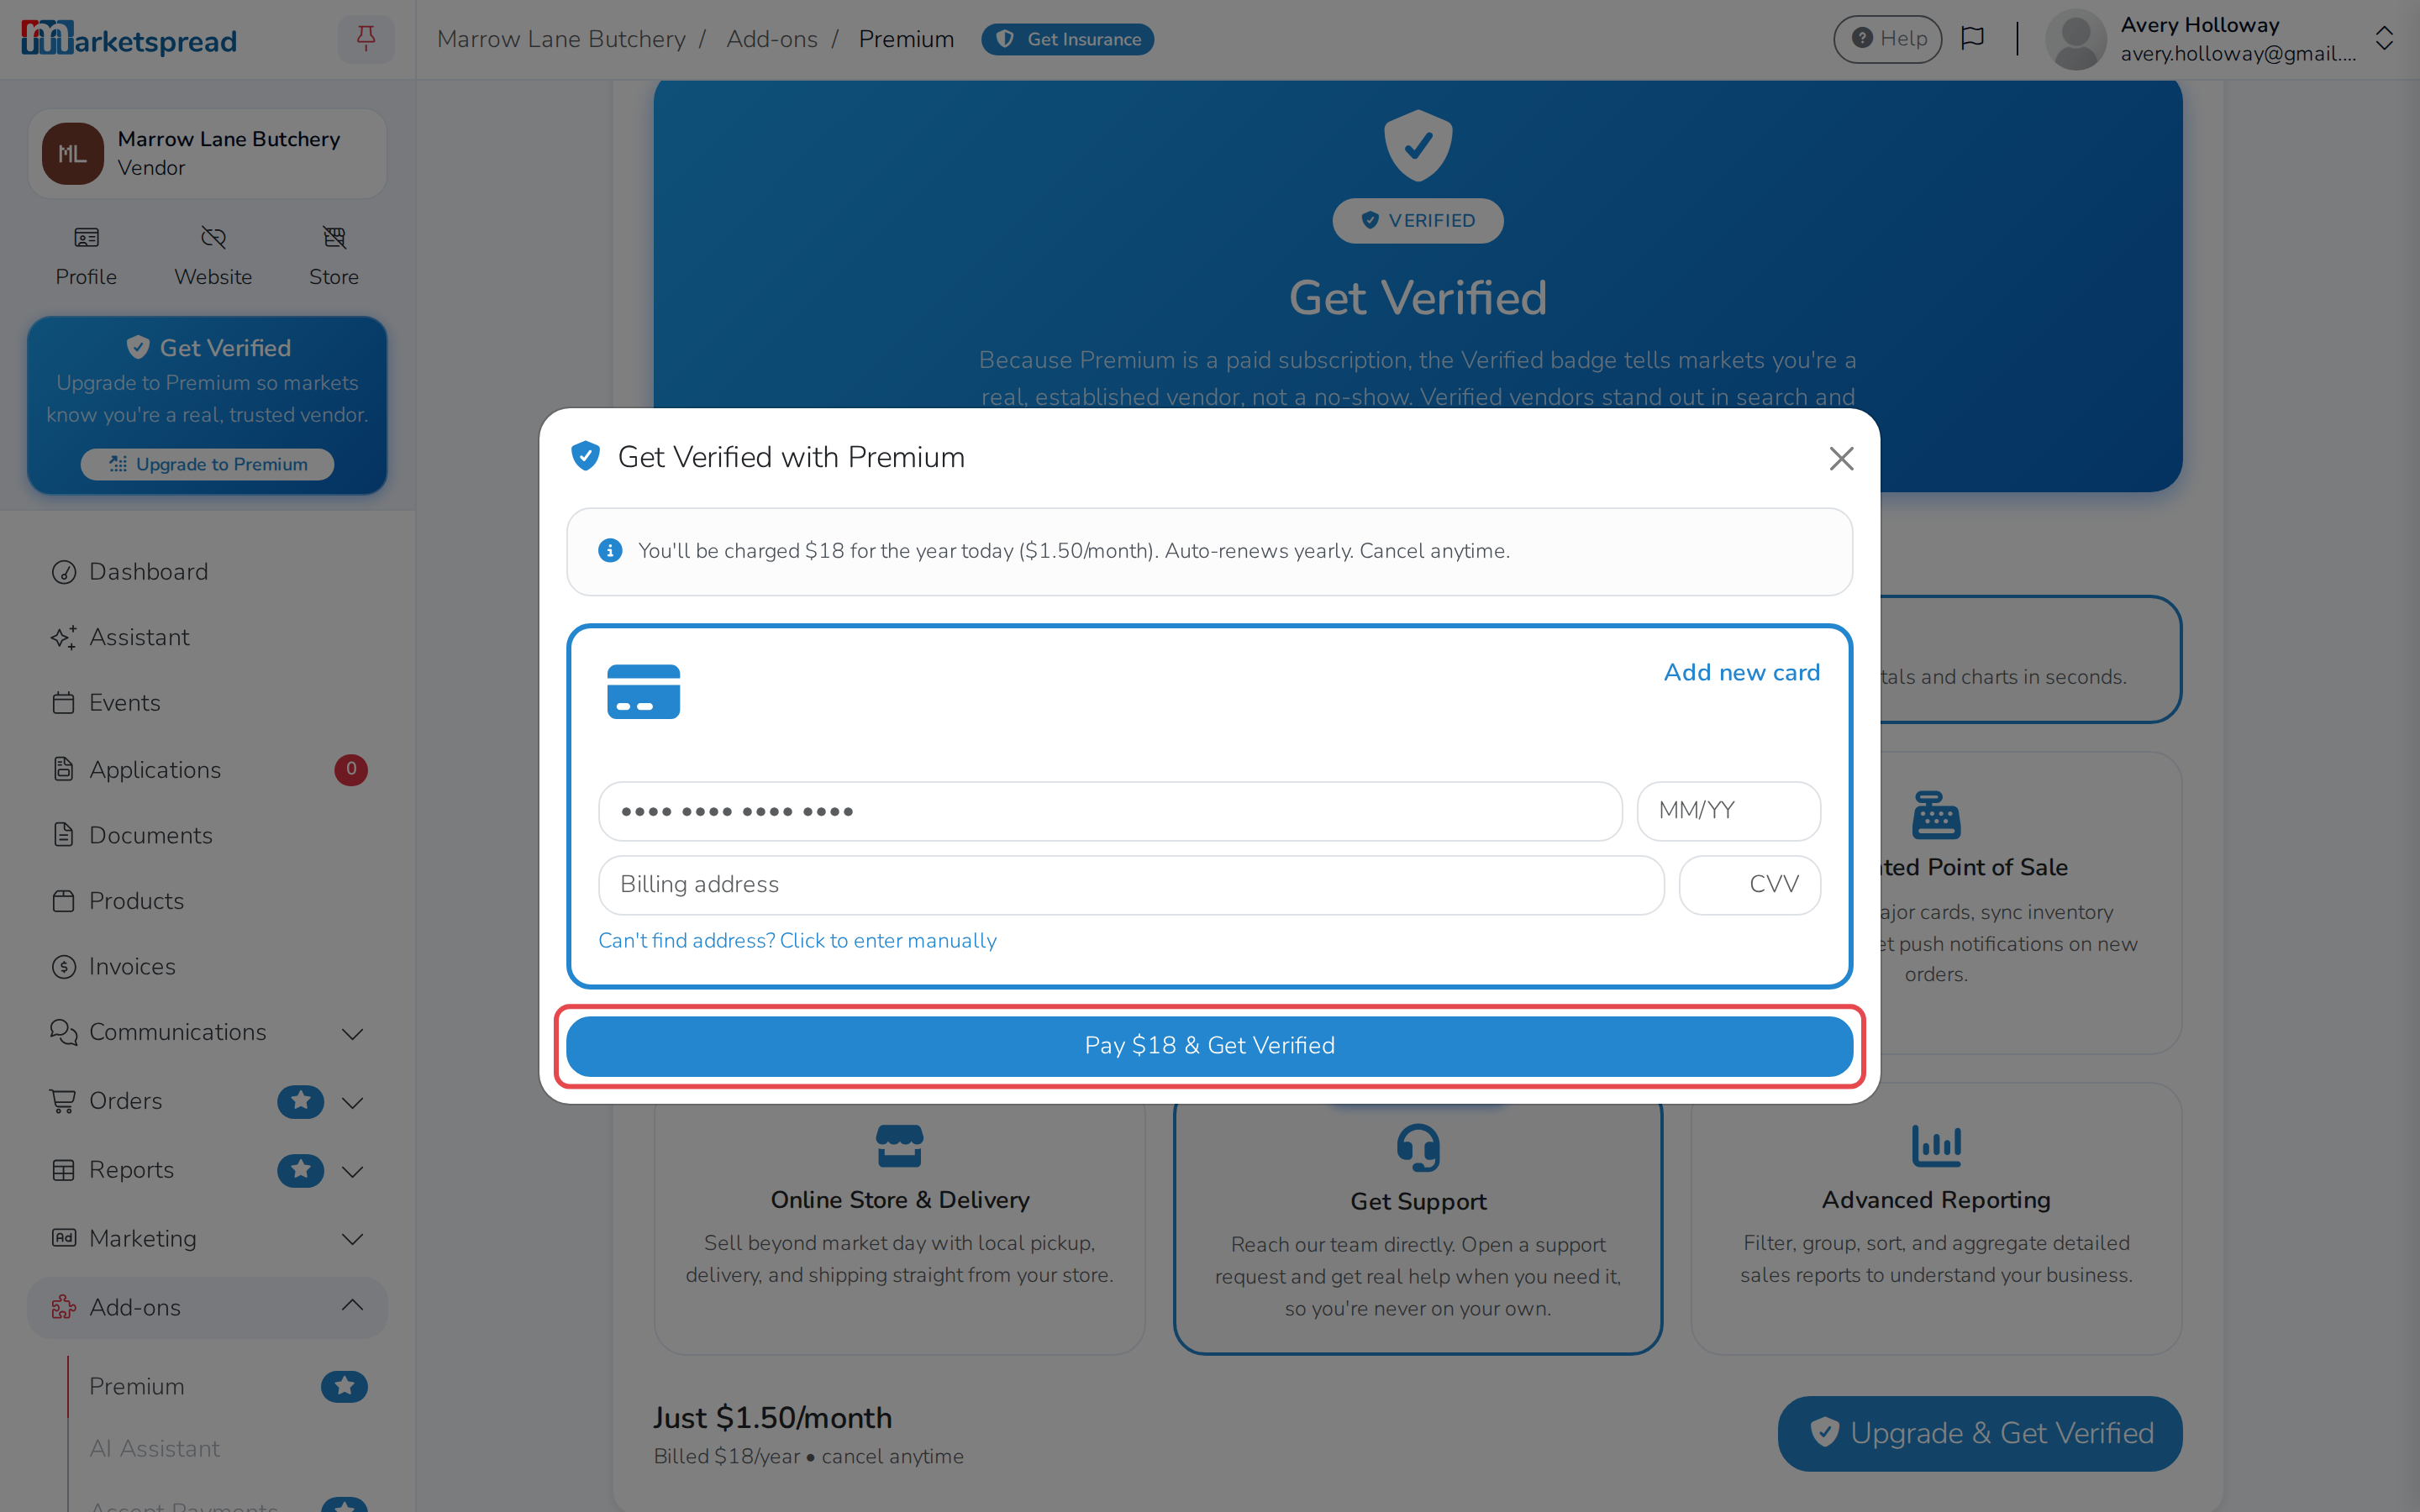
- Enter your card details.
- Click Pay $18 & Get Verified.
Pricing
Premium is $18 a year and renews automatically. If you signed up before the price changed, you keep your old price for as long as you keep renewing.
Another way in
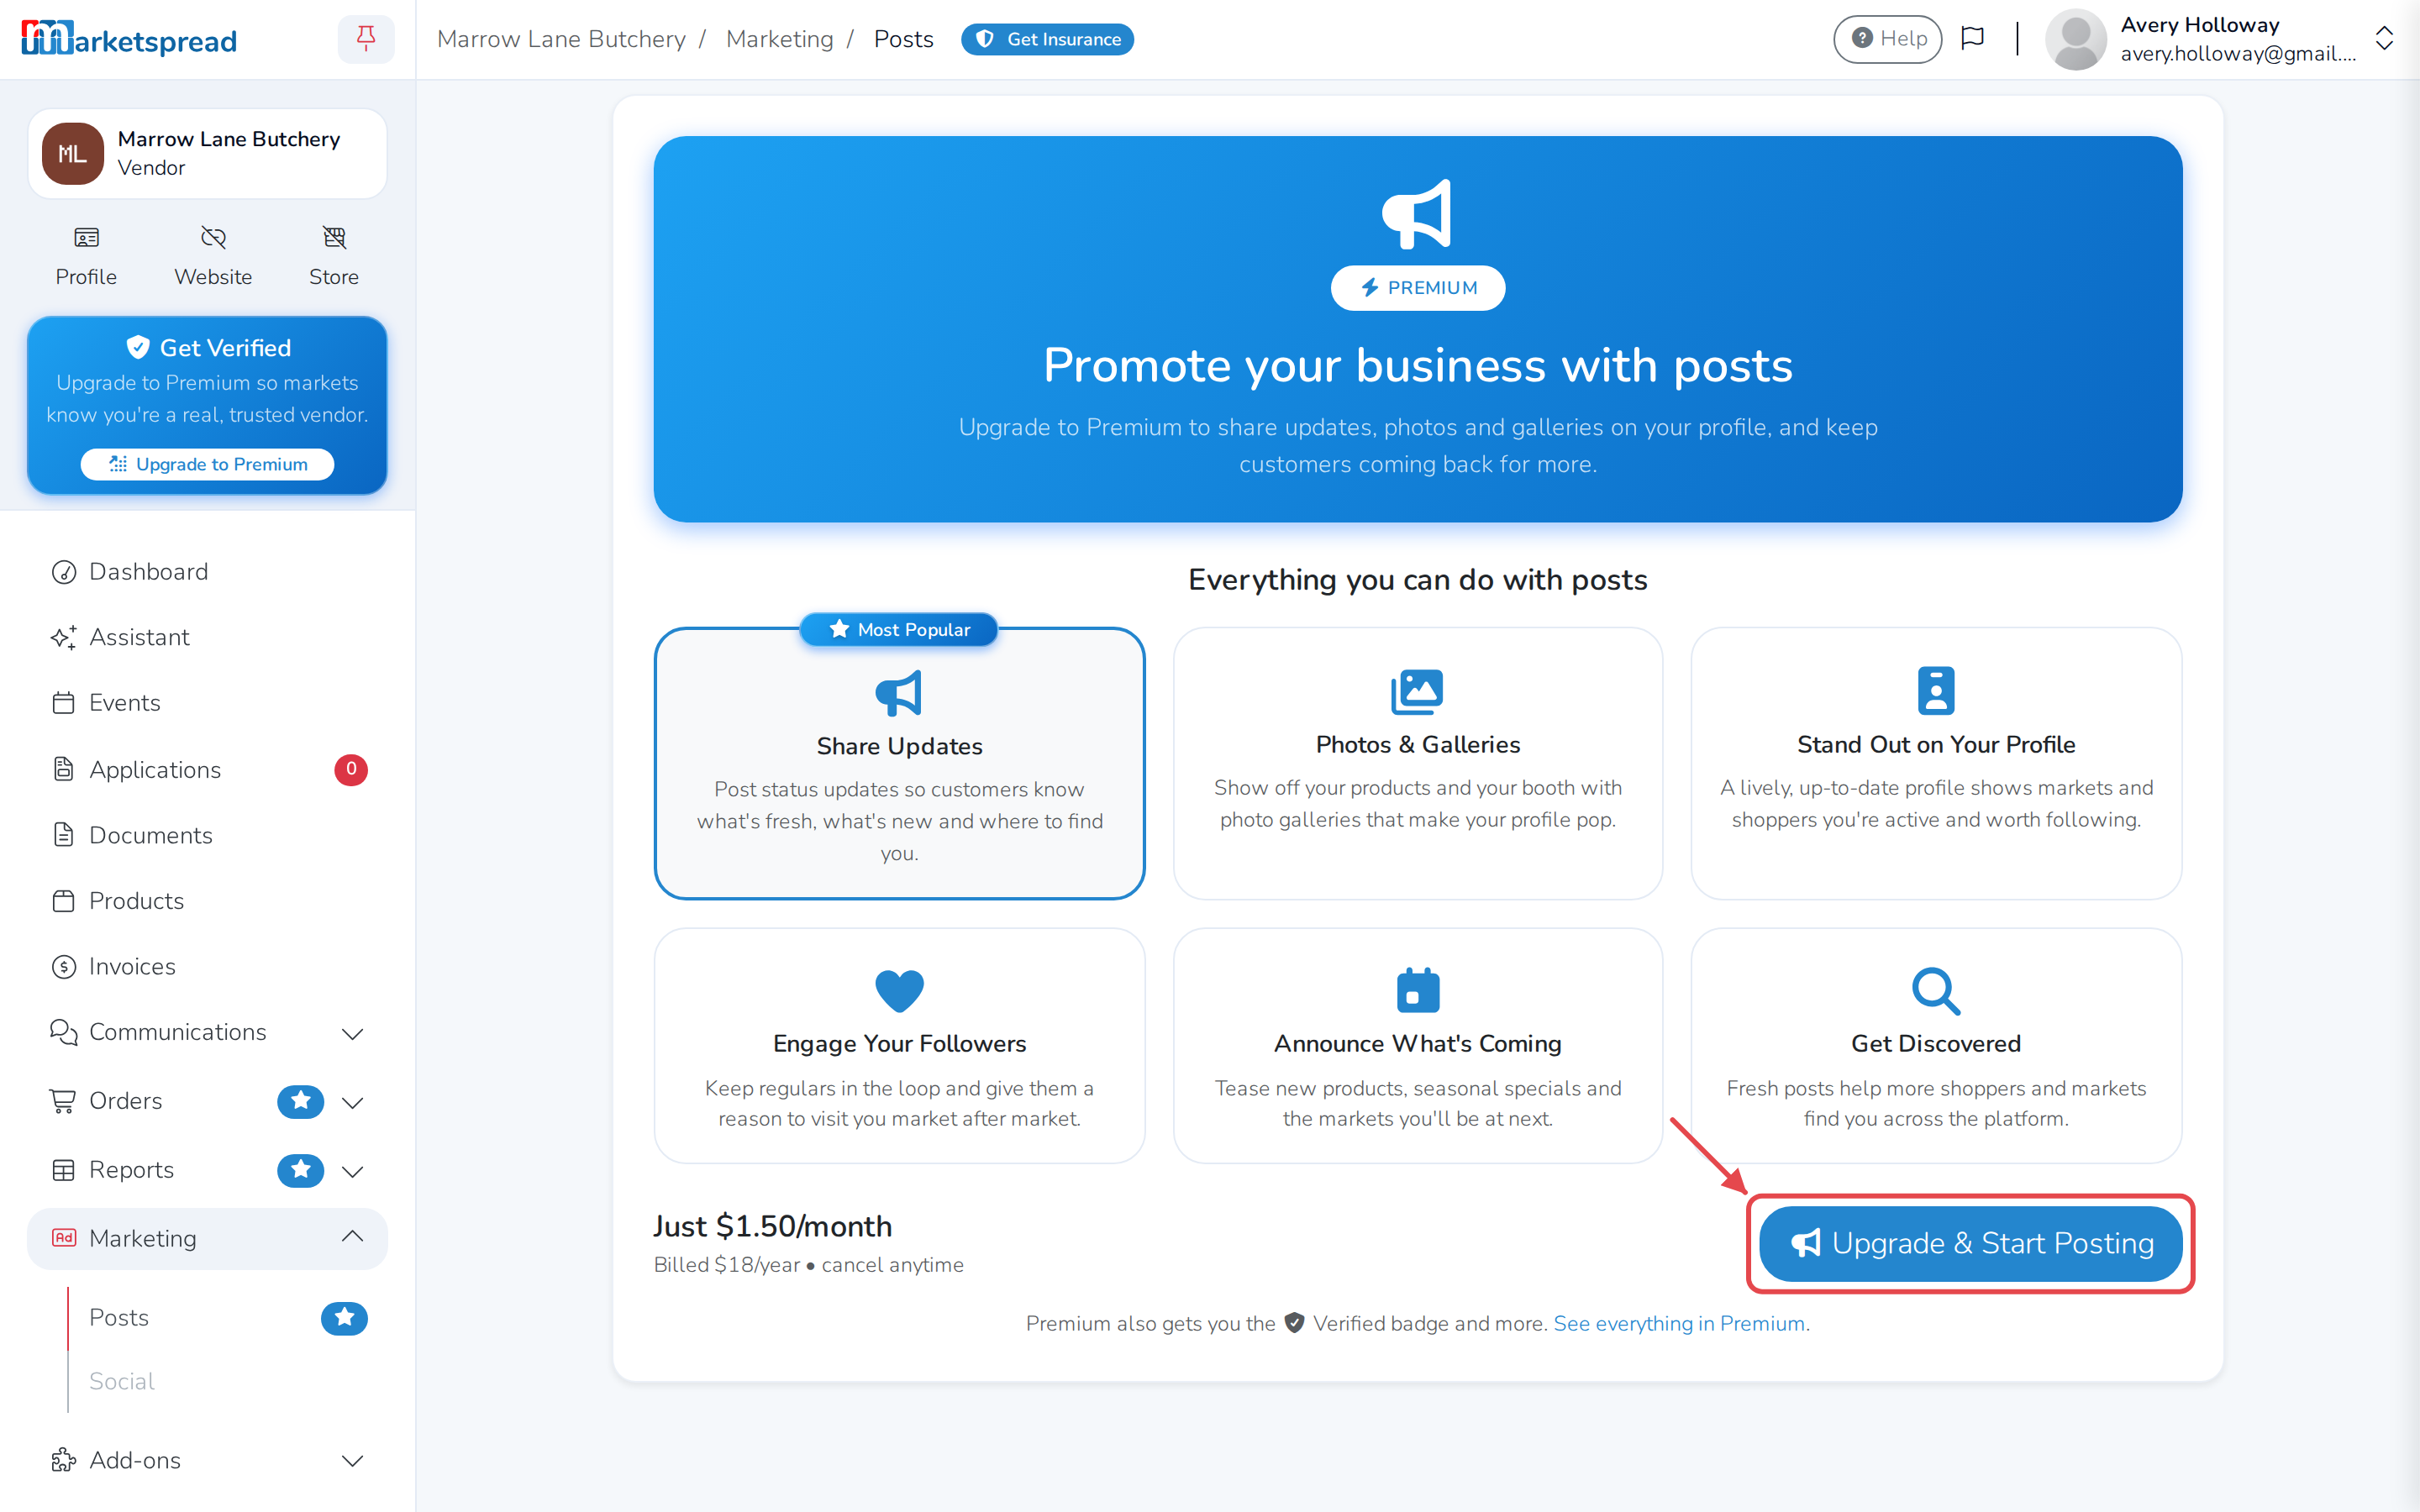
If you open Marketing, then Posts, before you've upgraded, you'll see the same offer there, with its own Upgrade & Start Posting button.
Ask the AI Assistant
Click Assistant in your vendor dashboard to ask about your applications, bookings, orders and invoices across every market you trade with.
Verified badge and search placement
Both turn on automatically once you're Premium — there's nothing to set up for either one.
Sell online and accept card payments
Both need their own setup. See What You Need Before You Can Sell to start accepting payments, then Join a Market's Online Store to start selling online.
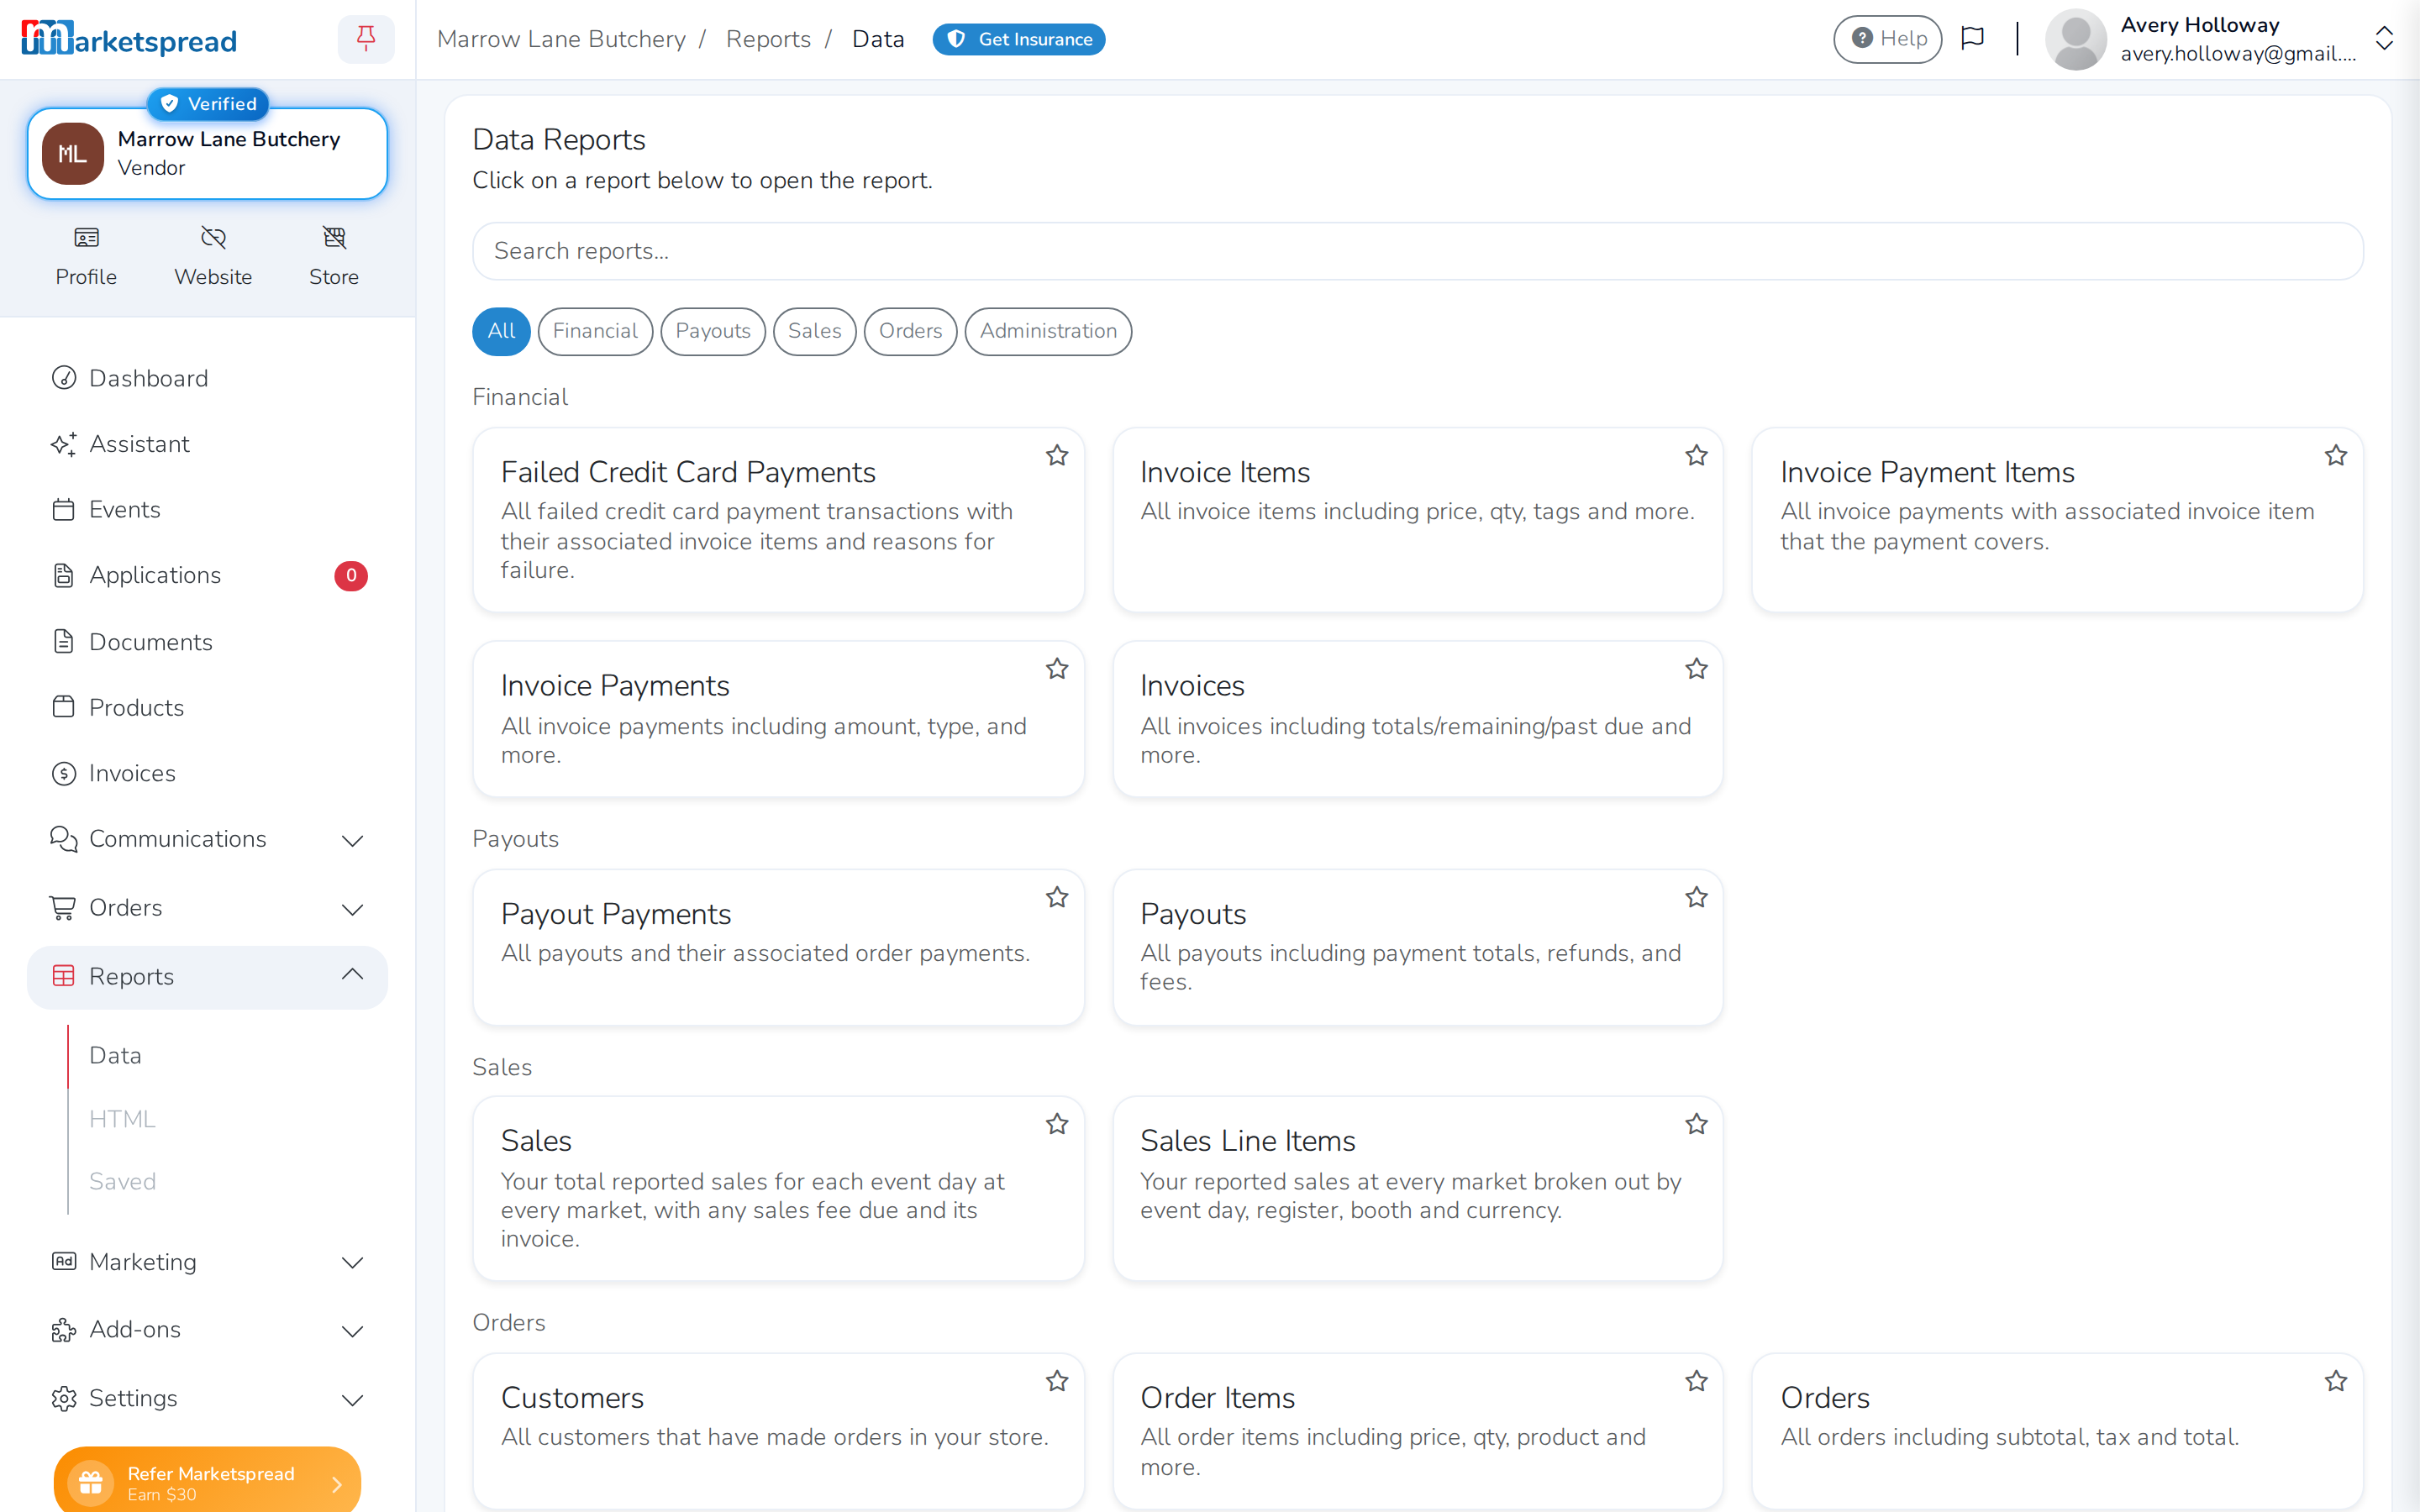
View your sales reports
Open Reports in your vendor dashboard for detailed sales you can filter,
group and export. Choose Data for a spreadsheet-style grid, HTML for a
formatted report, or Saved for reports you've saved before.
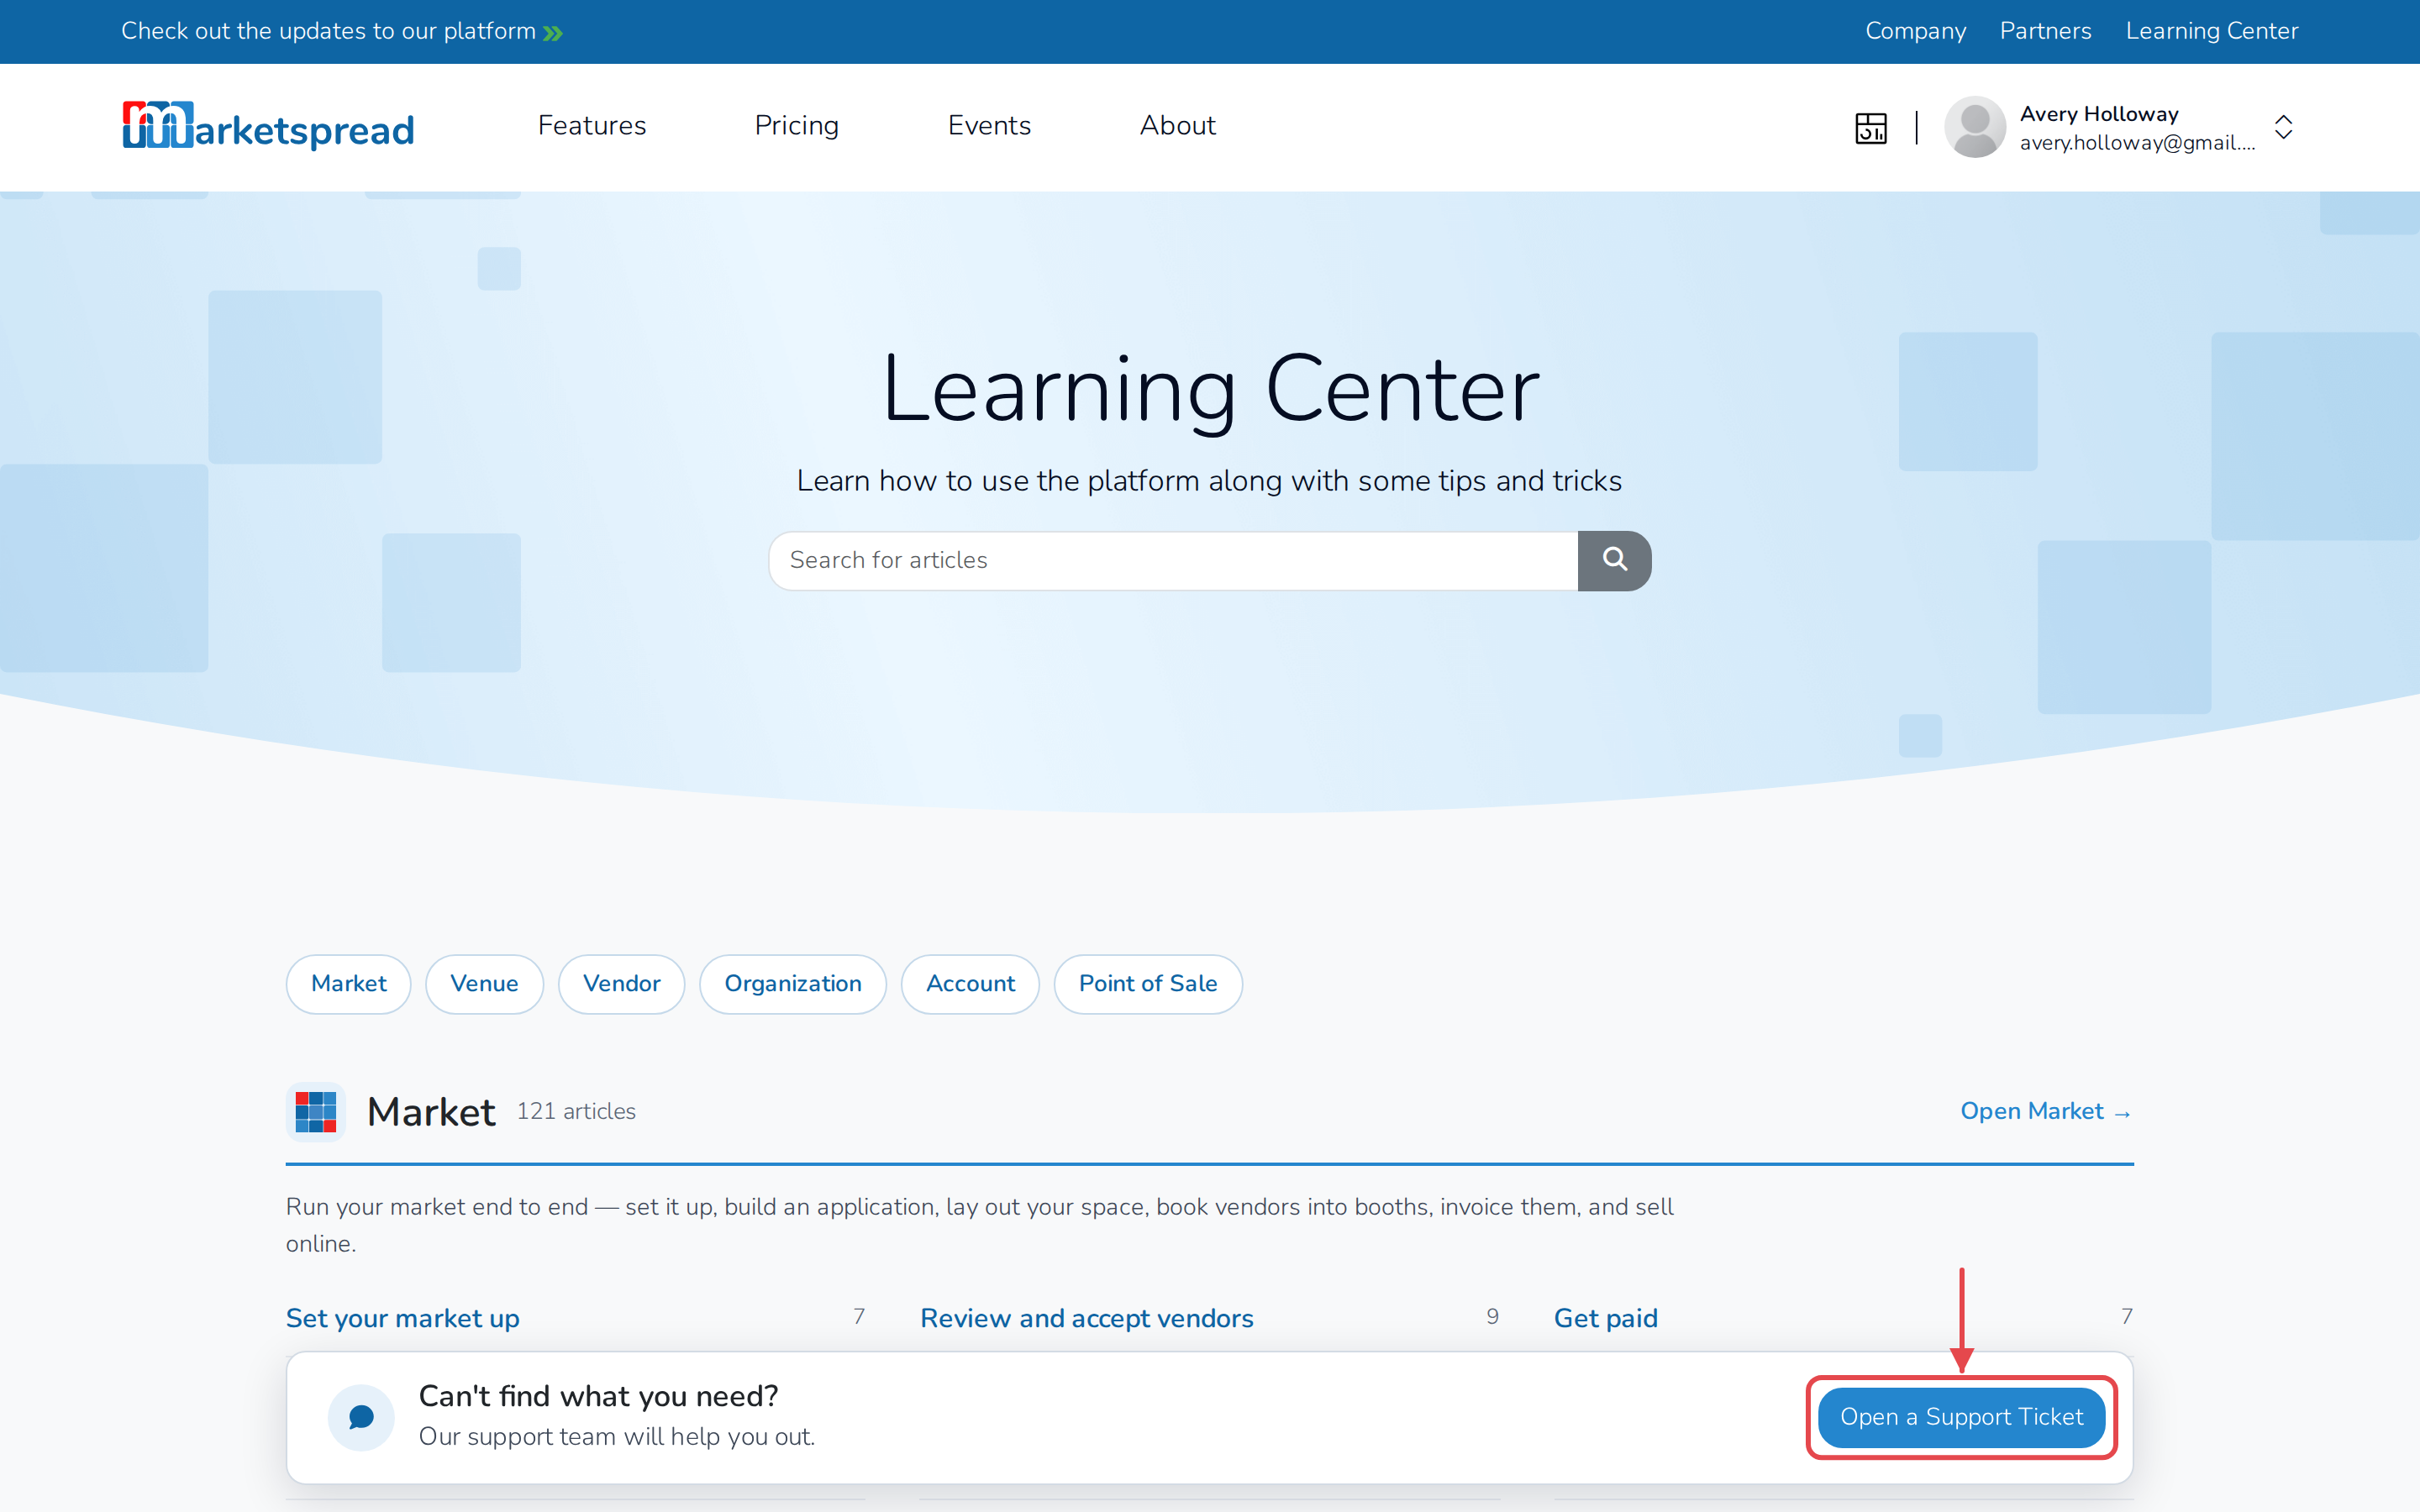
Get help from Marketspread support
Click Help near the top of your dashboard to open the Learning Center, then click Open a Support Ticket near the bottom of the page.
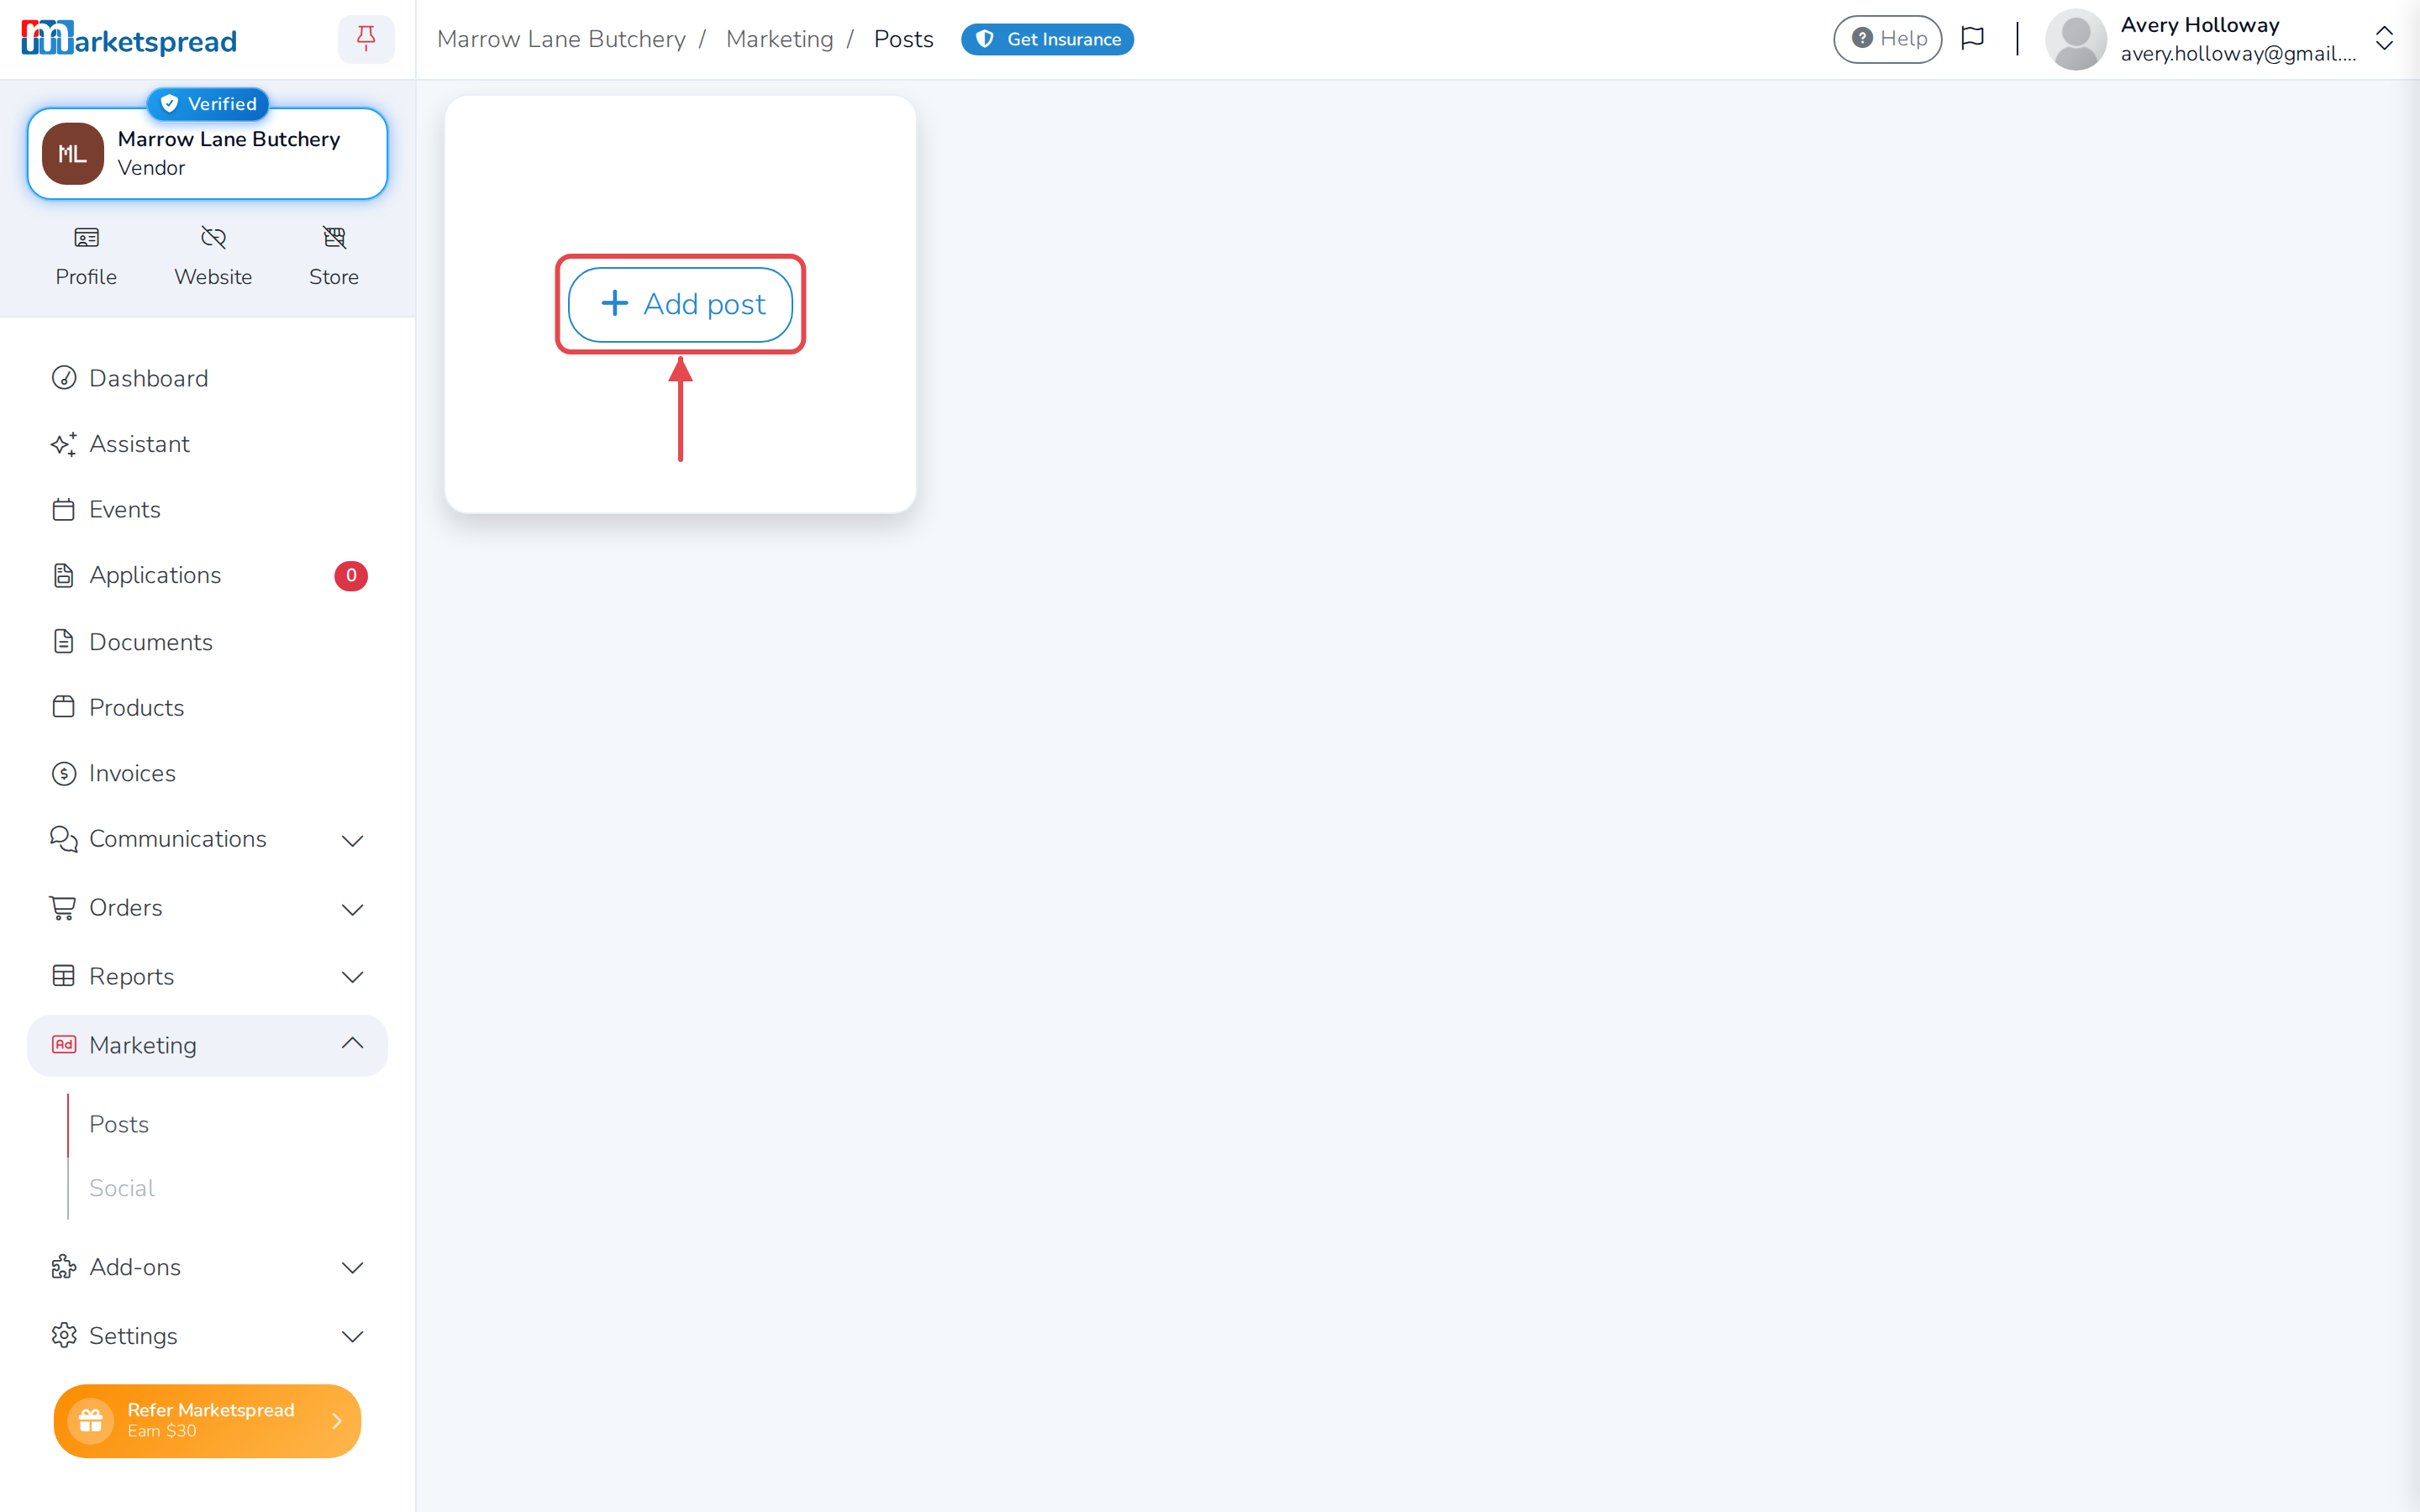
Posts
Open Marketing, then Posts, to add or delete a post.
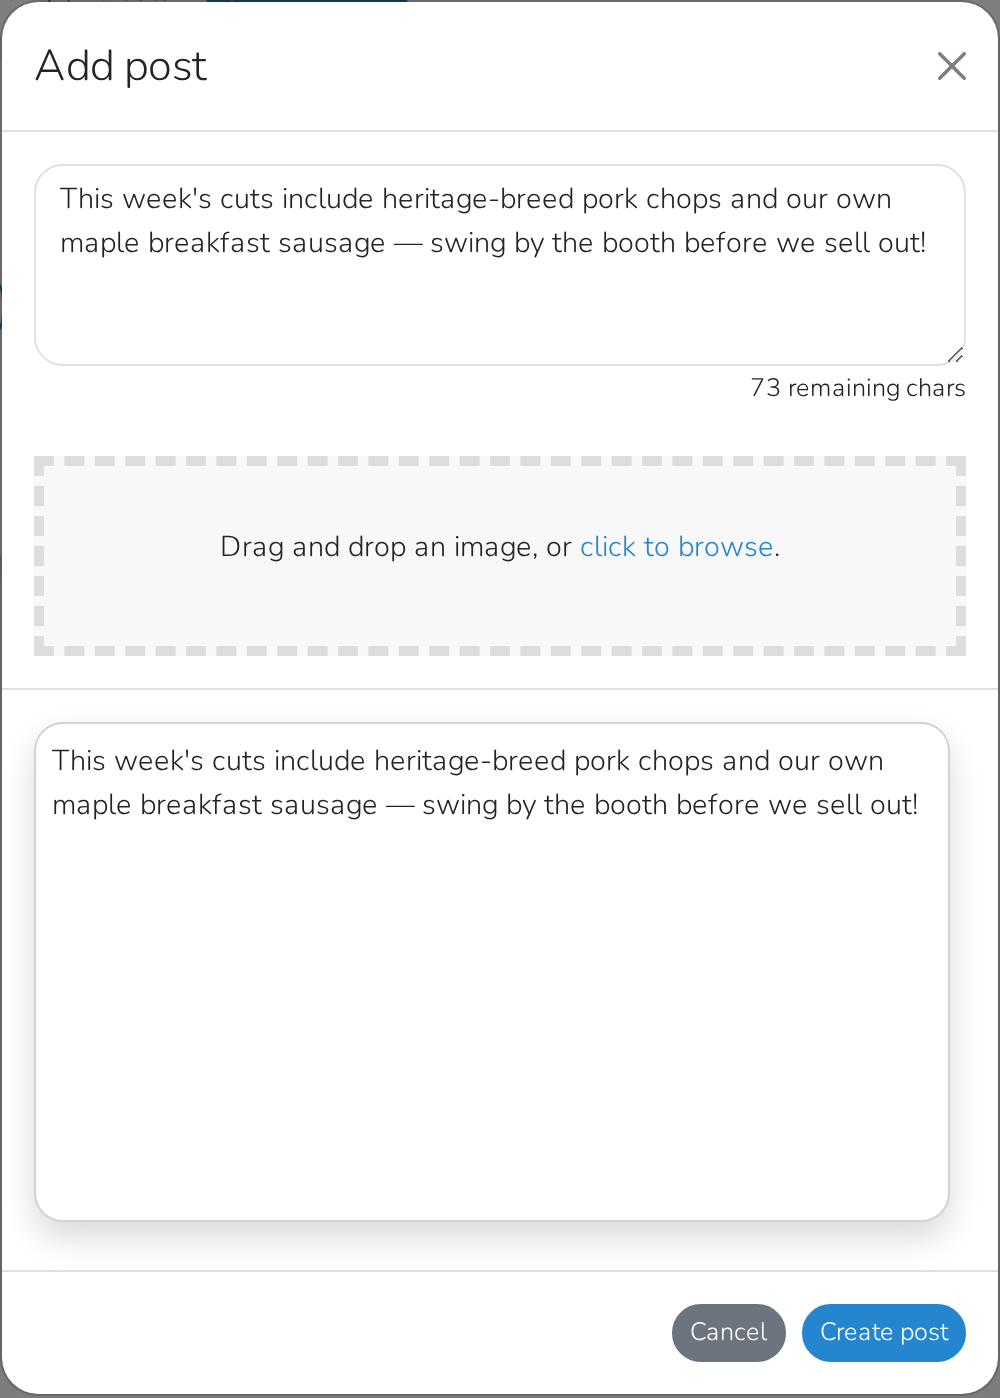
Add a post
- Click + Add post.
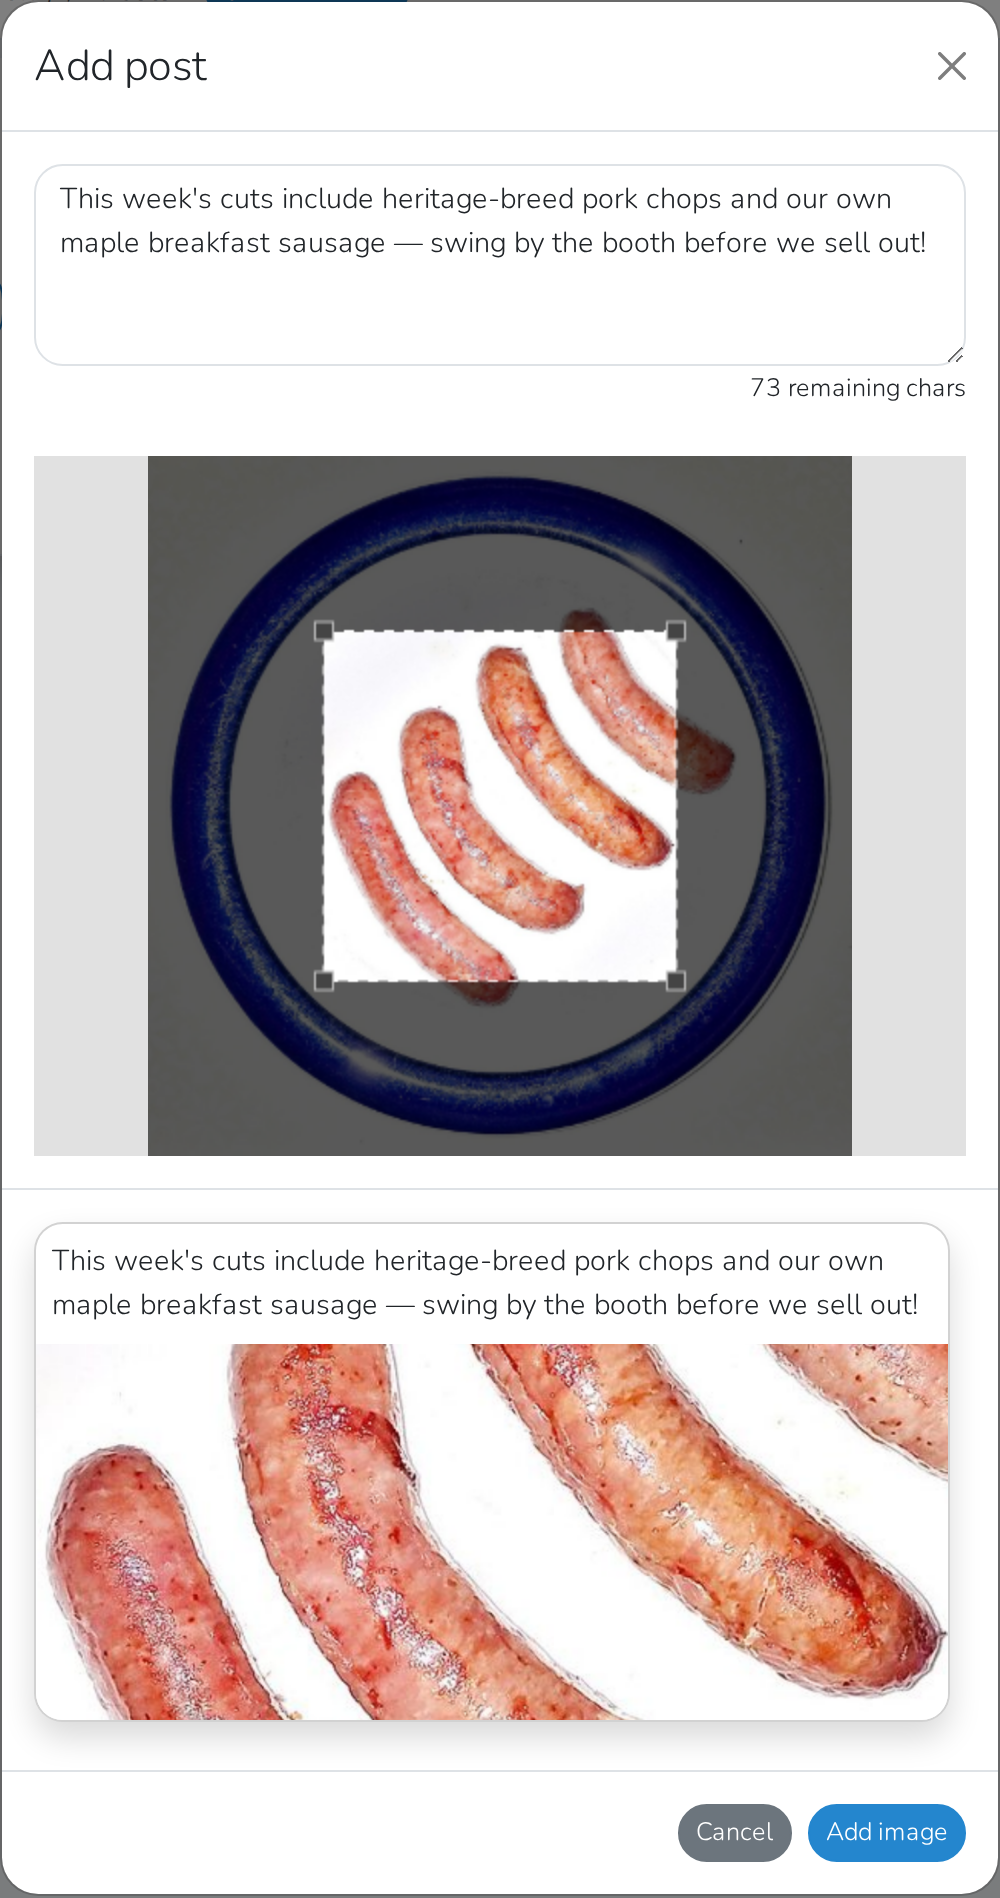
- Type what you want to share, up to 200 characters.
- To add a photo, drag it in or click click to browse.
- Click Create post.
Attaching a photo opens a crop tool before it's added to the post — drag the handles to frame it, then click Add image.
See how it looks
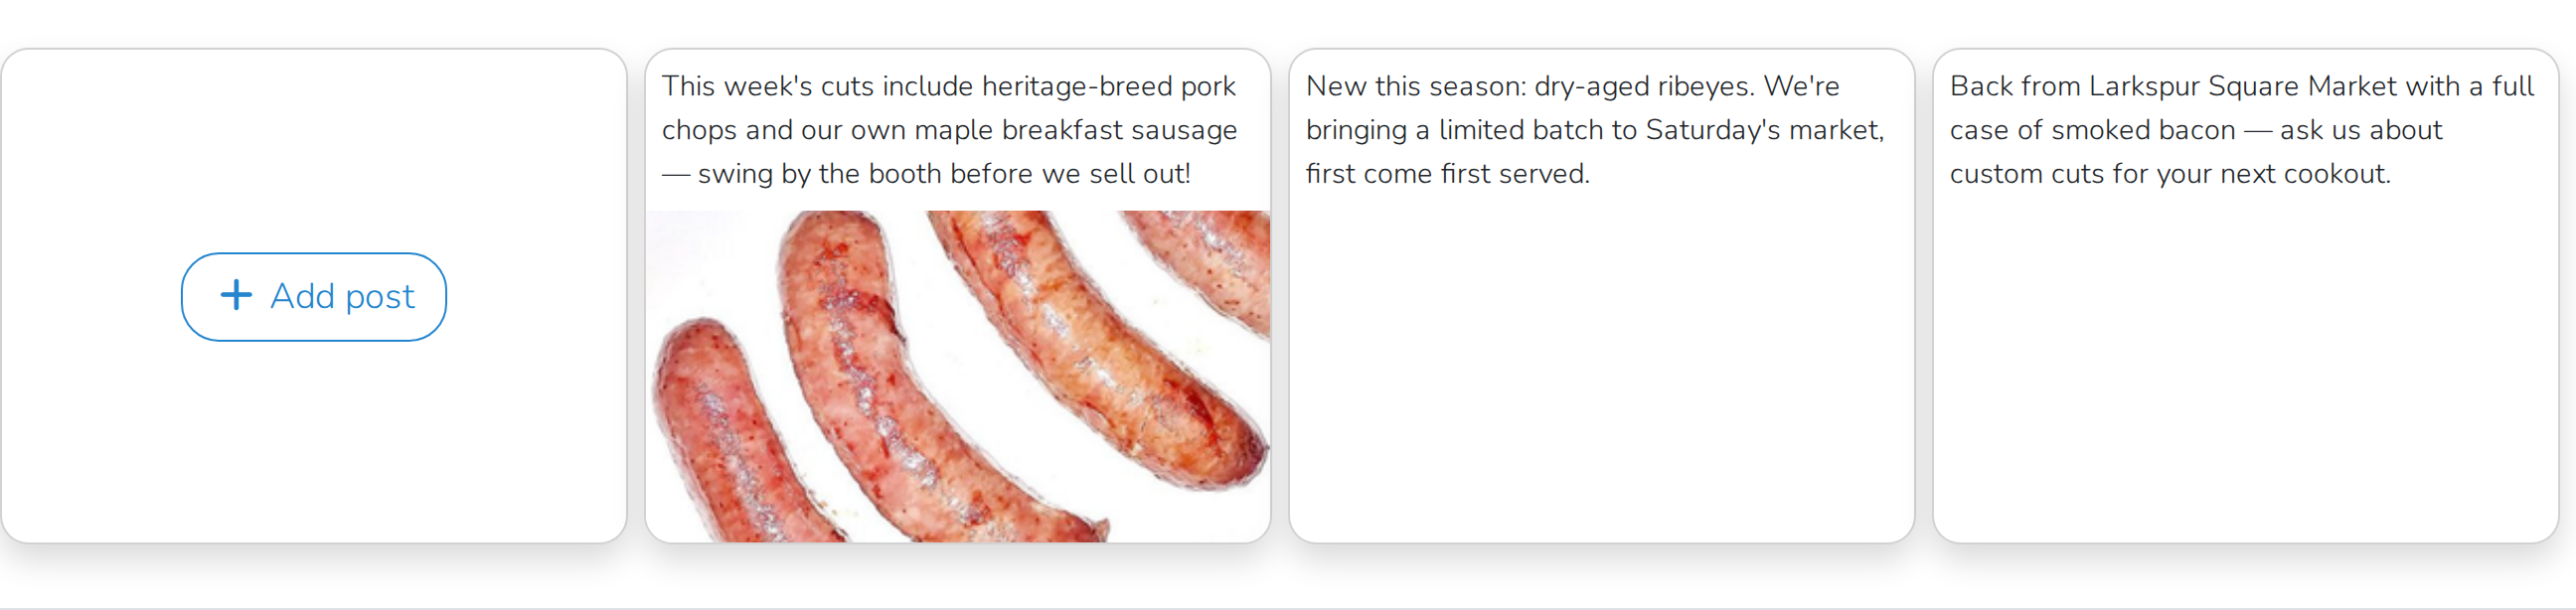
Click Profile near the top of your dashboard to preview your posts. Customers and markets see the same side-scrolling row, minus the Add post card and the delete button on each one.
Delete a post
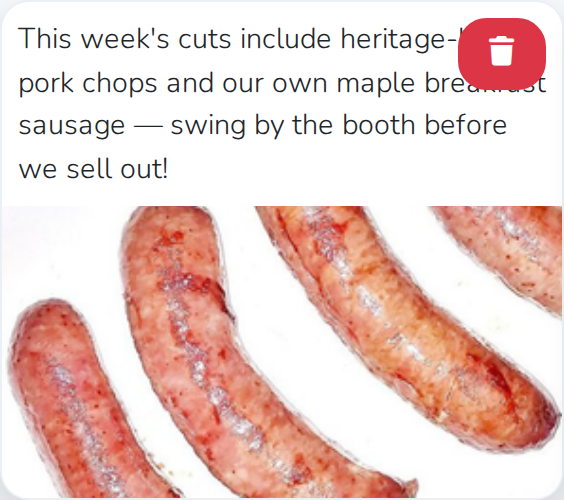
- Click the trash icon on the post.
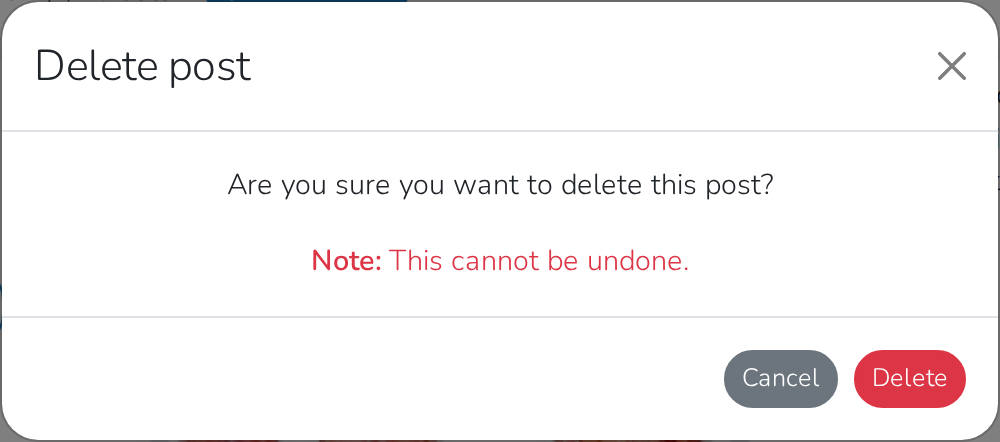
- Click Delete.
Caution
You can't get a deleted post back.
Update your payment method
- Open Add-ons, then Premium.
- Click Update payment method.
- Enter your new card details.
- Click Save payment method.
Cancel Premium
- Open Add-ons, then Premium.
- Click Cancel auto-renew.
- If it's within 7 days of your last charge, you can choose a refund and end Premium right away. Otherwise, just stop it renewing and keep your benefits until it expires.
- Click the button to confirm.
What each choice does
A refund removes your Verified badge and Premium benefits immediately. Just stopping the renewal keeps them until your paid year runs out. After 7 days, stopping the renewal is your only choice.