


A cloud card reader or cloud printer connects straight to your network. That
means it can take card payments or print receipts without being paired to a
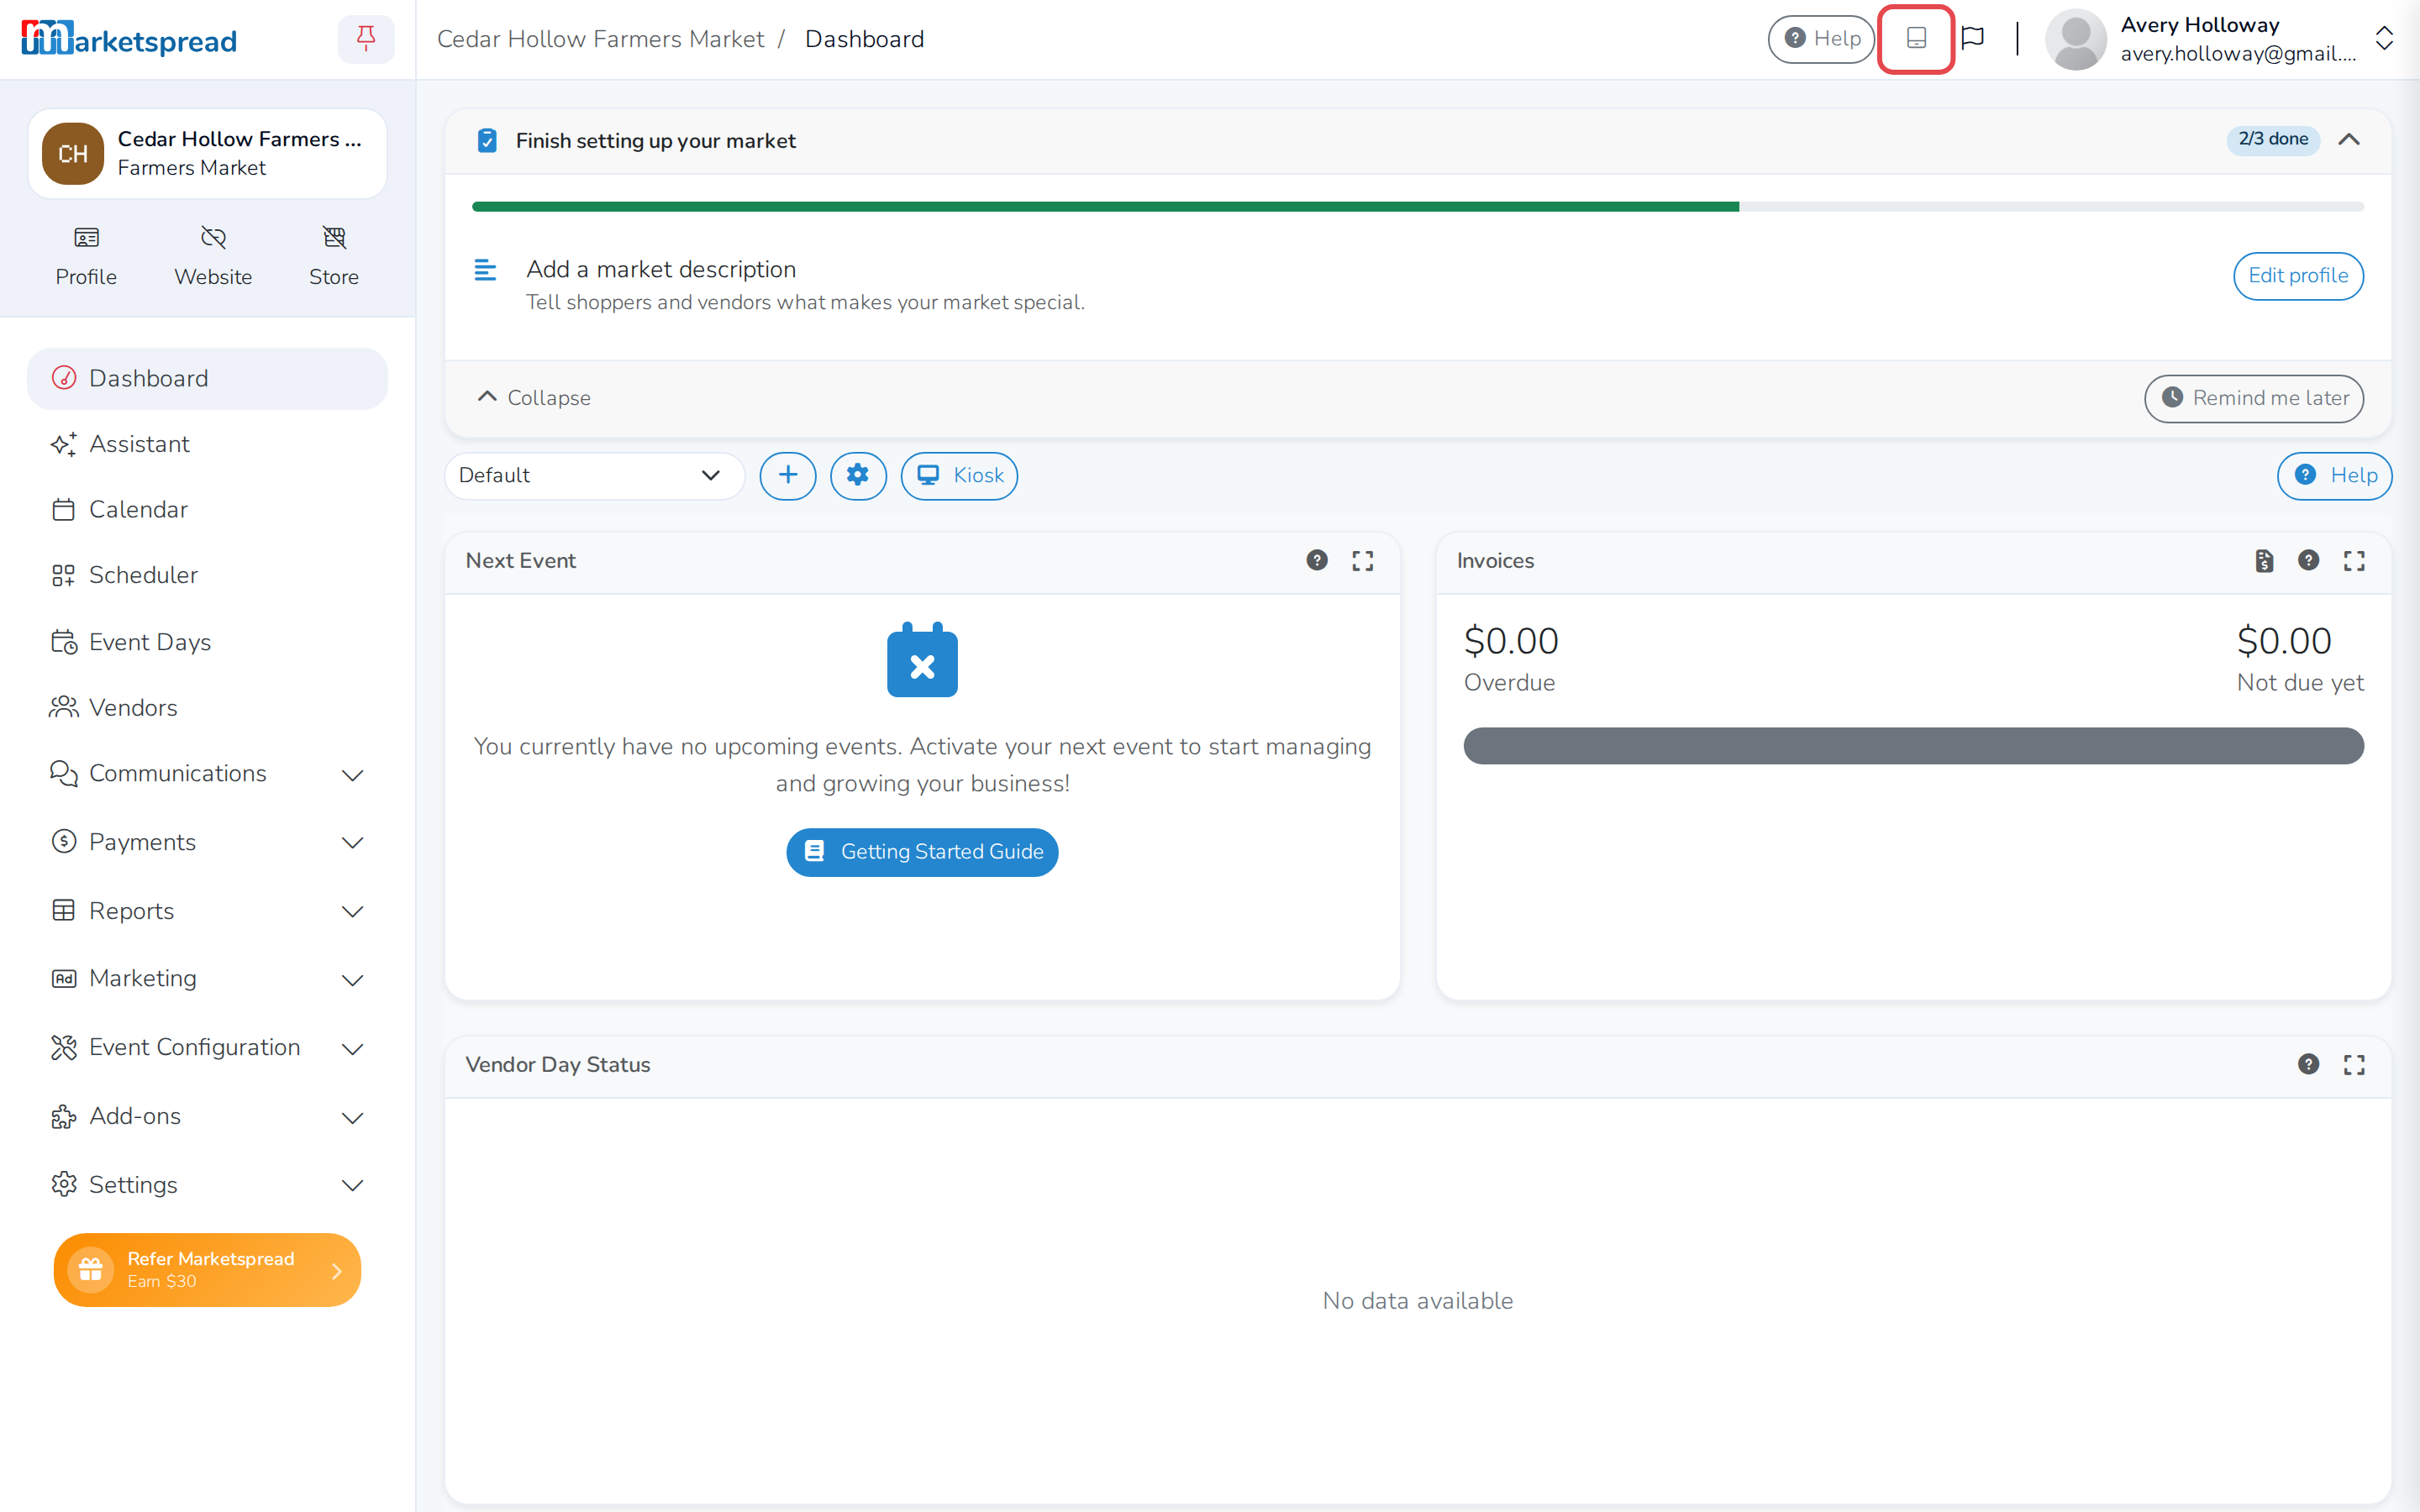
phone or tablet first. Connect one from the tablet icon in the toolbar of
your market, venue or organization dashboard.
- Connect an Ingenico Link/2500 card reader
- Connect an Ingenico Lane/3600 card reader
- Connect a Star cloud printer
- Switch between card readers or printers
- Remove a card reader or printer
Connect an Ingenico Link/2500 card reader
-
On the reader, quickly press 0, 0, 0, 1 on the keypad to
open its admin menu. -
Select Configure Wi-Fi, then Scan Networks.
-
Select your Wi-Fi network, enter the password, then press the green
button to connect. -
Wait for the reader to show an activation code starting with P.
-
In your dashboard, click the tablet icon in the toolbar, then click
Select device — or Change device if one is already connected.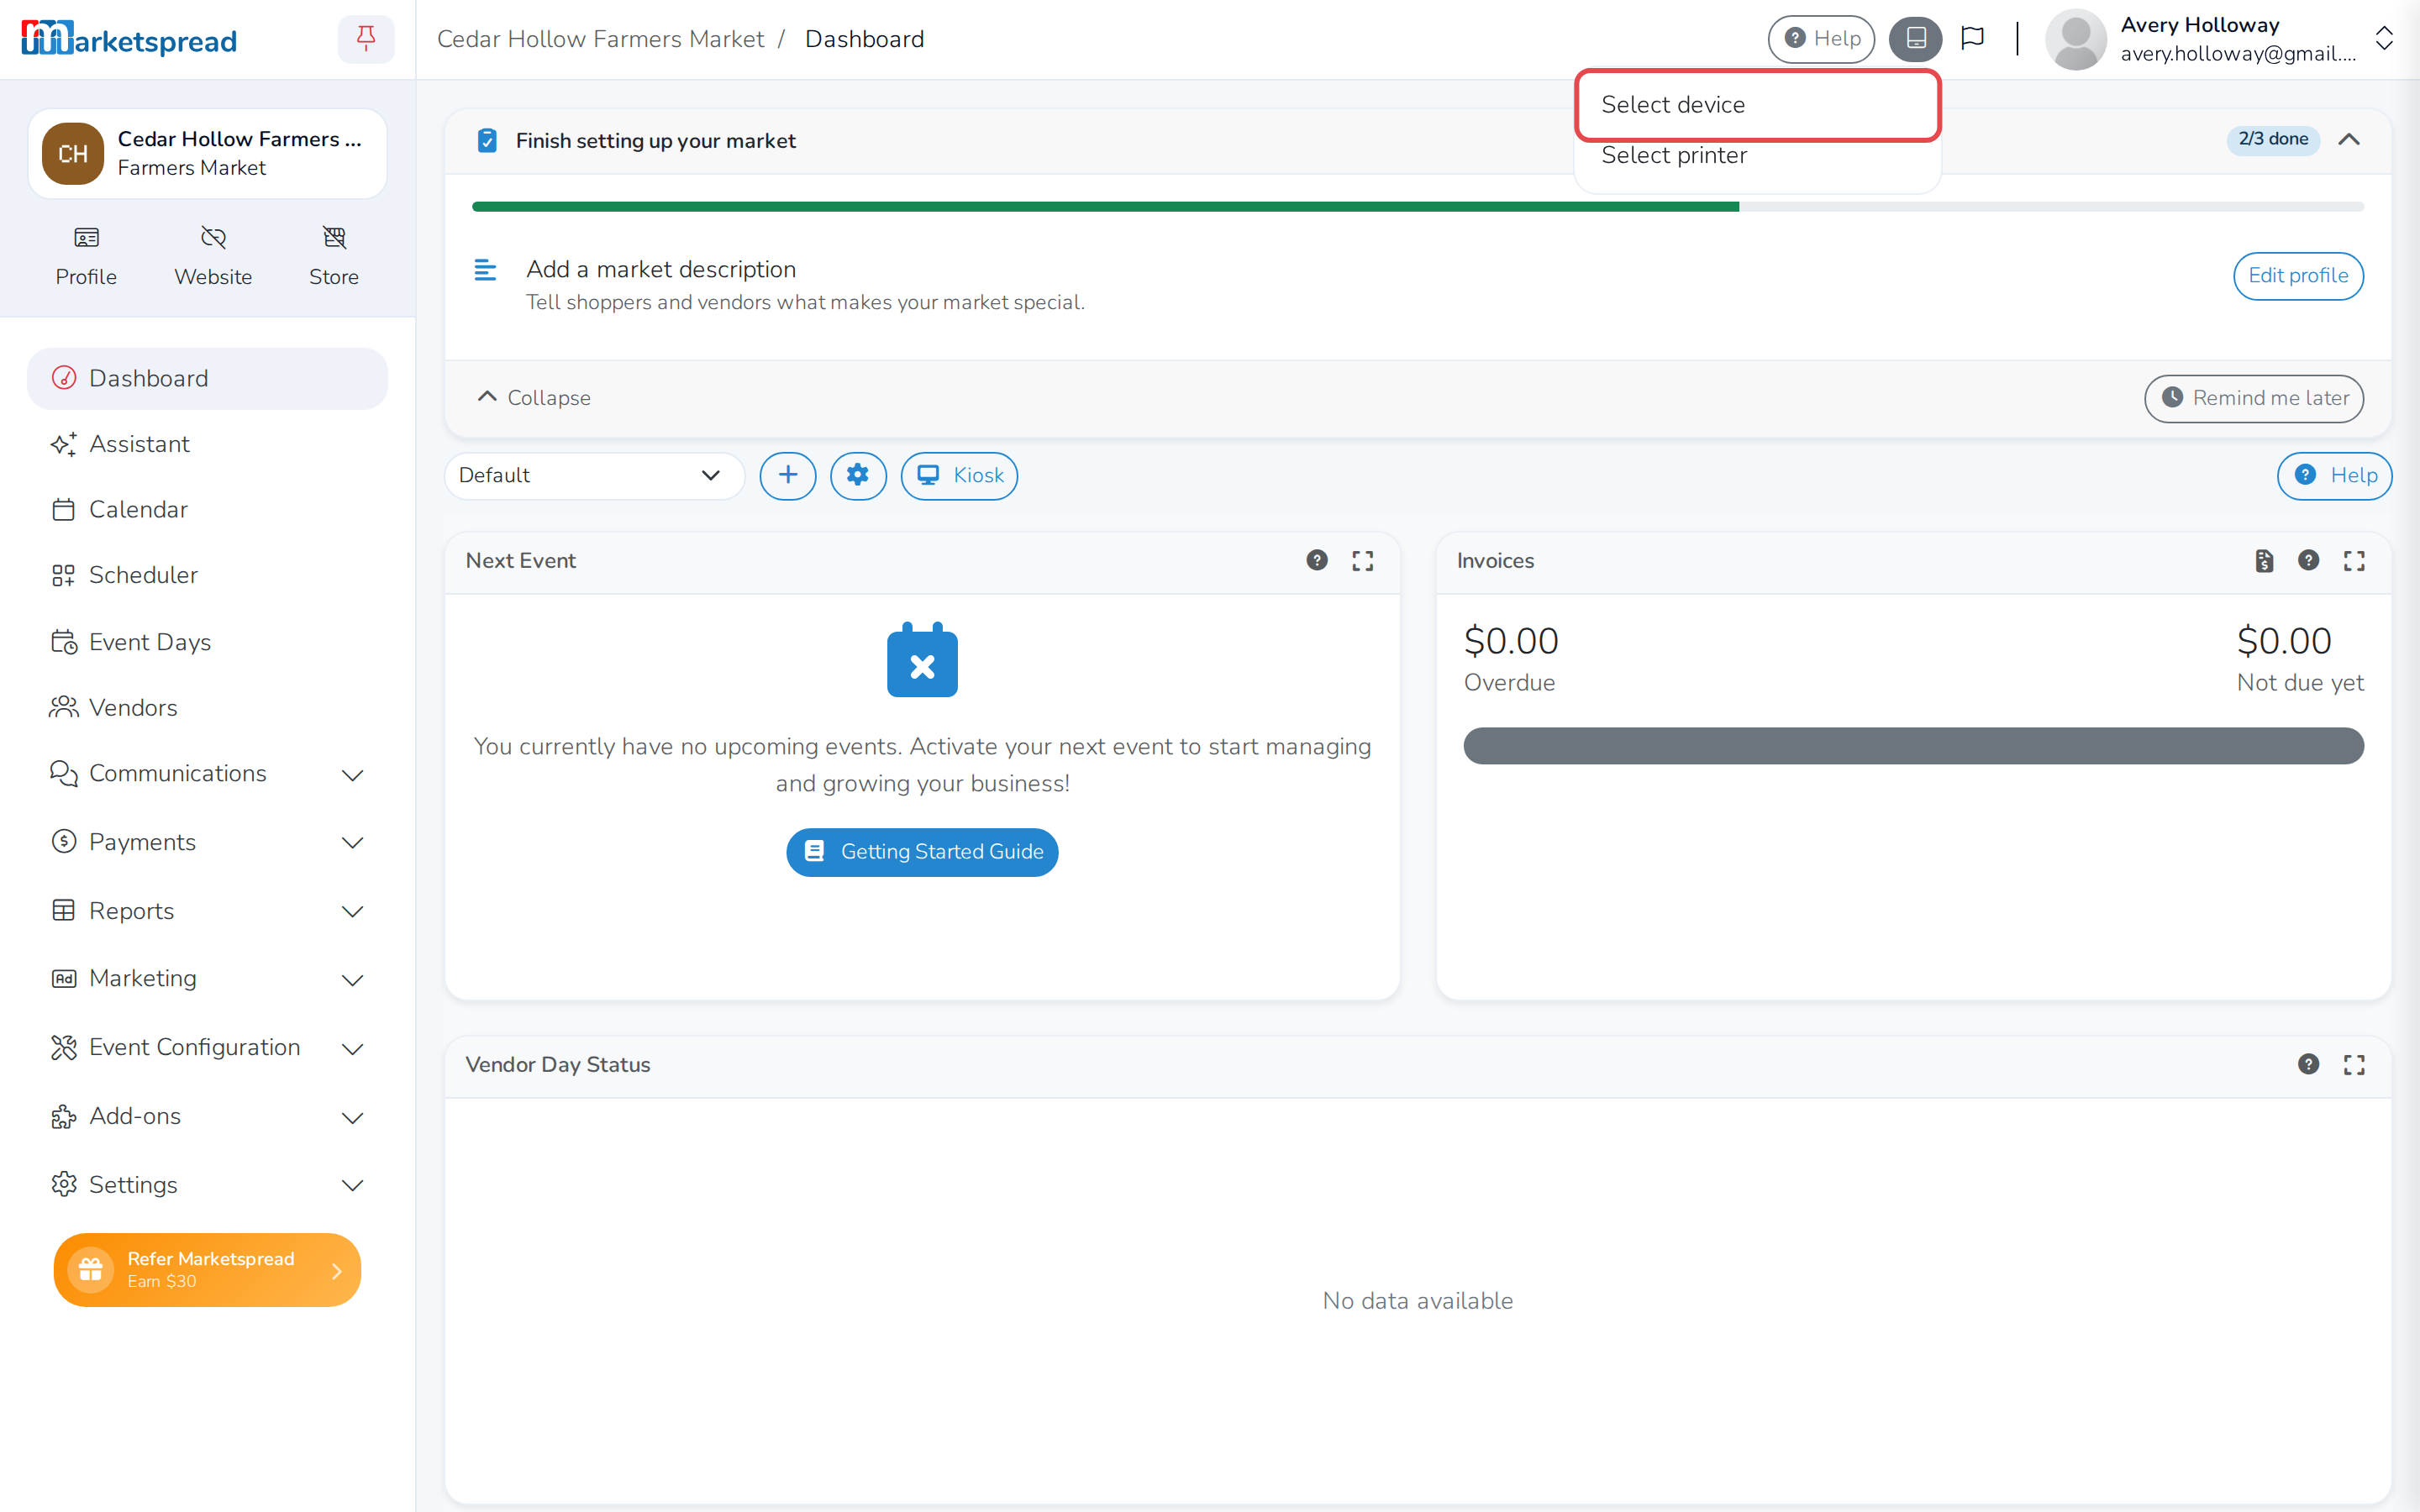
-
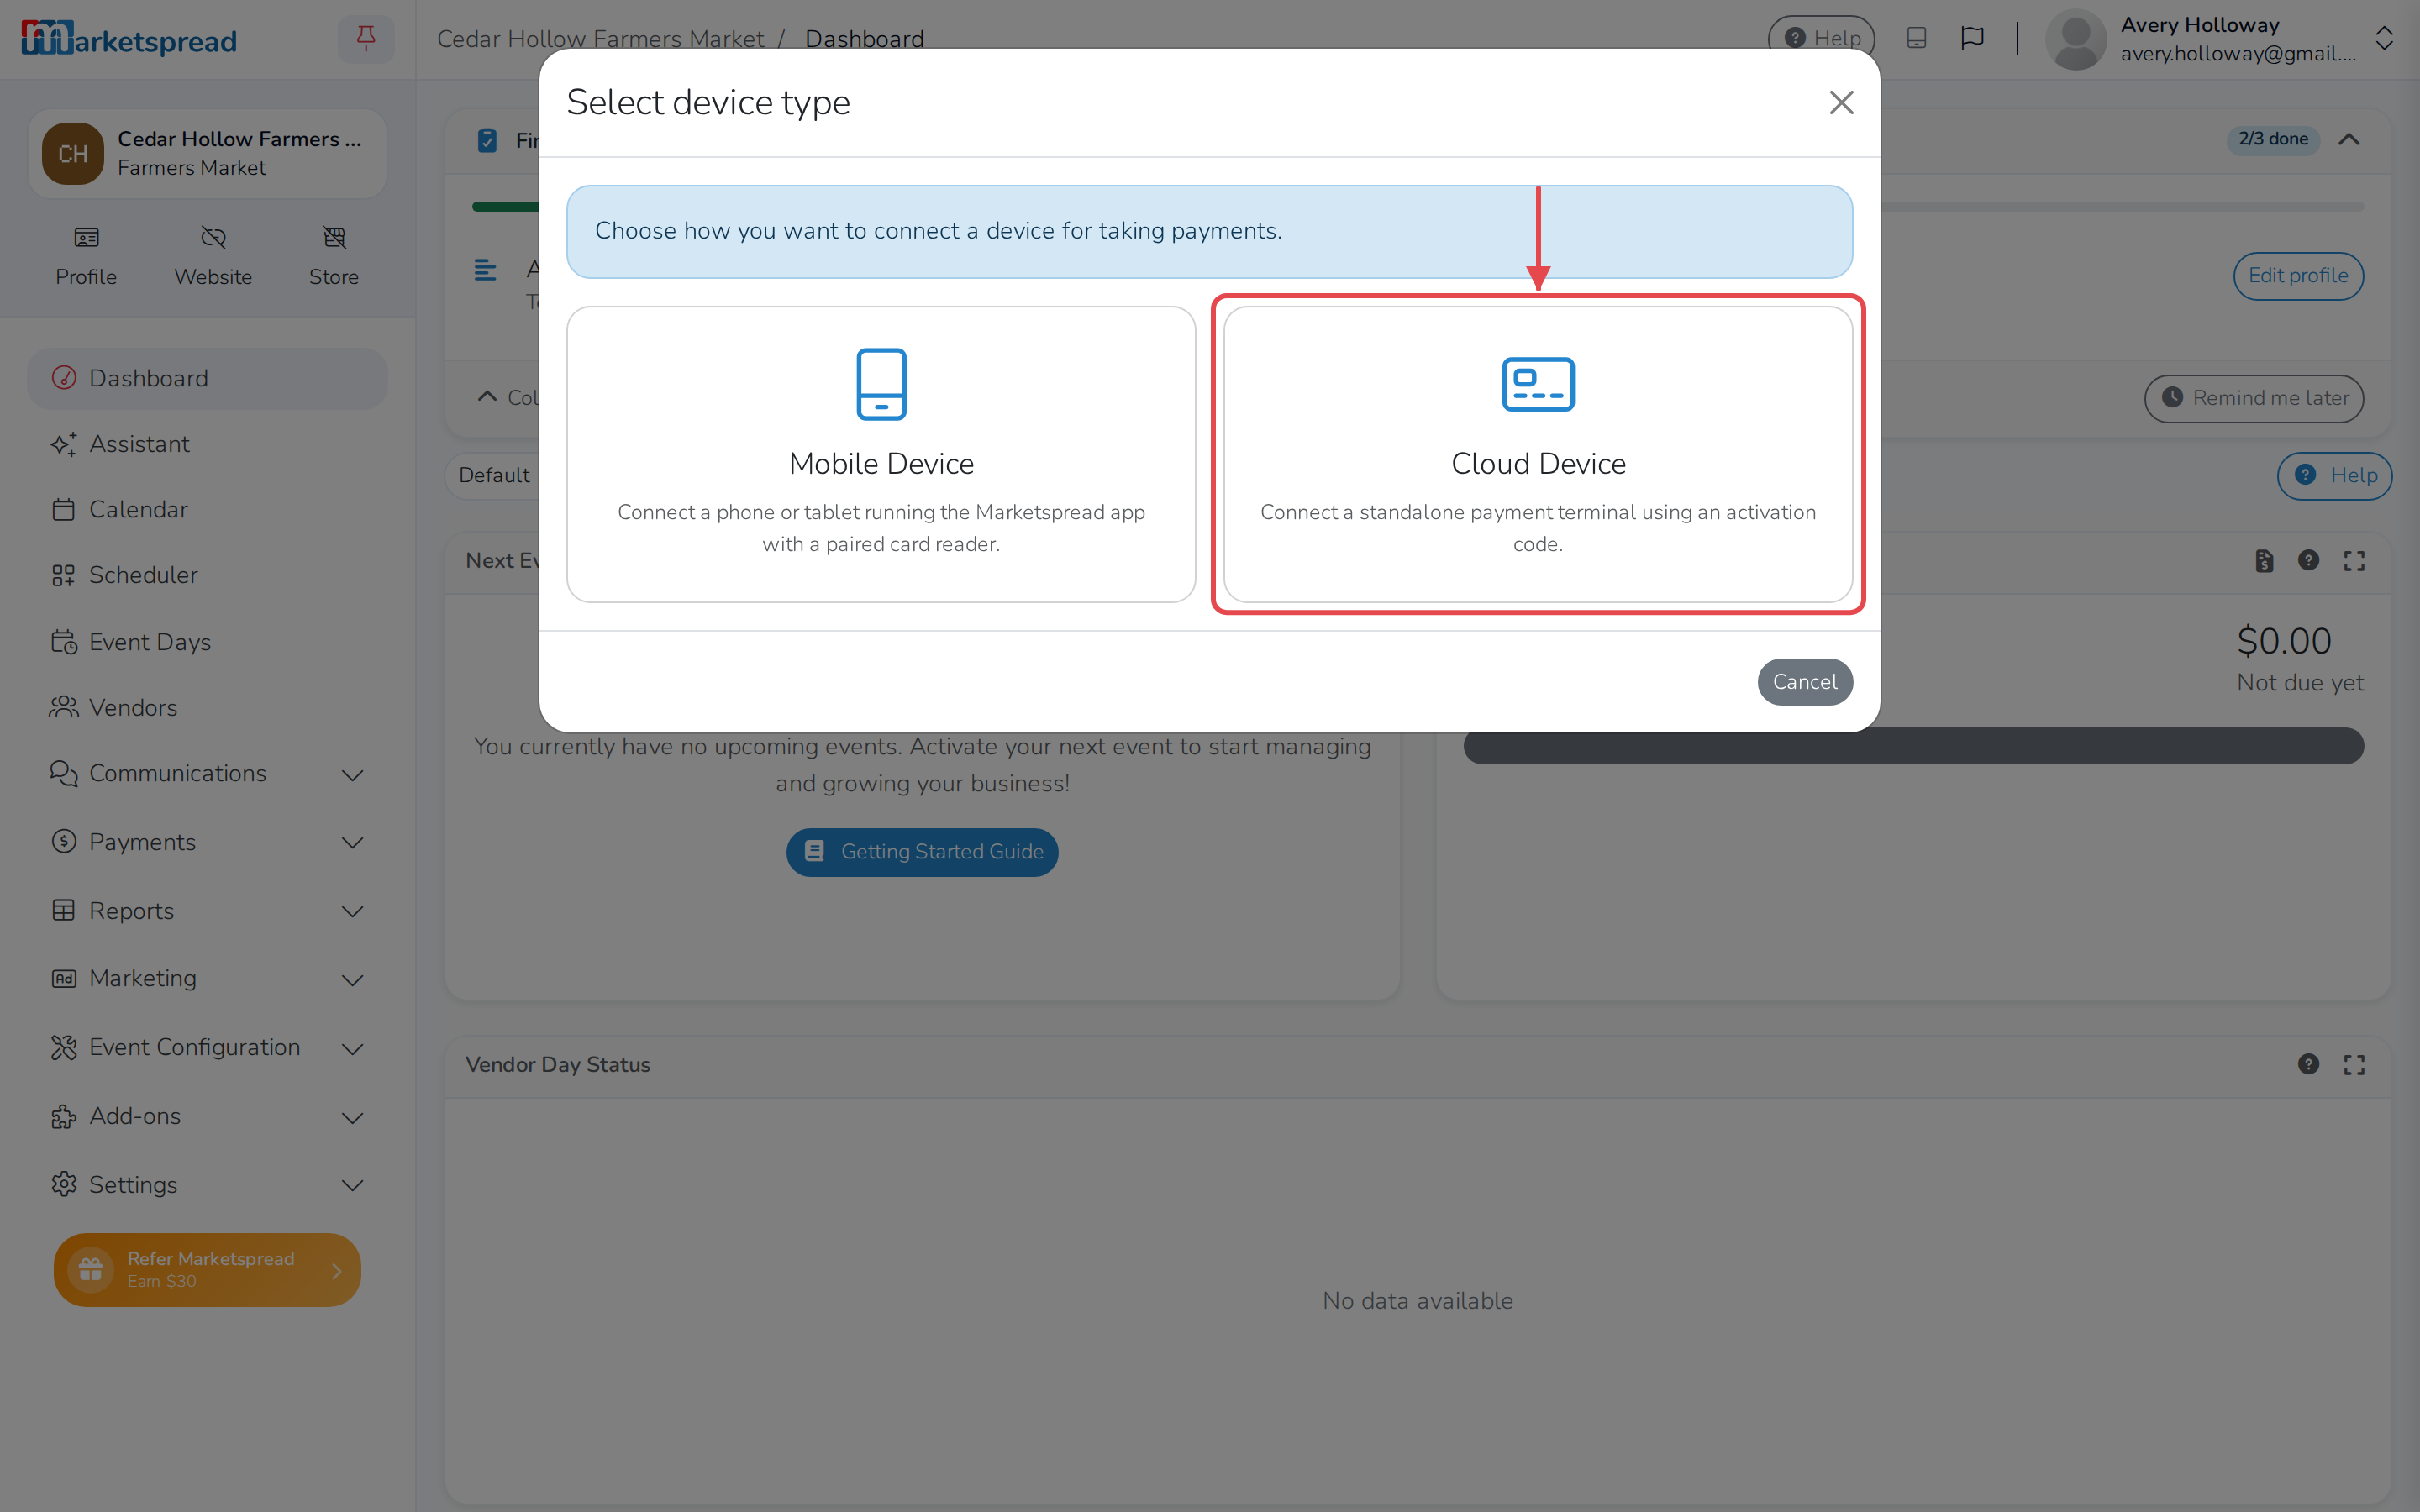
Click Cloud Device.
-
Enter a name for the reader under Device Name, then enter the code
from the reader's screen under Activation Code.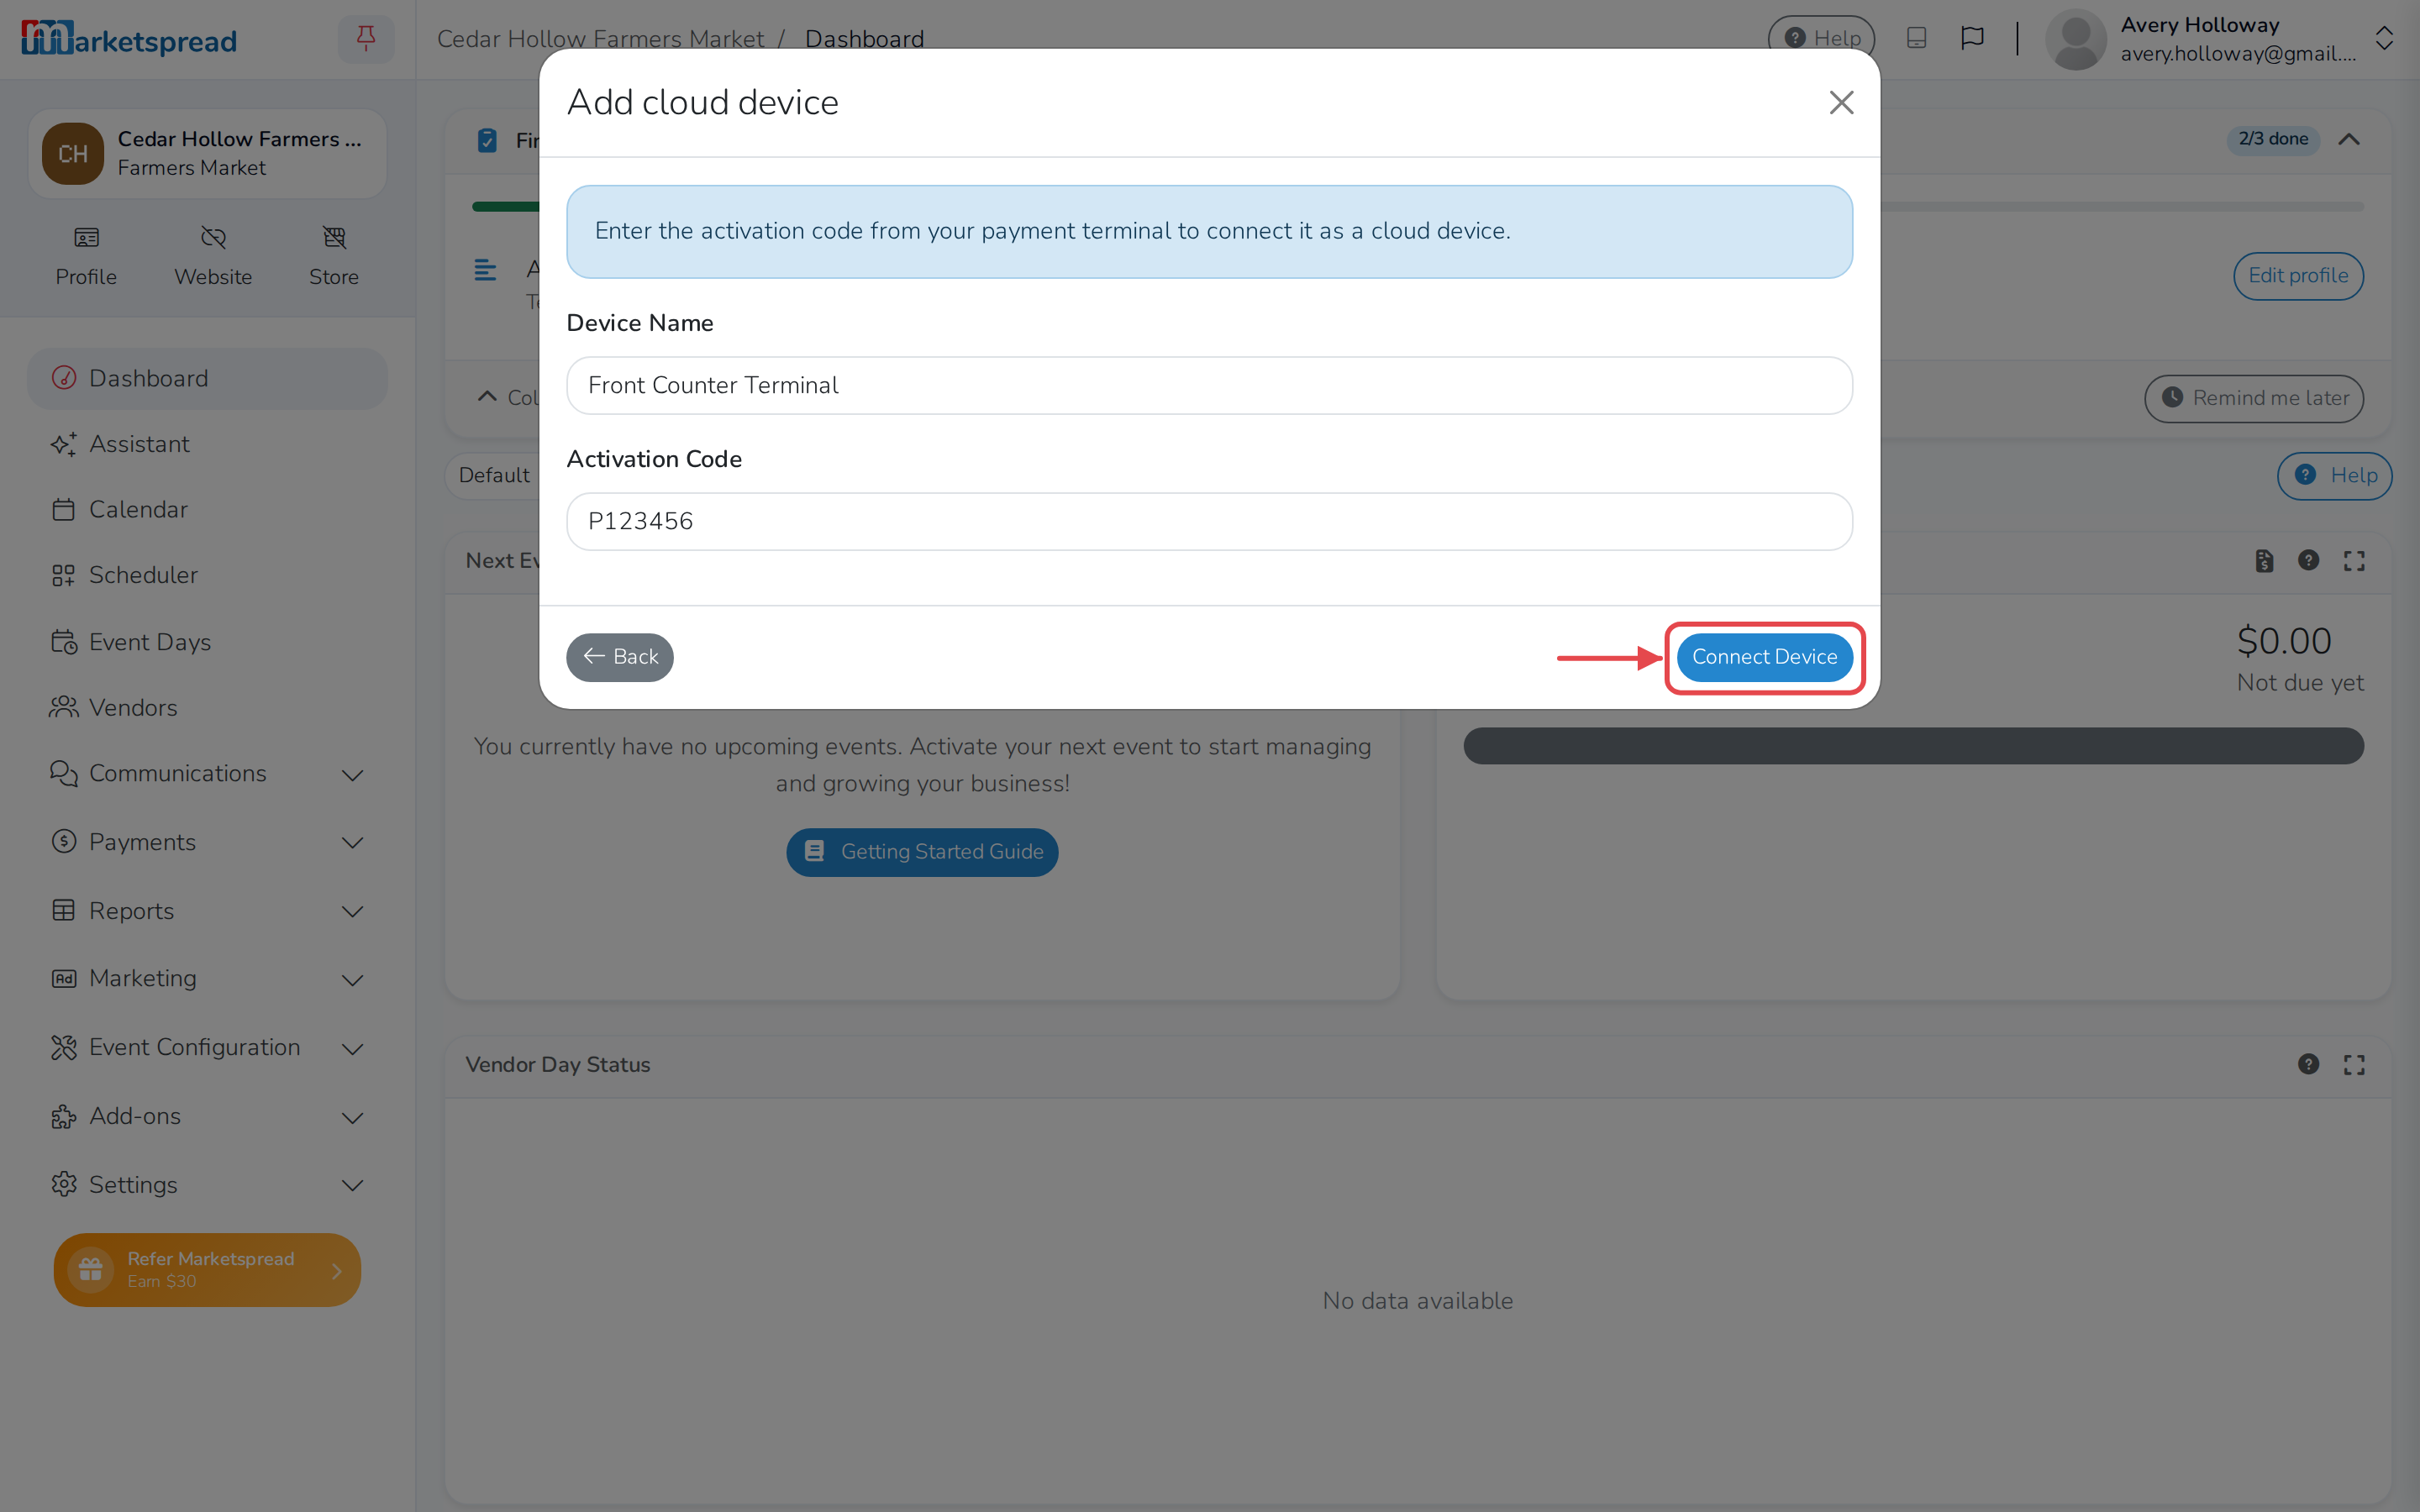
-
Click Connect Device.
-
Click Select once the reader shows Connected.
Note
A reader's activation code only lasts a few minutes. If yours expires
before you enter it, check the reader's screen for a new one.
Connect an Ingenico Lane/3600 card reader
- On the reader, power it on and connect it to your network.
- If the reader doesn't show an activation code starting with P after a
few minutes, restart it: hold the yellow key and the # key together
until it powers off, then power it back on. - In your dashboard, click the tablet icon in the toolbar, then click
Select device — or Change device if one is already connected. - Click Cloud Device.
- Enter a name for the reader under Device Name, then enter the code
from the reader's screen under Activation Code. - Click Connect Device.
- Click Select once the reader shows Connected.
Connect a Star cloud printer
-
In your dashboard, click the tablet icon in the toolbar, then click
Select printer.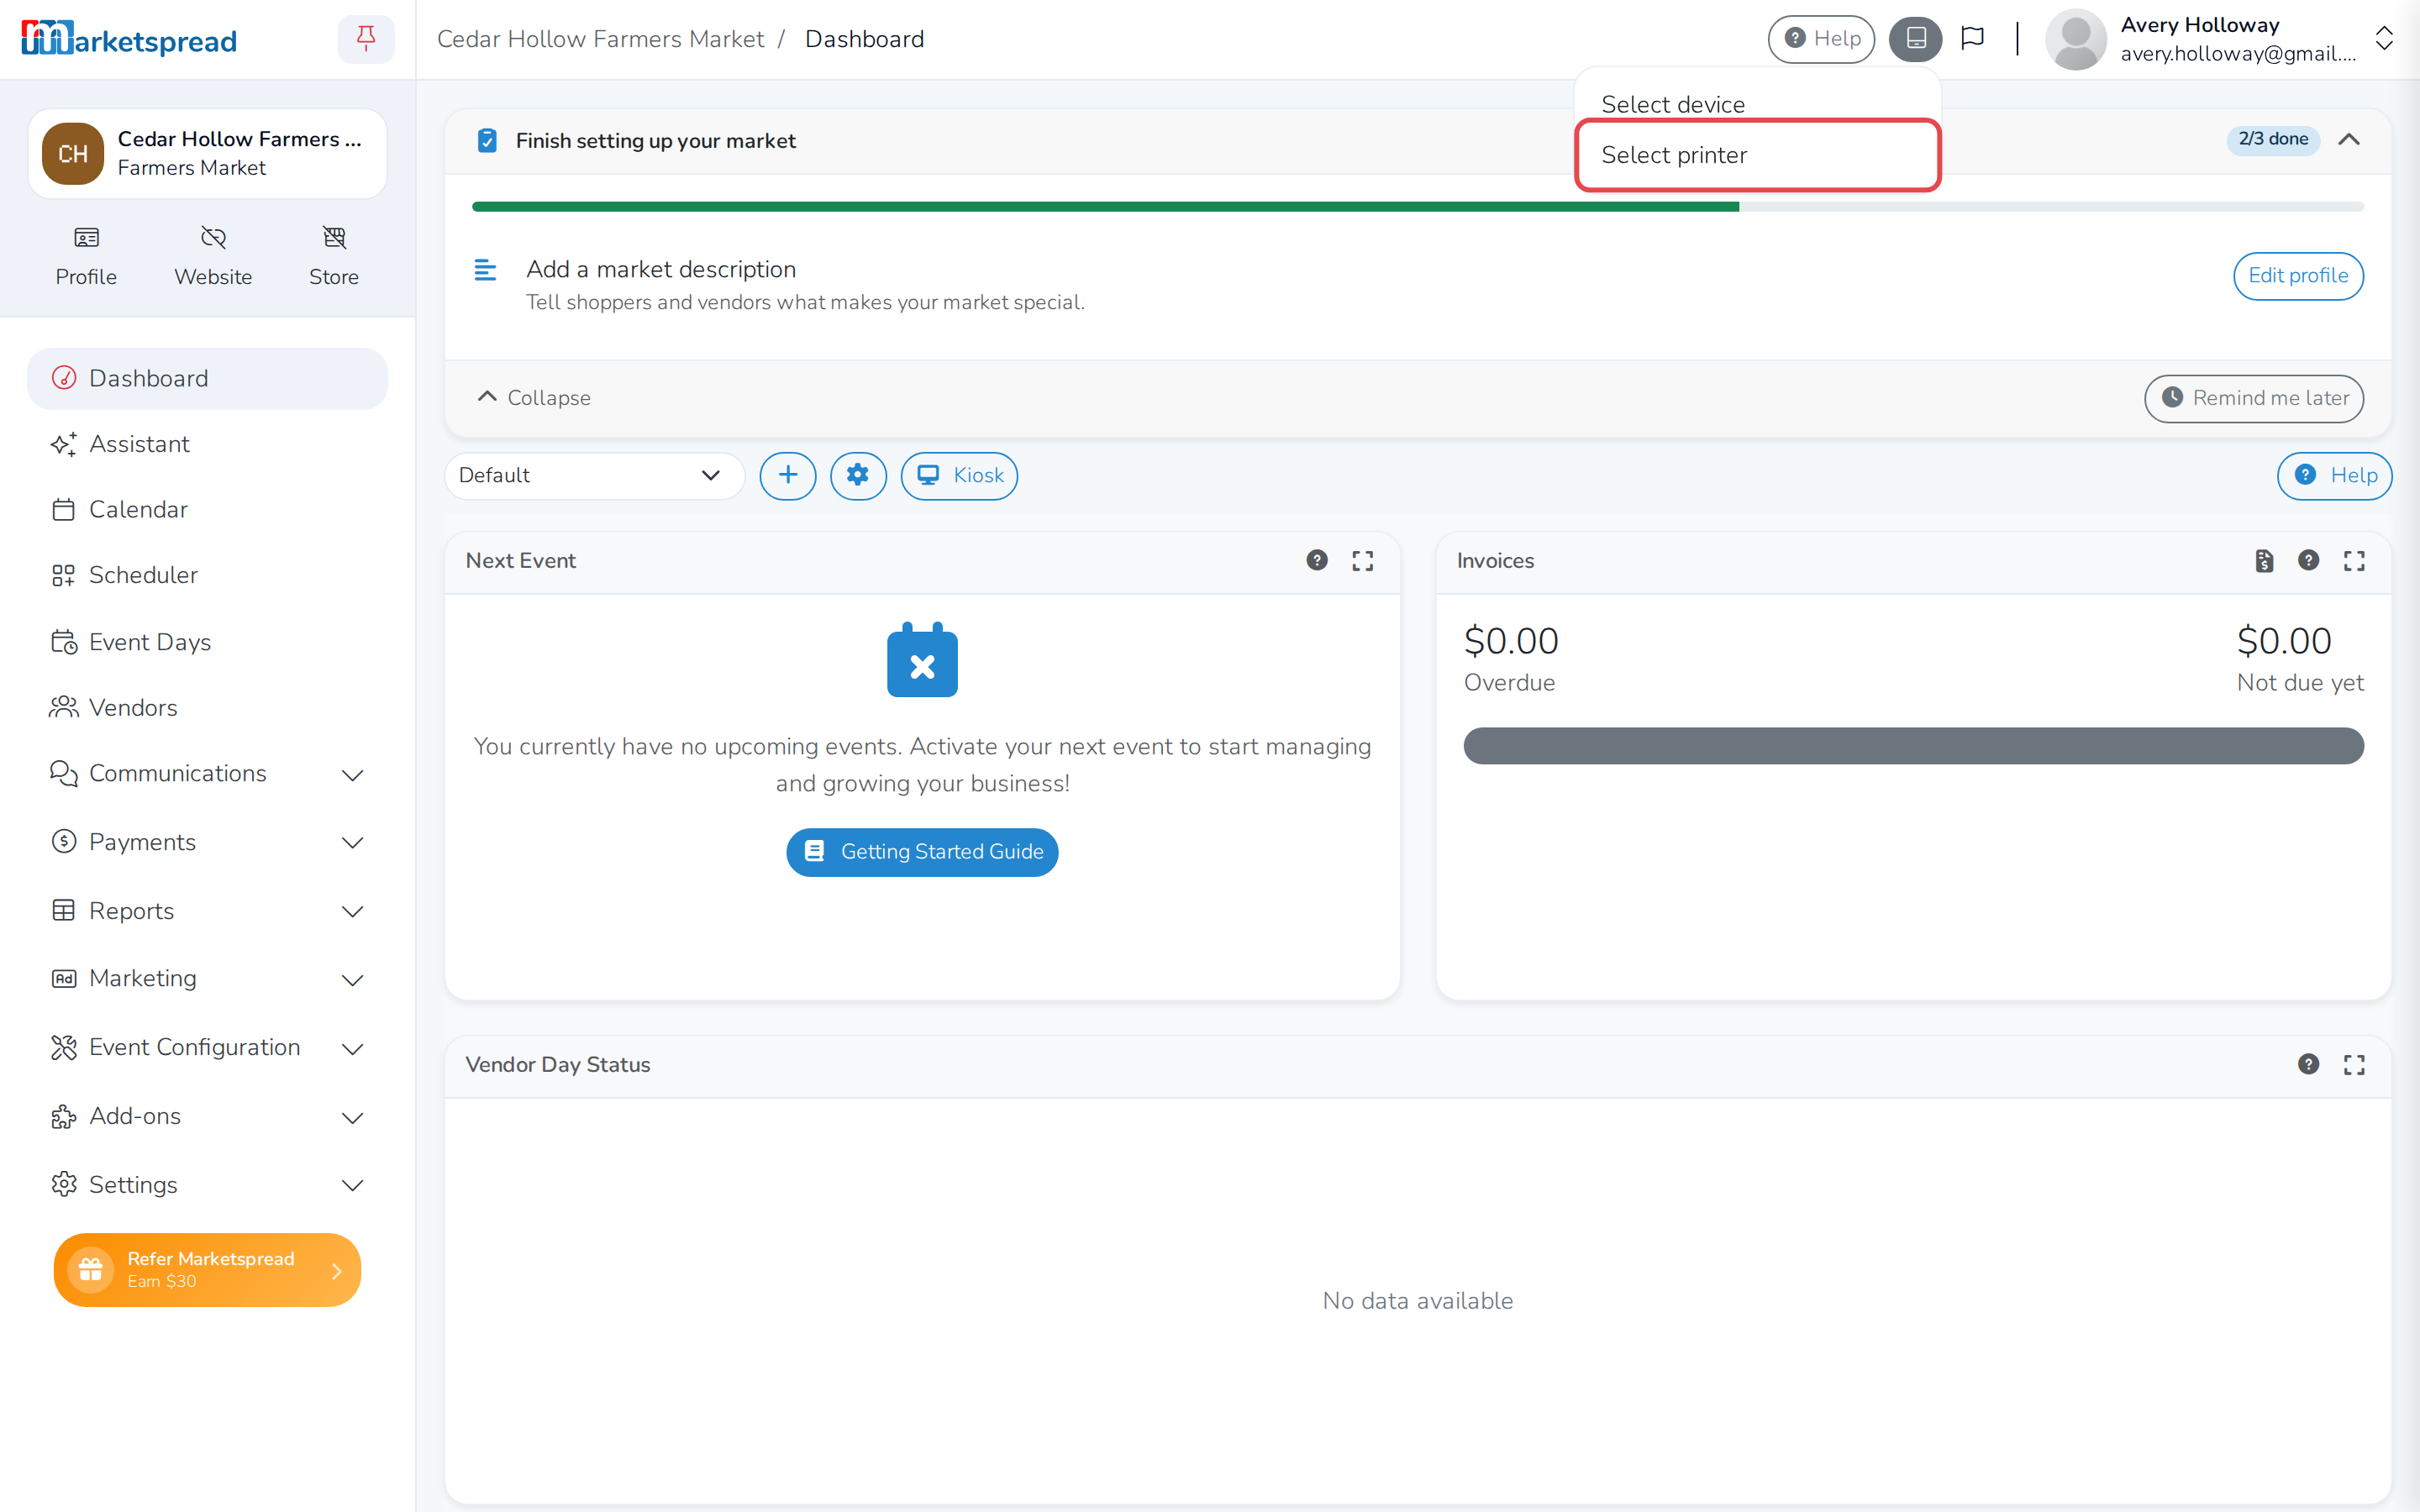
-
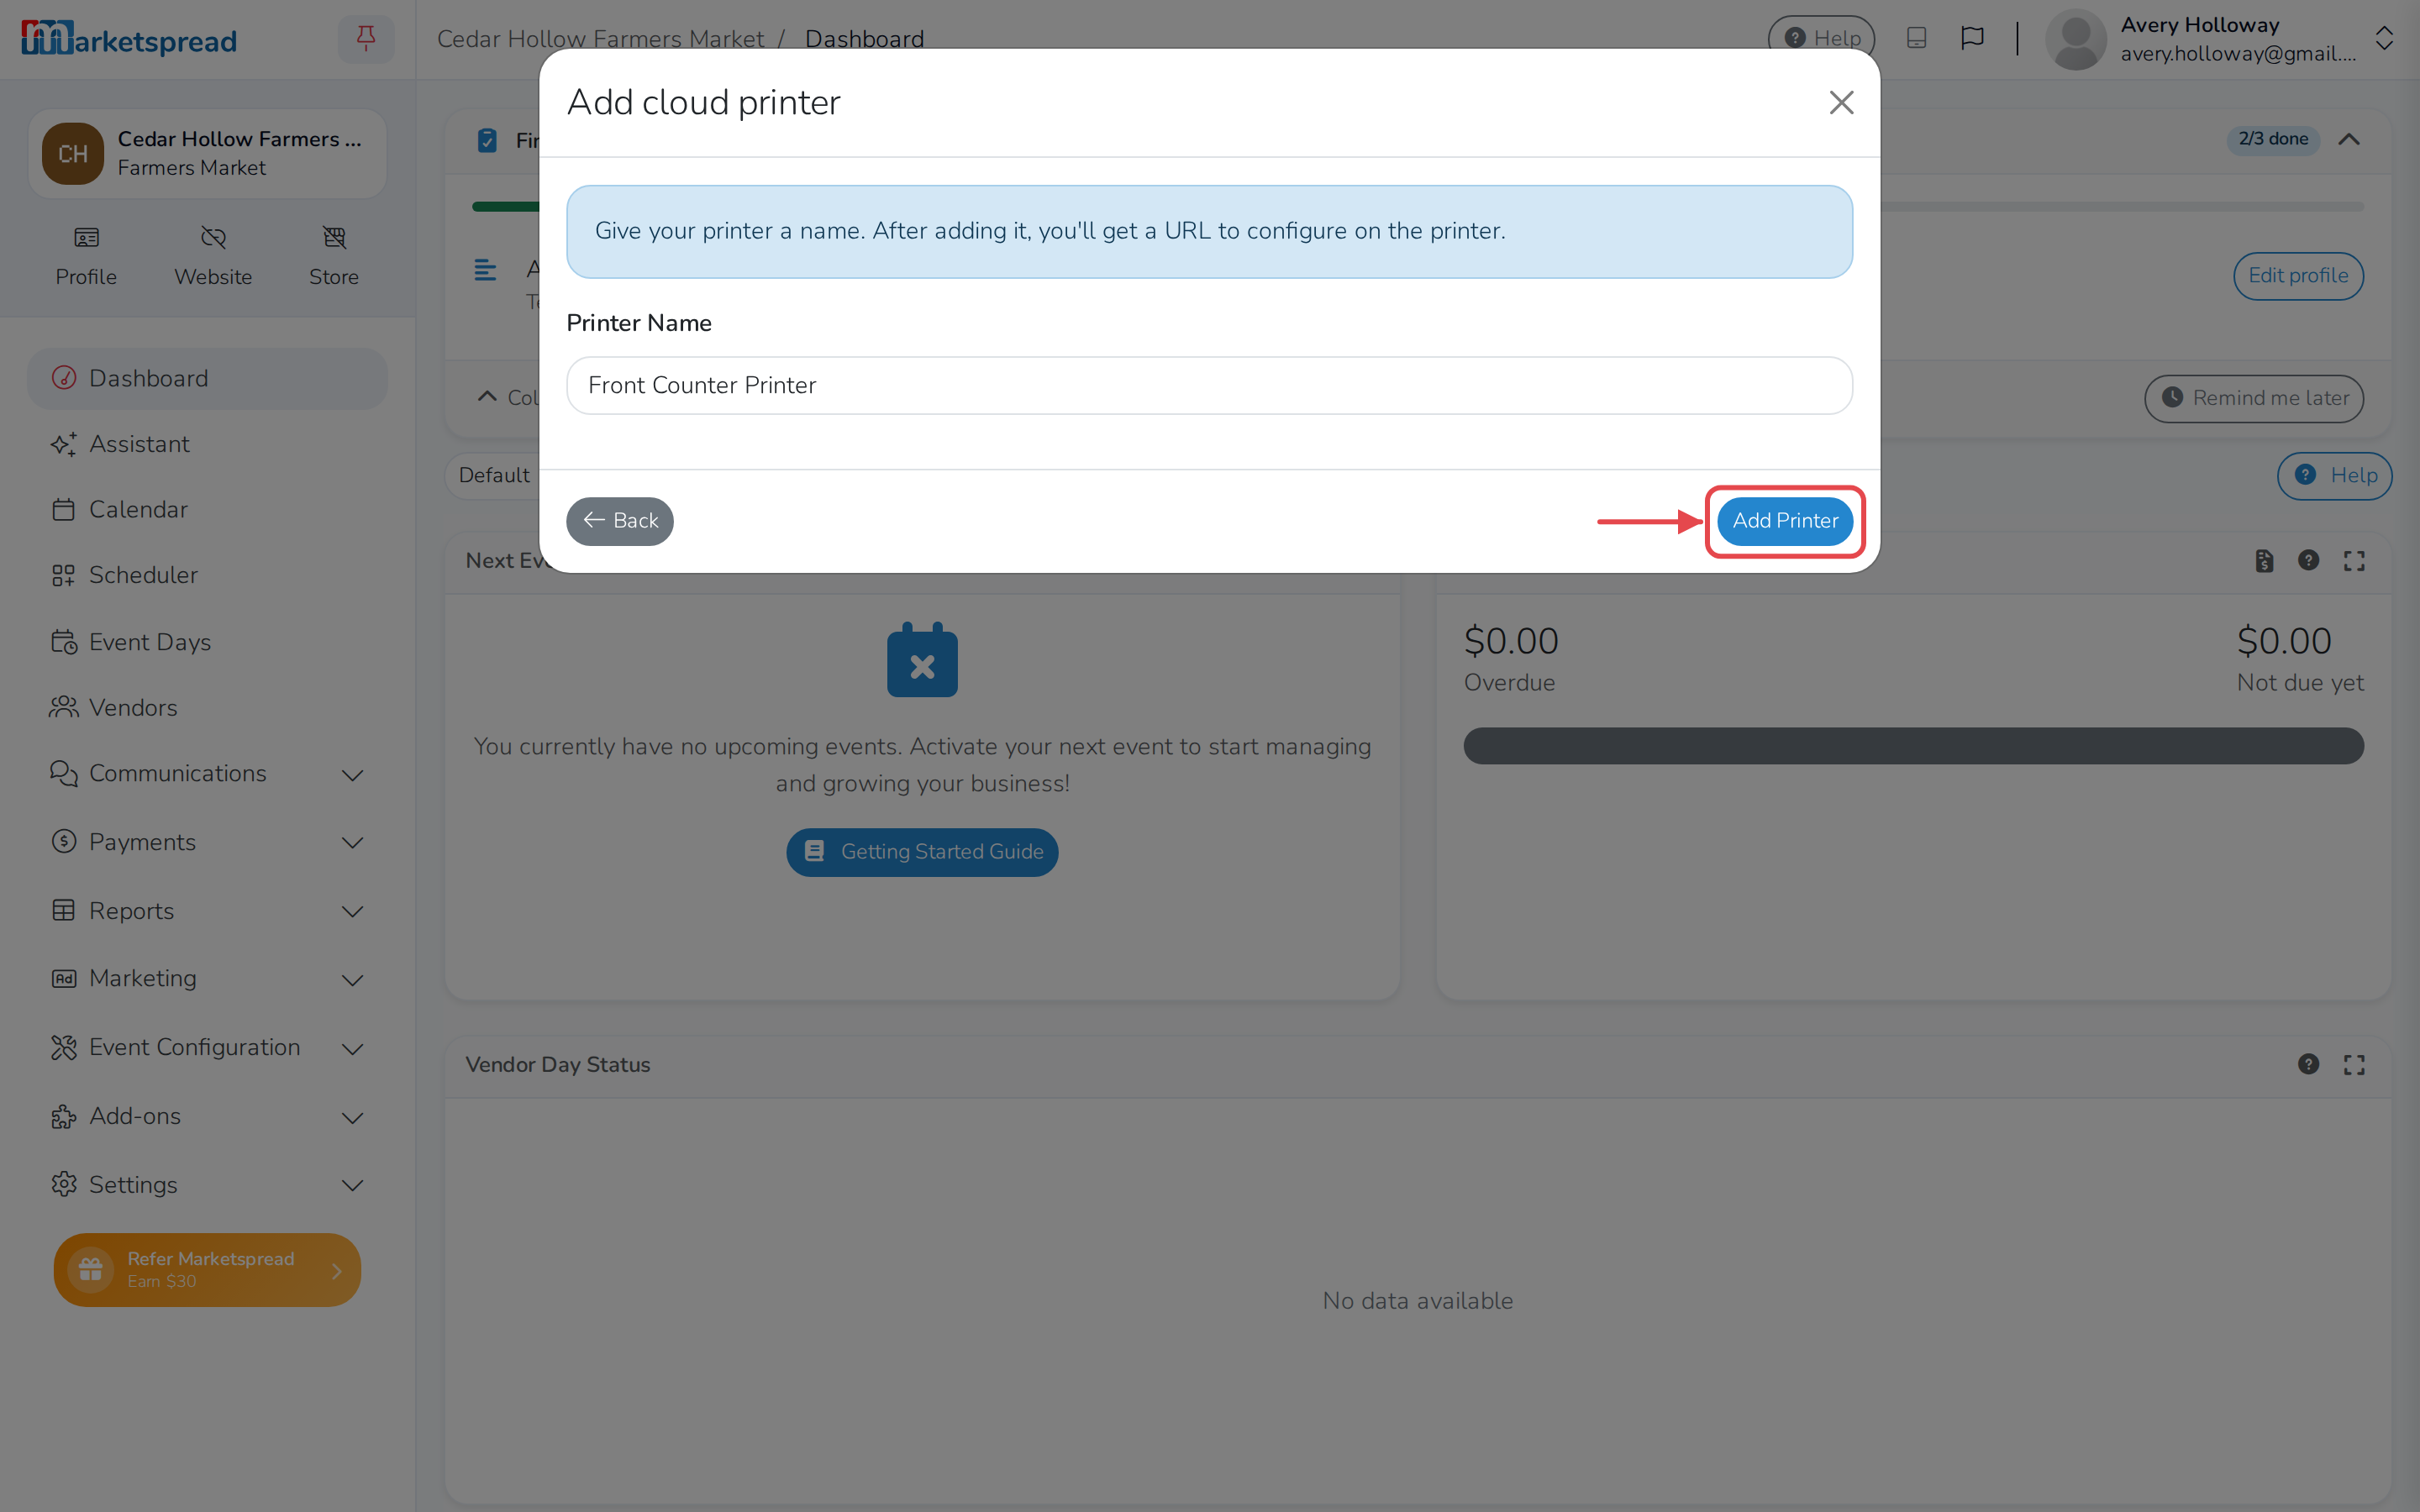
Enter a name for the printer under Printer Name.
-
Click Add Printer.
-
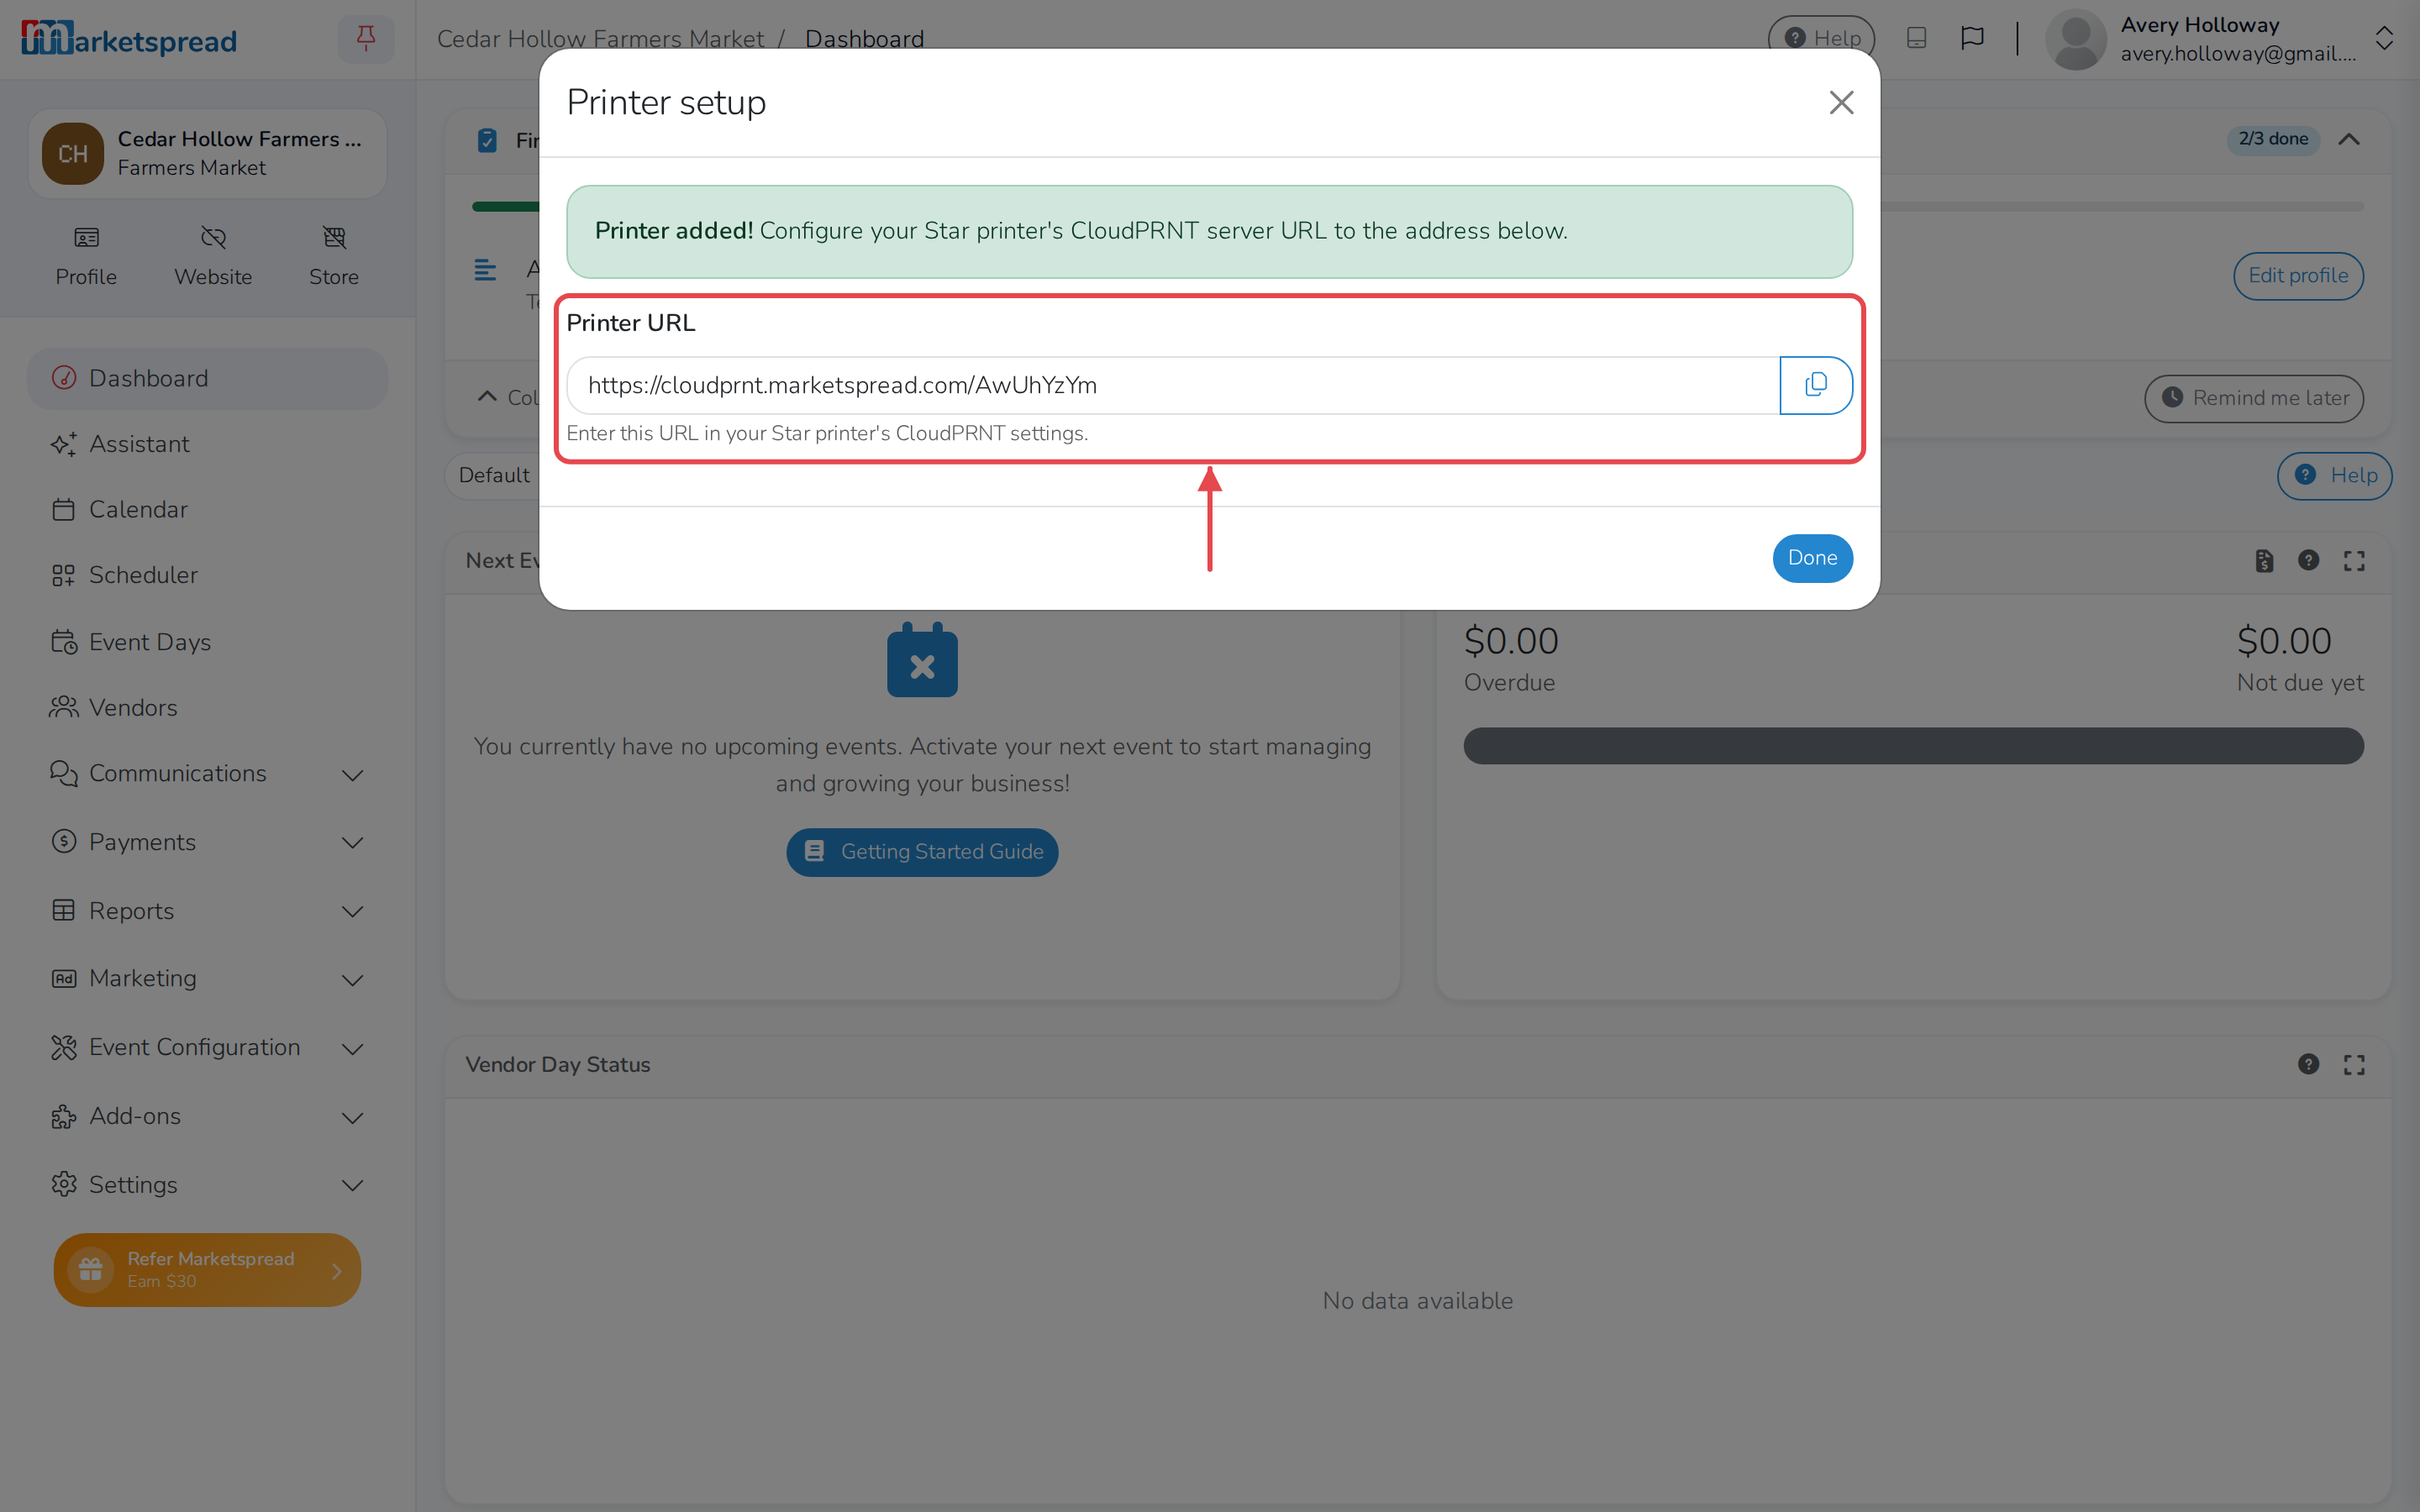
Copy the Printer URL that's shown.
-
On your Star printer, open the Star Quick Setup Utility app and
connect to the printer over Bluetooth or USB. -
Open CloudPRNT, set CloudPRNT Service to ENABLE, then paste
the URL you copied into Server URL. -
Save your changes and restart the printer when the app asks you to.
-
Back in your dashboard, click Done.
Important
Select printer only shows if you haven't already connected a card
reader. If you have, click the tablet icon, click Change device,
then select No device before adding your printer. Reconnect your
card reader afterwards the same way you connected it the first time.
Switch between card readers or printers
-
Click the tablet icon in the toolbar.
-
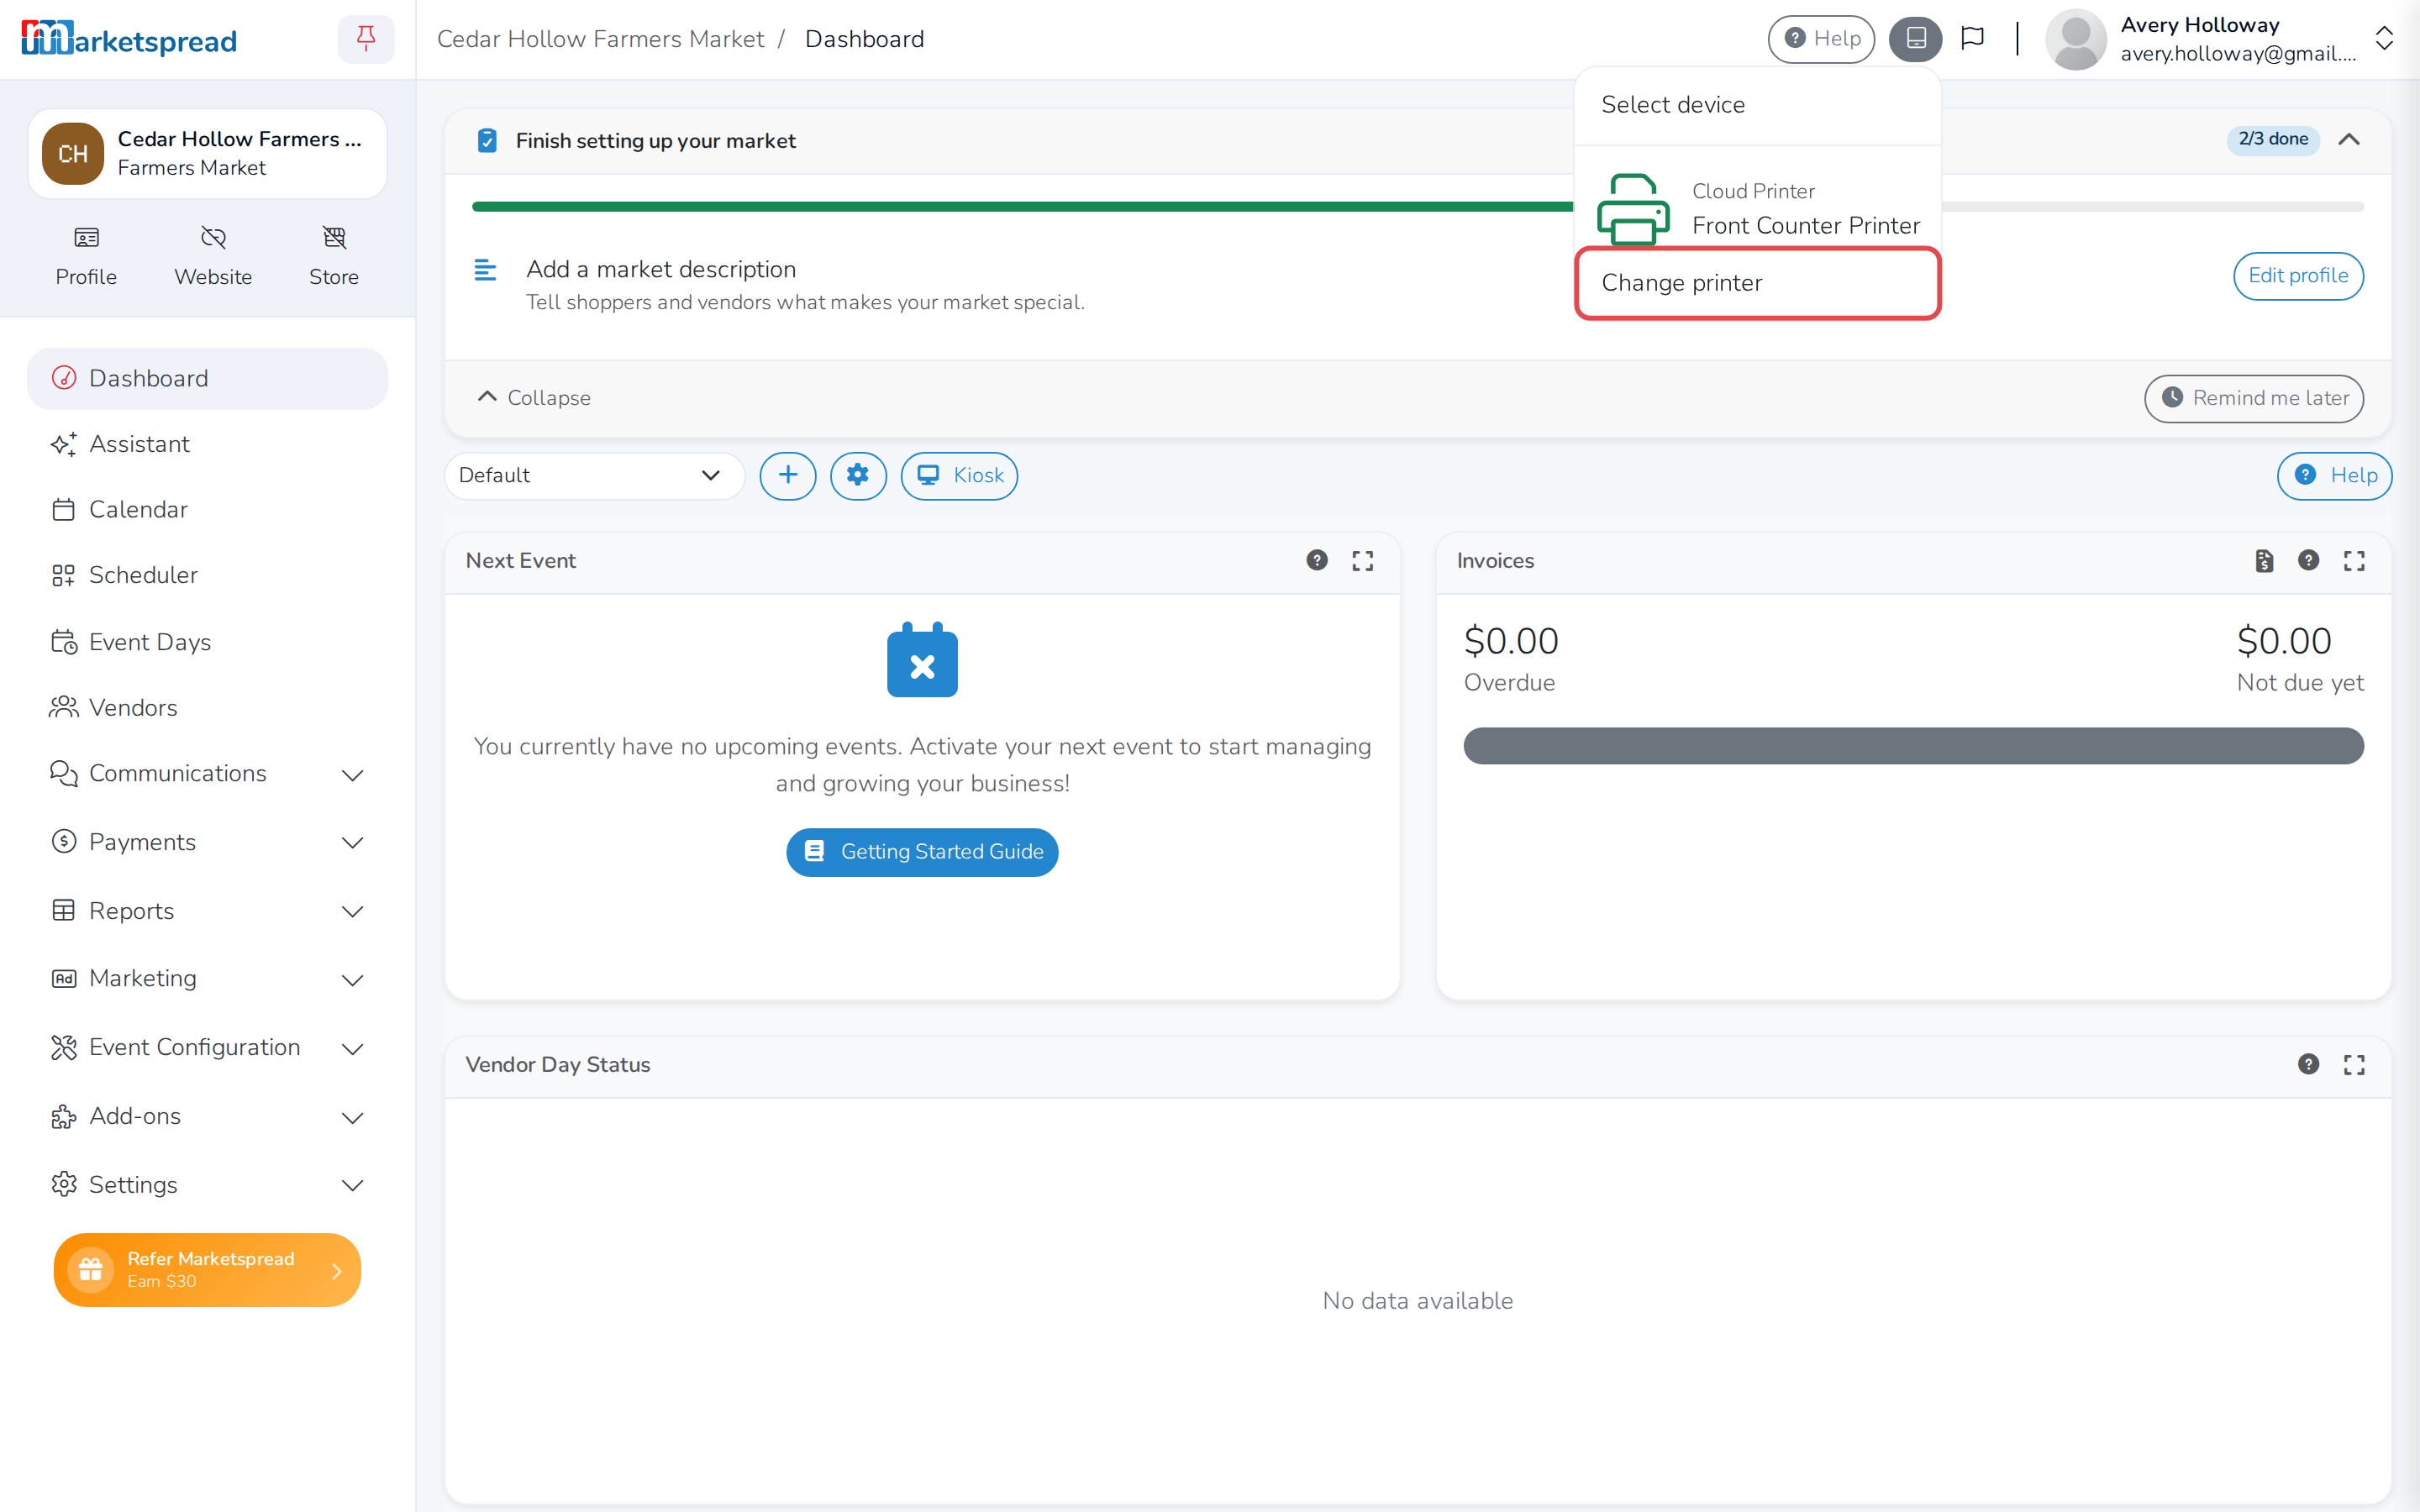
Click Change device or Change printer.
-
Select a different one from the list, or select No device or No
printer to disconnect without removing it.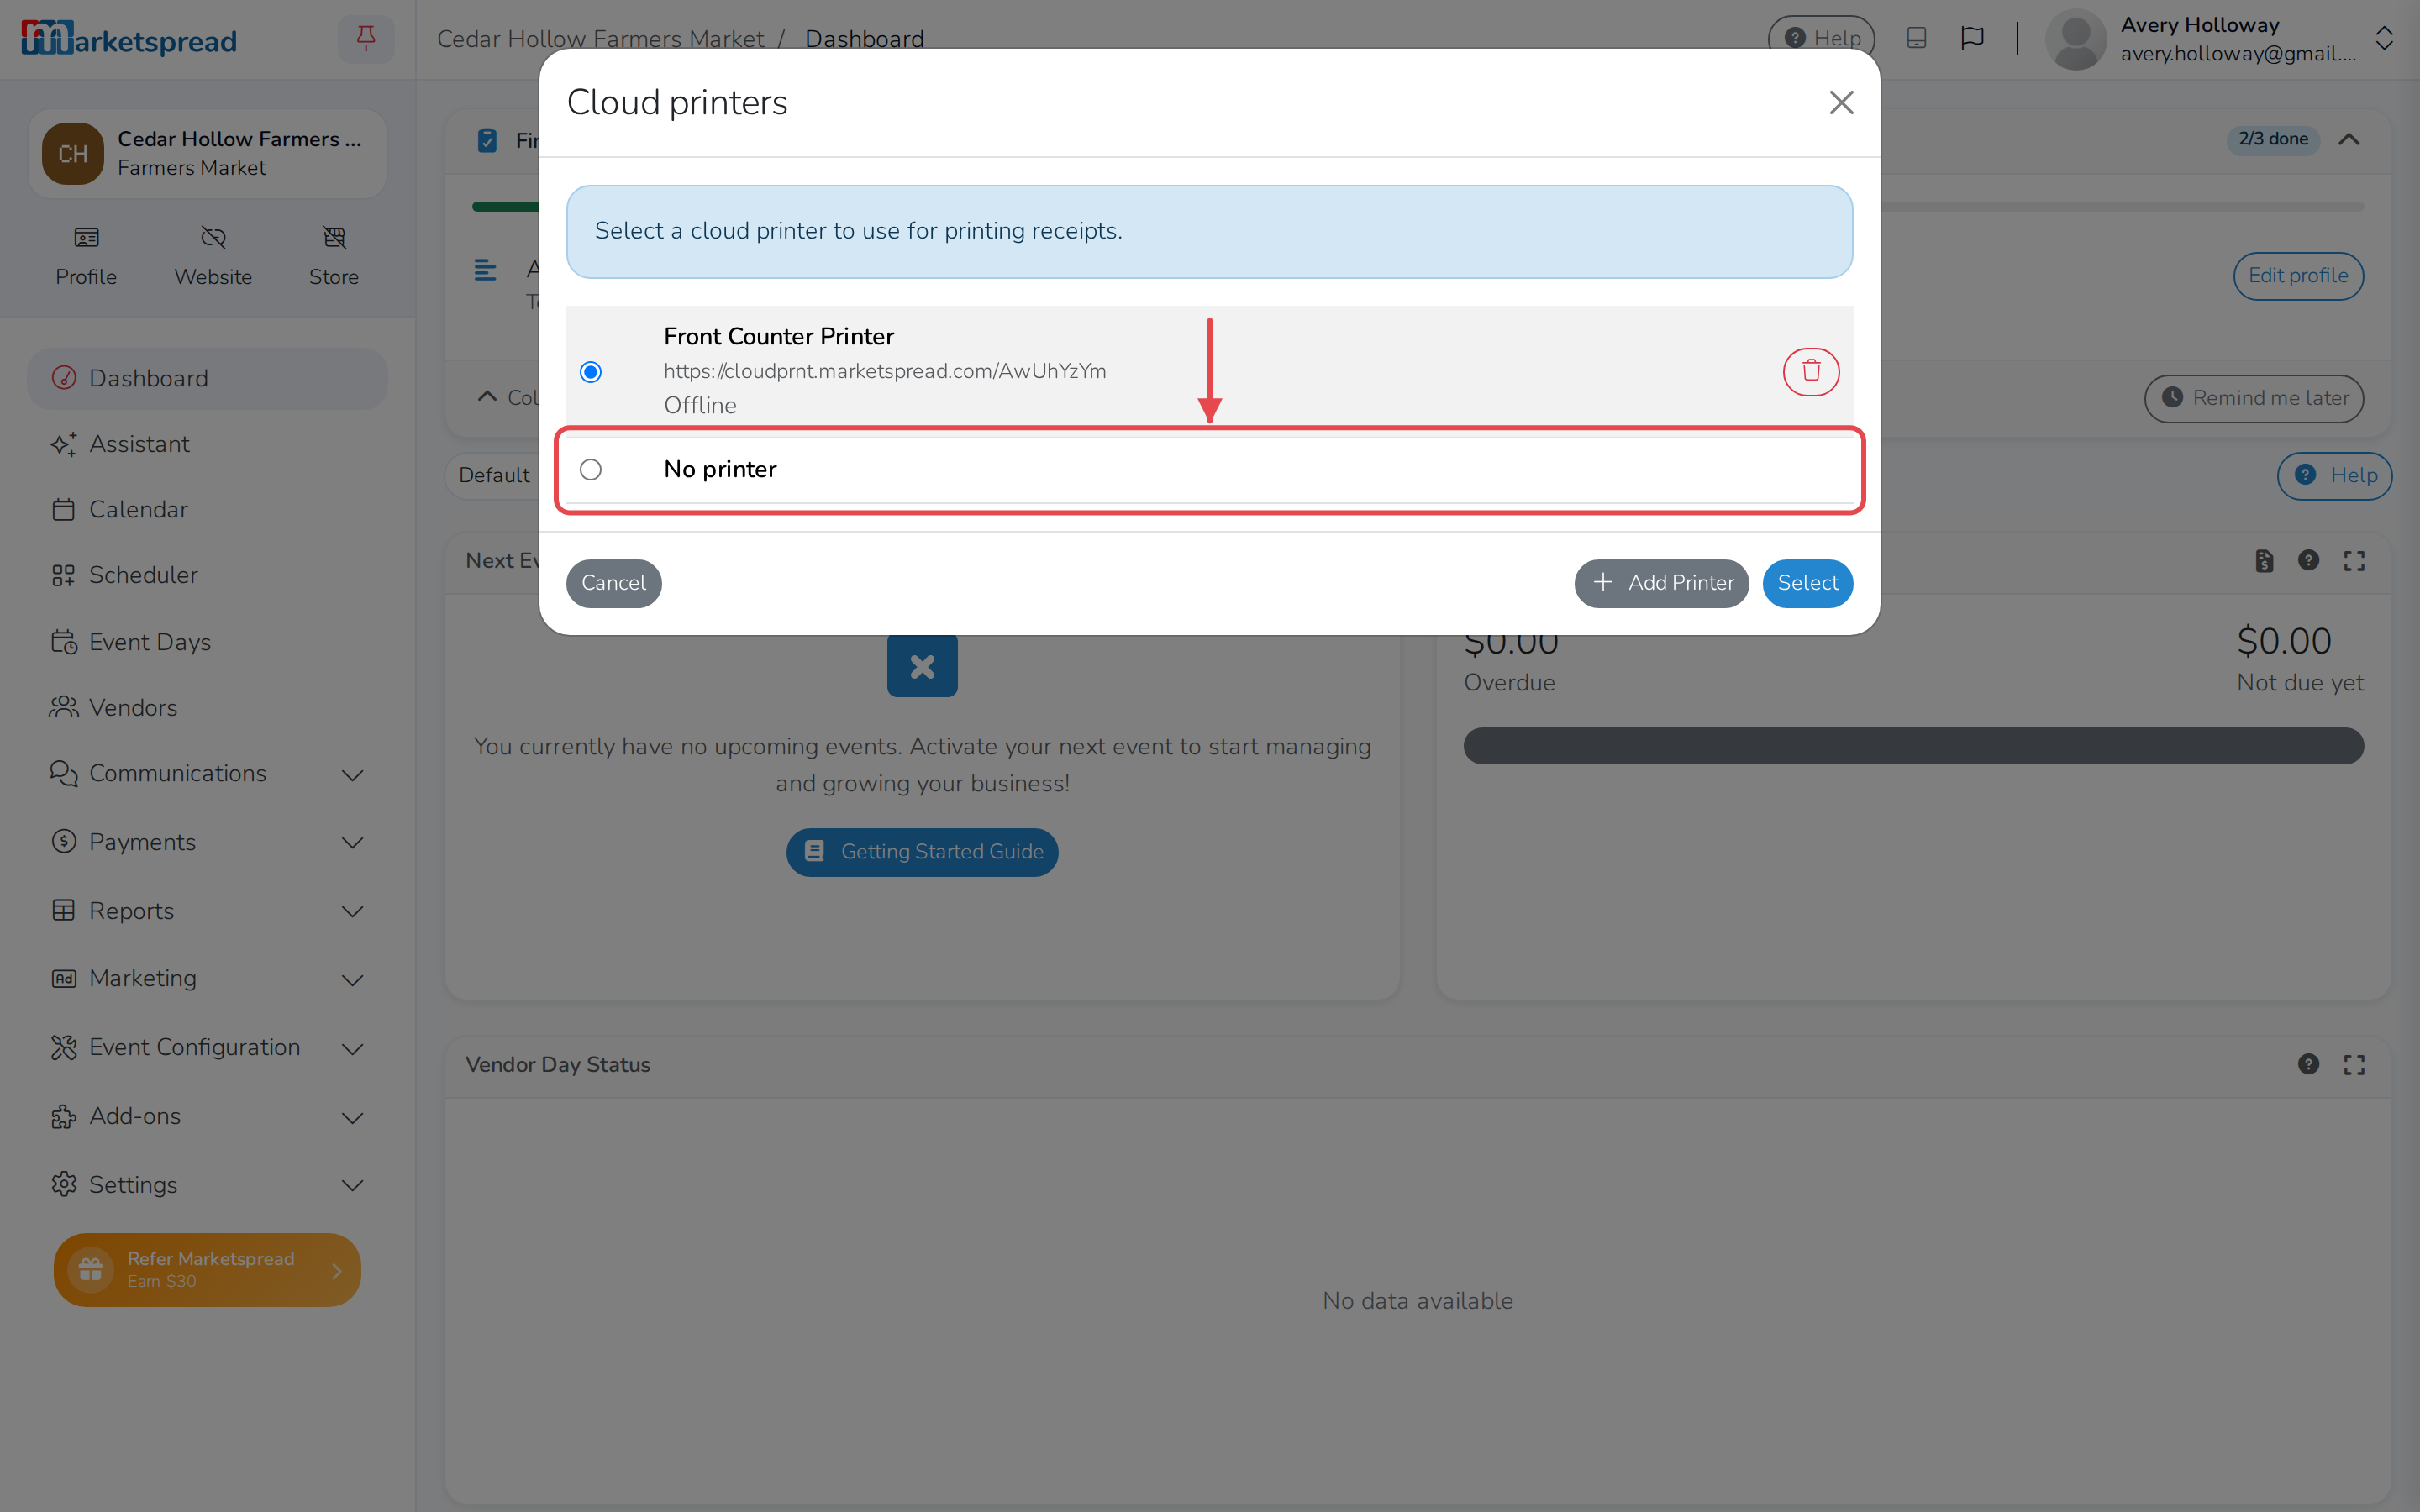
-
Click Select.
Remove a card reader or printer
-
Click the tablet icon in the toolbar.
-
Click Change device or Change printer.
-
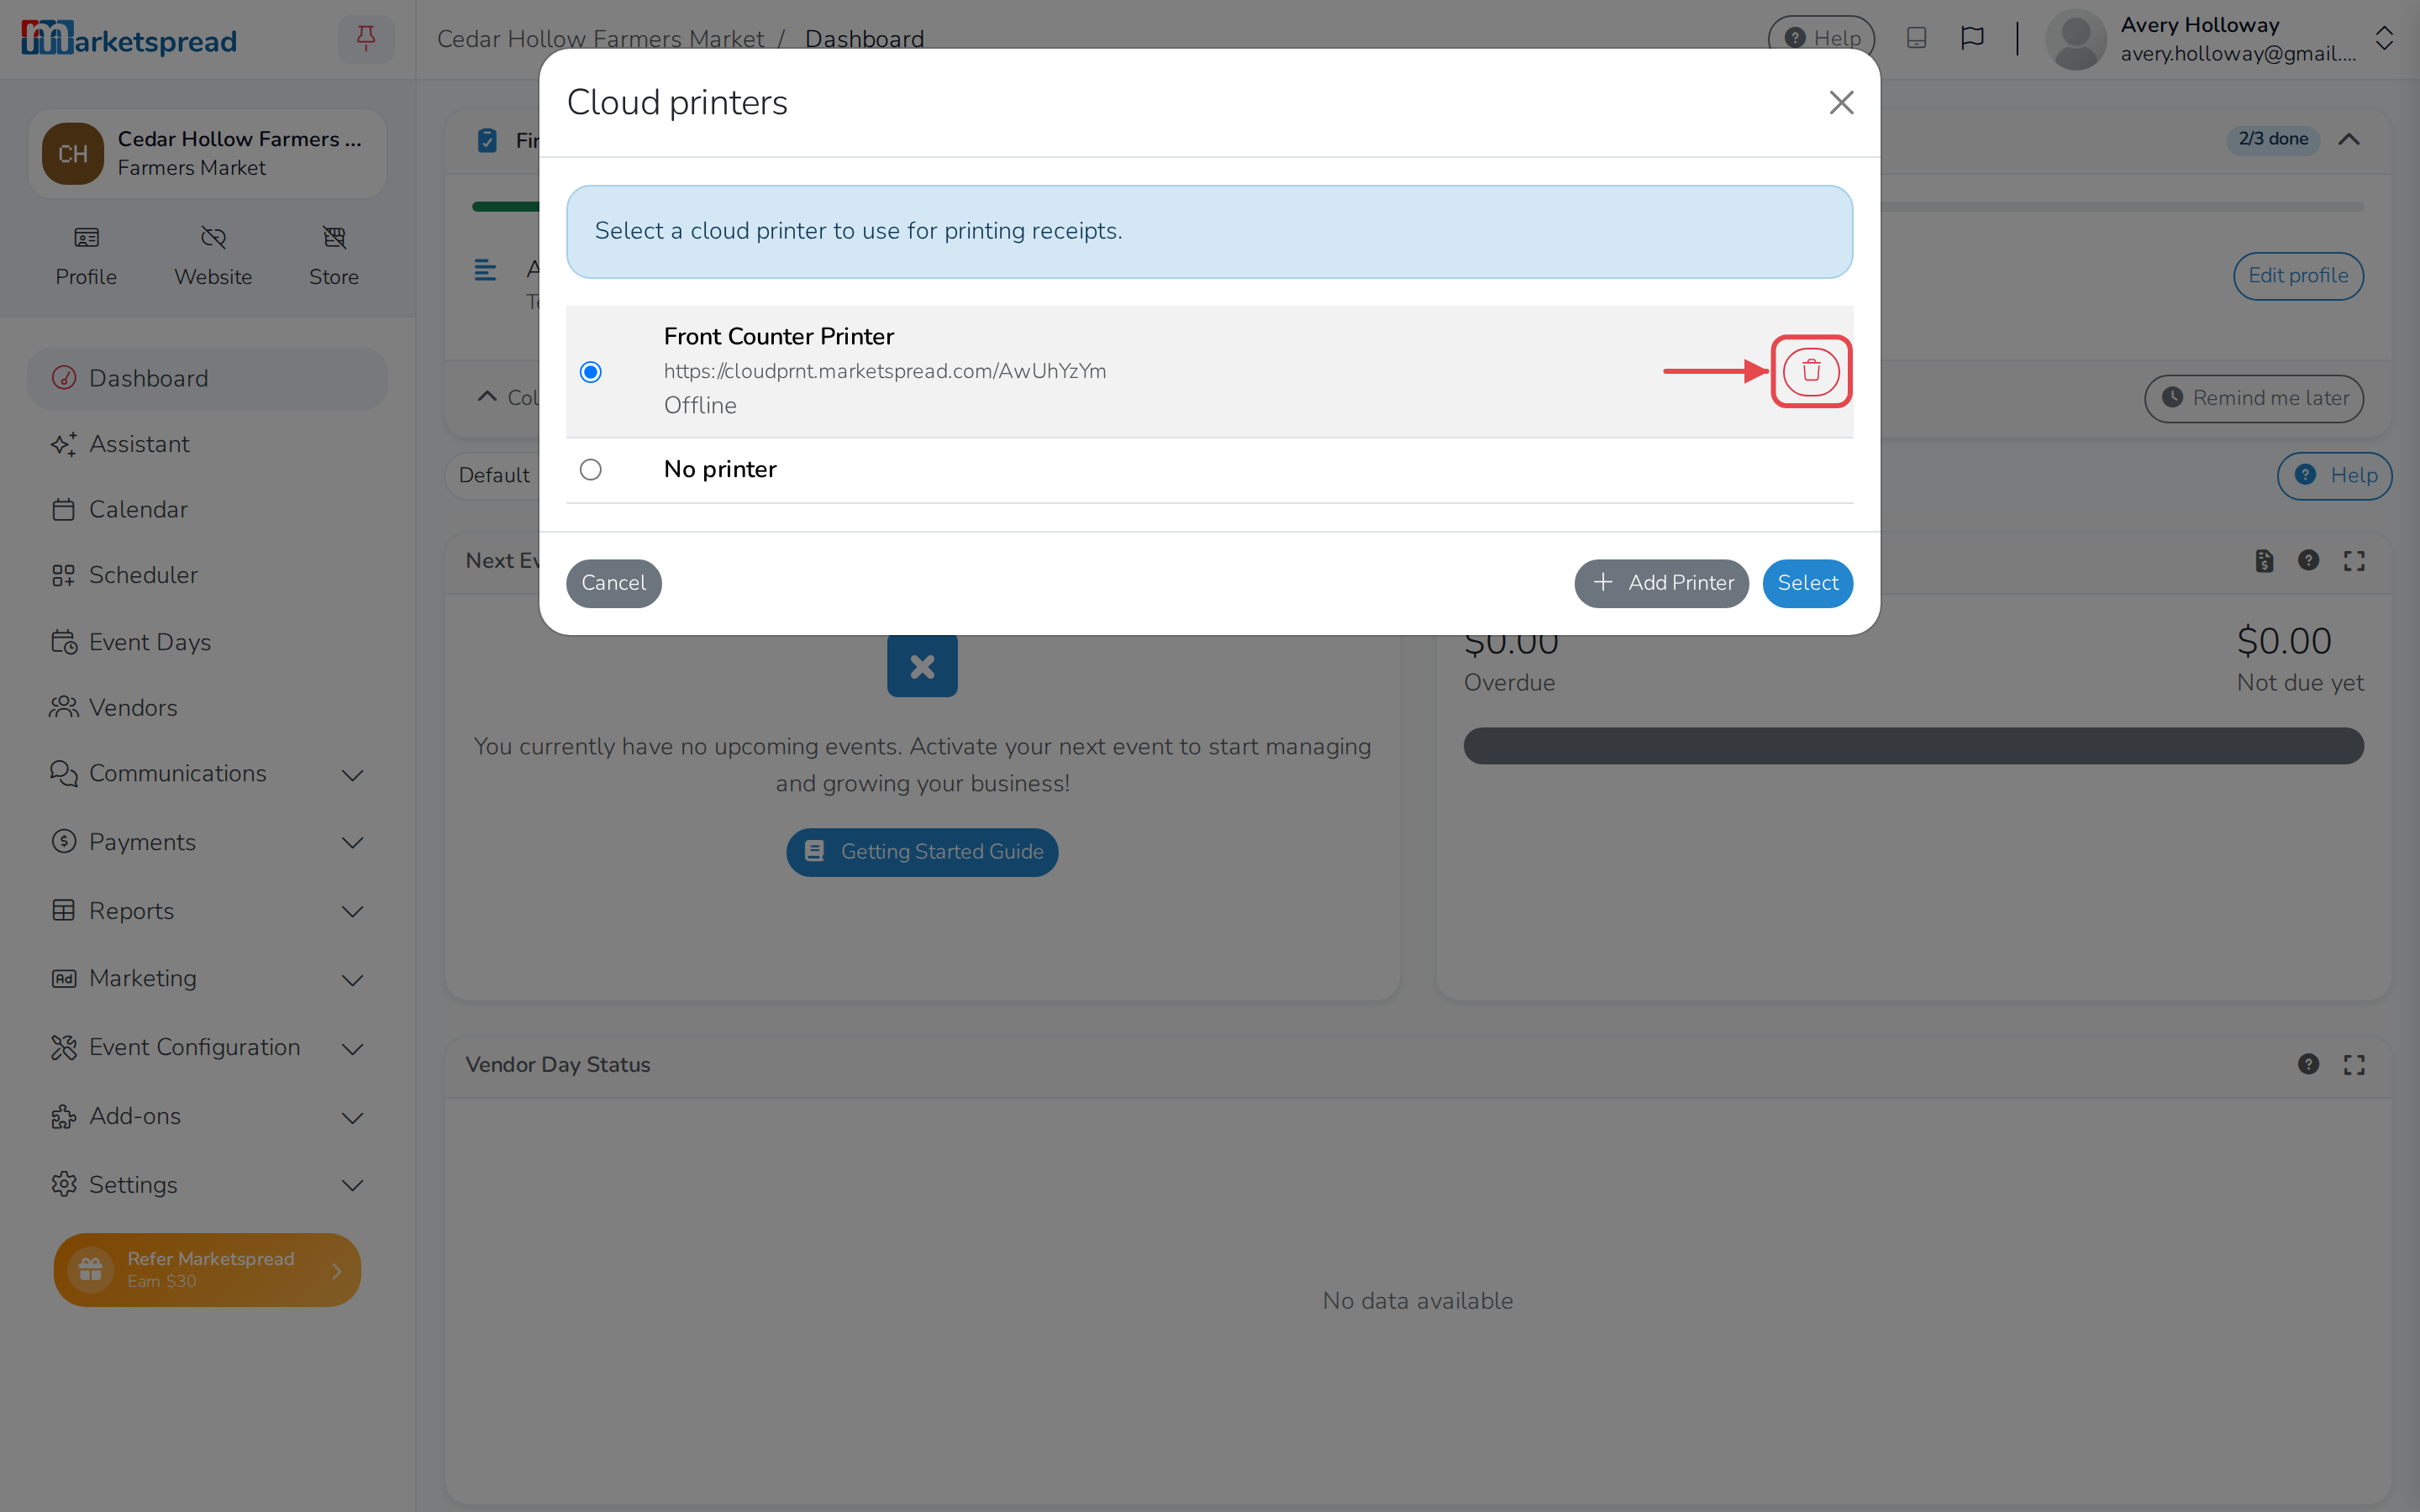
Click the trash icon next to the one you want to remove.
Warning
You'll need its activation code, or a new printer URL, to connect it
again.