


Payment Tracking can be used to monitor cash activity during a sales period. It helps you balance your cash drawer regularly and hold employees accountable for the cash they handle.
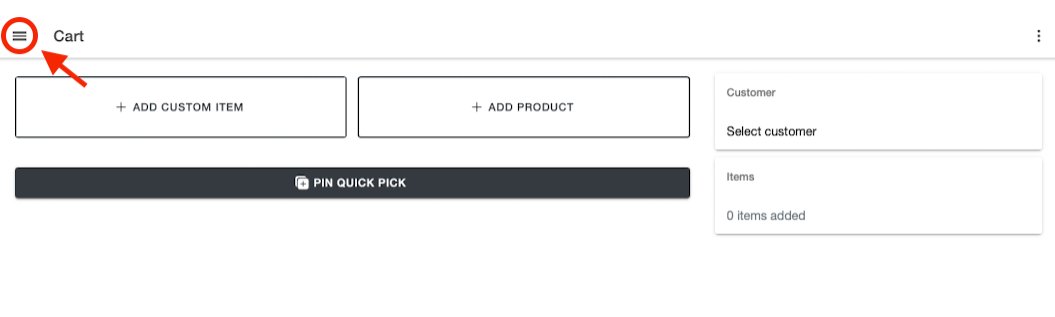
To enable Payment Tracking, tap the menu icon at the top-left corner of the app.
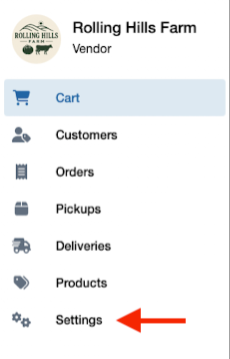
In the menu, select Settings.
Then, under the Store section, click on press to start to the right of Payment Tracking.

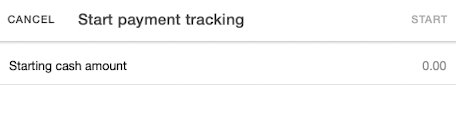
You will then be prompted to enter a starting cash amount for the payment tracking session.
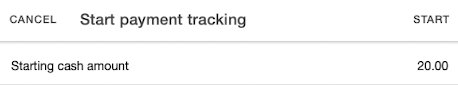
In this example, we are adding $20.00 to the cash drawer. After entering the amount, tap the Start button in the top-right corner.
Once Payment Tracking is enabled, the app will automatically track all incoming and outgoing cash transactions.

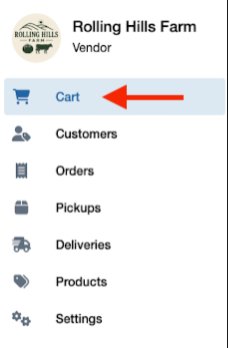
To process a transaction, tap the Cart icon in the menu.
In this example, we added $13.98 worth of products to the cart.
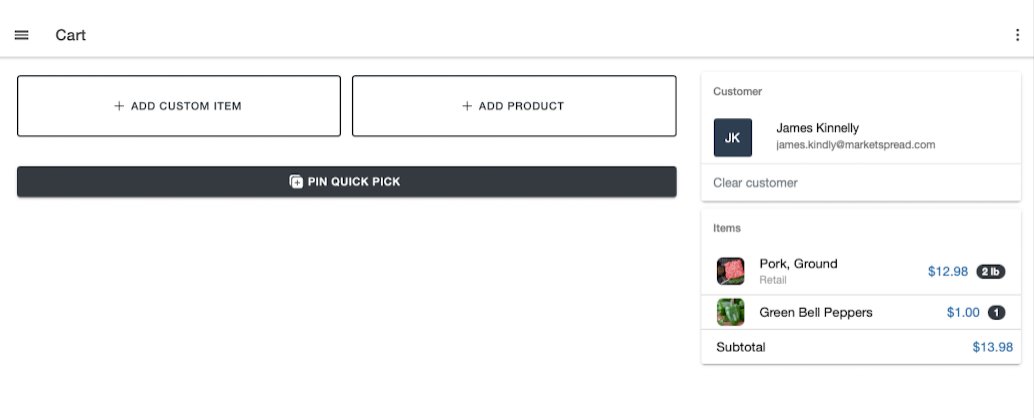
Go down to the bottom of the screen and click the blue Checkout button.
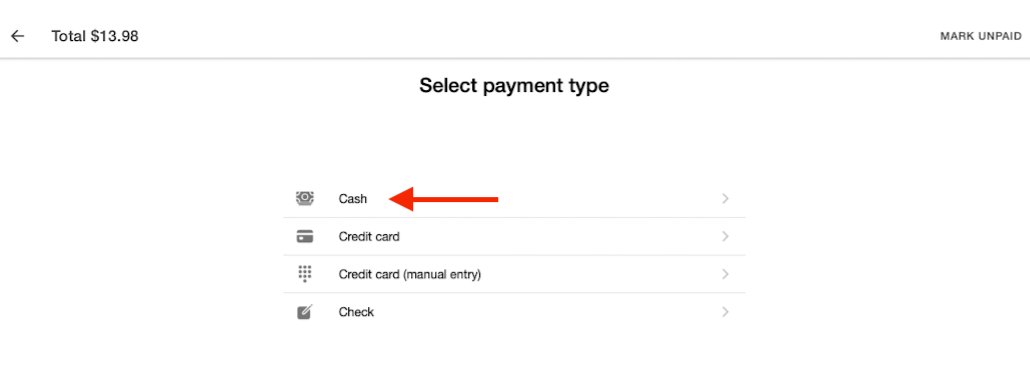
Then in the Select payment type screen click on Cash.
For this example, the customer is paying with $15.
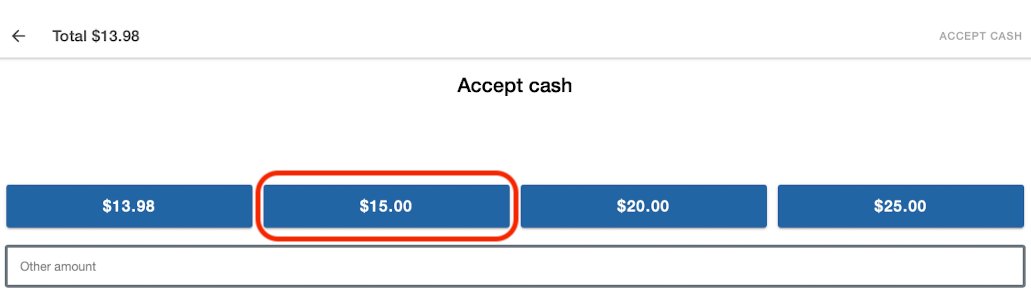
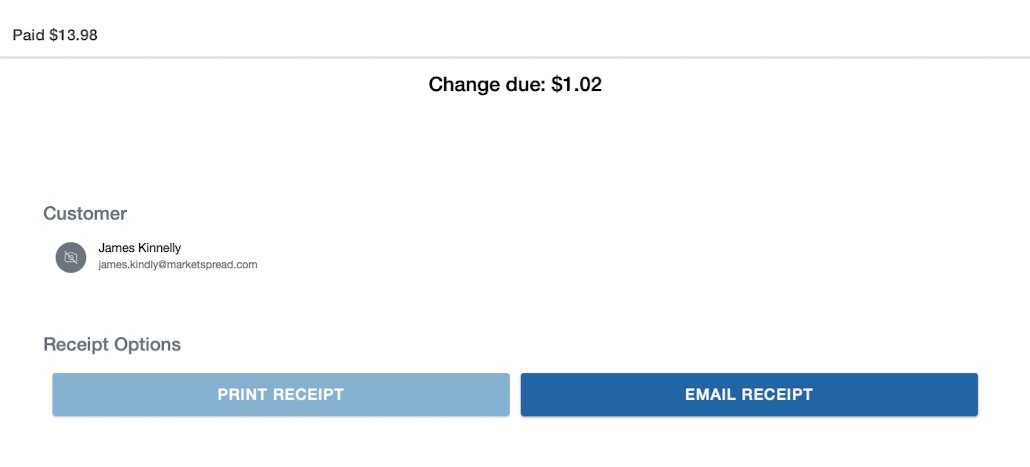
Below is the completed transaction showing change due is $1.02.
If you return to Settings, you will see that the Payment Tracking total is now $33.98.
That total reflects the original $20.00 starting amount plus $13.98 in cash sales.

Tapping Payment Tracking will open a screen where you can:
- remove cash
- add cash
- end the cash tracking session
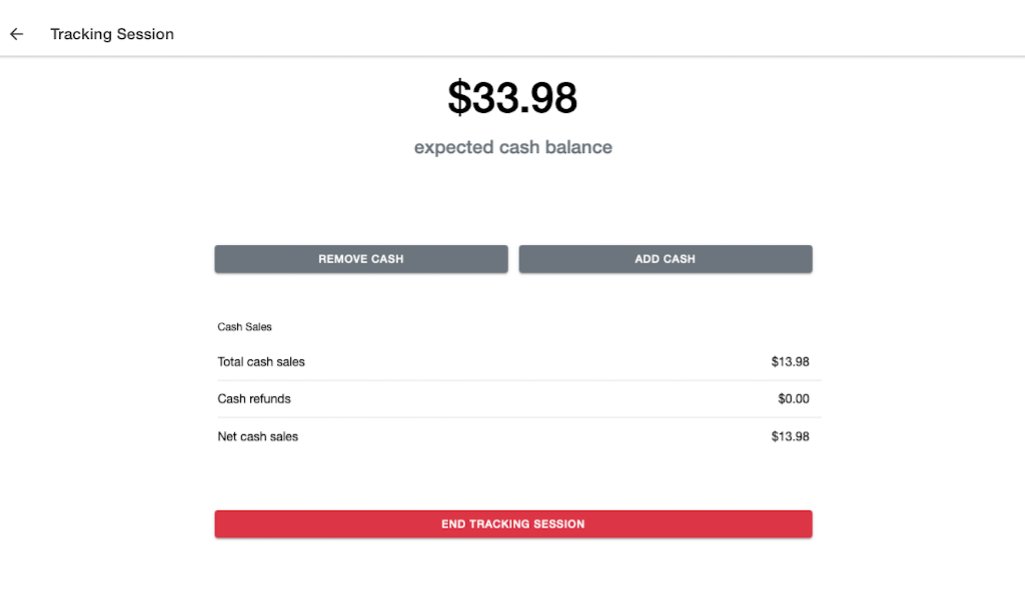
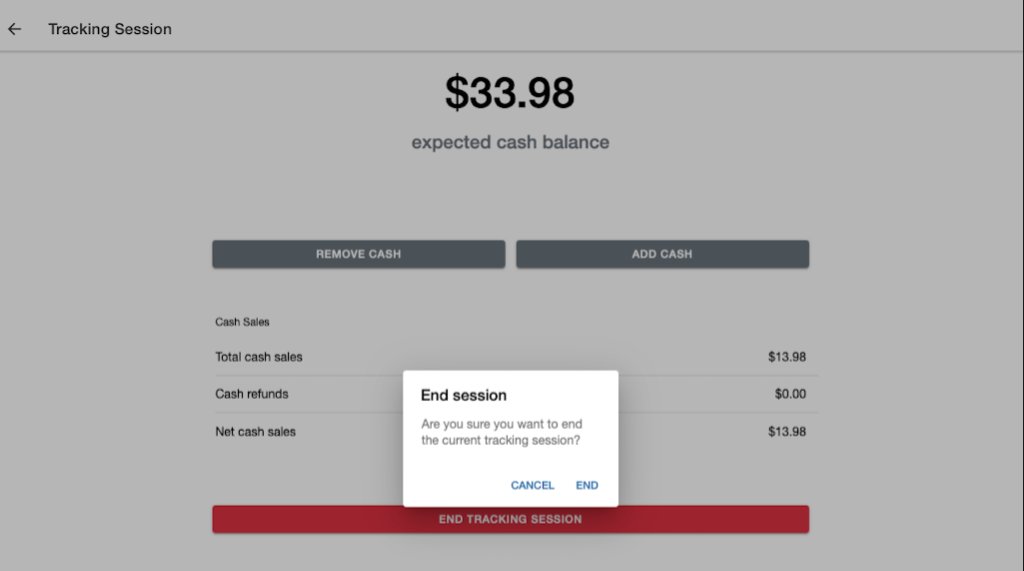
To end the session, tap the red End Tracking Session button. A confirmation window will appear asking if you want to end the current tracking session.
That’s all you need to do to track your cash transactions in the Point of Sale mobile app.