

New vendor applications will generate notifications that will be recorded in your dashboard notifications and can be configured to be emailed to you as well. To access your dashbooard notifications click on the flag icon at the top right.

In this example we see a new vendor application from Valley View Farm as our top notification. To jump right to reviewing the application you can click on the Review application link in the notification.

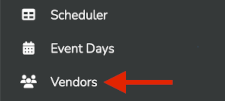
You can also find new vendor applications by using the New Applications filter in your global vendor list accessible under Vendors in your side toolbar.
In your global vendor list, upi cam quickly filter on all new, unreviewed application buy using the New Application Review filter on the lefthand side. In the example below you can see two vendors with new applications pen

To review the vendor click on the Review button to the far right of that vendor line item. In the example below we will review the newly applied Valley View Farm vendor.

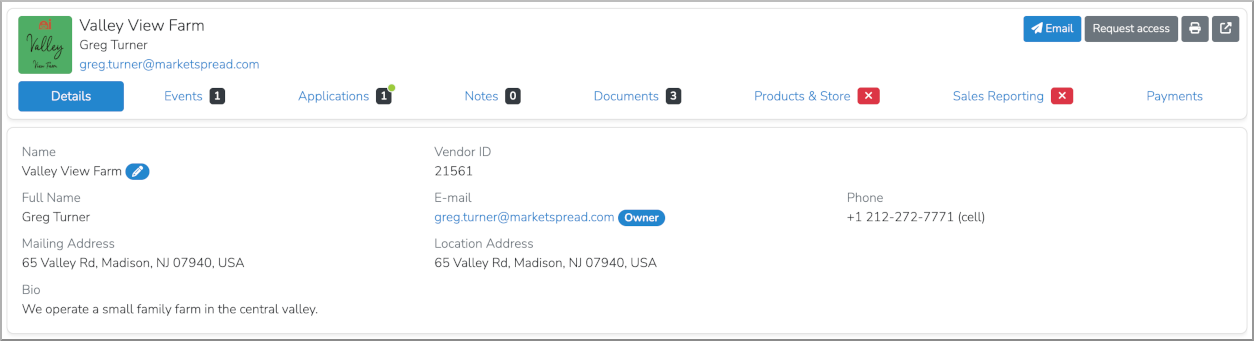
After clicking Review, you will be taken to the Vendor Record, which contains all the information on that particular vendor. The Vendor Record is divided up into sections as seen in the tabs at the top of the page. These include:
- Details
- Events
- Applications
- Notes
- Documents
- Products & Store
- Sales Reporting
- Payments
Below is an example for the vendor we are reviewing in this example. Notice the little green dot in the "Applications 1" tab. This indicates there is a new application to review.
To begin the application review, click on the Applications tab. This will show you a list of all applications this vendor has every applied to for that market. In the example below it is a brand new vendor so there is only one application. If that vendor were to apply again next year you would see two lines here, one for 2025 and one for 2026.
To continue to the application reveiw click the Review button to the right of the application.

Here you will find the actual vendor application. Below is a screenshot example of the top part of the application including the application states avaialble for you to select. They include:
- Decline
- Resubmit (will open the application back up to the vendor to edit as needed)
- Withdraw
- Receive (notifies the vendor the application was received)
- Pre-approve (optional state that has whatever meaning you give it)
- Approve
A common approval scenario would be to first select Receive to let the vendor know you have received the application, then after fully reviewig it selecting either Approve or Decline.
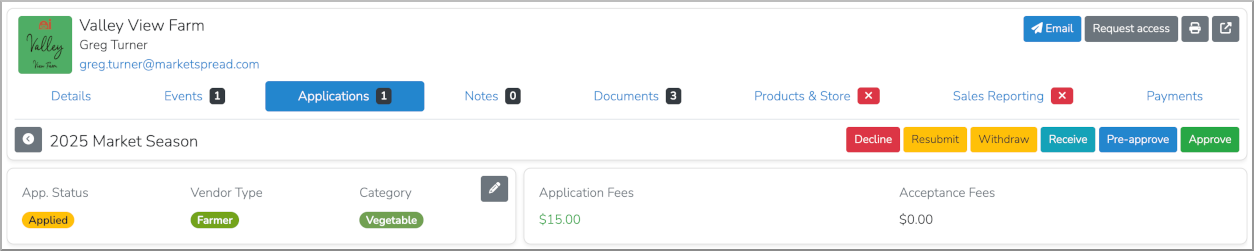
Note: Each time you change a vendor status it sends them an email and publishes a notification to their dashboard. The default notifications can be overridden by following the support article below: Customize status messages
After you Approve a vendor you will want to review their specific of their Event (or Season) selections. These include potentially reviewing:
- Products (Optional)
- Event day status
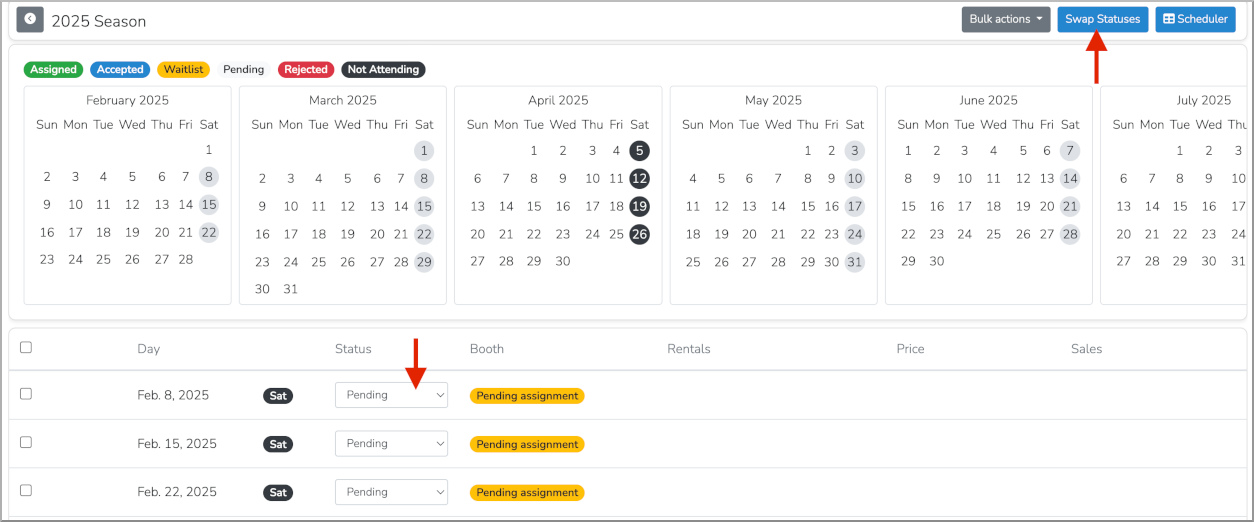
You can review their Event (Season) selections but clicking on the blue Review button for the Event as shown in the application. Below is an example. You can also select the Event tab at the top of the Vendor Record.

In the case you have Product Review enabled for your Event (or Season) you will be able to that in the vendor Event page. Simply click on the blue Review button in the Products card.

In the vendor Event page you will also be able to set the per event day status. Marketspread separated Application status from Event day status. This is a very important and powerful concept as it allows you to more specifically control your vendors event attendance. Each event day will have
- Pending - the defualt state for vendors wanting to attend that day
- Waitlist- an optional state used to indicate uncertain booth availability
- Accepted- a state indicating the vendor is allowed to attend that day (booths must still be booked)
- Rejected- a state indicating vendors will not be allowed to attend that day
- Not Attending- a state indicating that the vendor does not wish to attend that day
You can set the day status one by one in the event day list or in bulk by using the blue Swap statues button. Vendors will see each event day state in their dashboard so they can track their approval status.
From here you can start assigning spaces for each event day with Scheduler. For an overview of that process, please see the support article below: