

Creating an Event
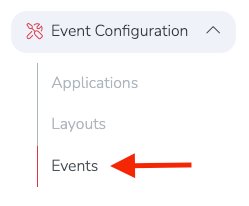
From your dashboard, go to Event Configuration → Events from the left-hand navigation menu.
If this is your first event, you will need to create at least one application and one layout before continuing. If either is missing, the Events page will prompt you to create them first.

Tip
Check out our Learning Center articles: Creating Applications and Layout Designer Overview.
Once you have created an application and layout, you can create a new event.

Event creation is divided into the following sections:
- Basic – configure the core event settings
- Days – add the dates and times for the event or season
- Other Fees – configure advanced vendor fee automation
- Rentals – add rental items to make available for event days
- Sales Reporting – configure vendor sales tracking and optional commissions
- Activate – activate your event or event season
- Vendors – view vendors associated with the event once it is active
- Actions – access event management tools such as cloning the event or resyncing fees once it is active
After clicking + Add Event, you will be taken to the Basic section.
Basic Event Setup
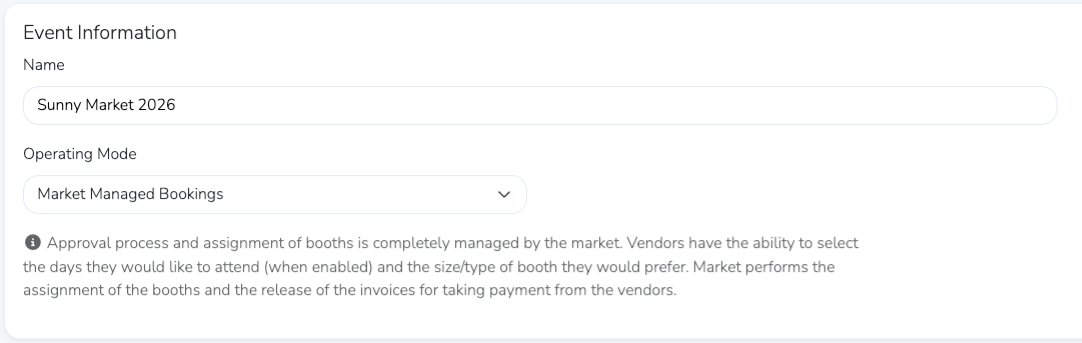
Enter an Event Name that clearly identifies the event.
Choose an Operating Mode:
Market Managed Bookings
The market manages the approval process and booth assignments. Vendors can select the days they want to attend, if enabled, and indicate preferred booth sizes or types. The market assigns booths and releases invoices for payment.
Managed Vendor Bookings
The market manages vendor approval. Once accepted, vendors can select the days and booths they want to purchase through a self-checkout experience. The market can still move vendors and adjust booth assignments.
Open Vendor Bookings
Vendors are automatically approved during checkout, where they select their days and booths at the same time they apply. The market can still move vendors and adjust booth assignments.
In this example, the event is named Sunny Market 2026 and uses Market Managed Bookings.
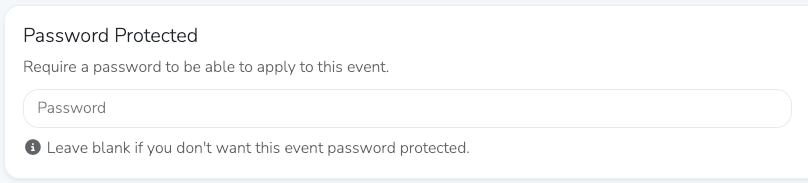
You can also choose whether vendors must enter a password to apply. If you want to require a password, enter it here. If left blank, no password will be required.
Event Application
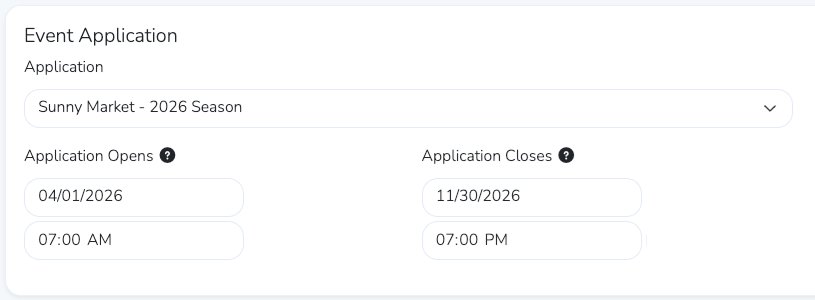
Under Application, select the application template to associate with the event.
Set the Application Opens and Application Closes dates and times to define when the application will be available.
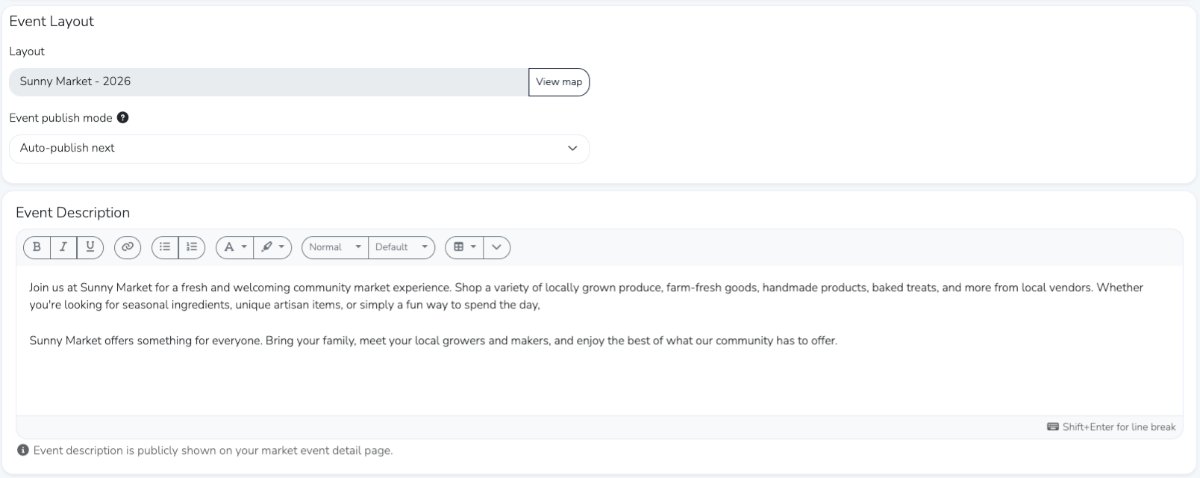
Event Layout
Under Layout, select the layout template to use for the event.
Choose an Event Publish Mode for maps:
- Auto-publish all
- Auto-publish next
- Manual
Keep in mind that published maps are visible to vendors and customers.
Add an Event Description to describe the event for vendors and customers. This description will appear on your public market profile.
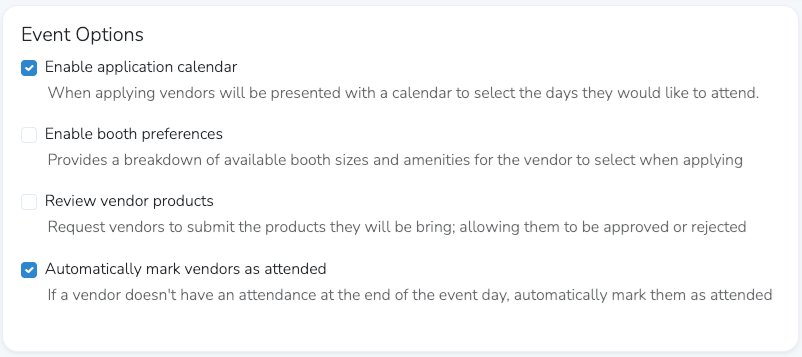
Event Options
Use these settings to control the information collected and how vendors interact with the event.
- Enable Application Calendar – lets vendors select the days they want to attend when applying
- Enable Booth Preferences – lets vendors select preferred booth sizes and amenities during the application process
- Review Vendor Products – lets you review and approve or reject products vendors plan to bring
- Automatically mark vendors as attended – automatically marks vendors as attended if no attendance status is set by the end of the event day
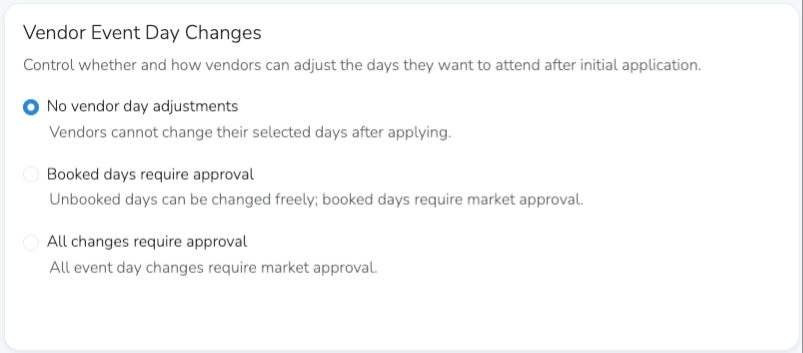
Vendor Event Day Changes
Choose how vendors can adjust the days they want to attend after submitting their application:
- No vendor day adjustments – vendors cannot change their selected days
- Booked days require approval – unbooked days can be changed freely, but booked days require approval
- All changes require approval – all day changes require market approval
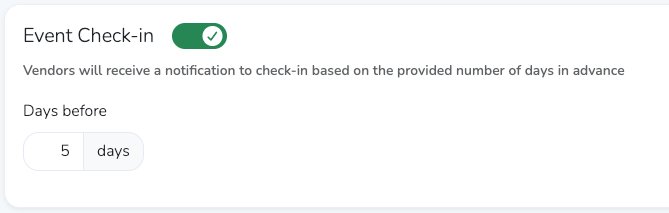
Event Check-In
This feature lets vendors check in before market day.
When enabled, all accepted vendors for an upcoming event will automatically receive an email with a button to check in ahead of time.

Enter the number of days in advance that vendors should receive the check-in notification.
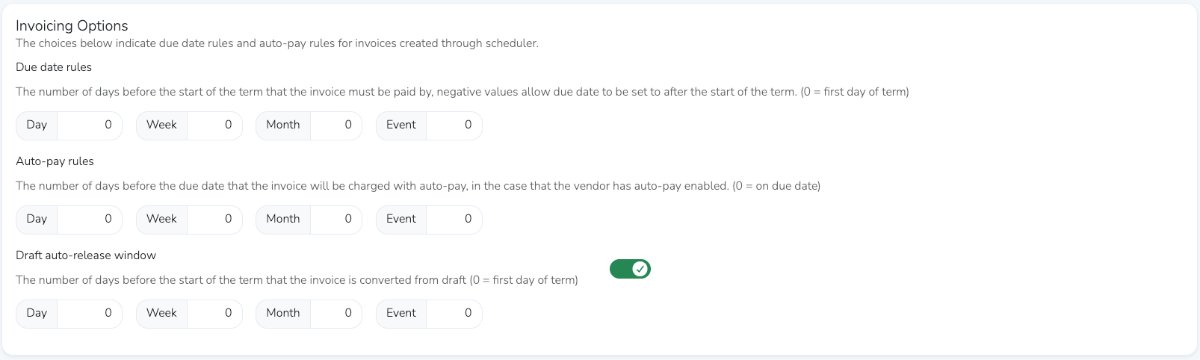
Invoicing Options
Use this section to define invoicing rules for the event.
Due Date Rules
Set the number of days before the start of the term that invoices must be paid. Negative numbers allow invoices to remain payable after the term begins.
Auto-Pay Rules
Set how many days before the invoice due date vendors with auto-pay enabled will be charged.
Draft Auto-Release Window
Enable this setting to choose how many days before the term a draft invoice will automatically be released.
When finished, click the blue Save & Add Days button at the bottom of the screen.
When finished, click the blue Save & add days button at the bottom of the screen.

Event Days
After saving the basic settings, you can move on to the Days section.
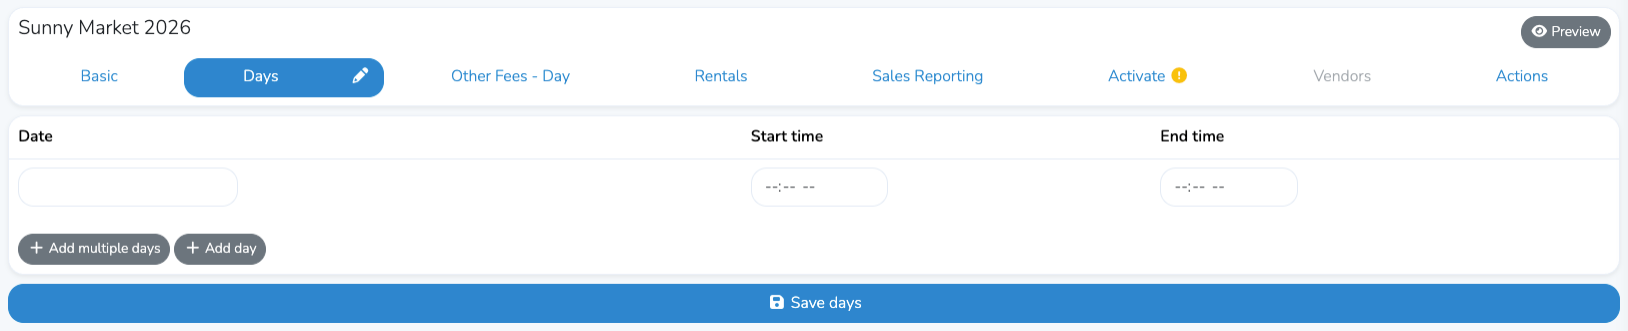
Whether you are running a one-day event or a full market season, event days are configured here.

To add a single event day:
- Click the + Add day button and select the date
- Enter the start and end time
- Click + Add Day to add another single day if needed
To add a series of event days, click + Add Multiple Days.
This opens a window where you can enter:
- the first event day
- the last event day
- the days of the week the event operates
- the start and end times
If some event days operate at different times, you can adjust them later after the series is created.
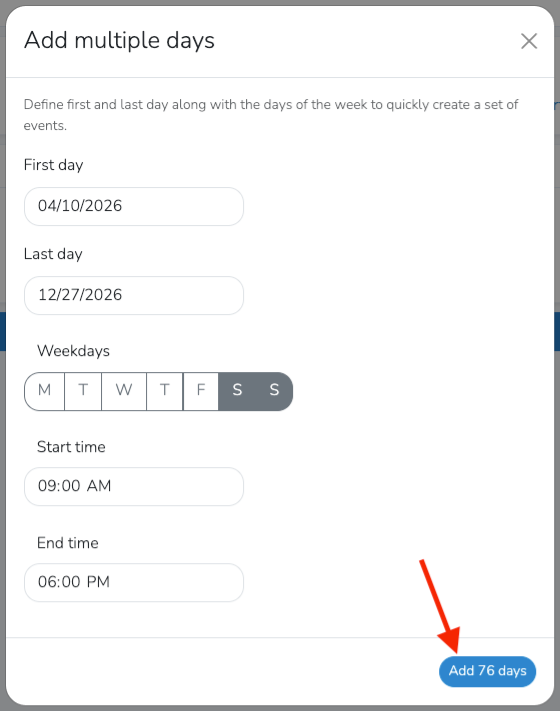
When you are finished, click the blue Add Days button at the bottom.
You can also manually edit individual days, add single days, or add additional date ranges.
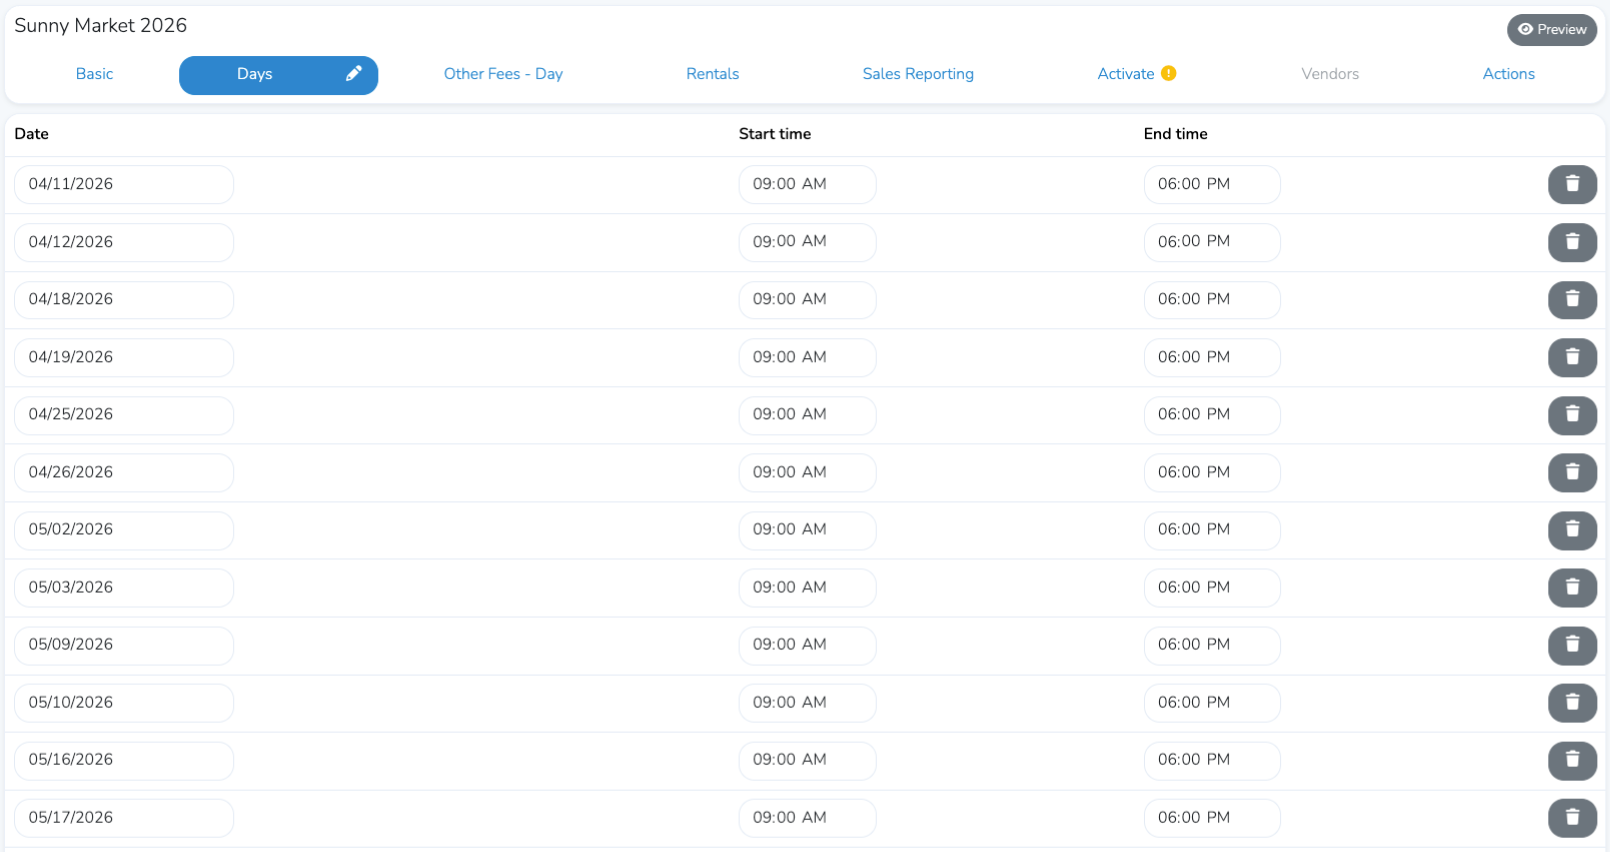

When you are finished setting up the event days, click the blue Save days button at the bottom.
Other Fees
Other Fees provide an additional way to automatically invoice vendors. These fees are added on top of standard booth fees.
You can configure fees based on:
- Vendor Type
- Vendor Tags
- Categories
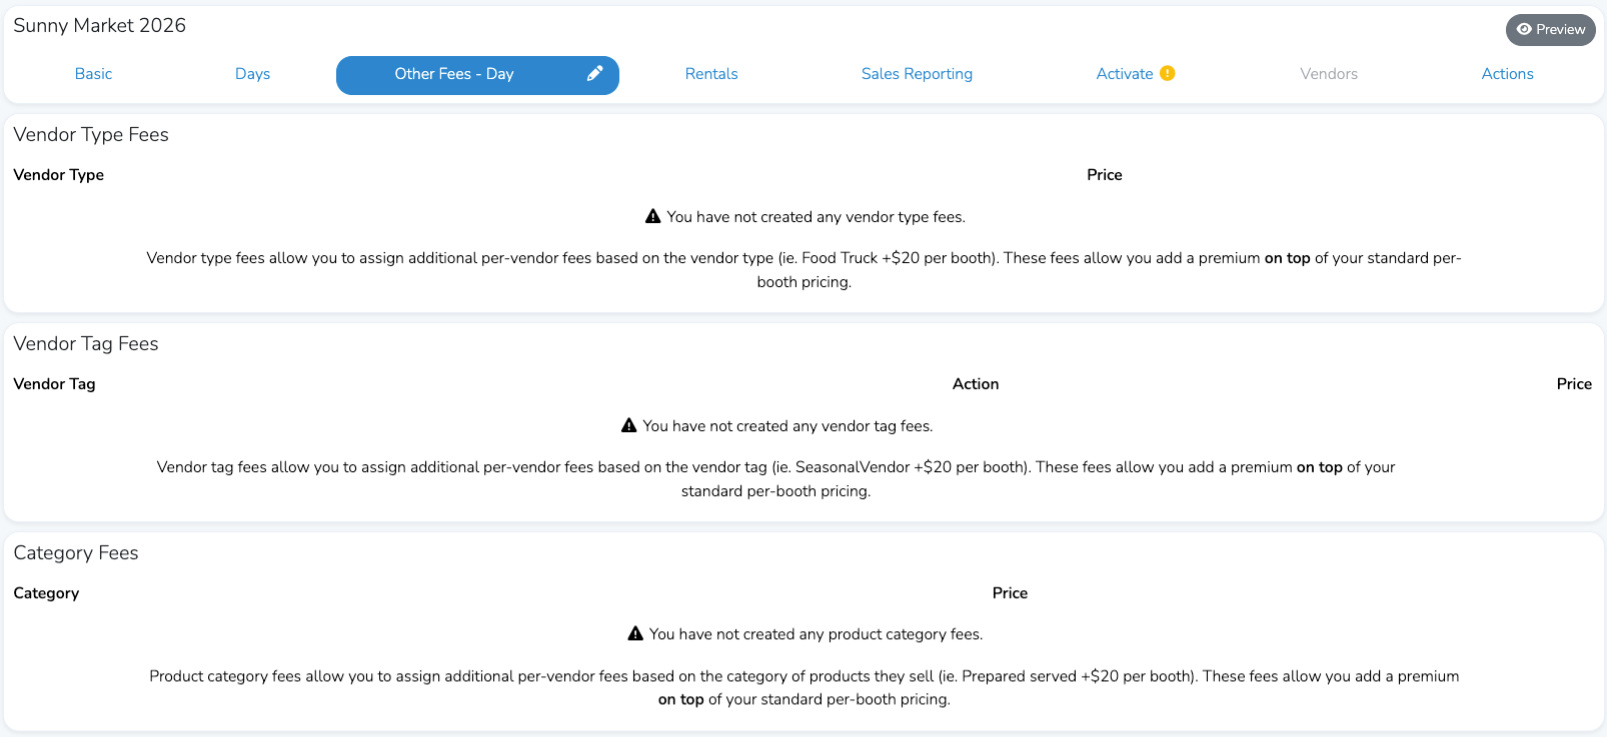

If you want to create additional fees, click the pencil icon at the top of the Other Fees section.

This will unlock each fee section so you can configure the fees you want to use. Examples are shown below.


When you are finished setting up Other Fees, click the blue Save other fees button at the bottom.

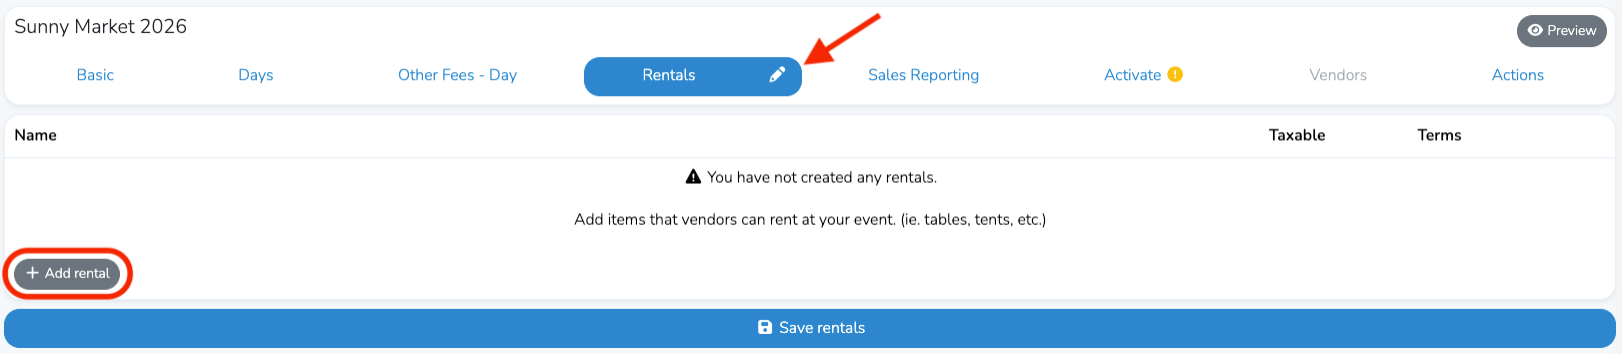
Rentals
Rentals let you offer equipment or add-ons to vendors, such as tents, chairs, tables, or electric hookups.
To create rental options, click the pencil icon at the top of the Rentals section.
This will unlock the Rentals section and display a gray + Add Rental button. Click that button and configure the rentals you want to make available to vendors.
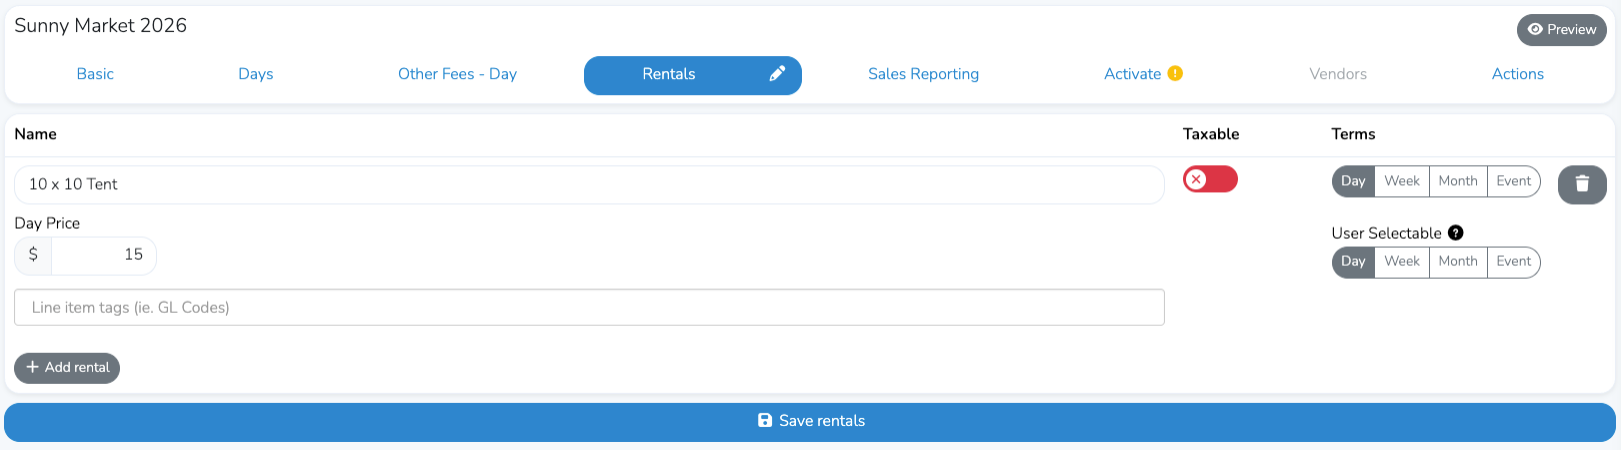
Enter the rental name, price, and terms. You can create as many rentals as needed.
When you are finished, click the blue Save rentals button at the bottom.
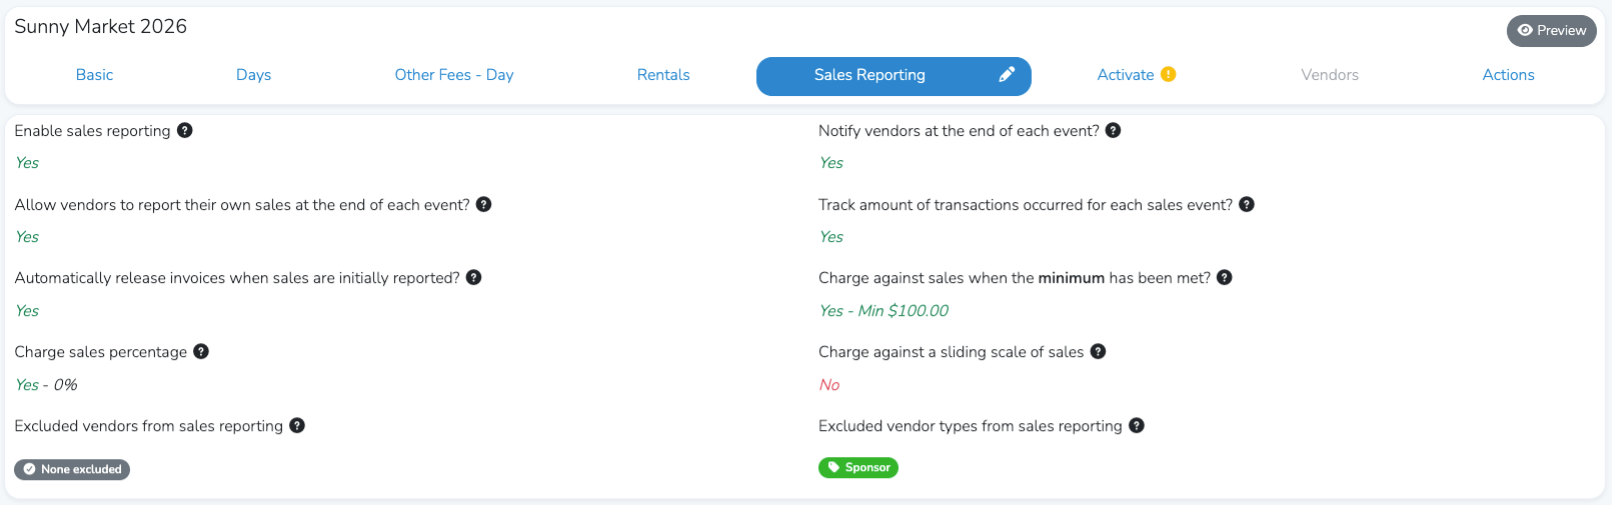
Sales Reporting
Sales Reporting provides an integrated way to track vendor sales for each event day.
When enabled, all vendors accepted to a particular event day will receive an email and dashboard notification 30 minutes before the end of the event asking them to report sales. Event managers can also report sales on a vendor’s behalf at any time.
This feature is especially useful for markets that use a formal vendor checkout process.
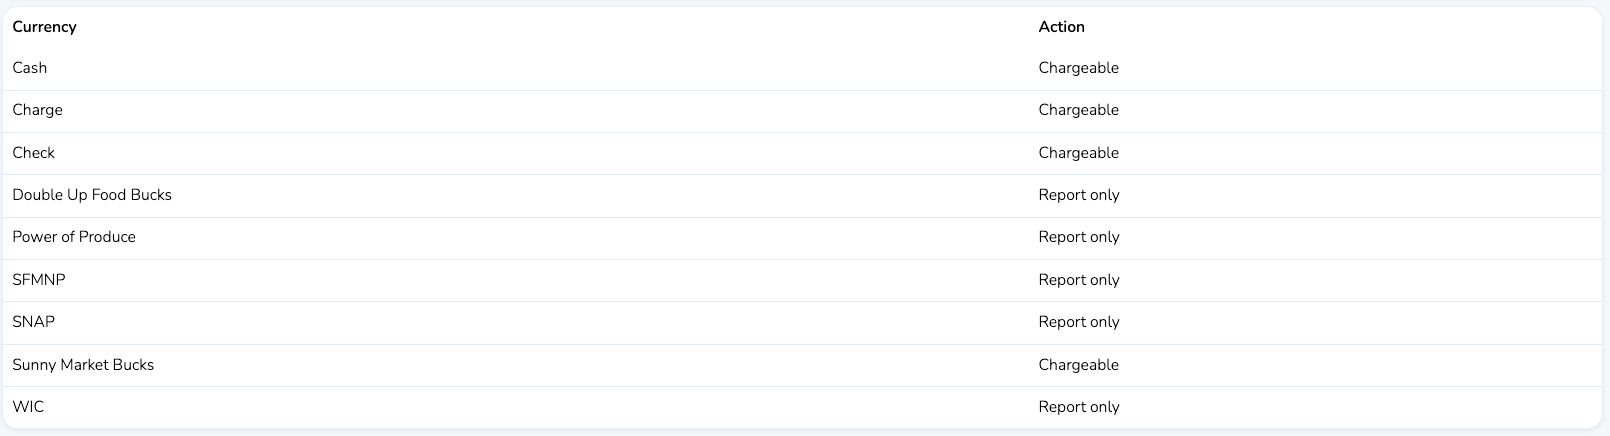
Event Sales Reporting also includes additional tracking options. For more details, see the Learning Center article on Manage Vendor Sales Reporting with Currencies.
Below is an example of the Sales Reporting section after it has been filled out.

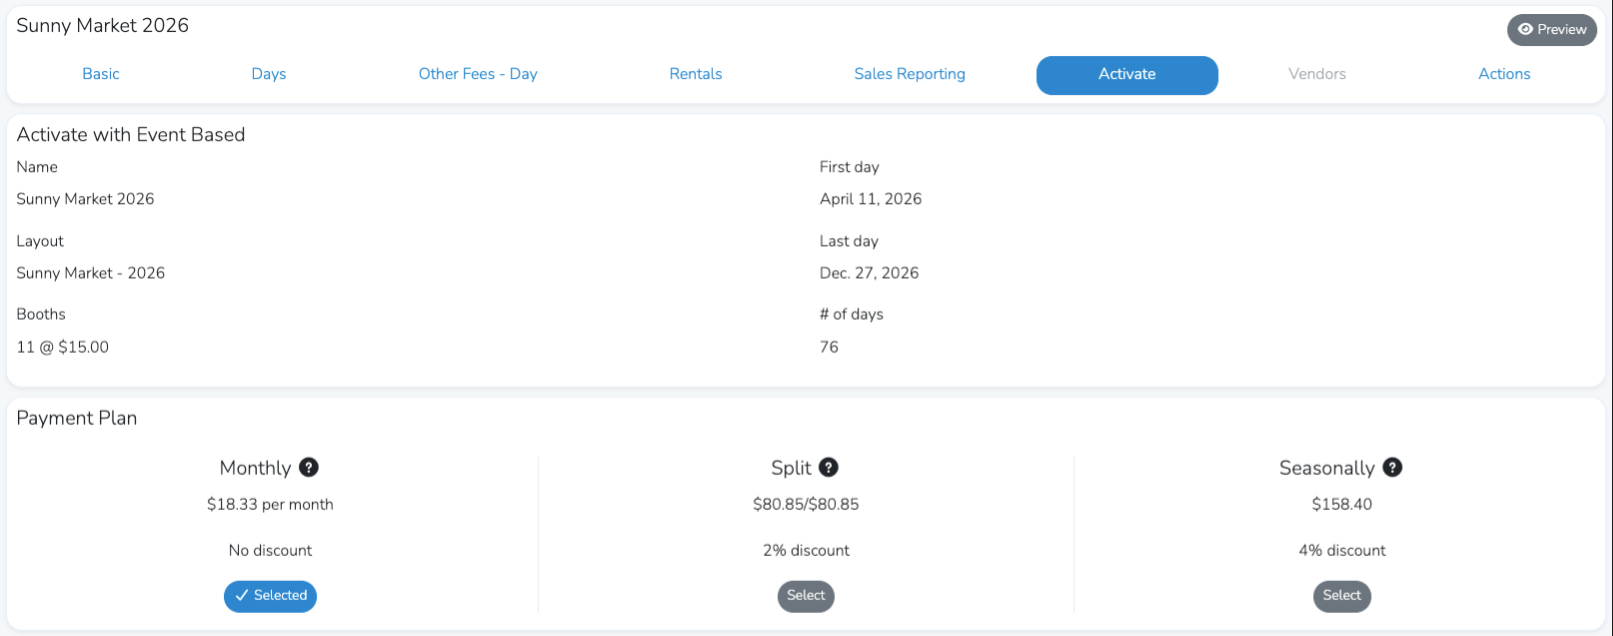
Activate the Event
To begin actively managing the event, click the blue Activate button in the top menu.
You will then choose how you want to pay Marketspread.

Market Based
With the Market Based option, the market pays a fixed fee based on the number of booths and can accept unlimited vendors.
You will need to:
- review your event settings
- select the payment plan that works best
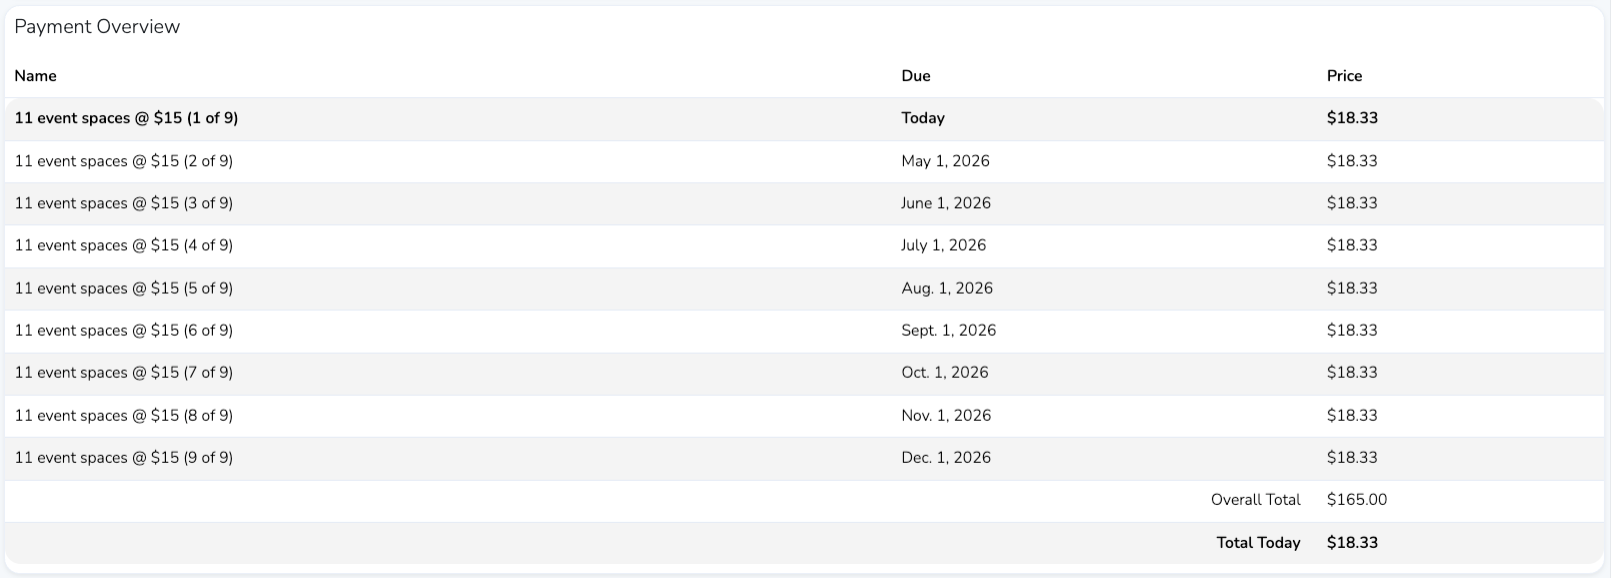
- review which event spaces are included
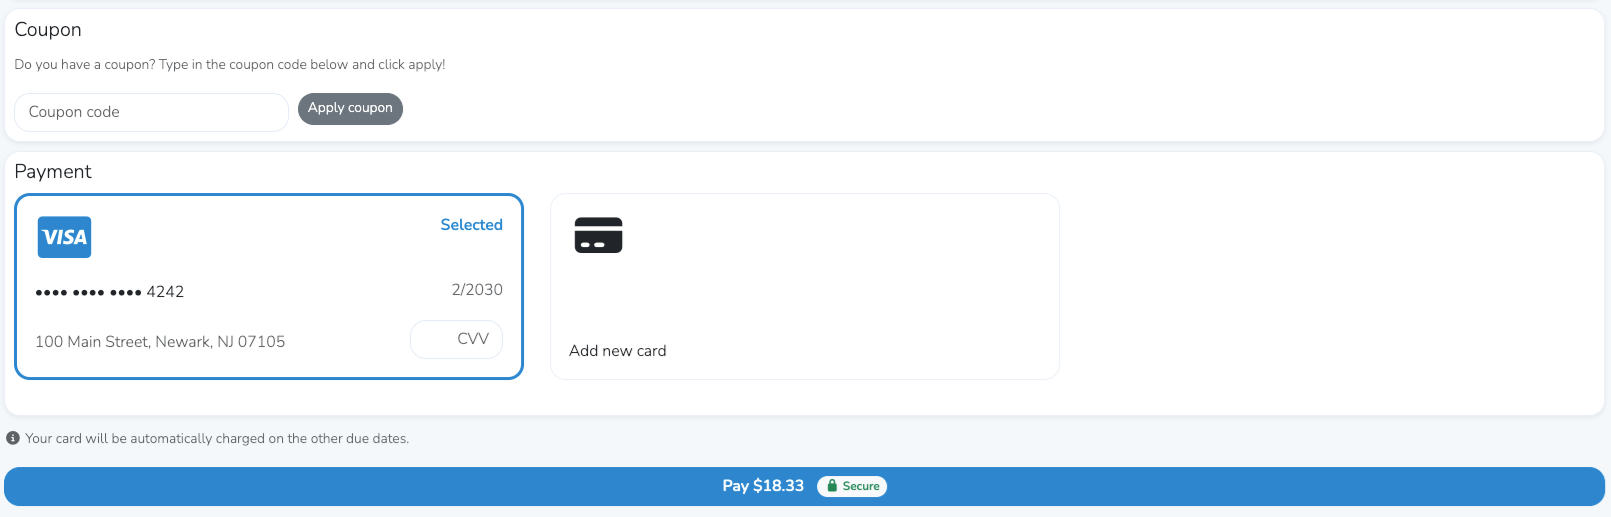
- enter a coupon code, if applicable
- add or select a credit card
- click the blue Pay button
Example below:
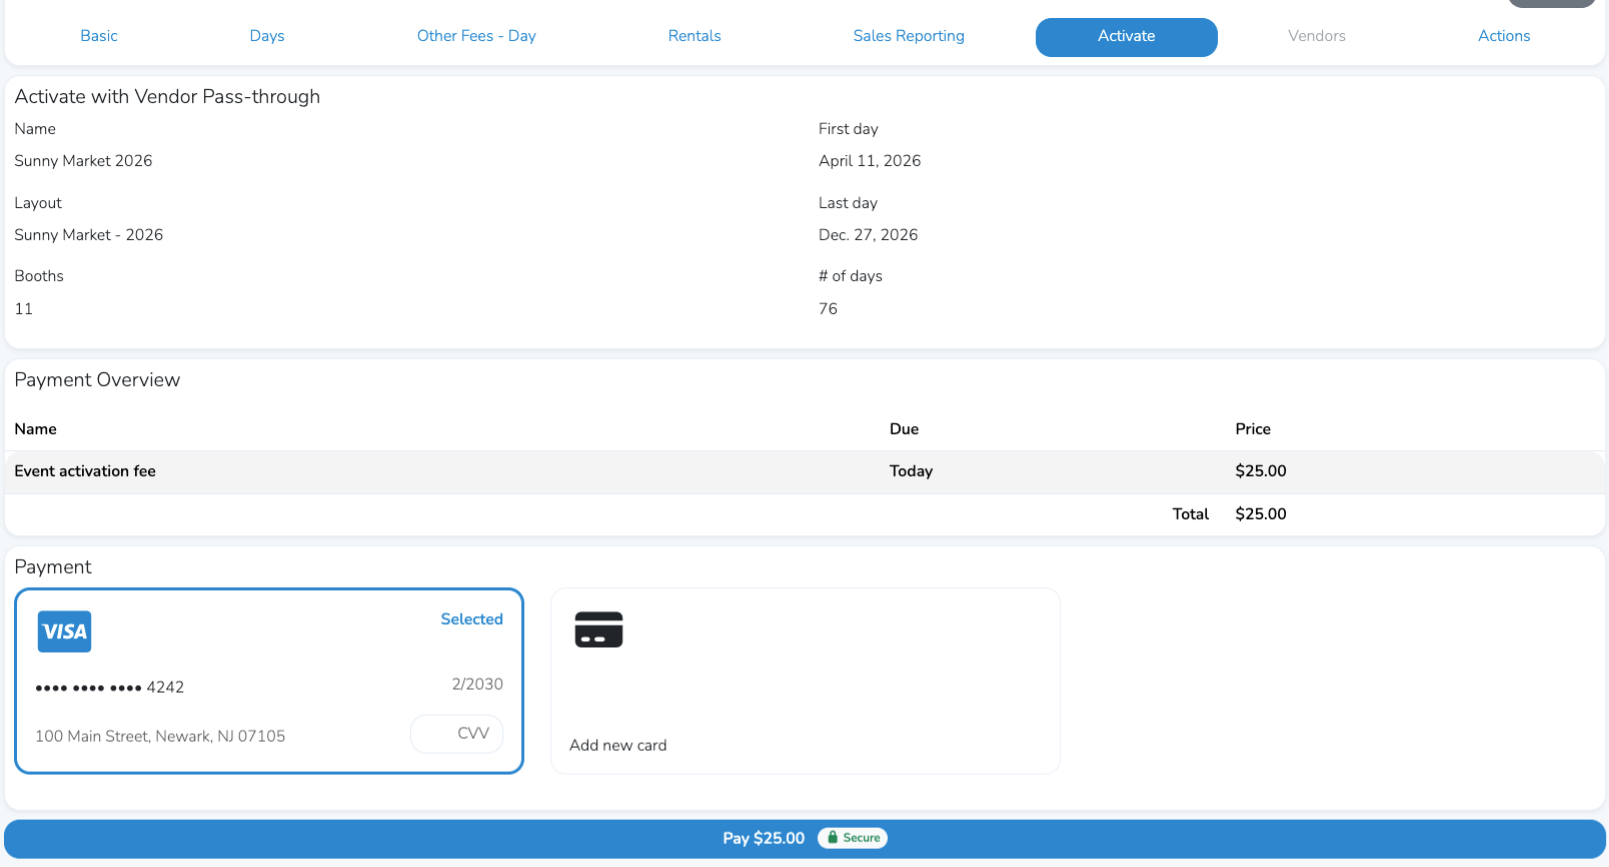
Vendor Pass-Through
With Vendor Pass-Through, the cost is passed directly to vendors. Each vendor is charged a one-time $18 fee when they are accepted or waitlisted into the event. This fee is automatically added to the vendor’s application.
You will still need to:
- review your event settings
- add or select a credit card to pay the activation fee
- click the blue Pay button
Example below:
Once the activation process is complete, you will receive a confirmation.

Next Steps
Once your event is activated, you are ready to begin managing it and inviting vendors.
For the next step, see the article on How to Find Vendors.