Overview
The Layout Designer lets you create the physical layout, or map, of your market or expo along with the related booth details and configuration settings.
To get started, go to: Event Configuration → Layouts
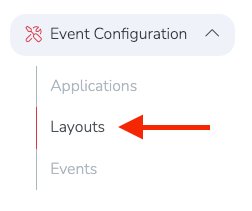
This will take you to the Layouts section, where you will see both Activated Layouts and Layout Templates.
- Activated Layouts are already linked to a market or expo season and are currently in use.
- Layout Templates are saved layouts that can be linked to a season later, before that season is activated.
In the example below, there is one layout template and one activated layout for the Sunny Market 2025 season.

Create a New Layout Template
To create a new template, click the blue + Add button to the right of the Layout Templates section header.

This opens the Layout Editor, a grid-based map design tool that lets you create anything from a simple booth map to a more detailed and customized layout.
Tip
-
Use your mouse wheel or trackpad to zoom in or out.
-
To move around the layout, hold Alt on a PC or Option on a Mac, then click and drag.
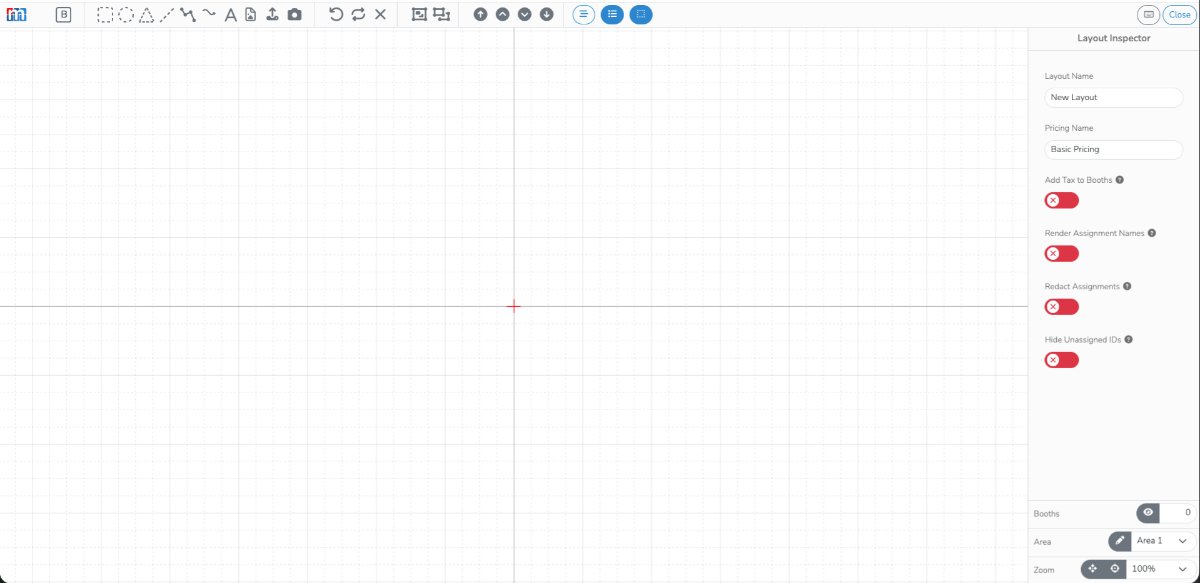
General Layout Settings
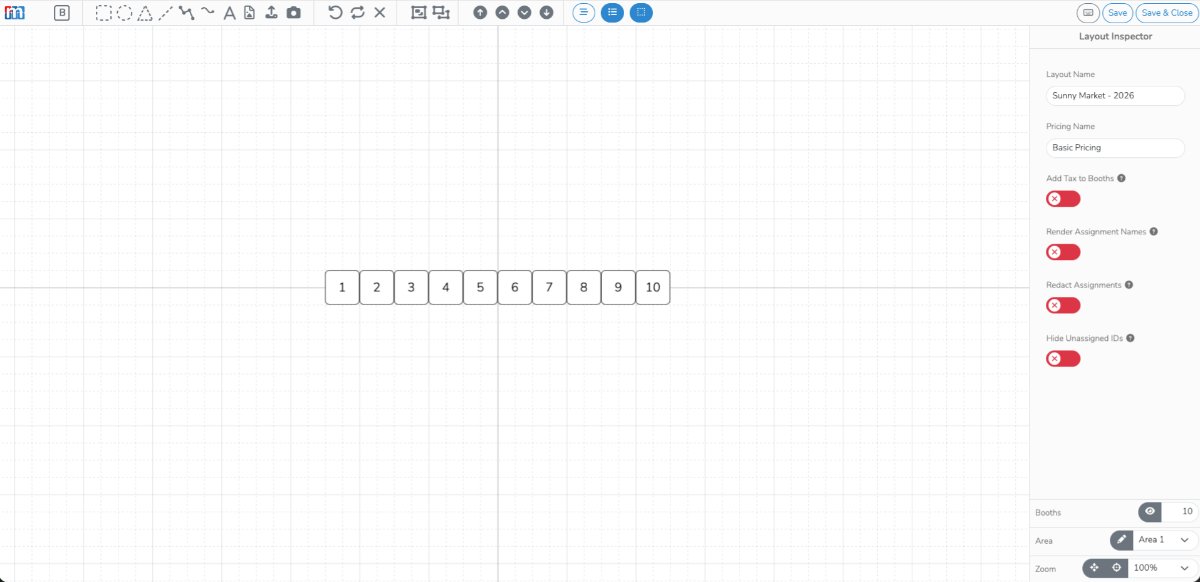
The global layout settings appear in the Layout Inspector on the right side of the editor. This panel is visible when no specific map element is selected.
Layout Name
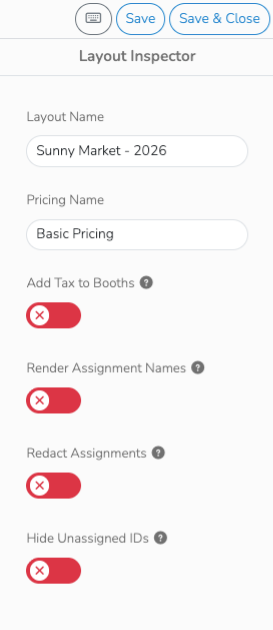
The first thing you should do is name your layout.
By default, the layout name will appear as New Layout in the top-right corner. Click the name to edit it.

In the example below, the layout name was updated to Sunny Market - 2026.

Once the layout has been renamed, you can click Save or Save & Close, in the top-right, at any time.
Layout Inspector Features
Add Tax to Booths
When enabled, tax is added to the calculated booth price when an assignment is made.
Render Assignment Names
When enabled, vendor names are shown on assigned booths instead of booth IDs. If disabled, booth IDs are shown.
Redact Assignments
When enabled, other users cannot see vendor assignments in the layout.
Hide Unassigned IDs
When enabled, booth IDs are hidden for unassigned booths.
Create your Map
The Booth Element
Booths are the core element of your layout. They also store booth pricing information used in stall assignments.
Note
To learn more about booth pricing, see the related screencast tutorial on Configuring Booth Fees with Terms.
To add a booth, click the booth element in the far-left side of the top toolbar. It appears as a square with a B in the center.

In the example below, 10 new booth spaces were added by clicking the booth element 10 times.
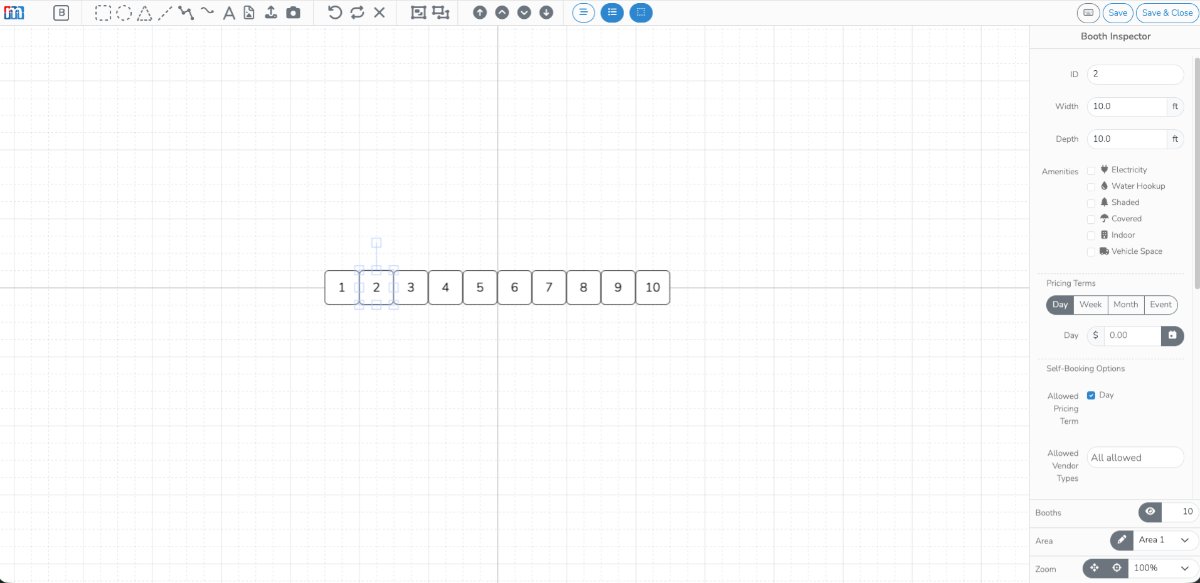
Booths are more than just shapes on the layout. Each booth contains metadata that defines its size, attributes, and pricing.
To edit a booth, click it to open the Booth Inspector on the right side.
Booth ID
Each booth is assigned a Booth ID. By default, booths are numbered sequentially starting with 1.
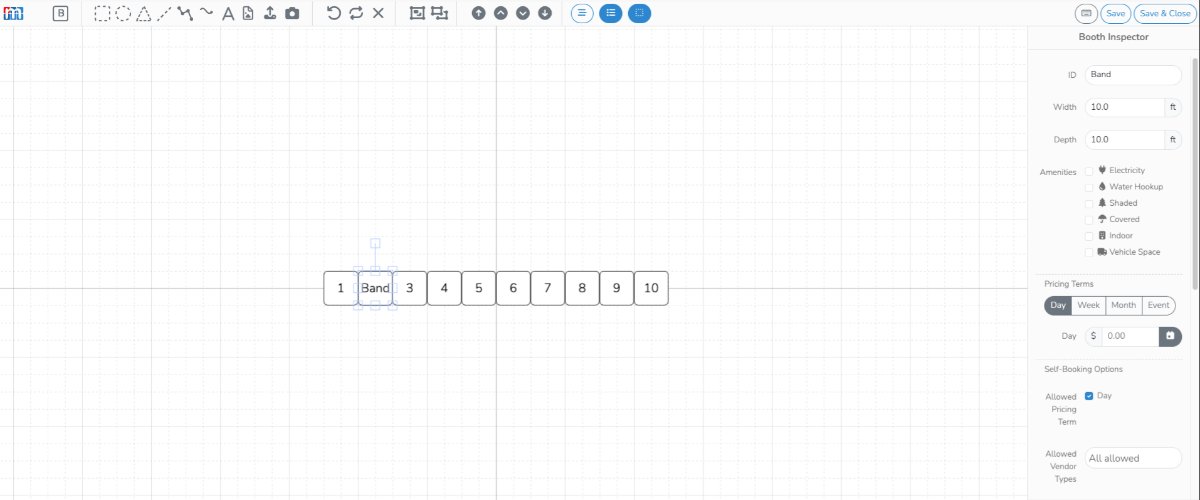
You can rename booth IDs using letters, numbers, or a combination of both. In the example below, booth 2 was renamed Band.
Space Size
By default, all booths are created as 10 x 10, which is the most common booth size.
You can update the width and depth of each booth in the Booth Inspector. In the example below, the Band booth was updated to 20 x 20.
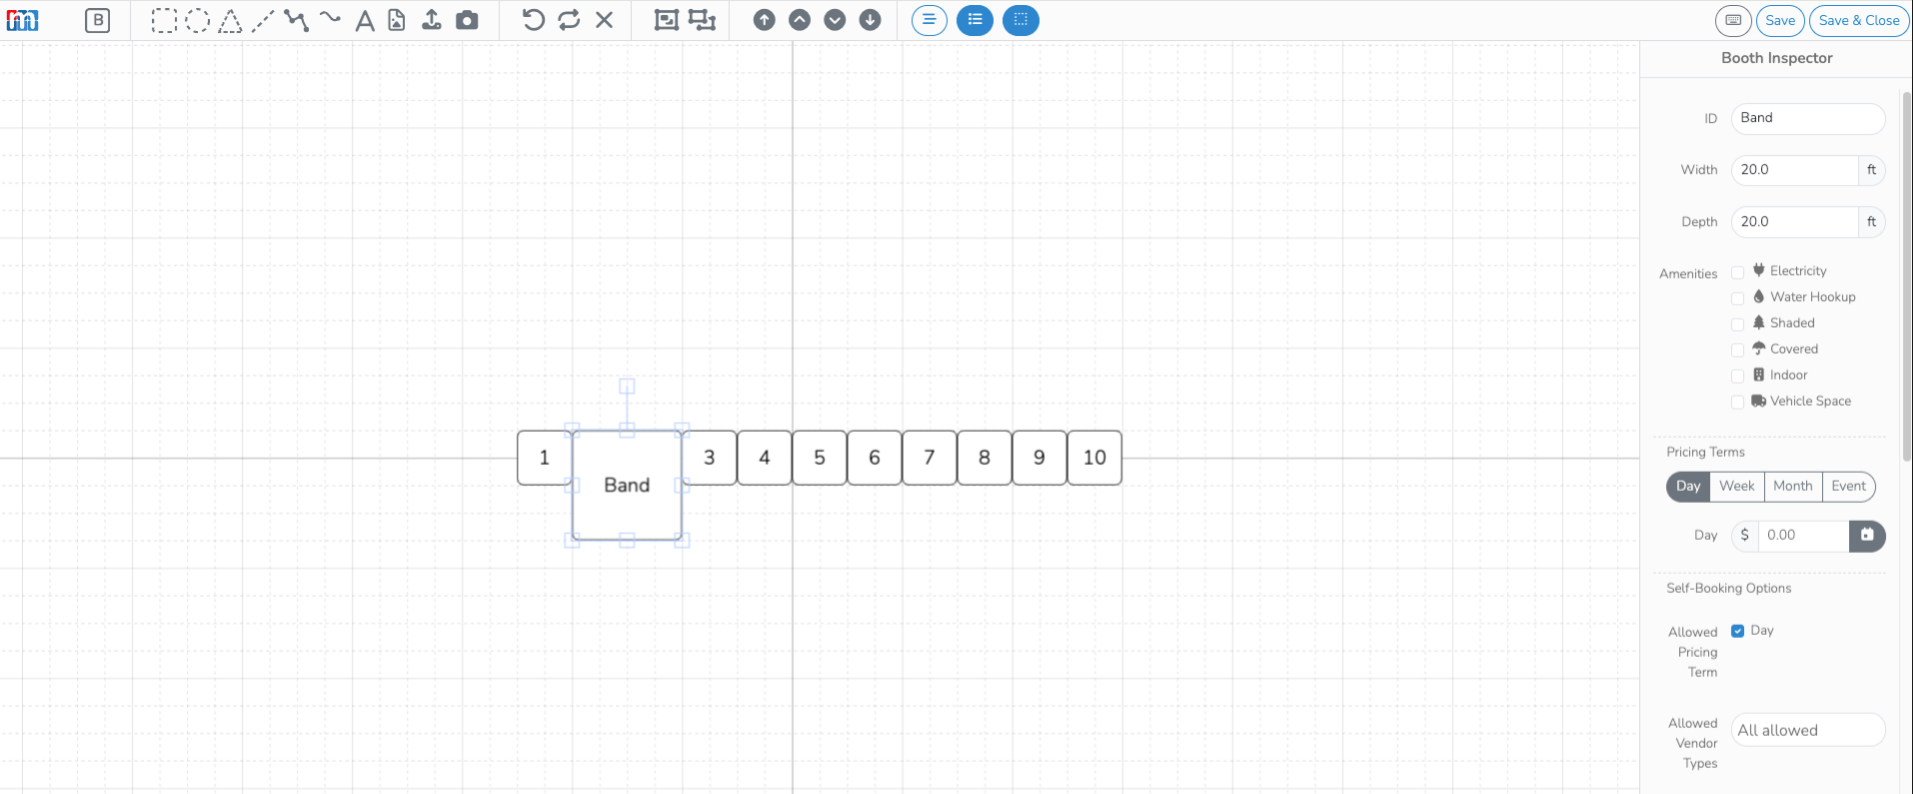
The layout grid is drawn to scale. Each background square represents 5 feet by 5 feet.
Booths can also be resized by dragging the edit handles directly on the layout. This will automatically update the width and depth in the inspector.
Booth Orientation
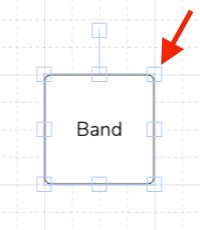
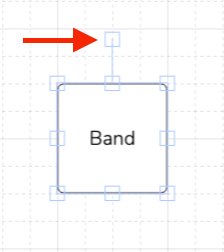
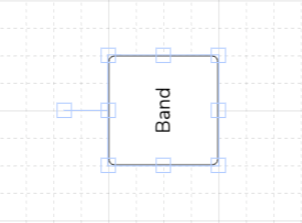
To rotate a booth, drag the rotation handle connected to the booth by a line.
Tip
Hold the Shift key while rotating to snap the booth to clean 45-degree increments.
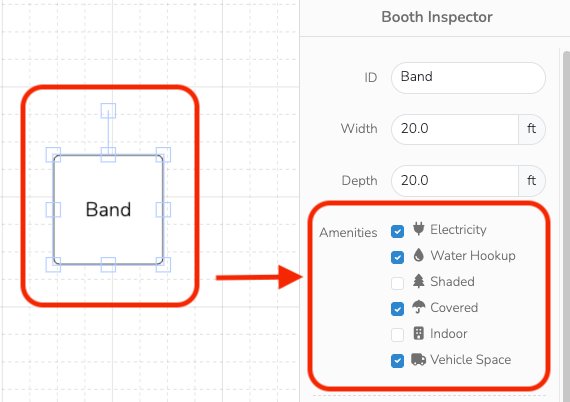
Amenities
You can assign amenities to individual booths. These amenities can be shown to vendors when booth preferences are enabled in season settings.
To assign amenities, select a booth and check the applicable amenity boxes in the Booth Inspector.
Other Booth Adjustments
Font Size and Font Weight
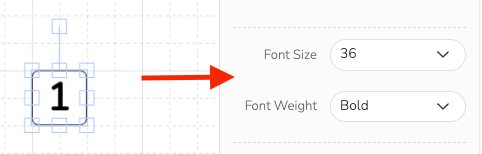
Use the Font Size and Font Weight settings in the Booth Inspector to control how the booth ID is displayed.
In the example below, the font size was set to 36 and the weight was changed to bold.
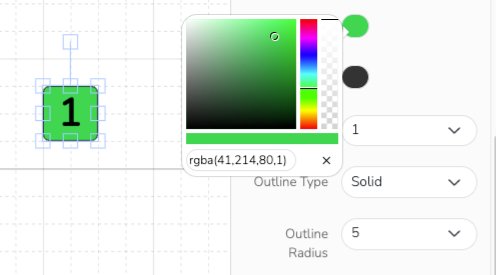
Fill
Use Fill to change the booth color.
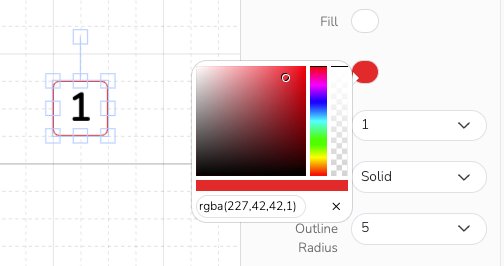
Outline
Use Outline to change the booth border color.
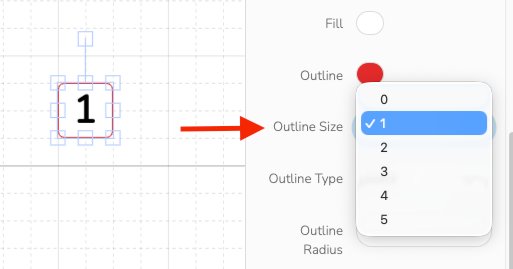
Outline Size
Use Outline Size to change the thickness of the booth border.
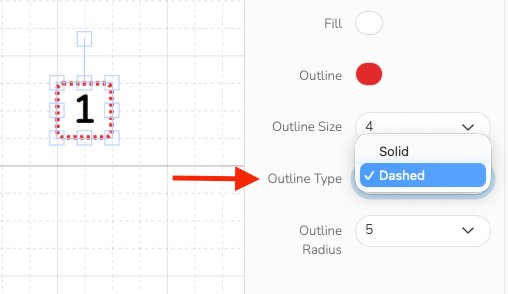
Outline Type
Use Outline Type to choose between a solid or dashed border.
Outline Radius
Use Outline Radius to round the booth corners. The default value is 5, which creates a subtle rounded edge.

Graphical Elements
In addition to booths, the Layout Designer includes other elements you can use to build out your map, including:
- Rectangle
- Circle
- Triangle
- Straight Line
- Draw Path
- Freehand Draw
- Text
- Icons such as buildings, outdoor items, trees, vehicles, and more
These elements can be moved, resized, rotated, and styled using the inspector on the right side.

You can also use the toolbar to undo, redo, and manage changes as you build your layout.

External Elements
The Layout Designer also allows you to upload custom graphical elements.
The best file type to use is SVG because it scales well and works best for zoomable maps. You can also upload JPG or PNG files.
To add a custom graphic, use the external element tool in the top toolbar.
Custom elements can be rotated and resized like any other layout element.

You can also use a Camera Marker to mark camera locations at your event.

Precision Controls

Click the Object Explorer button, shown above, to open the Object Explorer panel on the left side of the layout screen.
Lock Elements to the Canvas
All elements in your layout can be locked to the canvas. When an element is locked, it cannot be moved or selected. This is especially useful when building the base background of your map and you want to avoid making accidental changes.
You can lock elements from the Object Explorer.
Click the Object Explorer button to open the panel on the left side of the layout screen.
For example, if your layout contains three elements, you can lock any one of them individually in the Object Explorer, as shown below.
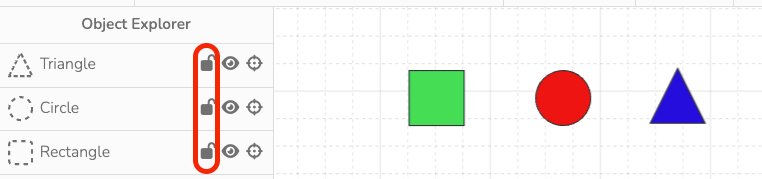
In this example, the green rectangle is being locked.
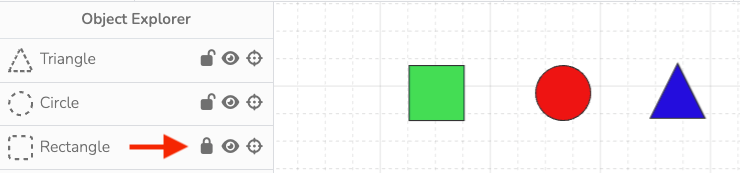
Once the green rectangle is locked, it cannot be selected or edited unless it is unlocked again in the Object Explorer.
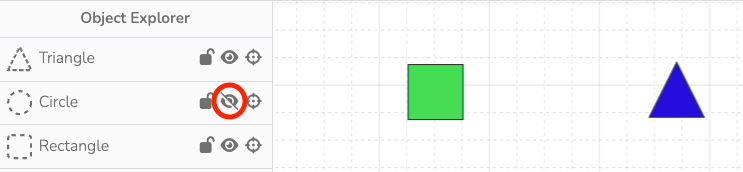
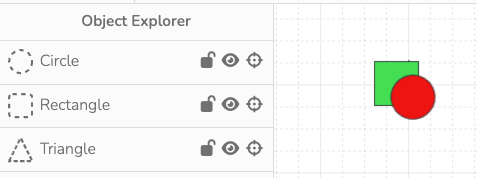
Hide Elements on the Canvas
Elements can also be hidden using the Object Explorer.
Click the eye icon next to an element to hide it from view.
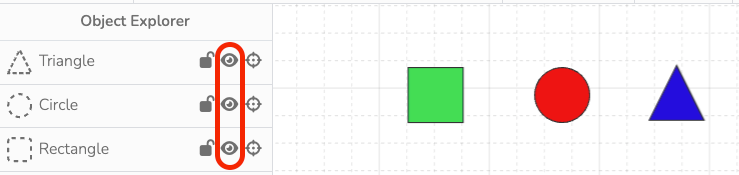
In this example, the red circle still exists in the layout, but it is no longer visible on the canvas and will not appear on the published map.
Send Elements Forward or Backward
Elements in your layout can be layered in front of or behind other elements by moving them forward or backward.
This can be done using the Bring to Front and Send to Back buttons.

In the example below, there are two elements: a green rectangle and a blue triangle. As shown, the blue triangle is positioned on top of the green rectangle.
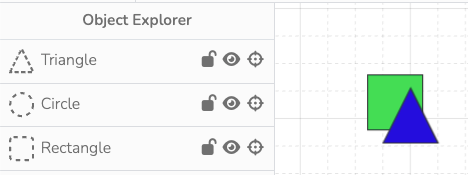
To send the blue triangle behind the green rectangle, click the blue triangle and then click the Send to Back button highlighted below.
Notice that when the blue triangle is sent to the back, it also moves lower in the Object Explorer list. This list reflects the front-to-back order of elements on the canvas.
Precisely Position Elements
You can move elements with greater precision than standard click-and-drag controls.
To move an element 1 pixel at a time, select it while holding the Ctrl key, then use the arrow keys on your keyboard.
To move an element 5 pixels at a time (equal to one small canvas square), hold the Shift key and use the arrow keys.
This is especially helpful when you want to fine-tune placement and alignment.
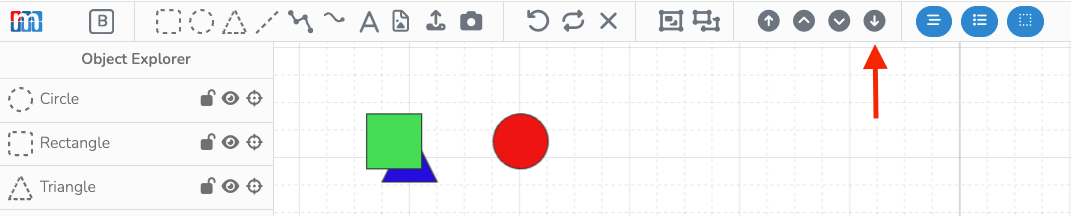
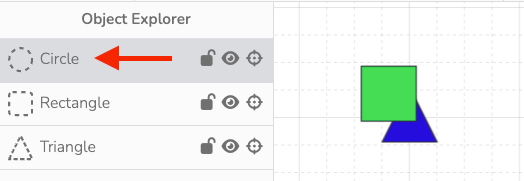
Find Elements Quickly
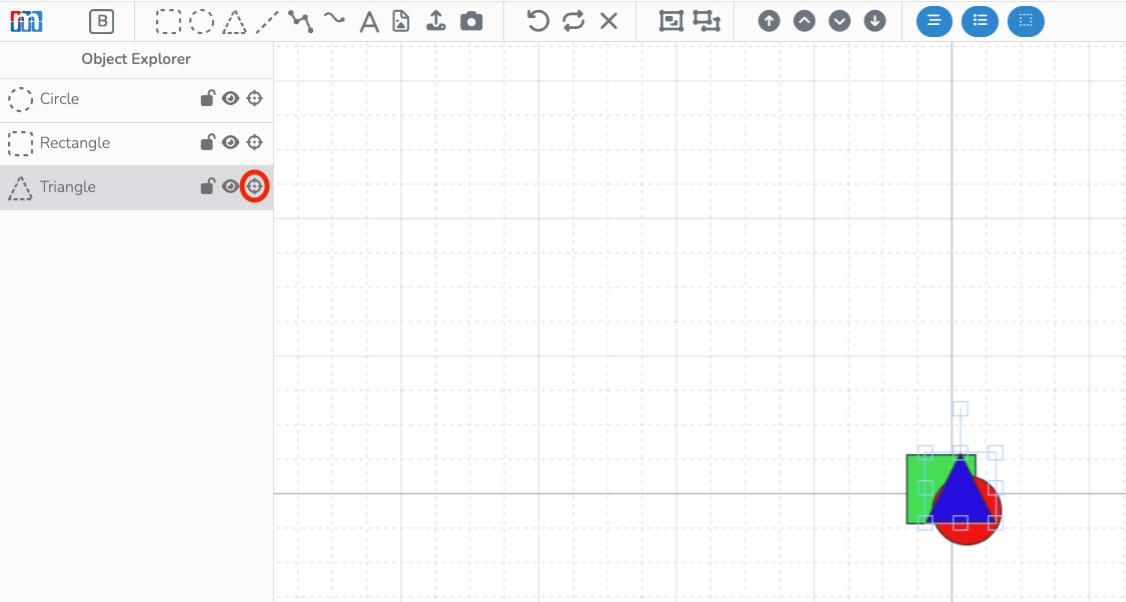
The Object Explorer can also help you quickly locate elements on your canvas.
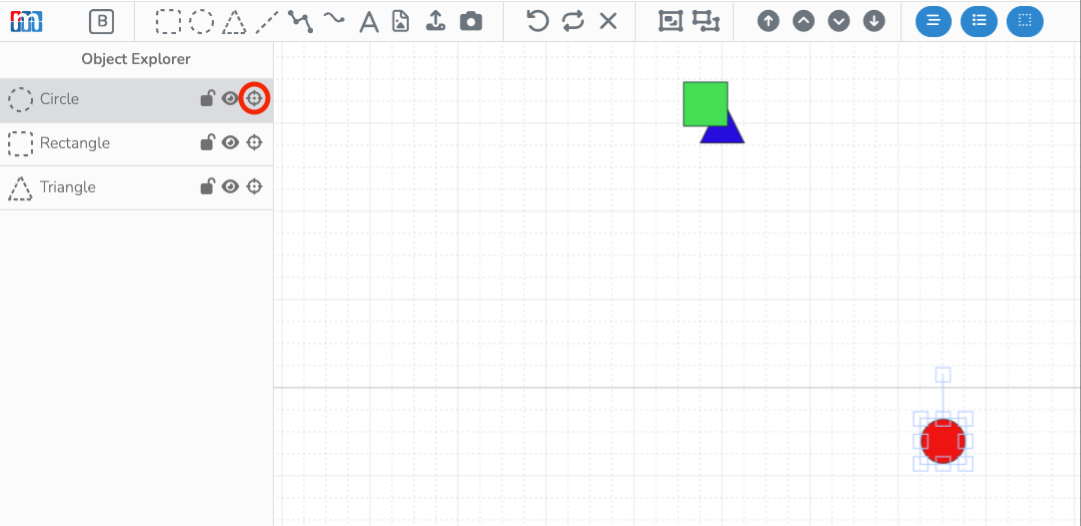
In the example below, a red circle is positioned outside the visible area of the canvas.
To locate it, click the center icon on that element’s row in the Object Explorer. In the example below, the zoom level was adjusted to show both the original view and the located element that was previously off-screen.
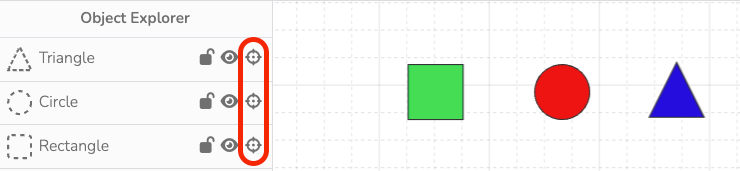
This feature is also useful for finding elements that may be hidden underneath other elements. In the example below, the blue triangle is actually buried beneath two other elements.
Again, clicking the center icon lets you quickly locate the blue triangle on the canvas.