Product configurations allow you to create your products in a way that mirrors how you price and sell them. They provide two primary functions:
1) A way to distinguish products based on attributes
2) A way to track inventory per product attributes
In our example, we are selling T-Shirts that are offered in small, medium and large (size being their primary attribute). For each size, we create a product configuration so we can price and track inventory per size.
To create a product configuration, either create a new product or go in to edit a product. In this example we are creating a new product as seen below.

Every product will have a blank Configuration #1as seen below. Product configurations offer the following settings:
- Name - An identifier for a configuration - if you only have one configuration the name "Default" can be left
- Measurement - The unit of measure for Inventory (count, weight, volume)
- Track Inventory - Toggles whether or not you would like to track inventory
- Available - The inventory number (number currently available)
- Price - The price for the product configuration, each configuration can have more than one price
- Included units - The sub unit of measure included in the price (how much of the product is sold for that price)
- Price per-unit - Auto-calculated based on the price and Included units
- Name for the price- The name used to identify that price in the Point of Sale on for Online orders

Creating a Basic Product Configuration
For our T-Shirt product we updated the blank configuration to include the settings as seen below.
Notice, that we added 2 prices to the configuration, a price for when we sell 1 shirt and a discounted price for 2 shirts.

Since we have three pricing configurations, one for small, one for medium and one for large we need to click on the blue + ADD CONFIGURATION button under the last configuration

Similar to Configuration #1 the sceenshots below are for Configuration #2 (medium) and Configuration #3 (large).


Adding Product Inventory
Undereach product configuration you can turn on inventory tracking and specify the current product inventory count.
For our example, we want to turn on inventory tracking for our small T-Shirts and add the current inventory count of 100 shirts.
Remember, we set for measurement to count so the inventory would be the number of units. If it was set to weight or volume the inventory would be counted as a total weight or total volume.
To turn on inventory, click on the Track Inventory toggle as seen below:

The inventory toggle will show as blue and the Available field will show 0.

To add inventory, update the Available field to the amount of inventory you currently have. For our example we are going to set our small T-Shirts to 100.

Product Configurations in the Point of Sale Mobile App
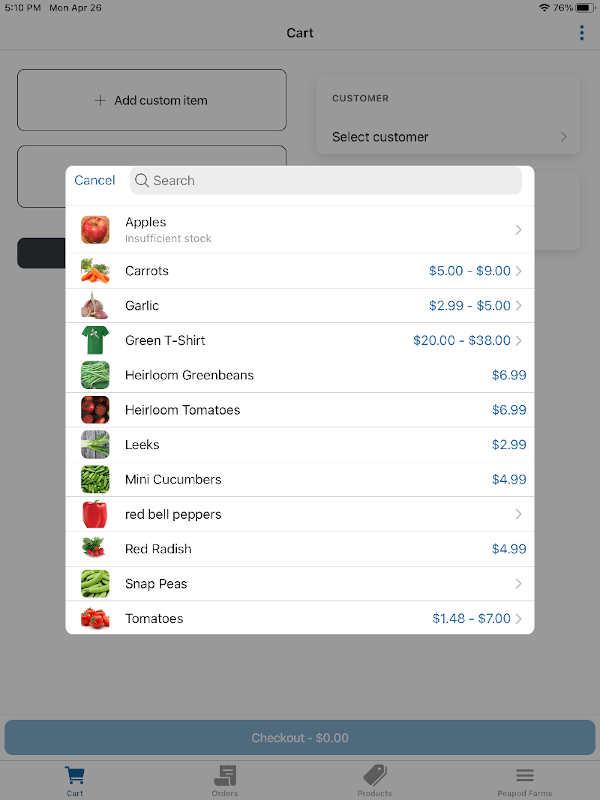
As a vendor, in the Mobile Point of Sale App, click on + Add product. This will display a searchable list of our products available to add to the Cart. Notice our example green t-shirt (fourth down from the top of list).
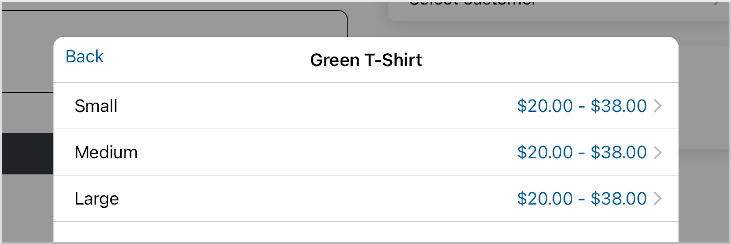
Clicking on the t-shirt product will display a list of available configurations. Remember in this example we have three; small, medium and large.
Select a configuration by clicking on it. If there is only one price configuration it will get added to your Cart. If there are multiple price configuations they will be displayed for you to select.
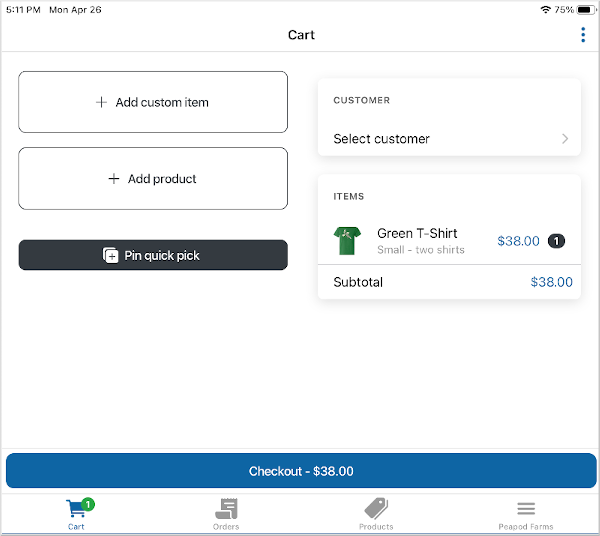
Selecting a price configuration will add it to your Cart. You can repeat the above steps as many times as necessary to create the desired Cart. In this example, you can see we selected the green t-shirt, size small in the 2 shirt price configuration. Since we configured the 2 shirt price configuration to include 2 units it will decrease your inventory by 2 after you complete the transaction.


