

Setting a Vendor Alias allows you to display a vendor name that is different than the one associated with a vendor profile.
To set a Vendor Alias, go to Vendors in your dashboard by clicking Vendors in the lefthand toolbar.

This will bring up the list of your vendors (example below).
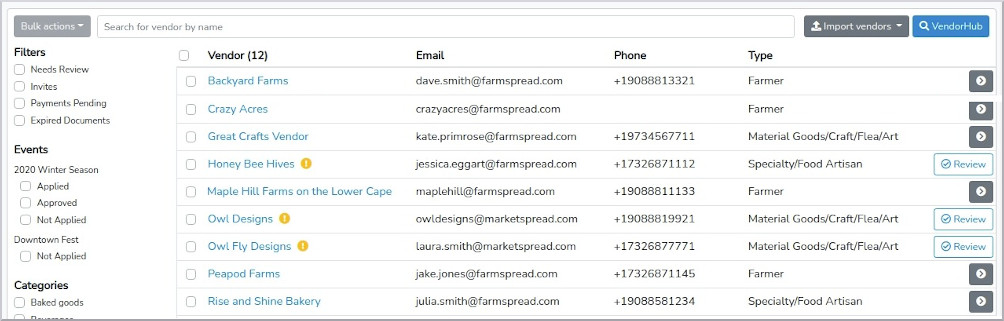
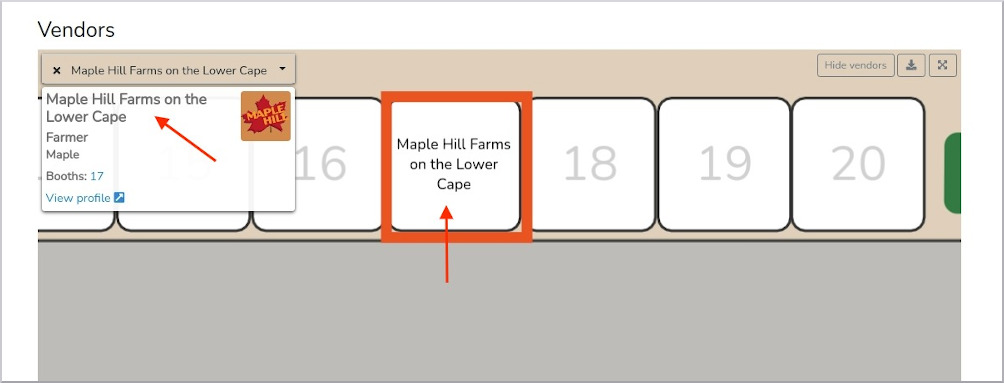
Notice the vendor in the above image with the name, "Maple Hill Farms on the Lower Cape." This vendor name is long and may not be the name they are commonly associated with or may create a map entry that wraps more than you would like (see example below).
This can be corrected by setting a Vendor Alias. To set the alias, click on the overview button from your vendor list associated with that Vendor.

Then, at the top, click on the blue set aliaslink.

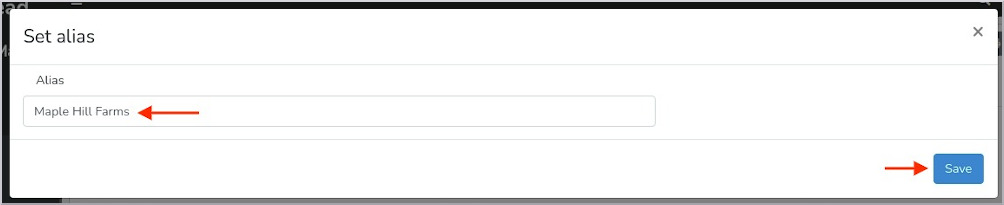
This will open a window that allows you to set the alias to whatever you would like.
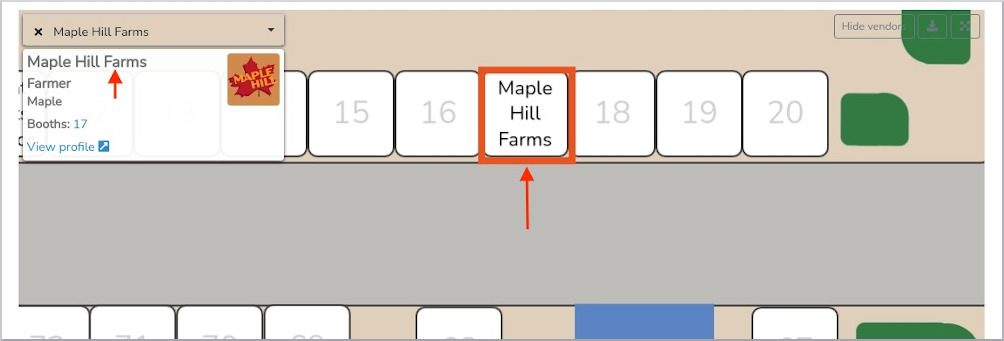
After saving the alias you will now see the vendor referenced by the new name in your event map.
This change can also now be seen in your vendor list.
