

Vendor tag based invoicing can be configured to accomidate automatic invoicing that is tied to specific tags. As an example, lets assume you have two categories of vendors: a full time vendor and a part time vendor. Now lets say you charge your full time vendors $40 dollars per event and your part time vendors $50 dollars an event. Once easy way to streamline this would be to use Tag Based Vendor Fees. Below we will walk you through configuring for this example.
Configuring Vendor Tag Fees
To start, create your event or event season as you normally would. Below, we are selecting an event season we have already created.
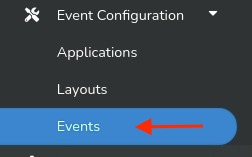
Select Events under Event Configuration.
Then select the event overview by clicking the grey arrow icon to the far right of the event listing.

In your event overview you will see a set of section tabs at the top. Here you will click the pencil edit icon button for the Other Fees - Day selection.

In edit mode, scroll down to the Vendor Tag Fees section.
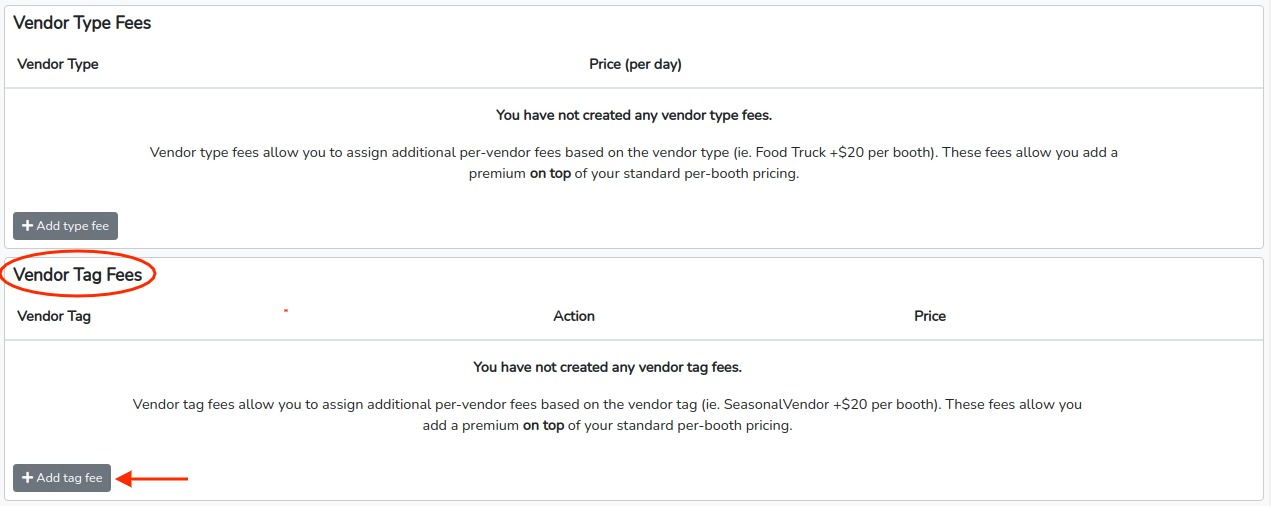
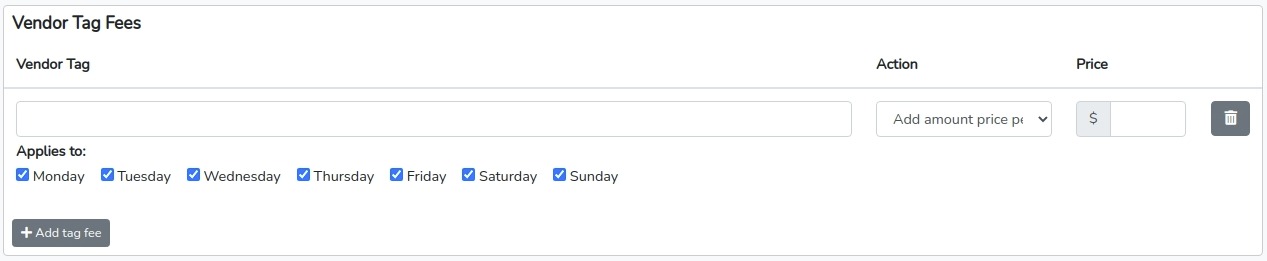
Under Vendor Tag Fees, click the gray +Add tag fee button. This will open up a single tag fee line. Notice below that it allows you to Name the tag, assign an Action and set a Price. Also, note that it allows you to specify which days of the week this tag configuration is valid for. The Applies tosection is for more advanced configurations where you have a tag fee that you only want to work on specific days of the week. In most cases you can leave all selected.
Note that there are 3 Action types defined below:
- Add amount price per space- this will add the tag amount to any other configured booth fees
- Override amount per space- this will override any other booth fees and only apply the tag amount
- Override overall total- this will override the total amount. used then you want to apply the fee regardless to the number of booths a vendor is assinged on a single event day.
For our example we will create two entries. One for a tag we will call full-time and one for a tag called part-time where the full-time tagged vendors will get invoiced $40 per booth and the part-time vendors will get invoiced $50 per booth.
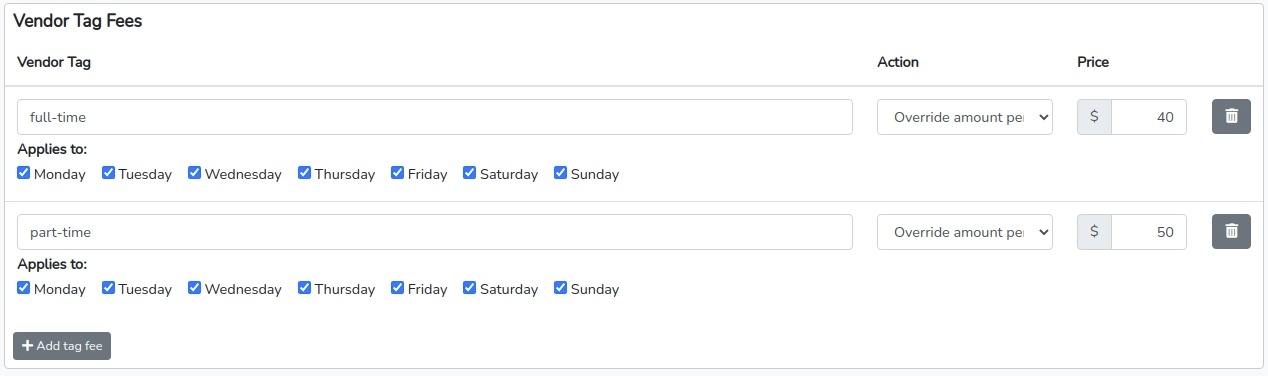
Since we are using the Override amount per space Action each vendor will get the tag fee for each booth they are assigned. So, if you have a full-time vendor who attends an event day and has 2 booths they would get invoiced $80, $40 per booth. If you wanted it so that they were only invoiced $40 regardless of the number of booths assigned for that day you would use the Override overall total Action.
Now that our Tag Fees are configured, lets save with the blue save button at the bottom right.

Using Vendor Tag Fees
For this example, we have three tag types: "free, "full-time" and "part-time" tags.
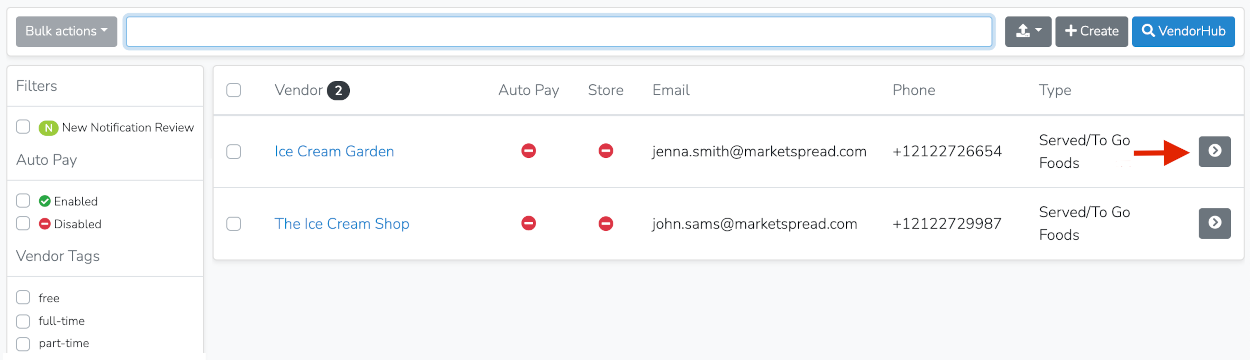
To apply a tag, in the Vendors section of your dashboard we will select a vendor, in this case "Ice Cream Garden", which is not currently tagged.
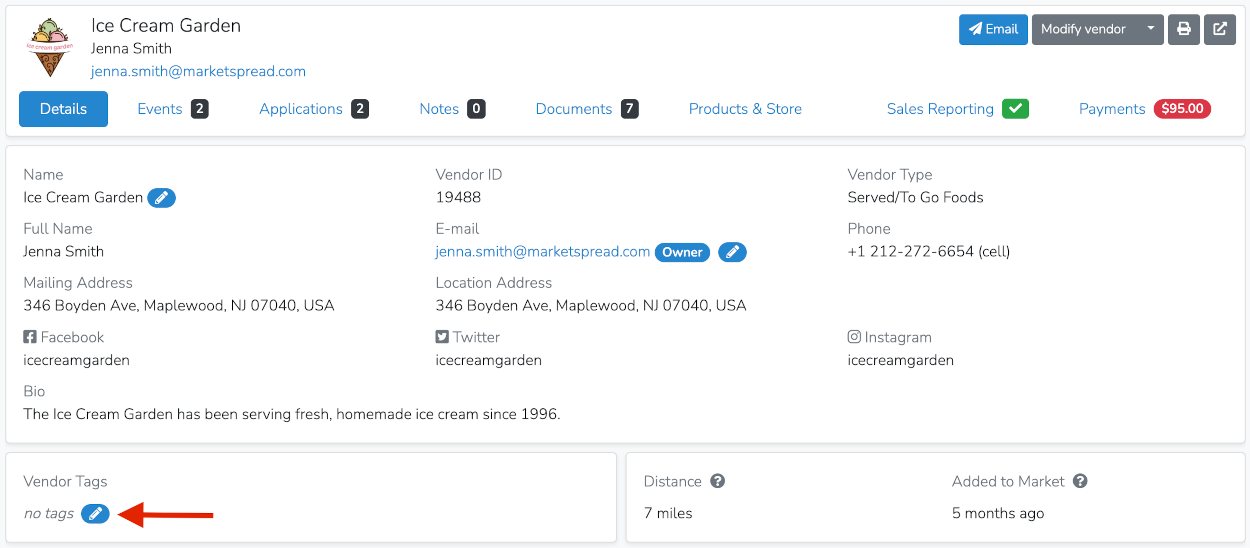
This will open the Vendor Record. To add or modify a tag click on the pencil icon in the tags panel as shown below.
Type in "full-time", then click the blue Save button.
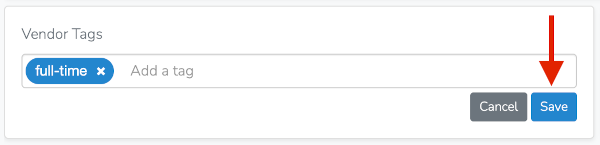
You tag will now be saved against that vendor.

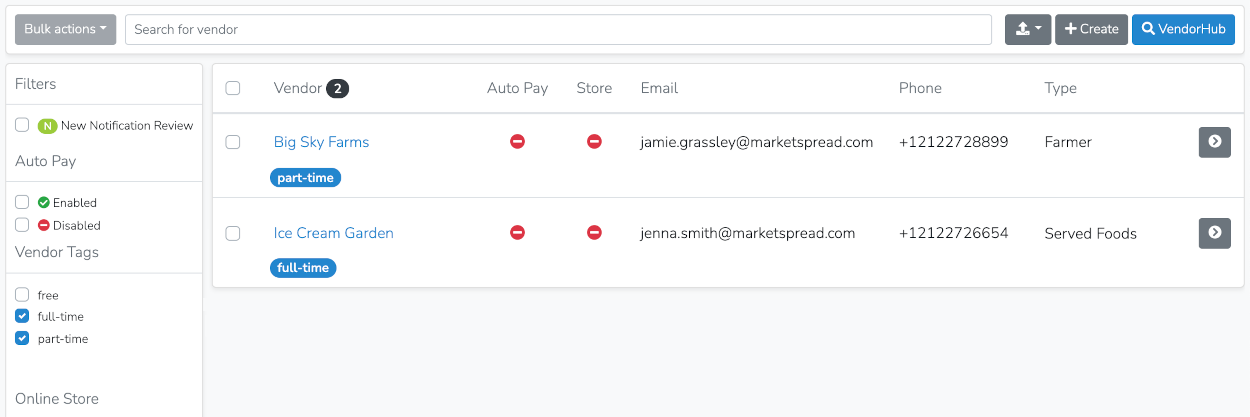
While we will not show it here we repeated the steps above, this time adding the "part-time" tag to the vendor "Big Sky Farms".
With the tags added we can quickly filter on them in the main vendors list as shown below.
Now, lets assign that vendors some booths to see how the tag based invoicing works.
In Scheduler, we assigned "Ice Cream Garden" to one booths in two different days which generates a $40 booth fee per day since they had the "full-time" tag.

We also assigned "Big Sky Farms to another booth which generates a $50 booth fee since they had the "part-time" tag.
