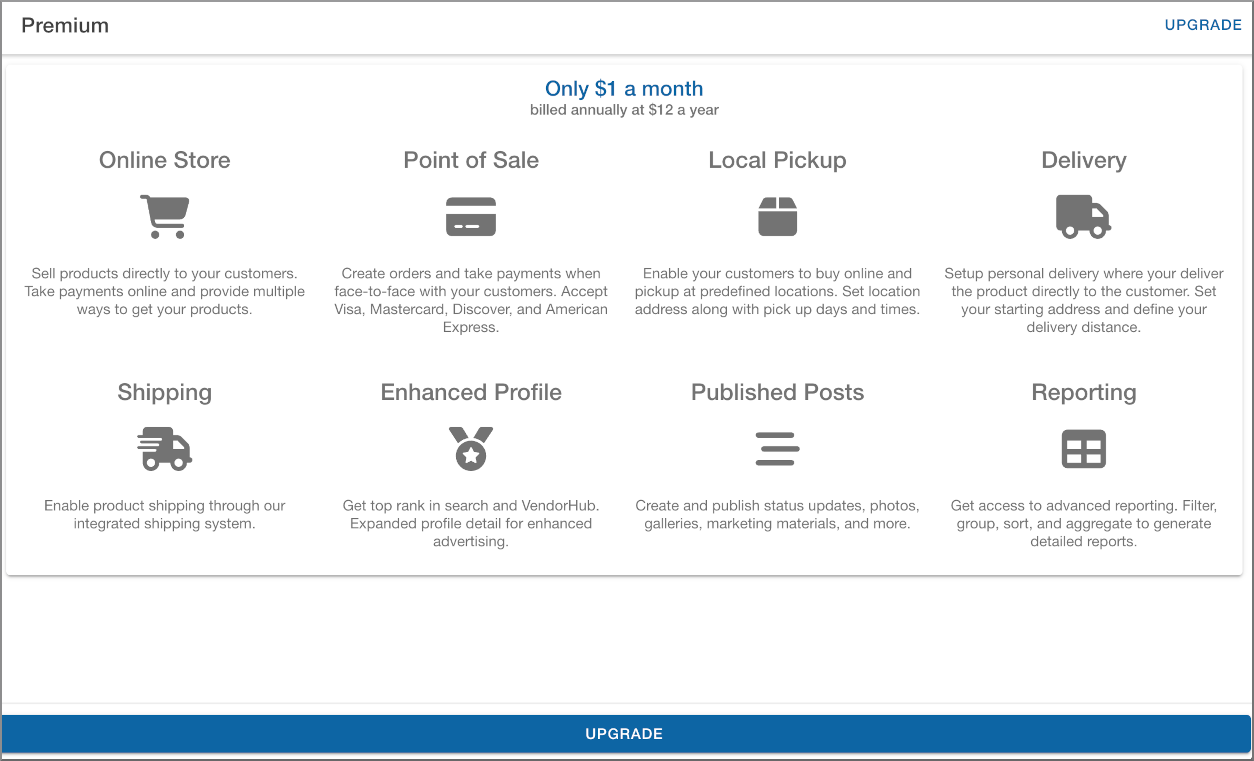
Vendor profiles can be upgraded to Premium to unlock the following features:
- Full contact and social media details
- Top sort on search
- Custom posts and photo streams
- Advertising an online store
- Direct product links to online store products
- Premium listing in VendorHub
To take advantage of Premium features you can enable it from your dashboard.
Upgrading to Premium Profiles
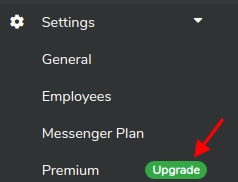
Either from your Settings -> Premium
Or, from your Posts

Upgrading is easy, just click Upgrade.
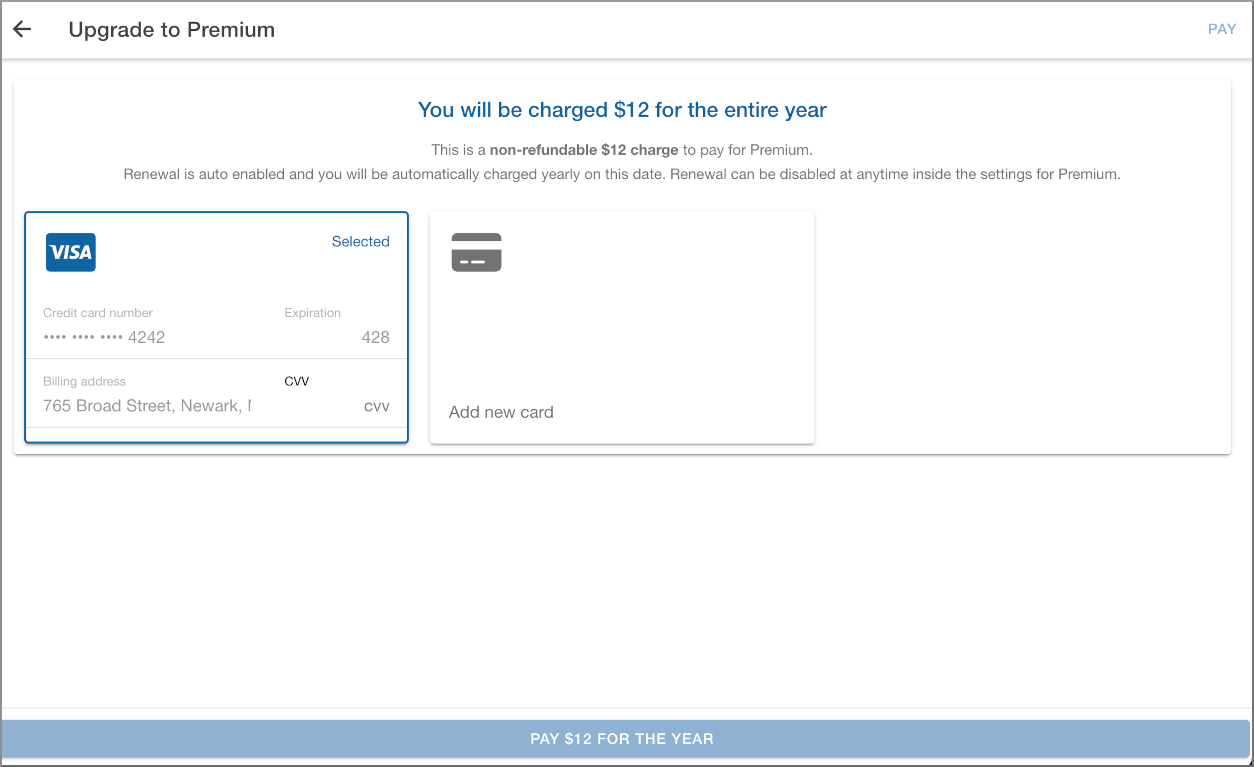
Provide your credit card payment information and click the "PAY $12 FOR THE YEAR" button. You can also cancel at any time.
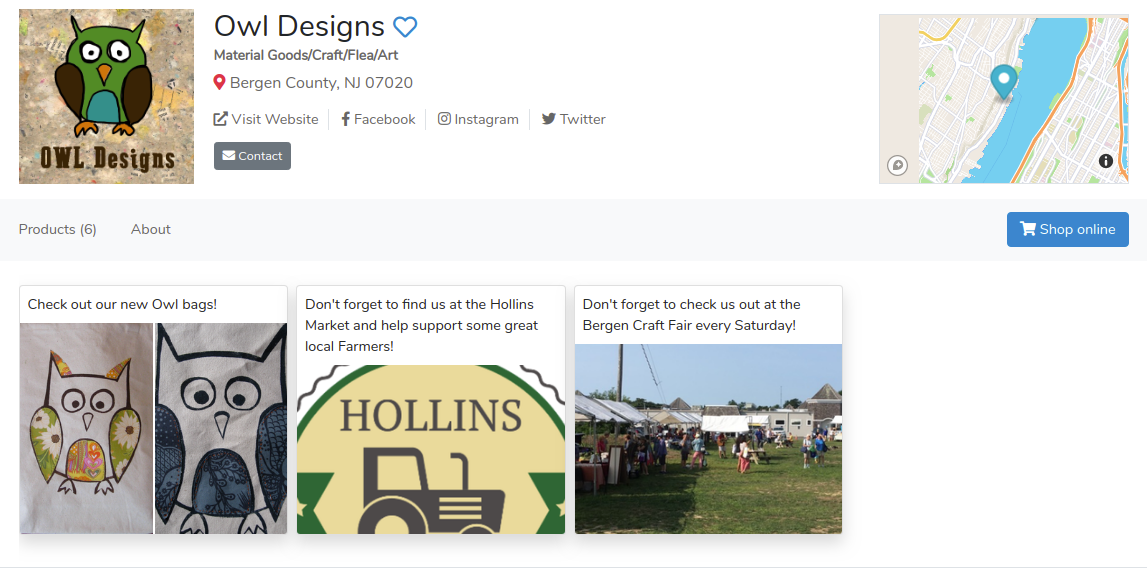
Once you upgrade your vendor profile will publish all available options. Make sure to set all your social media and contact details.
Configuring your contact and social media details
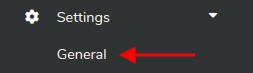
In your vendor dashboard, click on Settings -> General.
Under your General settings you can set the following:
- Name - This is the name of your business as it appears on your profile
- Type- This is the vendor type that you identify as
- Logo- This is your business logo. If you do not have a logo use an image that best respresents your business.
- Website - This is the URL to your business website.
- Online Store- This is the URL for your online store if you have one. An example would be "https://www.etsy.com/shop/Rustic9".
- Facebook- This is your Facebook handle. It is generally the last part of your Facebook URL. For example "https://www.facebook.com/marketspread/" would be "marketspread"
- Instagram- This is your Instagram handle. It is generally the last part of your Instagram URL. For example "https://www.instagram.com/marketspread/" whould be "marketspread"
- Twitter- This is your Twitter handle. It is generally the last part of your Twitter URL. For exampel "https://twitter.com/marketspread" would be "marketspread"
- Biography- This is where you describe your business to market and event managers but also to the world.
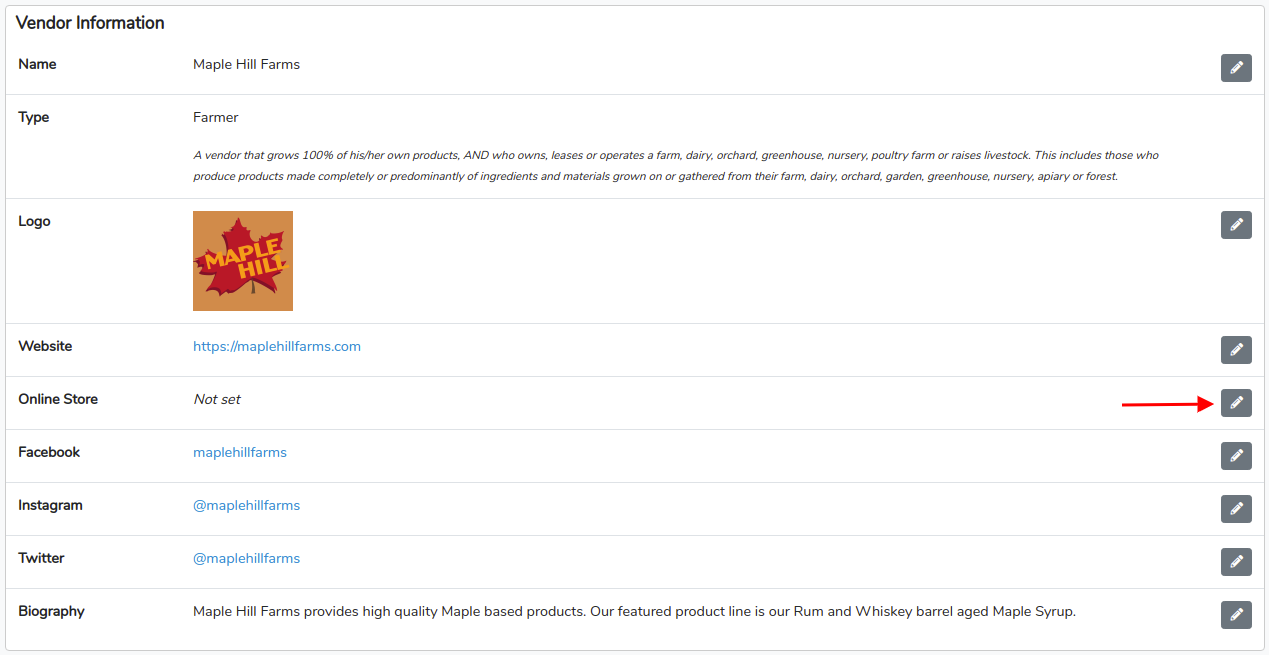
Below is an example of the Vendor Information section of General settins where you can update all the information above. Just click on any of the grey pencil icons to update a setting.
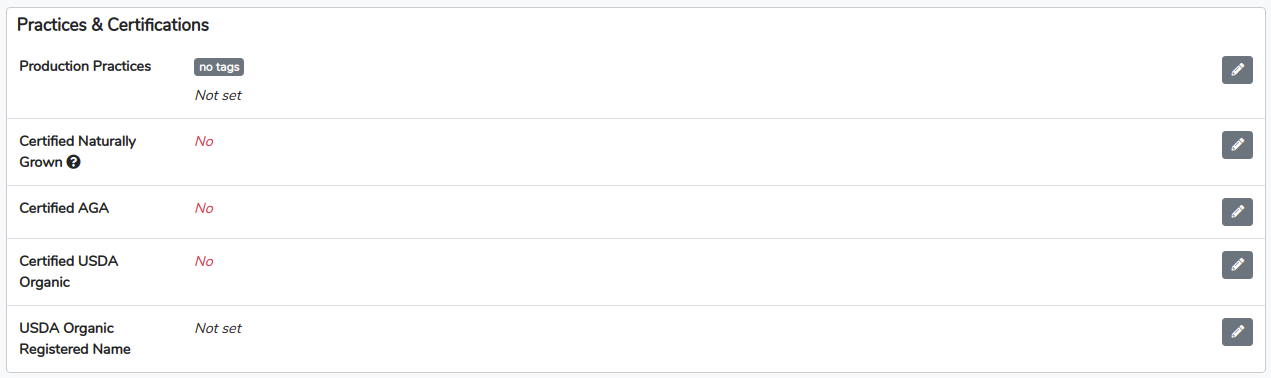
For Vendors with types "Farmers" and "Farmer/Dealer" you can additionally configure your Practices and Certifications.
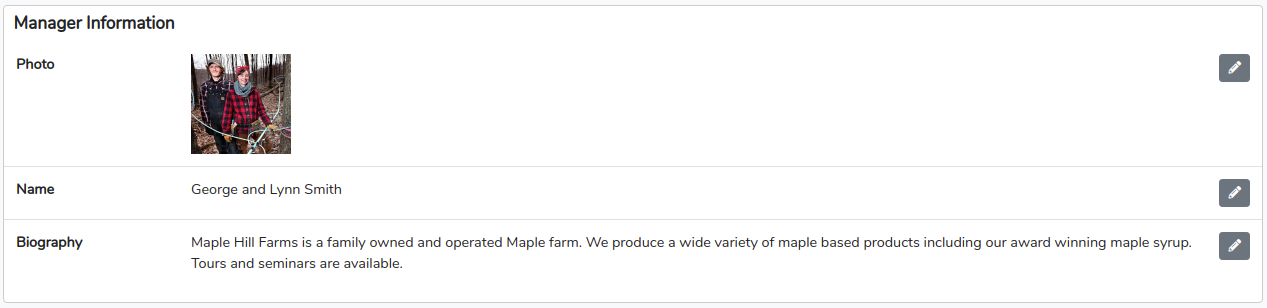
All vendors and exhibitors can also optionally post information about their management team. This includes a photo or image, Name and Biography (description).
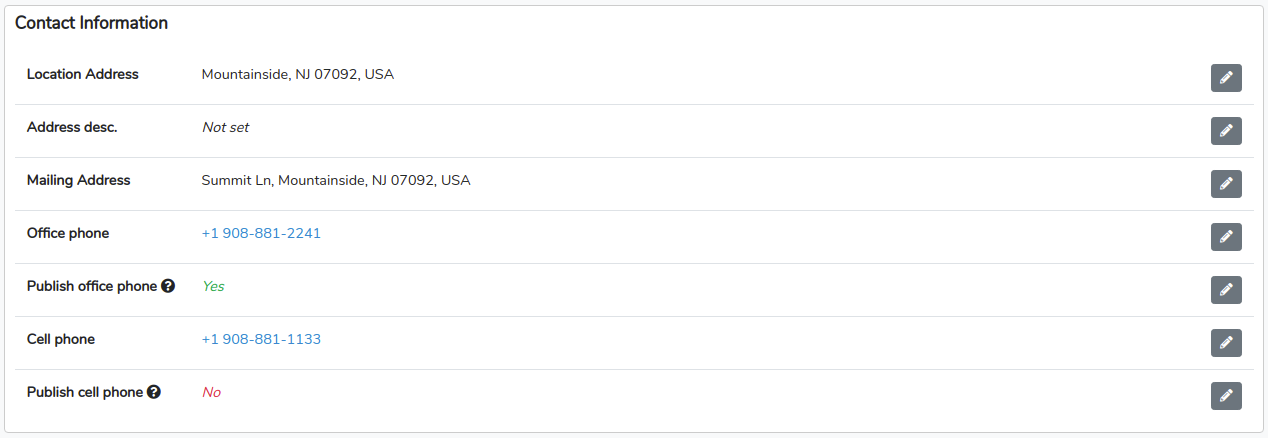
Lastly, you will need to enter your location information and optionally enter your contact information. Profiles only publish your county and state for Location Address. Mailing Address is only ever viewable by market and event managers and is never published publicly. Office and cell phone numbers can be publised to your profile by toggling their publish options. Phone numbers that are not published are always available to the management team of markets and events you apply to.
Post and advertise your Online Store
With premium profiles you can advertise your online store. Under Settings -> General (Vendor Information Section) find the Online Storeconfiguration and click on the grey pencil edit icon.

Then enter the URL to your online store and click the save button.

Product configurations and online stores
In a product configuration, locate the Enable Online Store Linktoggle and click it to green. This will open up a text field where you can enter a link to that product's online store.

and

Your Products an Services list will indicate which products are linked to an online store as seen below.
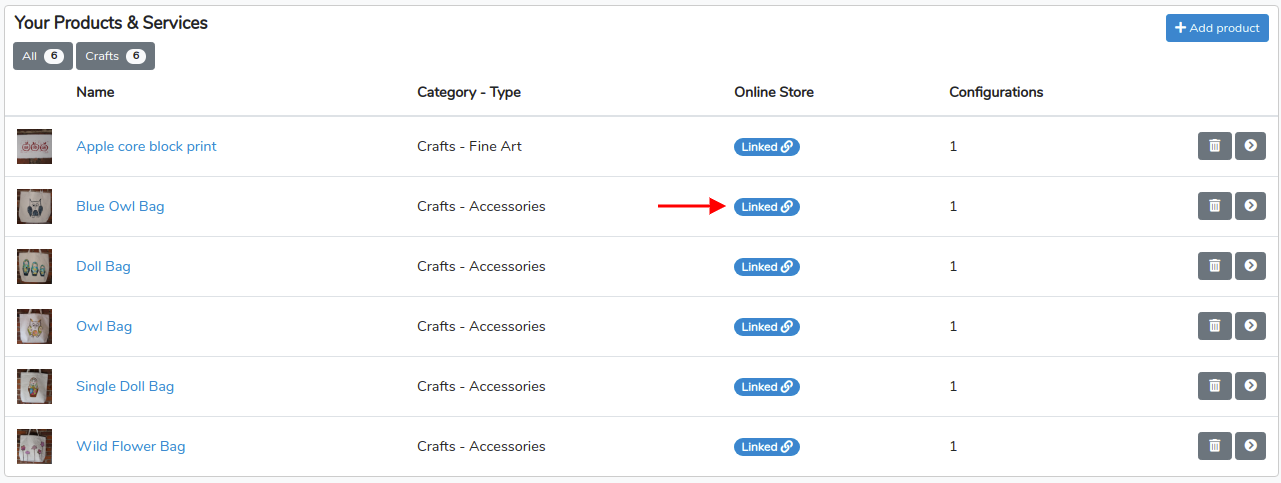
Any product linked to an online store will show with a "Shop Online" tag.
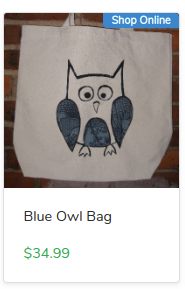
And, the product overview page will include a "Buy now" button that will take customers directly to where they can purchase your product.

Posting images, messages and more
Premium also allows you to post images, photos, messages and more to your profile.
To create your first post, go to your vendor dashboard and click Posts in your toolbar.

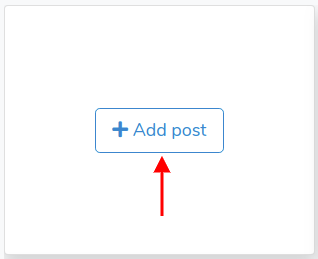
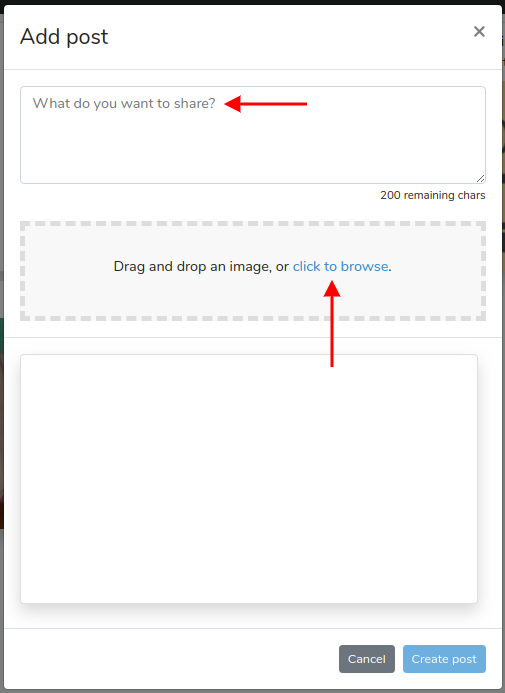
Under posts, you will see a + Add post card. Click on the Add post button to create a new post.
This will present you with a window where you can add text (up to 200 characters) and as many photos or images you would like.
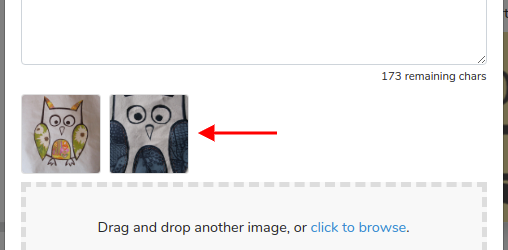
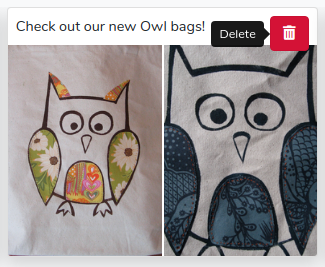
In the example post below we add two images and a quick note. Live previews are available as you create your post.
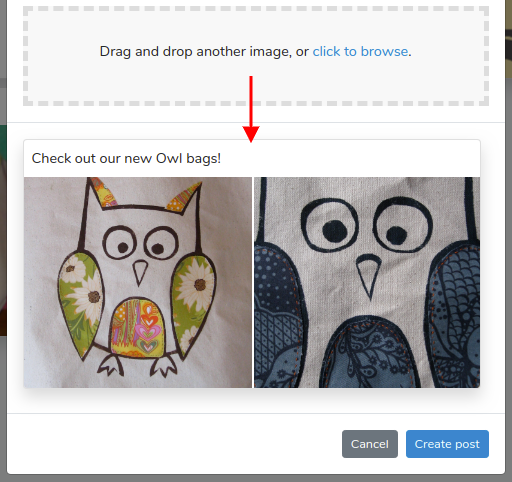
The post create window also shows thumbnails of all added images.
When ready, click the blue Create post button at the bottom.

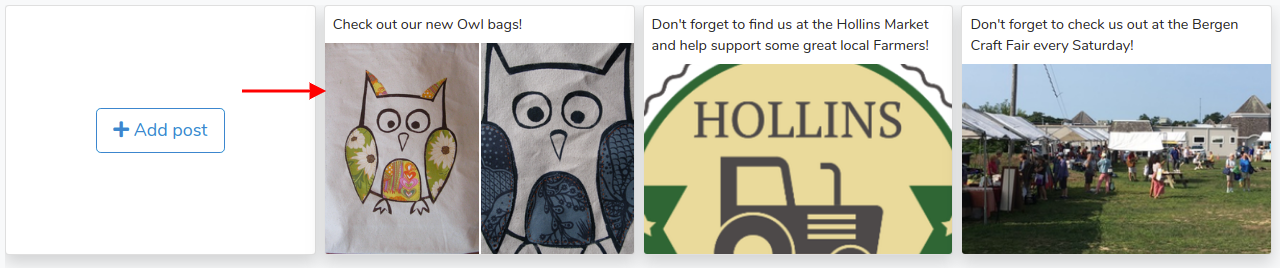
You will now see the new post in your dashboard under Posts.
Posts can be remove at any time by clicking the red trashcan icon at the top right of each post.
To see how they posts look in your profile, click on your logo in the upper left of your dashboard.
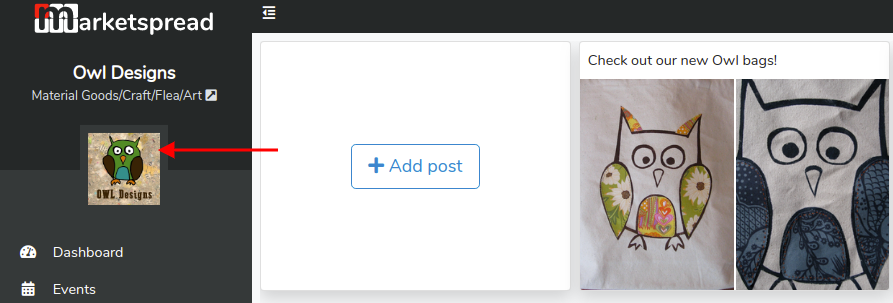
Your profile displays your 4 most recent posts with the ability to sidescroll to past posts.