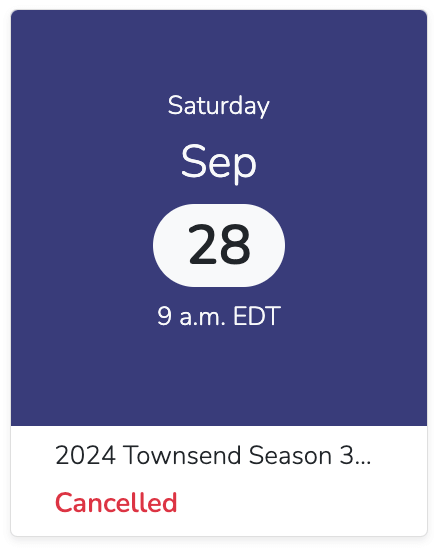
In the event you may need to cancel an event day the following steps will help:
- Notify all vendors and exhibitors
- Optionally remove any invoices for that day
- Update your profile to notify the public of the cancellation
First, select the event day from your Events listing.

Then, navigate to the "Actions" tab and fill out the CANCEL section.

This will prompt you to fill out a Reason for cancelling message. This message will be posted to your public profile for that event day and be sent as an email notification to all the vendors you had approved for that day if you choose to send a notification also.
After that, you will notice the listing under Events is now updated to show a red Cancelledlabel.

Checking your public profile you will also see that the event day card is now listed with a red Cancelleddescription.

Clicking on that event day card you will see an Event Cancelled notification with your associated message.
If you have automatic invoicing for the event day and would like to delete the invoices you will need to open Scheduler and unassign each vendor. To do this follow the instructions below.
In Scheduler, find the event day that you cancelled.

You will notice the date has a strikethrough to indicate cancellation. Then, notice your invoice statuses. Remember, a blue square indicates an invoice is sent but not paid, a green square means the invoice is paid, red means a past due invoice, and grey indicates a draft invoice not released.
You can either unassign the vendors from their stalls, or you can make price adjustments, or refund invoices according to your market policy. This support article can help you with those steps:
https://marketspread.com/learning/article/23/scheduler-overview/
Cancelling an event will NOT make any automatic assignment or invoice changes.


