

Creating a Reusable Line Item
Reusable line items help streamline manual invoicing.
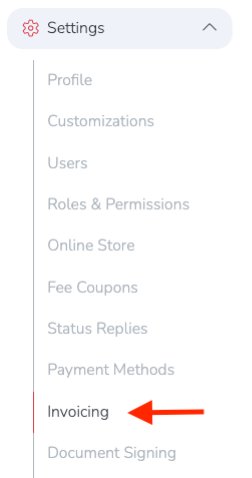
To get started, go to: Settings → Invoicing from the left-hand navigation menu of your dashboard.
Under Invoice Items, click the + Add line item button on the right.

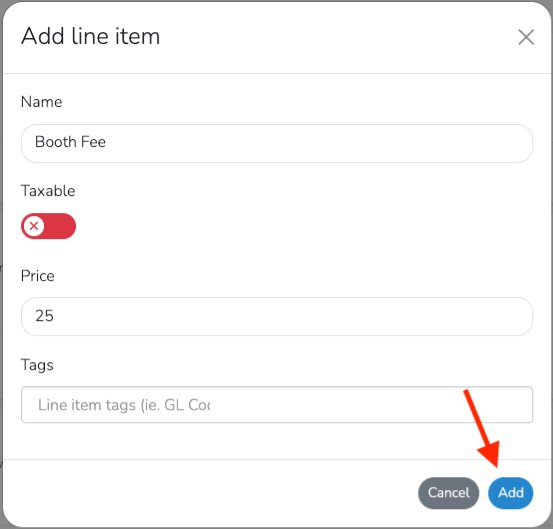
Enter the name and price for the reusable line item. You can also add any tags you want attached to the invoice.
When you are finished, click the blue Add button in the bottom-right corner.
Creating an Invoice with a Reusable Line Item
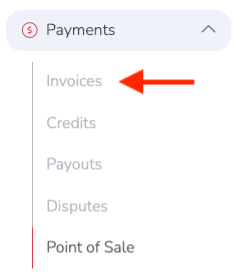
To create an invoice using your new reusable line item, go to Payment → Invoices
Next, click the blue + Add Invoice button in the top-right corner.

Fill out the invoice by selecting the recipient, invoice name, event date, due date and any invoice notes. Then, click on the Add Saved Item button.
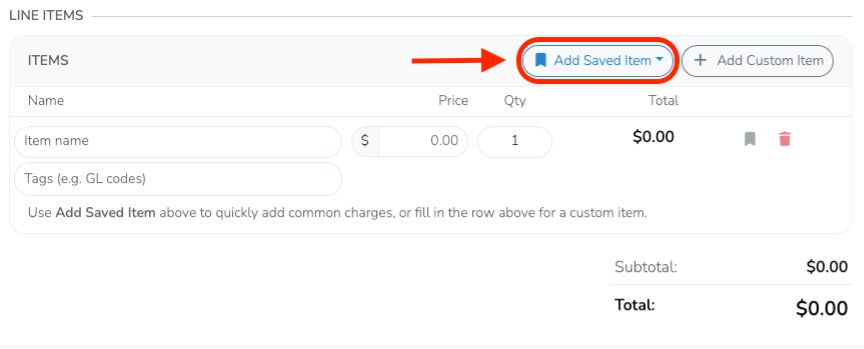
Select the item(s) you want to add from the list of reusable items from the dropdown.
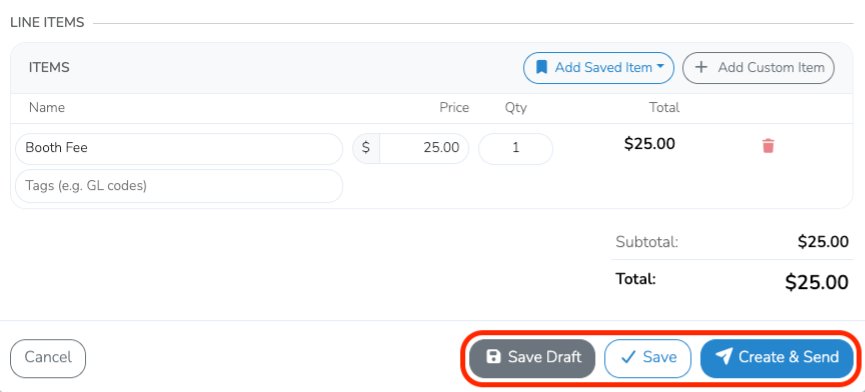
This will add the line item to your invoice, along with any associated tags.
When the invoice is ready, you can save it as a draft and return to it later, save it for manual release when you are ready, or click Create & Send to send it to the vendor for payment.