Create a Vendor Status Reply
To create a custom vendor status message, go to: Settings → Status Replies from the left-hand navigation menu of your market dashboard.

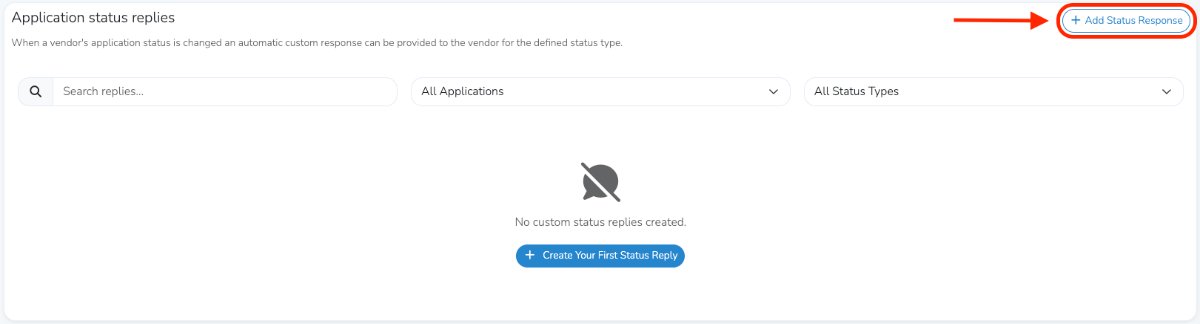
You will be taken to the Application Status Replies page. To add a new status response, click Add Status Response in the top-right corner.
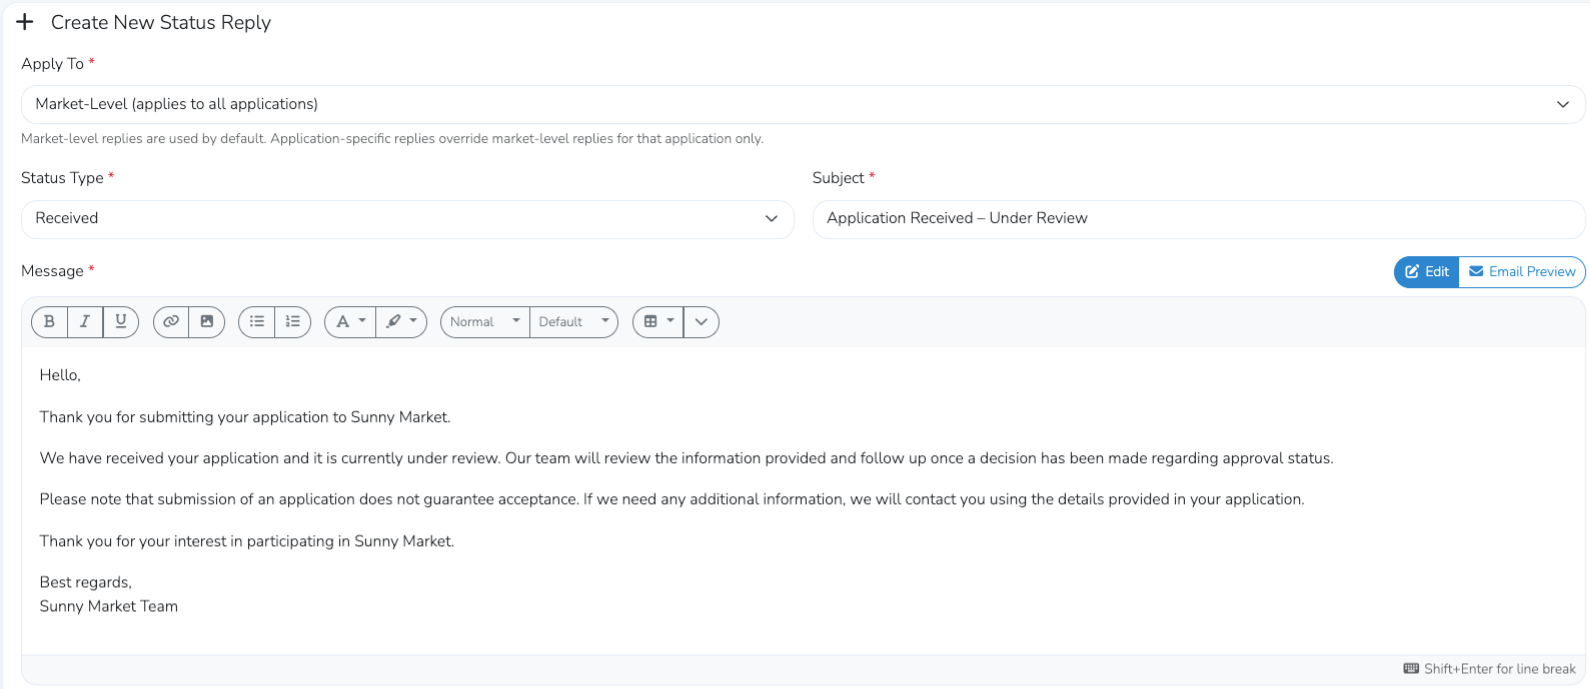
Fill out the required fields for the status reply:
- Apply To
- Status Type
- Subject
- Message
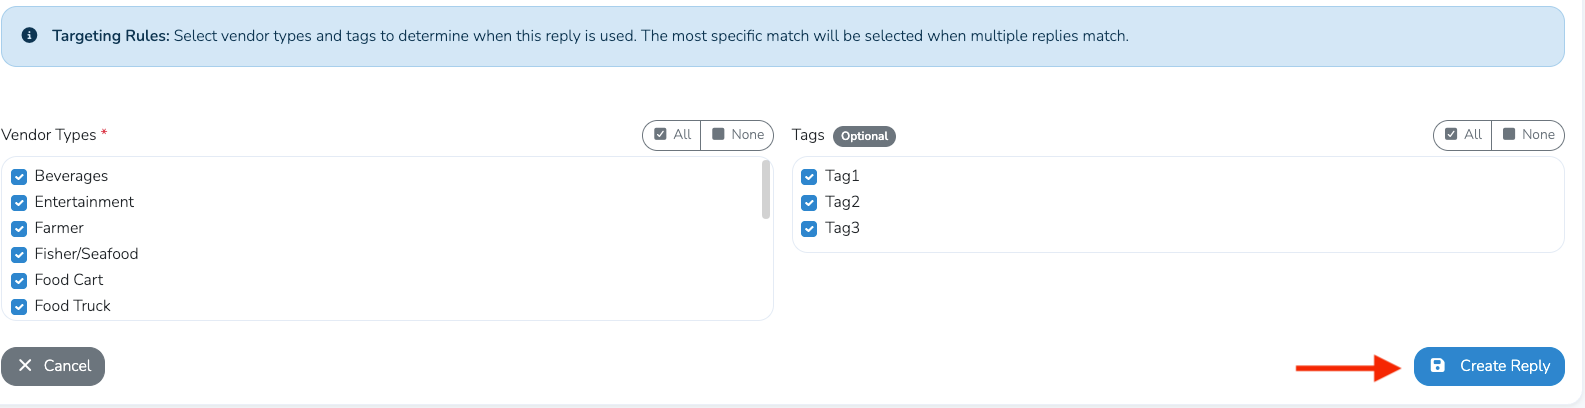
- Vendor Types
If you have created vendor tags, you can also optionally select tags that the message should apply to.
When you are finished, click the blue Create Reply button in the bottom-right corner (example below).
Note
You can create as many status replies as needed.
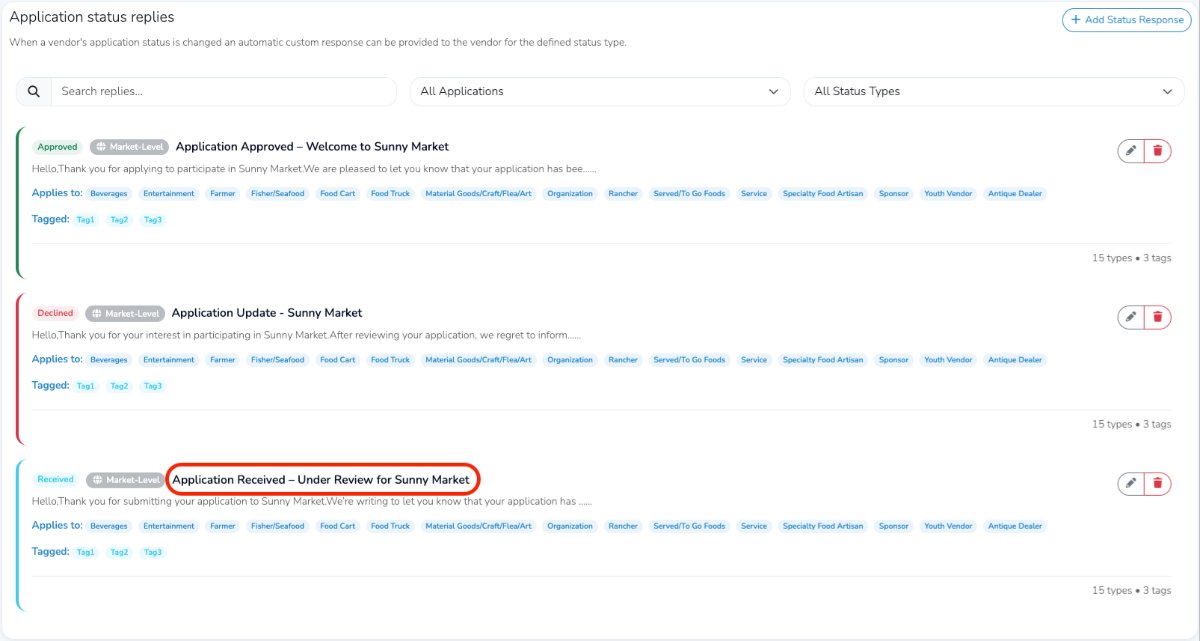
Update a Status Reply
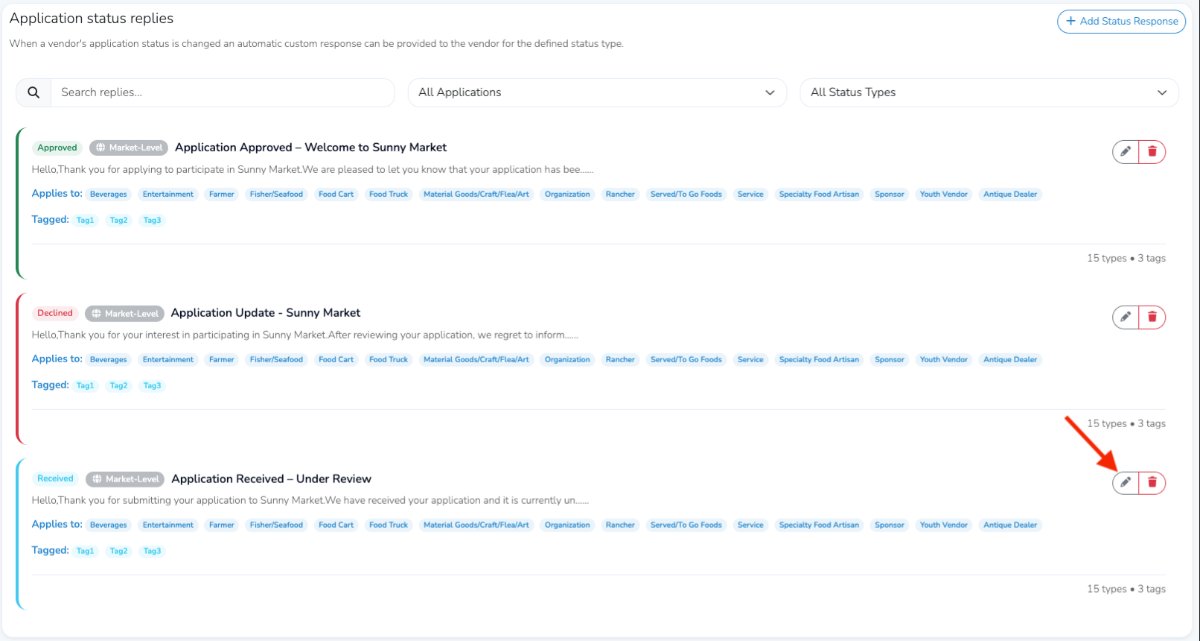
To update an existing status reply, go to: Settings → Status Replies

Then click the pencil icon to the right of the status reply you want to edit.
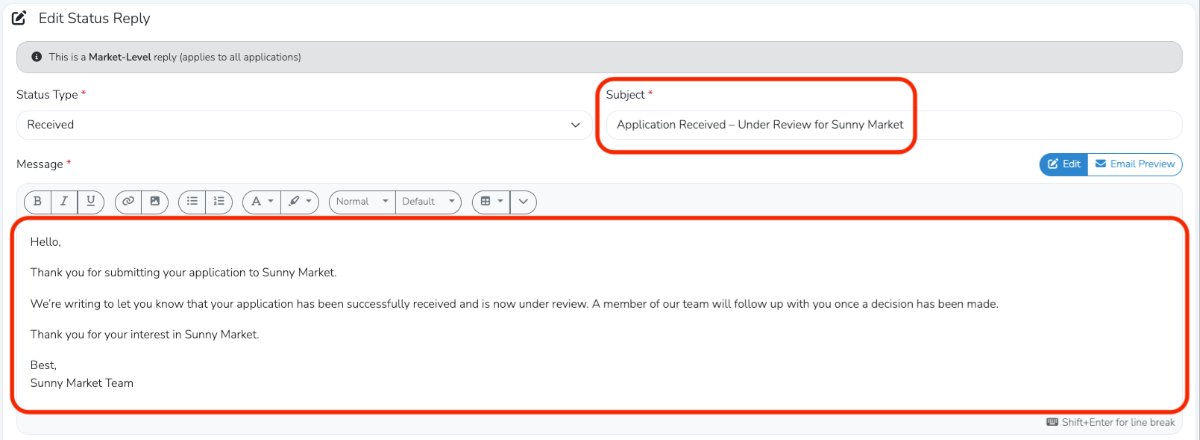
Update the Subject and Message fields as needed.
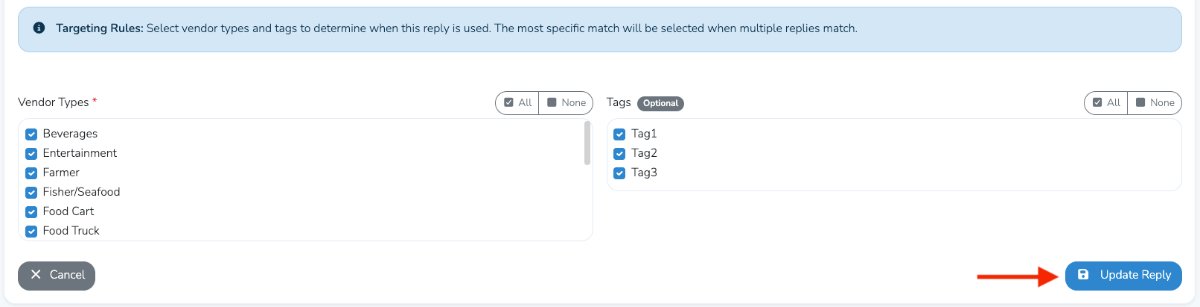
You can also adjust who receives the message by selecting vendor types and tags under the Applies To section.
When you are finished, click the blue Update Reply button in the bottom-right corner to save your changes.
After clicking Update Reply, you will be returned to the Application Status Replies page, where you can confirm that your changes were saved.