Common use cases:
- Site Surveys -- Have your onsite team record standardized event day observations (weather, attendance, setup conditions)
- Vendor Check-In -- Collect structured data points while checking in vendors at the gate
- Day-of Inspections -- Record health/safety checks, booth compliance, or equipment status per vendor
Every submitted form is stored on the vendor record or event day record where it was completed, and all form data is available in bulk through data reports.
Note
This guide covers the essentials of creating and using forms. A video walkthrough is coming soon.
Creating a Form
Navigate to Settings > Forms from the side navbar. Click the blue Create a form button to open the form editor.

The form editor lets you:
- Set the form name and logo
- Add questions (text, dropdowns, checkboxes, file uploads, and more)
- Configure validation rules and conditional logic
- Add special fields like vendor selectors or invoice creators
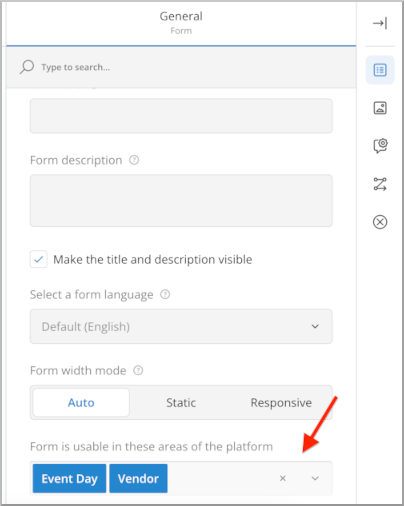
Setting the Form Category
Each form can be made available for vendor records, event day records, or both. Set this in the right-hand settings panel of the form editor under the form use selector.
- Vendor -- Form appears on individual vendor records
- Event Day -- Form appears on event day records
- Both -- Form appears in both locations
Saving Your Work
Save frequently as you build your form. Click the blue disk icon in the editor toolbar to save.

Exiting the Editor
Click the X button at the top of the editor to close it. Make sure you save before exiting -- unsaved changes will be lost.

Publishing Forms
A saved form is a draft until you publish it. Only published forms are available for your team to fill out.
The forms list shows which forms are drafts and which are published. In the example below, there are three draft templates and two published forms.

Important: After publishing, any further edits must be made to the published version for changes to take effect.
Filling Out Forms
Where a form appears depends on its category setting.
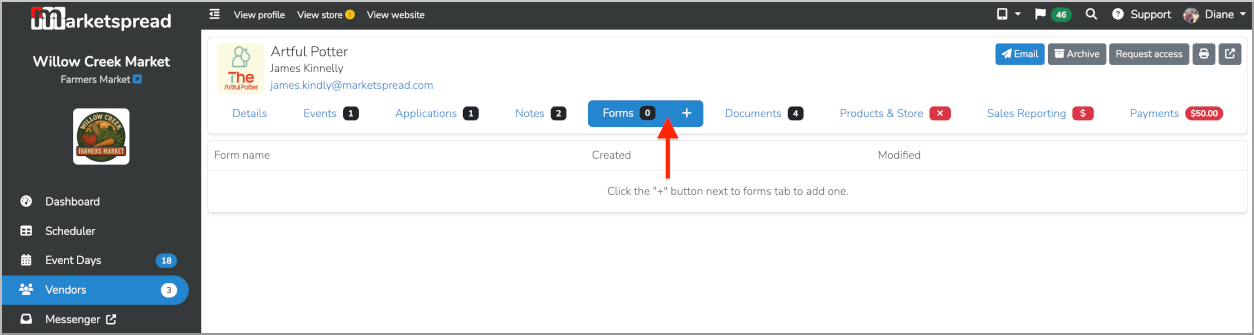
On a Vendor Record
Open any vendor and select the Forms tab.
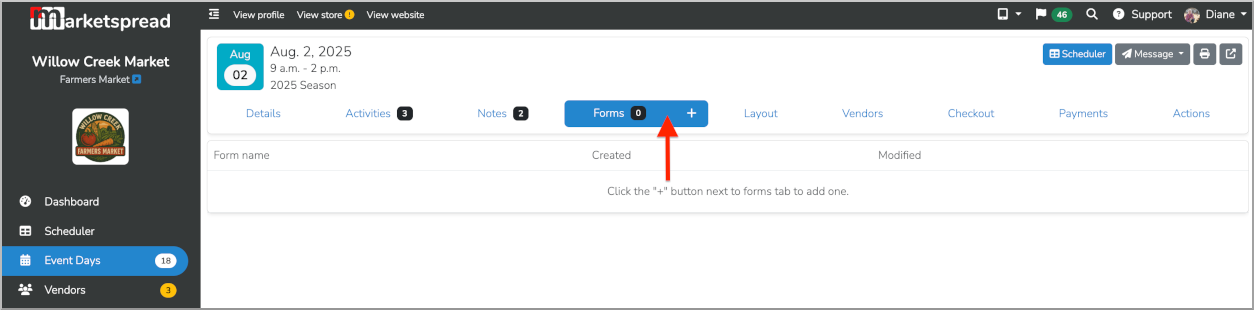
On an Event Day Record
Open any event day and select the Forms tab.
Completing a Form Entry
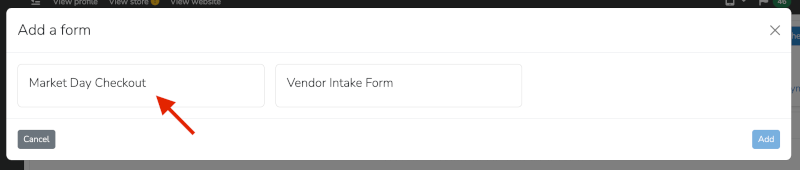
- Click the + button on the Forms tab to open the form selector
- Choose the form you want to fill out from the list of published forms
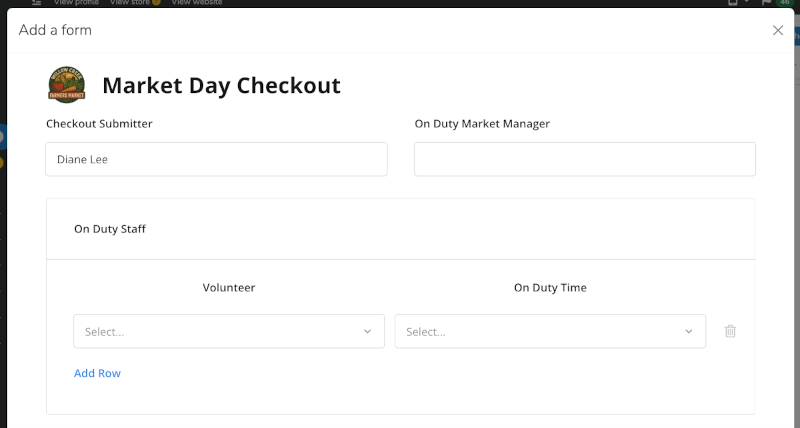
- Fill in the form fields and click Submit
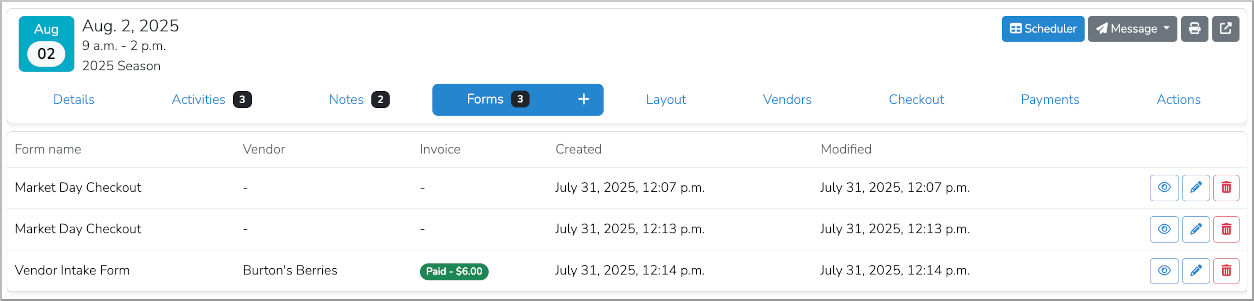
After submission, the entry appears in the list under the Forms tab.

There is no limit on how many form entries you can submit per day or per vendor. Below, three entries are recorded for August 2, 2025.
Notice the Invoice column -- forms can include invoice creator fields that automatically generate invoices and collect payment on submission.
Viewing Form Data
Click the eye icon next to any form entry to view the submitted data in its original format.

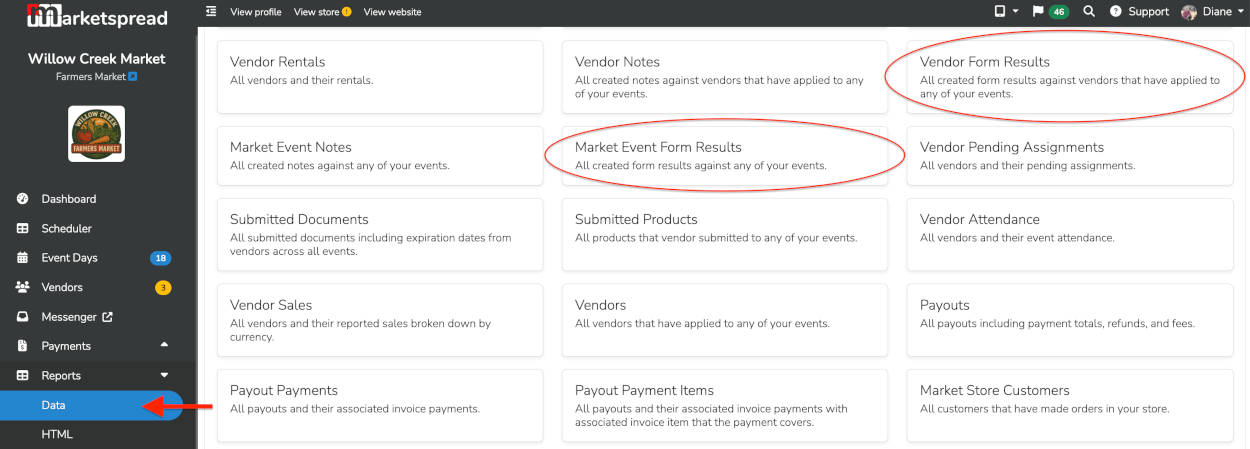
Reporting on Form Data
To analyze form data across multiple submissions, use the built-in data reports:
- Vendor Form Results -- Aggregates all vendor-linked form submissions
- Market Event Form Results -- Aggregates all event day-linked form submissions
These reports support filtering, sorting, grouping, and export -- giving you full control over how you view and use your collected data.