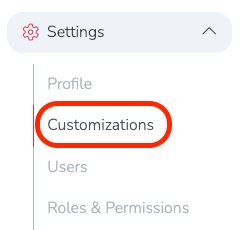
To create a set of approved Tags, go to: Settings → Customizations
By default, there are no approved tags. This means any tag can be created and used.
To create a list of approved tags, click the blue pencil icon next to the Approved Tags setting.

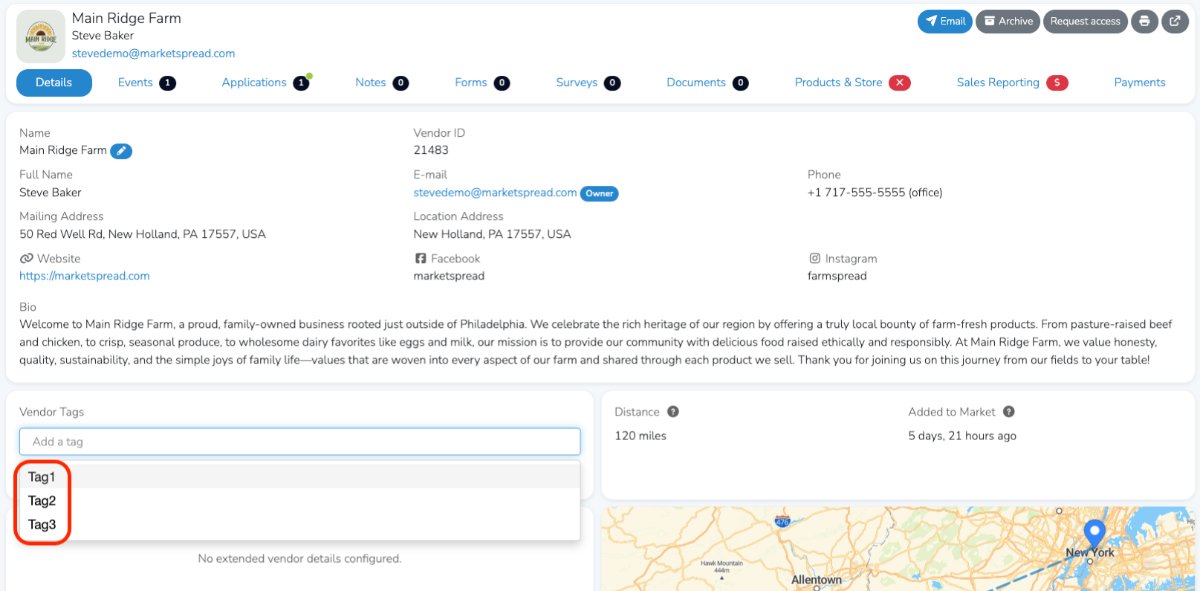
Then enter your list of approved tags. In the example below, three tags were added: Tag1, Tag2, and Tag3. Once saved, these will be the only tags available for use.

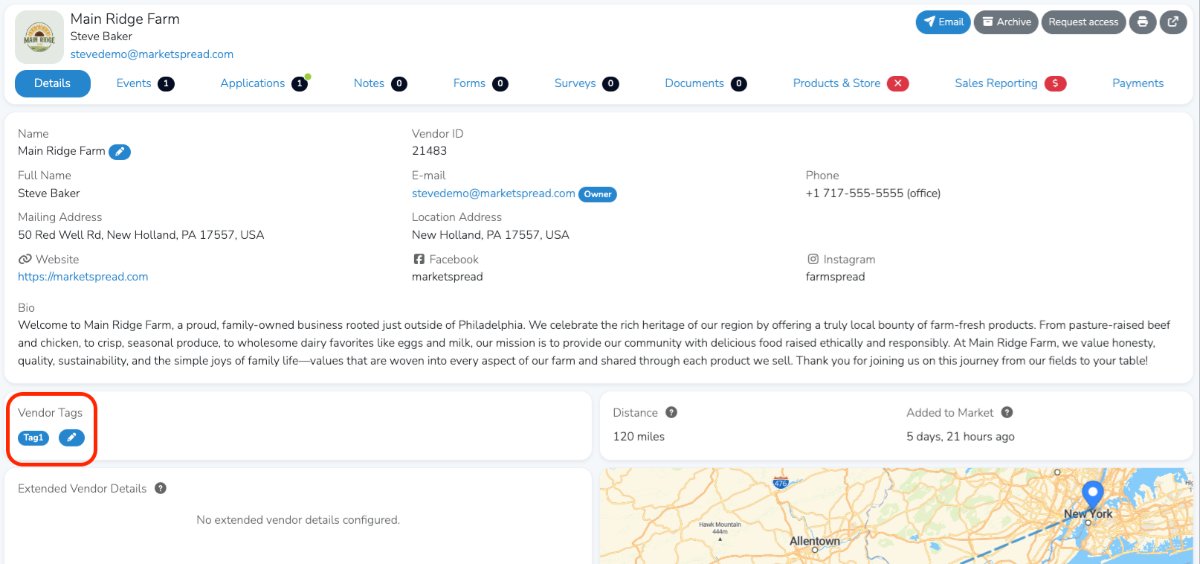
In your global Vendor list, when you open a vendor record, the only available tags will be the approved tags you created in the Approved Tags configuration.
Those same approved tags will also be the only options available in the Tag filter in your global vendor list.
After selecting a tag and clicking Save, you will see that the vendor has an approved tag assigned to them.