By integrating sales reporting with automatic invoicing, either by sales percenatage or a sliding scale, Marketspread will automatically calculate the desired sales percentage fee on any given event date to be collected from a vendor. However, in some cases you may wish to charge a certain vendor a different amount than others. You can modify the sales percentage collected for a specific vendor in one of two ways.
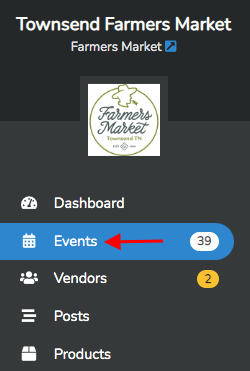
The first way to do this is to click on the Events tab in the toolbar on the left side of your Dashboard.
This tab will bring you to a page labeled Event Days. Scroll down to a past day with a red "Ended" label that you wish the edit vendor pricing for. Select it by clicking on the grey arrow button on the right side.

This button will bring you to a screen with more detail about that specific event day. Click the blue Checkout button with the shopping cart icon in the upper right corner to continue.

This button will take you to a Vendor Checkout screen. At the top of this screen is a dropdown menu where you can select the vendor for which you would like to edit sales reporting. Under each listed vendor is their current sales reporting status telling you whether or not they have reported sales and if they have been invoiced. If they have done either of these things, a green check mark icon will be shown next to that item. If they have not done either of these things, a red x icon will be shown next to that item. Scroll through the vendor options and select the one you would like to edit.
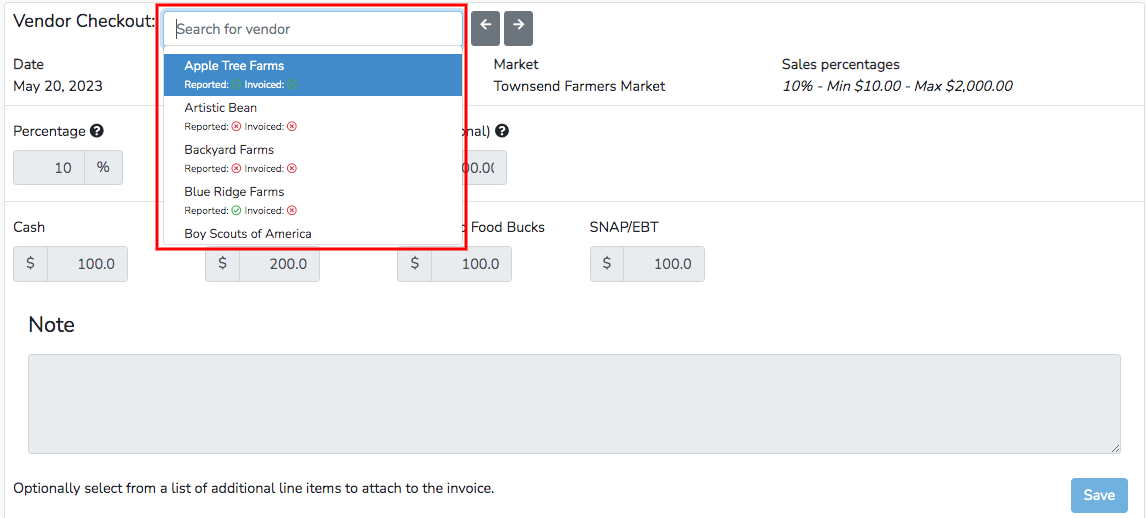
Once you select the vendor you would like to edit, you will be able to see the current details of their sales reporting settings. In the example below, the vendor Charmed Life is automatically set to be charged 10% of their reported sales with a minimum charge of $10 and a maximum charge of $2,000 based on the settings generated for all vendors of that event day.

This vendor has not reported any sales yet. You can change any of these numbers in the boxes on this page. You can also manually report sales for this vendor in the below boxes labeled with currencies, leave a note on the sales report, and select any additional fees to charge the vendor. When you are done making any edits, be sure to click the blue Save button in the bottom right corner.
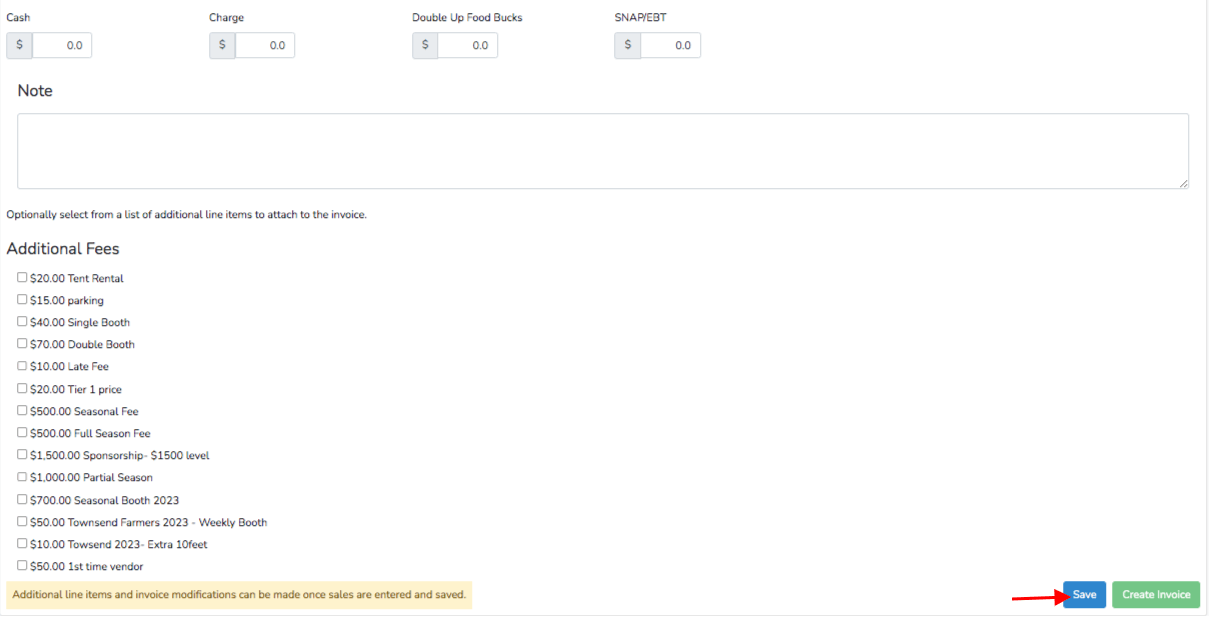
Once you save any changes, the green Create Invoice button will be unlocked, allowing you to create an invoice for the vendor.

You can still edit the sales reporting setting if necessary by clicking on the grey Edit button with the pencil icon on the right side.
The second way you can change the amount a specific vendor is charged is by clicking on the Vendor tab in the toolbar on the left side of your Dashboard.
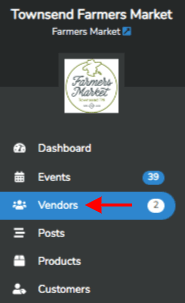
This tab will bring you to a screen listing all of the vendors in your market. Select the vendor you would like to modify by clicking on the grey arrow to the right of its listing.

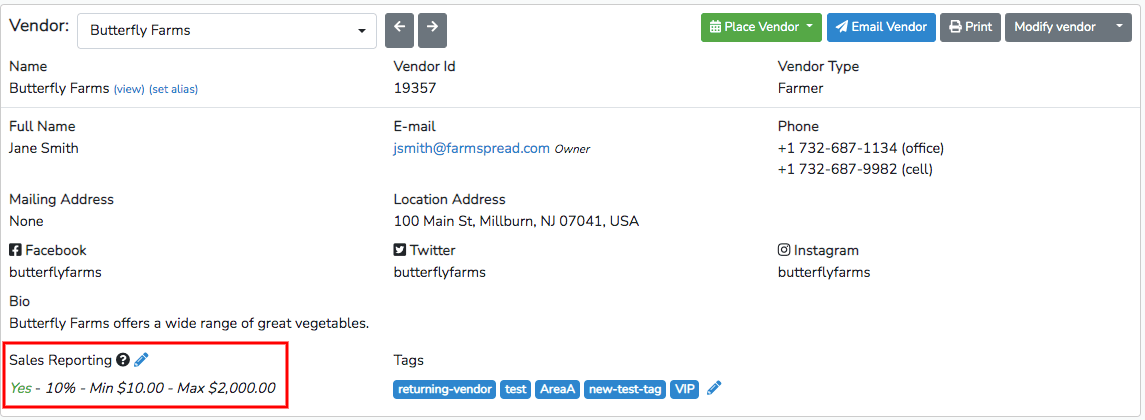
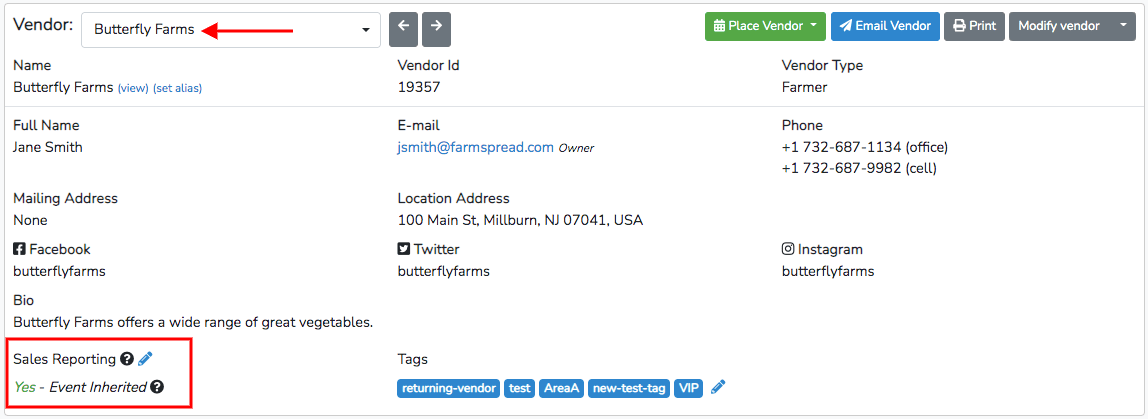
Once you have selected a vendor you can also change between vendors using the dropdown menu at the top of the screen. If you look to the bottom left of the first information box, there is a heading labeled *Sales Reporting.***If the vendor is set to report sales based on the settings for the entire event, they will be marked as Event Inherited. To set specific sales reporting settings for this vendor, click on the blue pencil icon next to Sales Reporting.
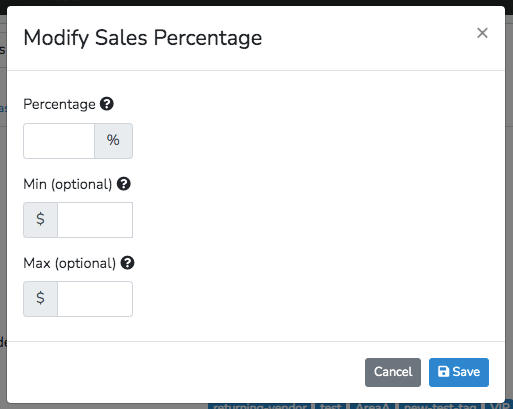
Selecting the blue pencil icon will open a pop-up in which you can enter a specific percentage pricing, minimum charge, and maximum charge. To complete the change, click on the blue Savebutton at the bottom right of the pop-up.
You can now see your edits listed under the Sales Reporting heading.
