Create a Reusable Invoice Term
Reusable invoice terms help streamline manual invoicing.
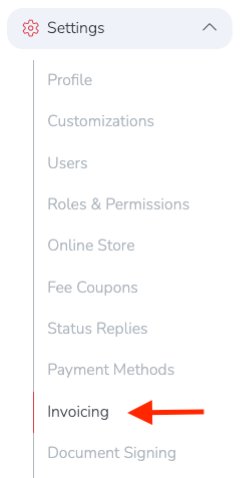
To get started, go to: Settings → Invoicing from the left-hand navigation menu of your dashboard.
Under Invoice Terms, click the + Add term button on the right.

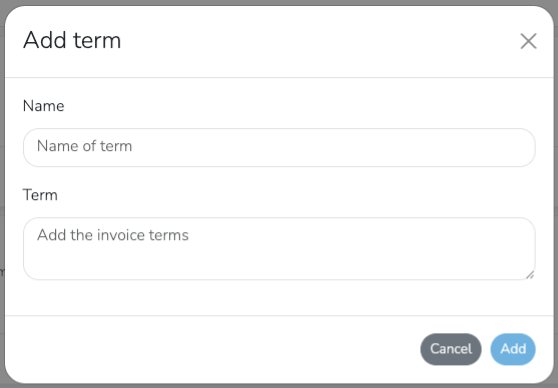
An Add term window will appear, where you can enter a Name and Term.
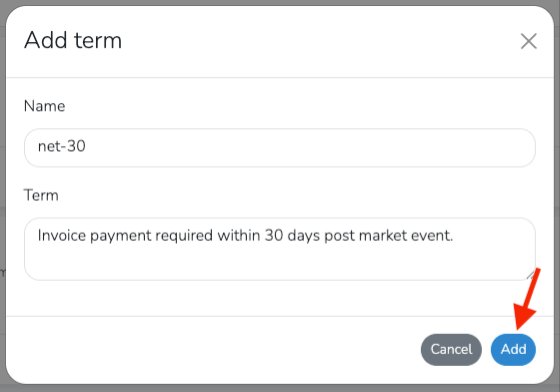
In the Add term window, enter a unique Term Name and the Term text you want added to invoices when selected. When you are ready, click the blue Add button in the bottom-right corner.
After the new term is added, it will appear in your list of configured Invoice Terms. In the example below, the net-30 term is highlighted in red.
You can edit or delete a term at any time by clicking the pencil or trash icon to the right of it.

Creating an Invoice with a Reusable Invoice Term
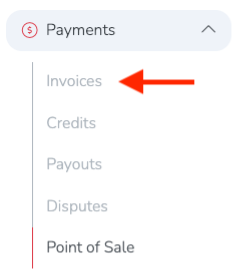
To create an invoice using your new reusable term, go to Payment → Invoices
Next, click the blue + Add Invoice button in the top-right corner.

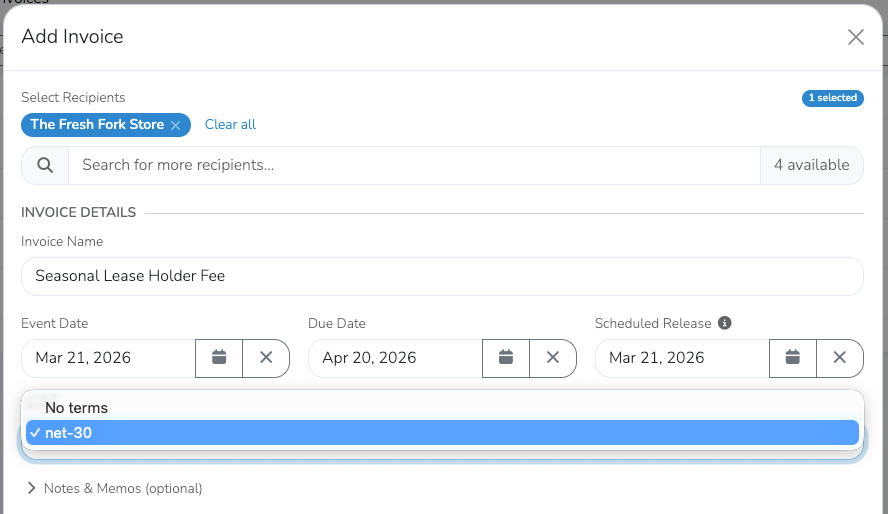
Fill out the invoice by selecting the recipient, invoice name, event date, due date, and any other required fields.
Then, under the Terms section, click the dropdown and select the term you want to use.
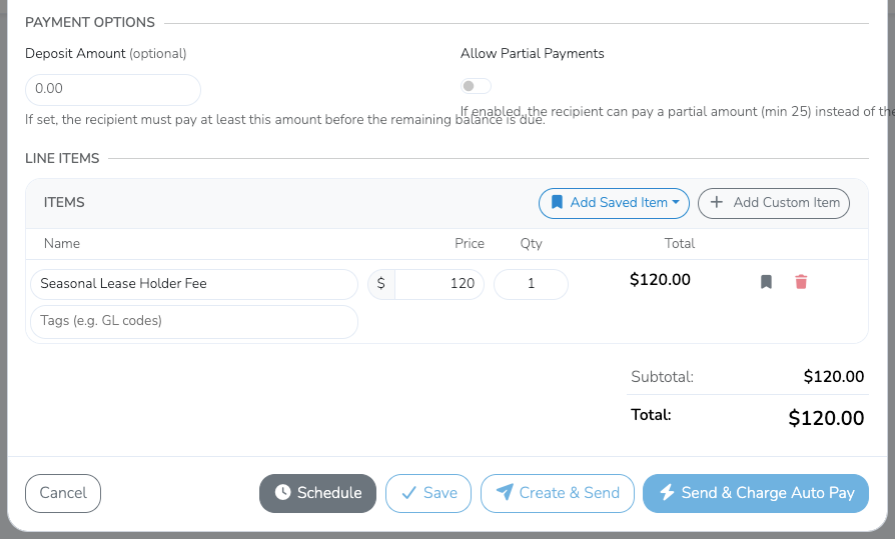
Add the line item or items you want to charge by selecting from your saved items or entering them manually.
When the invoice is ready, click Schedule, Save, Create & Send, or Send & Charge Auto Pay in the bottom-right corner.
In this example, the Schedule button was selected.
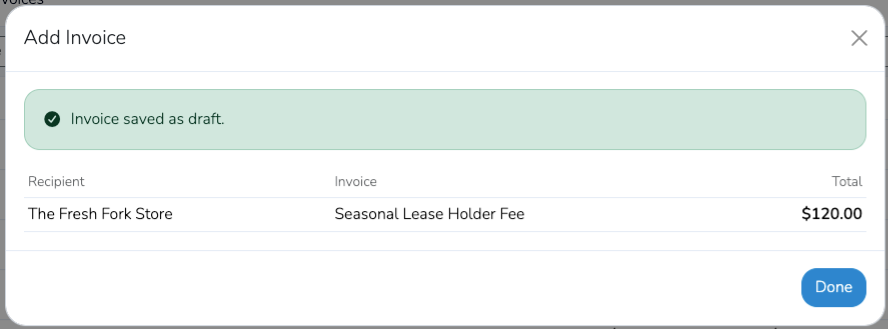
To view the scheduled invoice, click the gray Overview dropdown button and select the vendor you created the invoice for, such as The Fresh Fork Store.
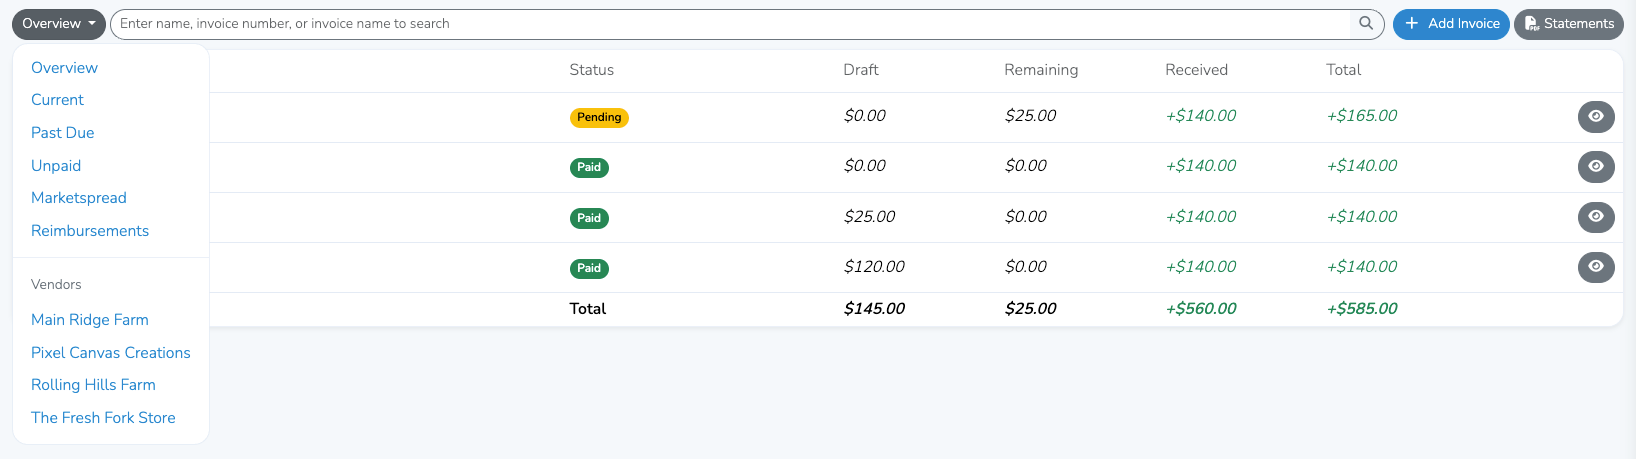
You will be taken to that vendor’s invoice details page. The default view is Released invoices, so click Drafts.

Then click the invoice title, highlighted in blue, or the gray overview arrow to the right of the invoice.
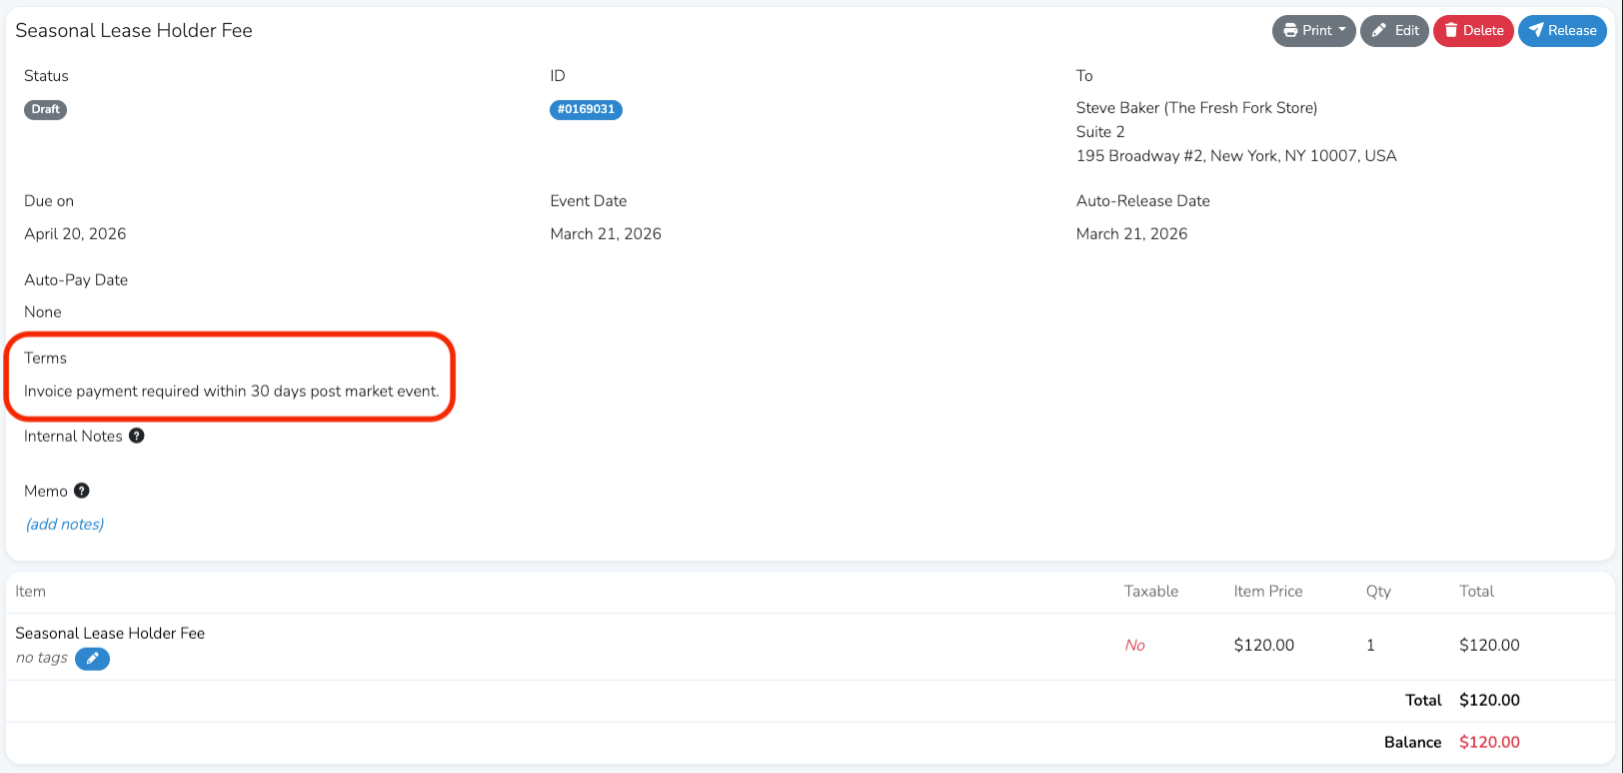
This will open the full invoice, where you will see the selected term listed under Terms.